
Quickly organize your home in 5 easy ways using the Cricut Joy and your favorite Design Space font…
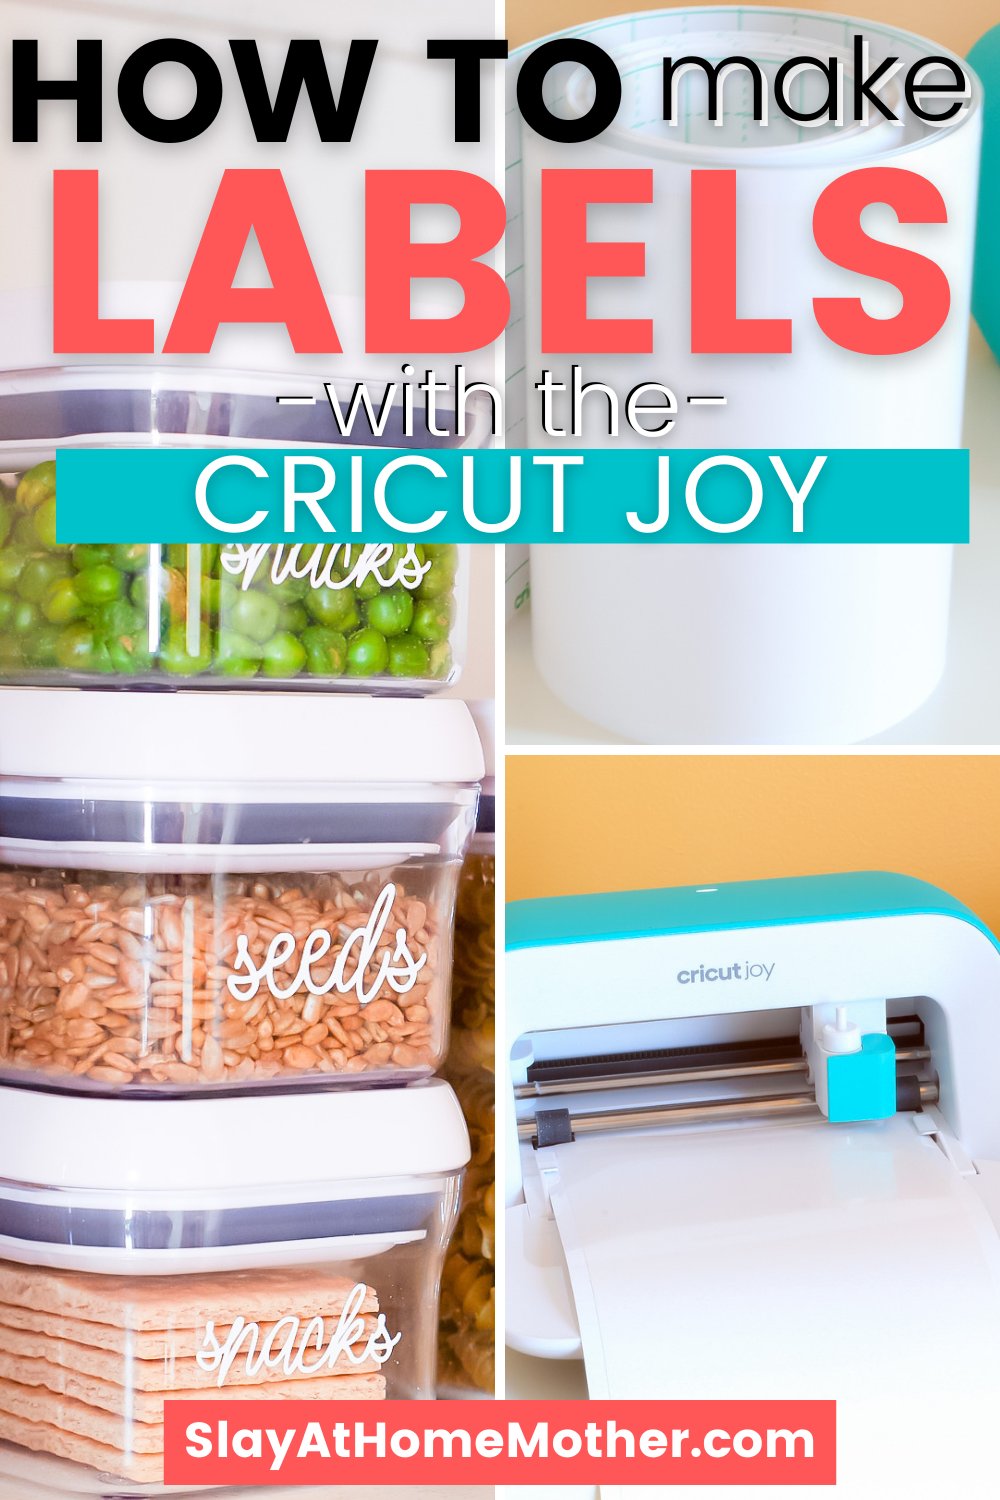

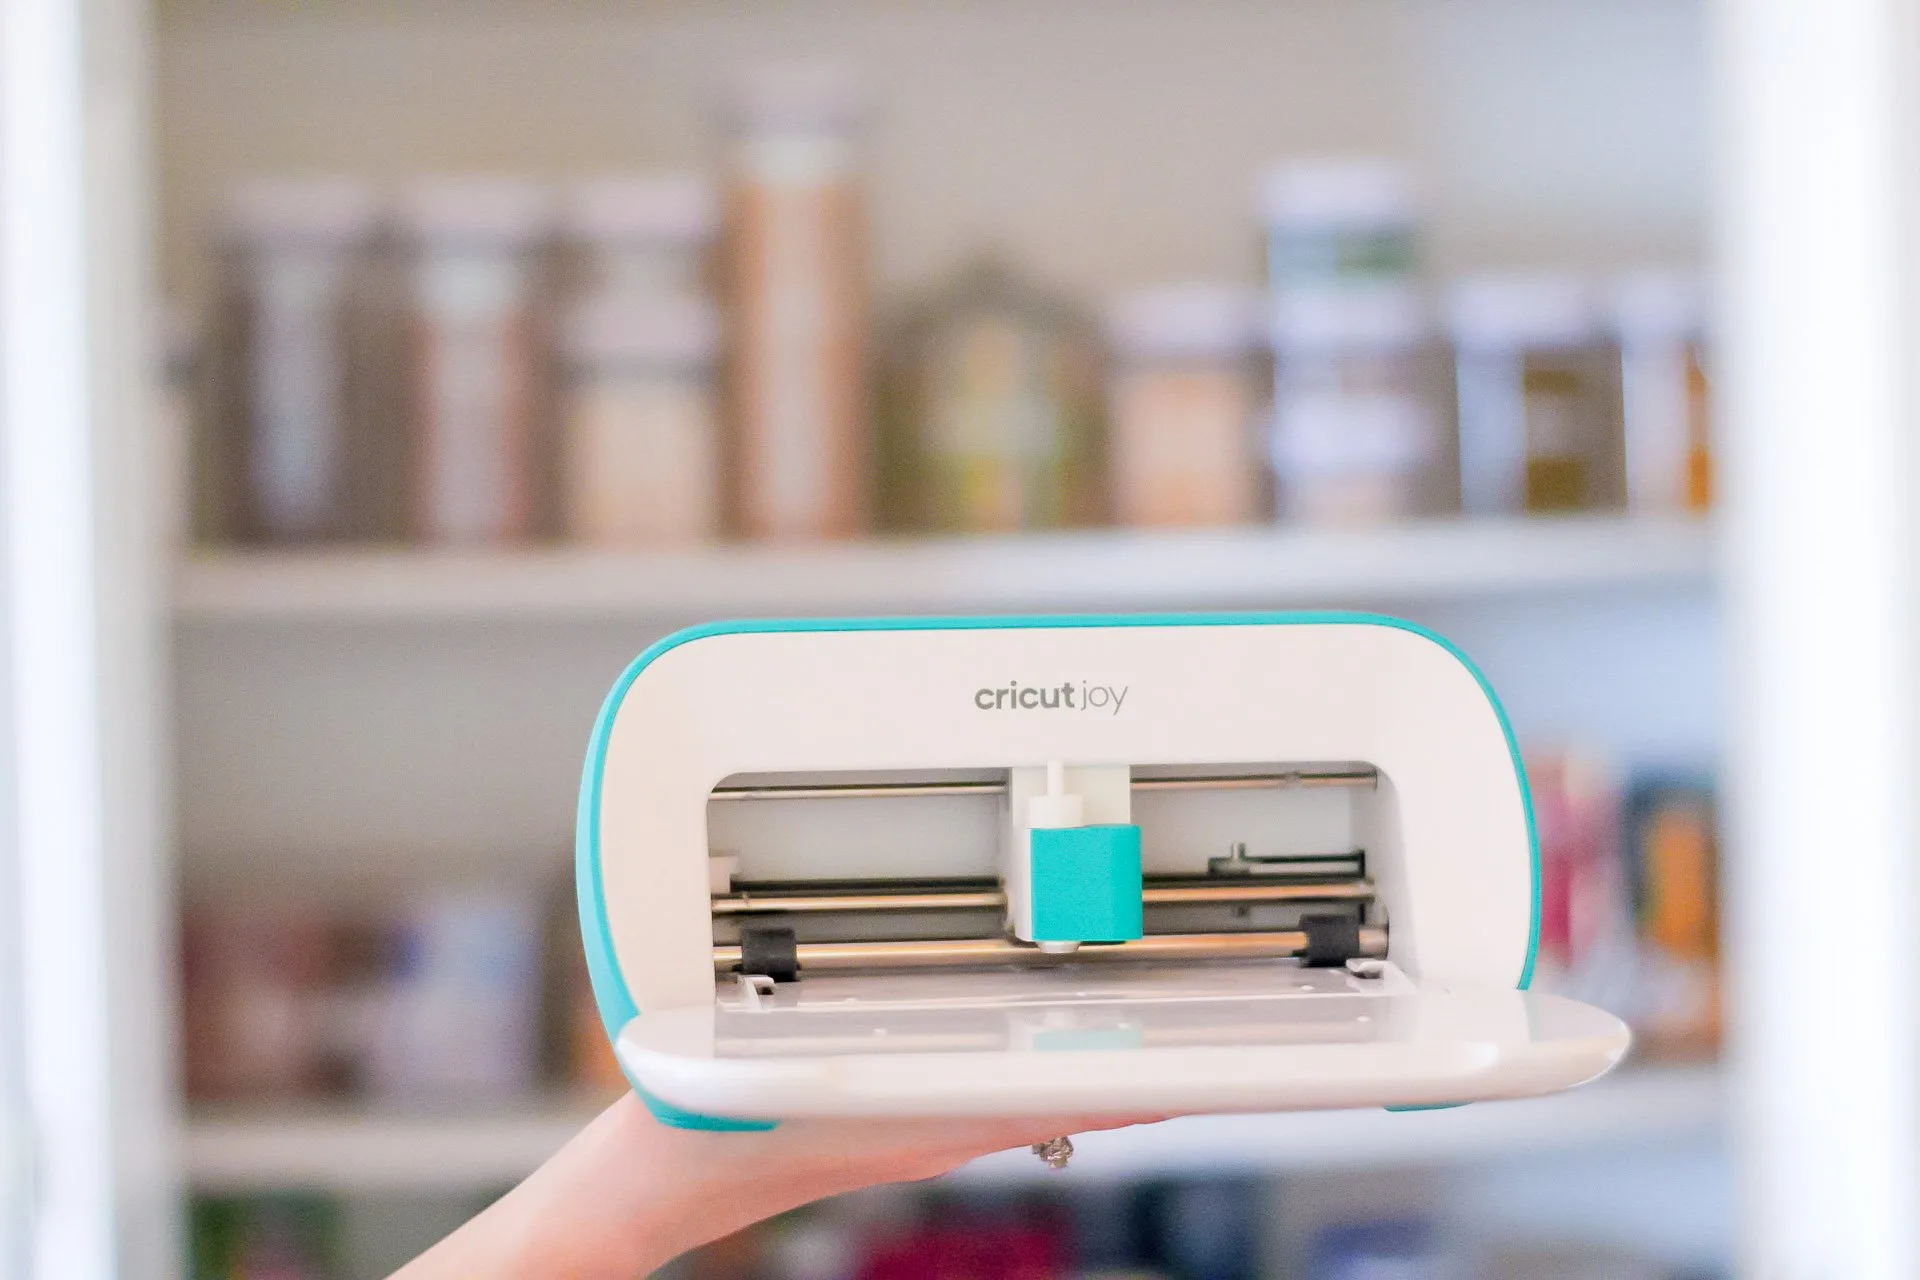
Hi friends! This week’s post is all about organization, and I’m so excited to introduce the latest addition to my crafting and organizational tool arsenal – the Cricut Joy.
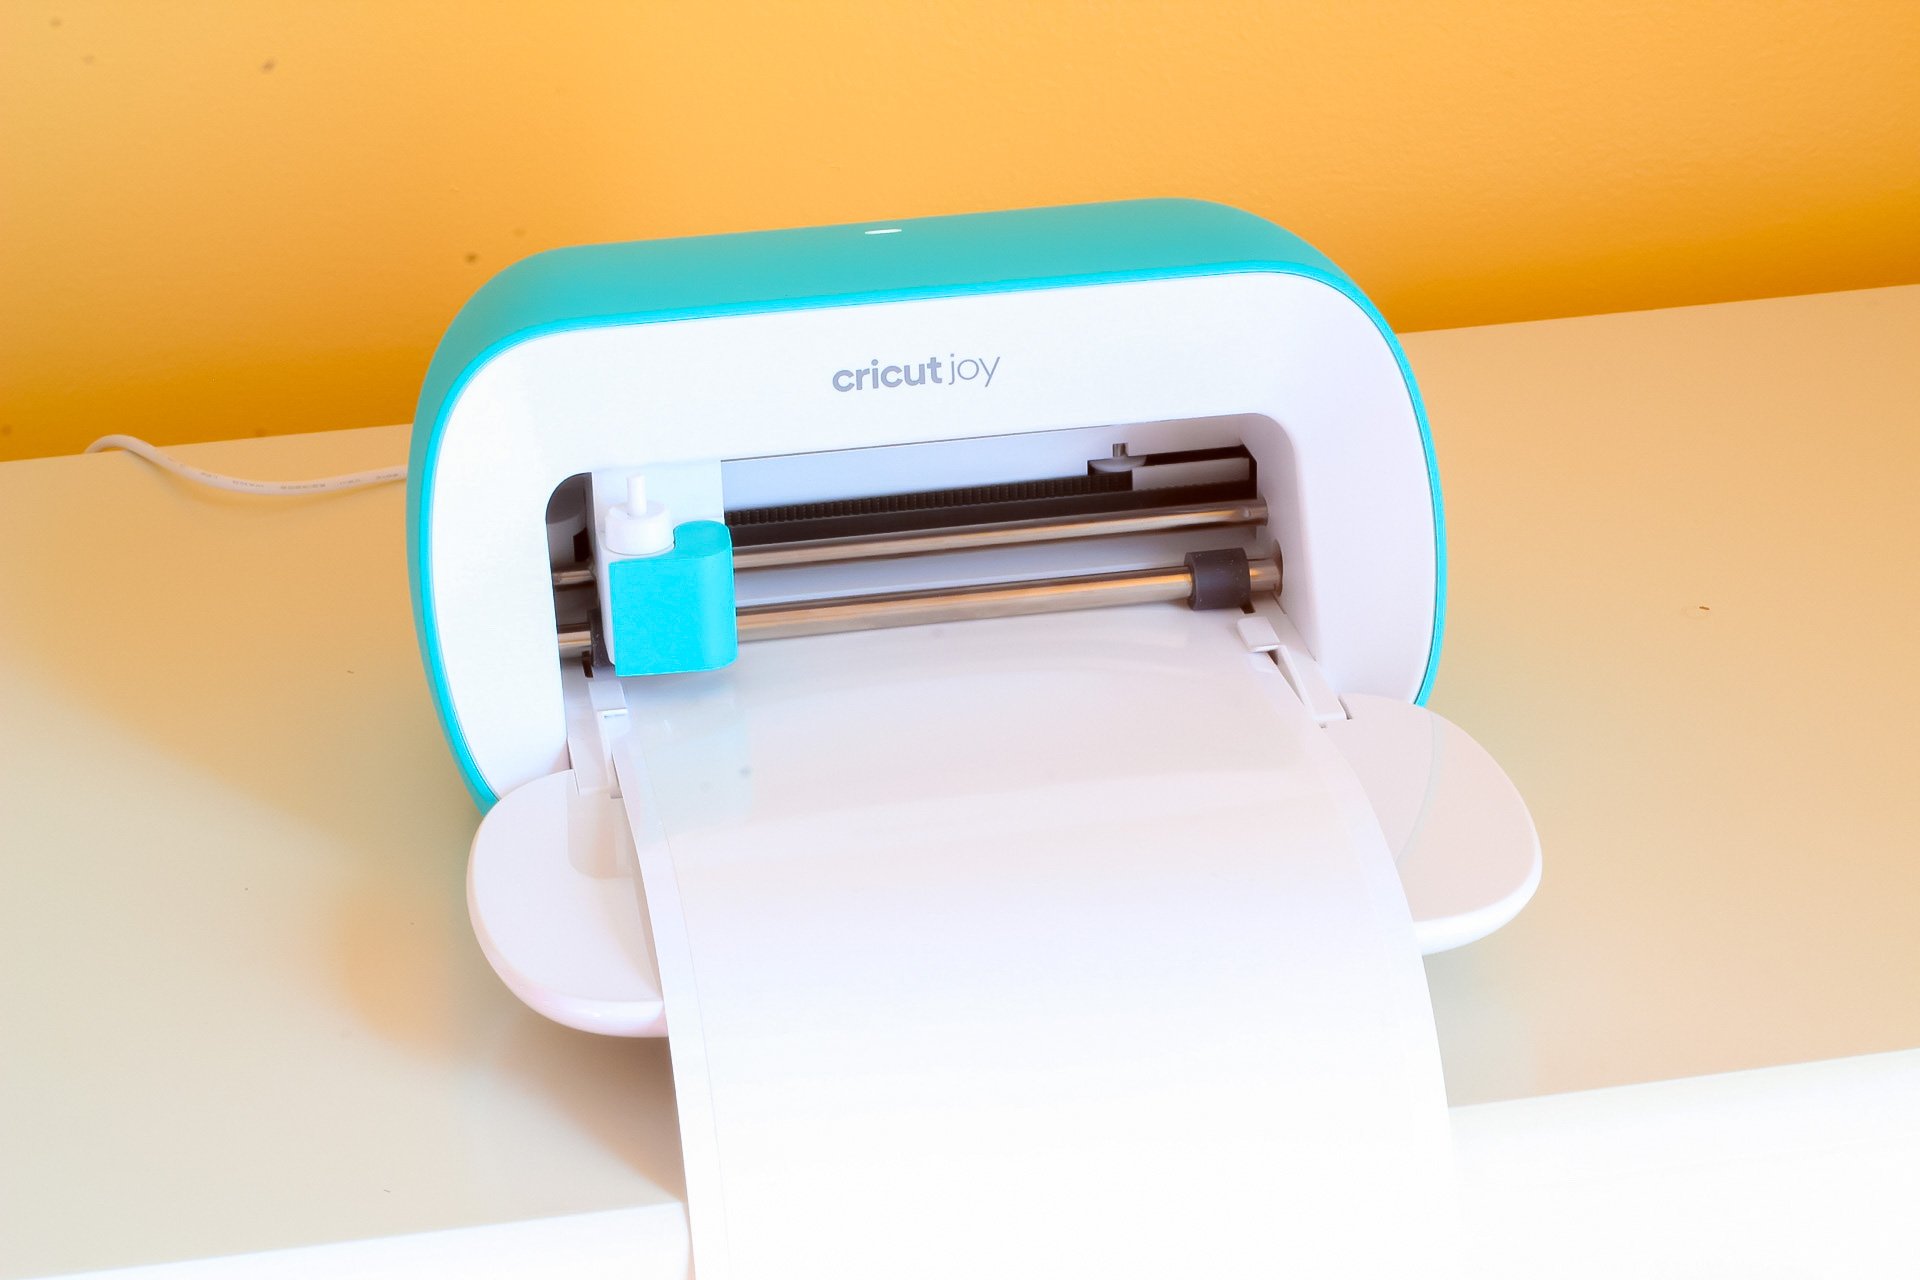
Can we talk about the color for juuuuuust a split second?
It’s bright teal – my favorite color in the whole world! Okay, I’m done being a five-year-old. But seriously, talk about love at first sight…
Now can we talk about its size?!
It’s tiny compared to my Explore Air 2!
At 8″x4″x4″, it’s only a few inches wider than my hand is long.
I have to admit, I was drawn to try the Cricut Joy for an odd reason, but it might be one that some of you guys can understand, depending on what season of life you’re in right now.
We recently moved into our new home. It’s a beautiful house with great bones – but it needs some love and renovations to make it ours.
Mainly the kitchen, office, and one of the bathrooms.
Those rooms are the ones we use the most, so I knew we were going to be a little misplaced while the renovations were taking place, with most of our household items still packed away in moving boxes.
That meant that most of my Cricut supplies (mats, vinyl rolls, and Explore Air 2) would be packed away and I would be without a real workspace/craft room to work with for a while!
Not to mention the new homeschooling schedule that we recently picked up and are trying to get used to for both boys while juggling our newborn Zoey, with no dining room table, desk, or office table set up ;).
Things are feeling a little all over the place for us, but that’s life for us right now!
Enter Cricut Joy…it’s a compact machine that delivers the same cutting and writing function my other Cricut machine does with more convenience while taking up less counter space.
I can plug my Cricut Joy in on our kitchen counter or on the edge of our coffee bar, quickly cut my material, and store it on a shelf or in a cubby until I’m ready to cut again – no craft room or mat required!
So needless to say, the idea that the Joy was so compact and portable made it an easy choice to invest in.
With this machine, I can start to organize our chaos room by room (or area by area within a room) at my own pace while conserving counter space and sanity without needing to drag my much larger Explore Air 2 machine, materials, and mats in and out of moving boxes…


You can, however, use a Cricut Joy compatible mat (available in StandardGrip and LightGrip) to cut any small leftover pieces of Cricut vinyl you have quickly and easily without having to whip out your larger machine and mats for a smaller cut.
I’m loving how much thought was put into making the Joy easy and compatible for us Cricut users!
It even writes, guys! Just switch out the blade for a Cricut Joy pen to create custom cards or to write labels on Smart Label writeable vinyl.

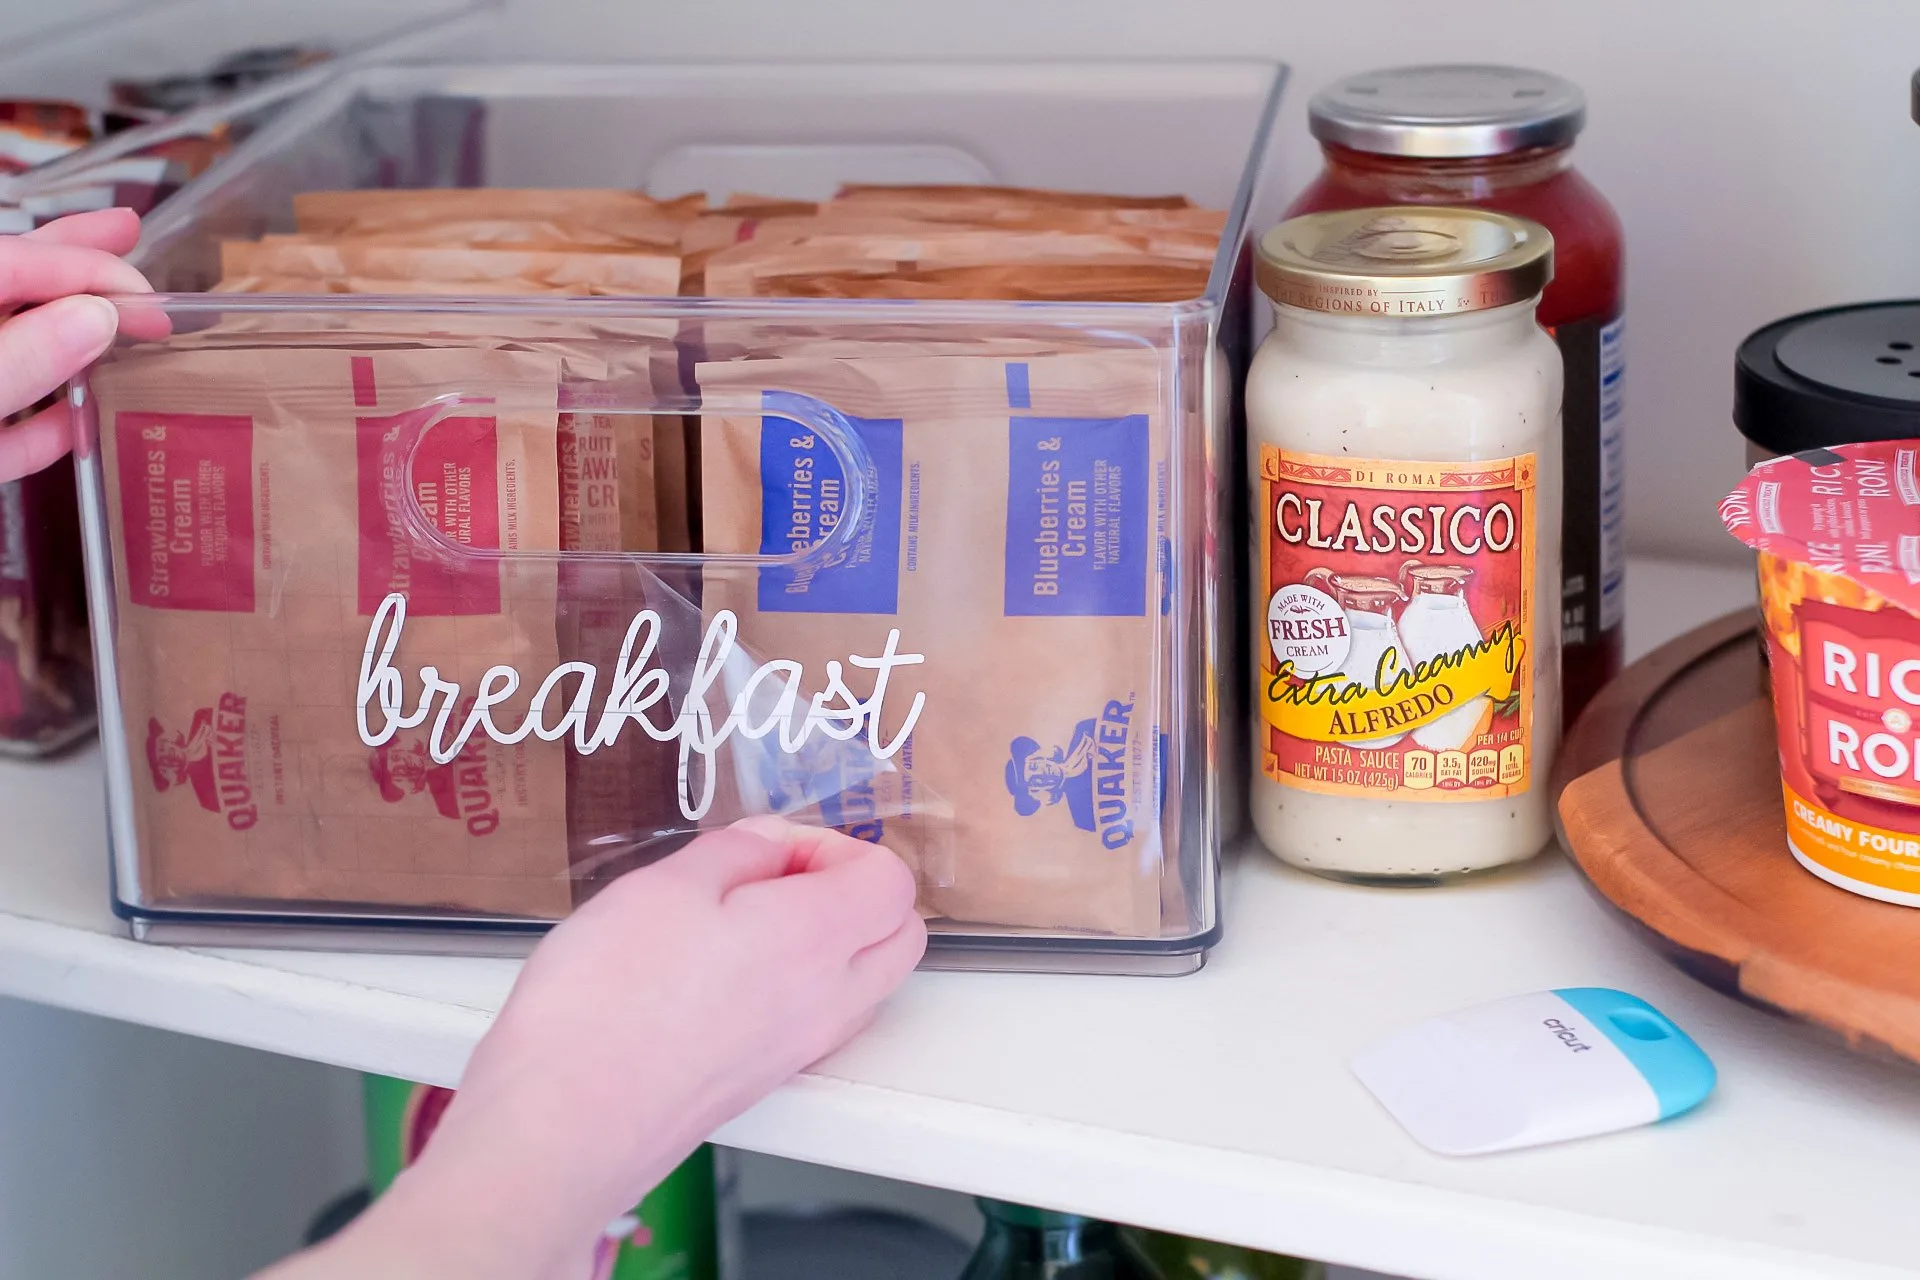
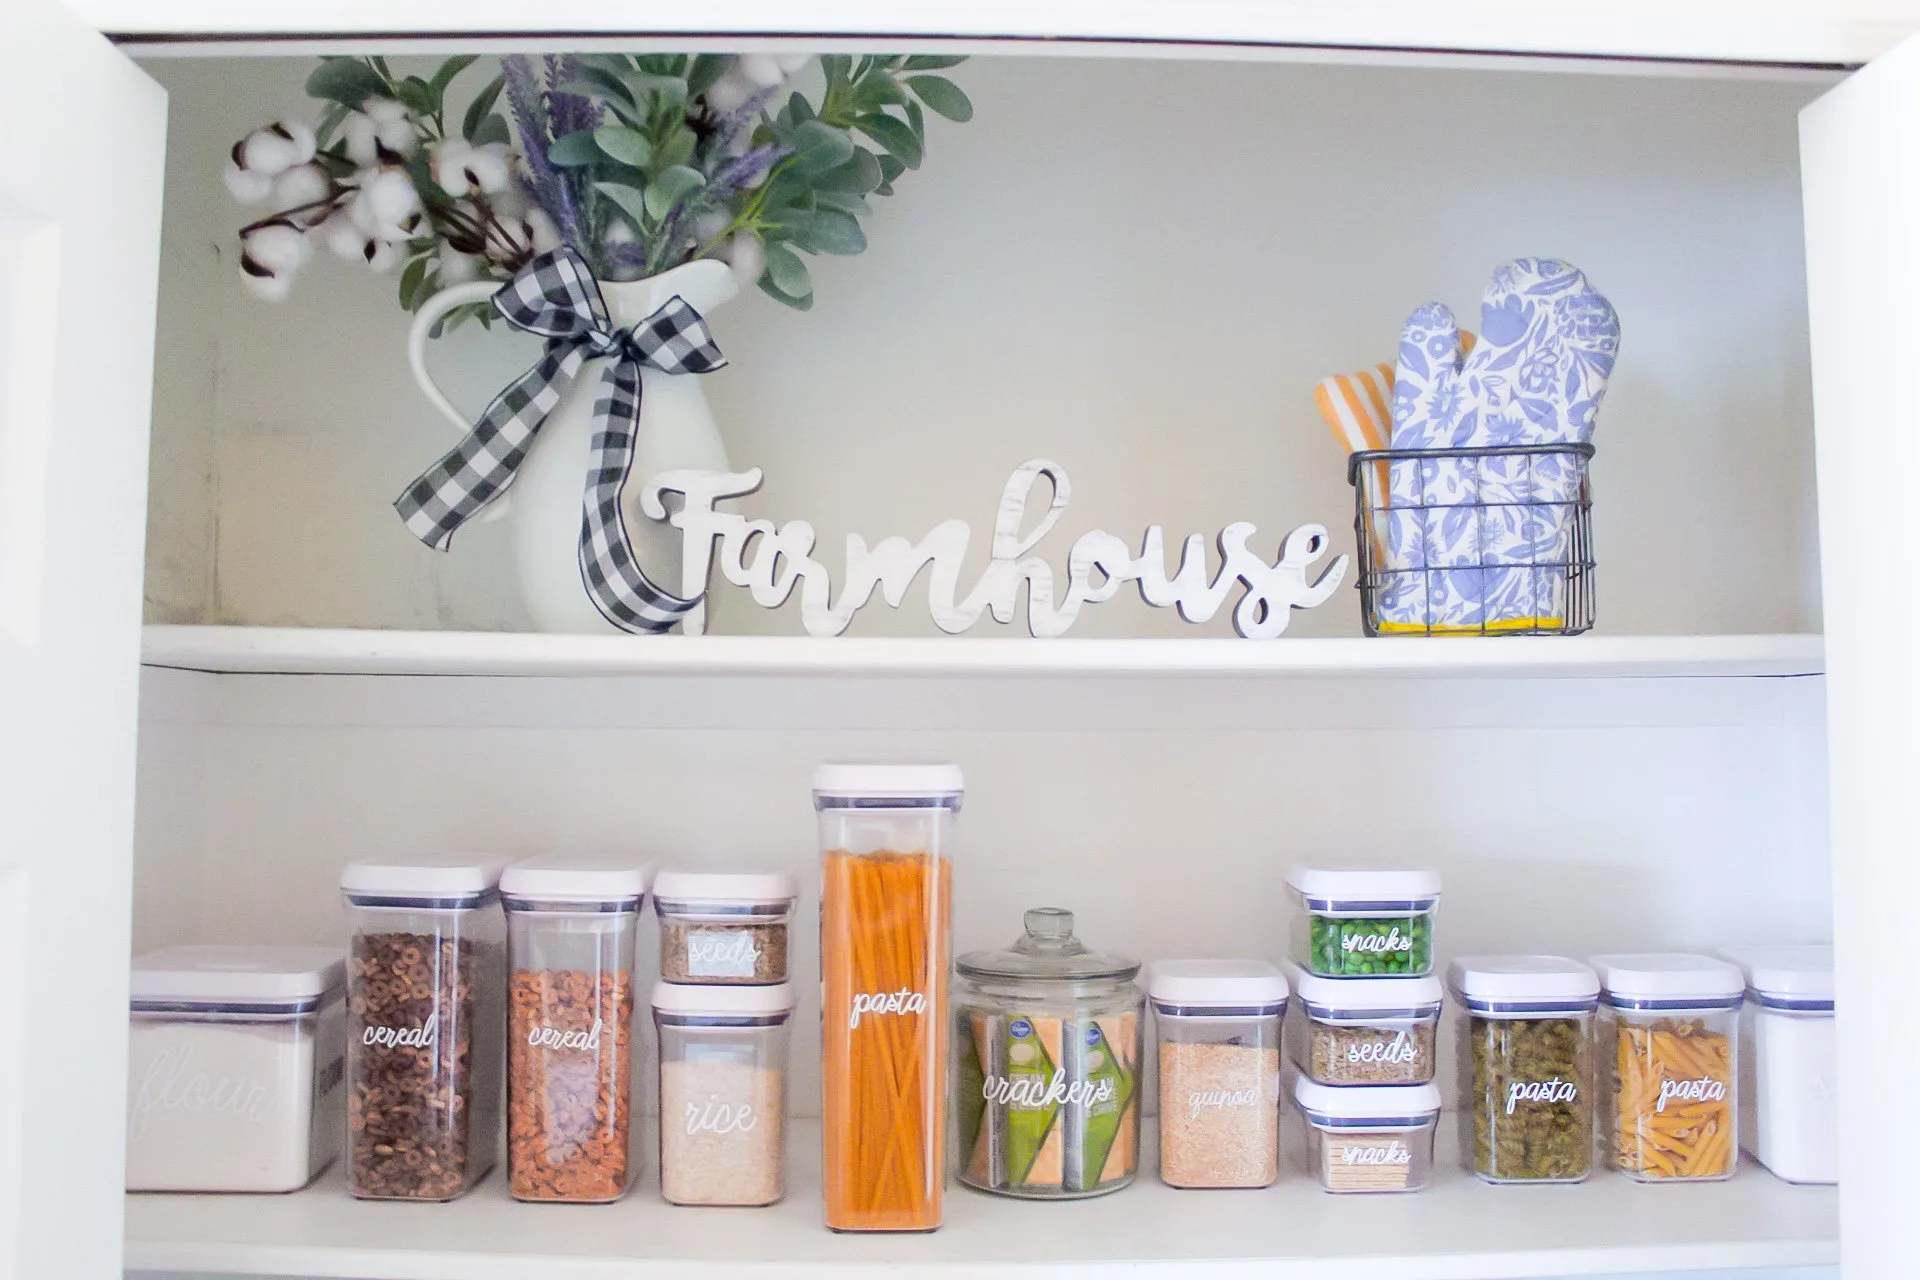
For my first project with the Cricut Joy, I organized our pantry in true Slay At Home Mother fashion, and I’ve got to tell you guys – I can’t wait to start organizing more with this machine!
My brain is already dancing around with the different possibilities and projects I can complete and share with you all.
Here are 5 easy ways to organize your home using the Cricut Joy…
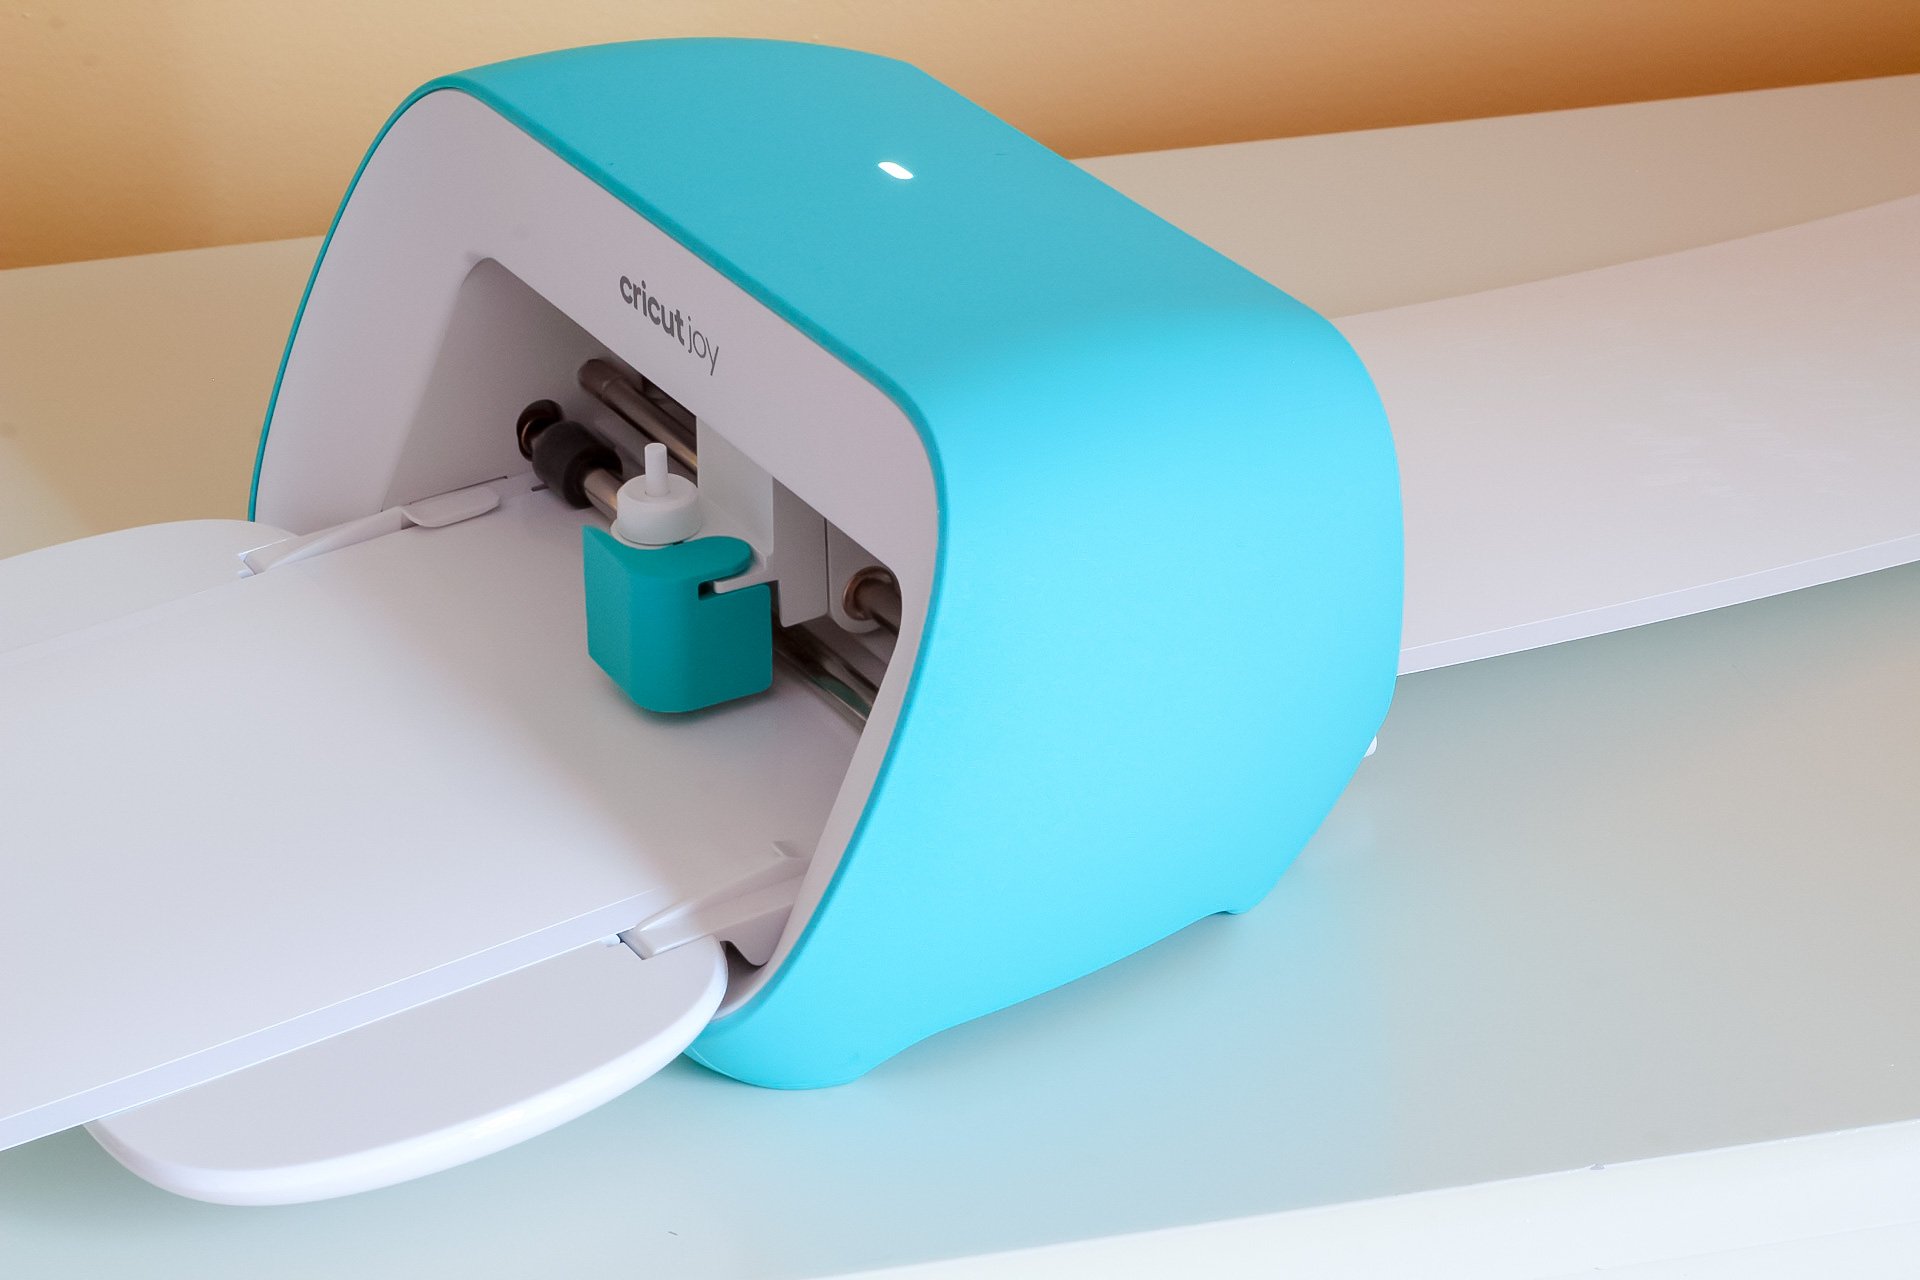

Make your own pantry labels with Cricut joy

We recently moved into our new home, which means I needed to restock, organize, and label our new pantry!
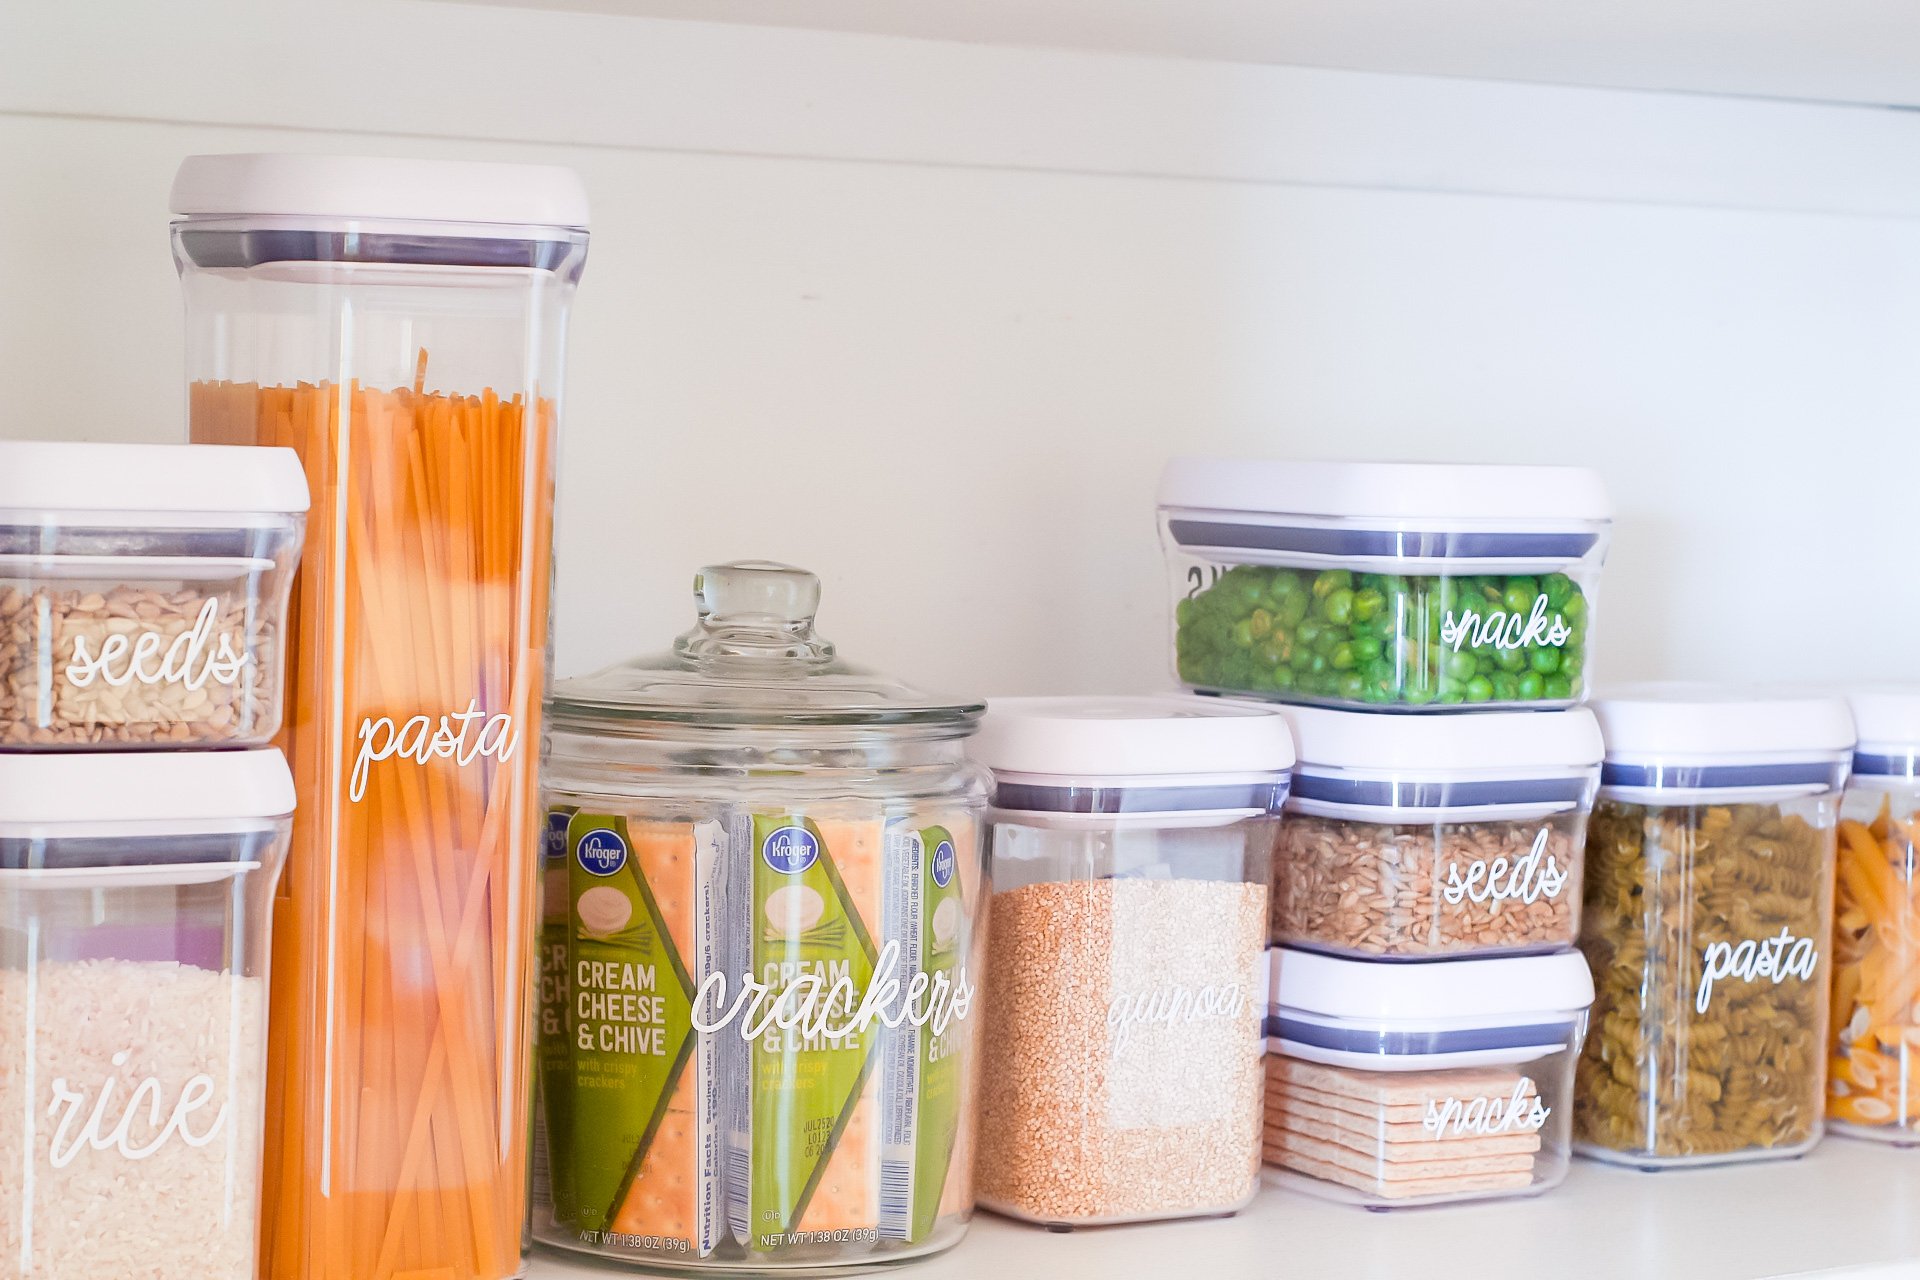
With my Cricut Joy, it took me a whole 15 minutes to design, cut, apply gorgeous labels to my pantry containers, and up my organization game!
Design Custom Labels In Design Space
For these pantry labels, I took inventory of the containers and food items in my newly organized pantry that I wanted to label and wrote them all down.
This saves me time and energy from having to get up and double or triple-check to ensure I didn’t forget a container ;).
If you want to skip designing your own labels and just use my design, click here!
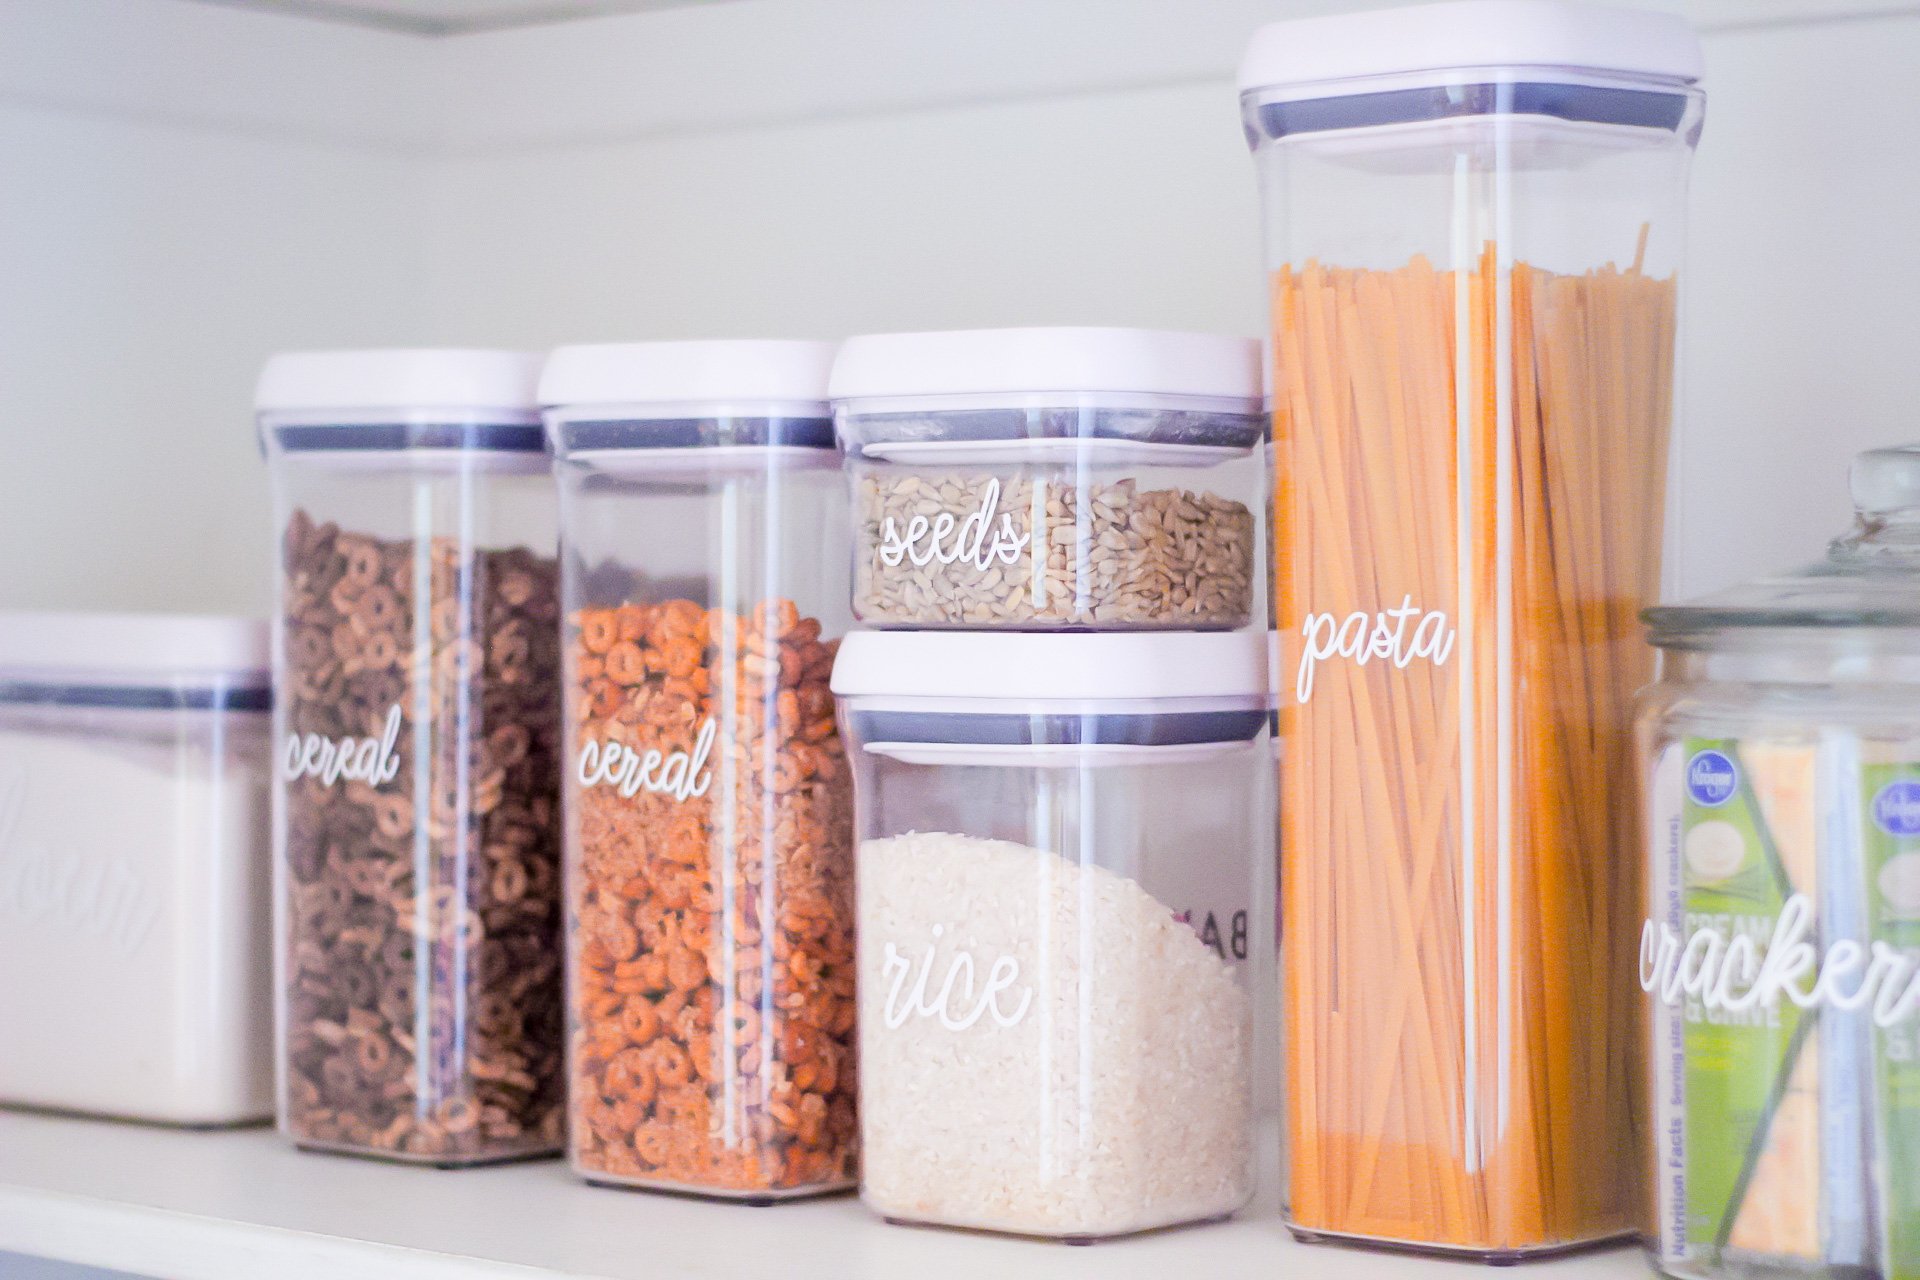
I also briefly measured my containers to see what size I wanted each label to be.
FYI – my narrow containers are 2.5″, 6″, and 10″ wide, so I settled on making my labels two different sizes, 2″ and 5″ wide.
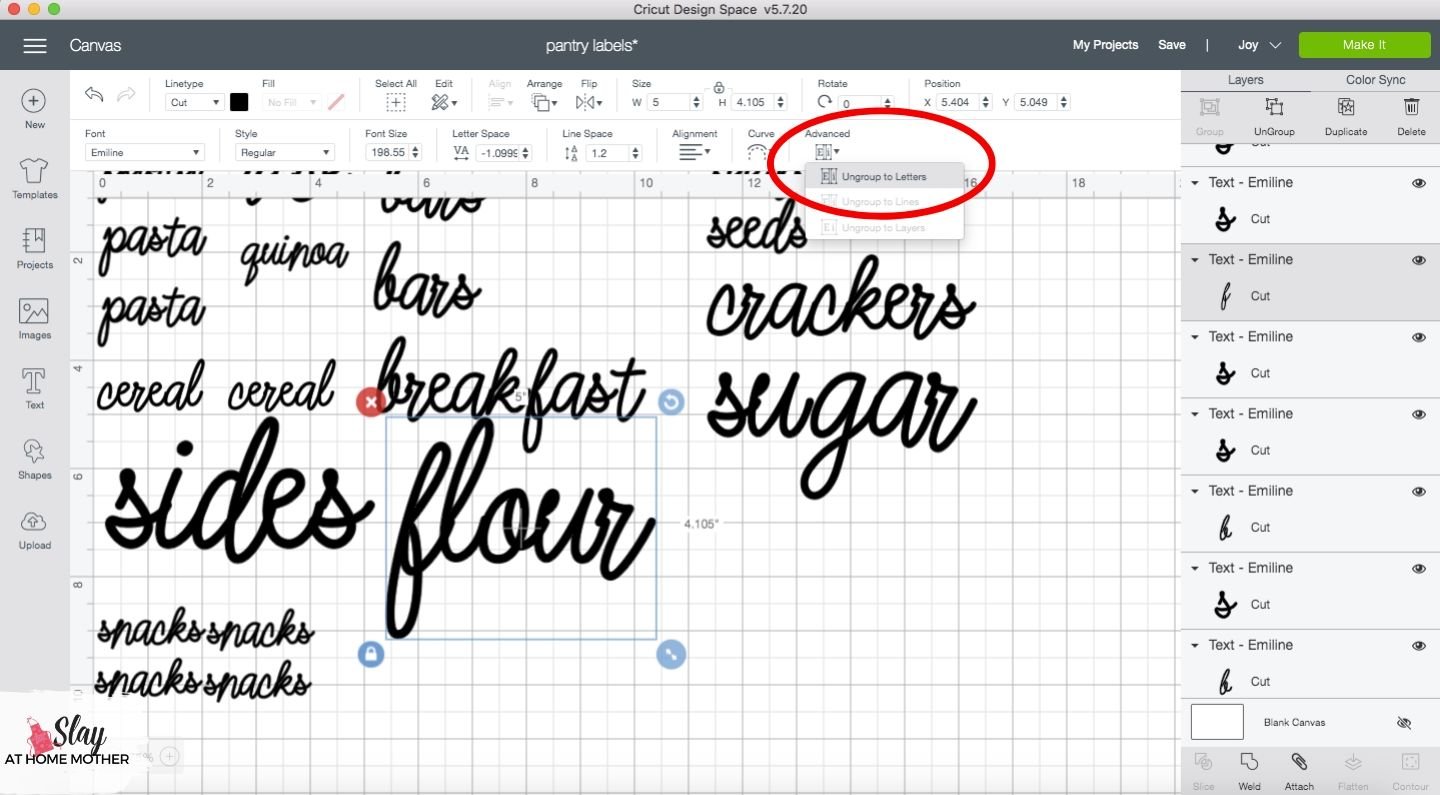
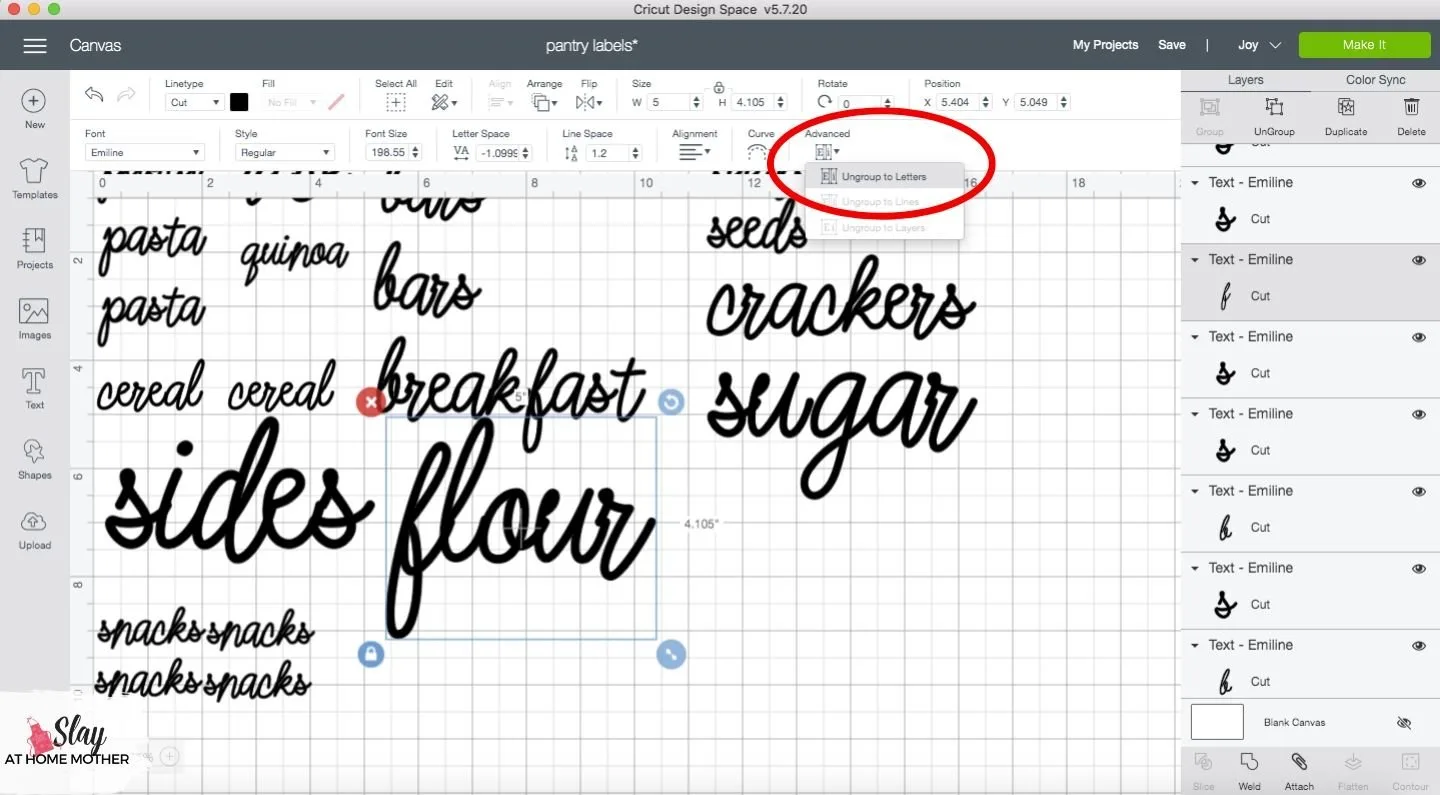
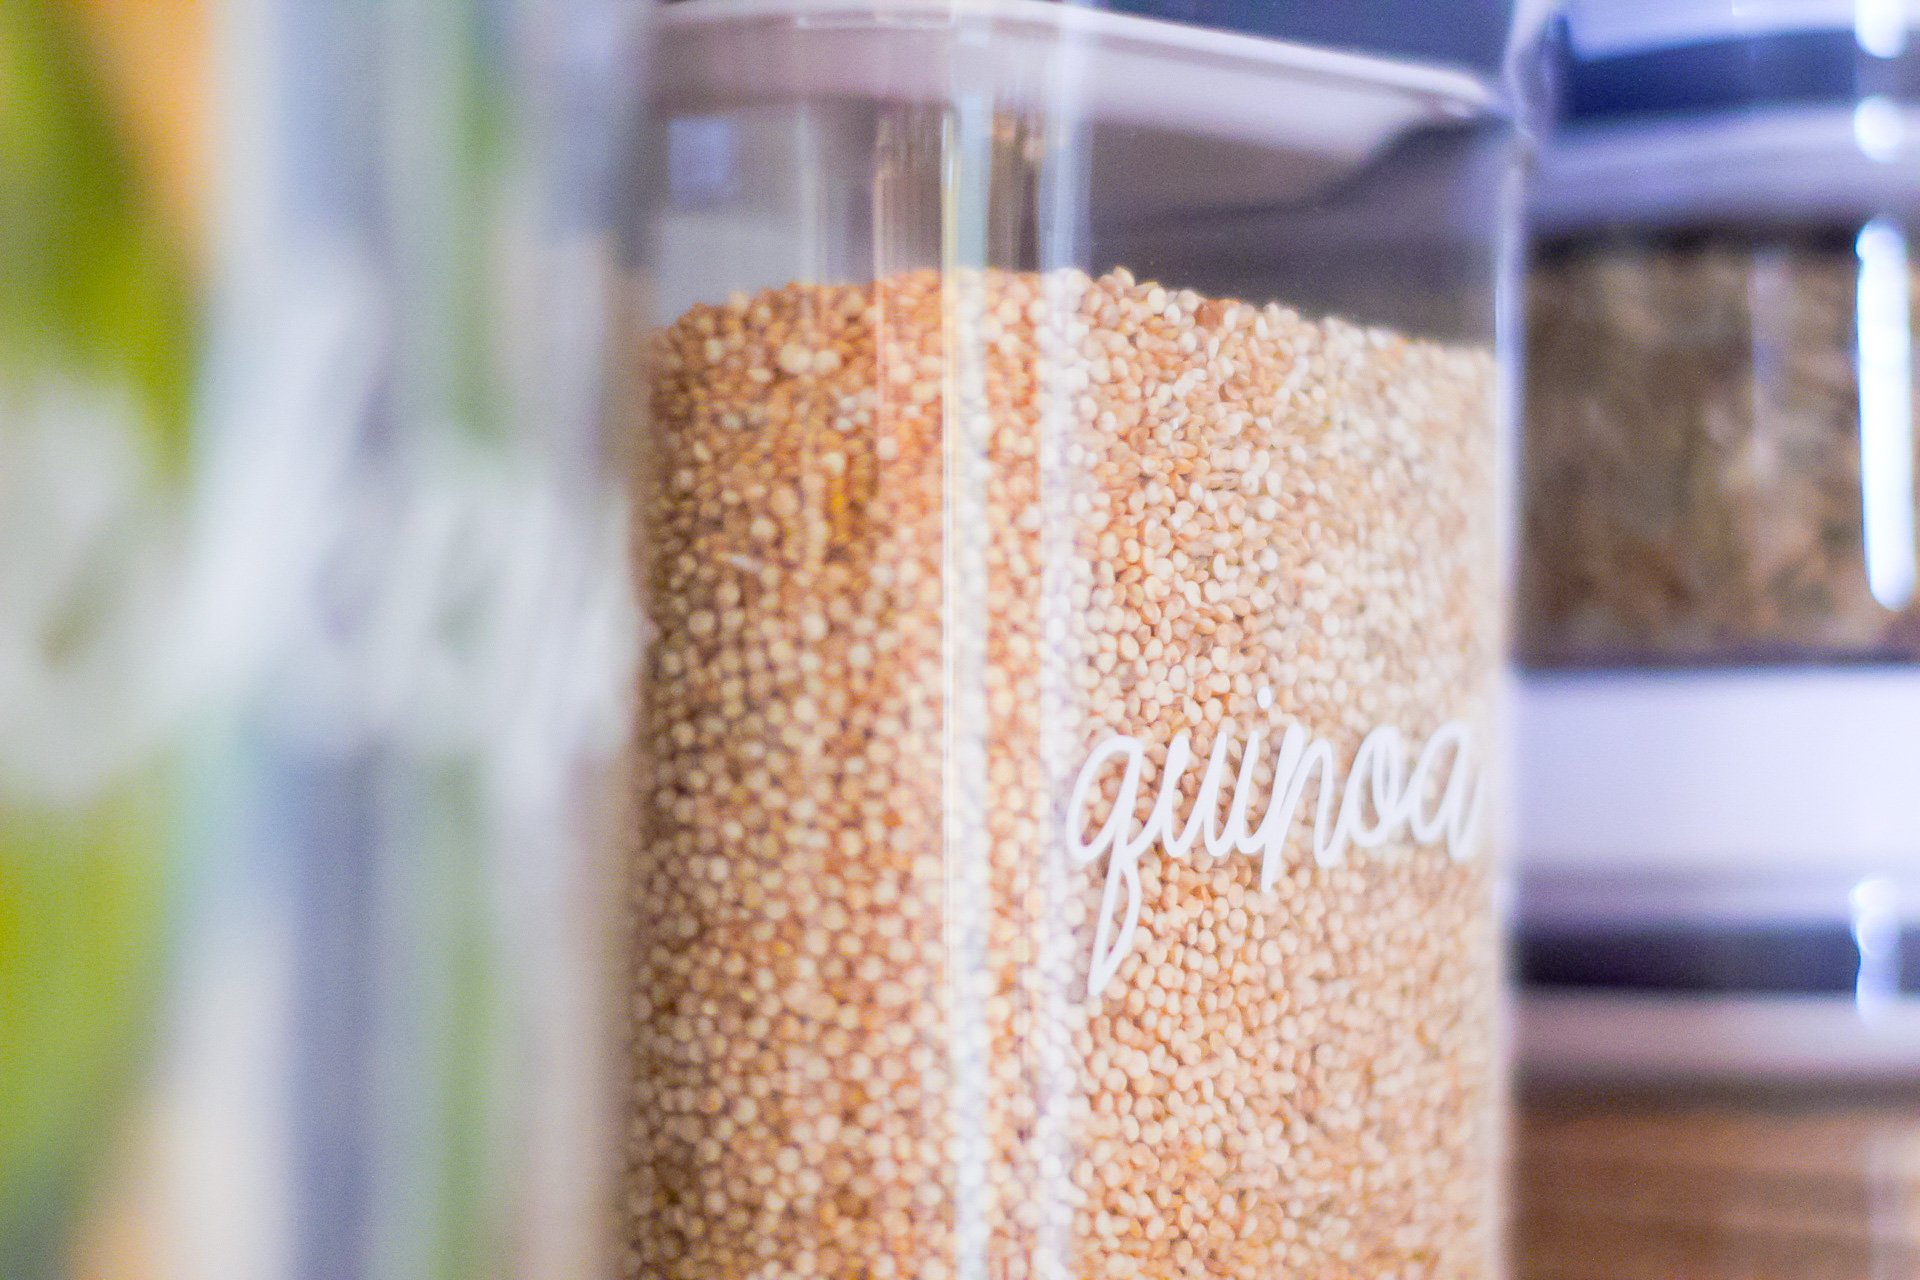
Next, I simply pulled up Design Space on my computer and started to type out my labels using a pretty cursive font named Emiline.
With cursive letters in Design Space, sometimes you have to play with how the letters are spaced. Click on Ungroup to Letters under Advanced to separate the letters and move them individually (see screenshot below).

You May Also Like: How To Create A Monogram In Design Space ($5 DIY Keychains With Monograms)
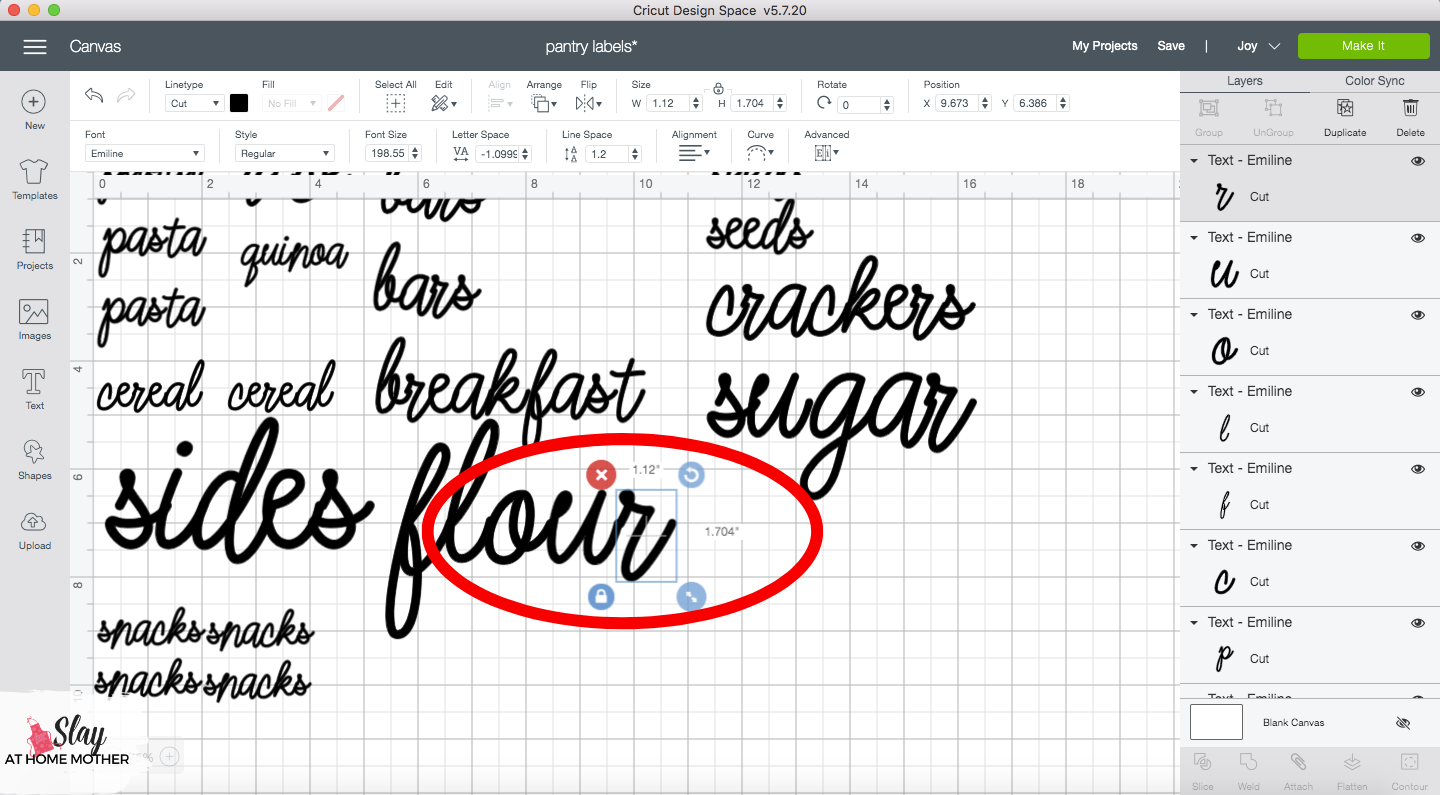
Once you’ve spaced the letters to be where you’d like them to be, select all the letters in the word and click on Weld towards the bottom right of the screen (see screenshot below).

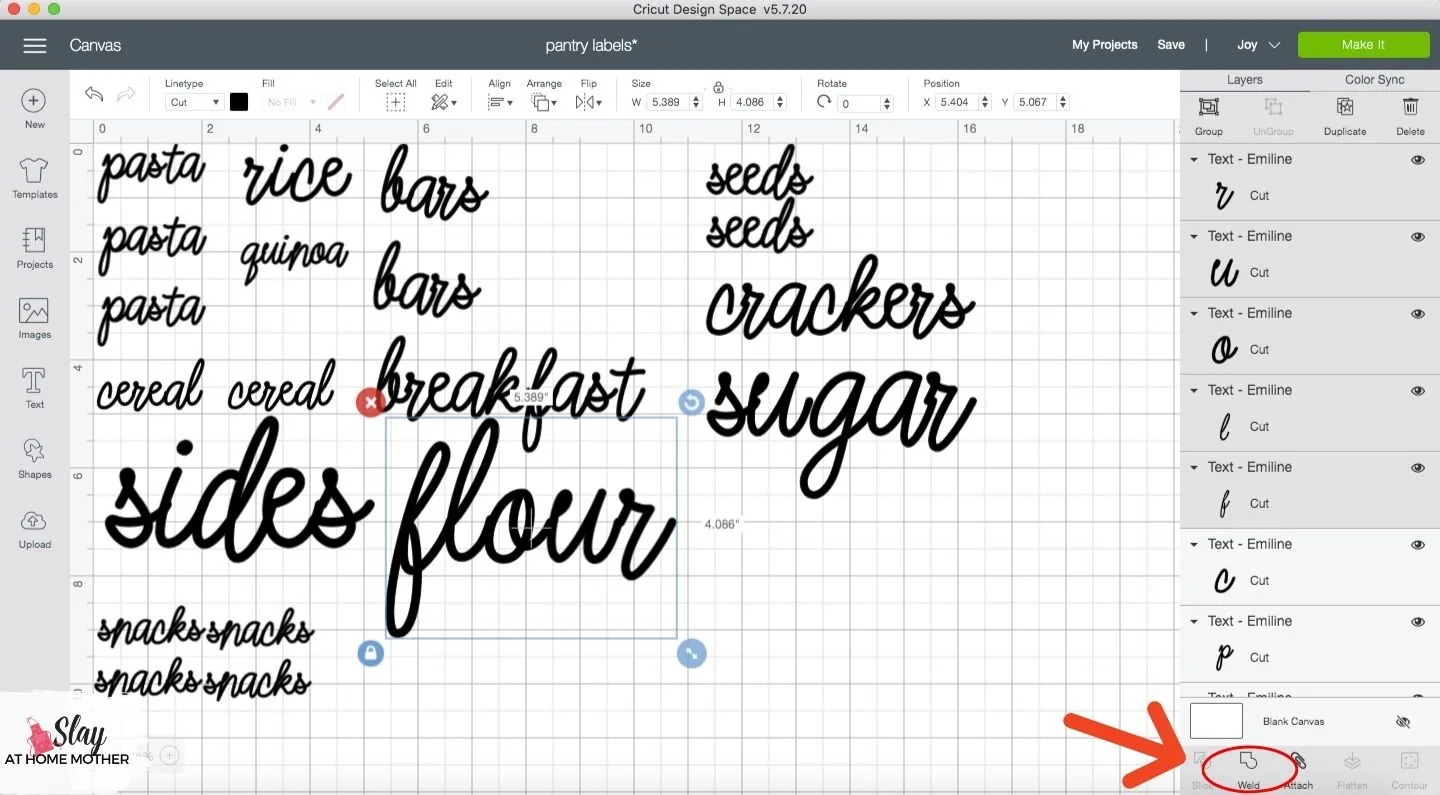
BTW, if you weld the letters together and see the insides of the letters are filled in, those letters are too close to the other letters (see screenshot below).
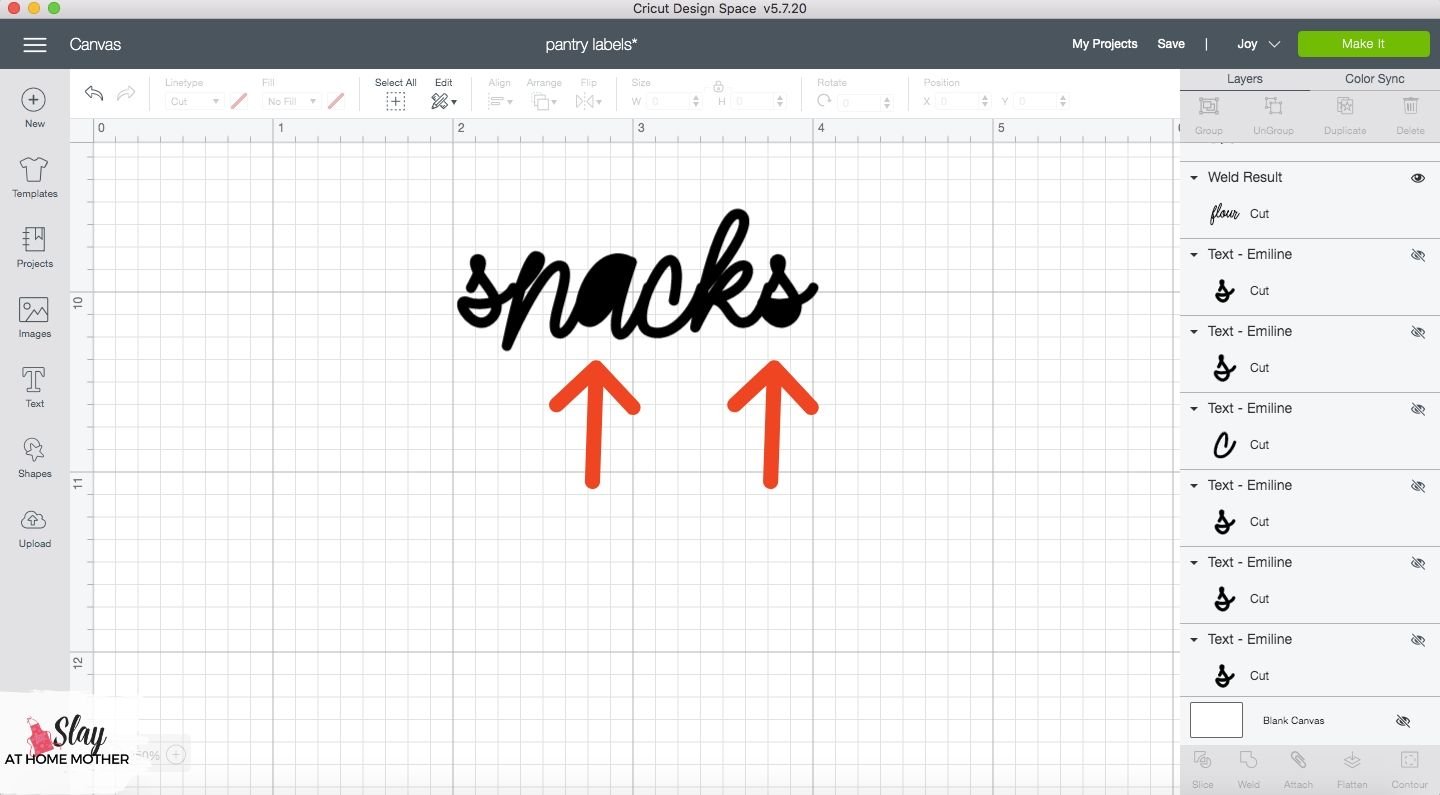
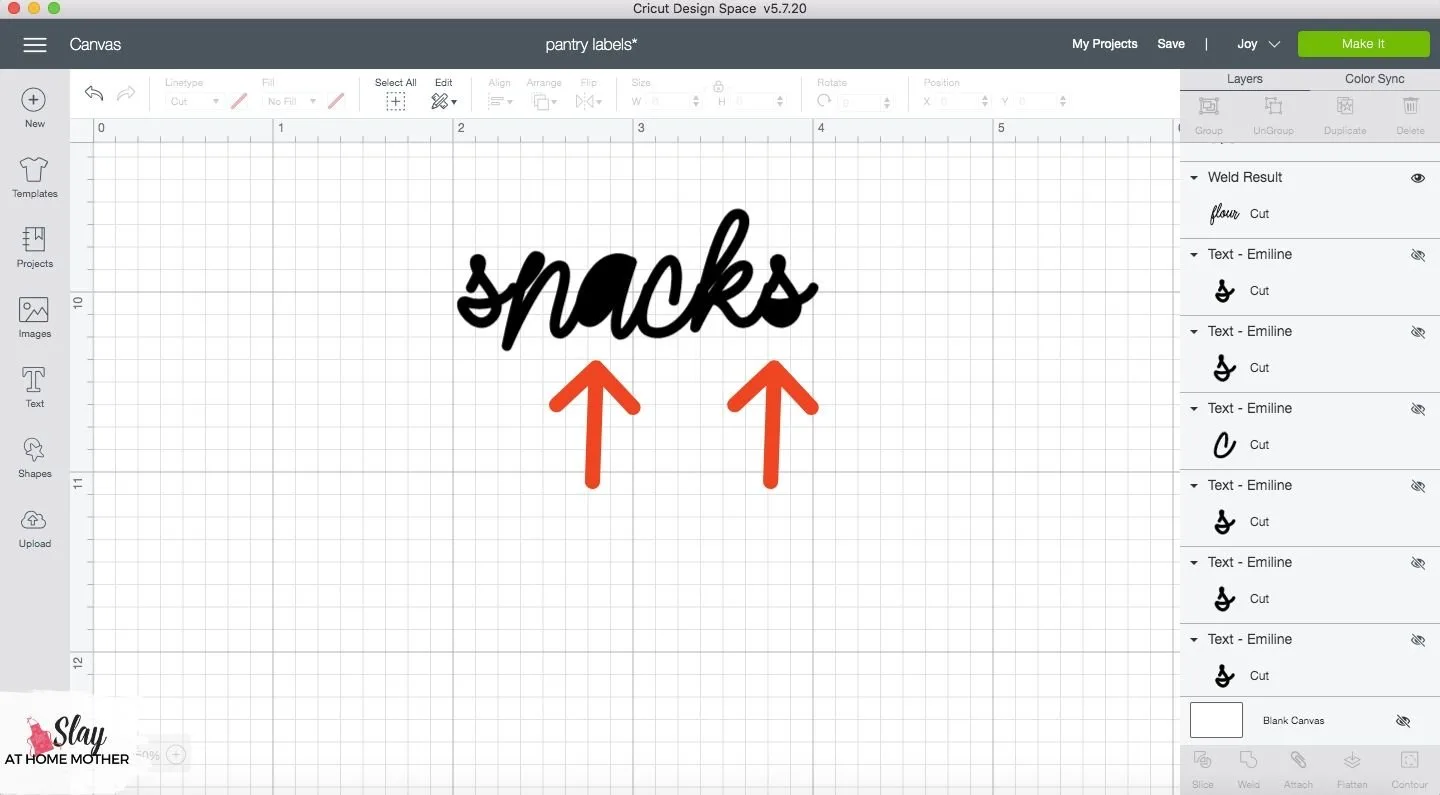
You can fix this problem by unwelding the word and re-adjusting the letters. Move those letters further from the other letters.
Once you’re done adjusting your letters, it’s time to Make It!
If you’re using Smart Vinyl as I did with my labels, you can select the Without Mat option on the Prepare screen because this material auto-loads into the Cricut Joy.

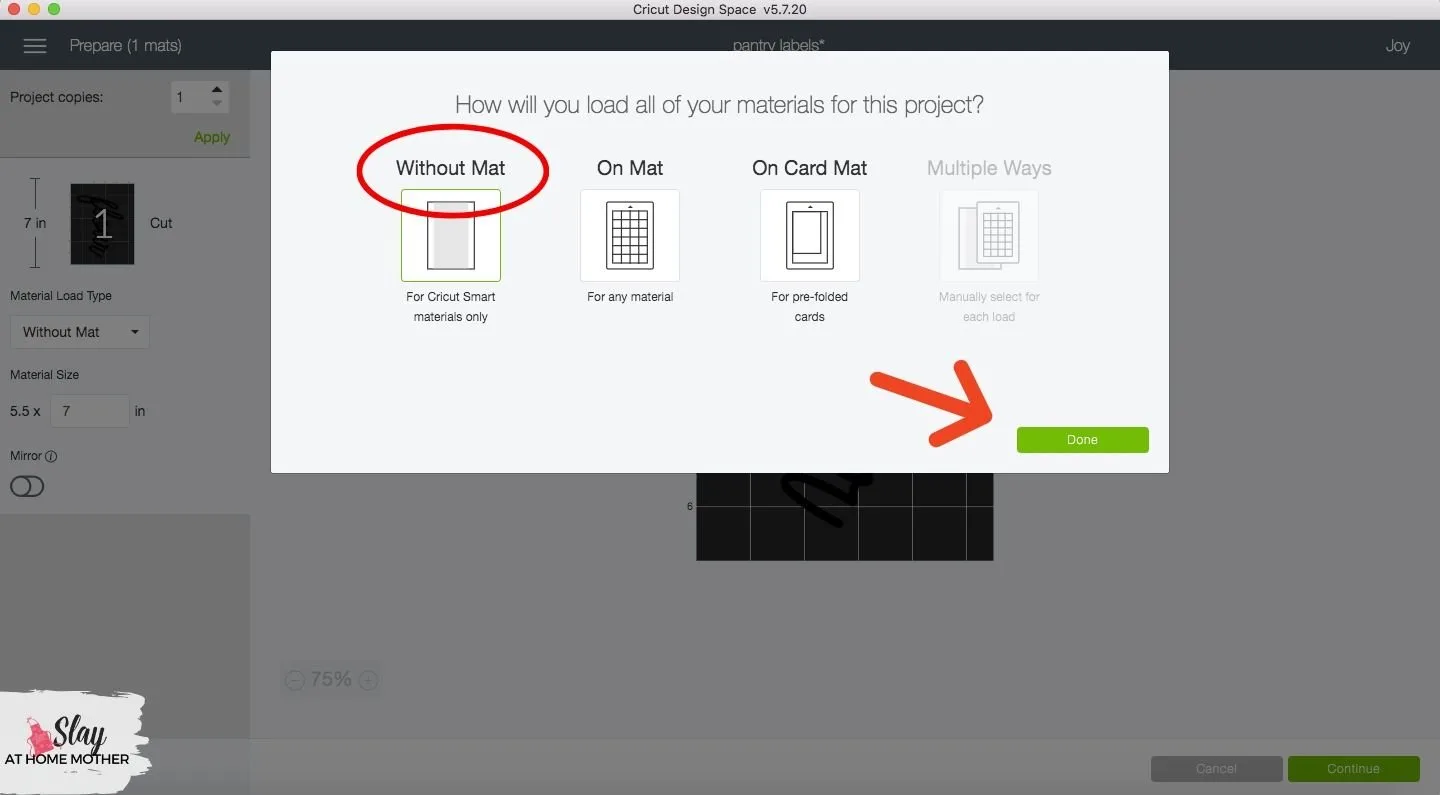
Once your Cricut Joy is finished cutting, you can easily unload, weed, and apply your labels like you normally would!


Related: Small Pantry Organization On A Budget
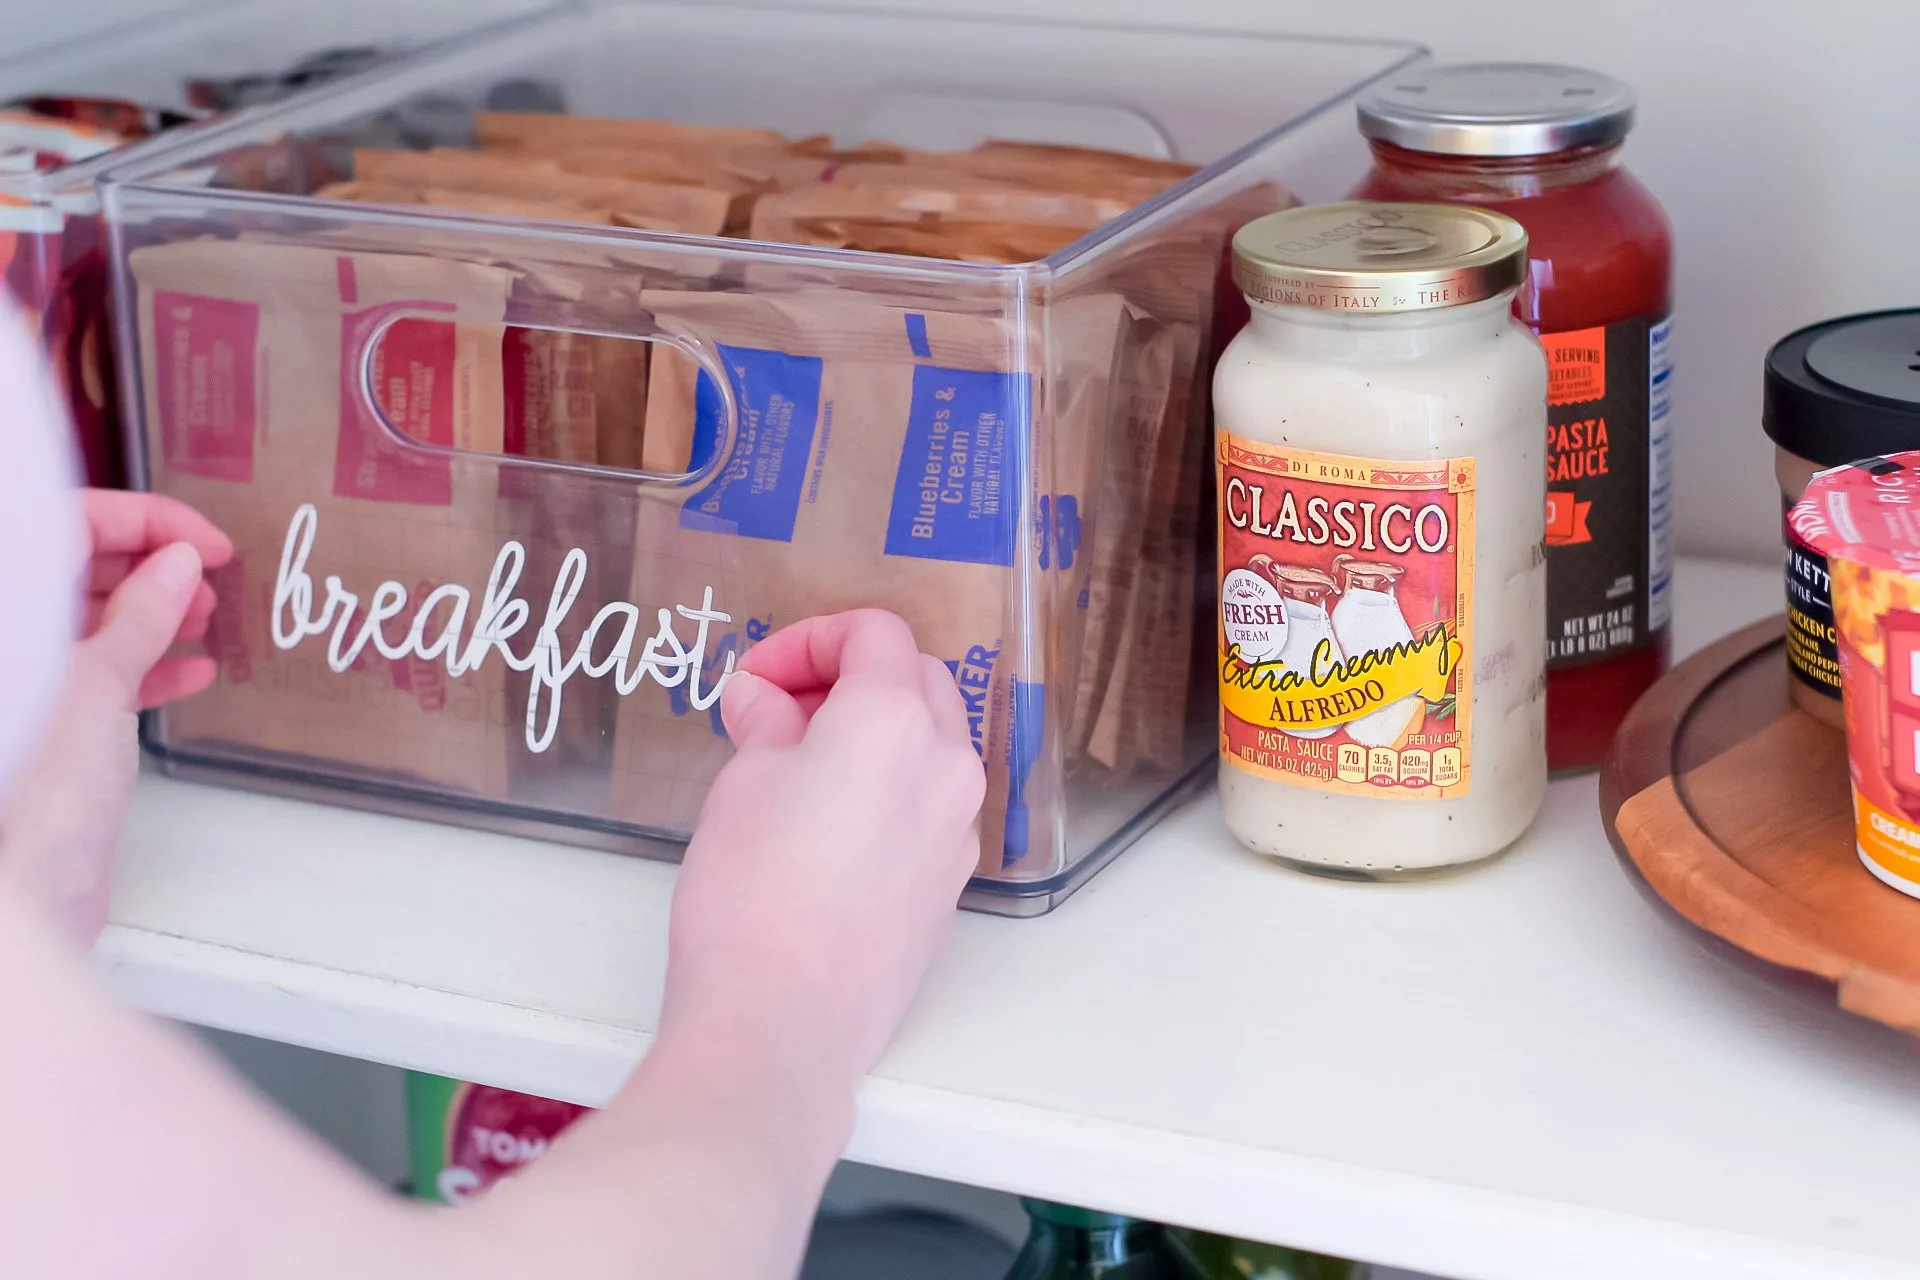
I can’t stop crushing on these labels – they sure don’t look like they took less than 15 minutes to create and apply!


Organize your fridge with DIY fridge labels
I can’t wait to get our kitchen renovation completed this summer!
We will be getting all new appliances, including a new fridge, and I am so excited to organize and label the new fridge with my Cricut Joy when the time comes!
Here’s a previous post I did featuring fridge organization with containers and labels, but those labels were made with sticker paper, which is not a long-term solution.
With my Joy, I’ll be able to quickly design and cut labels for our fridge with permanent Smart Vinyl for labels that last up to three years!
Label Nursery Closet Shelves And Drawers With Clothing Sizes
Cricut Joy is great for labeling a nursery!
You can easily create labels for toys, clothes, and even diapering and feeding essentials.
Have a three-tier rolling cart with your baby’s diaper supplies in it?
Add some cute labels to each tier to help keep you organized.
You can also add labels to your baby’s closet shelves, closet dividers, or dresser drawers to help keep things organized and even encourage your partner/spouse to put things away where they belong ;).
Organize Kids Toys In Labeled Bins Or Containers
Organizing your kids’ toys would be so easy with the Cricut Joy.
You can use whatever containers or drawers your heart desires, sort the toys by category, cut some labels out and apply them.
Label Craft Containers For Easy Sorting

Here’s an idea for all of my fellow crafters – organize your craft supplies with the Cricut Joy!
Whether you put your crafting goods in a rolling cart with drawers, or you have them scattered across a workspace (who hasn’t done that?), you can easily sort, organize, and label your crafts with labels made in 15 minutes or less using Cricut Joy!
I hope this post gave you some inspiration for ways you can organize around your home, especially during Spring Break and during these crazy times we’re in right now!
Have you tried the Cricut Joy, or are you planning to purchase this machine? Let me know in the comments below!
*Post originally published April 2020, last updated March 2023.