

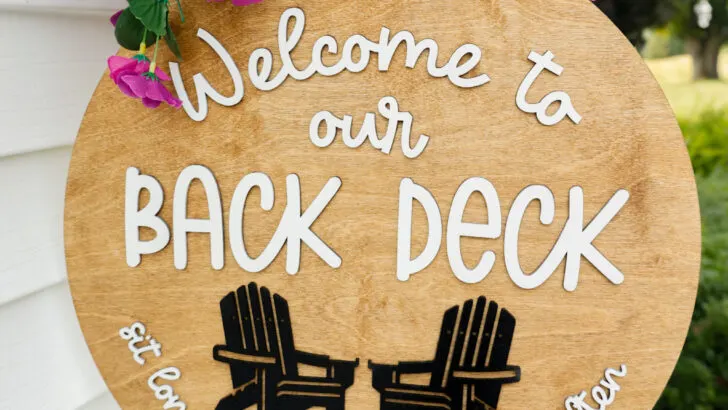
Featuring the Thunder Laser Nova Plus 35, create this Welcome to our Back Deck laser cut sign, with a free SVG download and step-by-step instructions!

Summer isn’t over just yet, and neither is our love for hosting bonfires on our back deck for friends and family.
With our new laser, I decided my first project would be this welcome sign!
I whipped this up in half a day (with the painting and staining process included), and am going to share what I did in this post to help you recreate this as well.
Be sure to look out for the file download signup form at the bottom of this post – I’ll safely deliver the file download to your inbox once you sign up, and will update your inbox with new files as I release them.
BTW, if any of my Thunder Laser posts have influenced you to join the Thunder Family, please be sure to mention my name or blog name (Corinne / Slay At Home Mother) either online or on your phone call so I can get credit for my work here – I so appreciate it!
This post is written in partnership with Thunder Laser and contains affiliate links, however, all opinions are my own, as always.
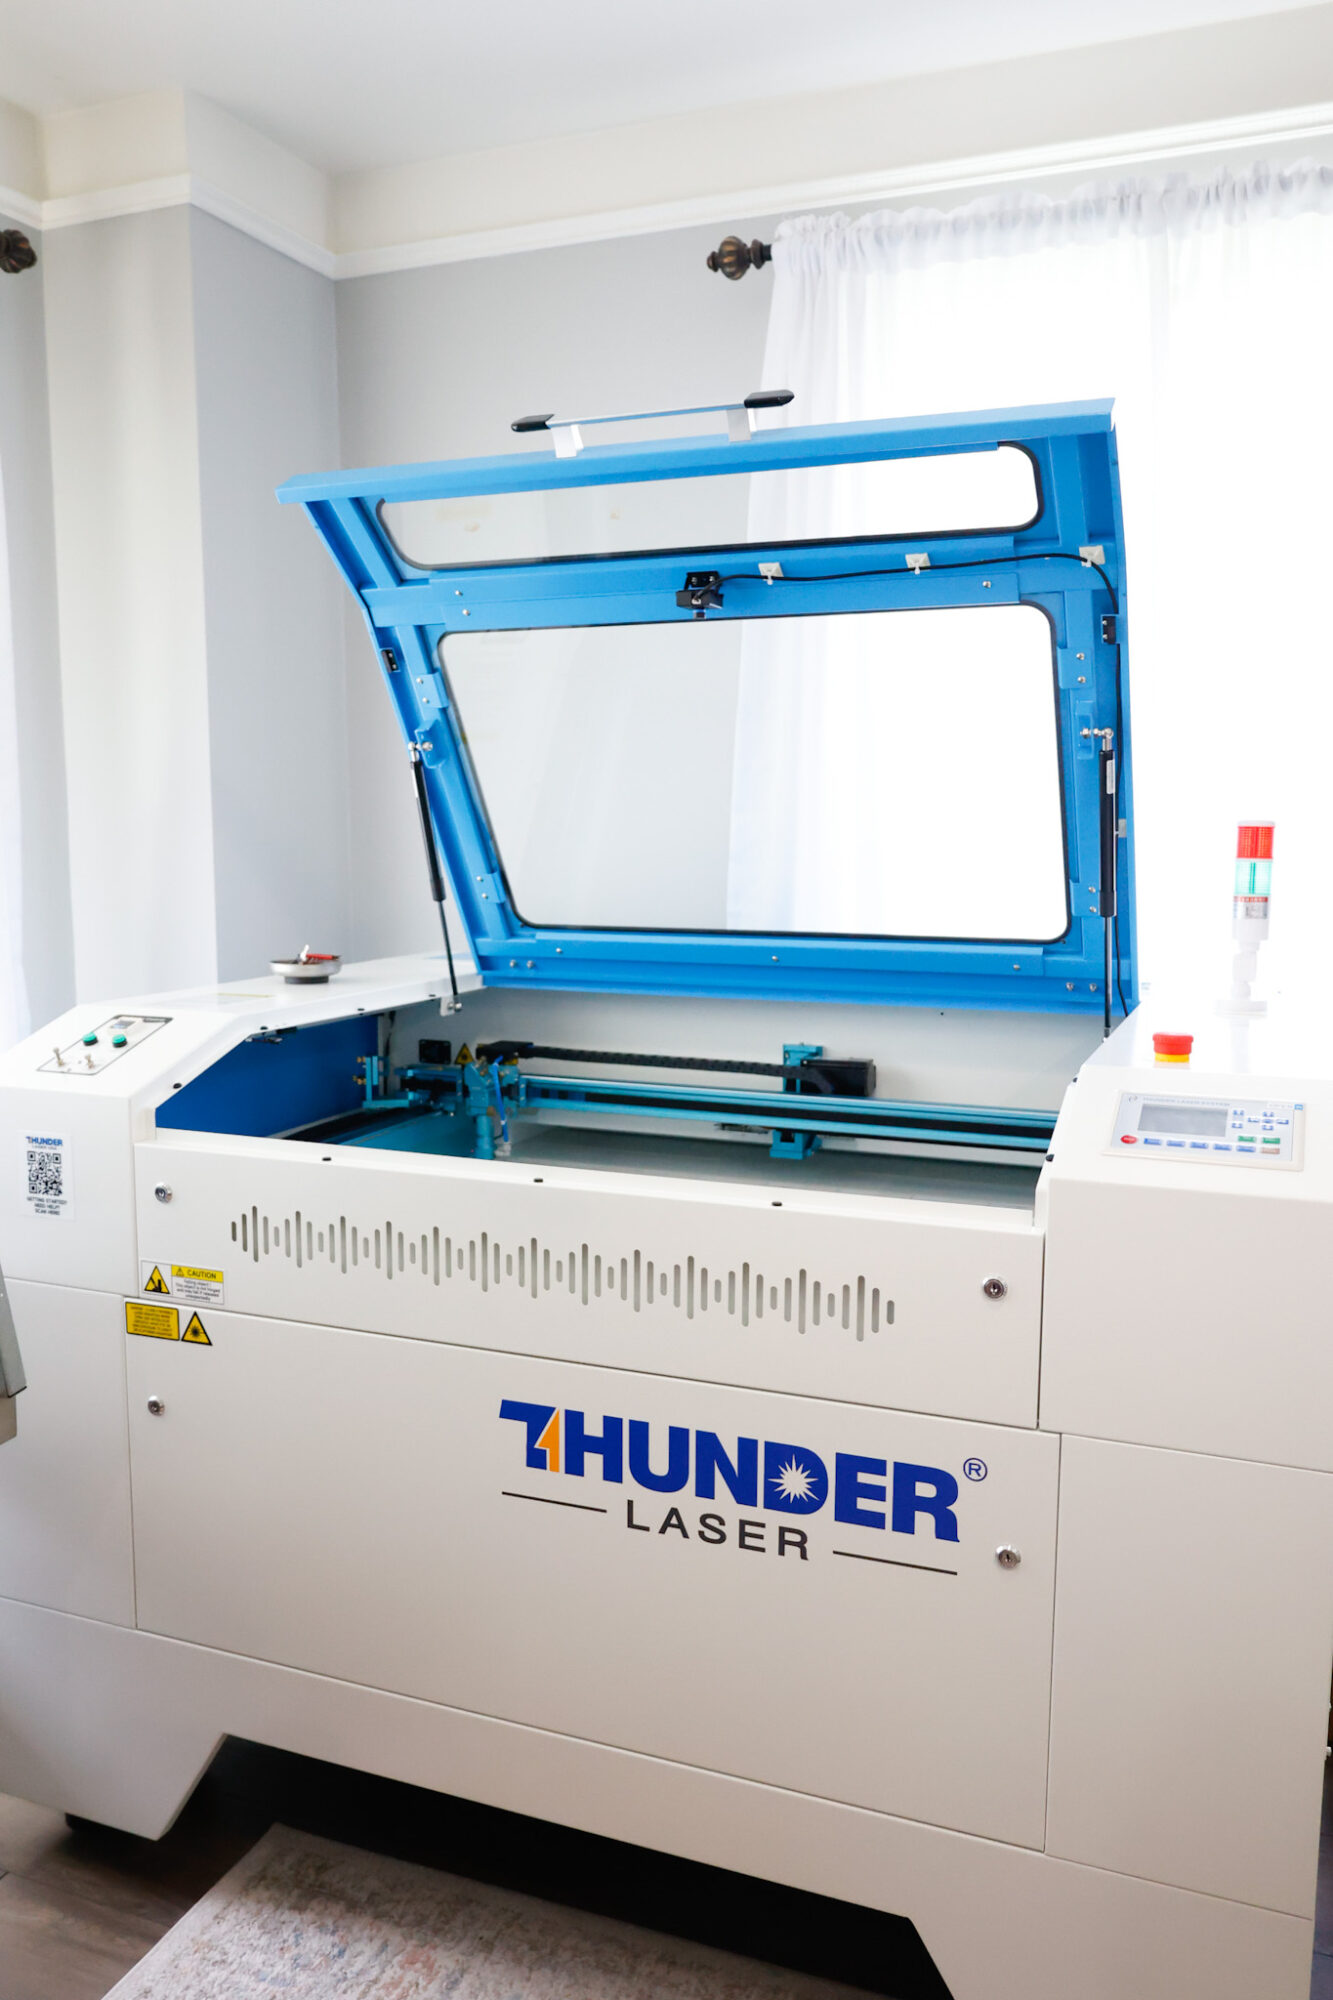
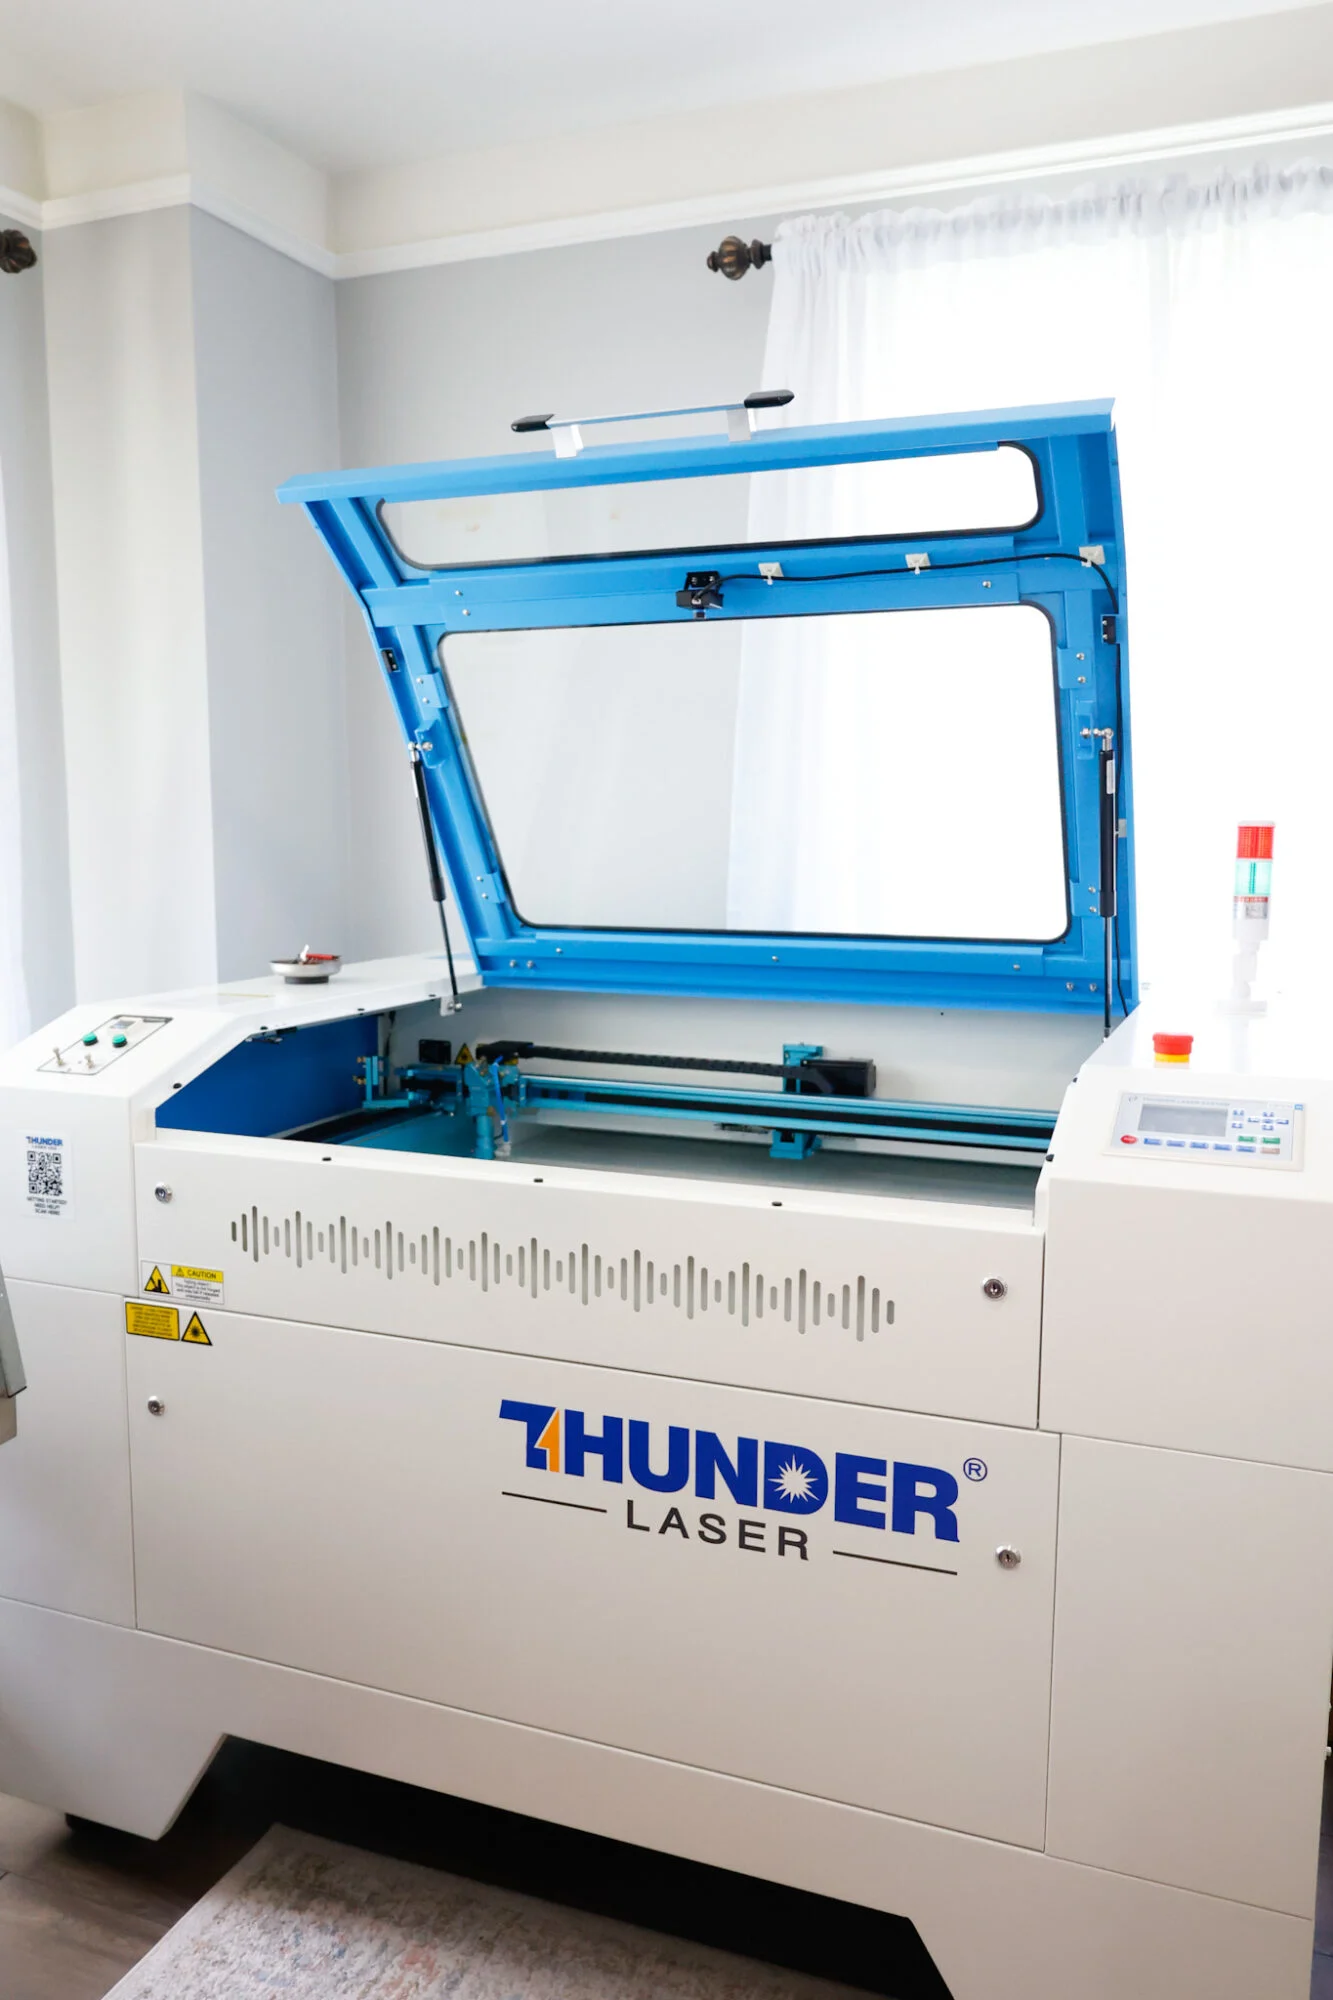
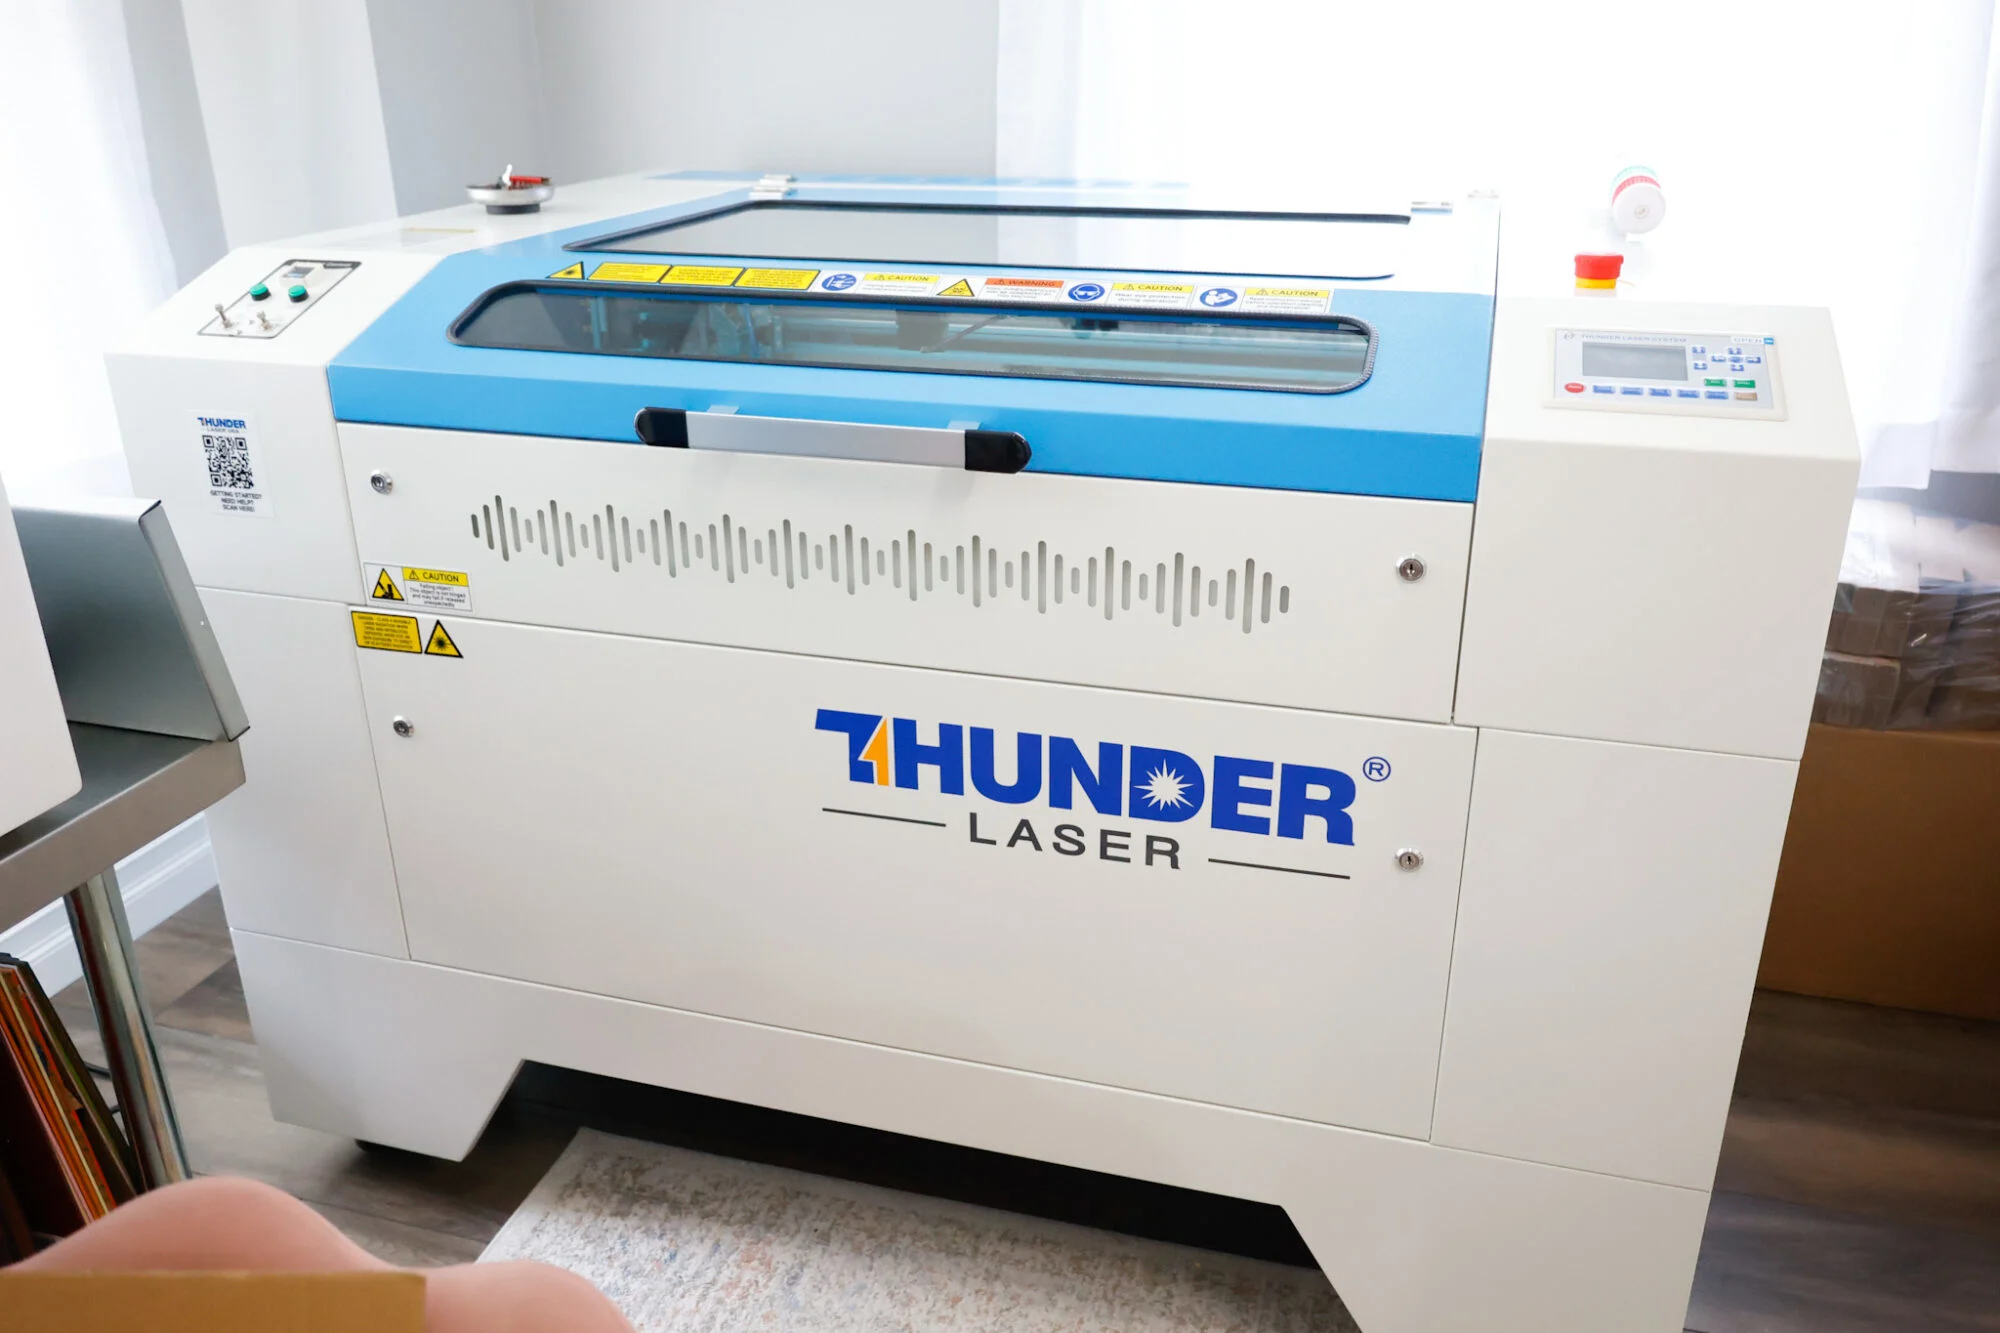
Thunder Laser Nova Plus 35

I’ve had this machine since the beginning of July 2025, so it’s been one month of speedy cuts, fun projects, creating things I never thought I’d ever be able to do, and feeding that creative part of my soul that lost patience for how long or extensive crafting with a Cricut became.
Sorry, I just have to be honest.
And I have to say that if you ever use a laser cutting machine, and then try to whip out your Cricut machine again, you may find yourself tapping your foot impatiently waiting.
The speeds and the capabilities are like night and day…


This machine (Nova Plus 35 RF 60W) compared to the Bolt RF 30W is also pretty incredible.
Both machines are powerhouses and you can complete so much with both.
I think the major difference you can weigh between the two is how much space you have, your budget, and what kinds of projects you want to complete.
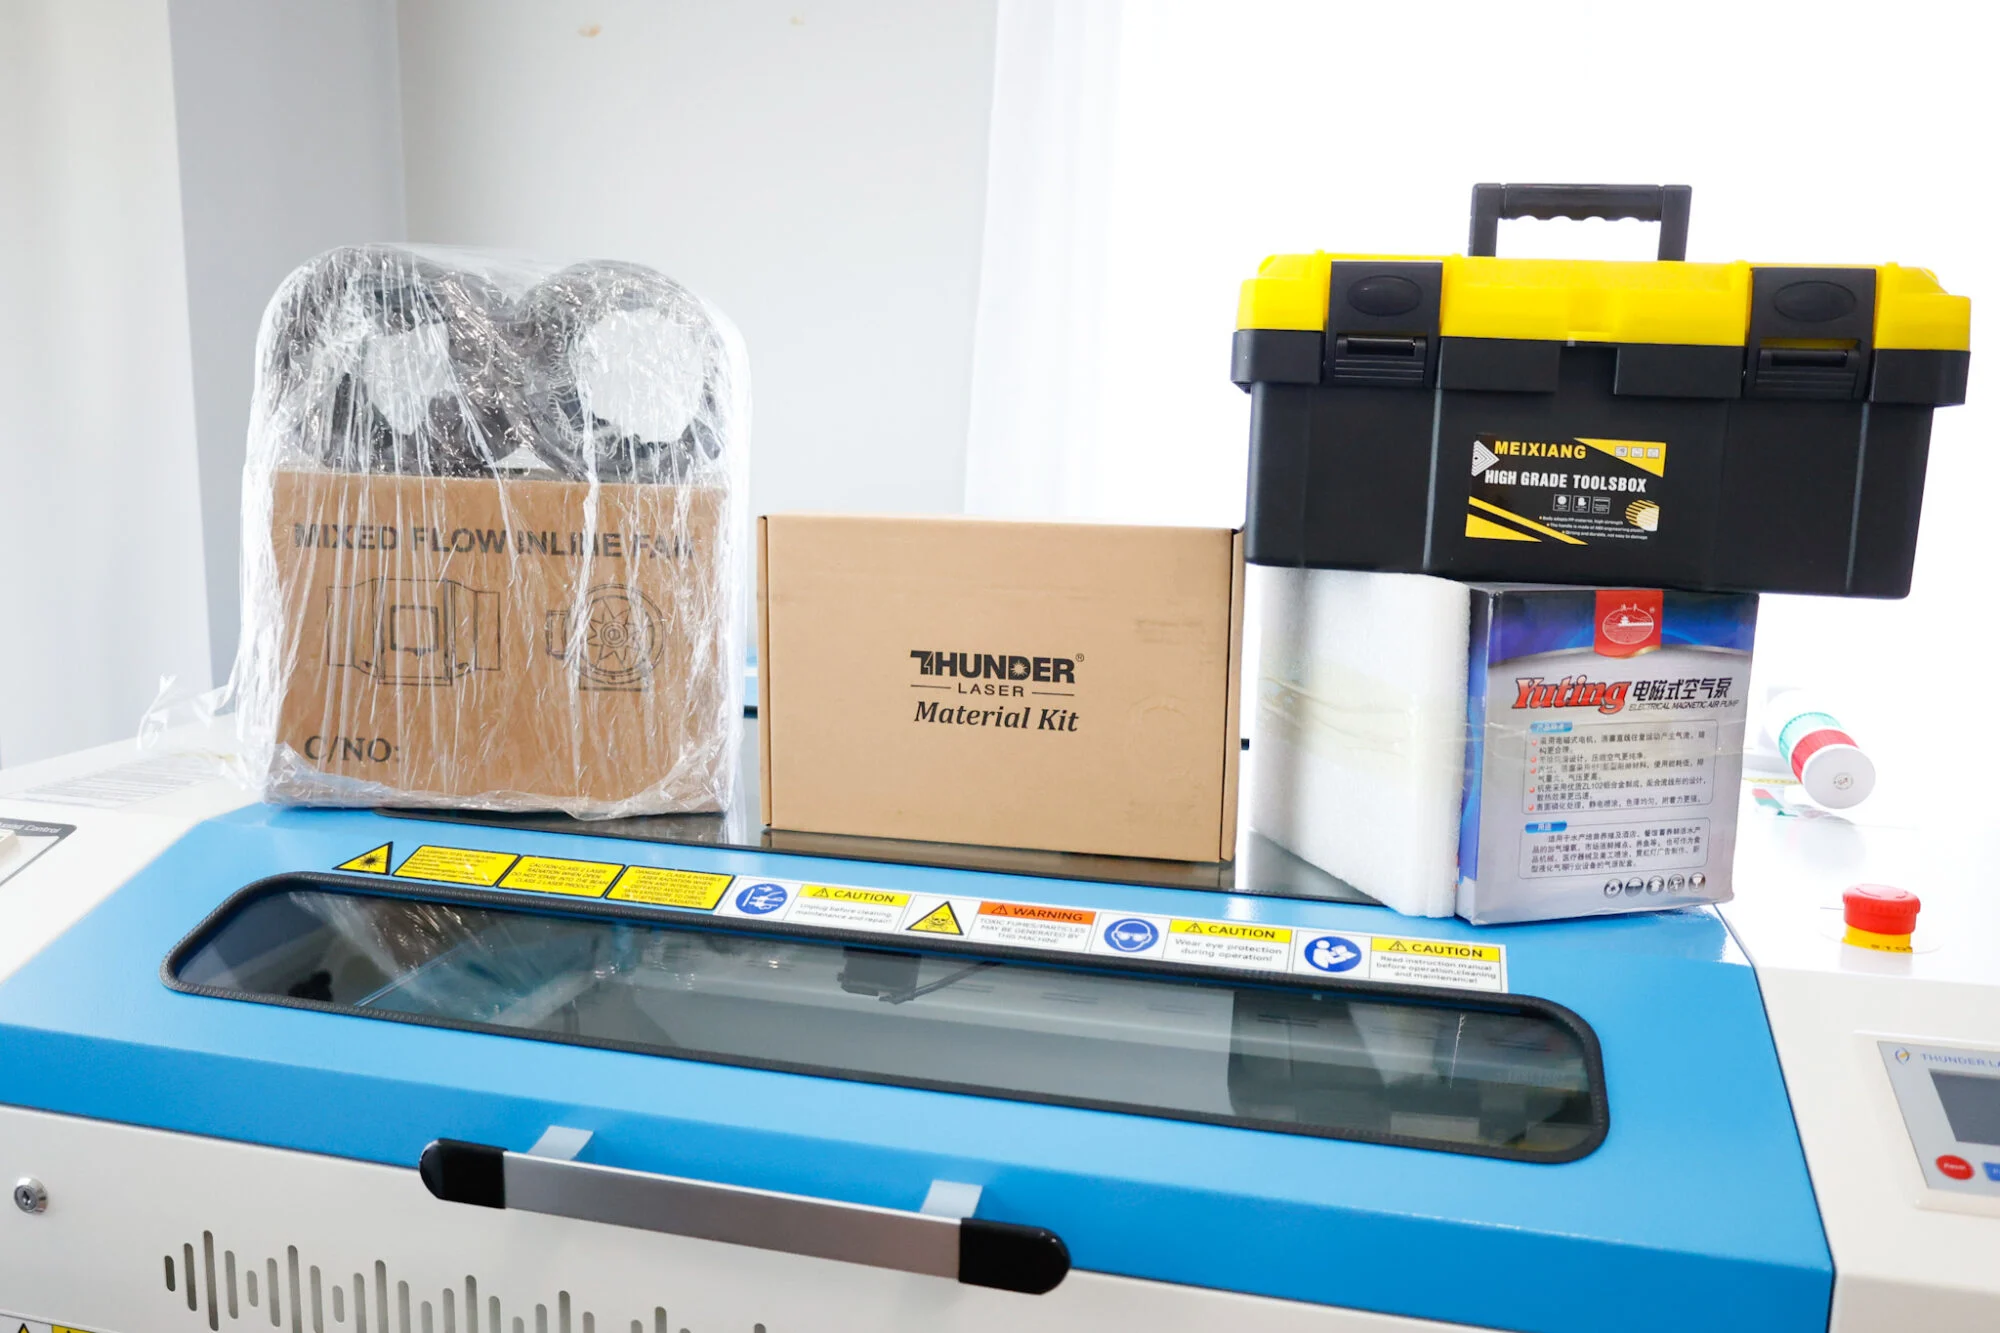
The Nova Plus 35W comes with an air compressor, inline fan, toolbox, manual focus tool, lens tool (for changing out lenses) plenty of duct hose to accommodate your venting needs, sample box of materials, and is seated on 4 caster wheels that lock.

Not to mention the generous 24 x 36″ size honeycomb laser bed!
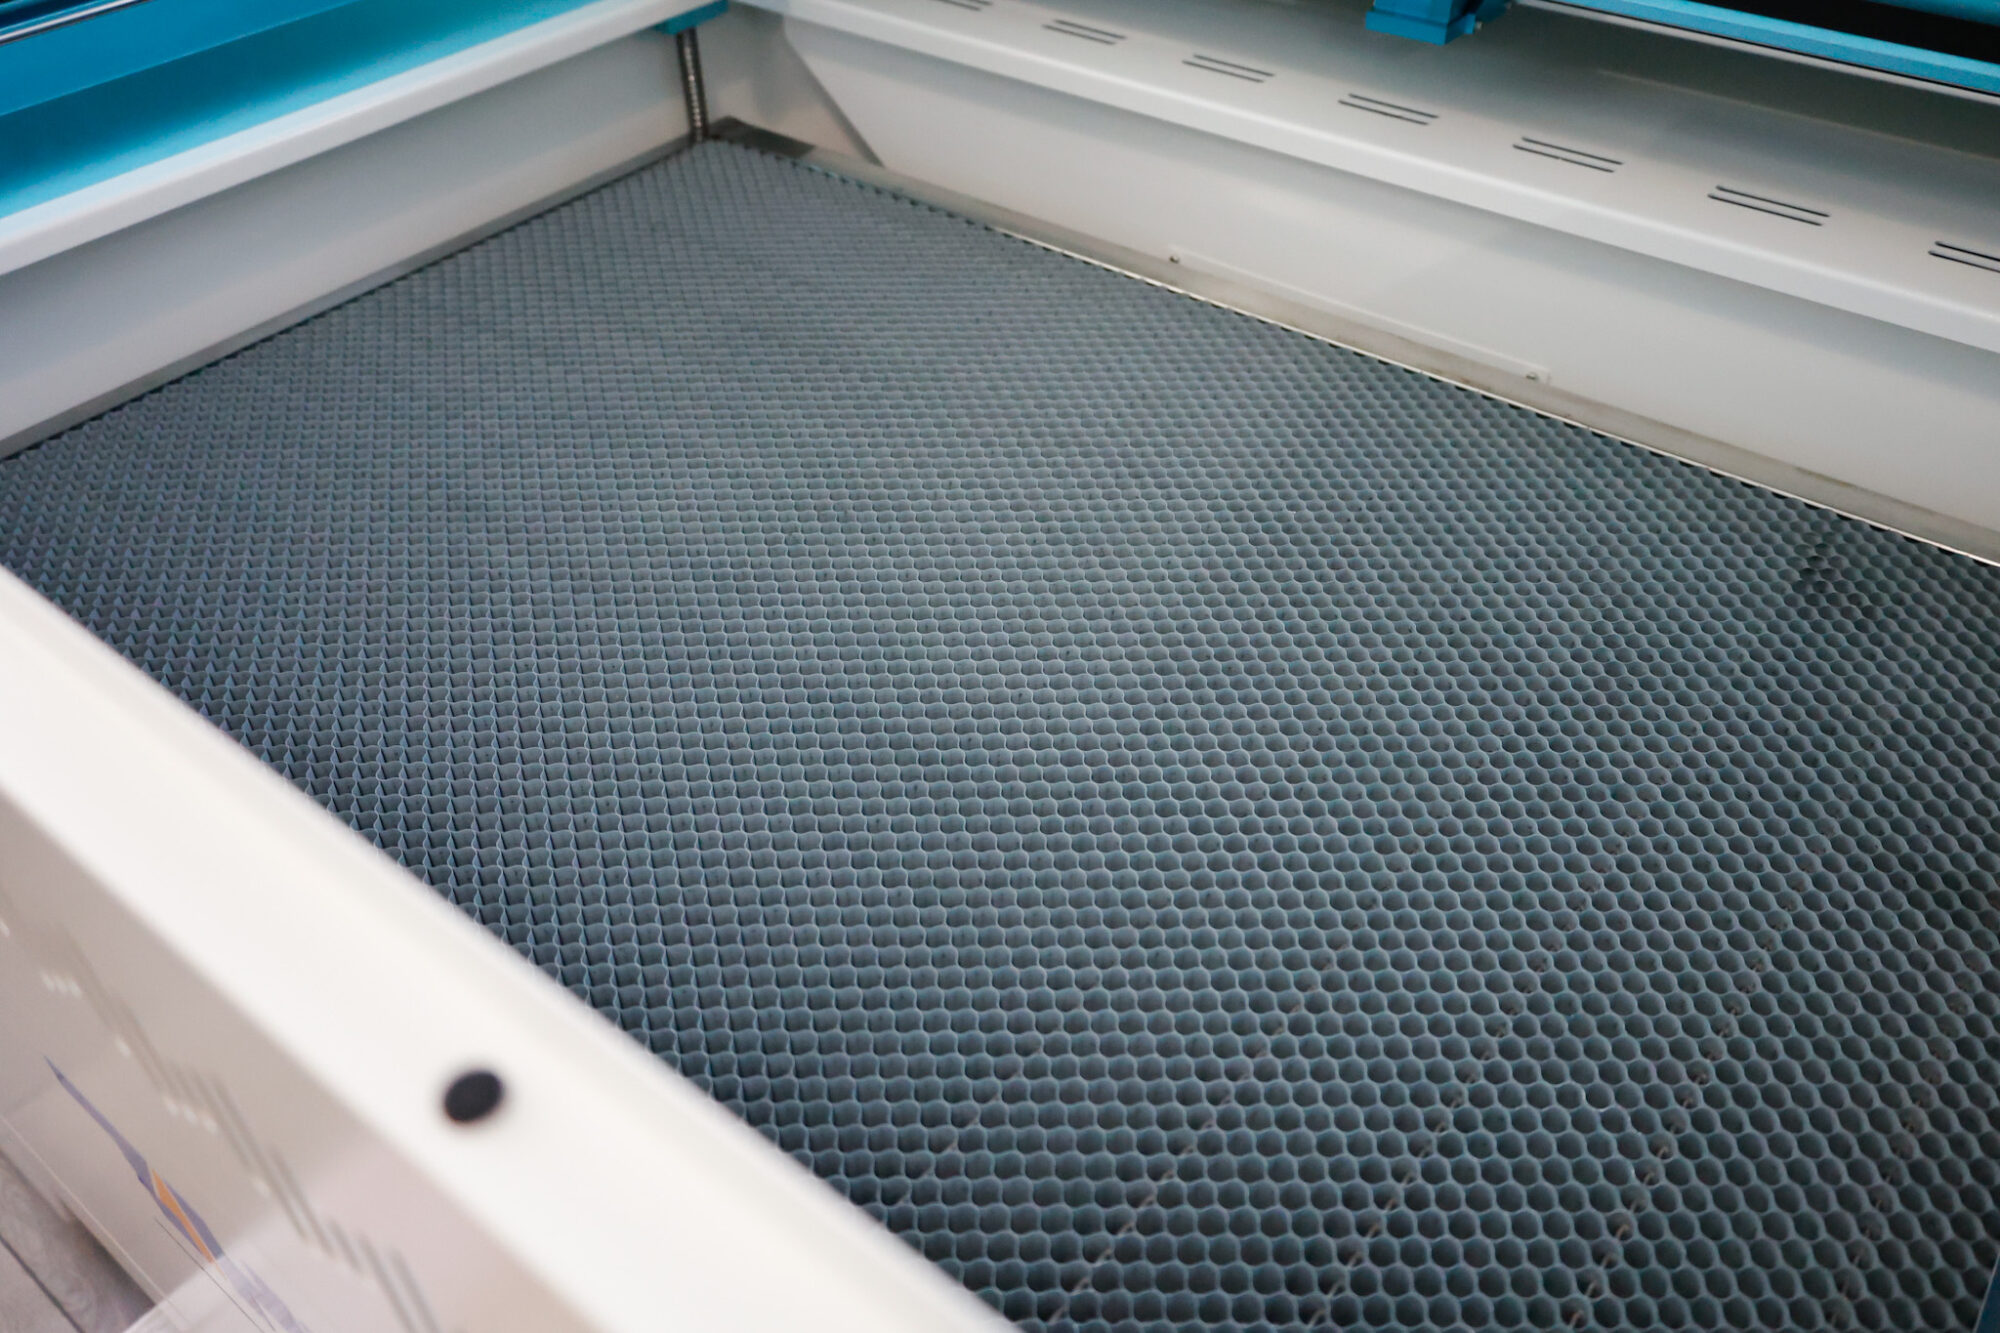
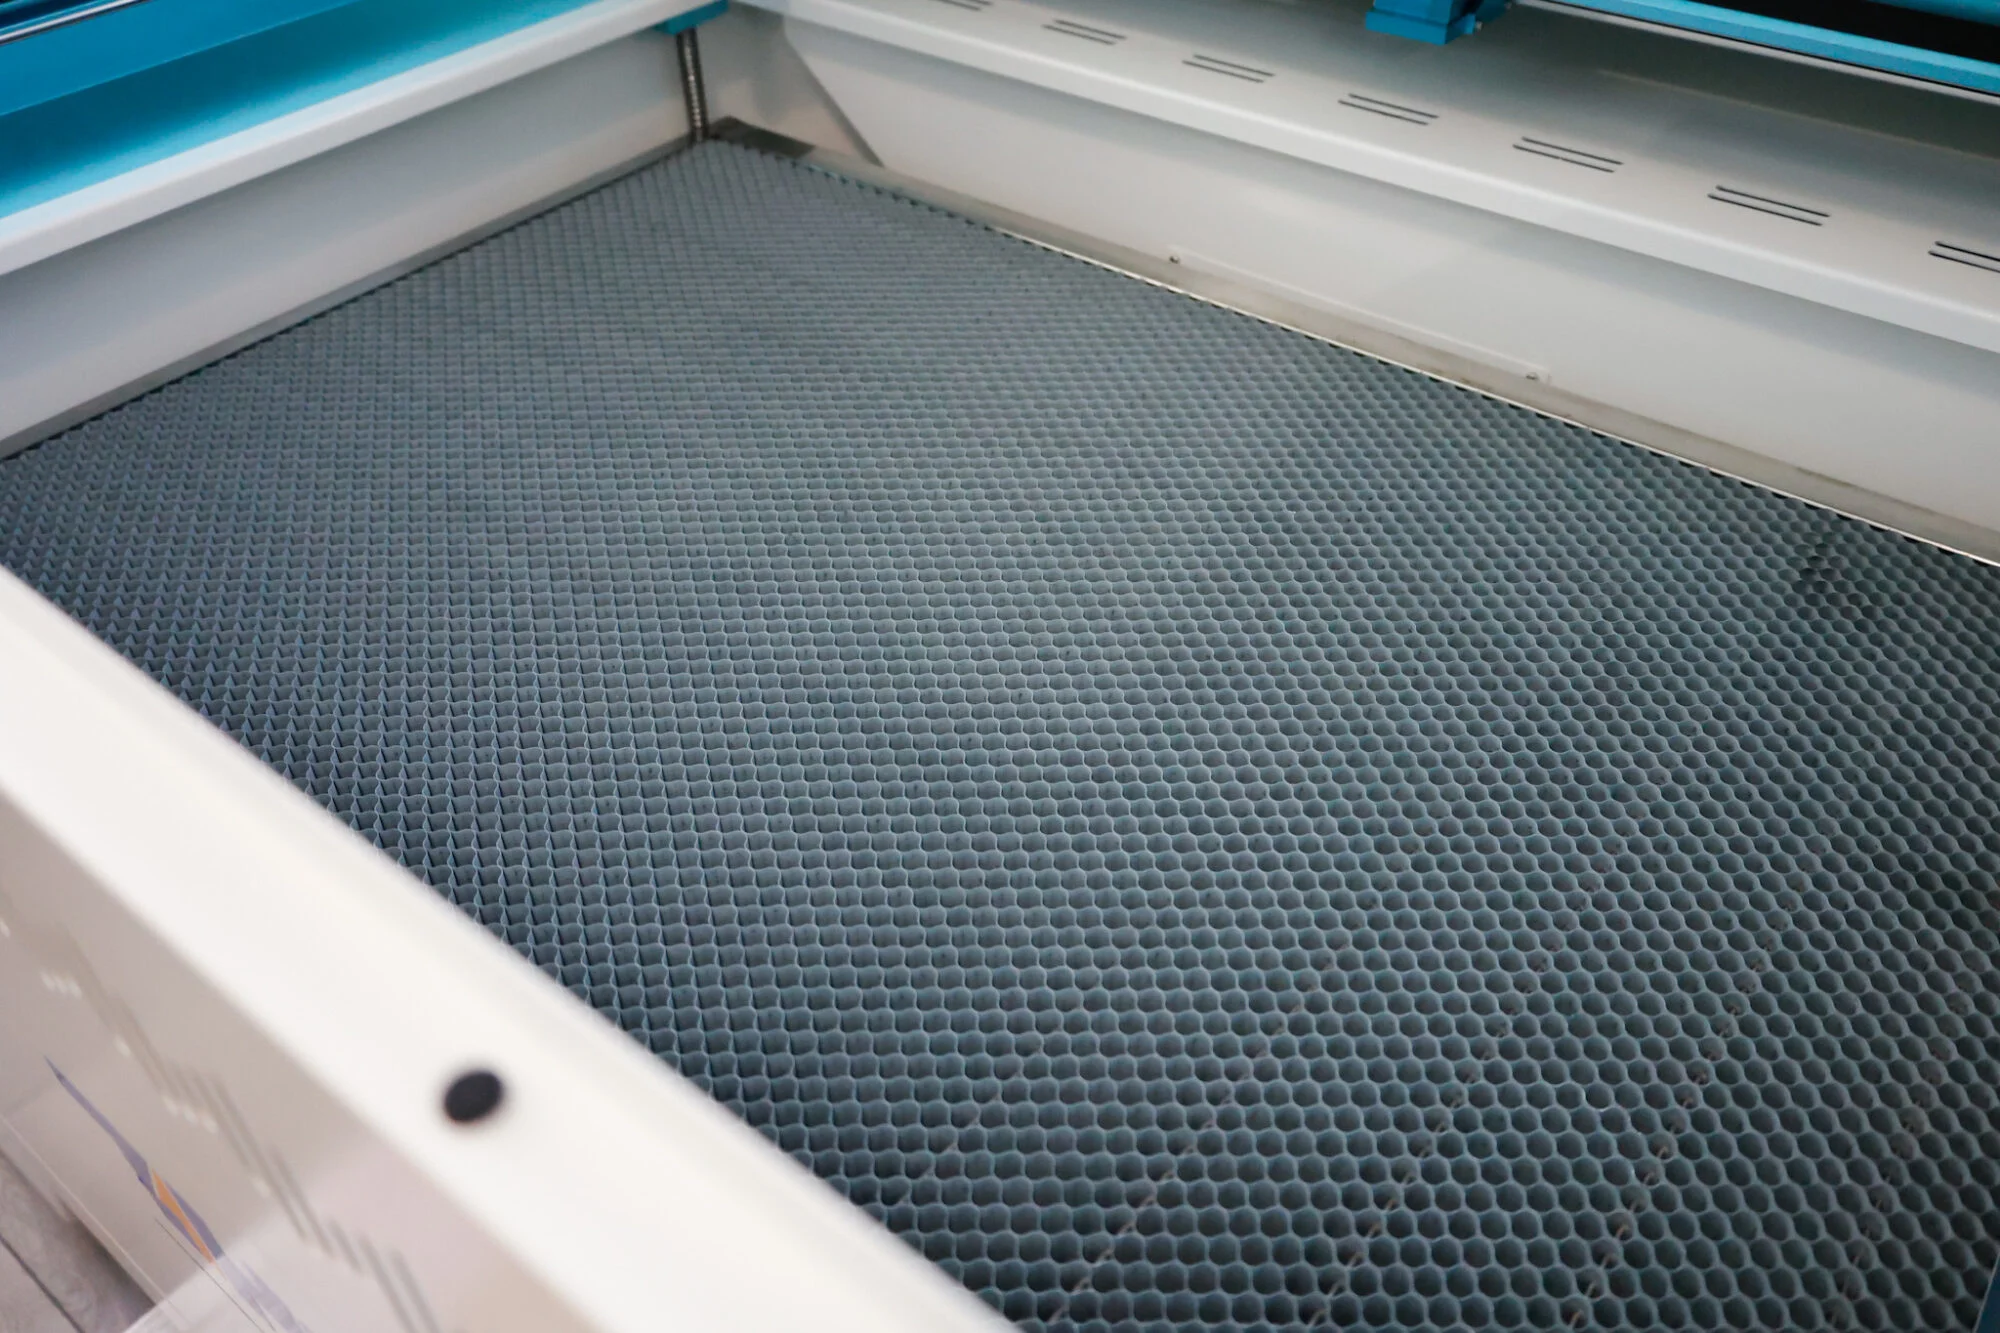
This machine is great for making door signs (like this one!) and other larger projects, but can also be used to bulk cut and engrave smaller projects as well.
Materials Need for this Laser Cut Sign
I created my sign to measure 18″ – I find this is my preferred door or porch sign size, but you can shrink the design inside LightBurn if needed to accommodate your laser bed, or you can do what I did before having this laser bed size and purchase 18″ rounds.
Here’s what you’ll need for this sign project:
- Nova Plus 35 (60W) or another cutting machine with a laer bed size that can accommodate the sign size you’d like to make
- 3mm Baltic Birch Wood
- glue (I used this one – it’s tried and true and works for just about everything I do craft-wise!)
- spray paint or acrylic paint*
- stain + staining cloths*
- clear sealant spray*
- gloves*
*These are optional, depending on your paint application method or choices to decorate your laser cut sign.

RF Laser Cutter Settings Used
Please know that you may need to adjust these settings depending on your material, laser, conditions, etc. but I am simply sharing what I used to get these results as a base starting point for you with my laser cutting machine.
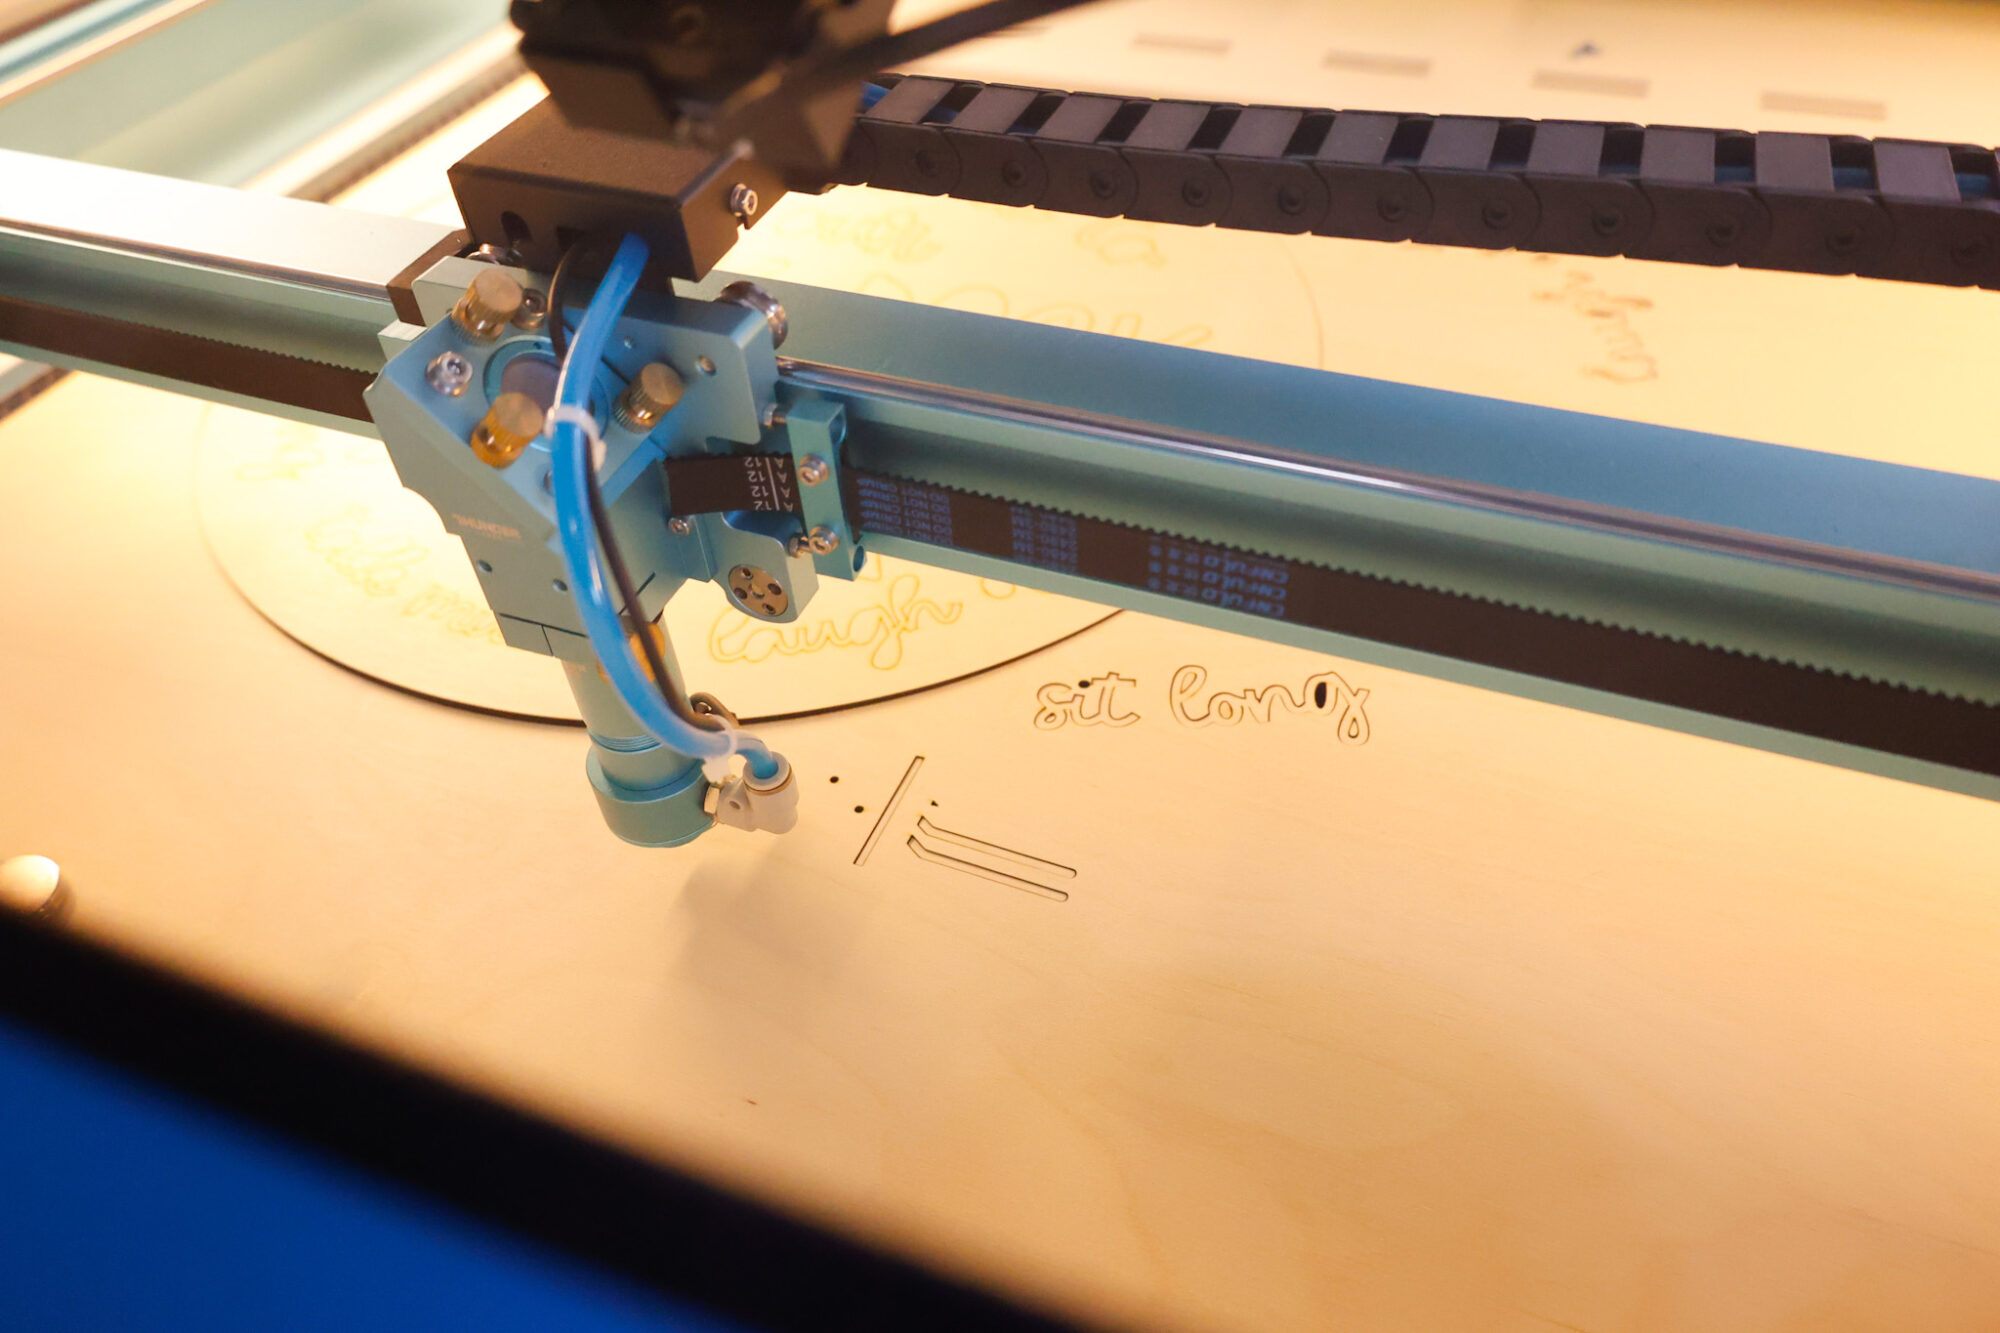
To score the wood (create cut lines to align where the words and chairs will go – without cutting through the wood or engraving it), I used these settings:
40 speed / 25% Power Max, 5% Power Min, 0.085 Interval, 1 Pass
When it comes to scoring, I like to use this option as a way to align my lettering (especially for curved letters) to make sure my placement is spot on. In the past, I have simply scored the design as it was, but sometimes the score lines can show on the edges, so I’ve learned to inset the score lines a bit to hide them while still being able to align my lettering perfectly.
It took my Nova Plus 35 less than 30 minutes to score and cut this entire design.
All the letters and the 18″ sign itself cut smoothly and precisely.

To inset my lettering design, I used the Offset Inward option inside the LightBurn program by 0.0050:

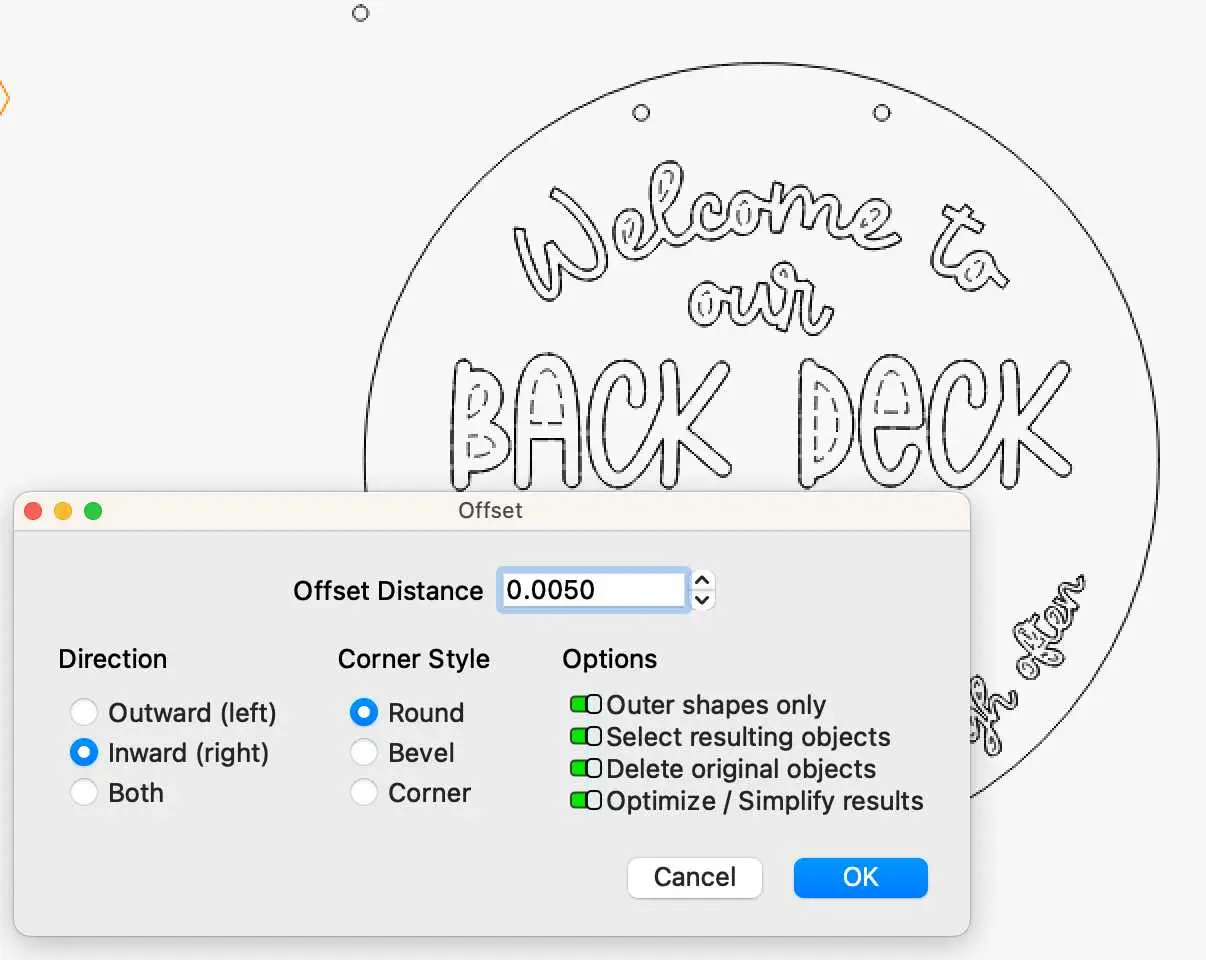
Be sure to copy and paste the lettering on a different spot in your laser software before using the settings shown above so you don’t accidentally delete that part to cut later.
To cut the wood letters and sign shape/hanging holes, I used these settings:
8 speed / 65% Power Max, 65% Power Min, 0.085 Interval, 1 Pass
I am always so impressed with the power of this machine, the accuracy of the cuts, and how easy it is to take my design from LightBurn and create projects like this with ease!
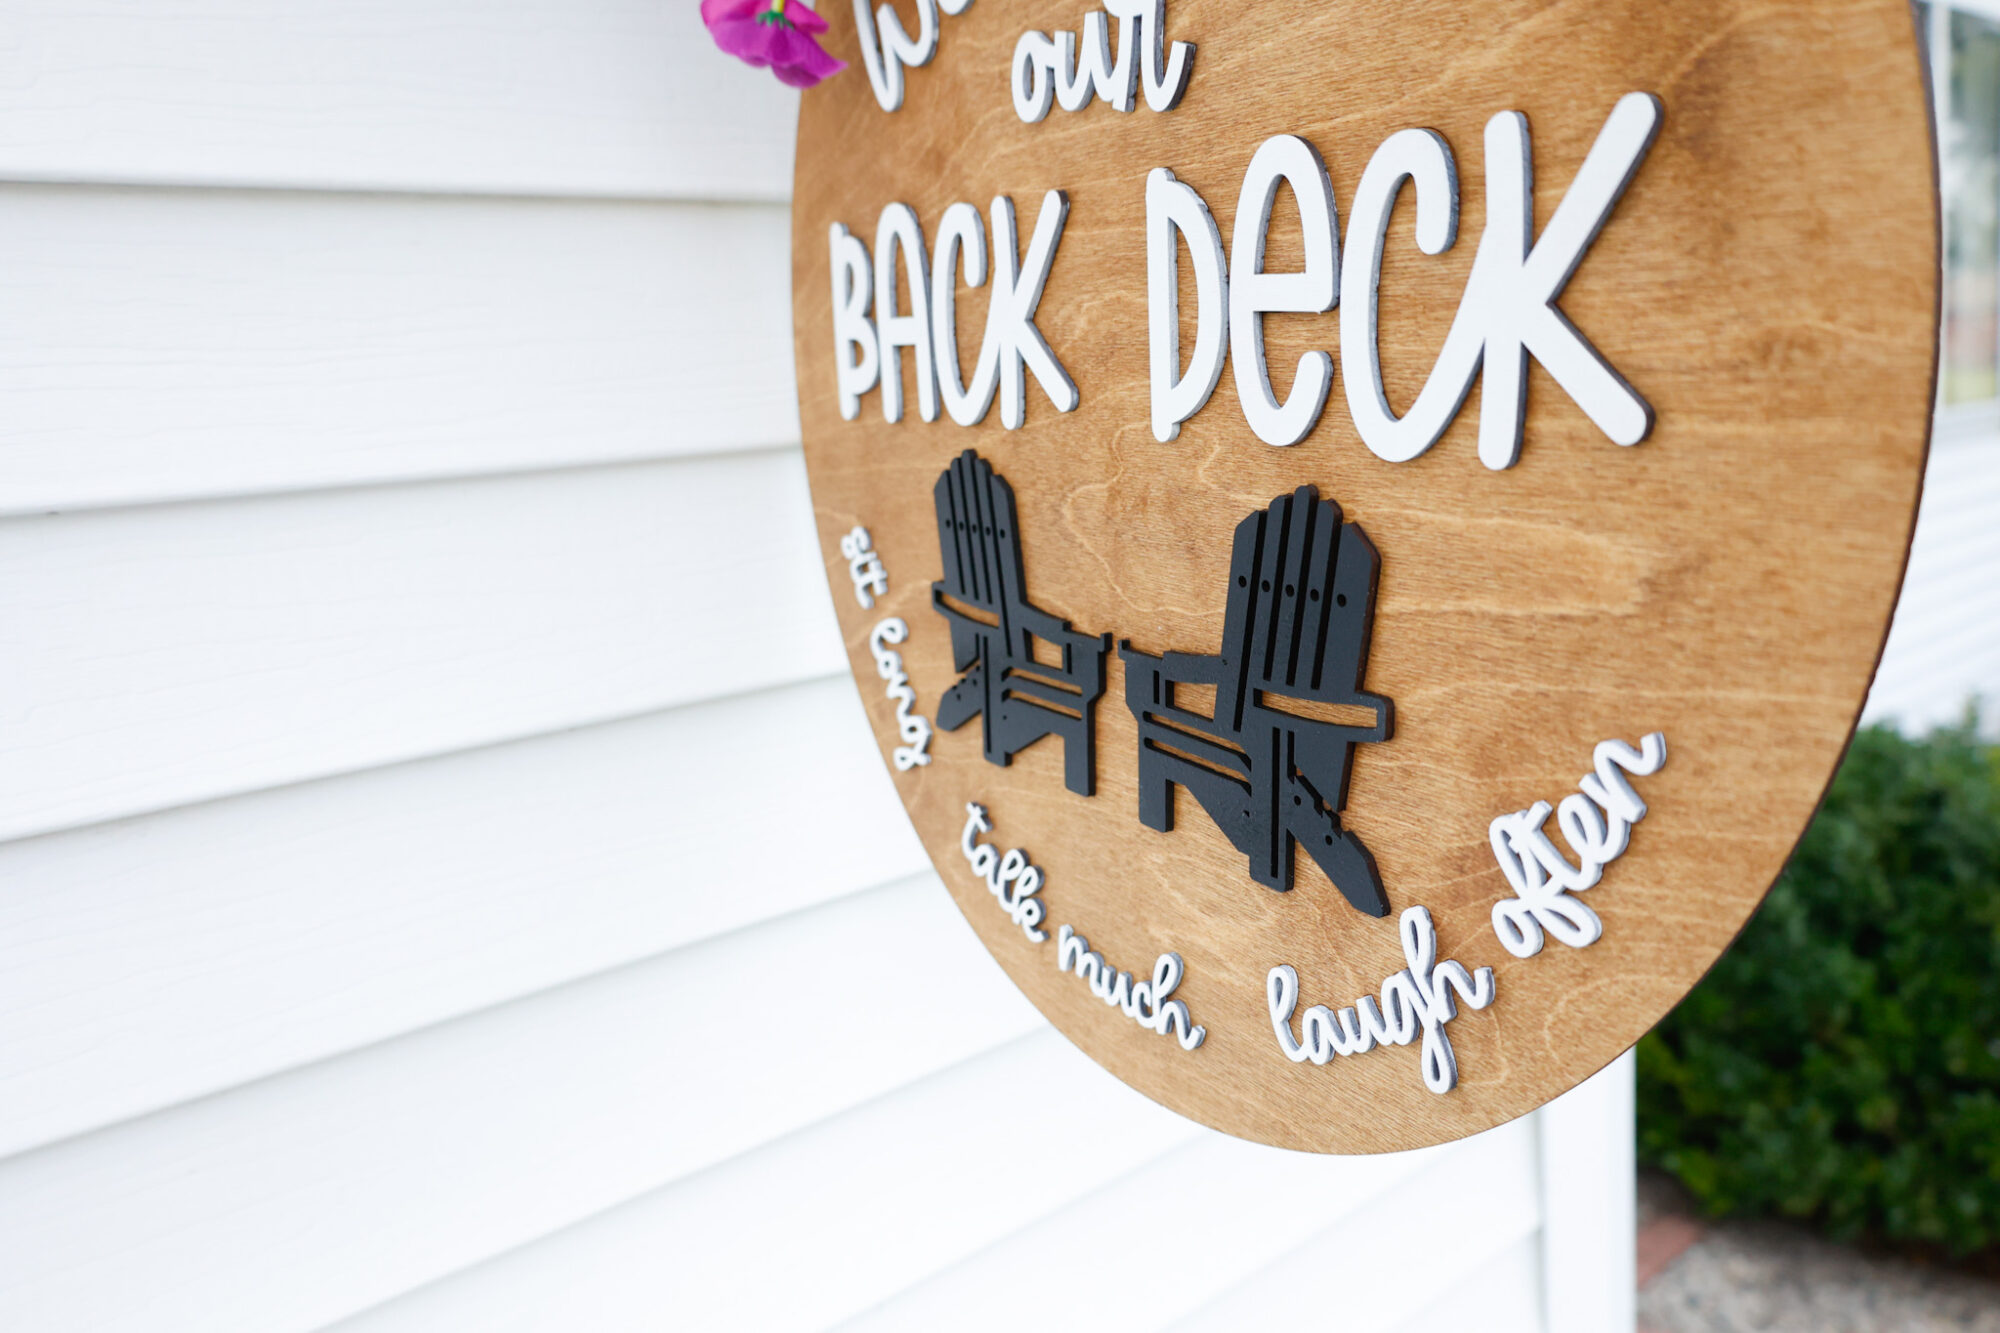
After cutting the lettering and sign with my Thunder Laser Nova Plus 35, I spray painted the letters white and the chairs black, and stained the scored sign cutout with my favorite stain, Mission Oak in Satin.
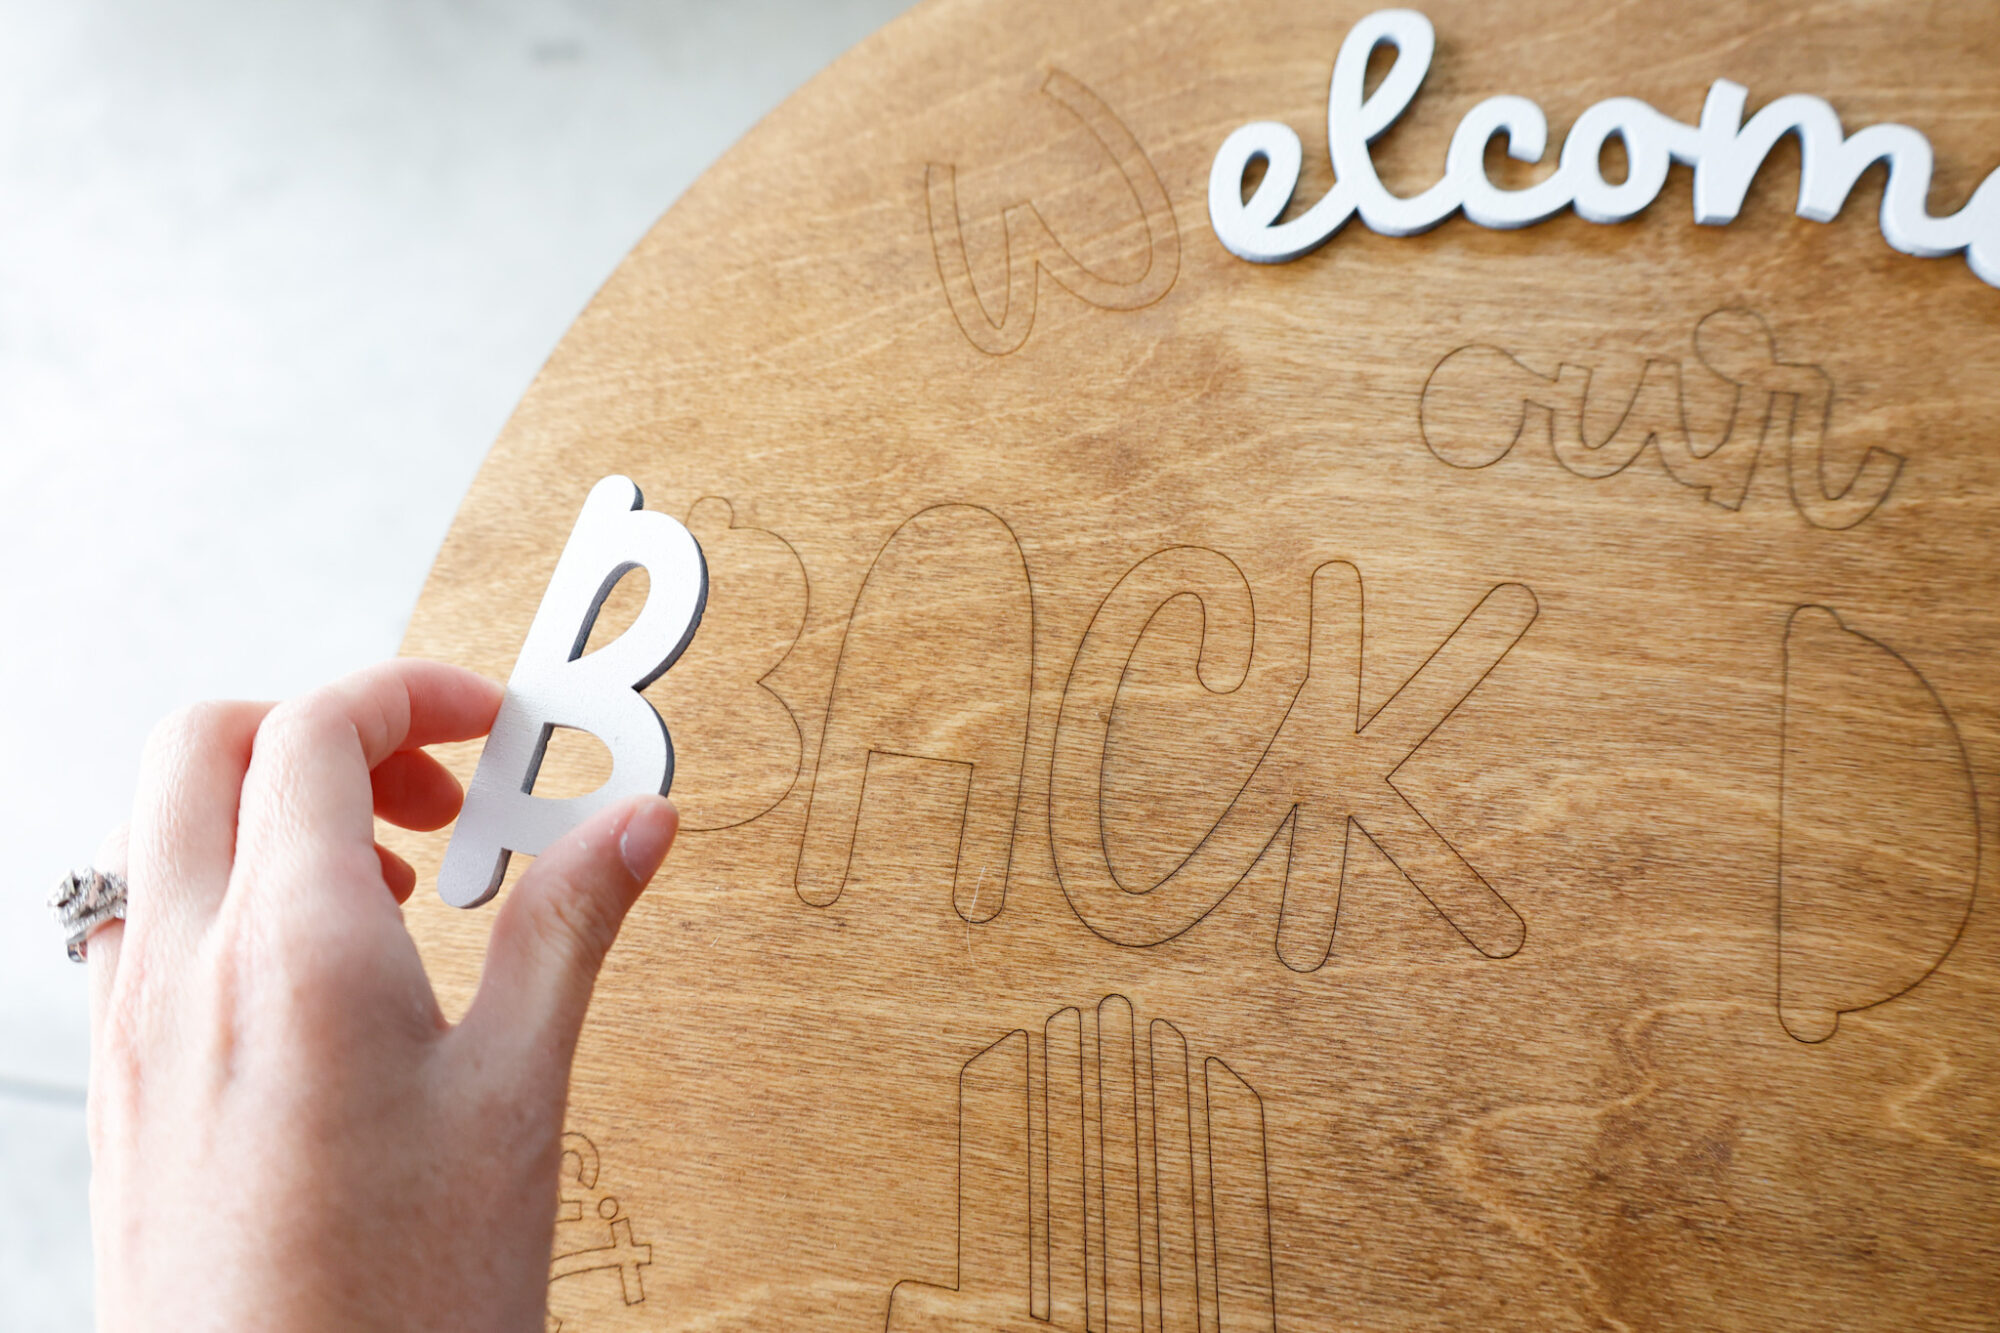
Once they all dried (which only took a couple of hours), I glued the letters to the sign using StarBond Medium glue in a light line along the backside of the letters and chairs.
Remember, my slight inset score line enables me to place my letters where they need to go without any of the lines showing!
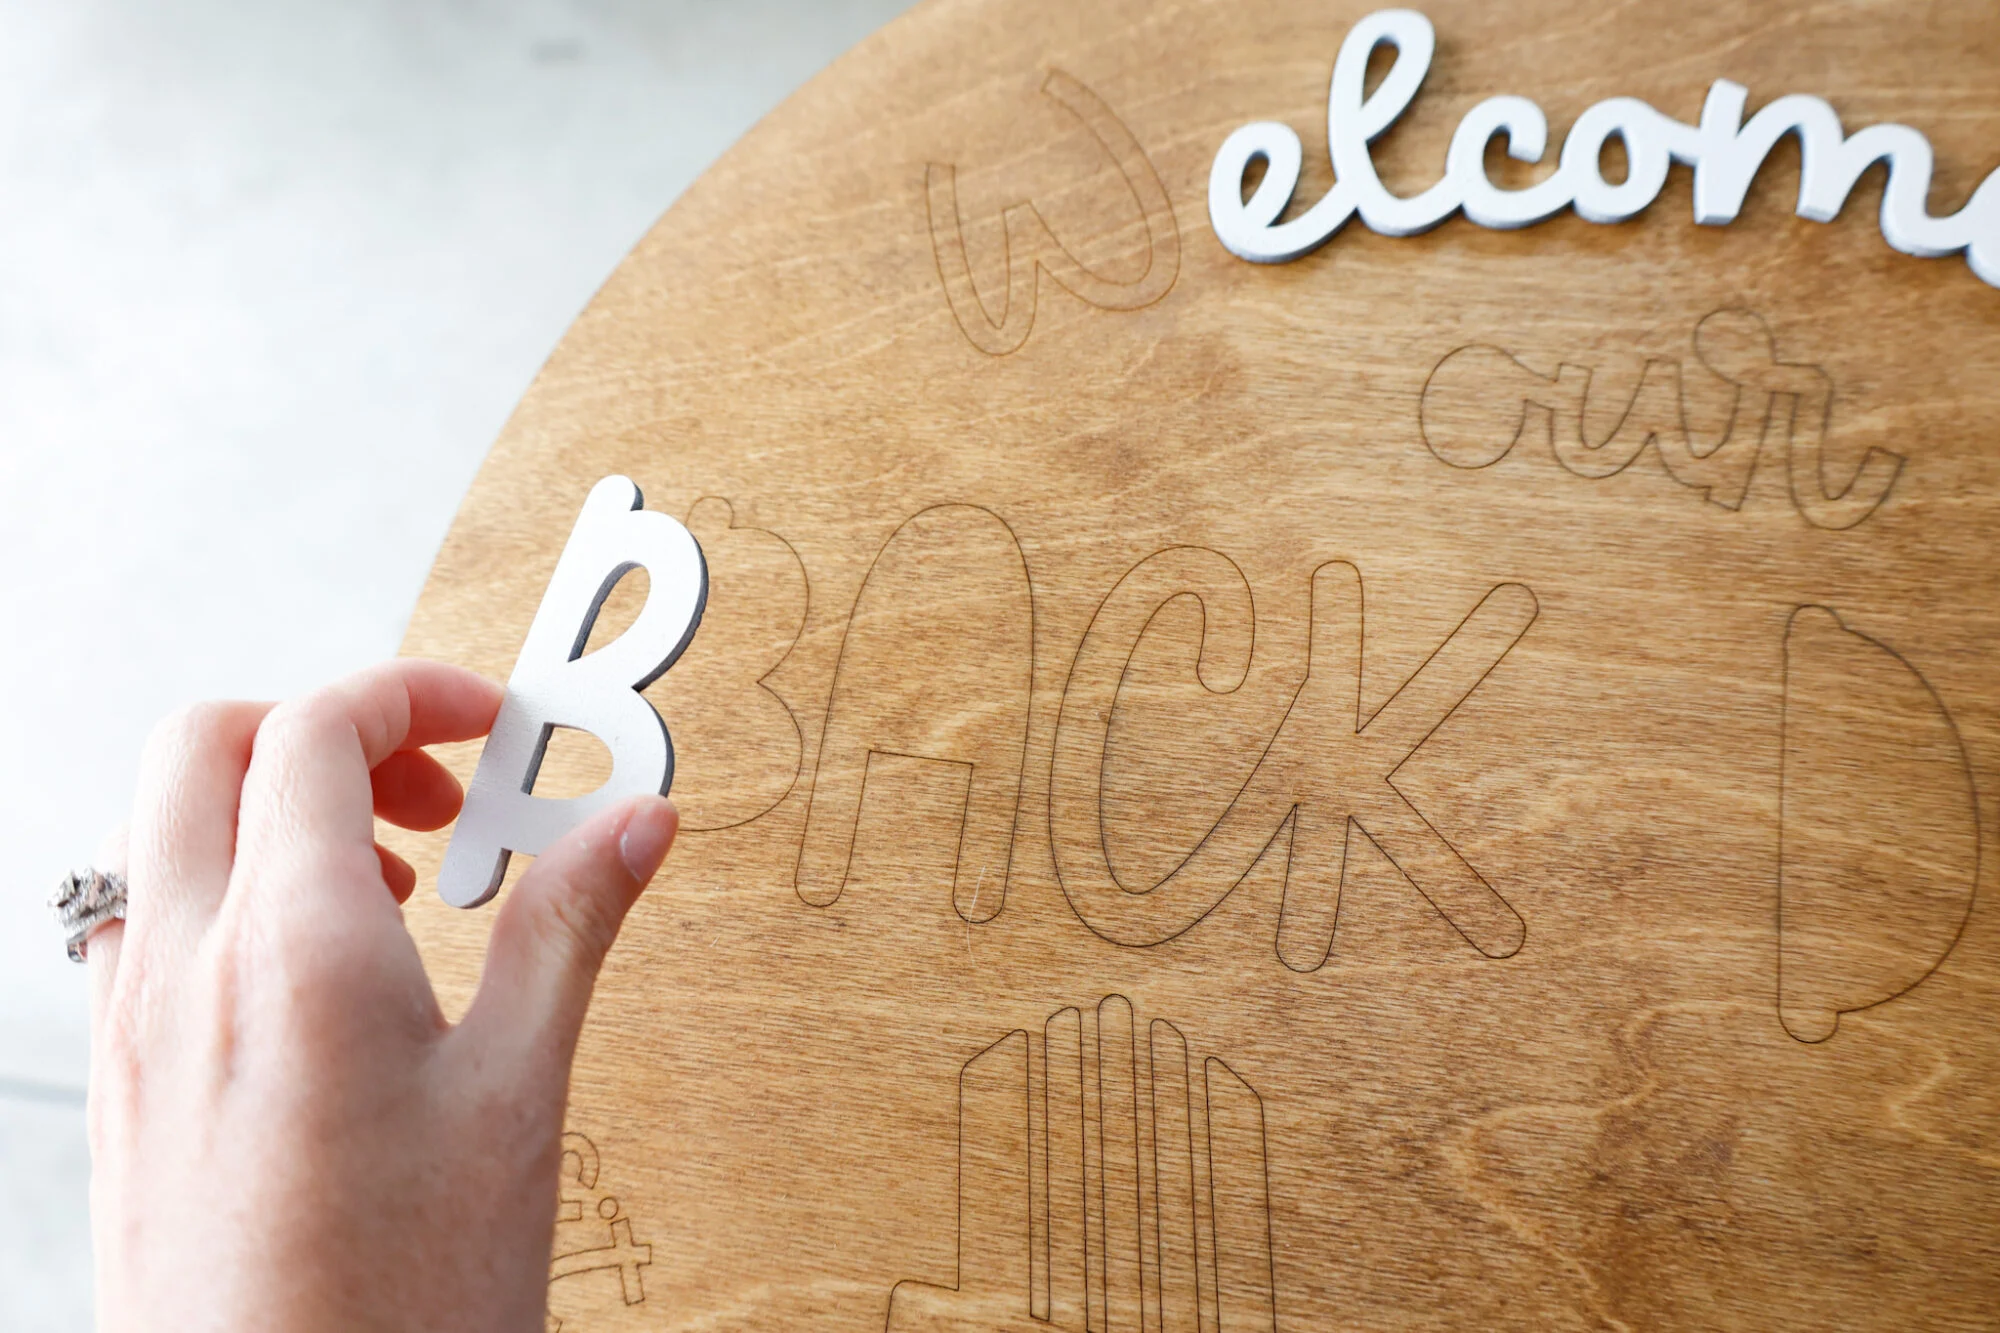
Here’s what that looks like before I got the dot above the ‘i’ and the chairs glued on…

You might think the finished result is my favorite part, but this part actually is!
I love the 75% completion mark because you start to see it really coming together.
Once the letters and chairs were glued on, we took a trip out in town and let everything dry for a couple of hours.
All in all, this project took me about 6 hours to complete from the time I turned our laser machine on until I hung the finished sign up outside on our deck.
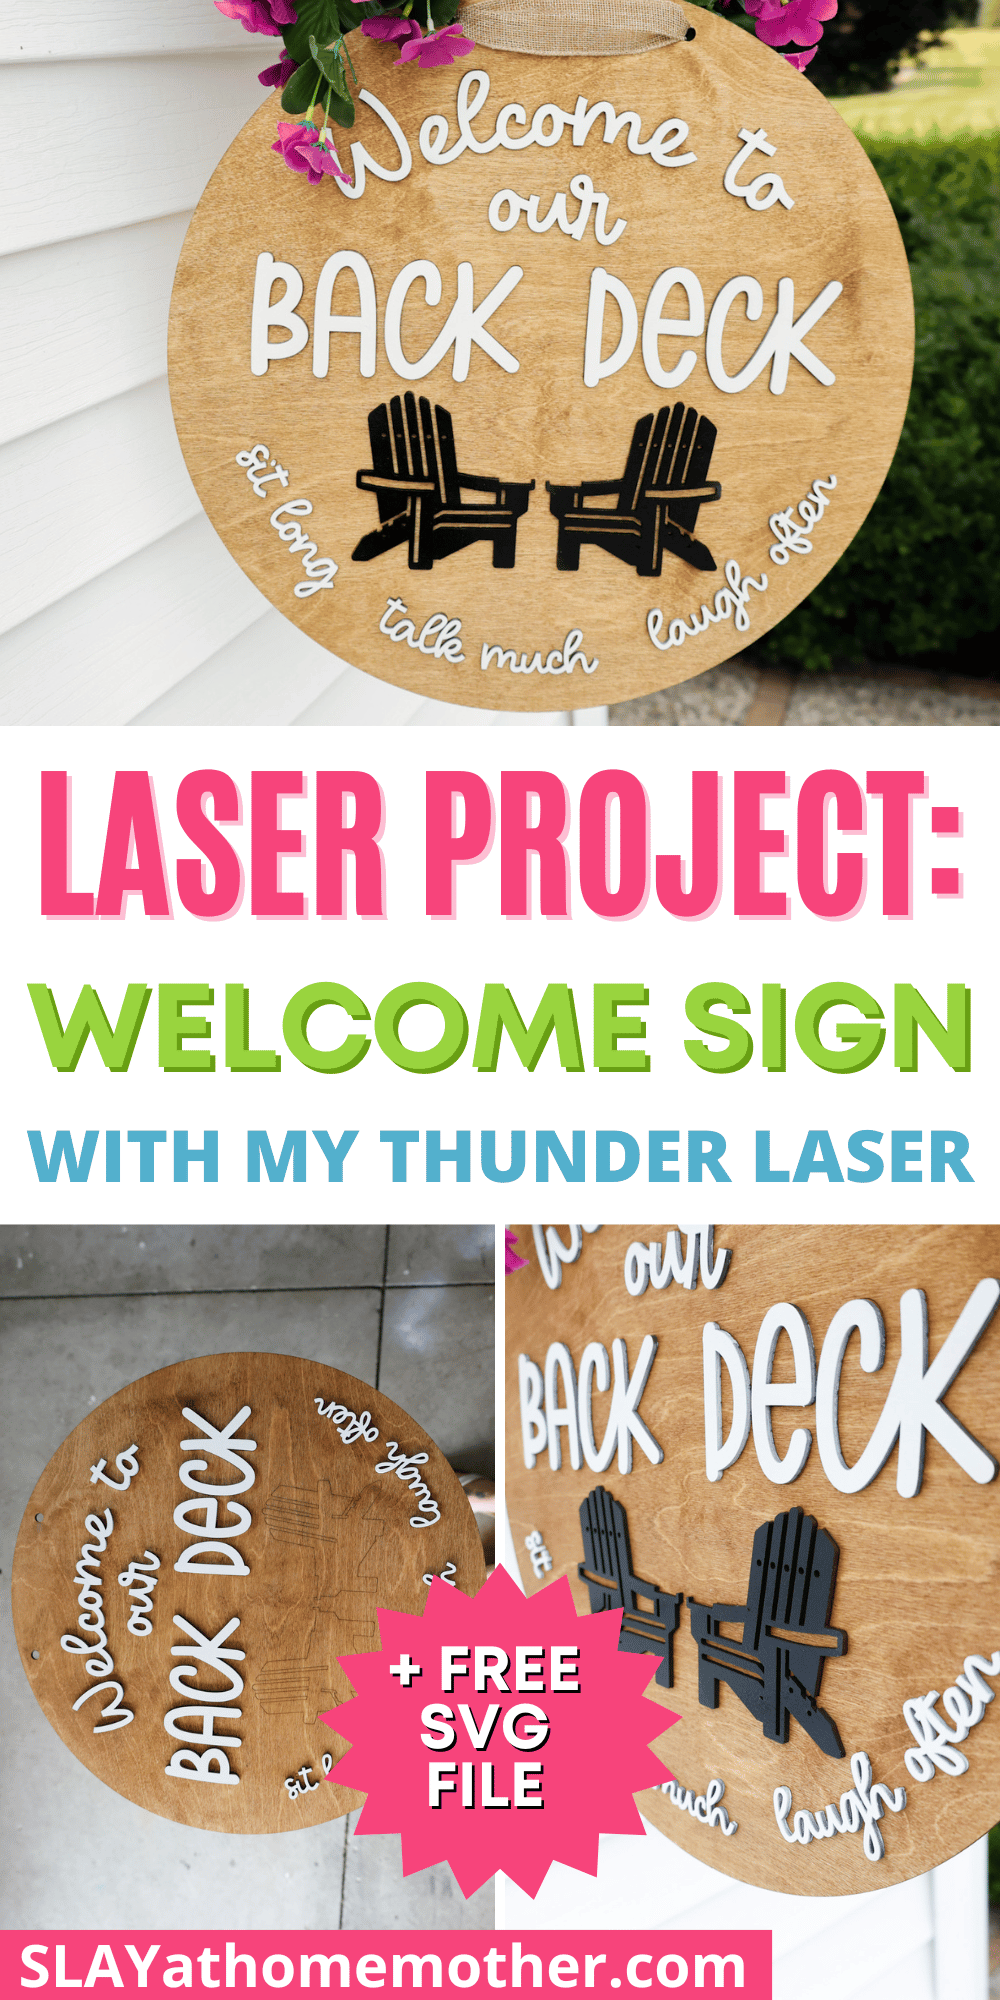
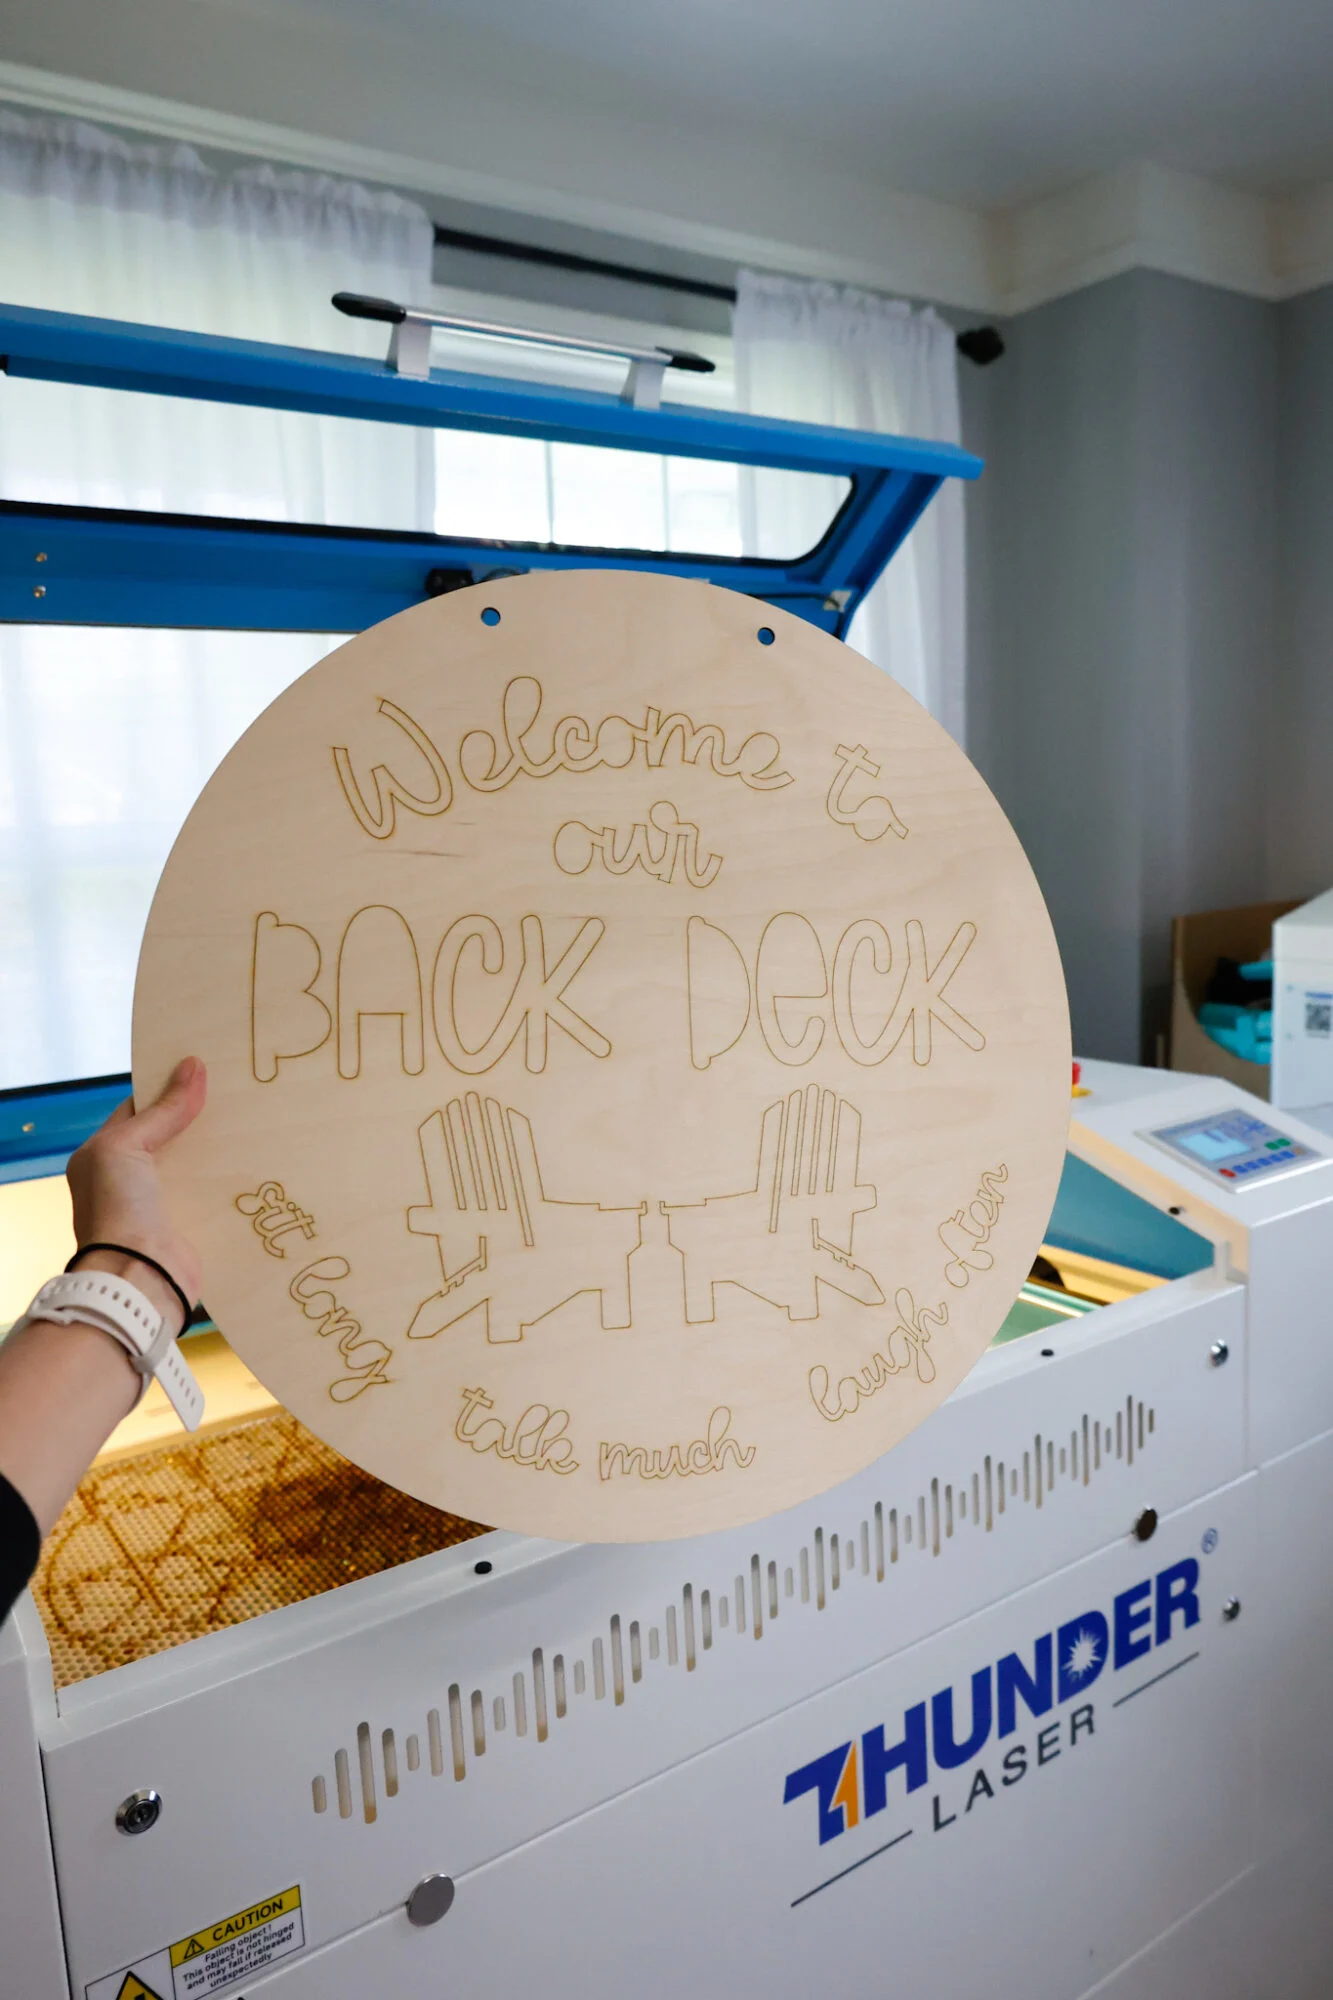
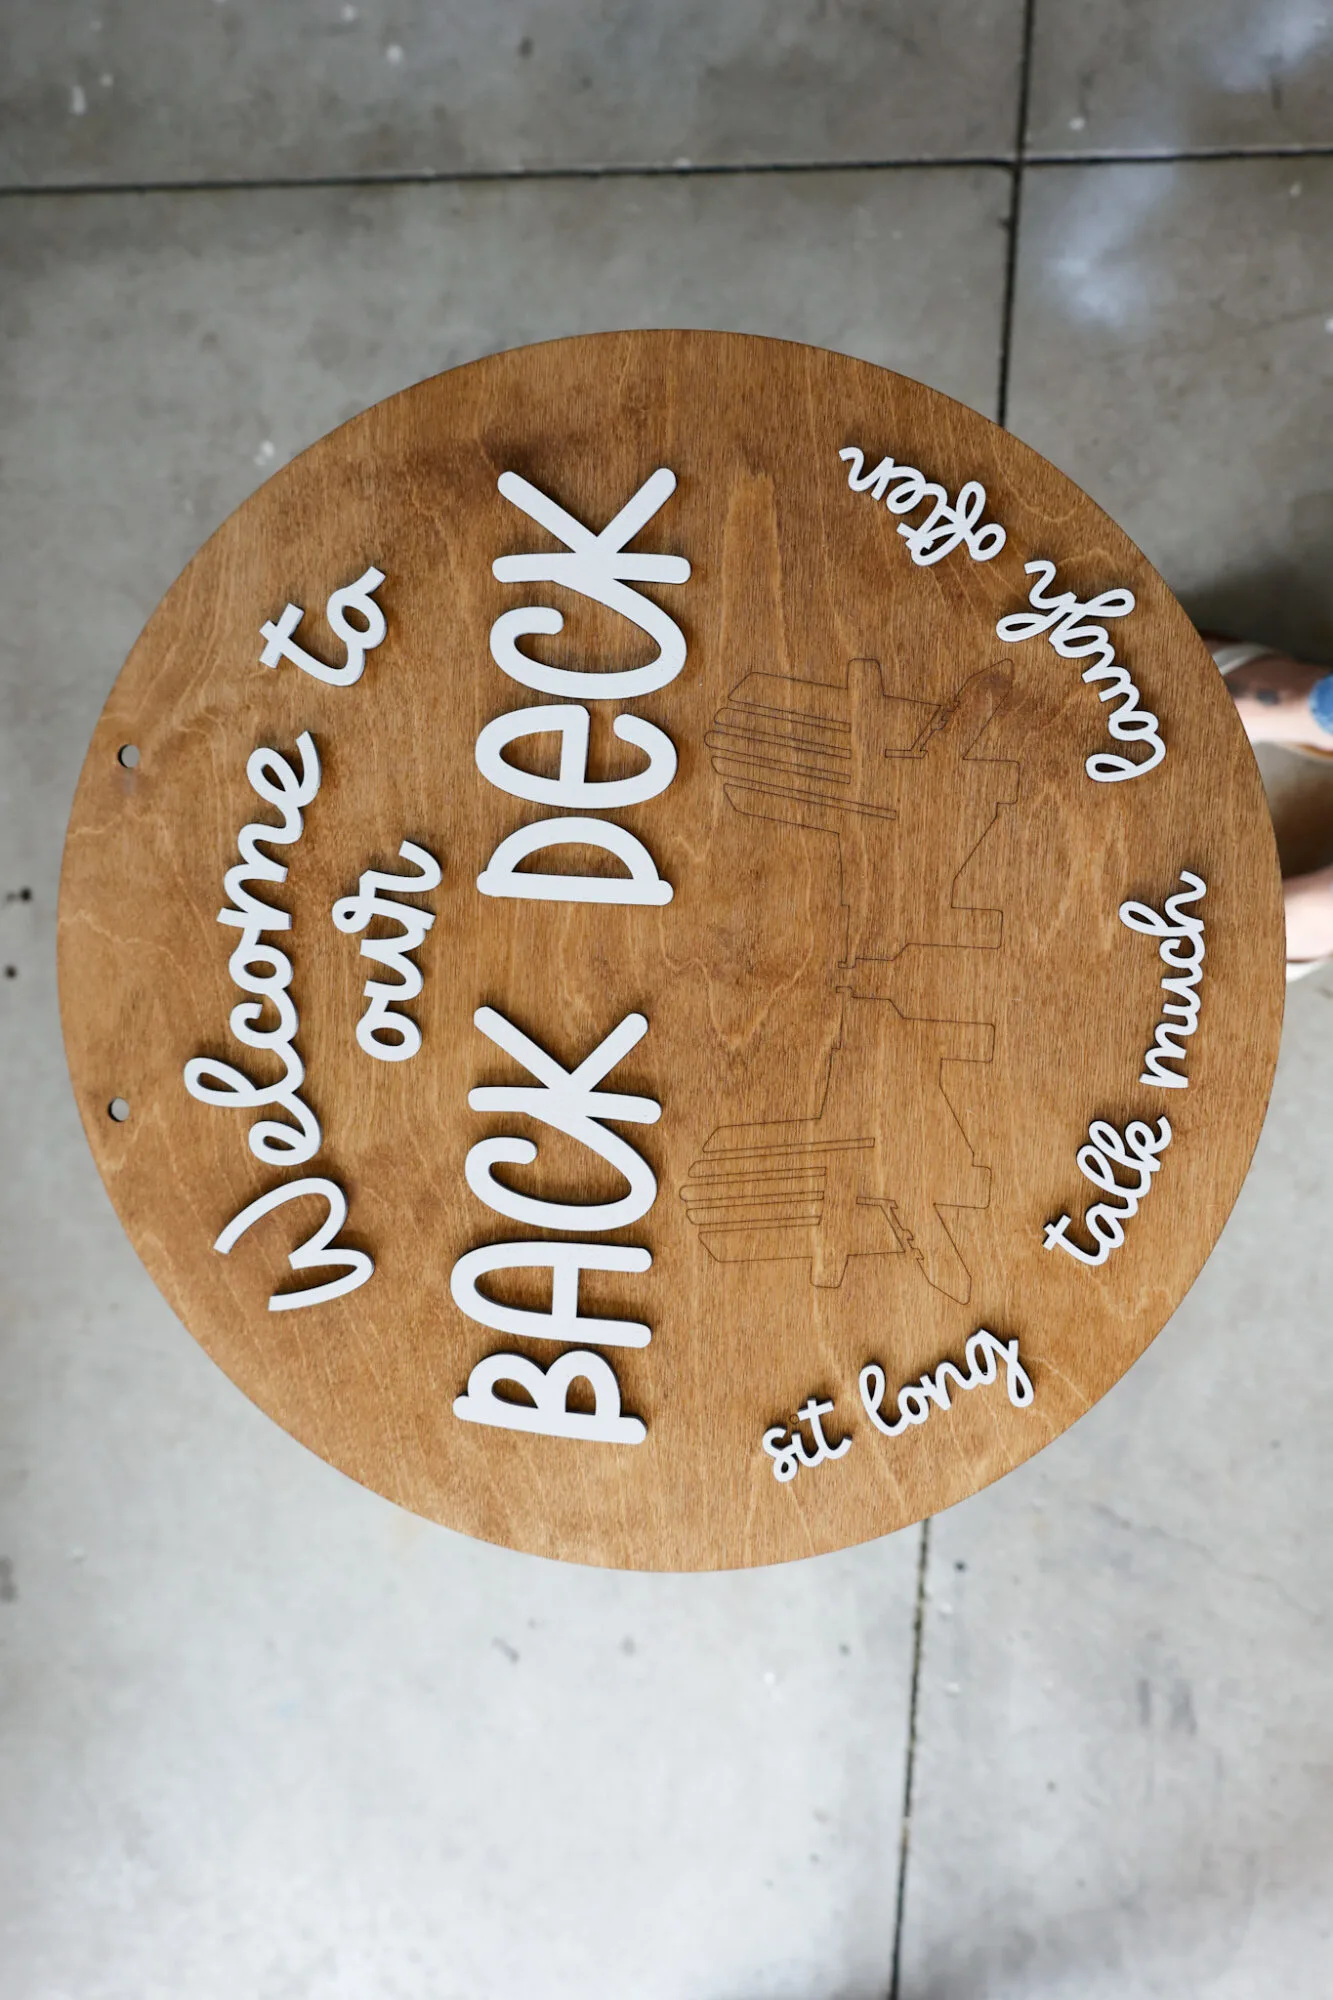
The Finished Back Deck Sign
Here’s my finished sign:

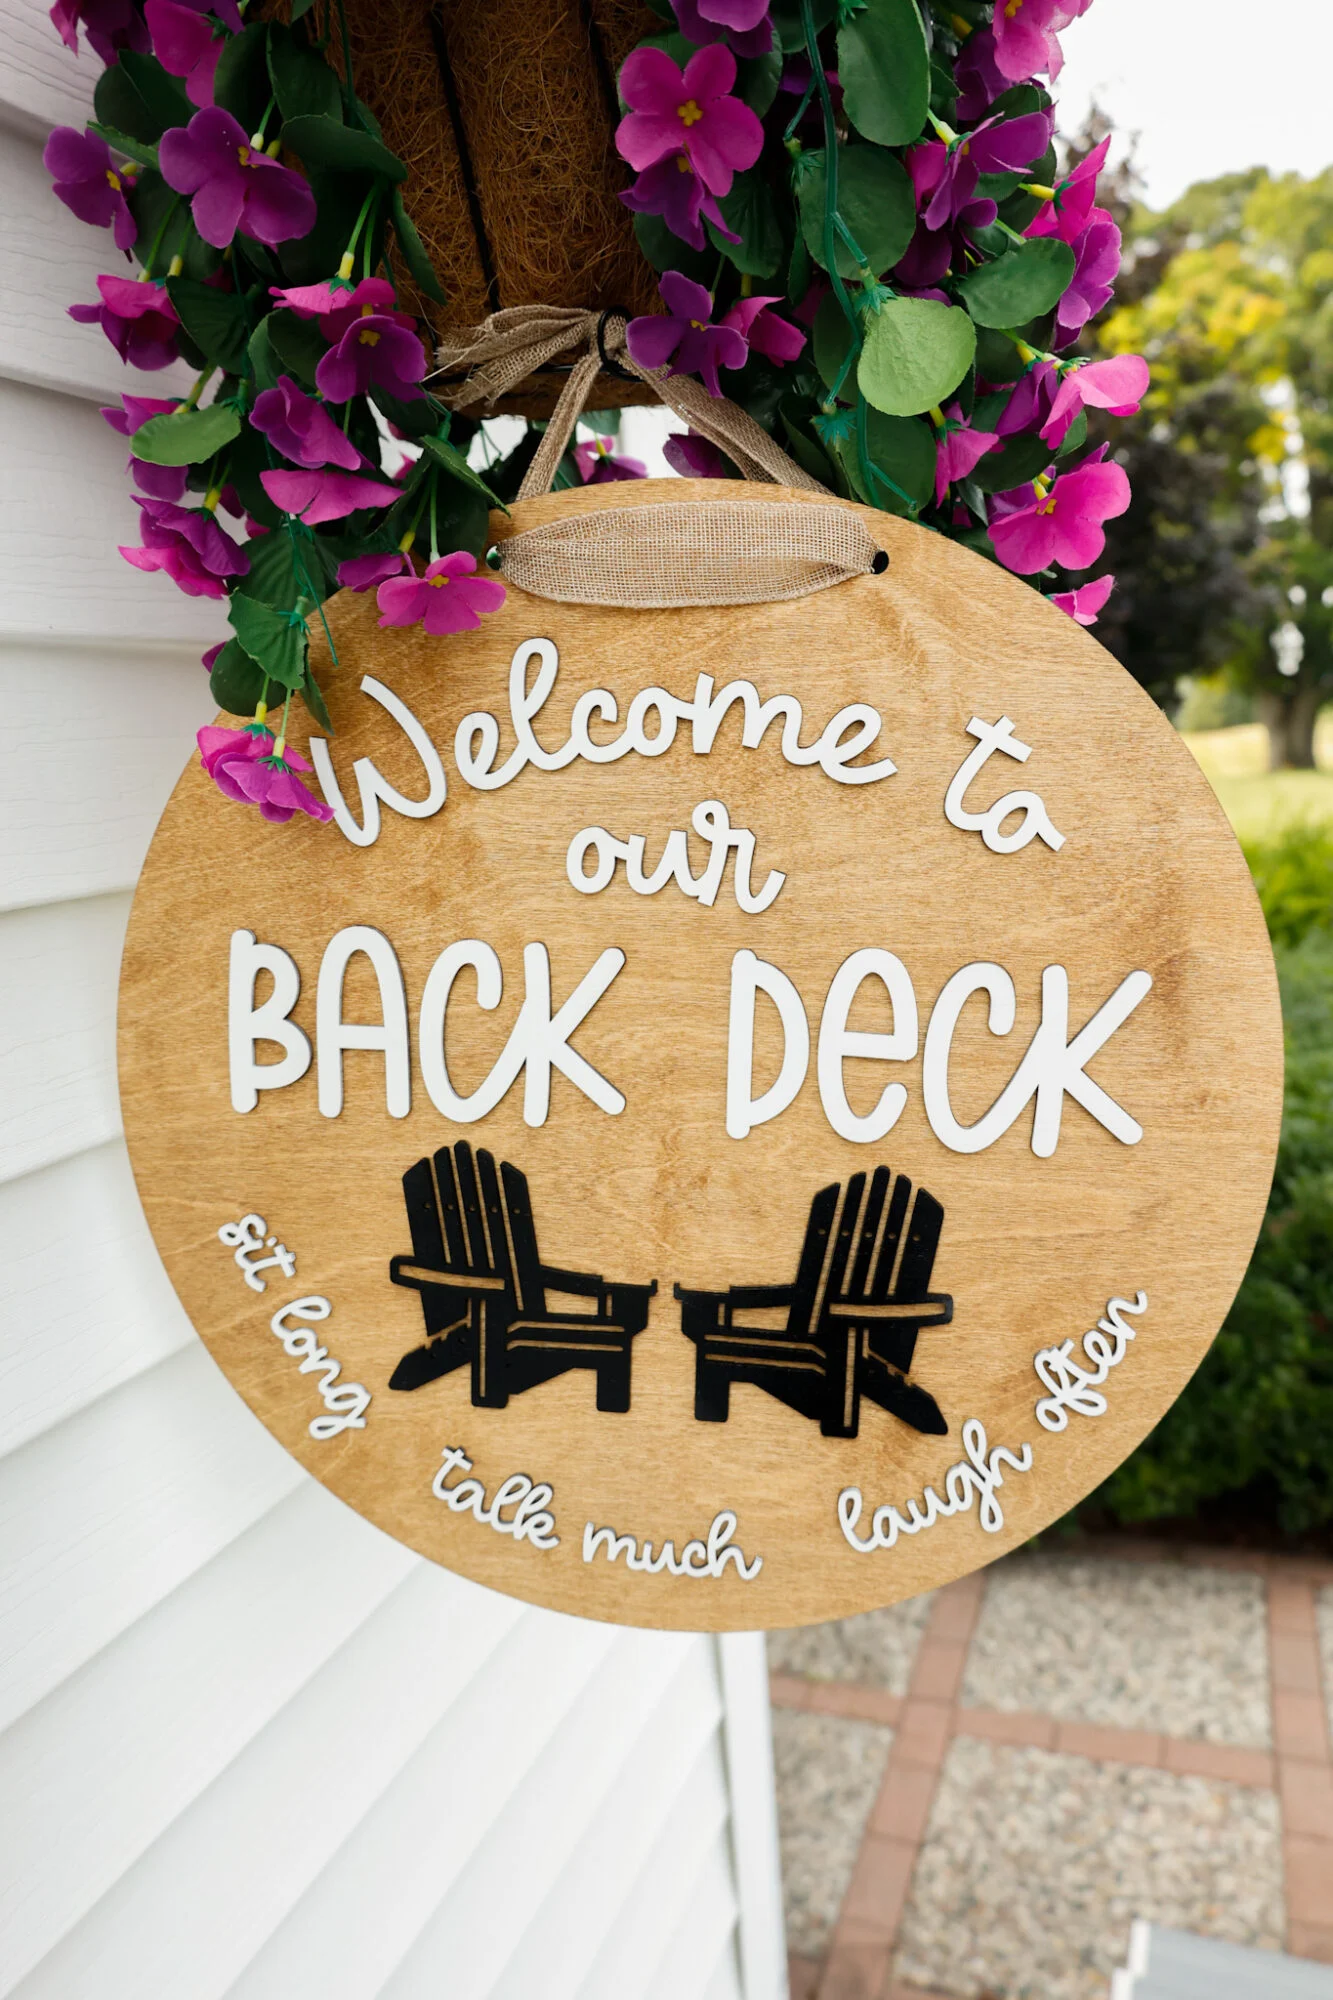
I am so happy with how this turned out!

If you are a visual person like me, you can watch the project in my reel here from Instagram.
I debated painting the chairs different colors, maybe something brighter? But I had these colors on hand and I feel it will match any decor we put outside so we’re happy with it.
Download this Laser Cut Sign File
Sign up below to gain instant access to this SVG download in your inbox, as well as receiving future updates with free file downloads as I release them:
Thank you for reading and supporting this blog, your support means I can keep bringing you laser project posts like this one, as well as free SVG downloads you can use to build your file library and keep creating!
Like I mentioned earlier in this post, if any of my Thunder Laser posts have influenced you to join the Thunder Family, please be sure to mention my name or blog name (Corinne / Slay At Home Mother) either online or on your phone call so I can get credit for my work here – I so appreciate it!