
I recently received my Cricut Explore Air 2 in the mail! Here is my complete Cricut review and my first project with this cutting machine, and some free SVG files that you can download and make with me!
This is a sponsored conversation written by me on behalf of Cricut. The opinions and text are all mine.


I’m so excited to finally reveal that I’ve added a Cricut Explore Air 2 to my craft arsenal!
This machine is a beauty, and I can’t wait to show you guys my very first project with it.
Cutting machines like the Cricut Explore Air 2 are great for new business owners, crafters, holiday and birthday gifts, DIY home decor, and even wedding and party decor on the cheap.
They’re also handy for the label-happy lady that loves to label everything from her fridge to her kid’s toy bins.
Hey, nothing wrong with that. I’m right there with you!
While I am new to this Cricut machine, I already have some cutting machine experience. If you are an OG here, you’ve probably already seen my post on the Brother Scan-N-Cut 2, which is a rival to the Cricut Explore Air 2.
I’ve loved my cutting experience with the Brother machine, but I wanted to see what all the fuss was about with Cricut and give it a shot!
In this post, I’ll be reviewing the machine as well as showing some useful screenshots and sharing tips for setting up your Cricut. I’ll also be sharing some free SVG files to download for an easy first project you can try out at home.
This post contains affiliate links, however, all opinions are my own, as always.
Cricut Explore Air 2 Unboxing

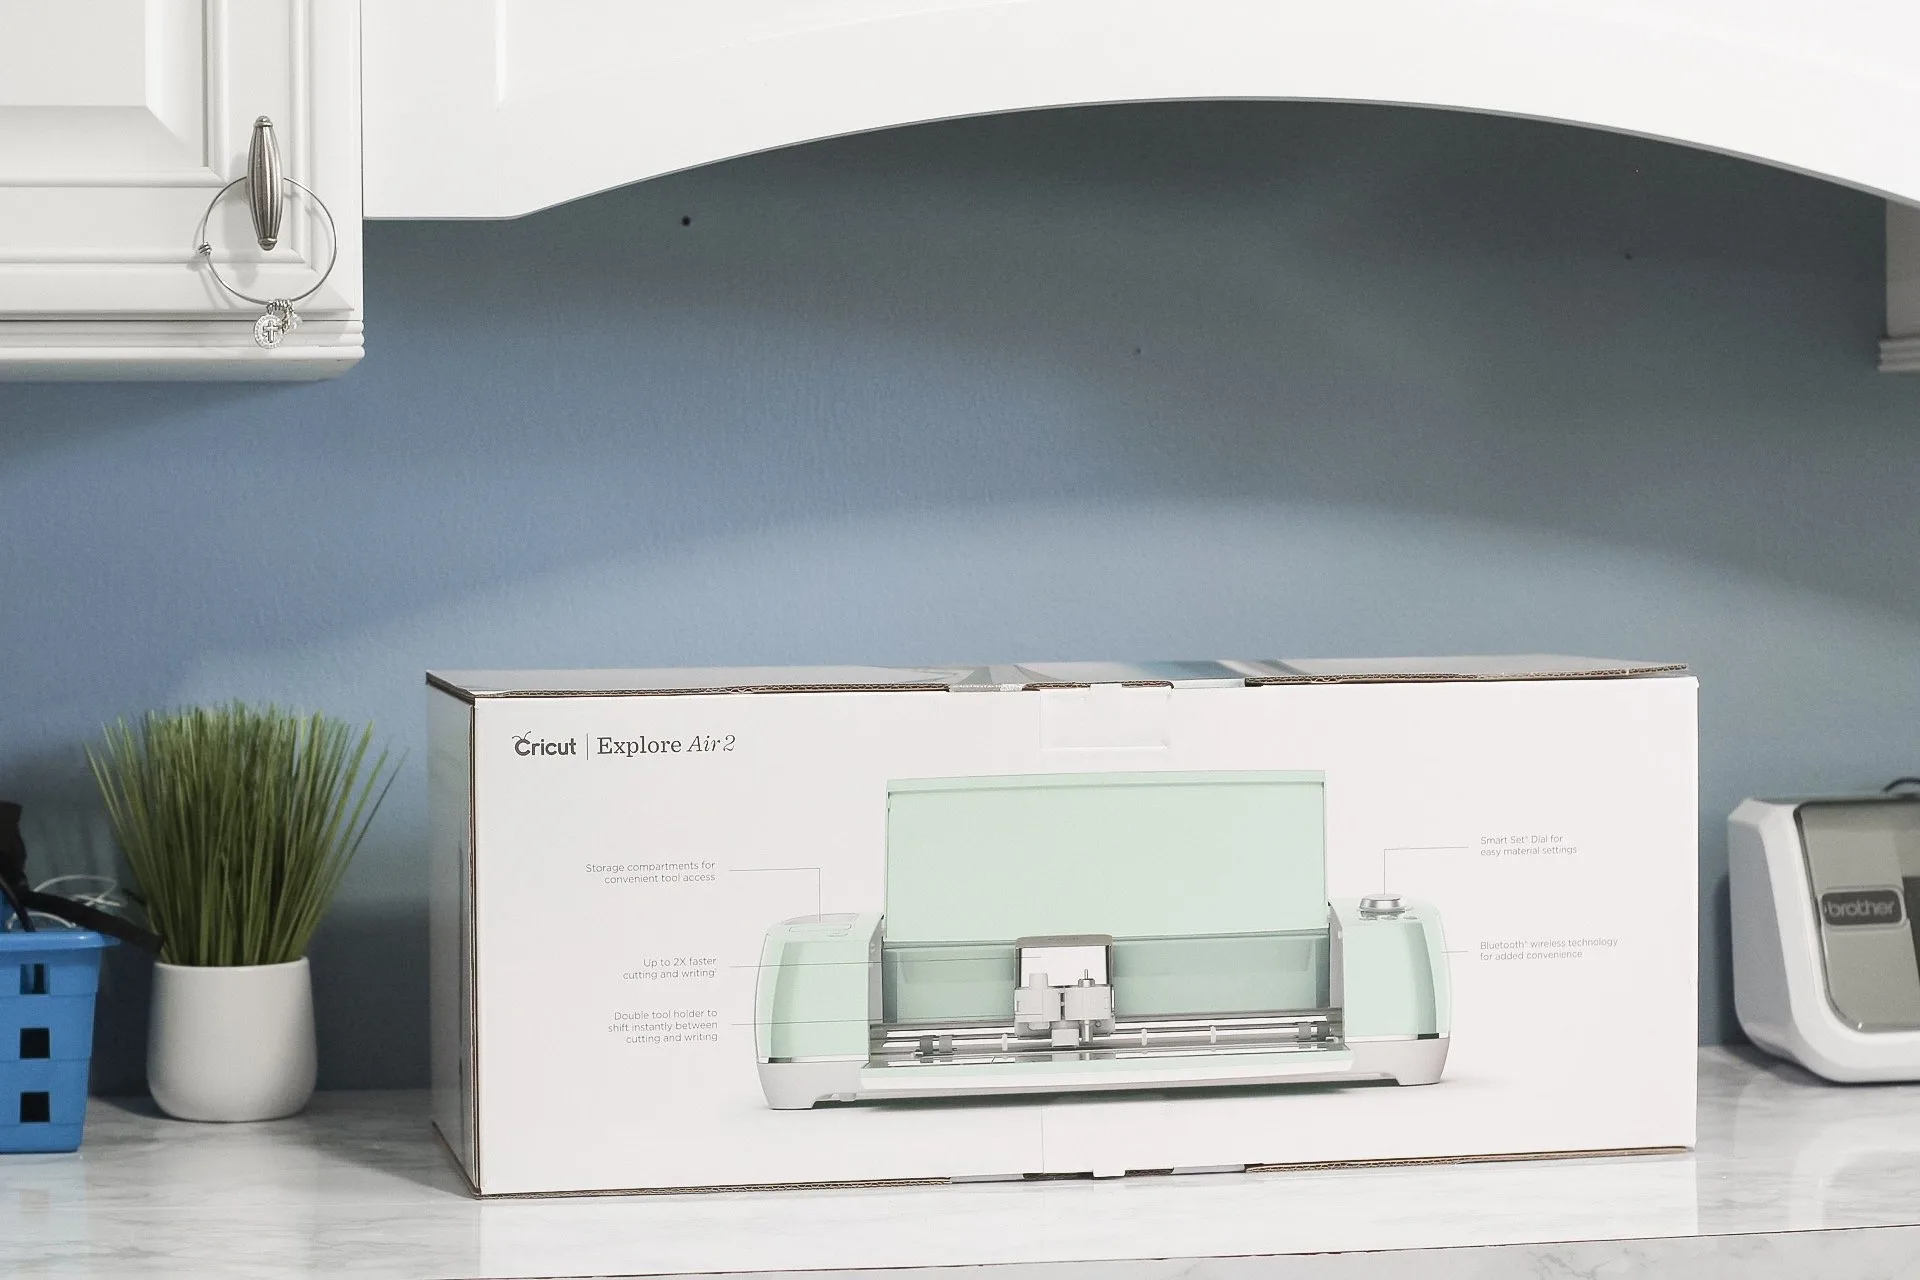
I received the Cricut Explore Air 2 in the color mint, which is a gorgeous, soft green color. It goes with my office perfectly!
This cutting machine is supposed to be great for cutting up to 100 different materials, including cardstock, vinyl, felt, cardboard, and even leather!
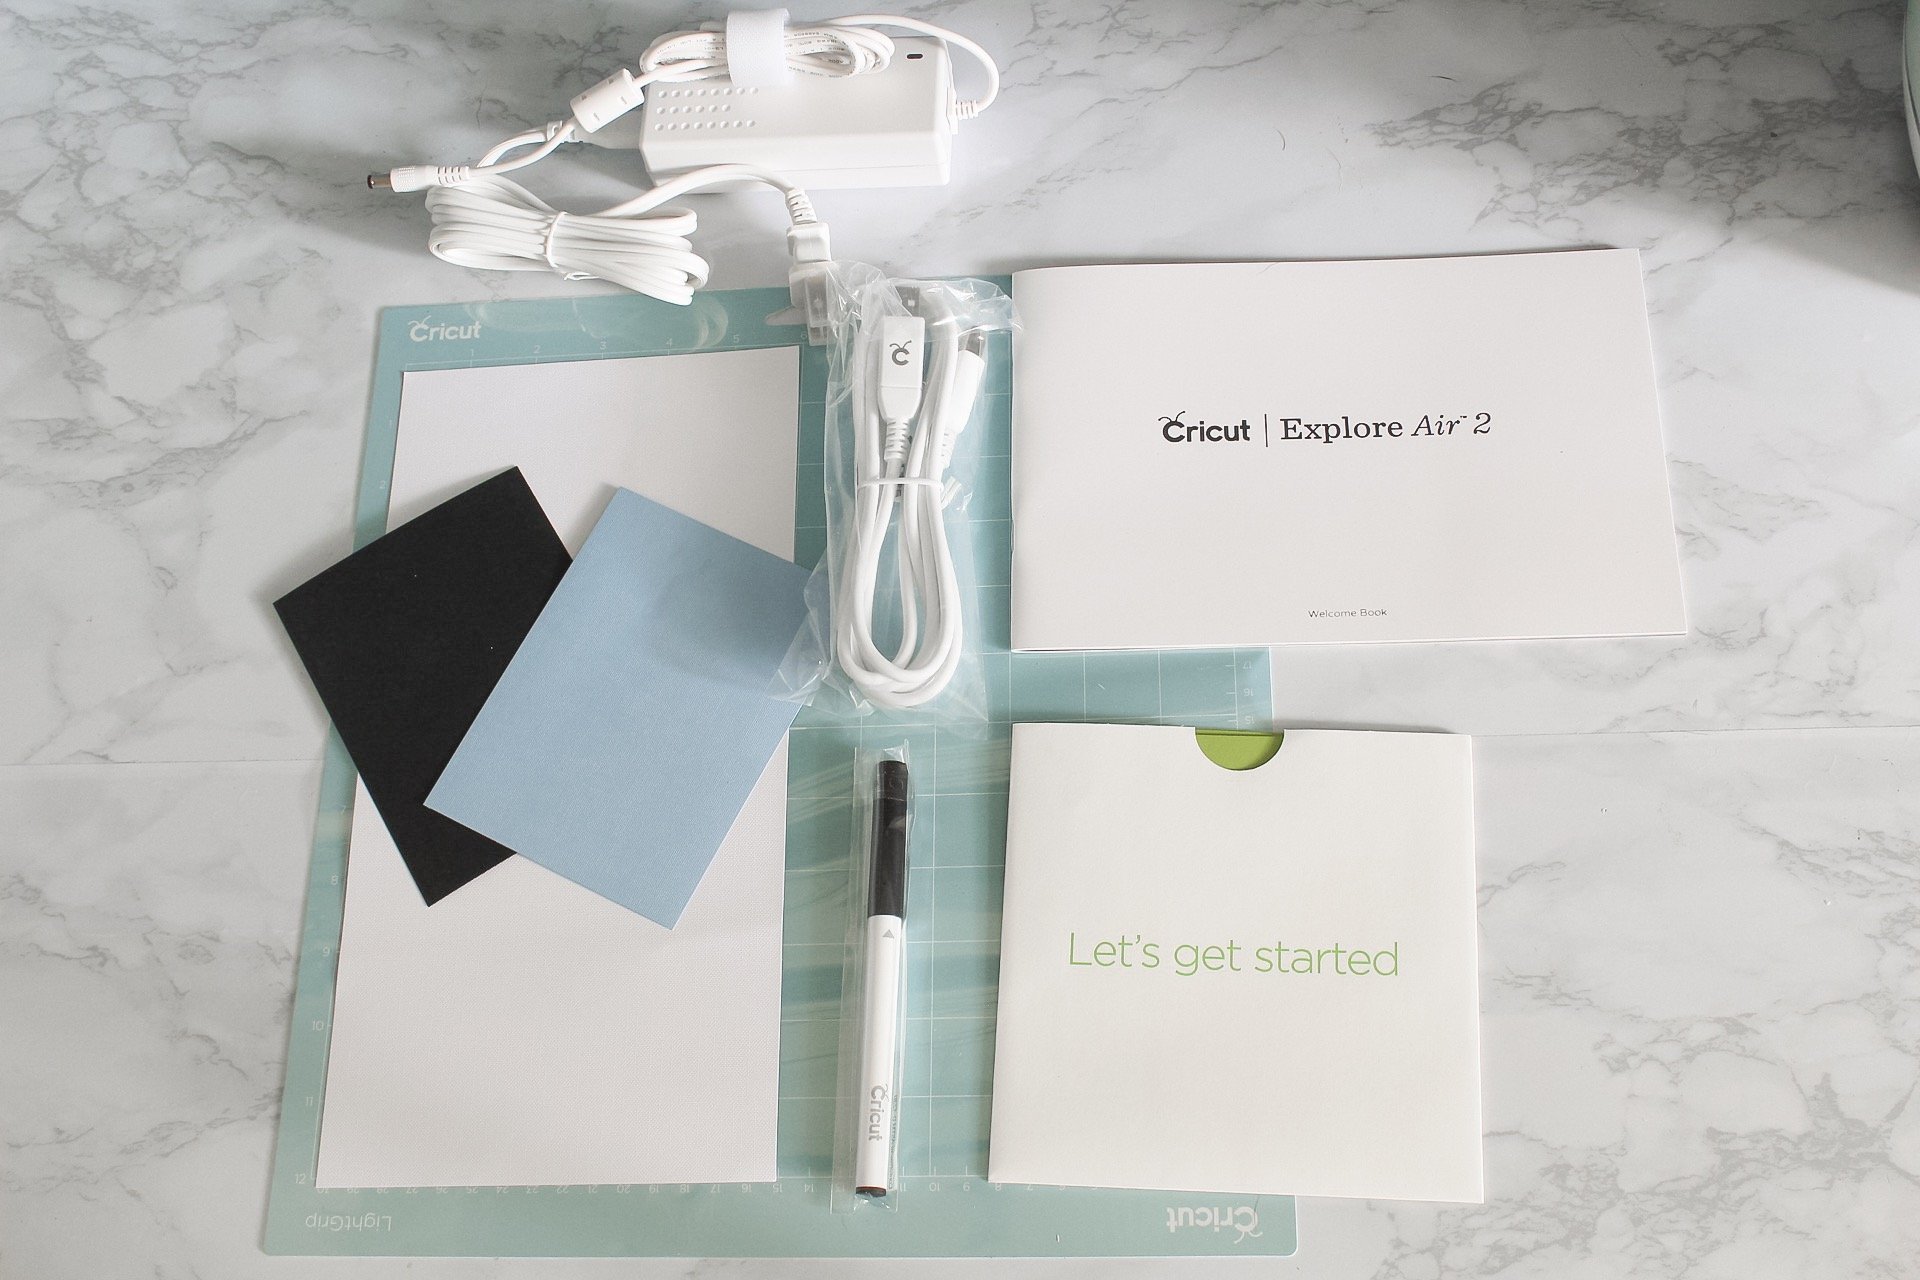
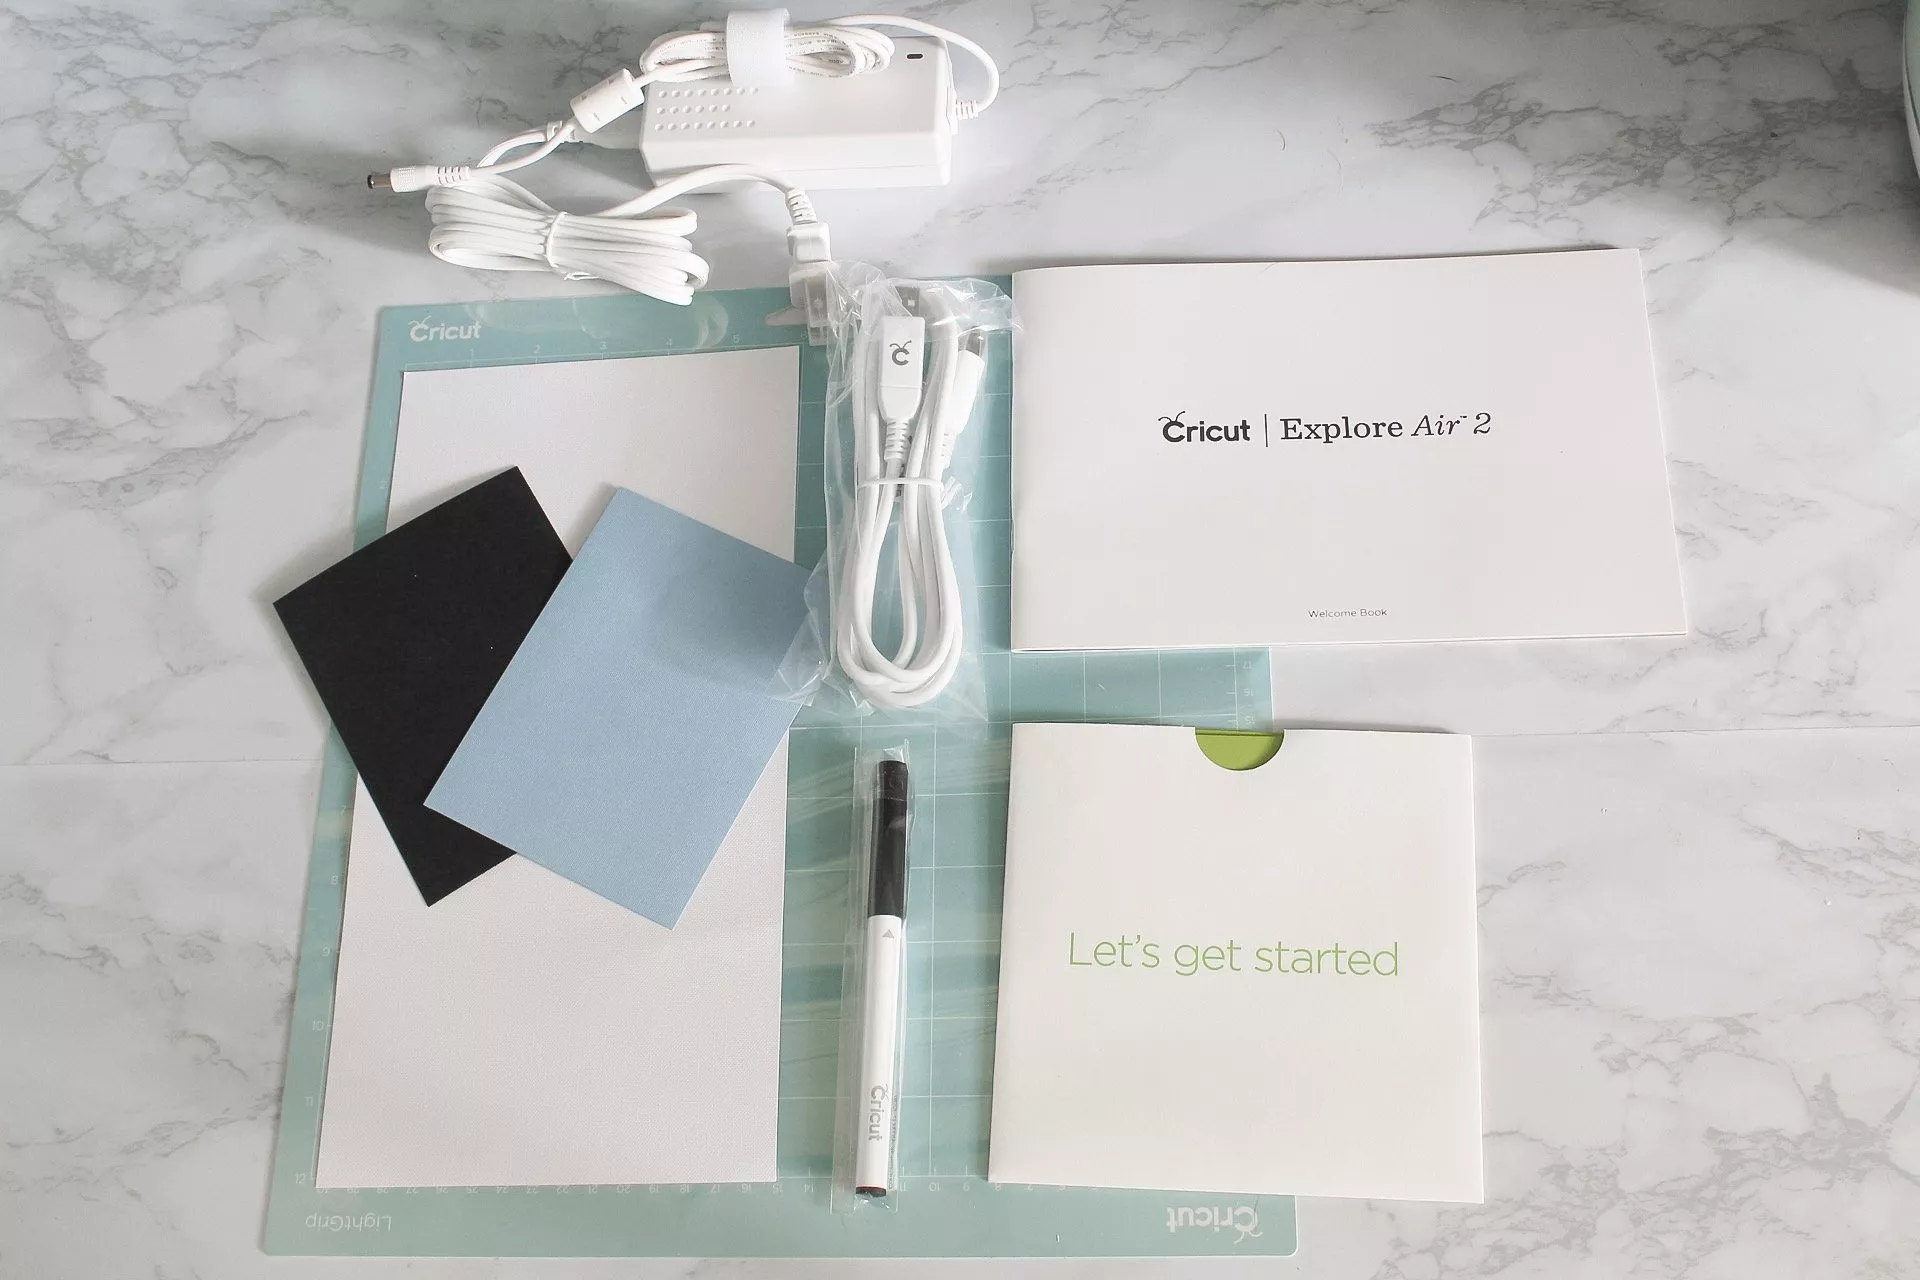
What’s In The Box?

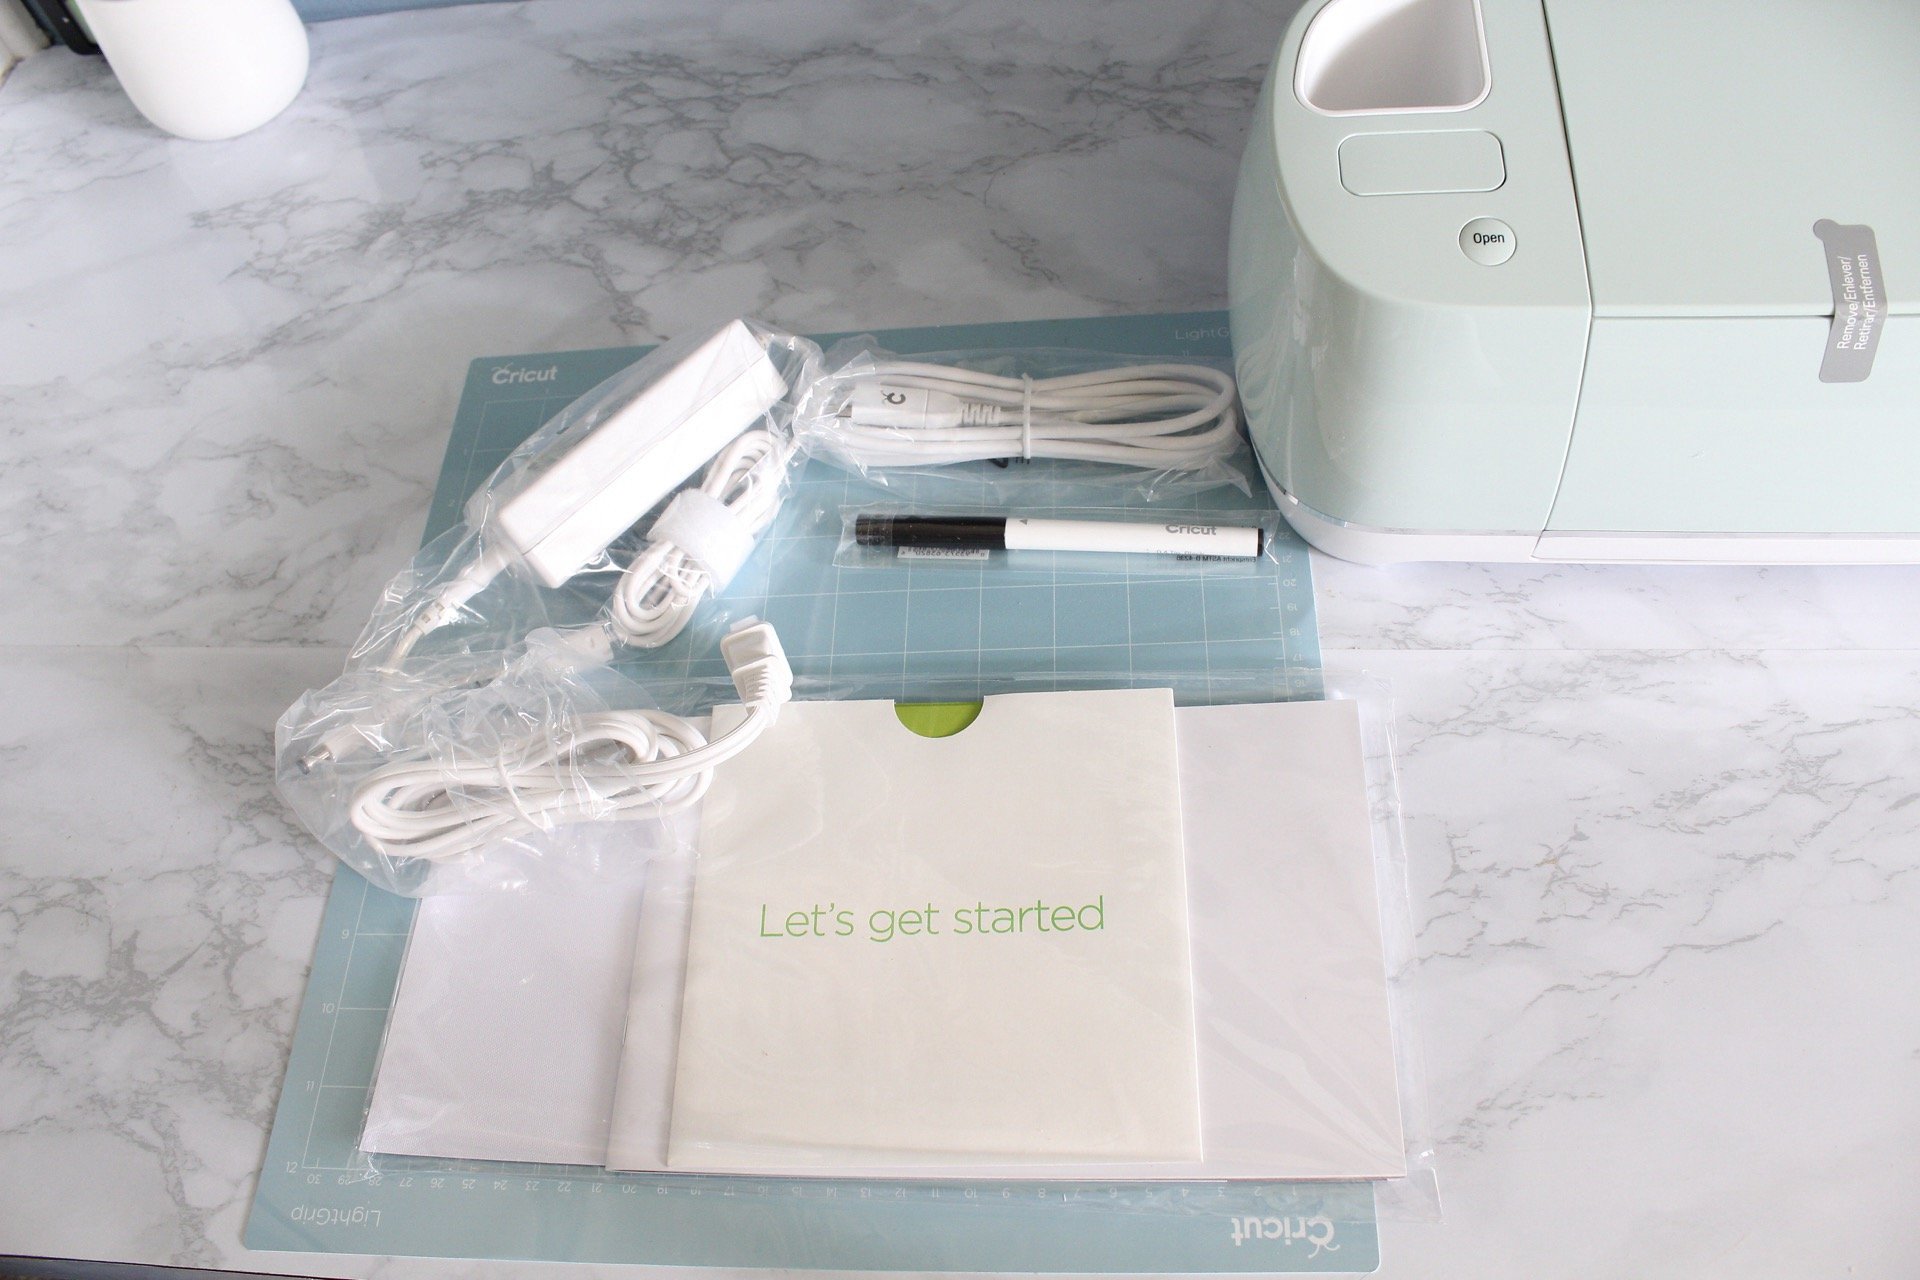
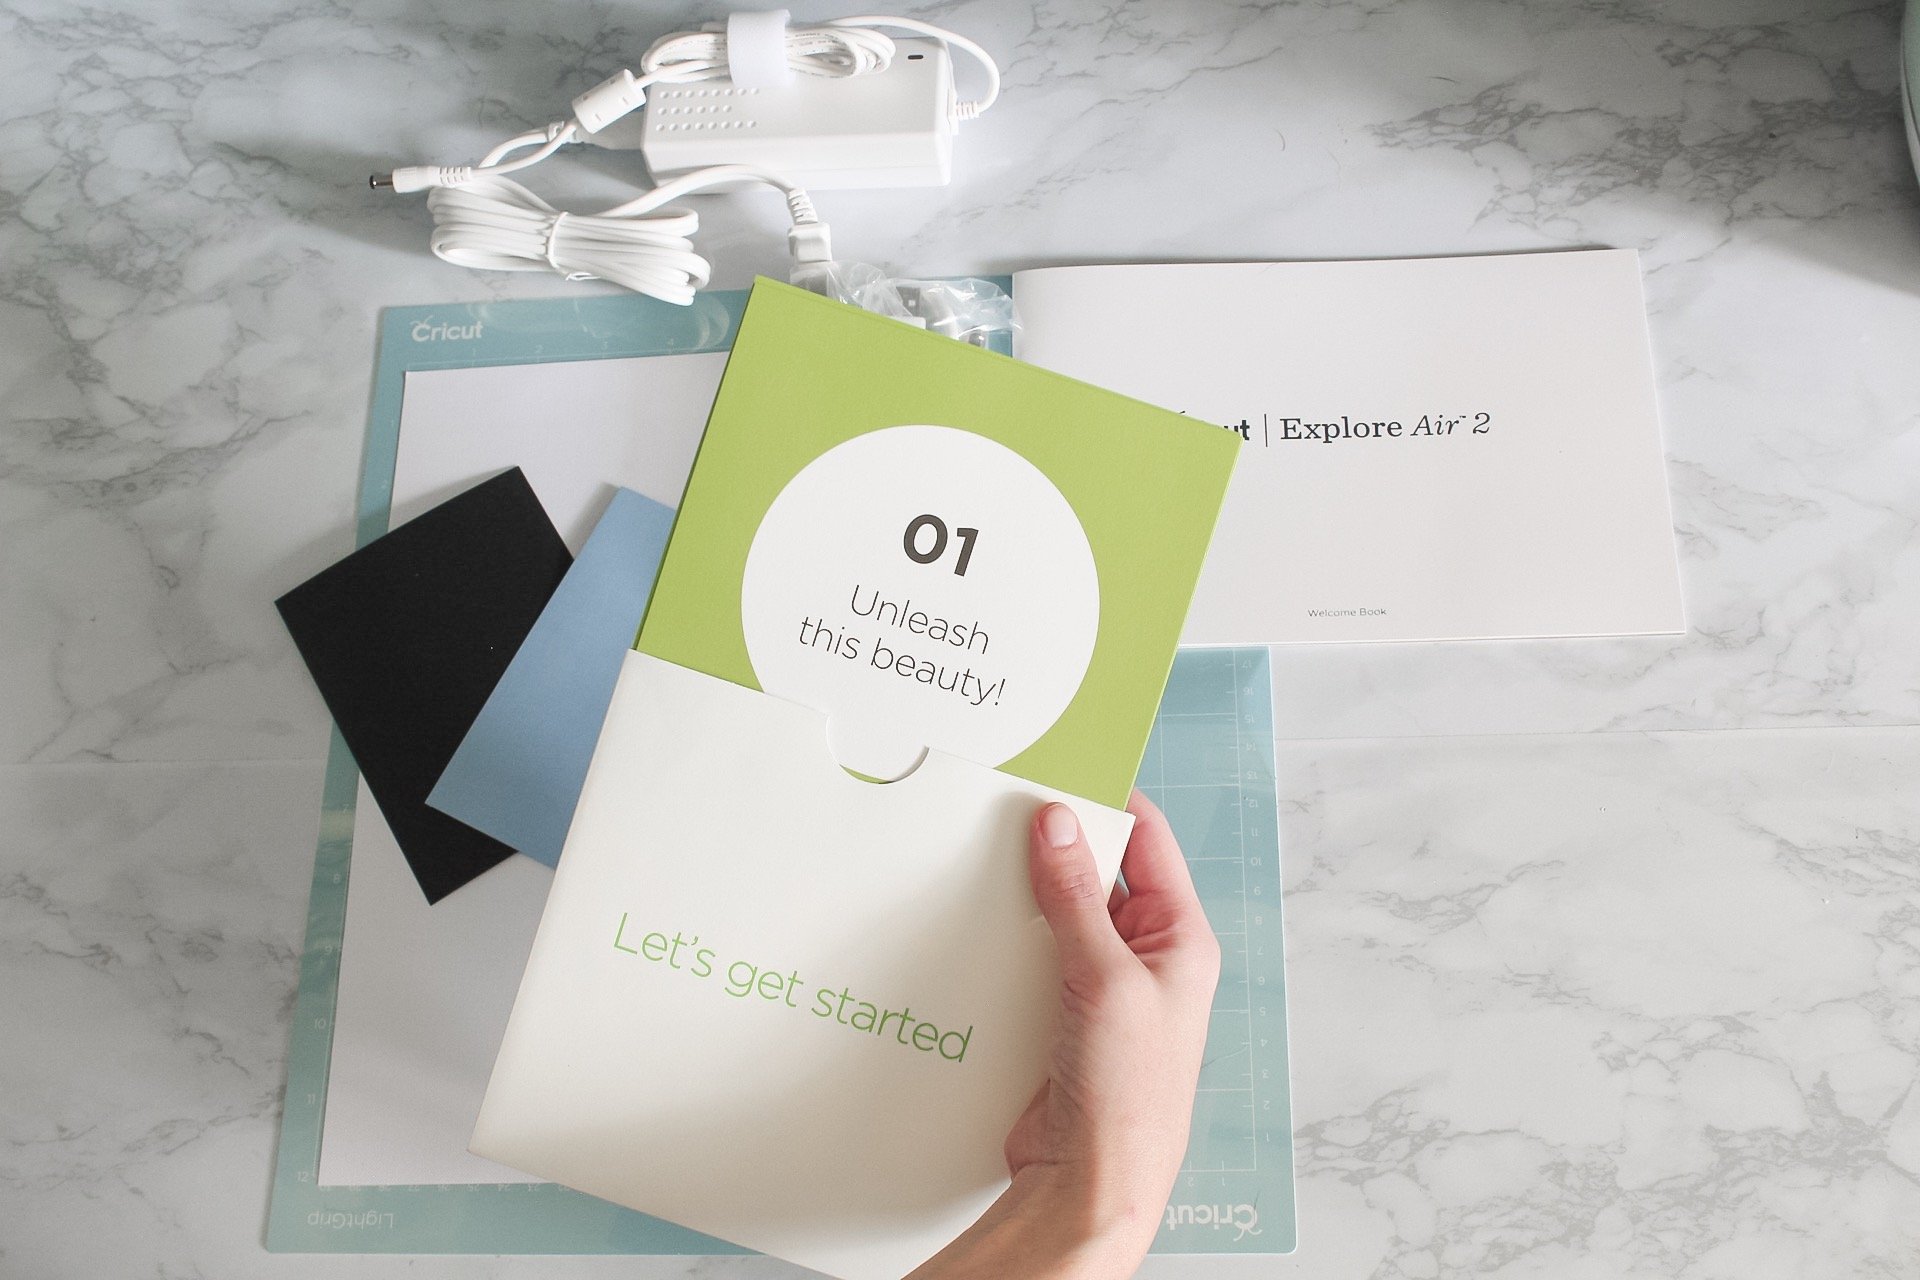
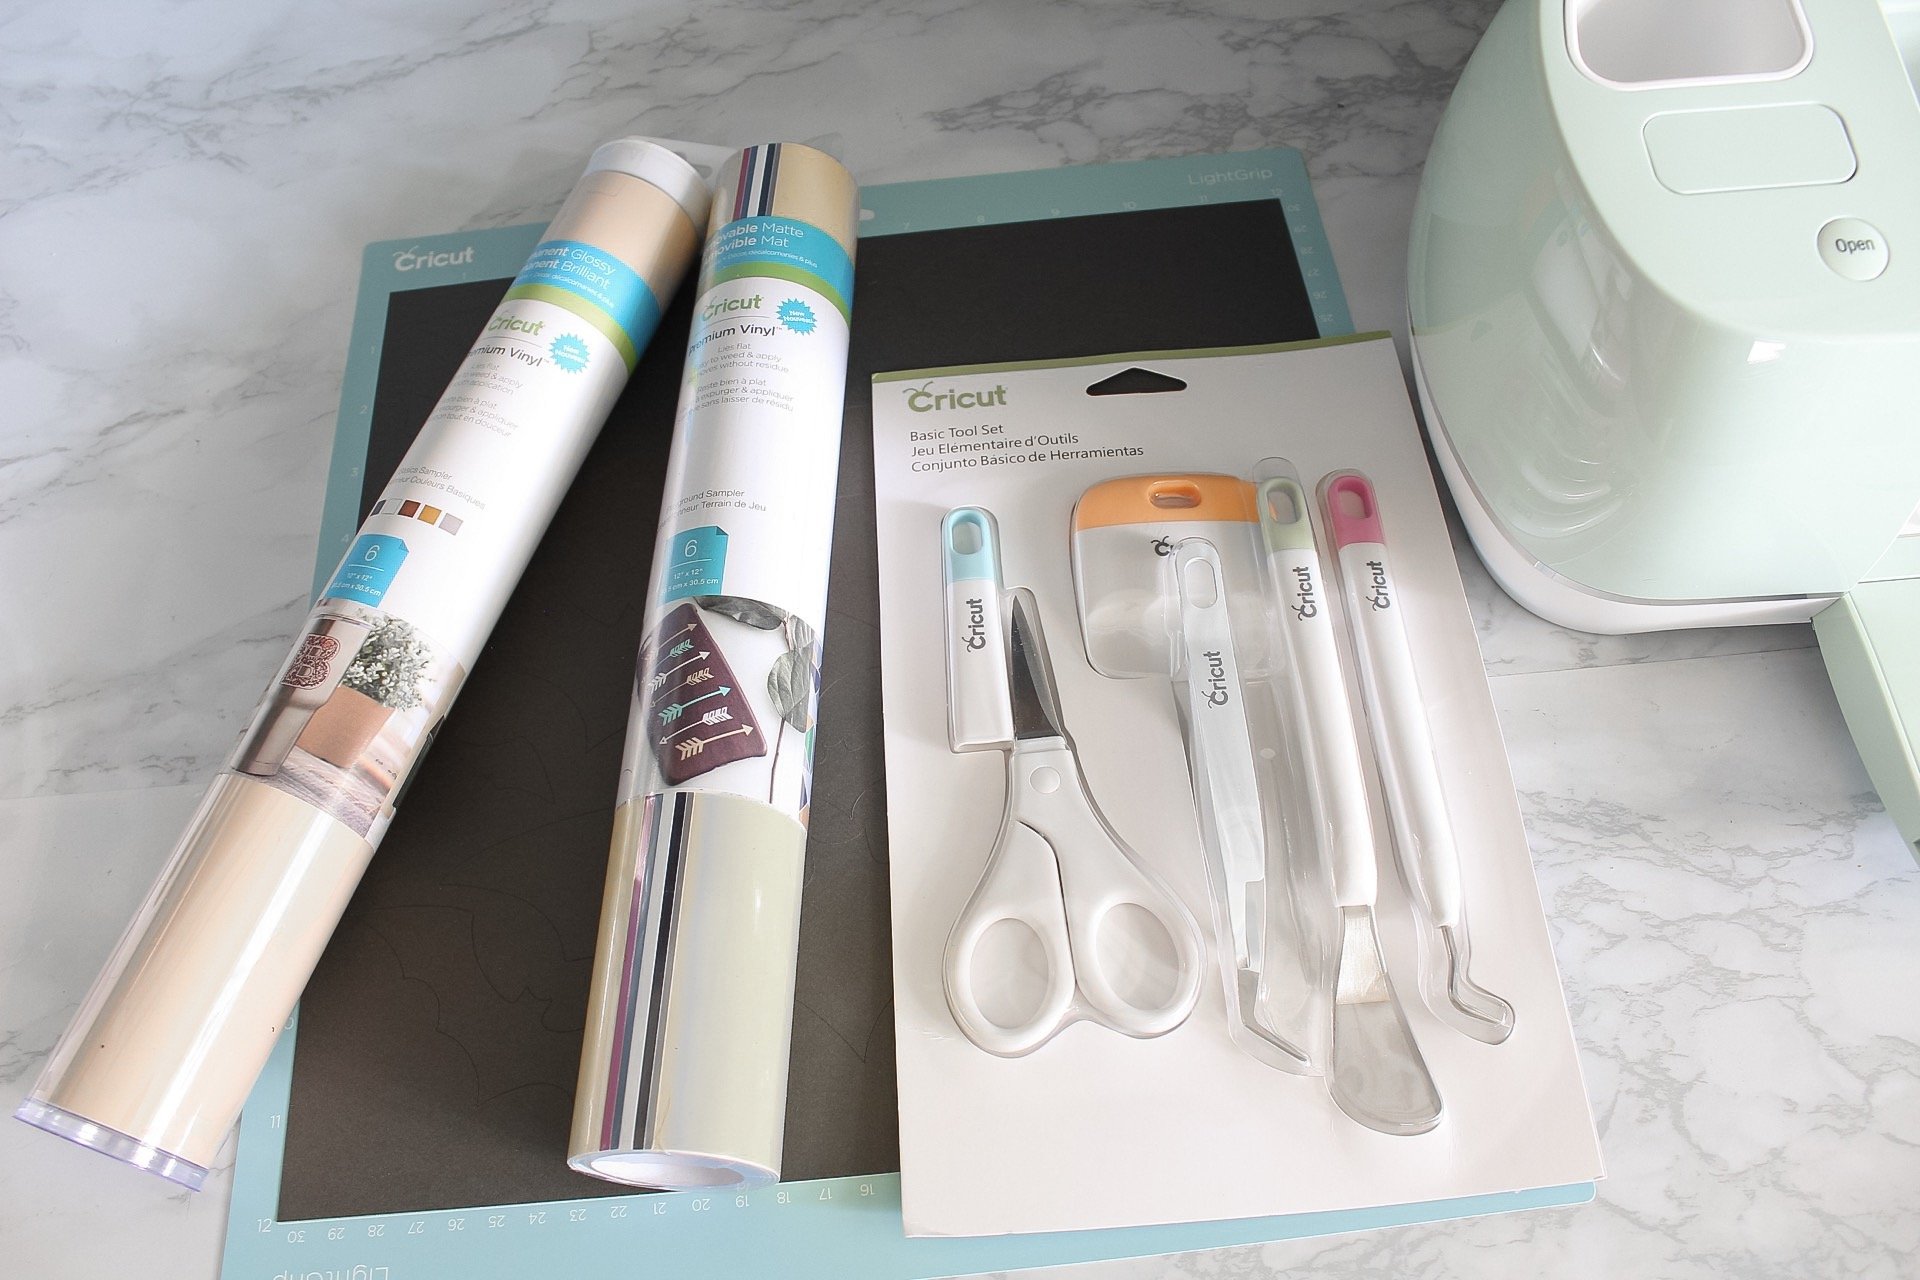
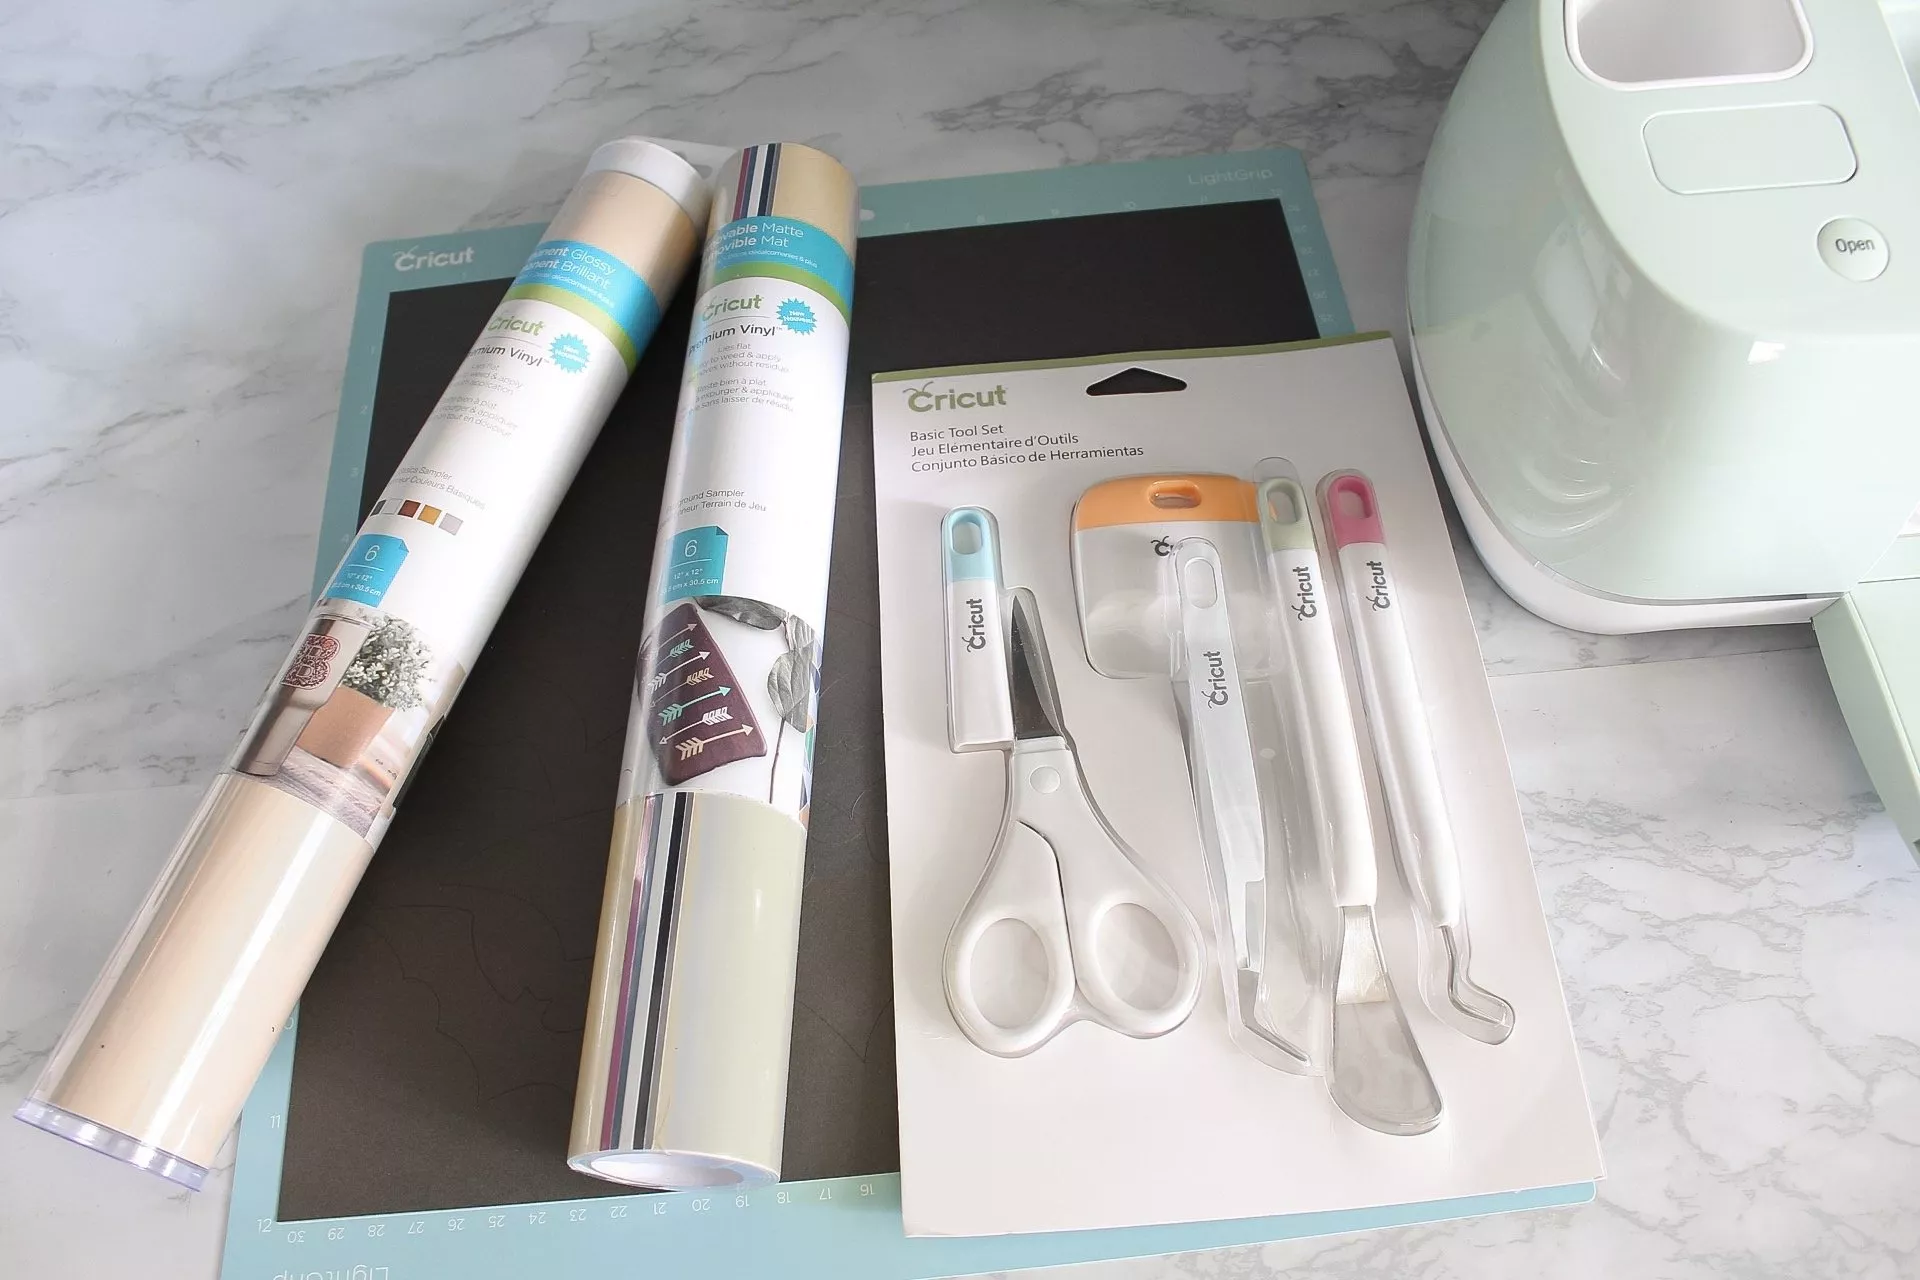
Besides the gorgeous cutting machine, here’s what else you get in the box:
- Welcome Book
- Project Idea Book (50 ready-to-make projects)
- Premium fine-point blade and housing
- USB cable
- Power adapter
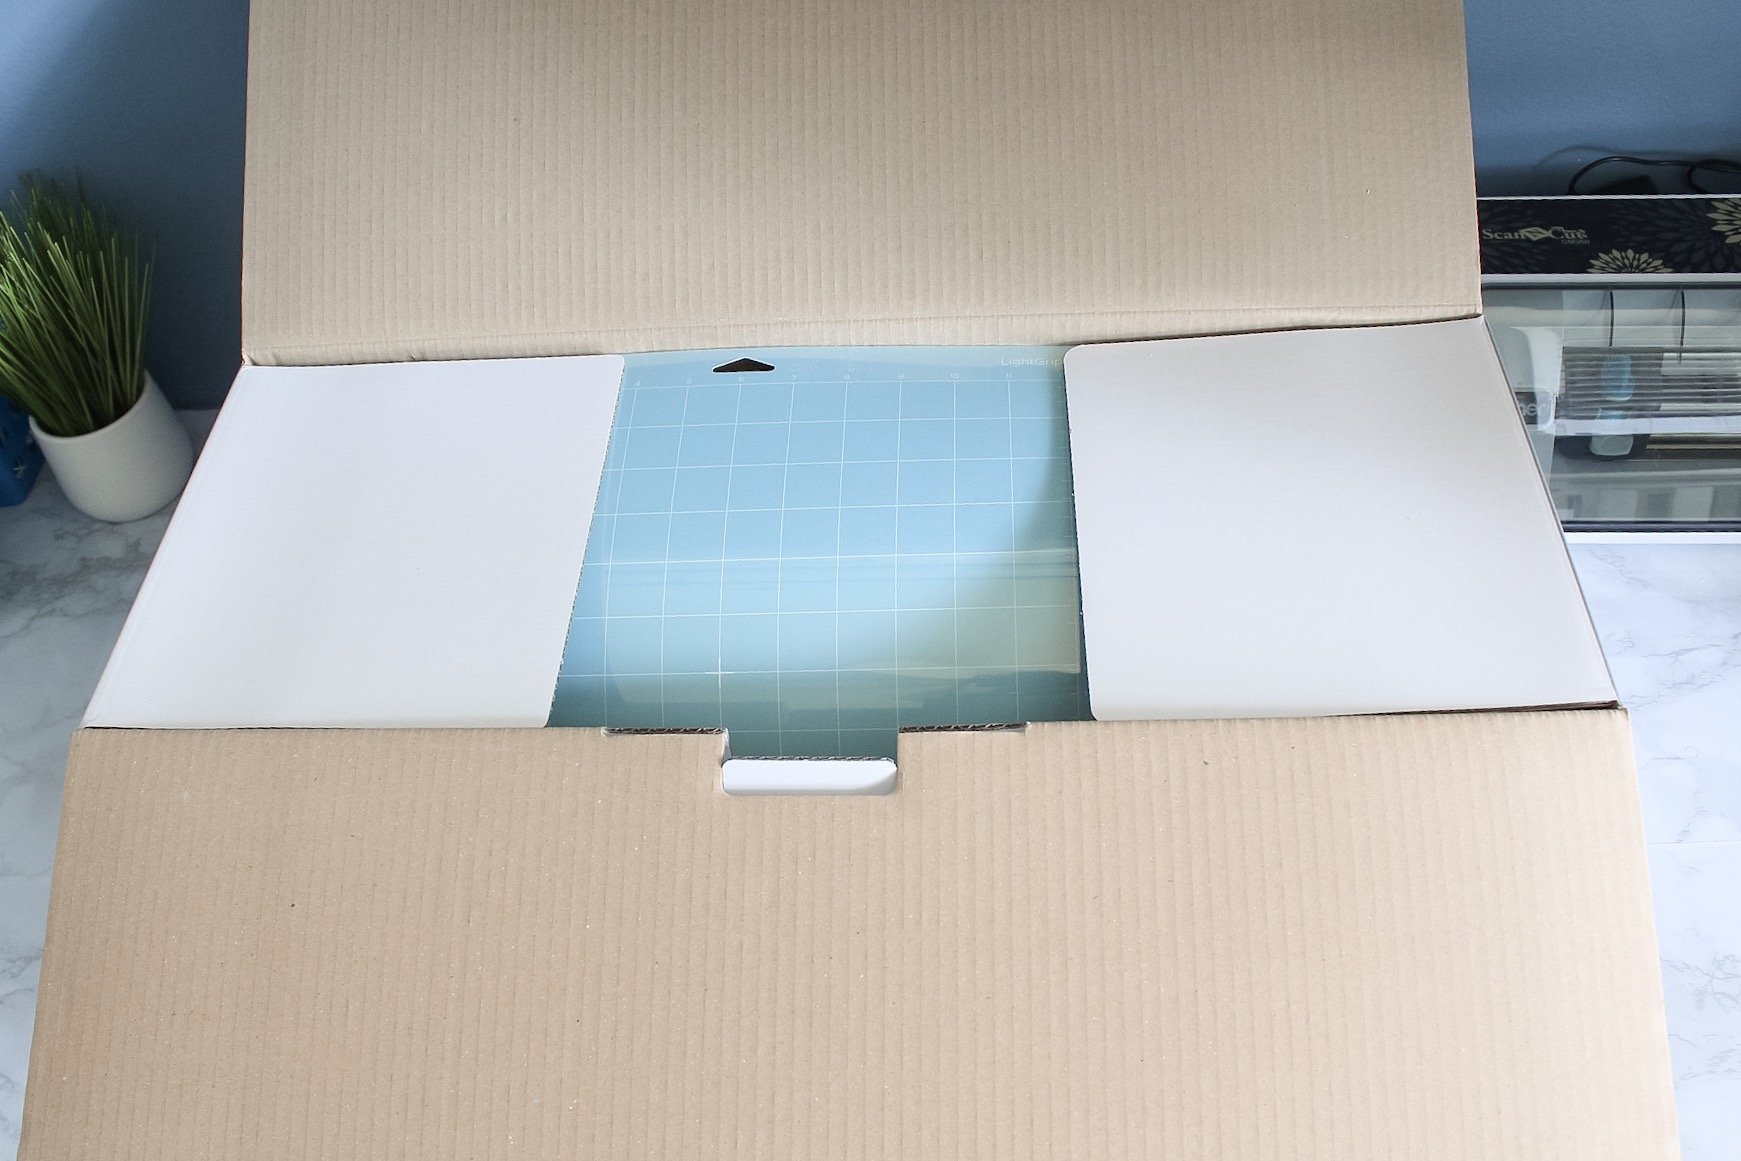
- 12″x12″ LightGrip Mat
- Materials for a practice project
- Fine point pen (black)
- Free trial membership to Cricut Access™ (for new subscribers)
There is also information on the warranty that comes with your machine, troubleshooting tips should you ever need them, and cards to help you set up your machine FAST since you’ll probably be eager to get started on a project or two as soon as it’s out of the box.
Cricut Explore Air 2 Machine Features

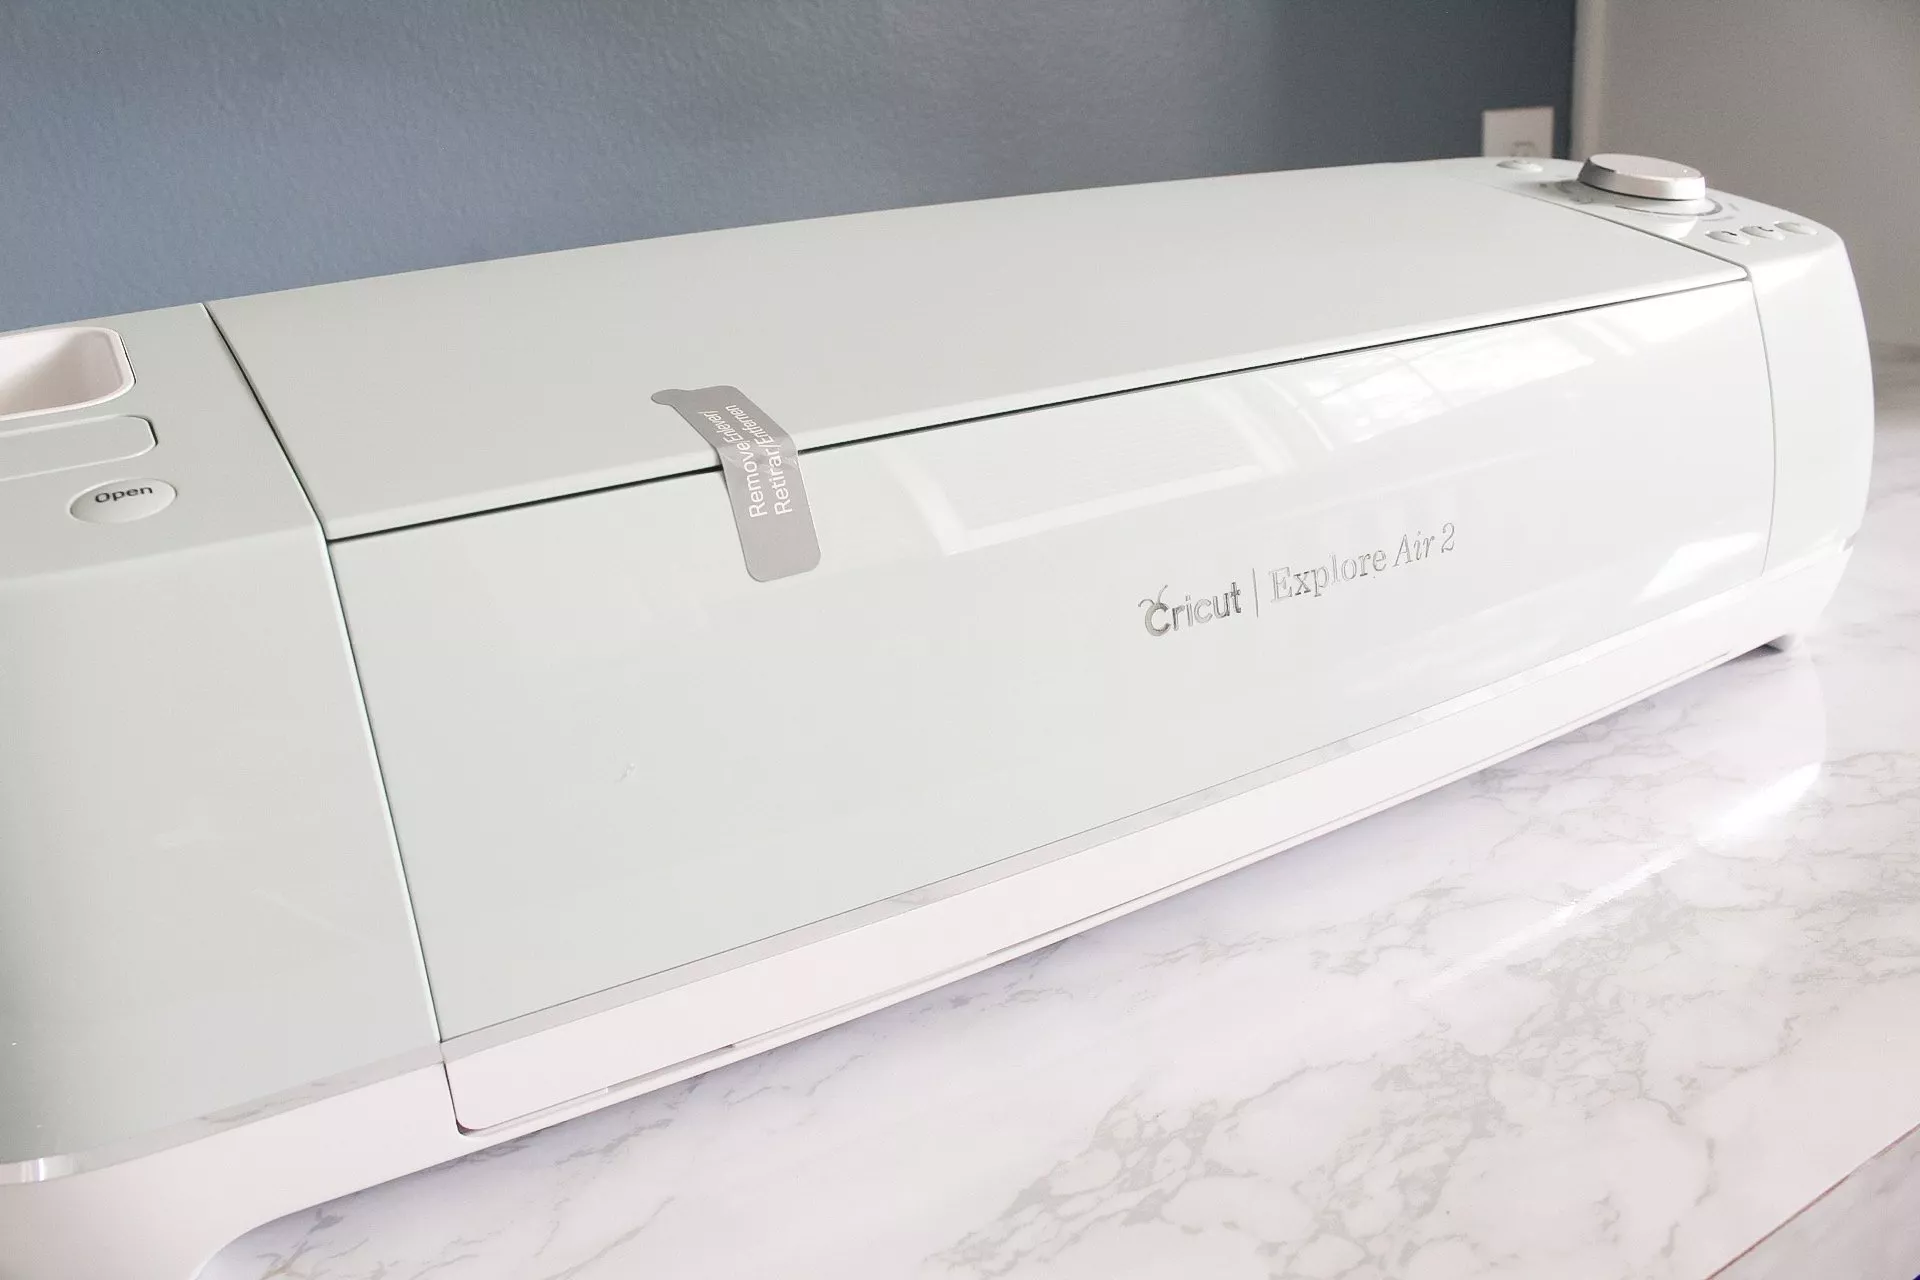
Besides looking pretty, this machine is user-friendly (especially for beginners) and has some really cool features like:
- This DIY speed machine combines time-saving performance and class-leading simplicity
- Cuts 100 materials – everything from cardstock, vinyl, and iron-on to a range of specialty materials
- Fine-Point Blade for cutting a wide variety of popular craft materials
- Fast Mode for up to 2X faster cutting and writing
- Bluetooth® wireless technology (connect wirelessly to your computer or smartphone)
- Compatible with Scoring Stylus and Deep-Point Blade (sold separately)
- Double tool holder to keep blade and pen always at the ready
- Design Space® software for iOS, Android™, Windows®, and Mac®
- Upload and use your own images and fonts for free
- Compatible with Cricut cartridges

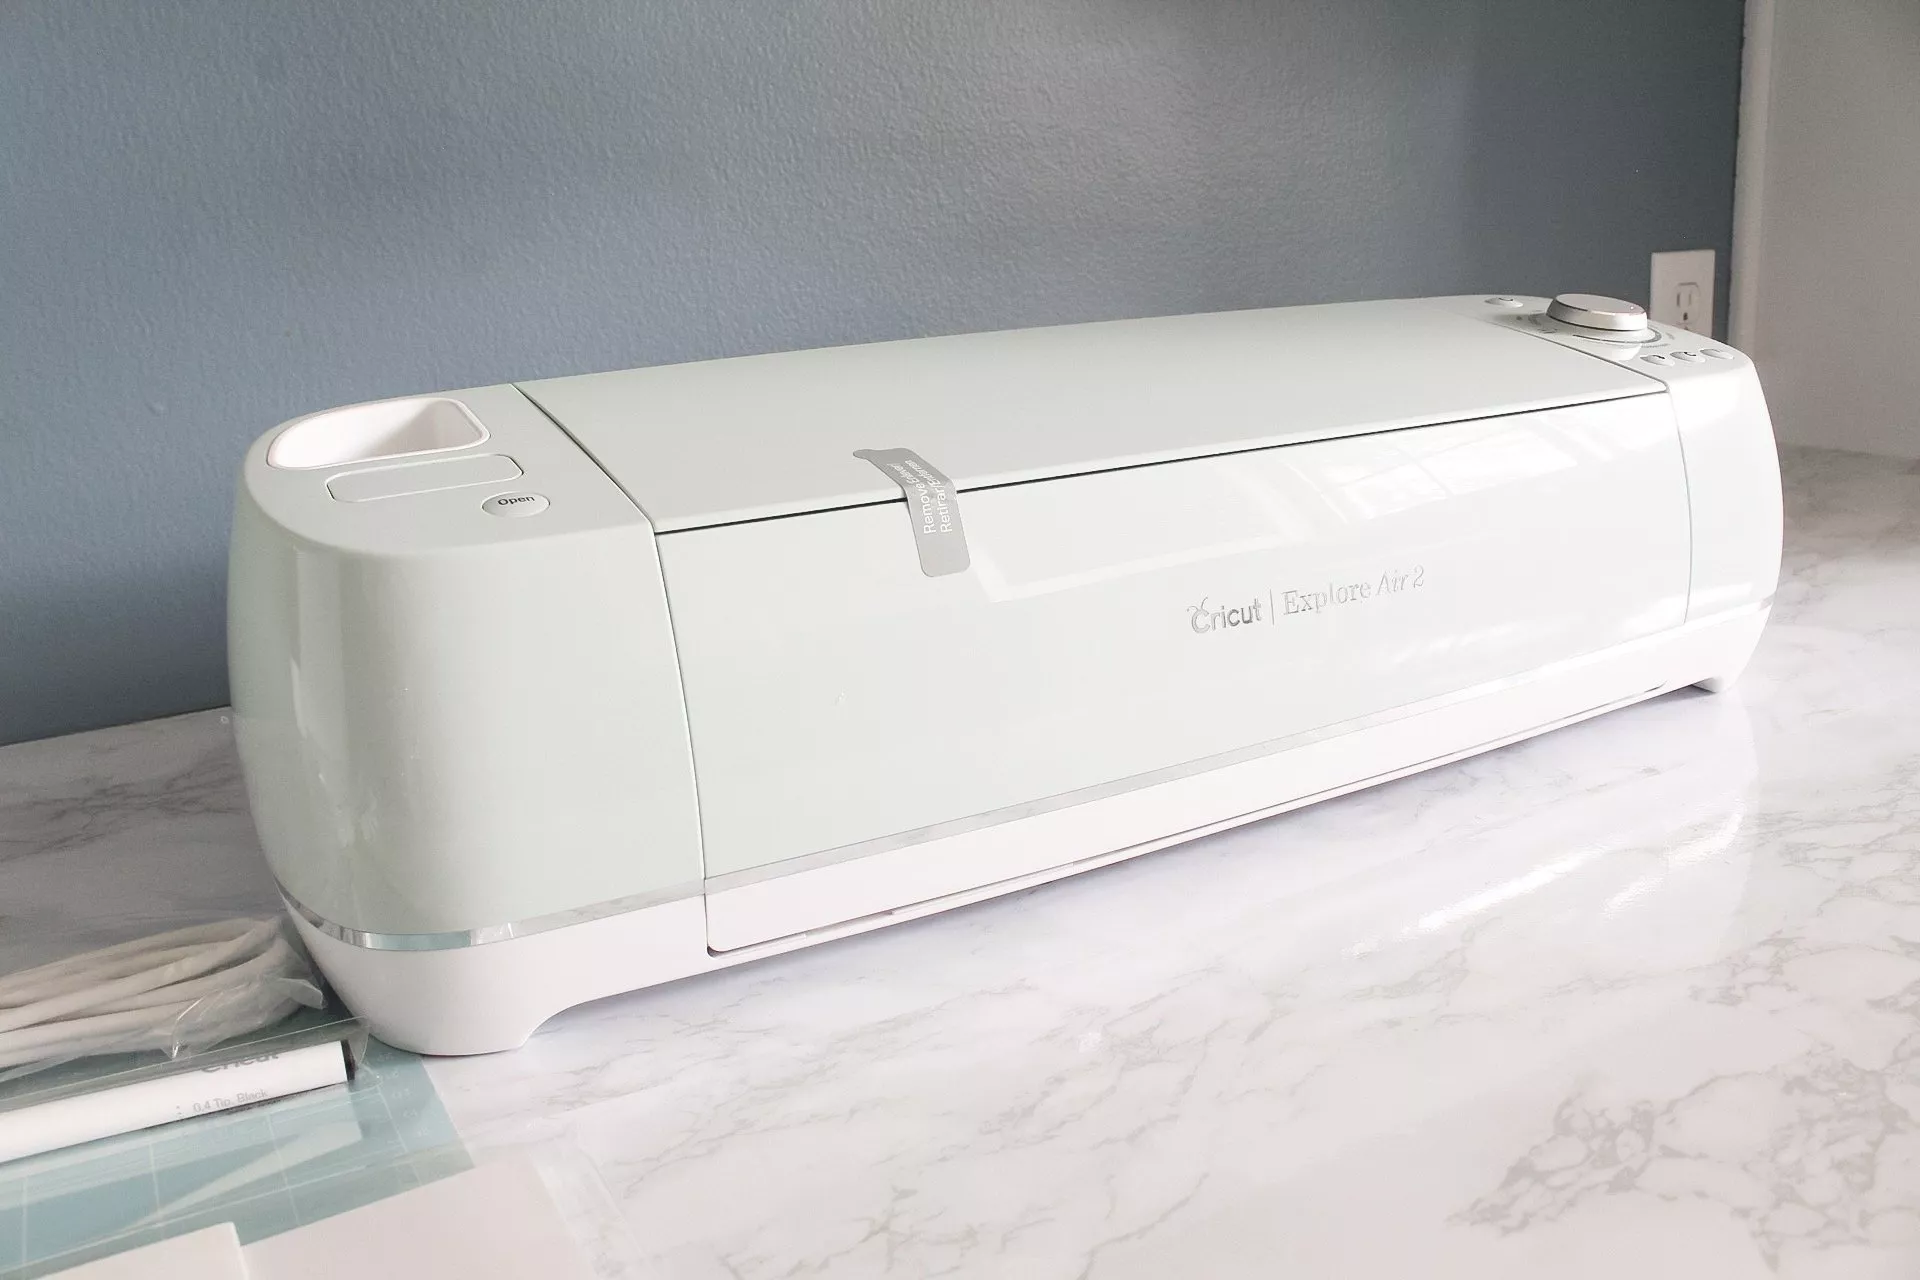
The Explore Air 2 also features built-in storage in the top of the machine to hold accessories like pens or your weeder, and in the bottom part of the ‘door’.
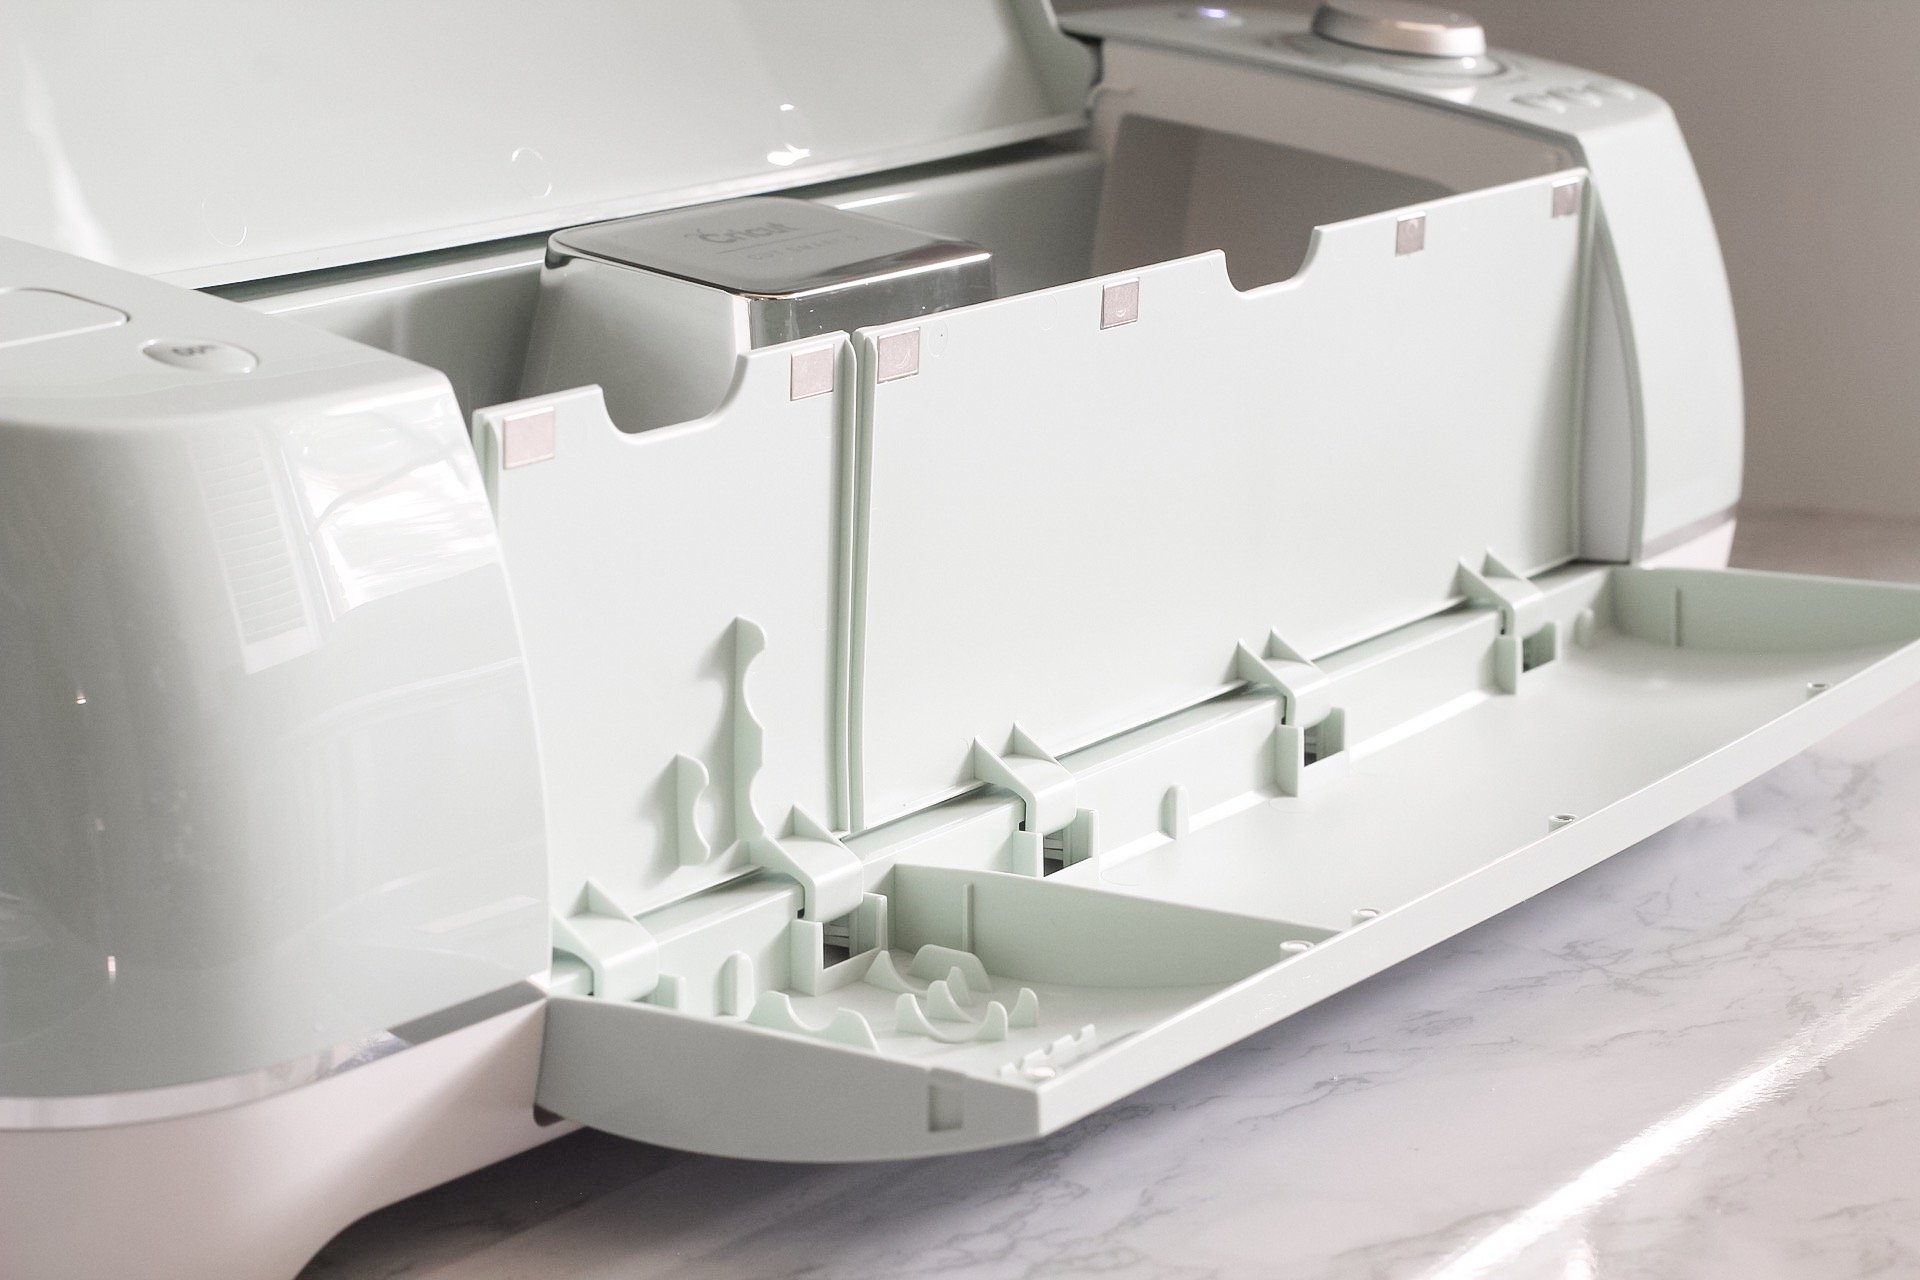
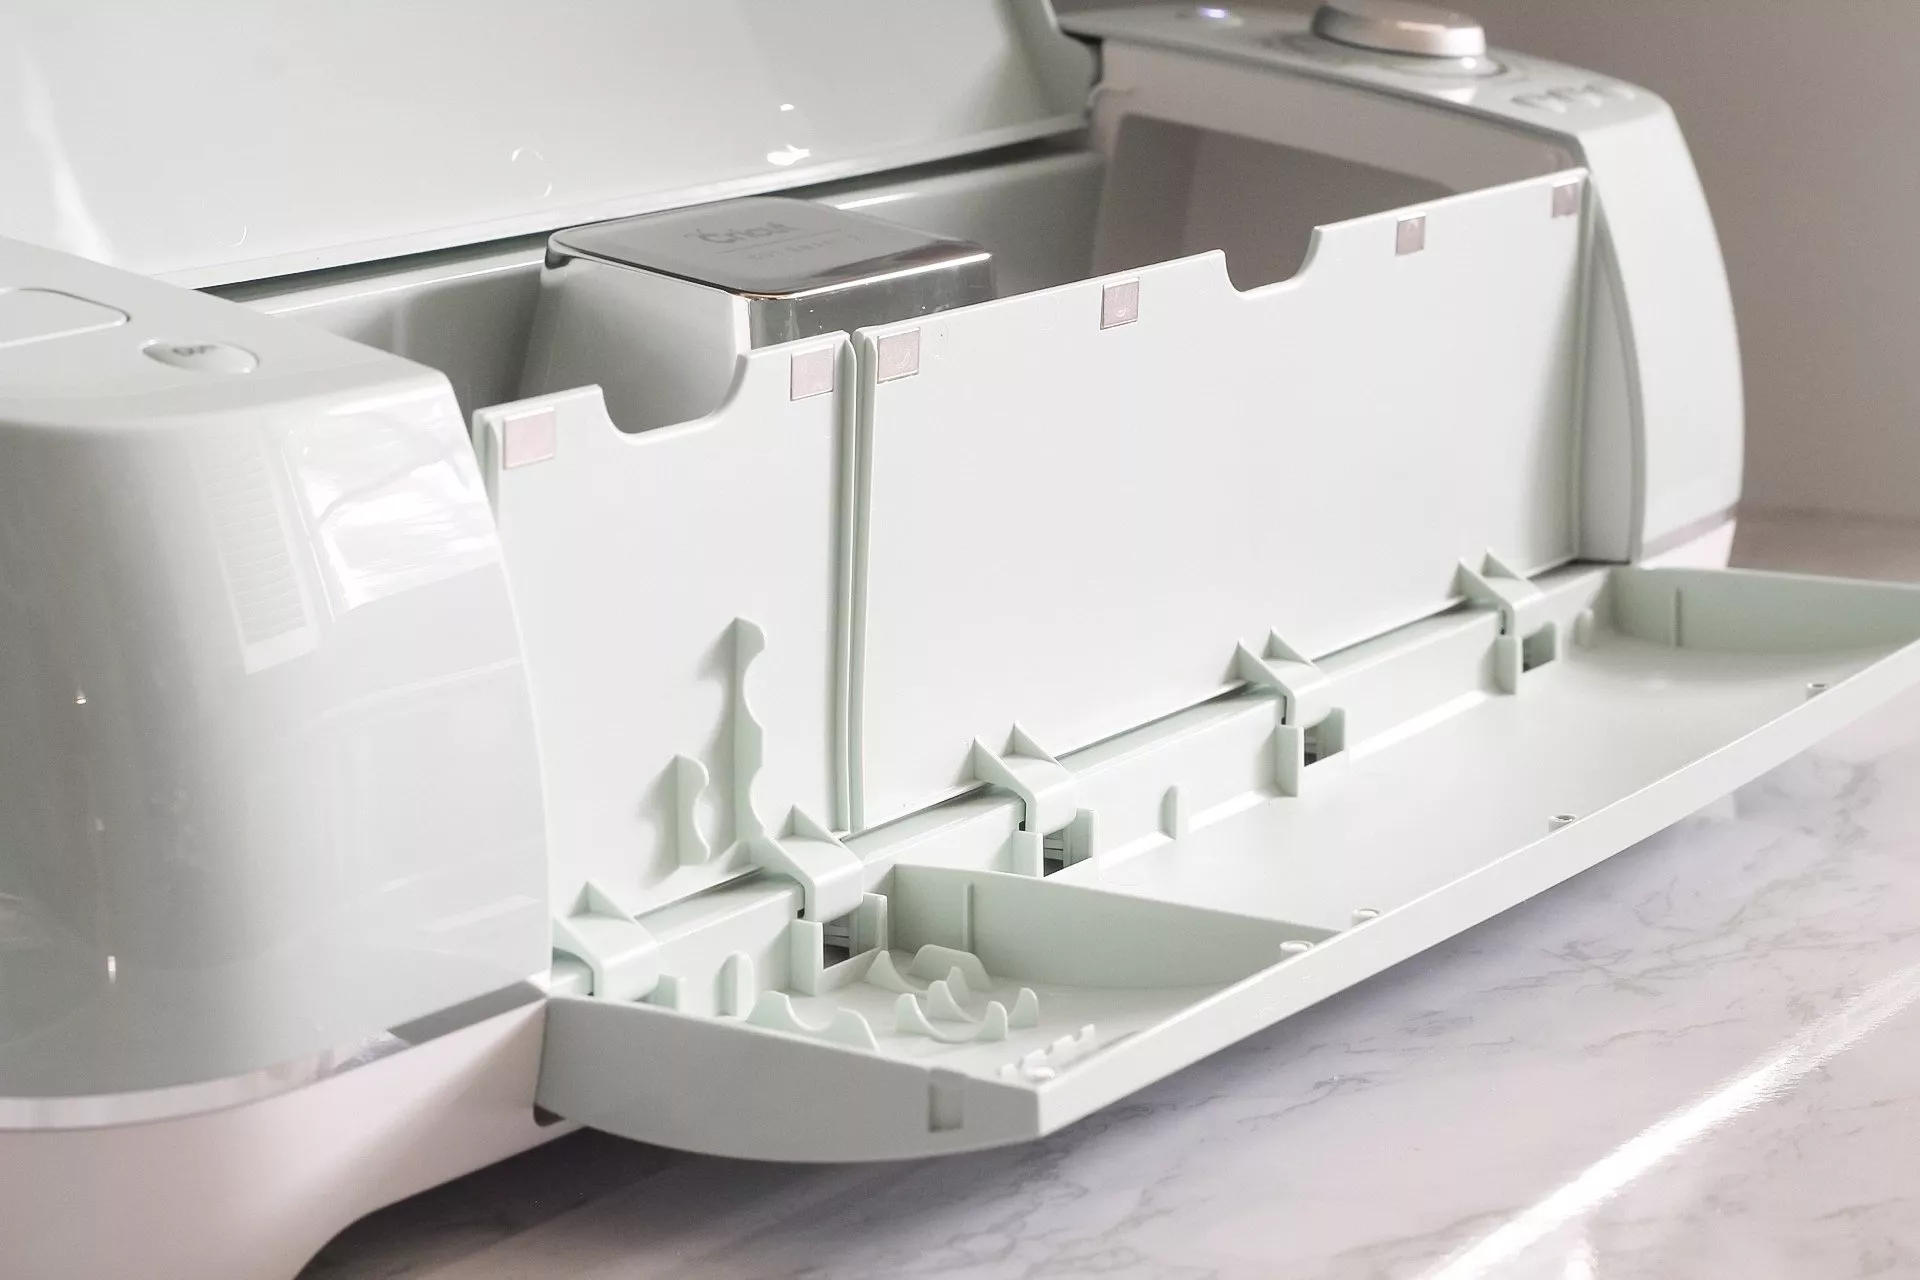
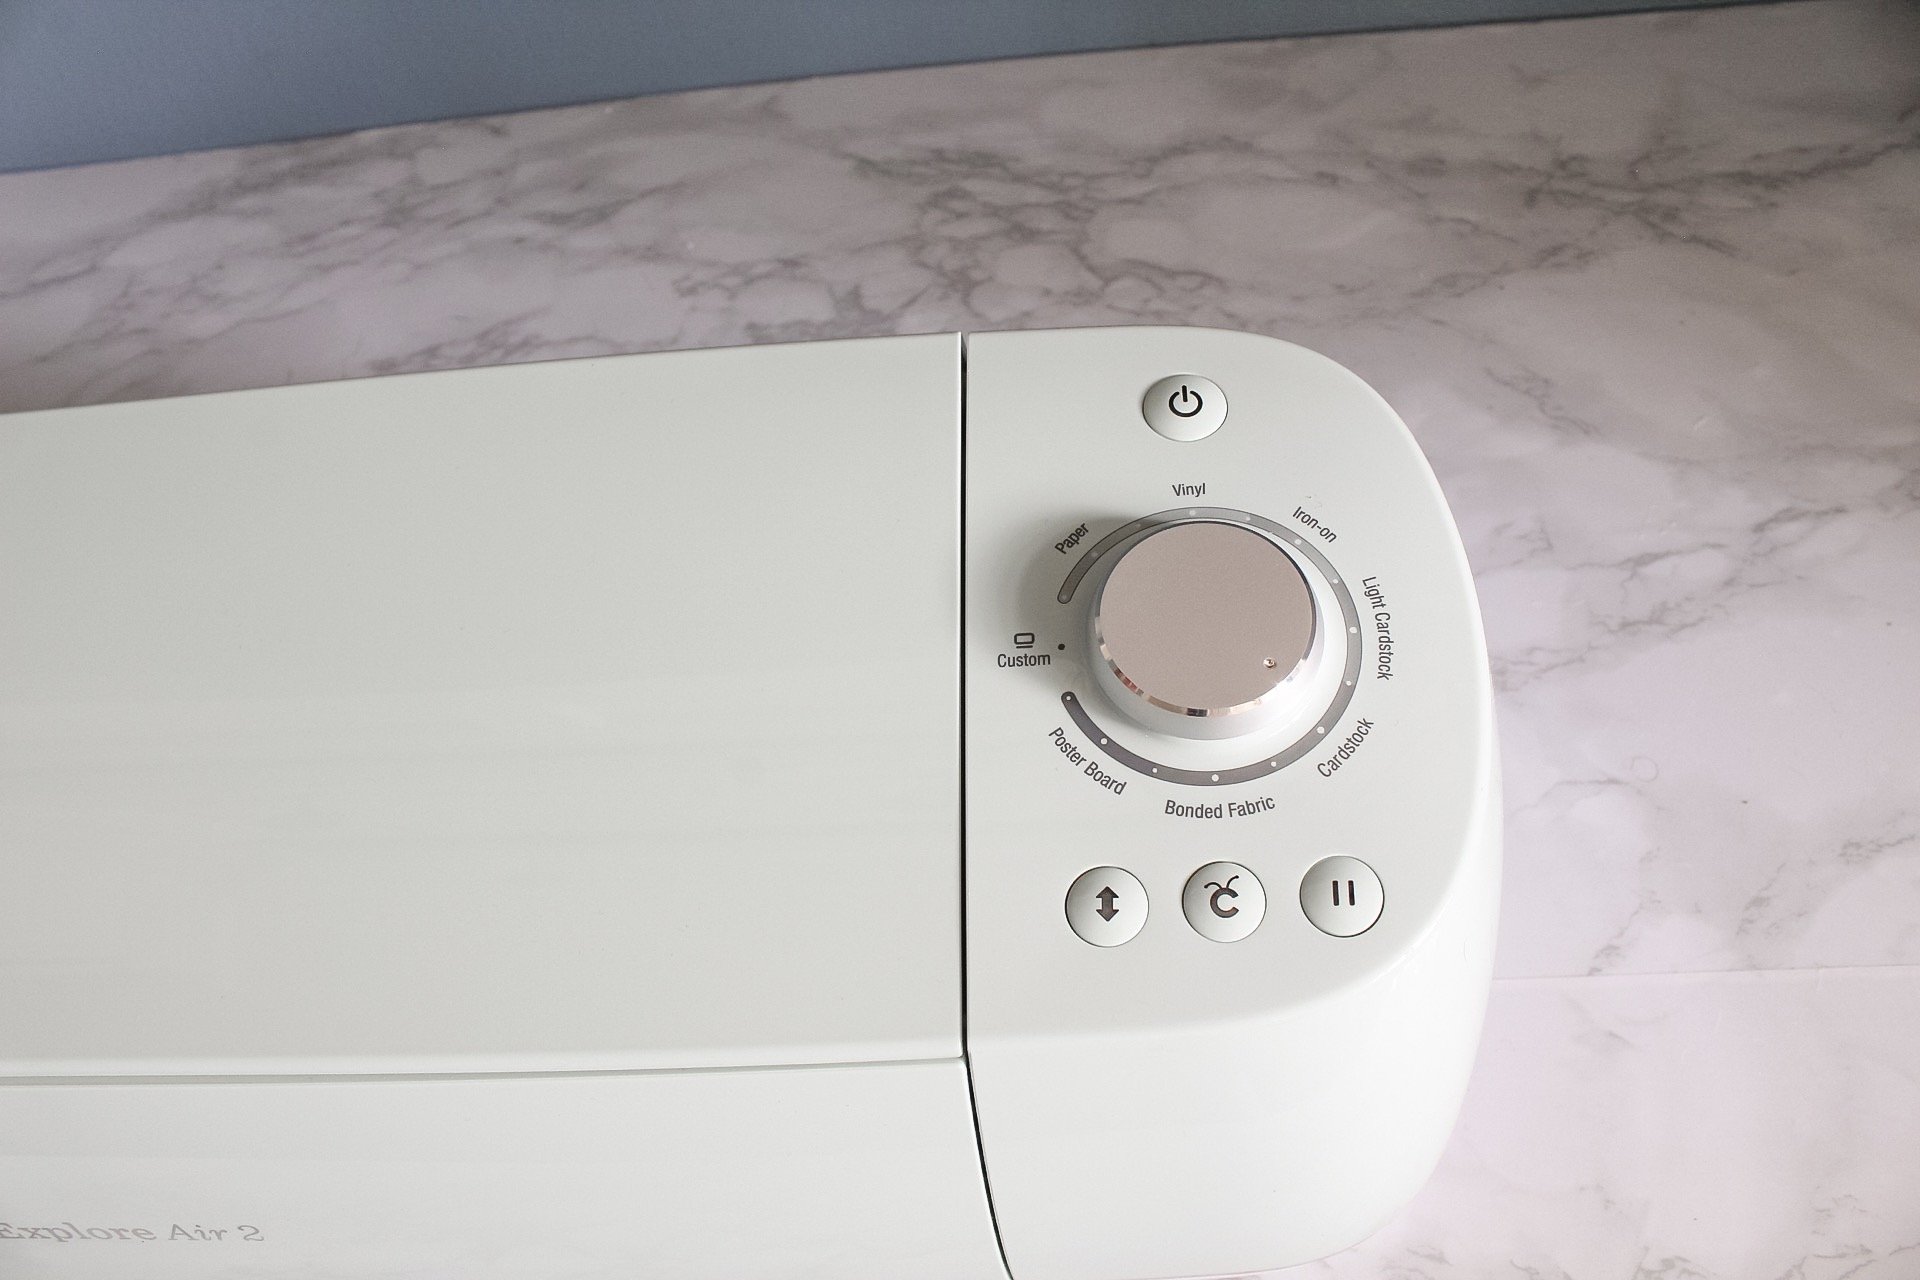

The dial makes it easy to adjust the blade to properly cut the material needed for your project with ease. No need to remove the needle and adjust it yourself with the Cricut Explore Air 2!
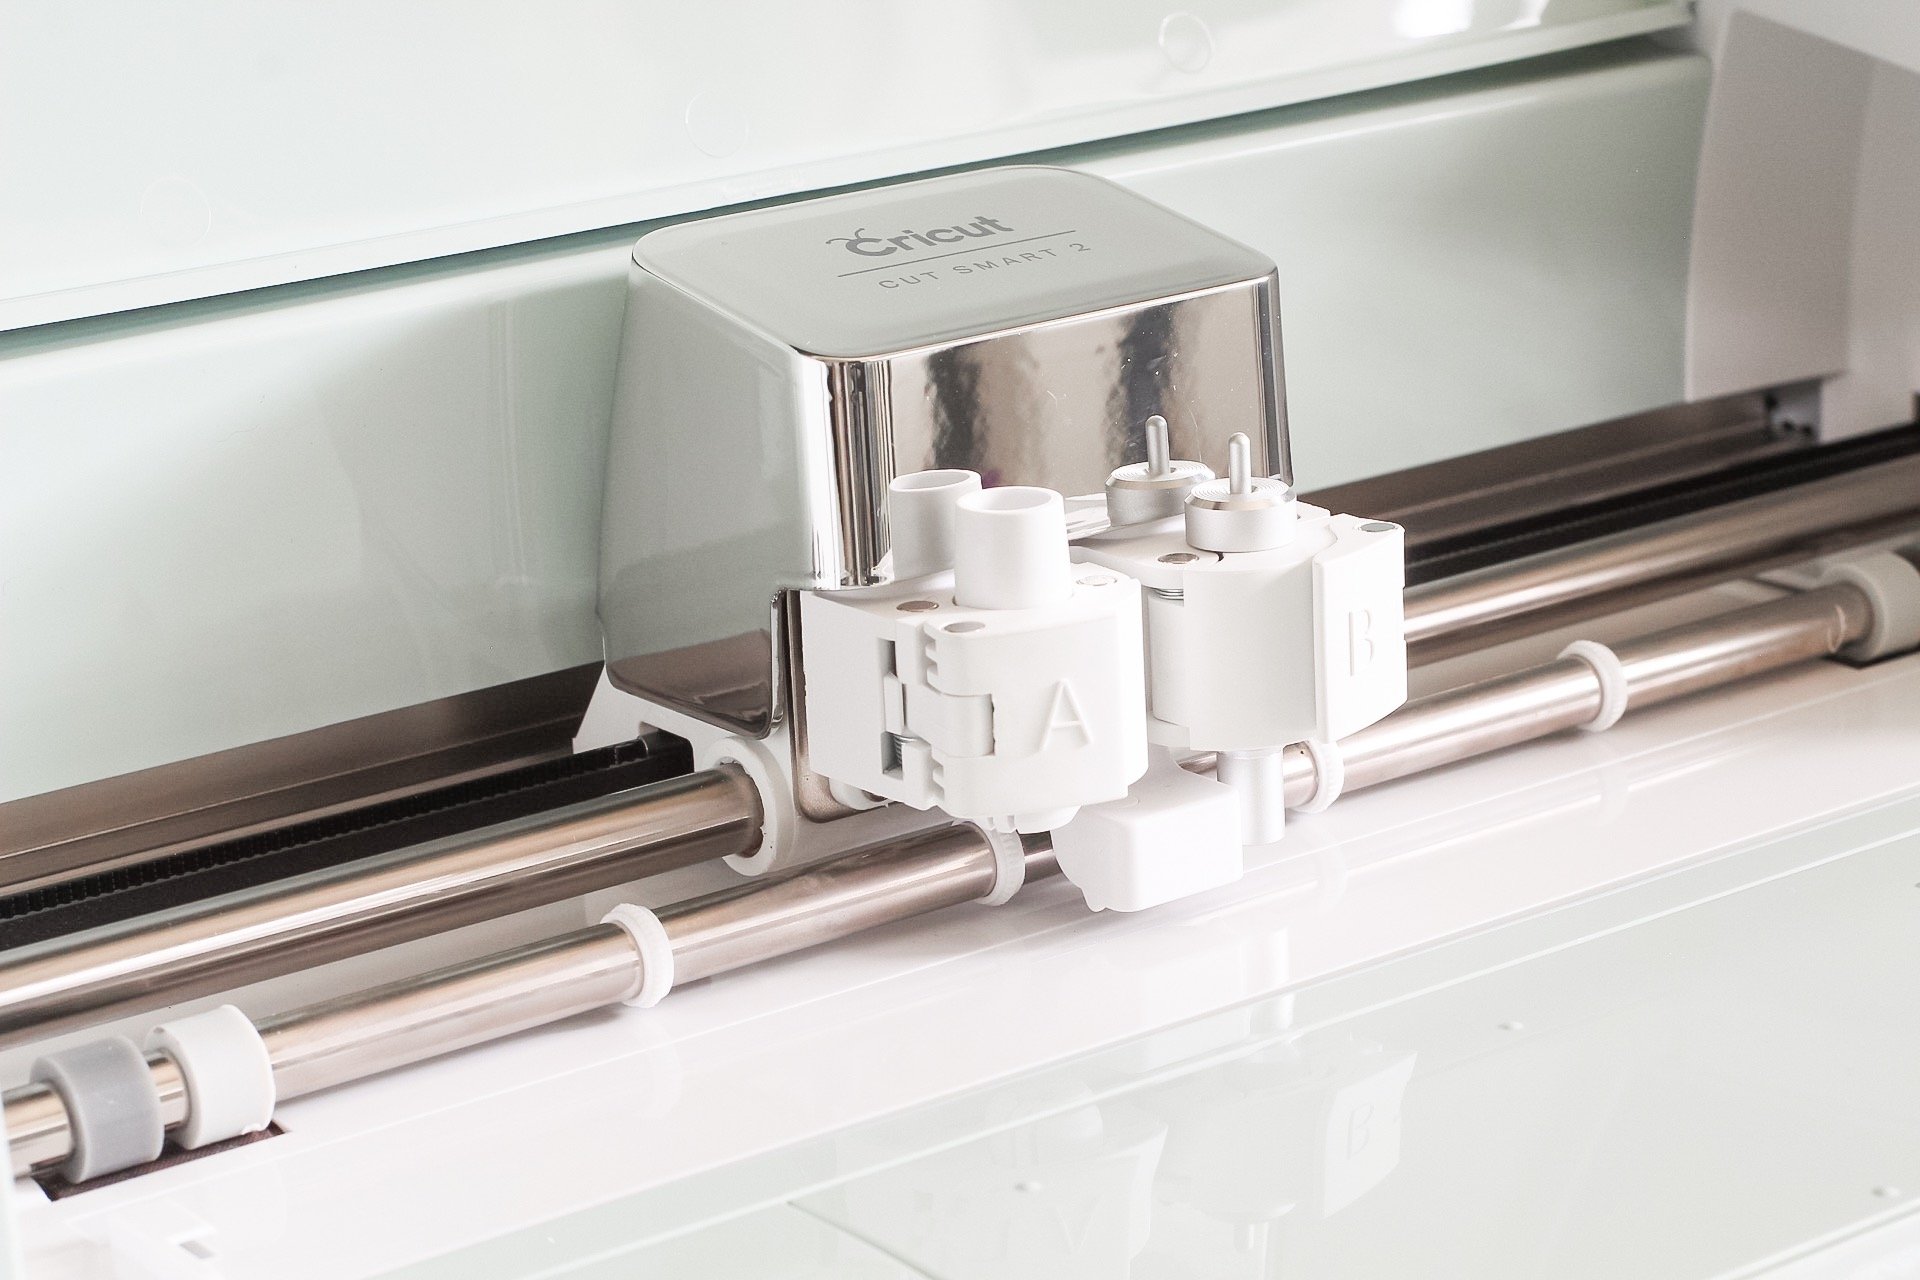
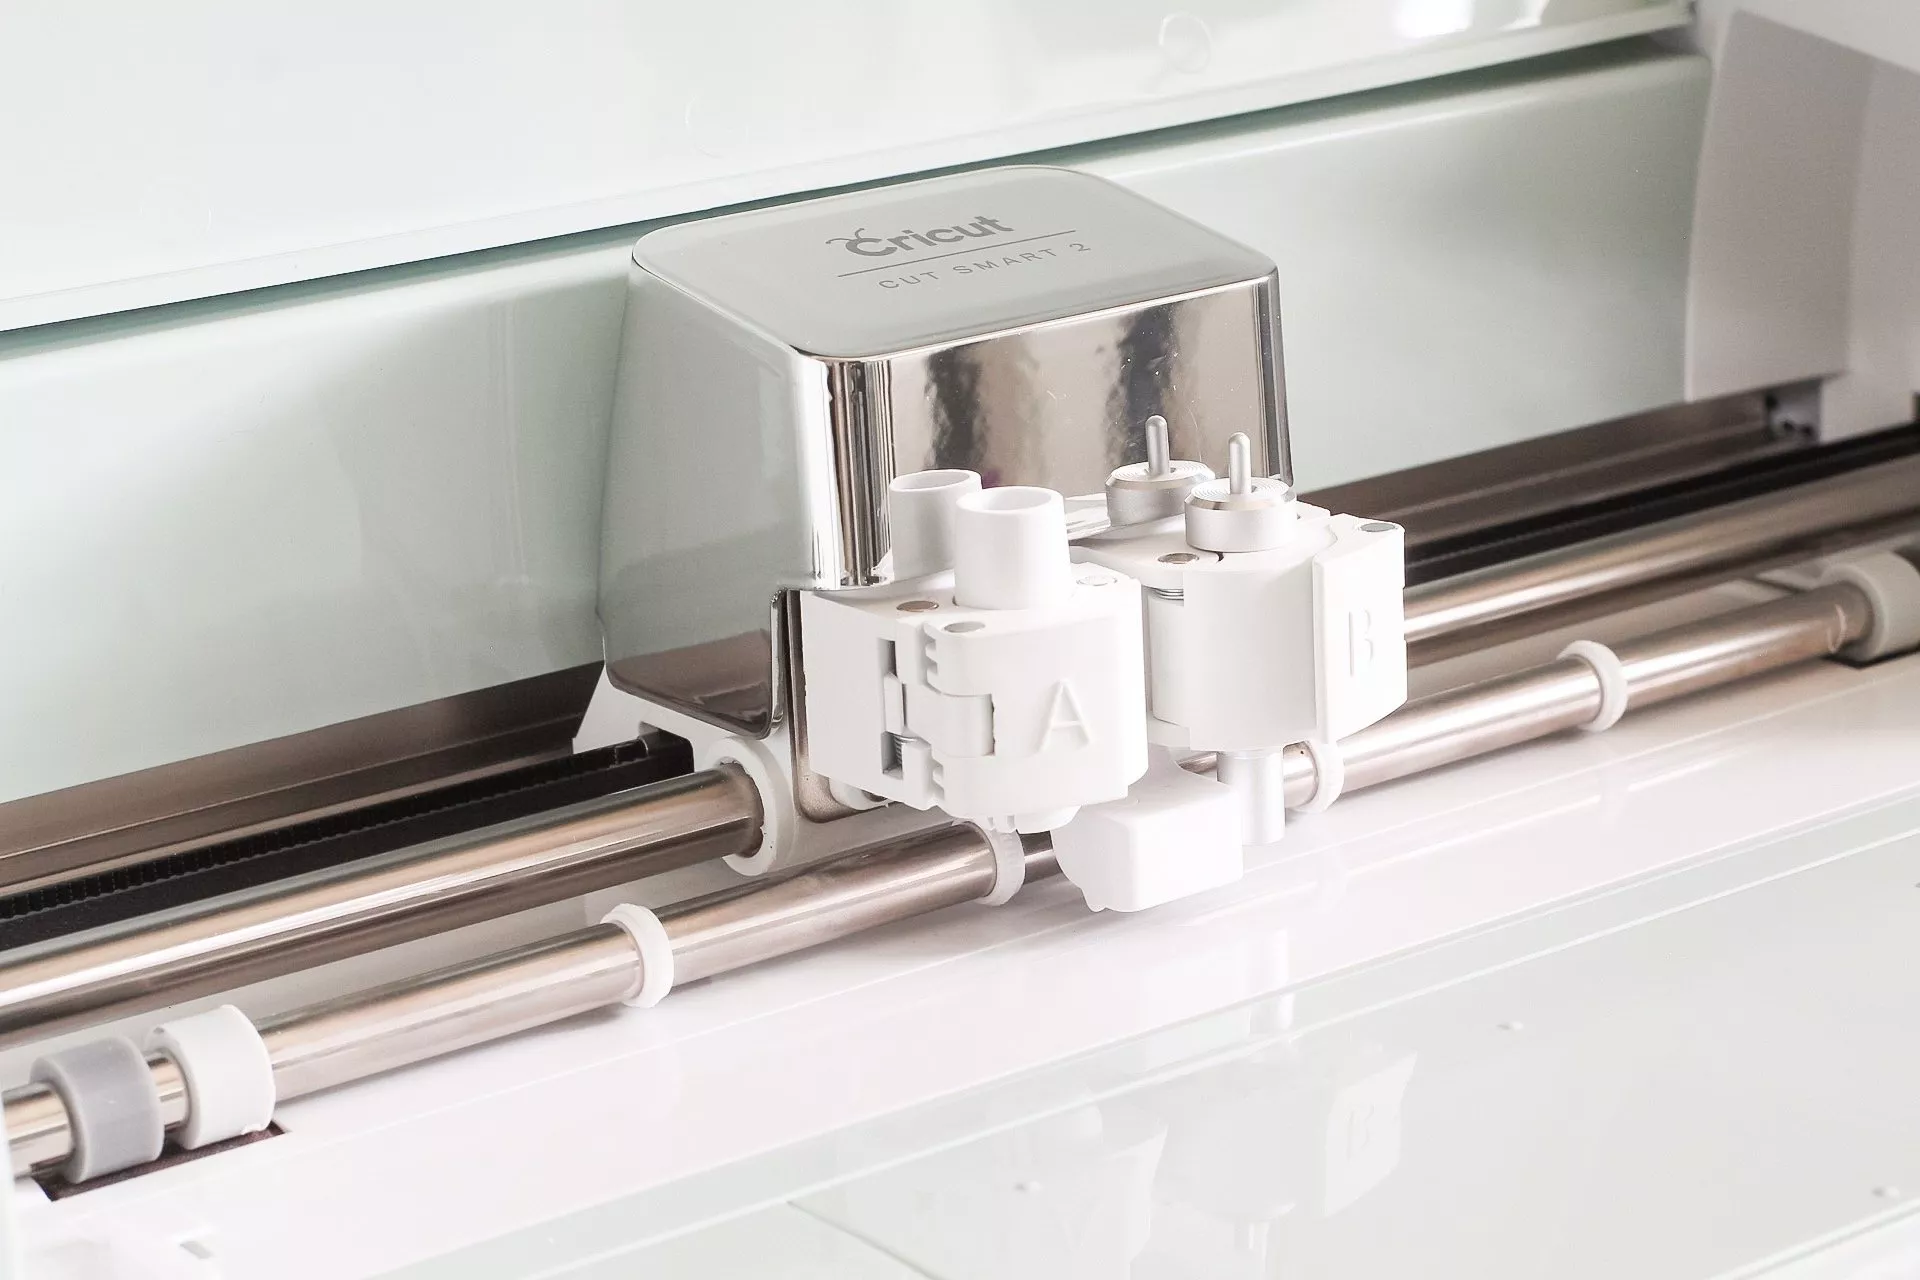
The Explore Air 2 comes fitted with a fine-point blade, which is designed to cut most lightweight and medium-weight materials.
For thicker or sturdier materials like magnets, stamps, cardboard, chipboard, stiffened felt, an foam sheets, a deep-point blade should be used.
Cricut Explore Air 2 Set Up
Connecting The Cricut Explore Air 2 To your Computer
Connecting my Cricut Explore Air 2 was super simple.
The Cricut setup was so easy that I went back a few times just to make sure I didn’t miss a step.
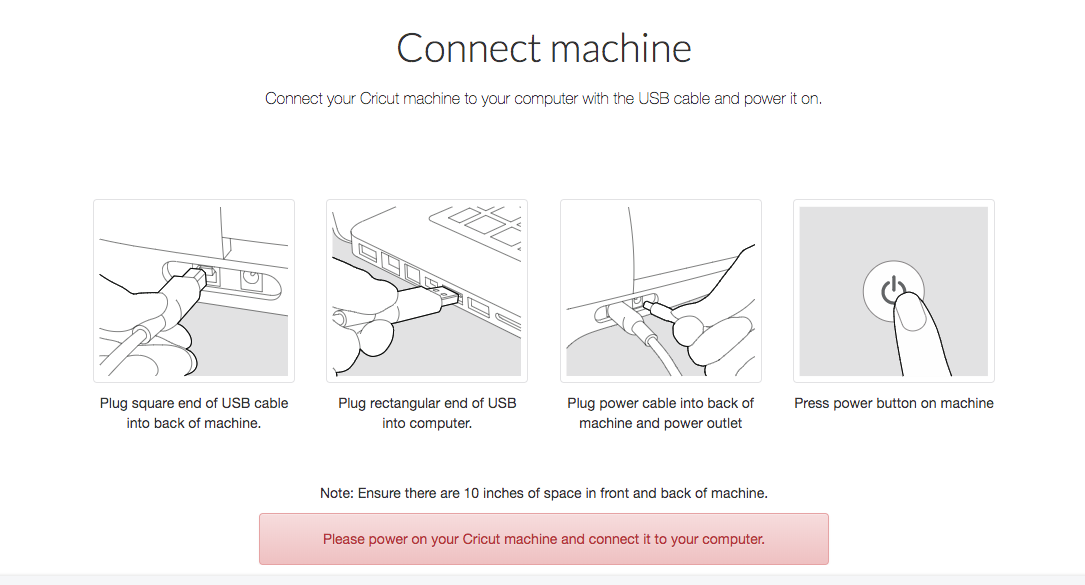

Connecting Cricut Via Bluetooth

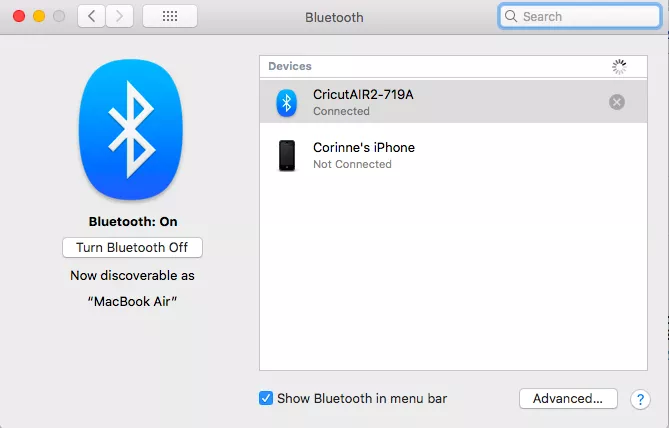
I do most of my work from the living room or my office and don’t usually have time to stay plugged in or in one spot for too long.
The fact that my Cricut can connect to my computer via BlueTooth connection is AMAZING.
Two thumbs up from this crafter ;).
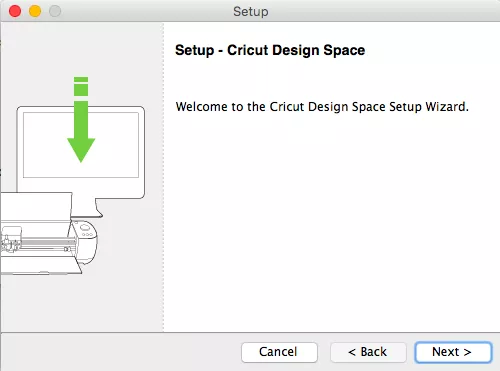
Cricut Design Space Download
To download Cricut Design Space®, you can visit this link here, and follow the prompts – EASY!

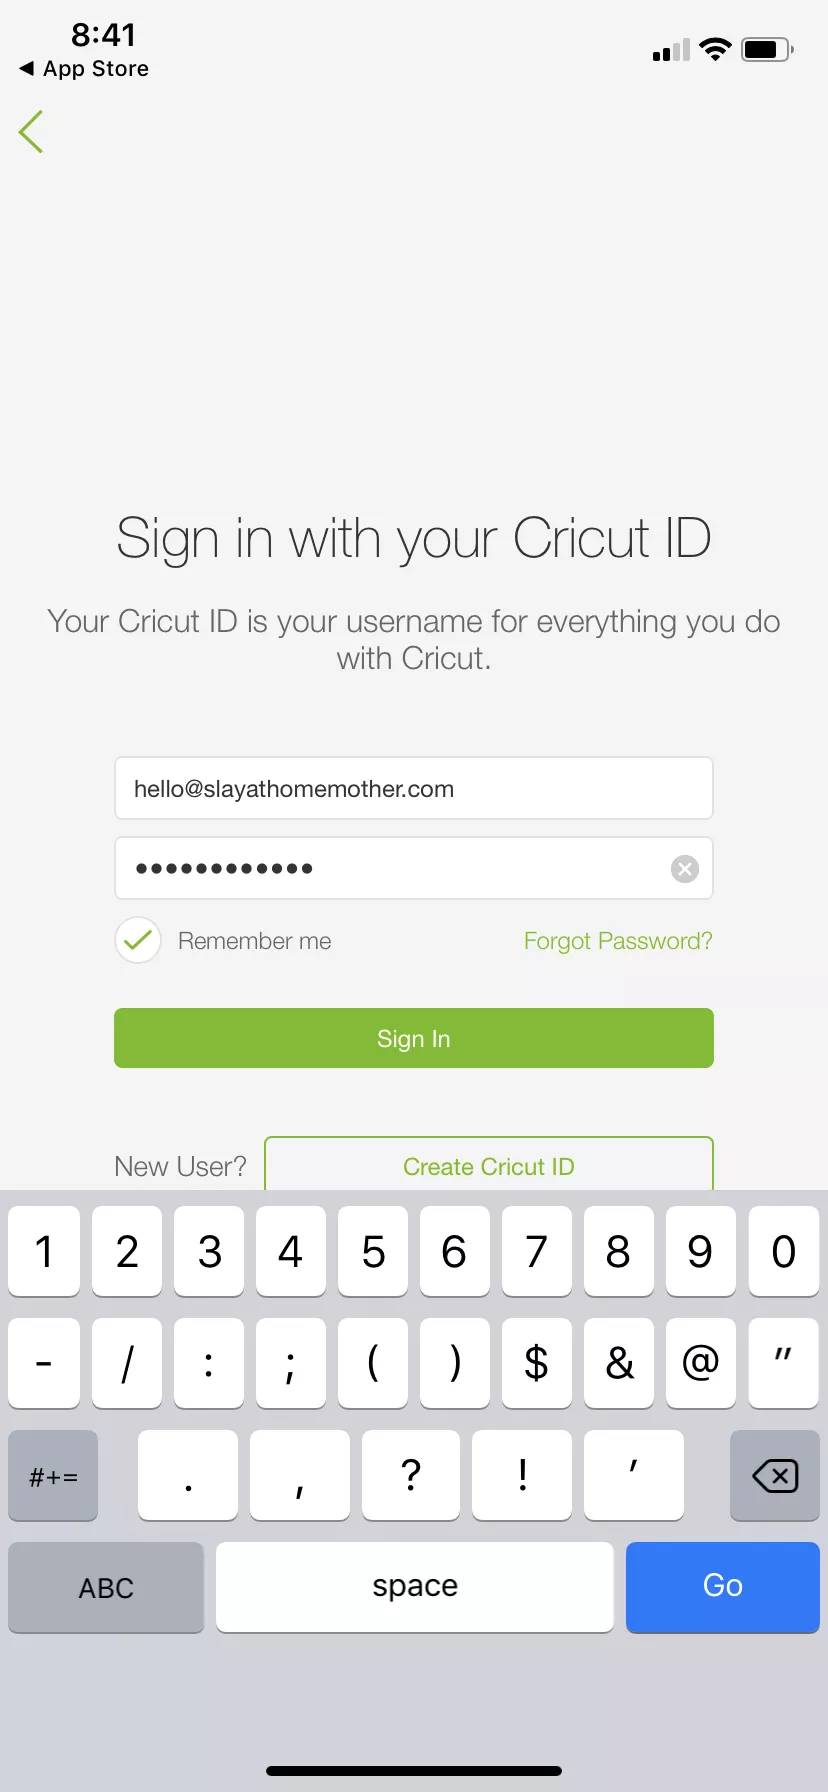
Besides your computer, you can also download the Cricut app on your iPhone or Android for on-the-go crafting!

My First Project With The Cricut Explore Air 2
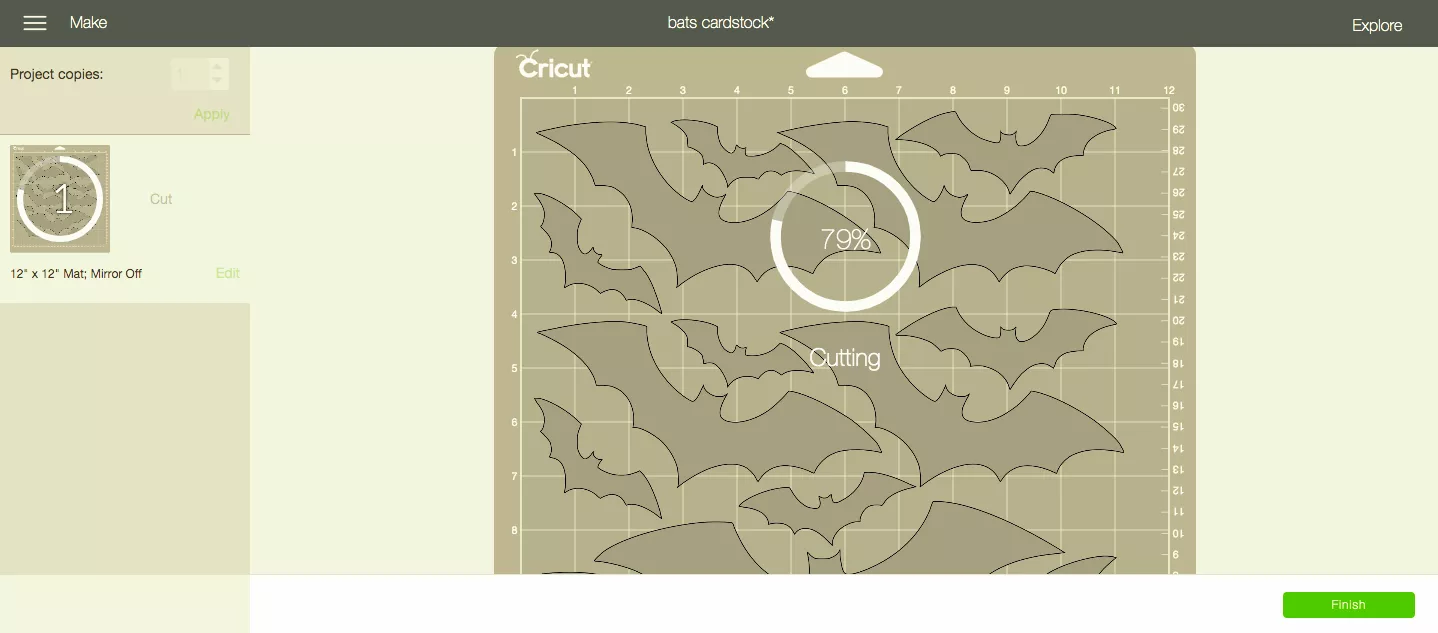
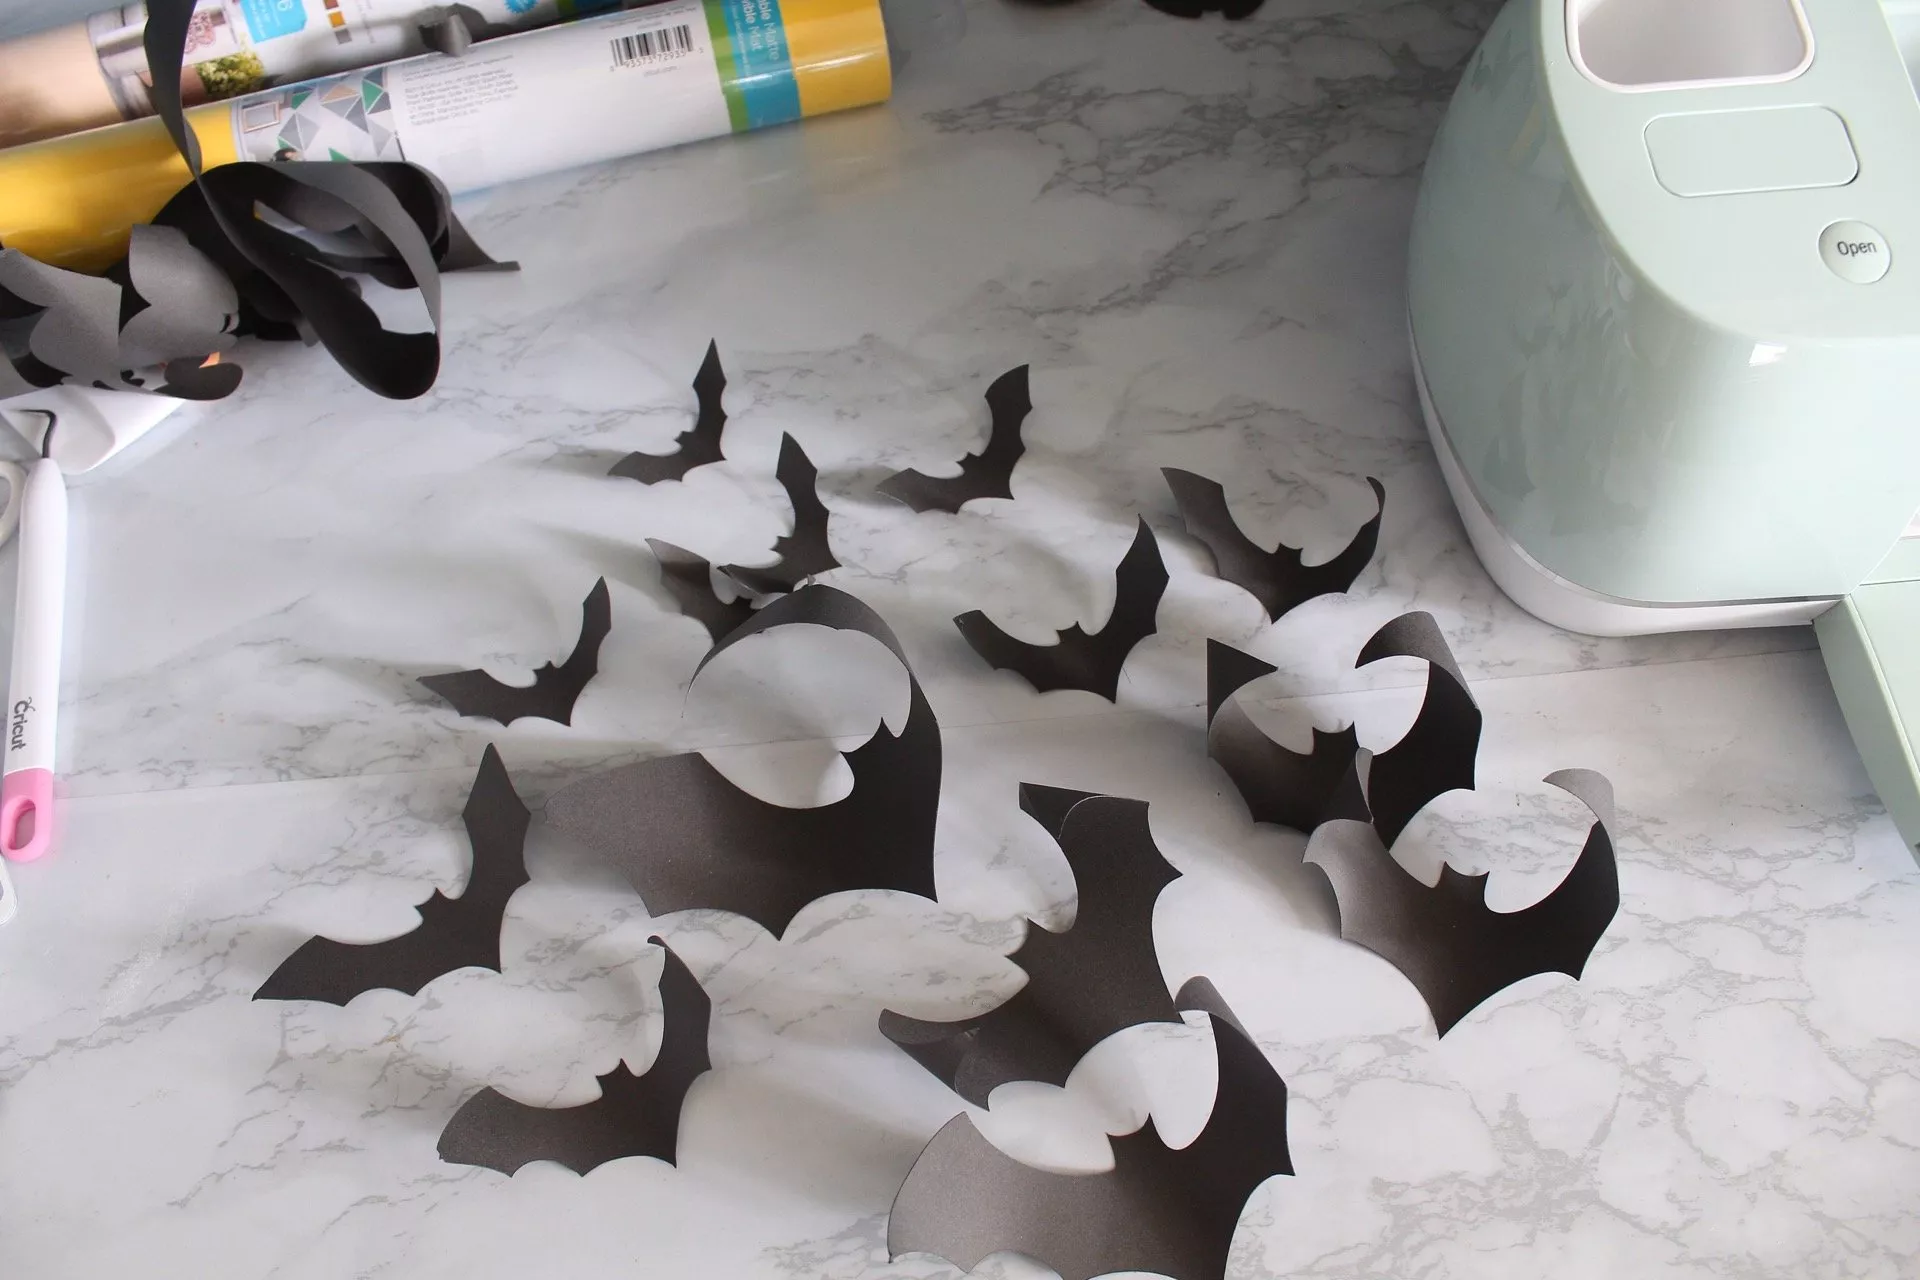
For my first project, I decided to do some light decorating for Halloween. I’ve been loving the paper bat craze all over Instagram and Pinterest (have you seen them yet?!), and decided to create my own paper bats!
Using some black cardstock and my own SVG bat file (which you can download at the bottom of this post), I uploaded the file into Cricut Design Space and made sure the dial on the machine was turned to ‘Cardstock’. I choose to cut the design using Fast Mode to see how it would perform.
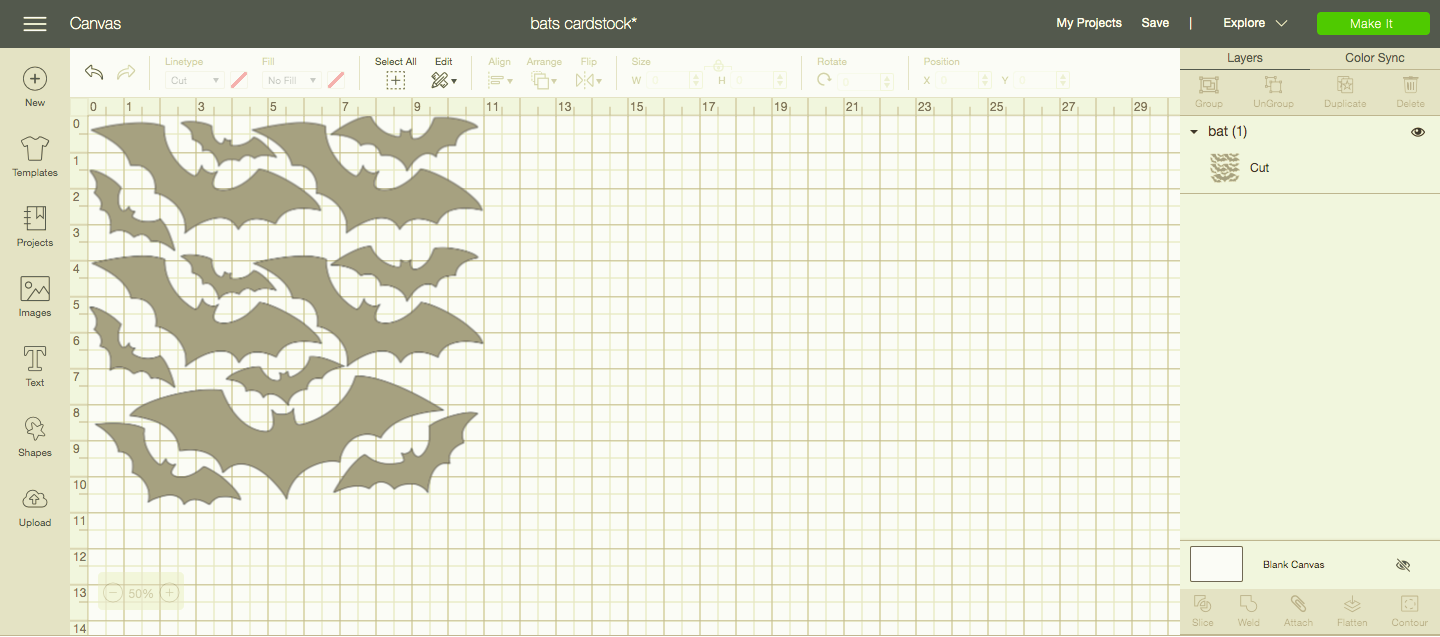
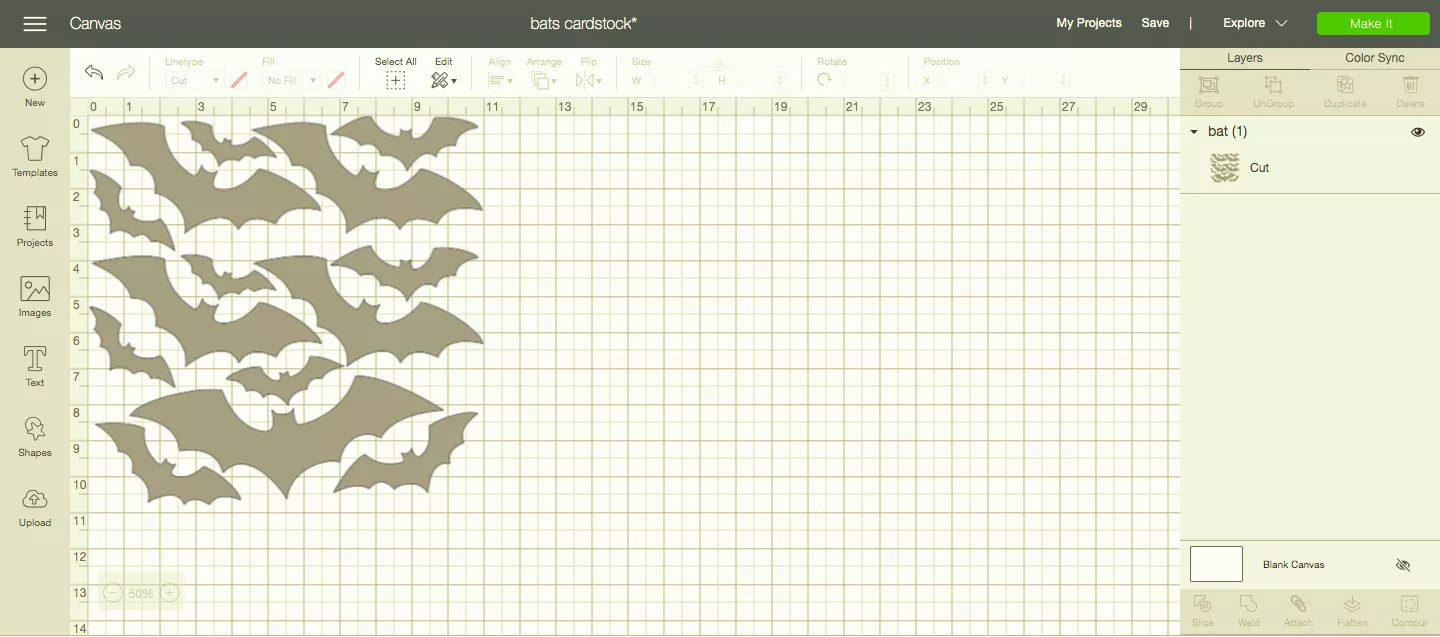
I did find that I had to shrink the design to fit into an 11″x11″ square within Cricut Design Space before it would allow me to ‘Make It’, but in the preview screen and on the actual cardstock the design was proportionate to my 12″x12″ mat and 12″x12″ cardstock.
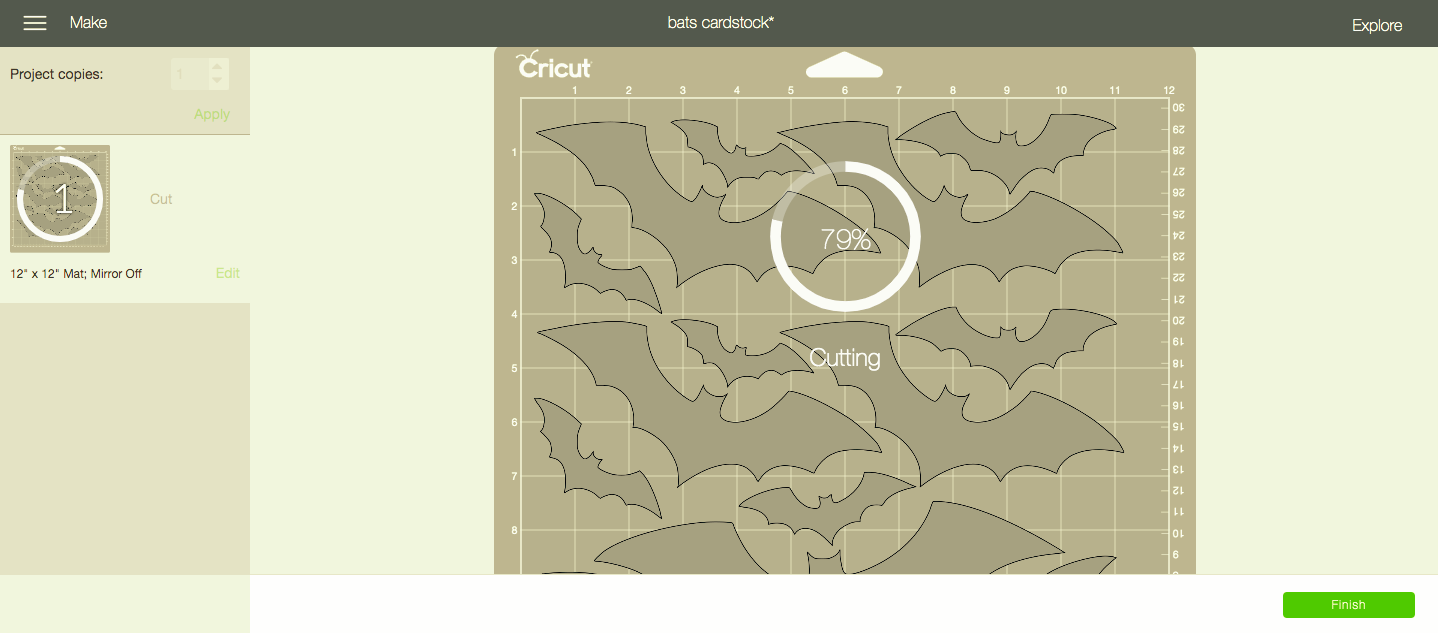
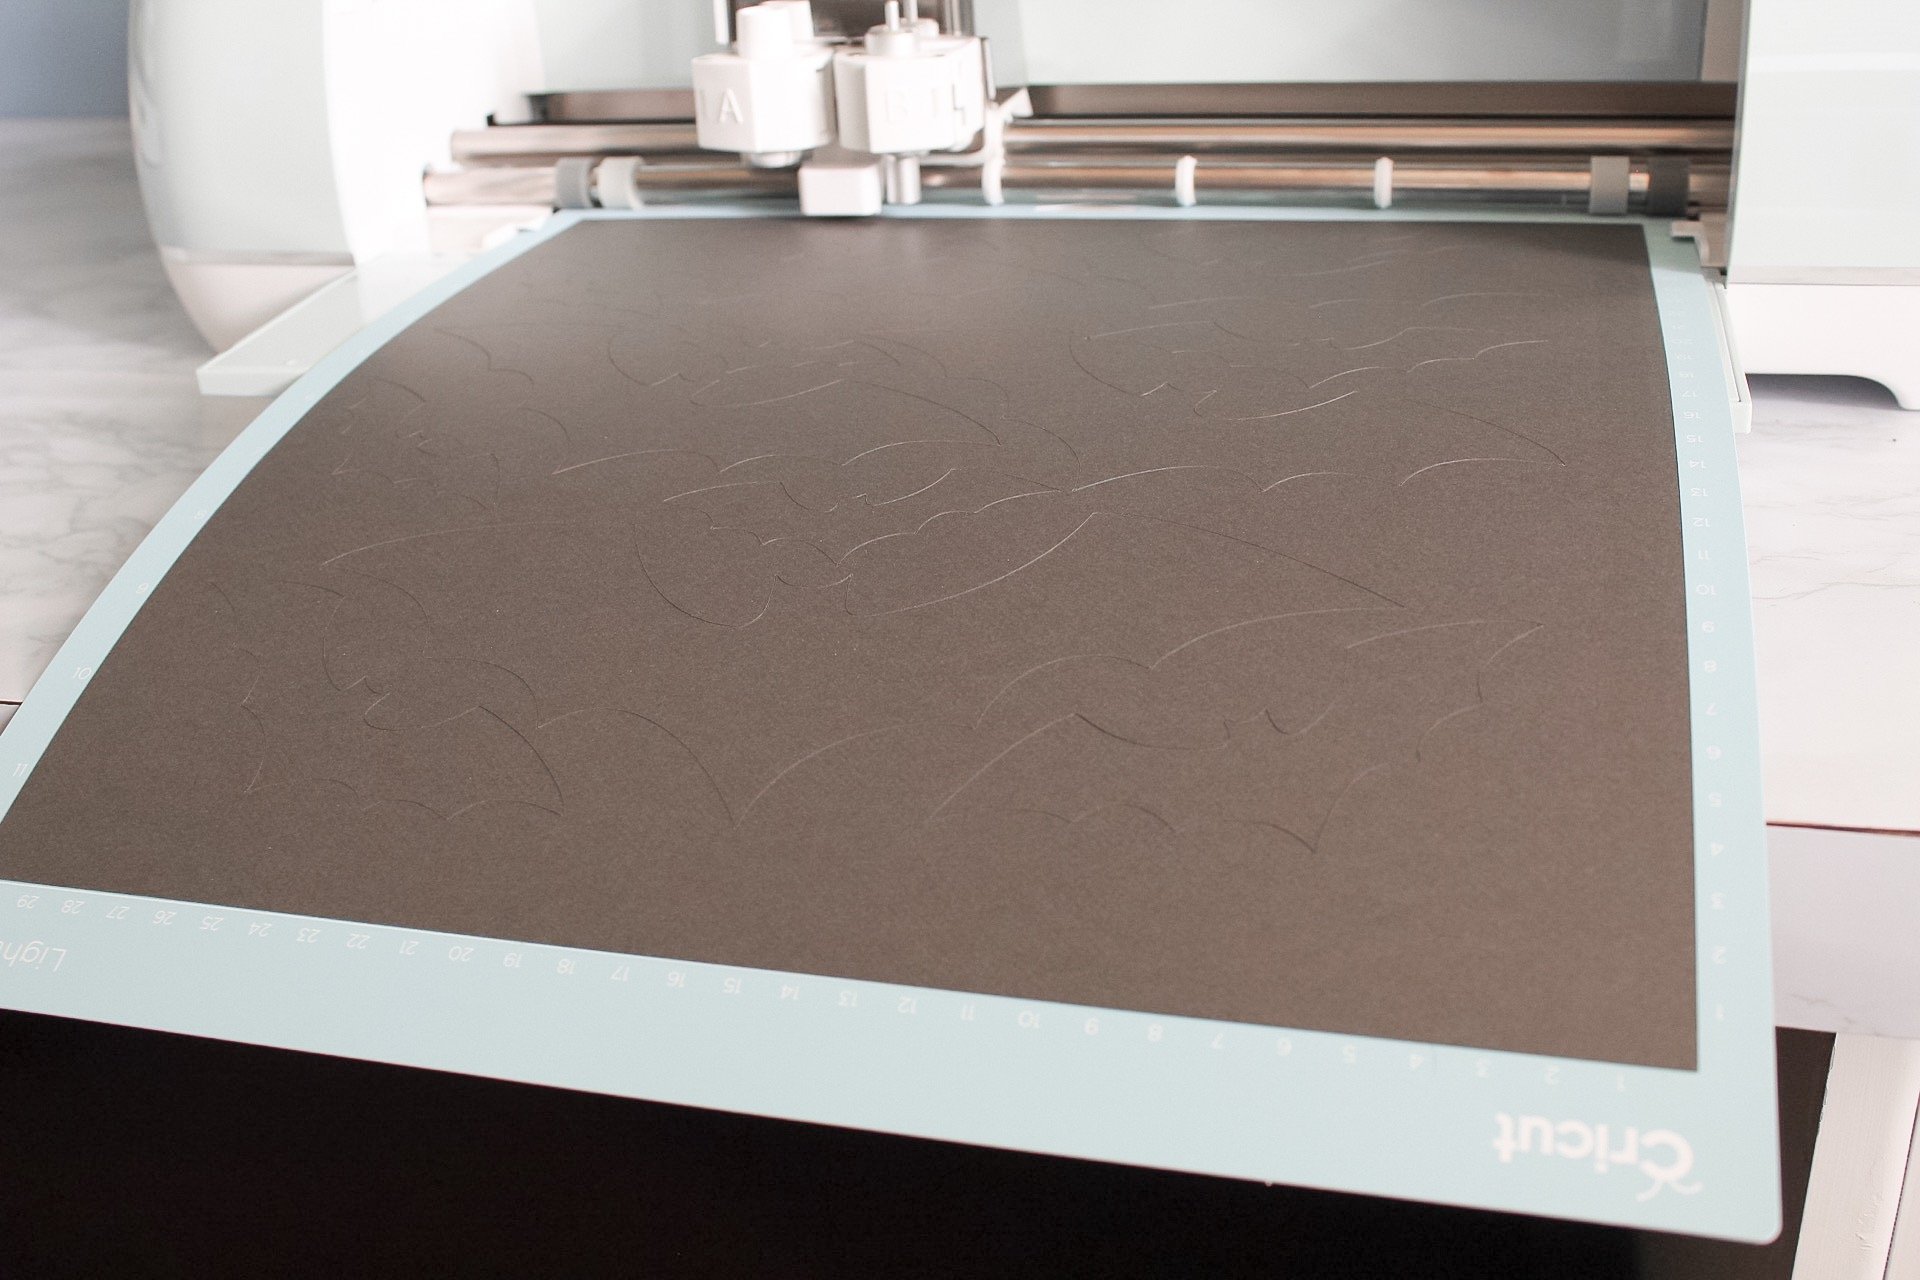

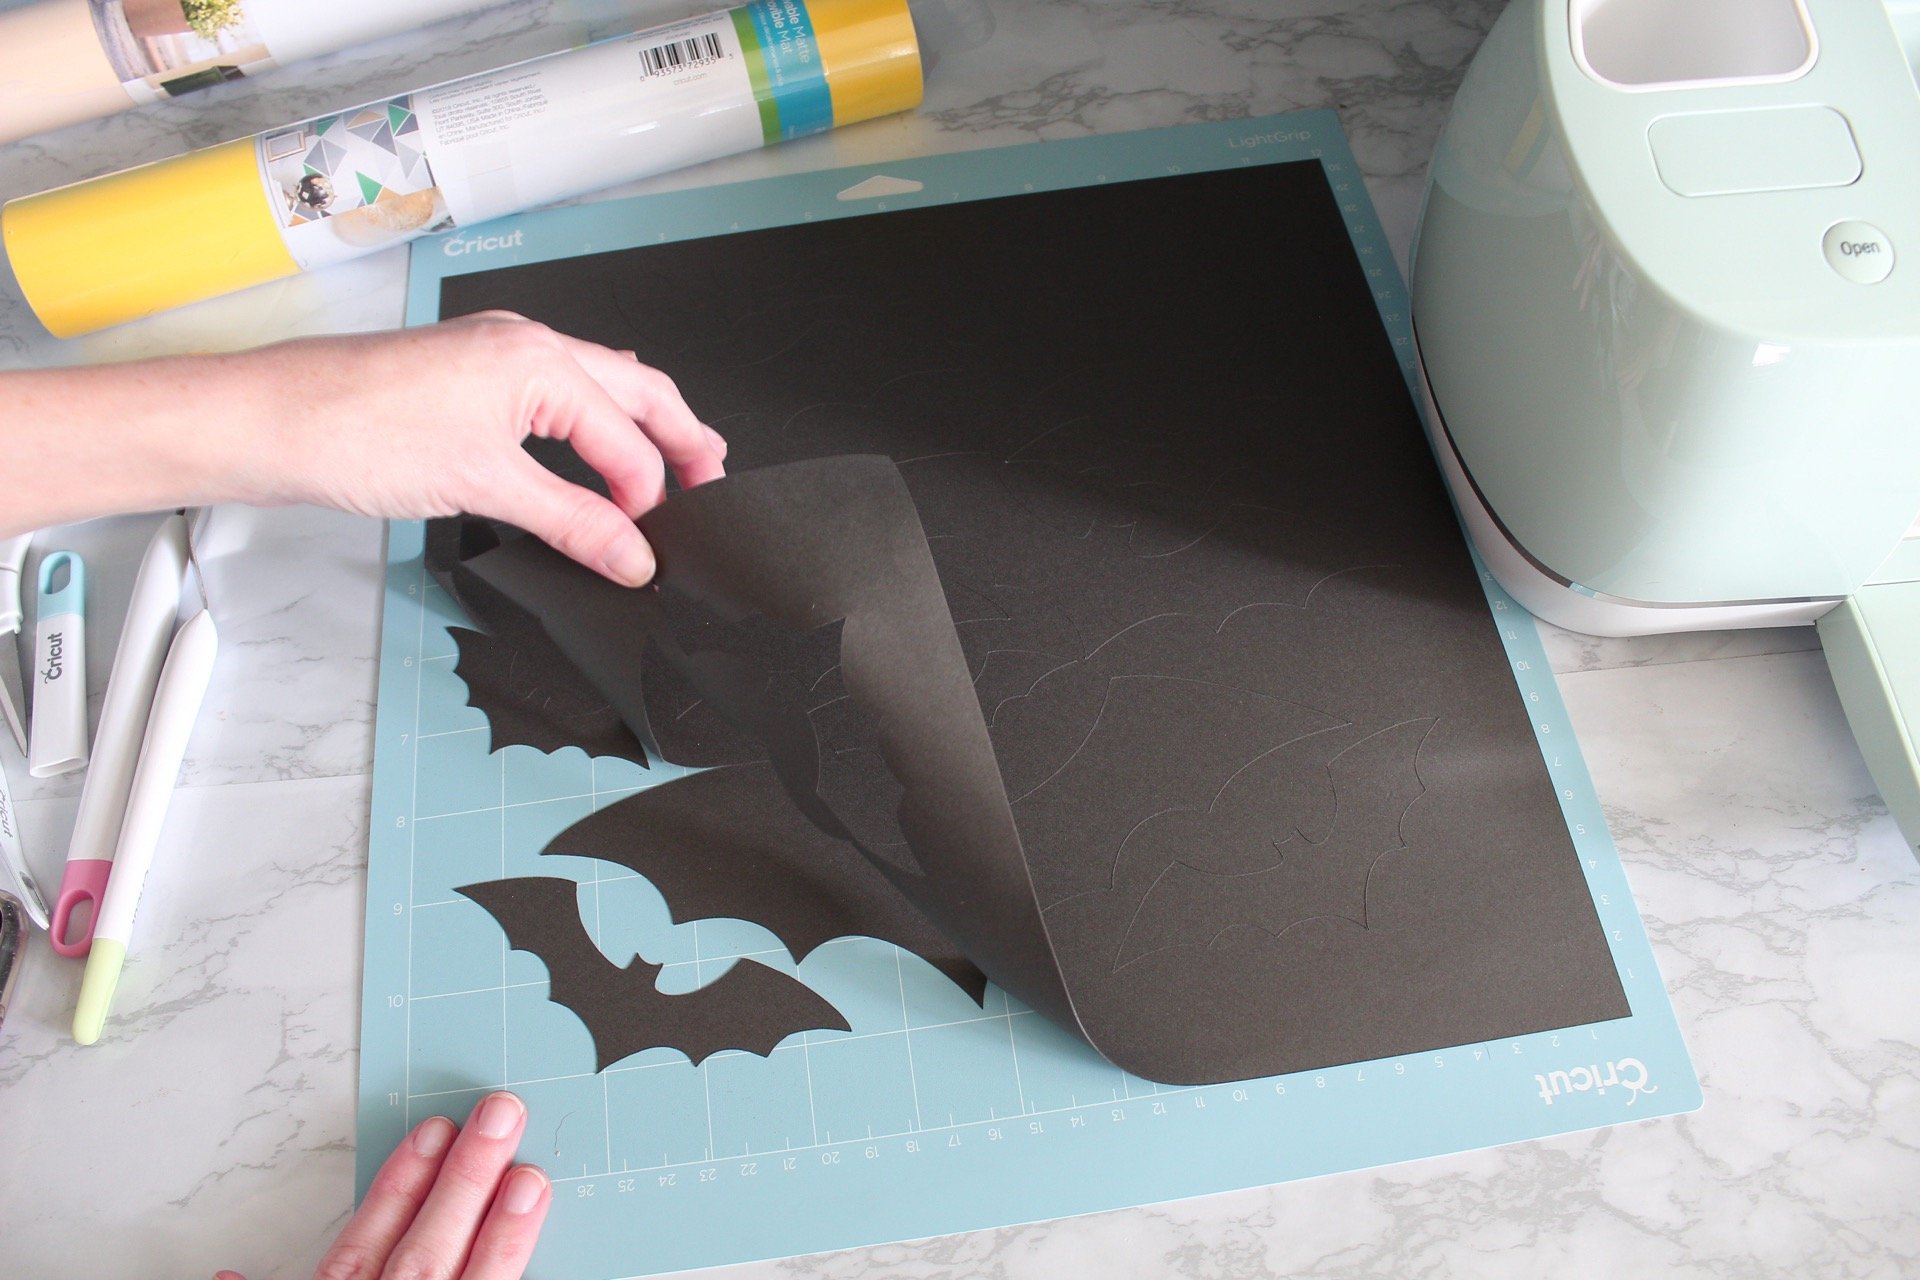
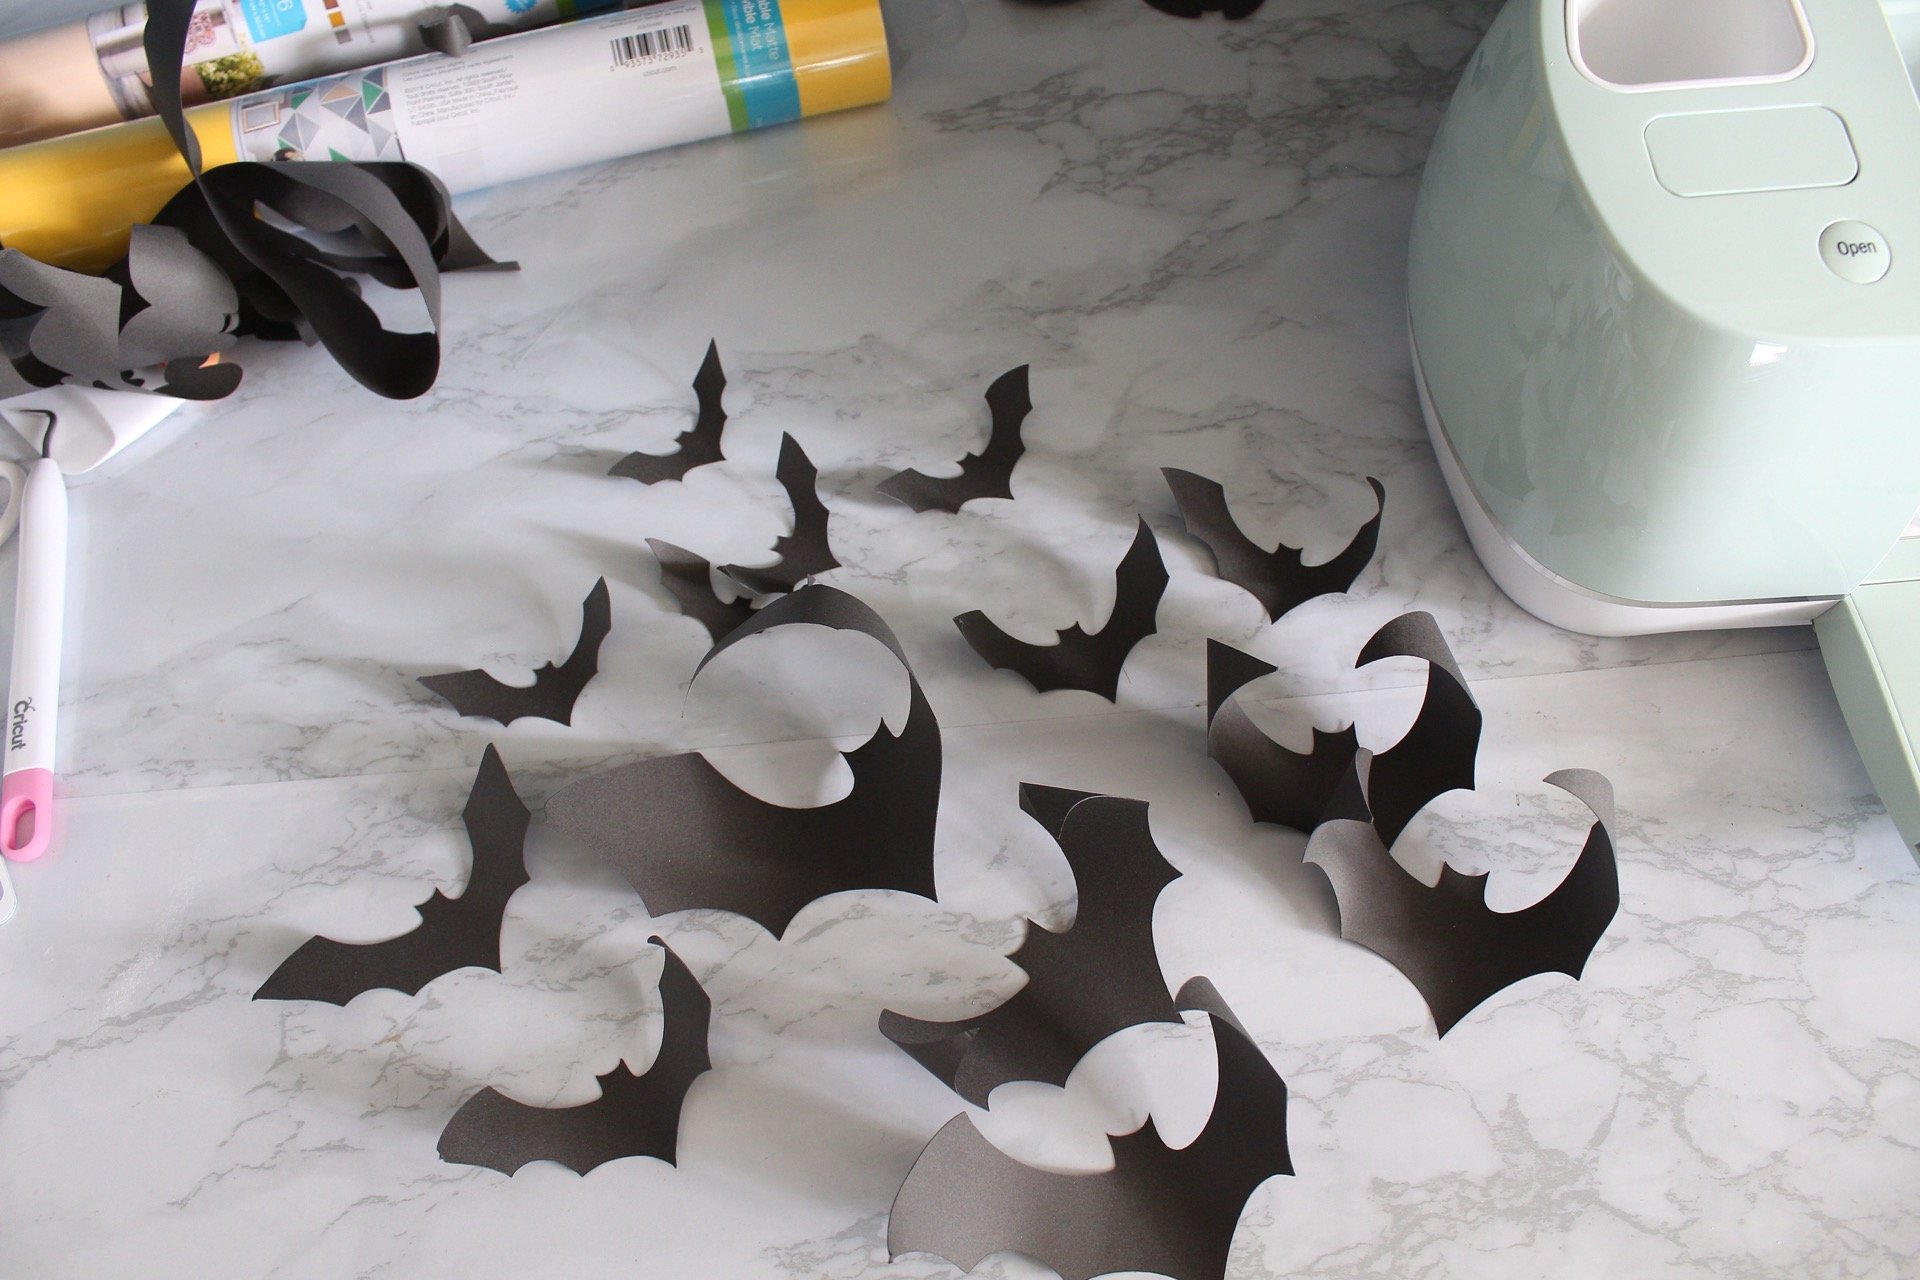
The bats came out beautiful with crisp-cut outlines!
P.S. Cardstock has never been my favorite to peel from a cutting mat, but it’s the perfect medium for this project. I didn’t find it too difficult to peel up from the LightGrip mat, but I wouldn’t use another mat for cutting cardstock. The Cricut basic tools set has a scraper and a set of tweezers to help you grab the paper from the cutting mat if you need the extra ‘oomph’ or don’t have the manual dexterity to peel it up.

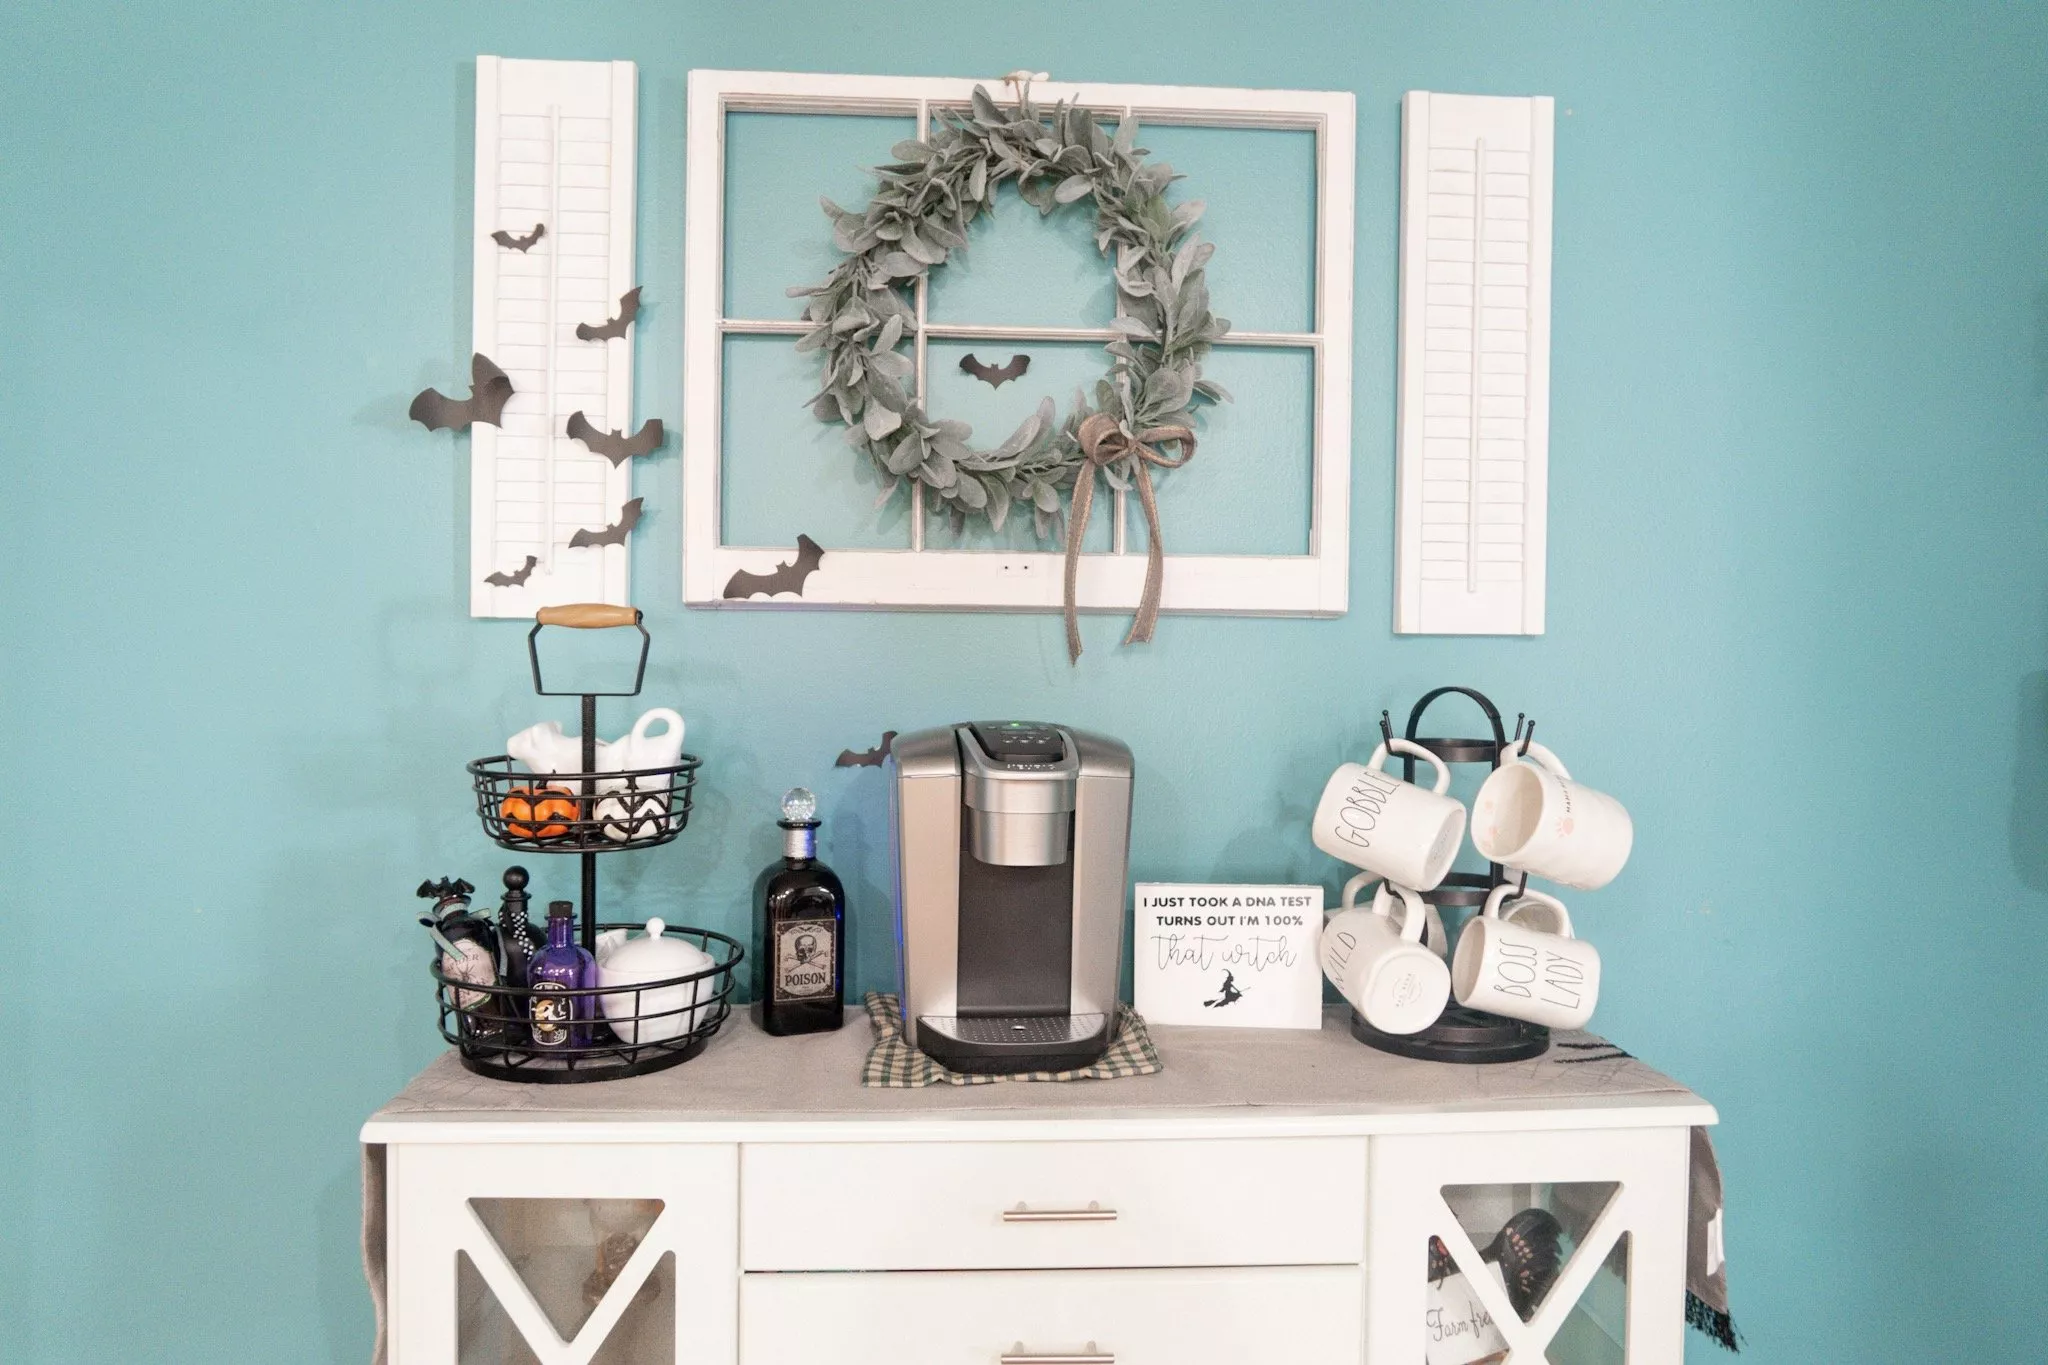
I’ll end up taping these beauties to the wall above my coffee bar…
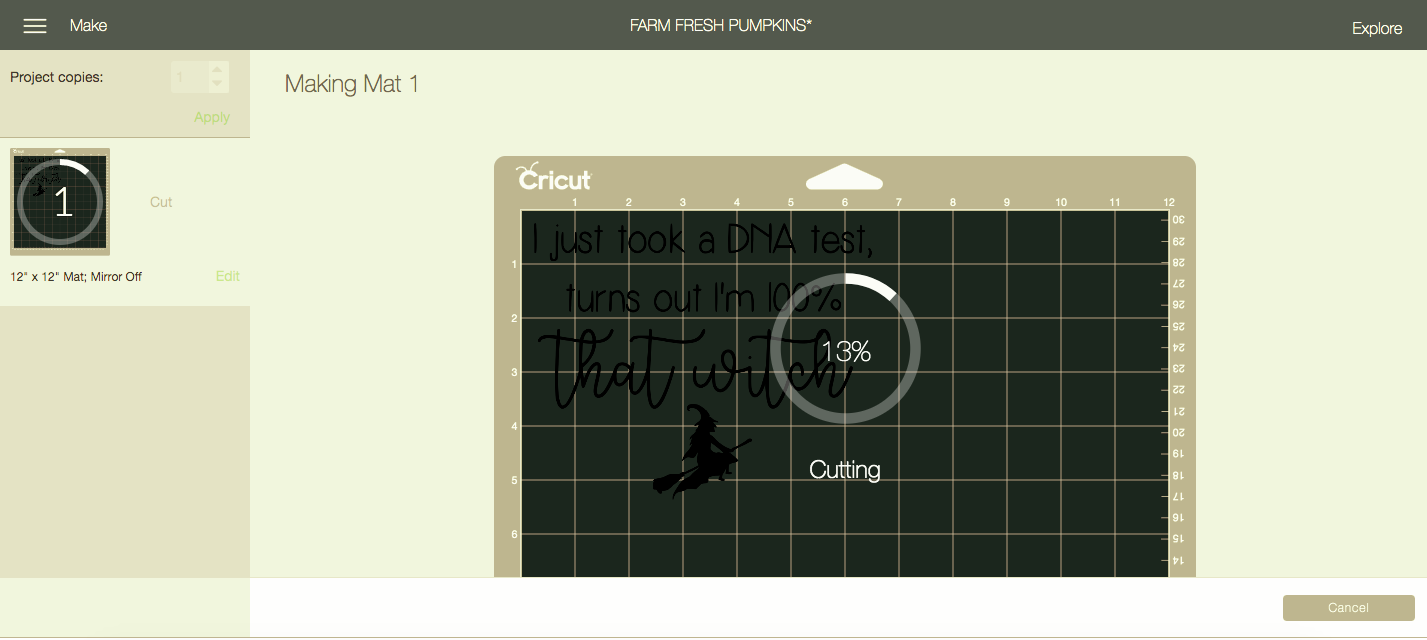
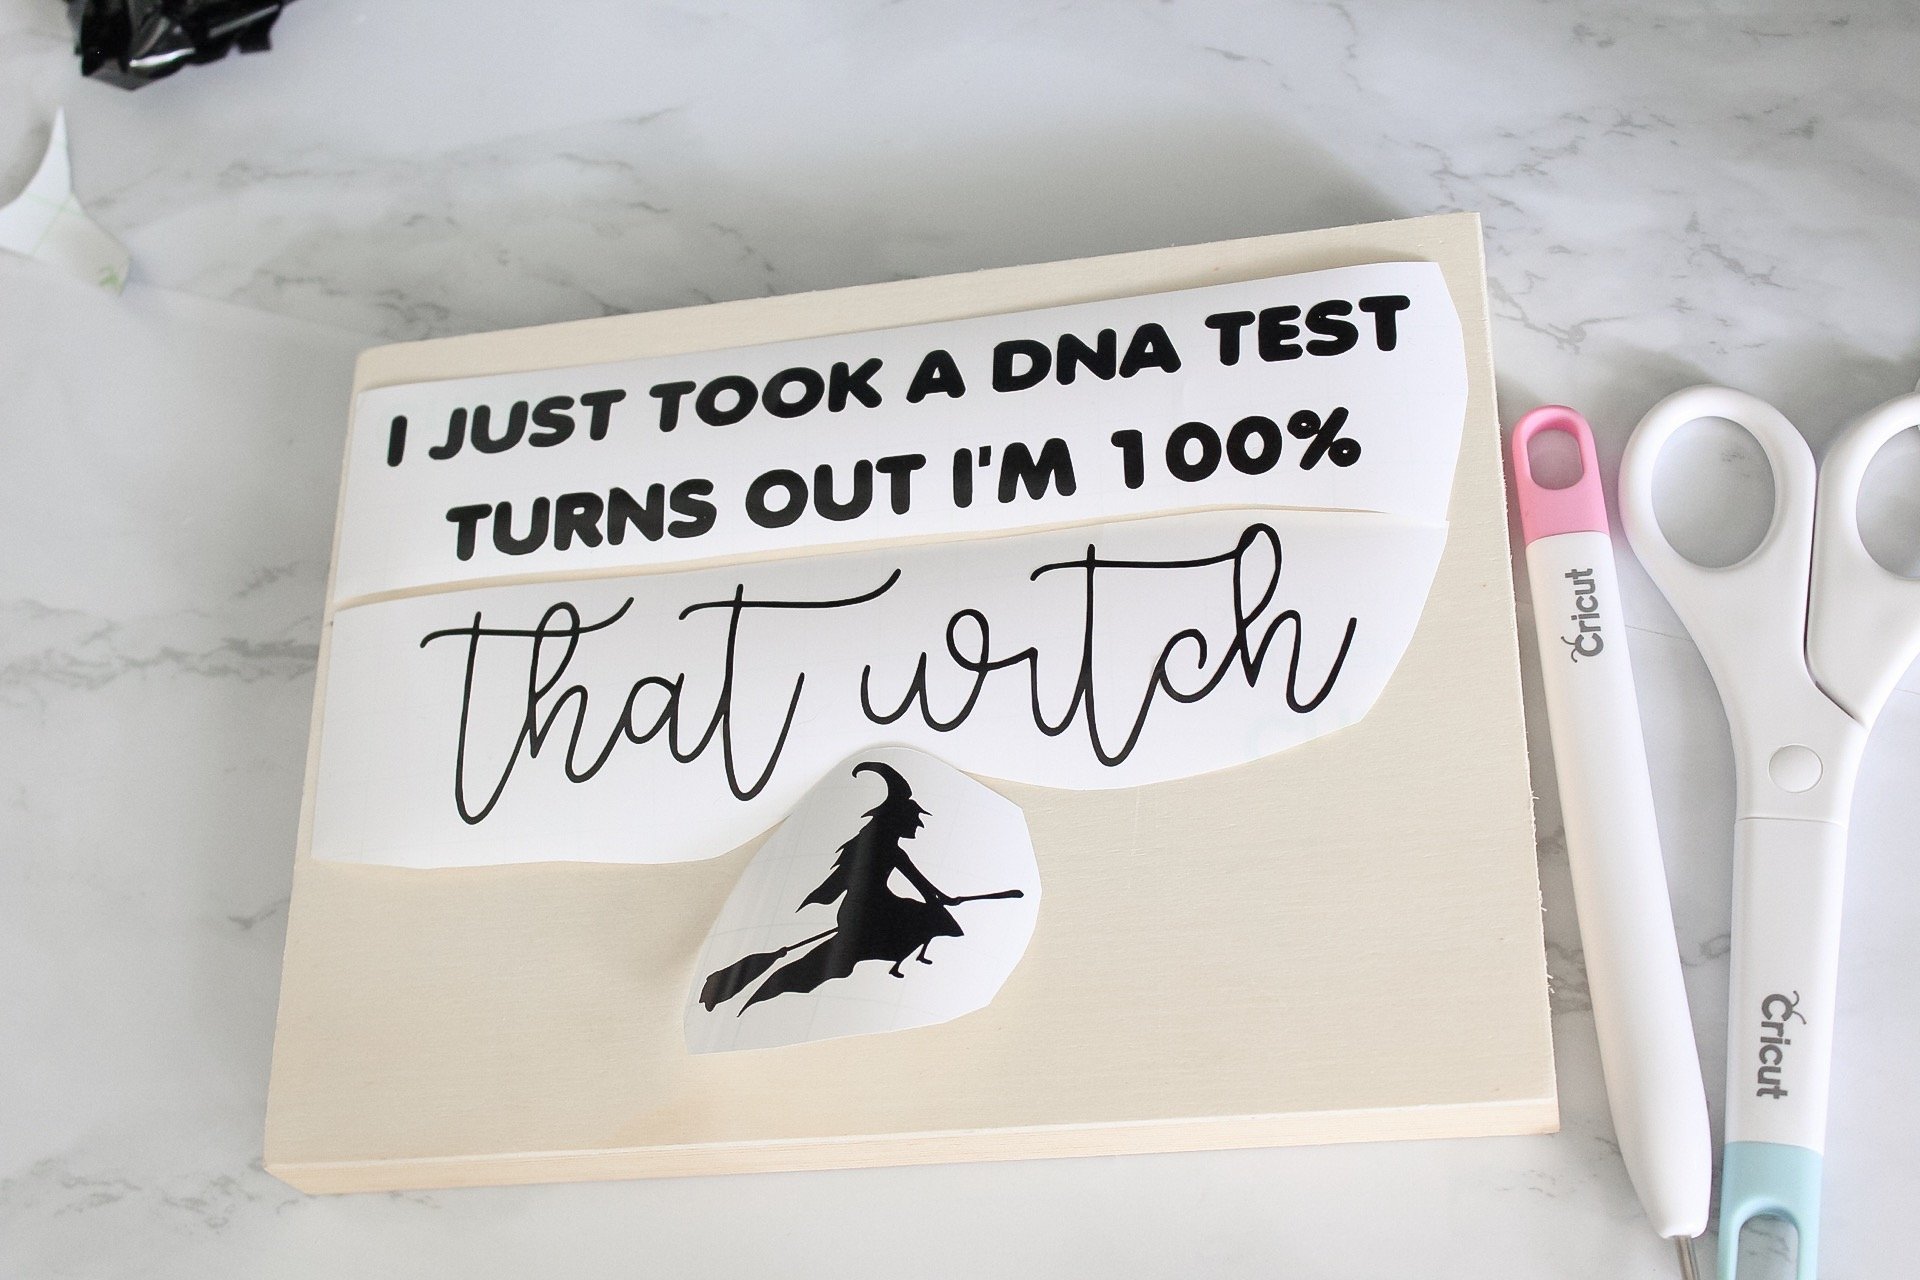
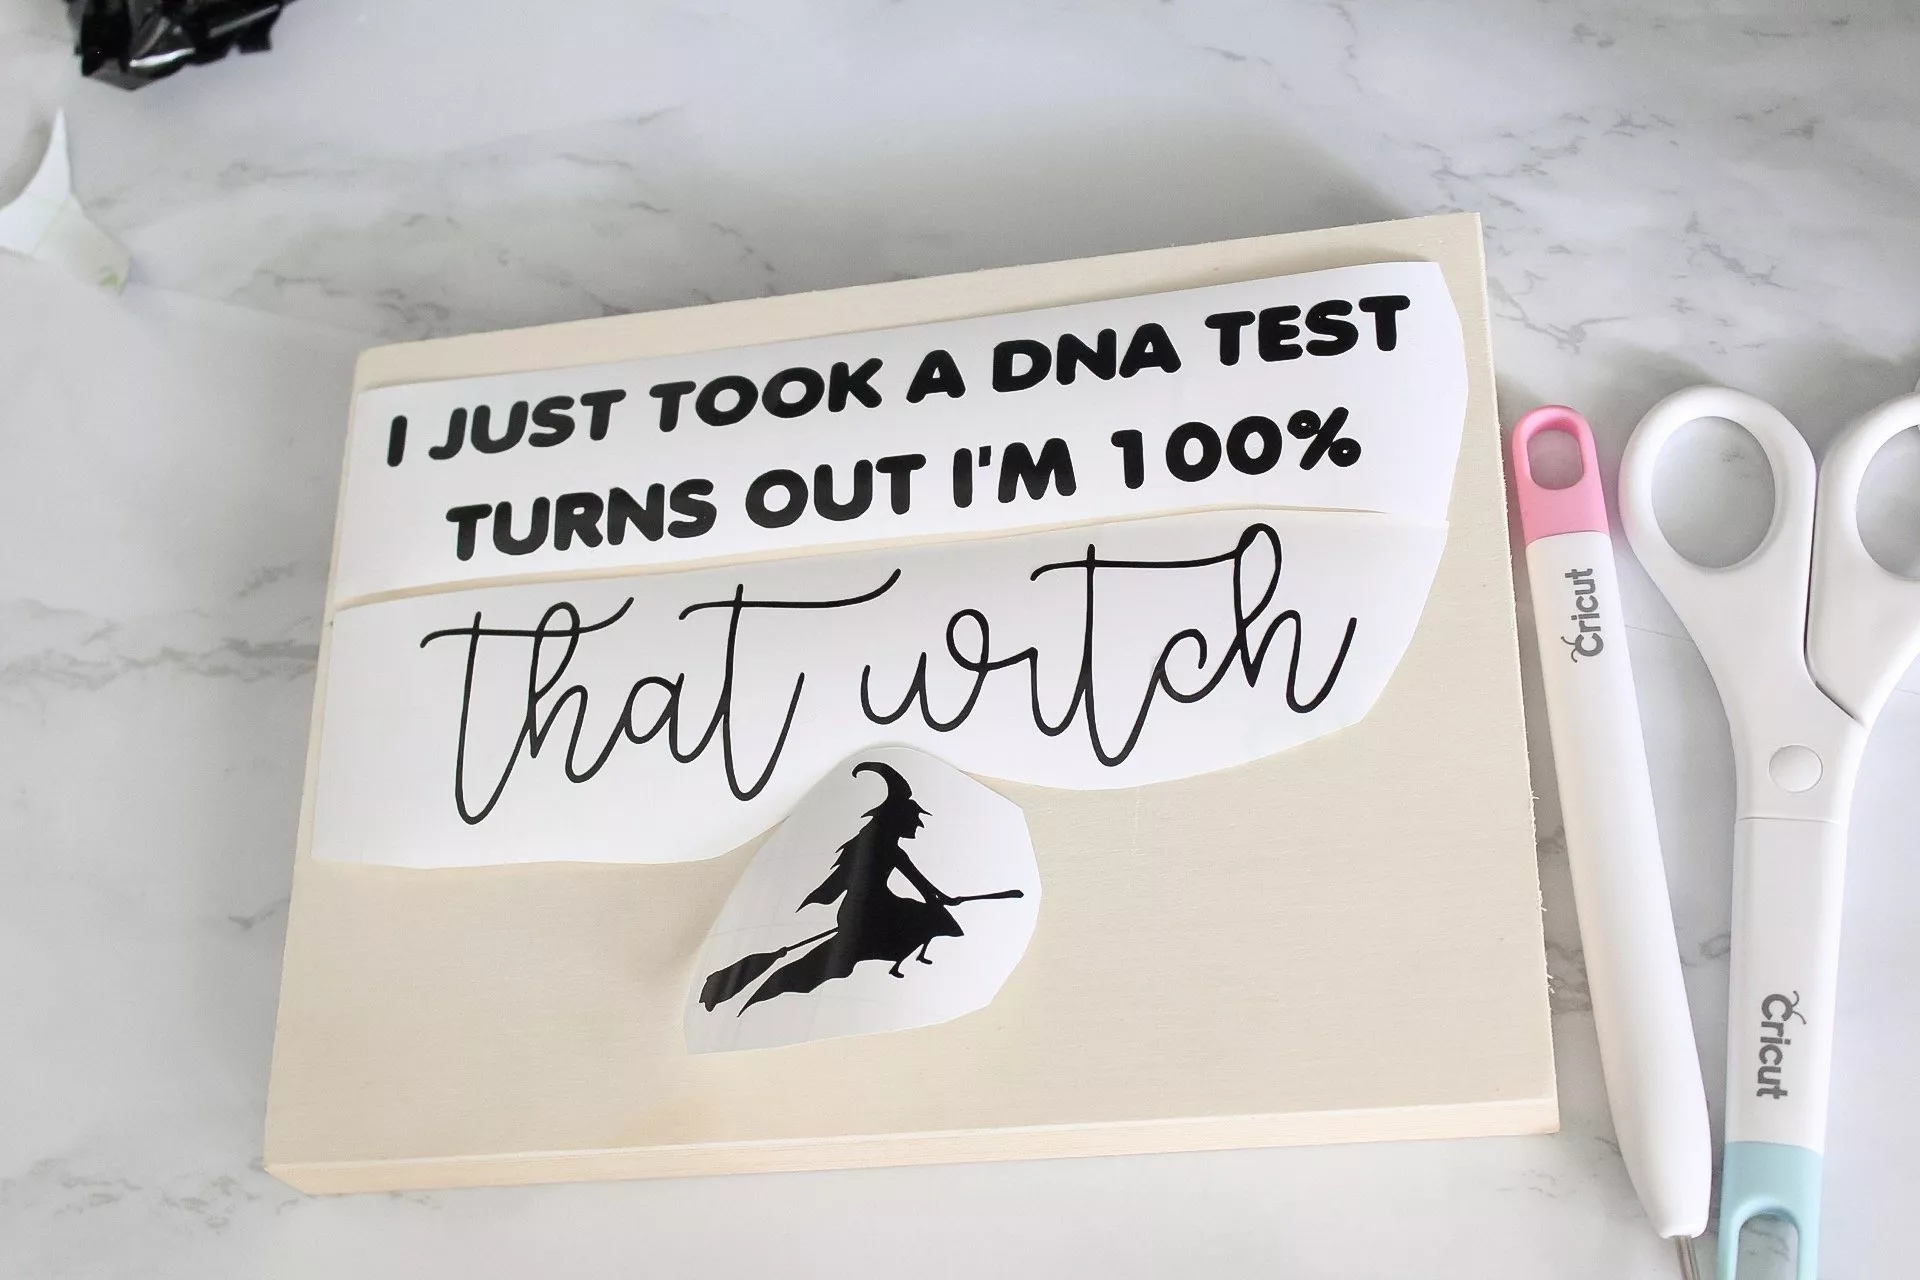
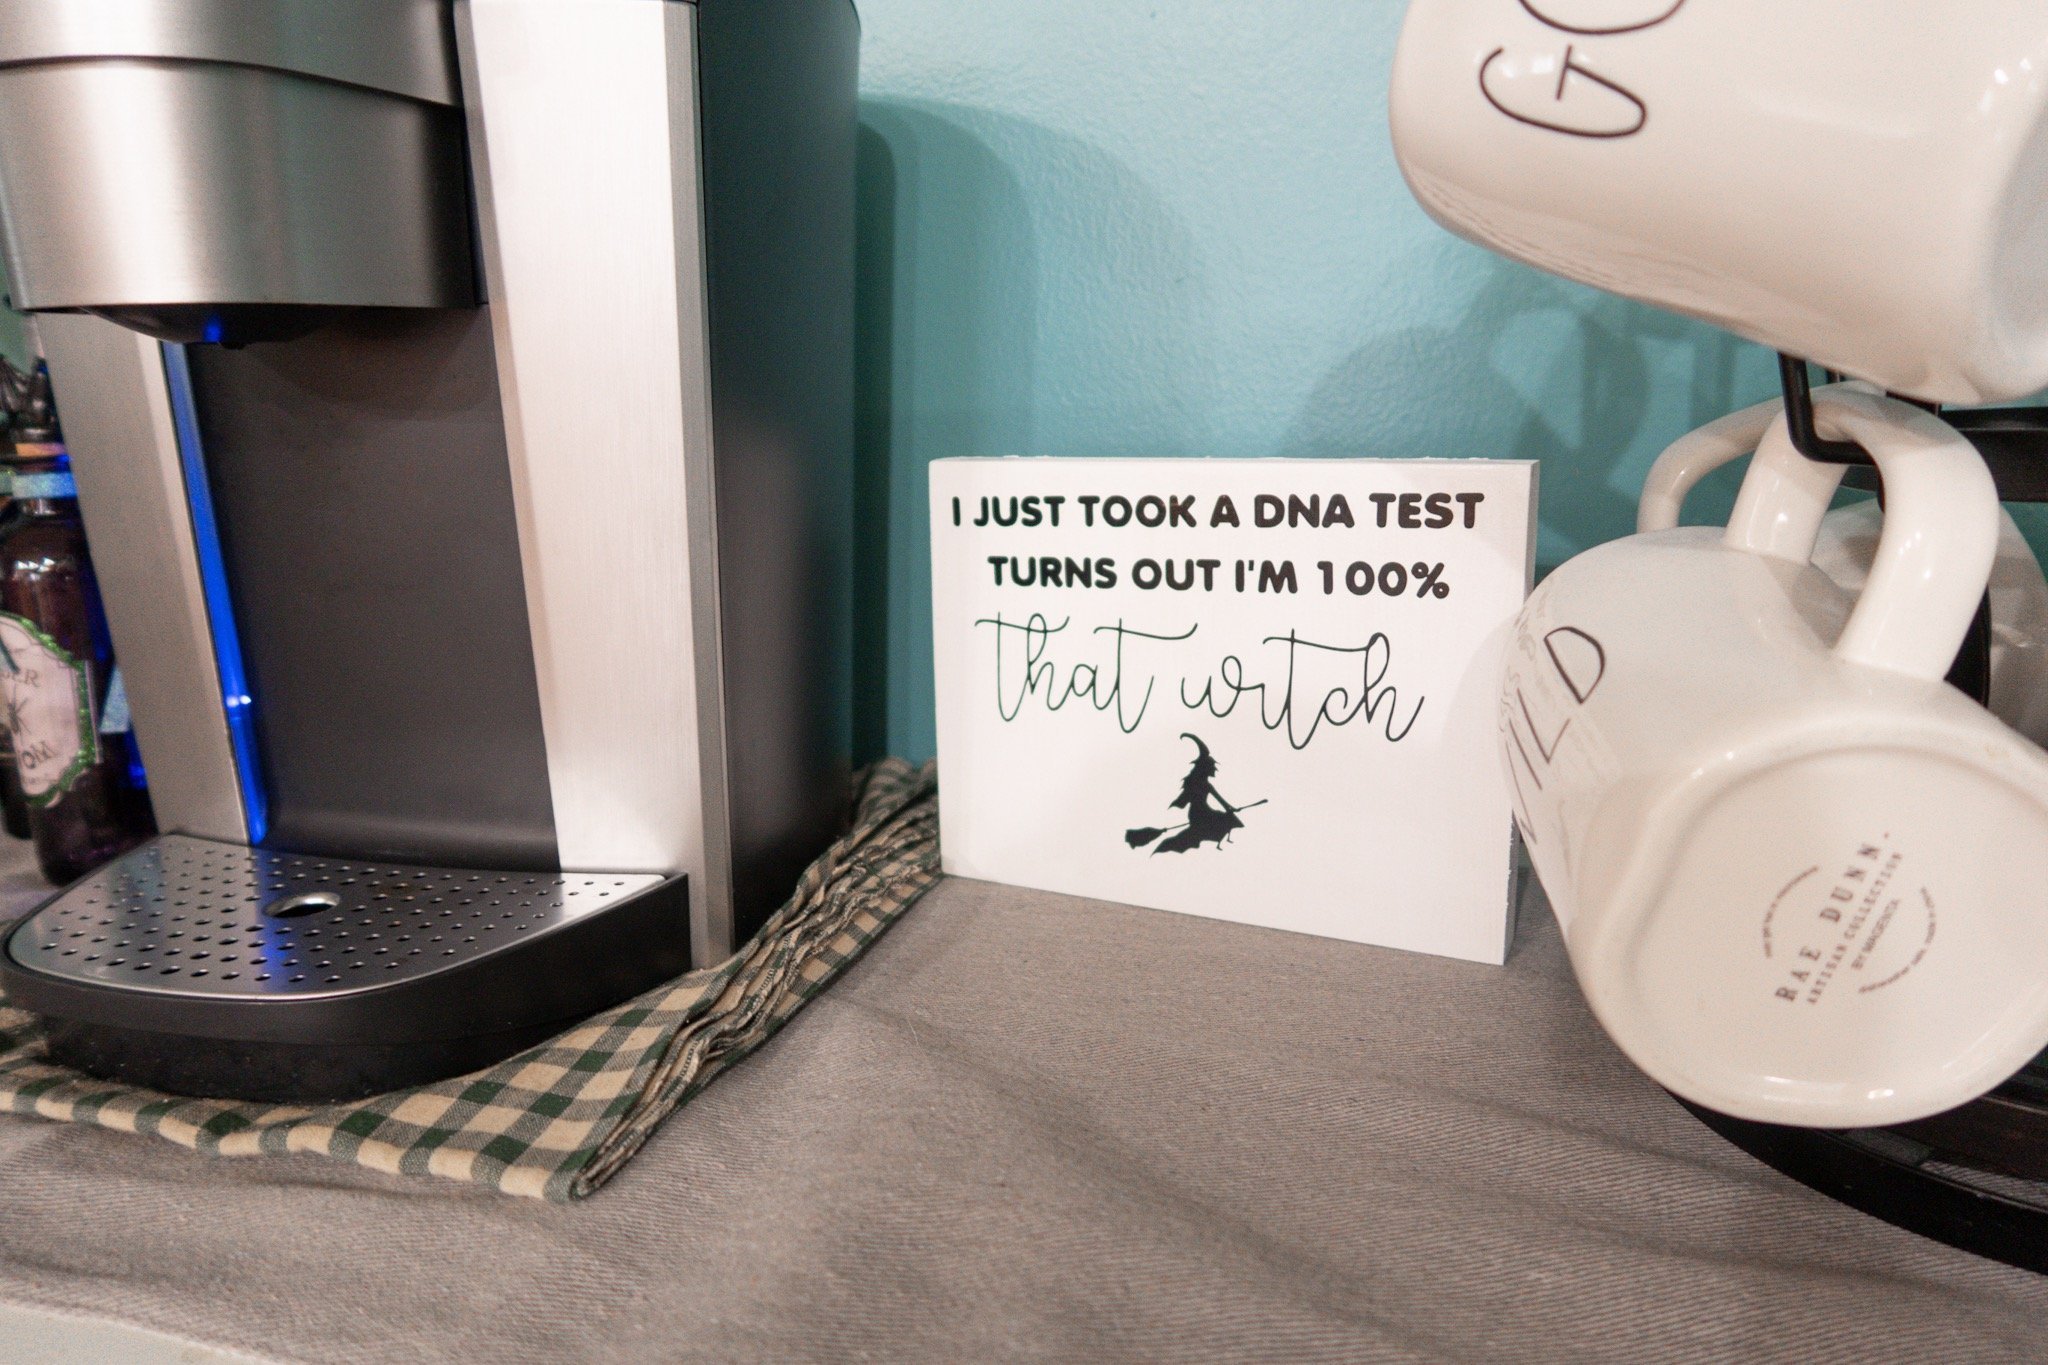
But, I didn’t stop there. I really wanted to see what this machine could do, so I grabbed some black Cricut vinyl with permanent adhesive and decided to make a sign.
Playing off the words of one of my current favorite #girlpower songs by Lizzo, I came up with a cute Halloween version!
Well, I came up with it, but so did a bunch of other people on Pinterest. Bummer, right?
I snagged a small wooden rectangle sign for just over $2 at the store a few days ago and ended up painting it white for this project – woohoo!

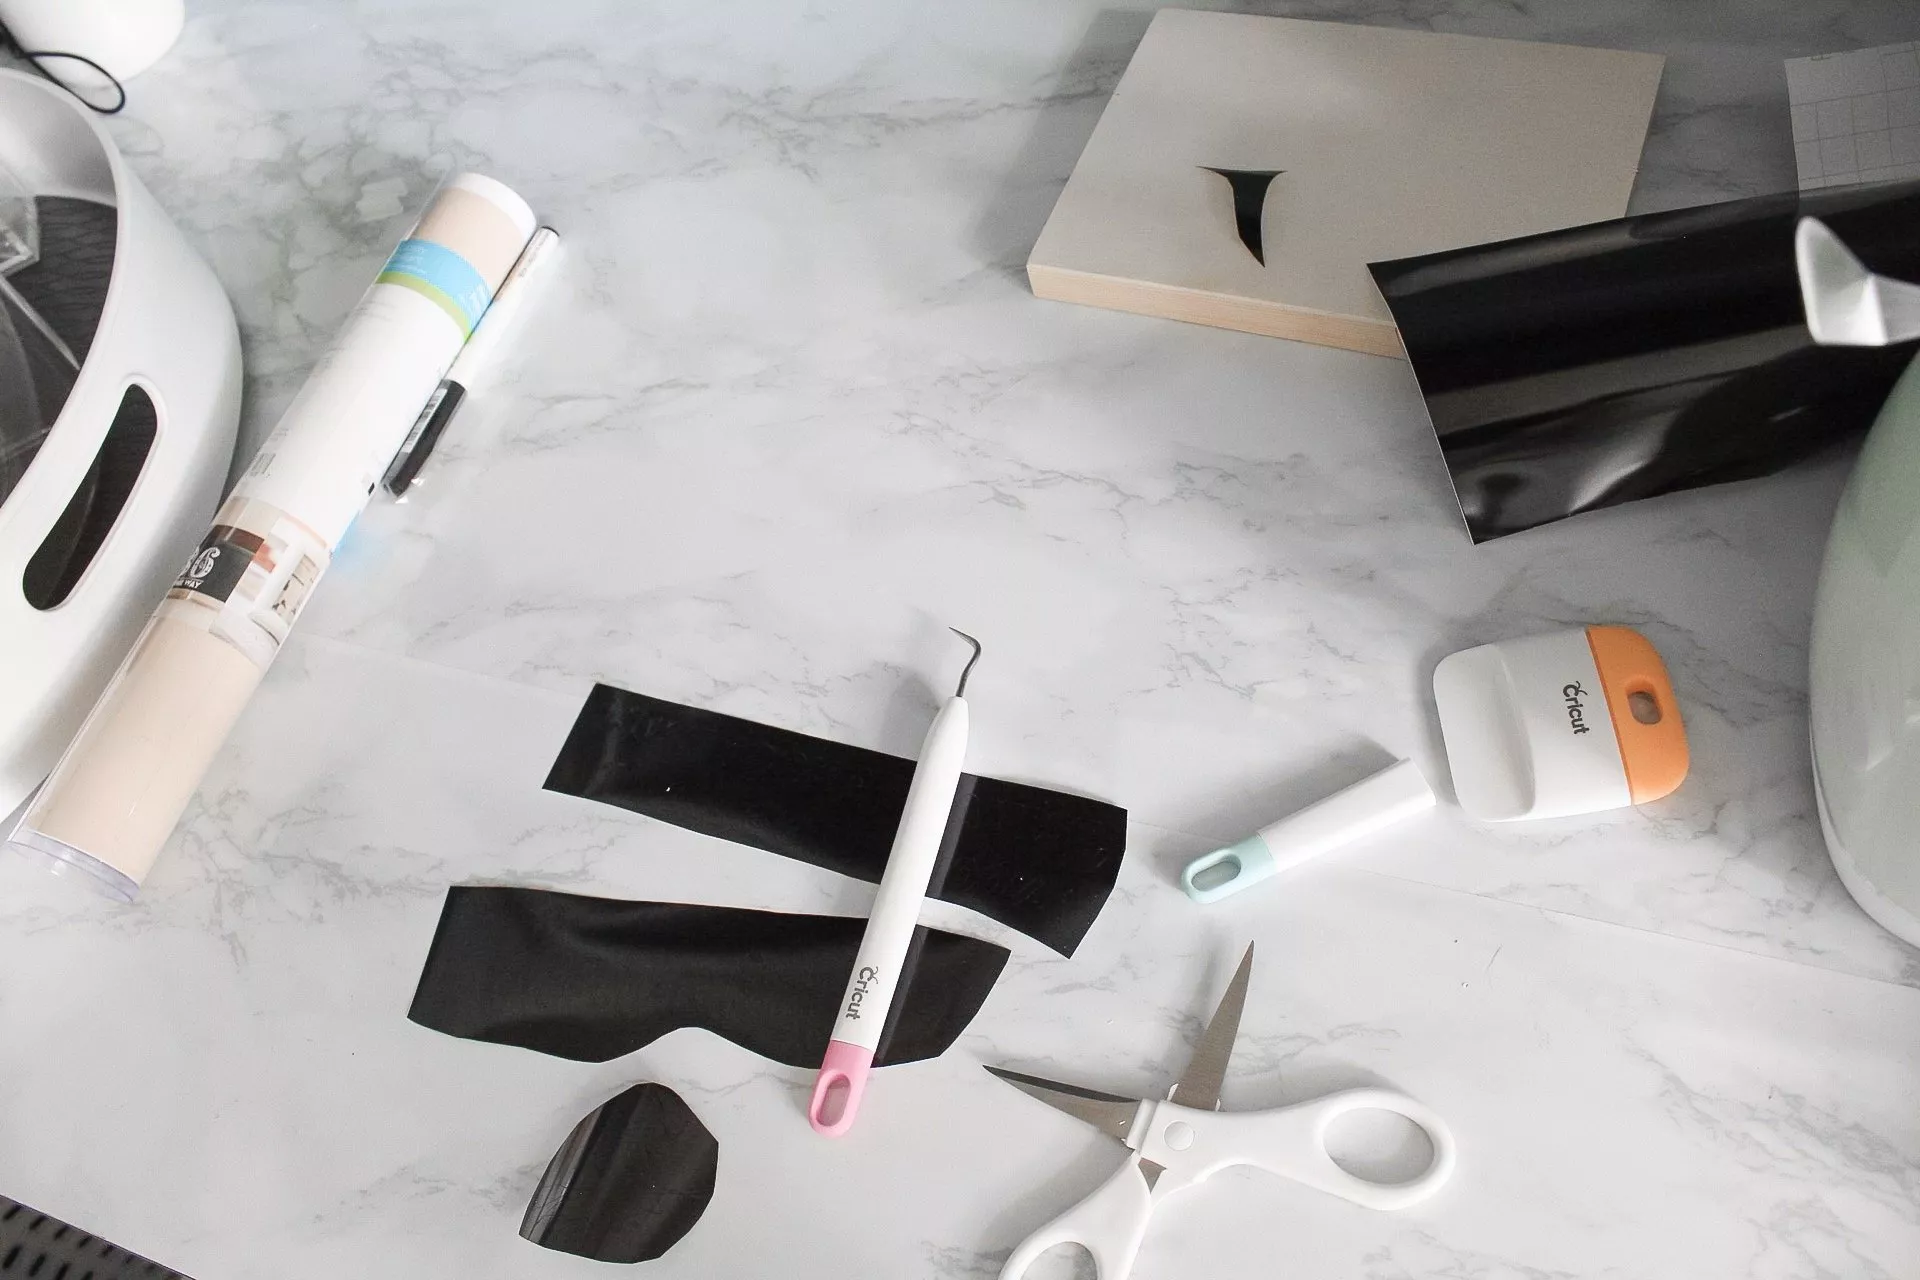
The Cricut Explore Air 2 machine did a fantastic job cutting the vinyl as well. I simply switched the dial to the ‘Vinyl’ setting before cutting.
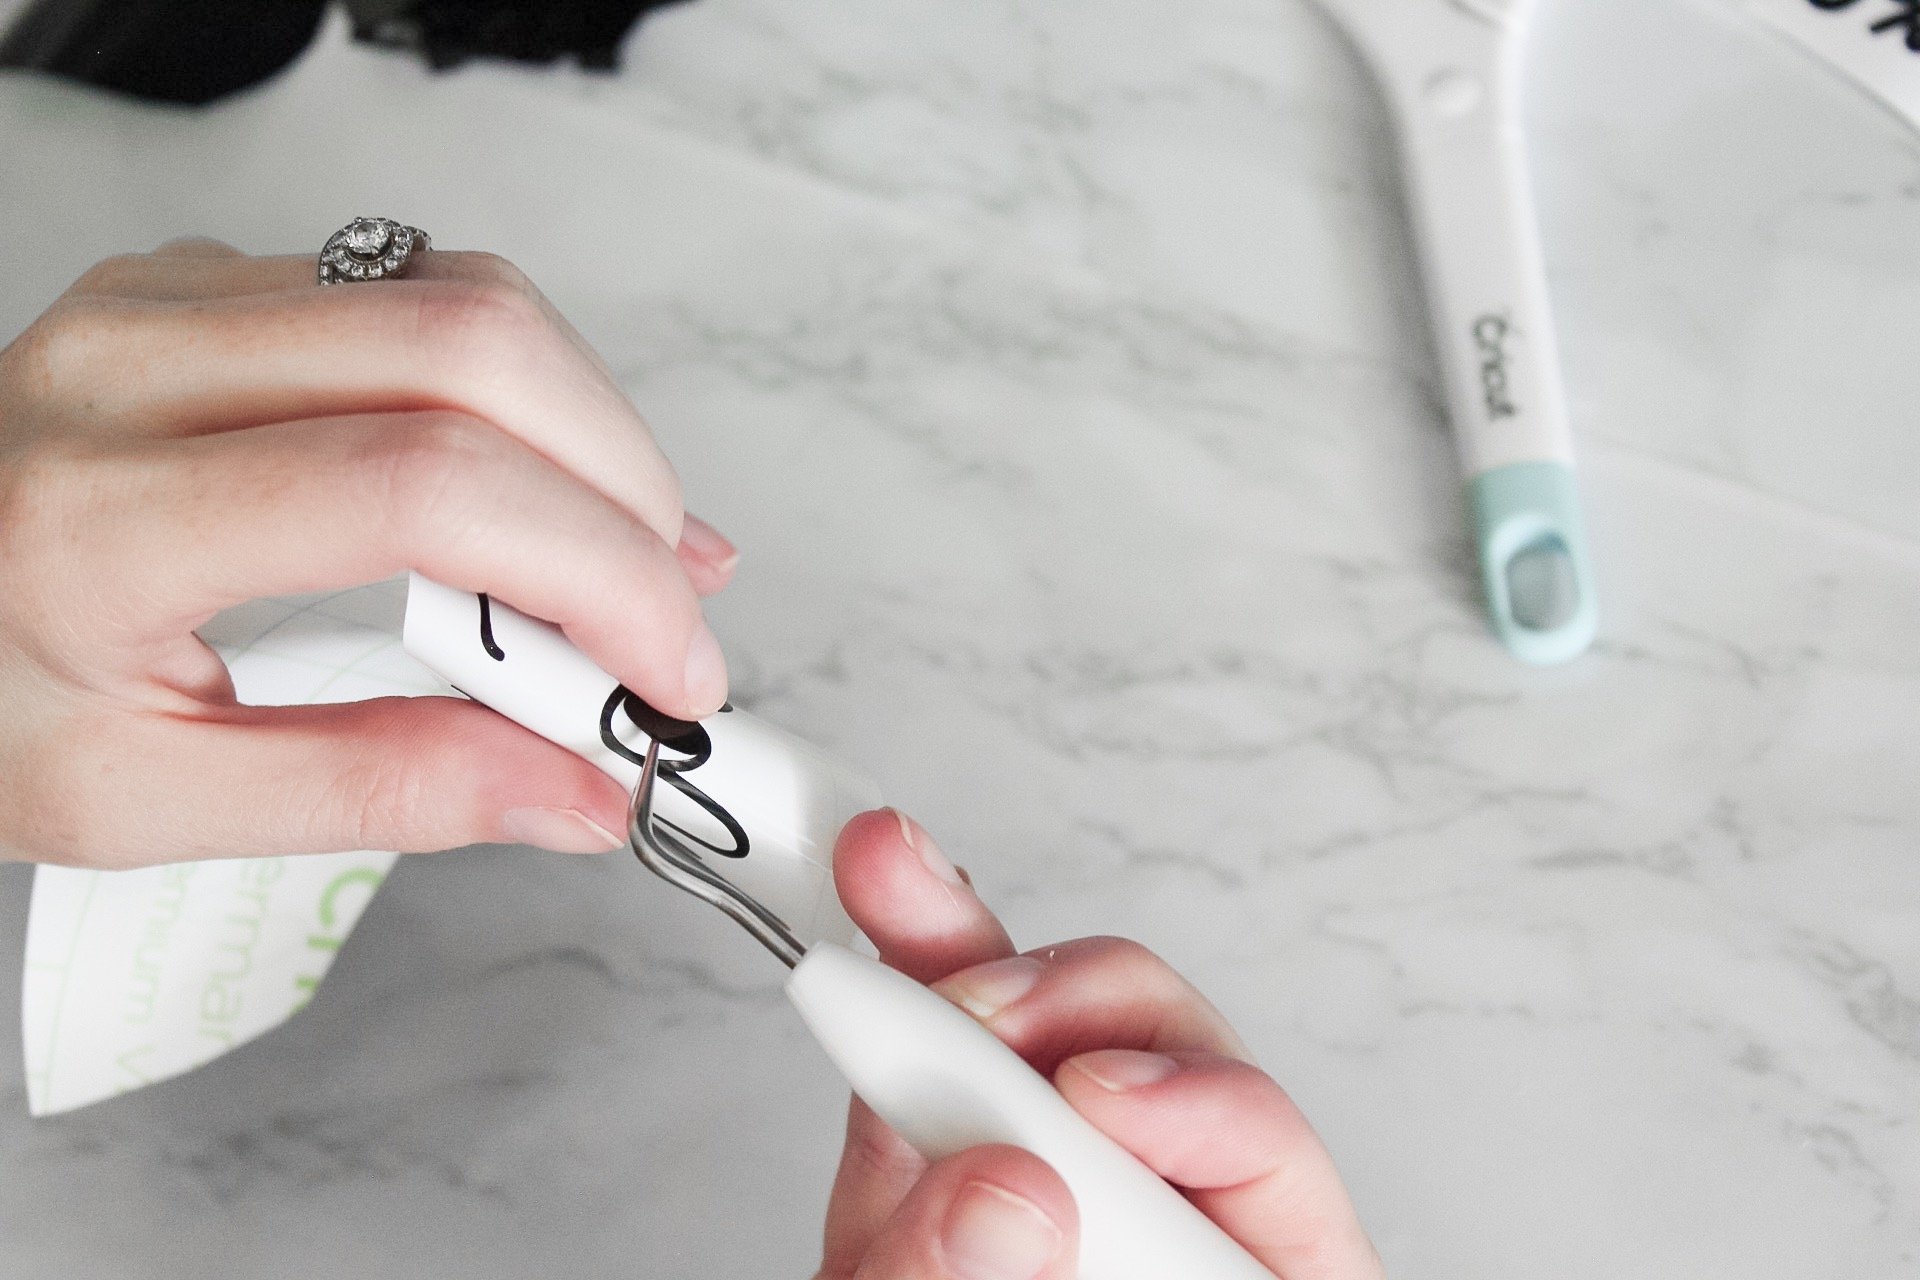
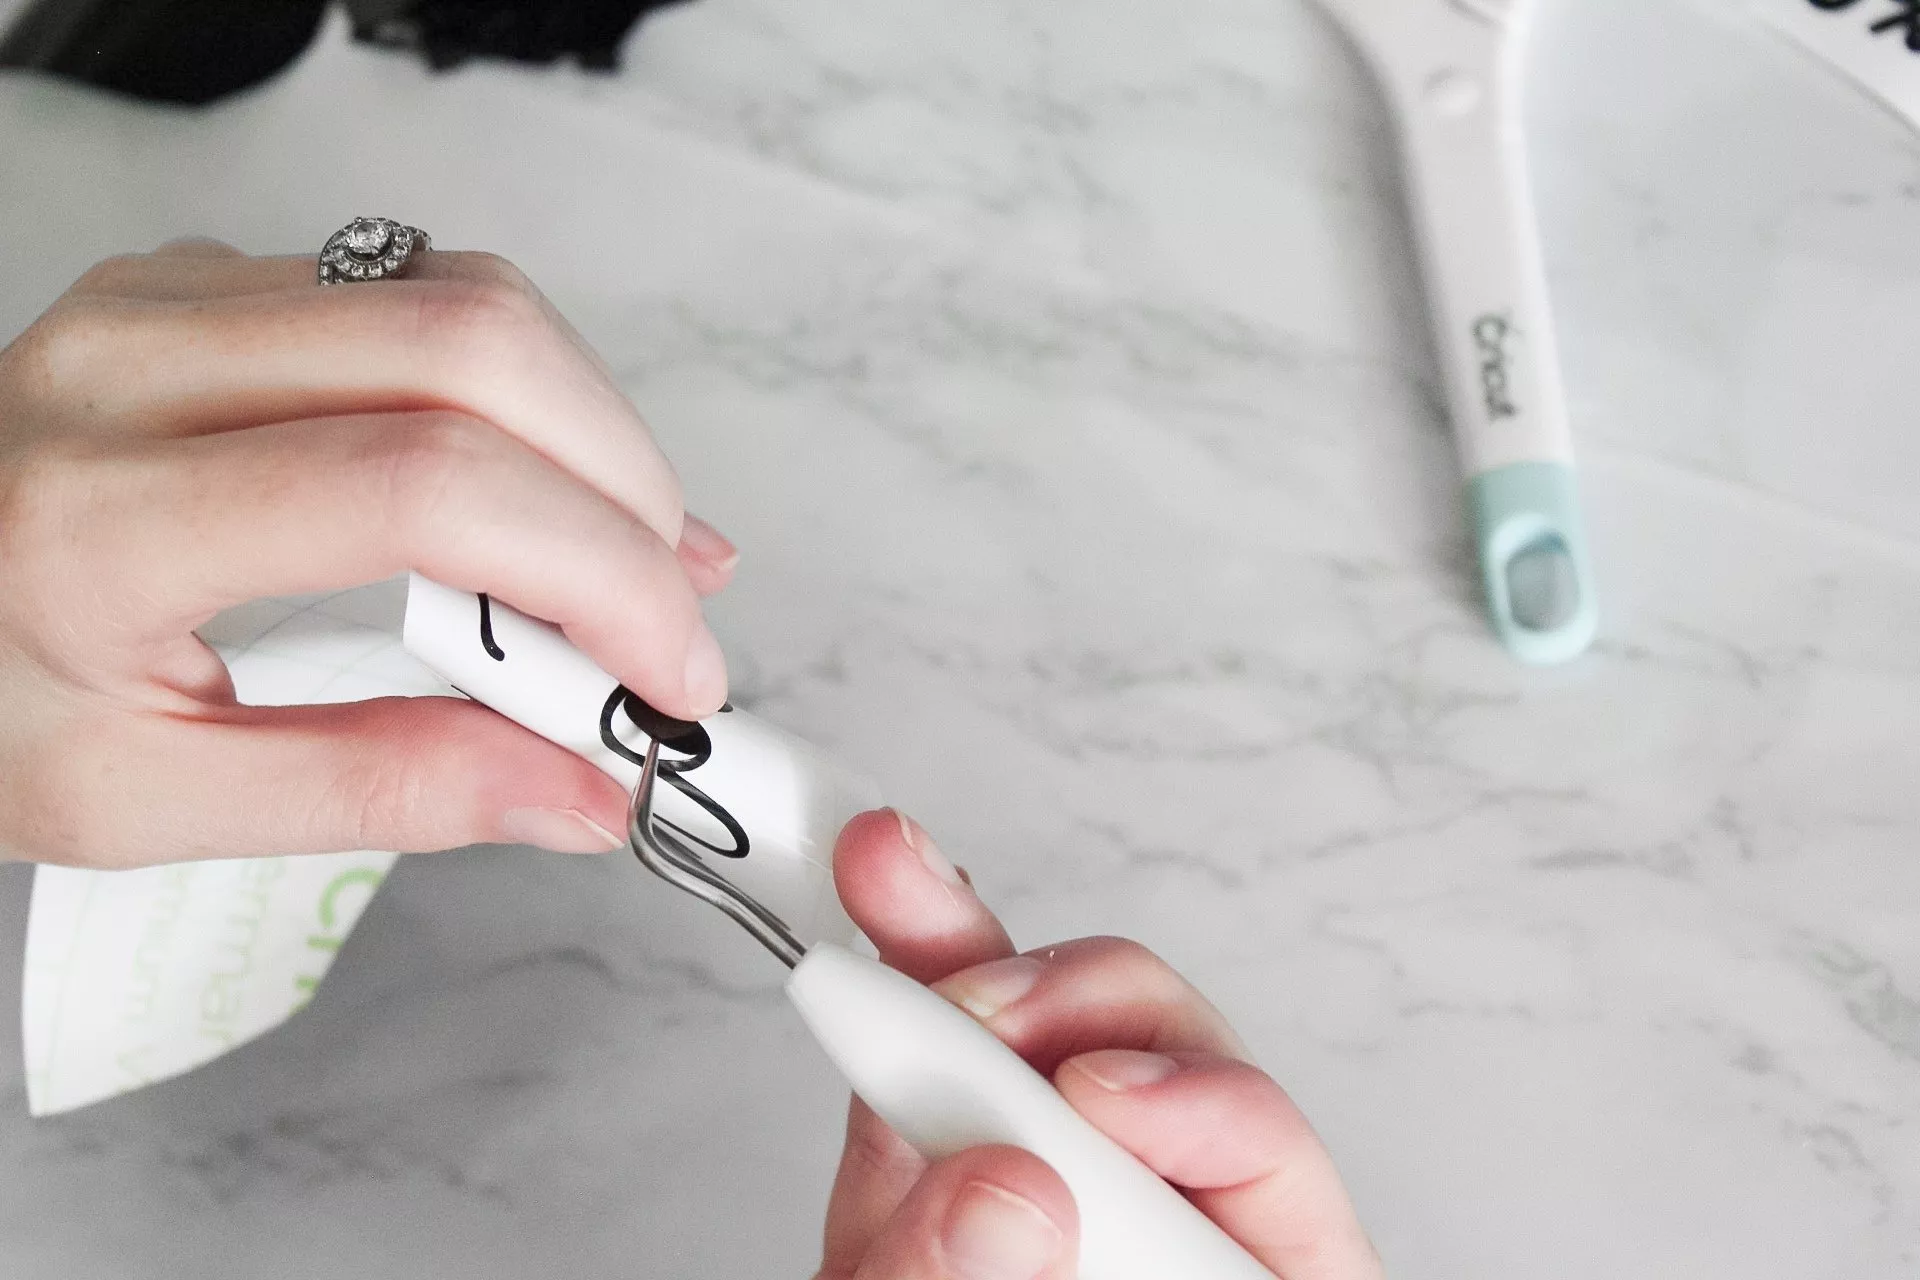
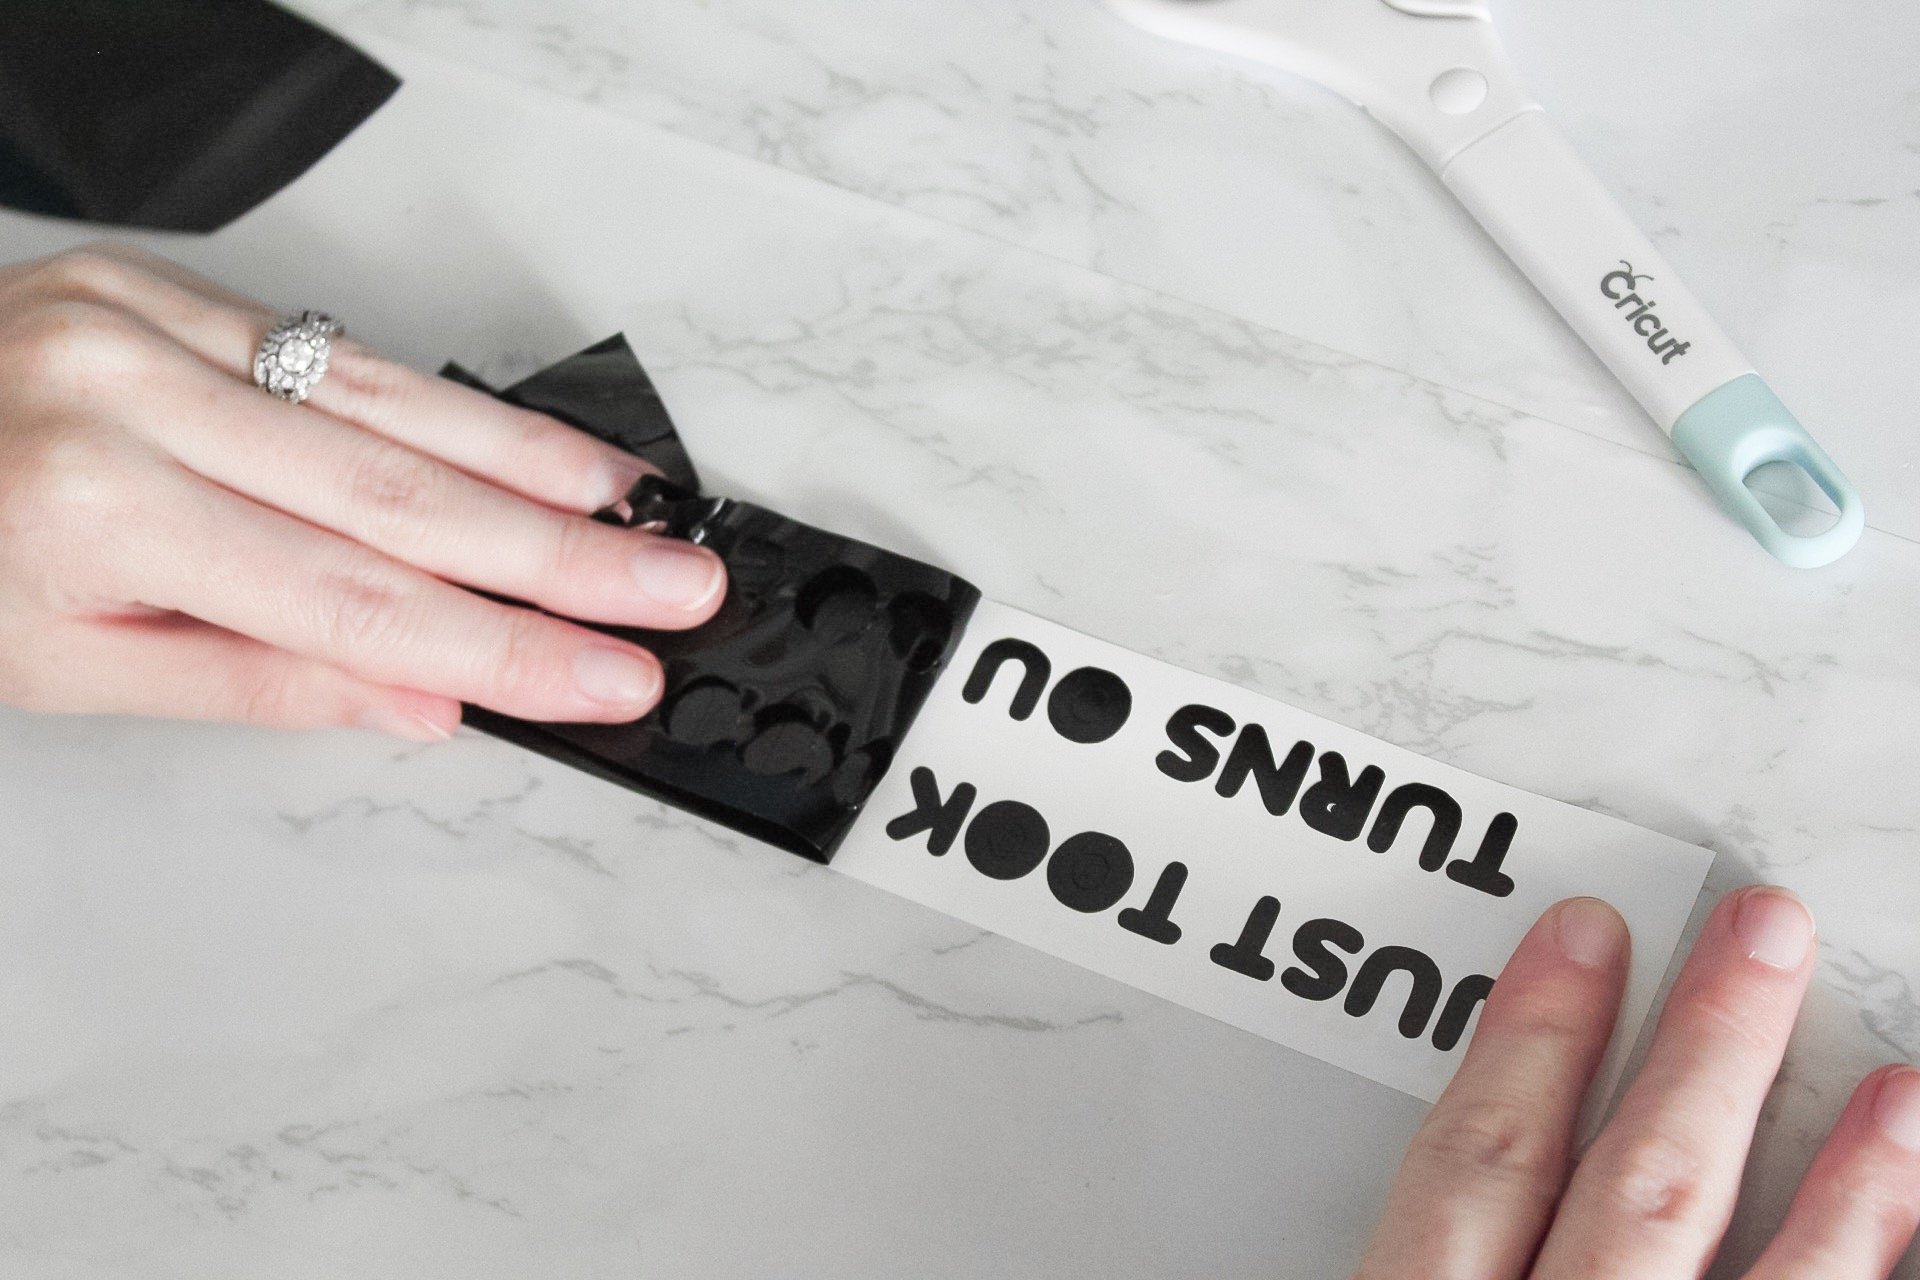
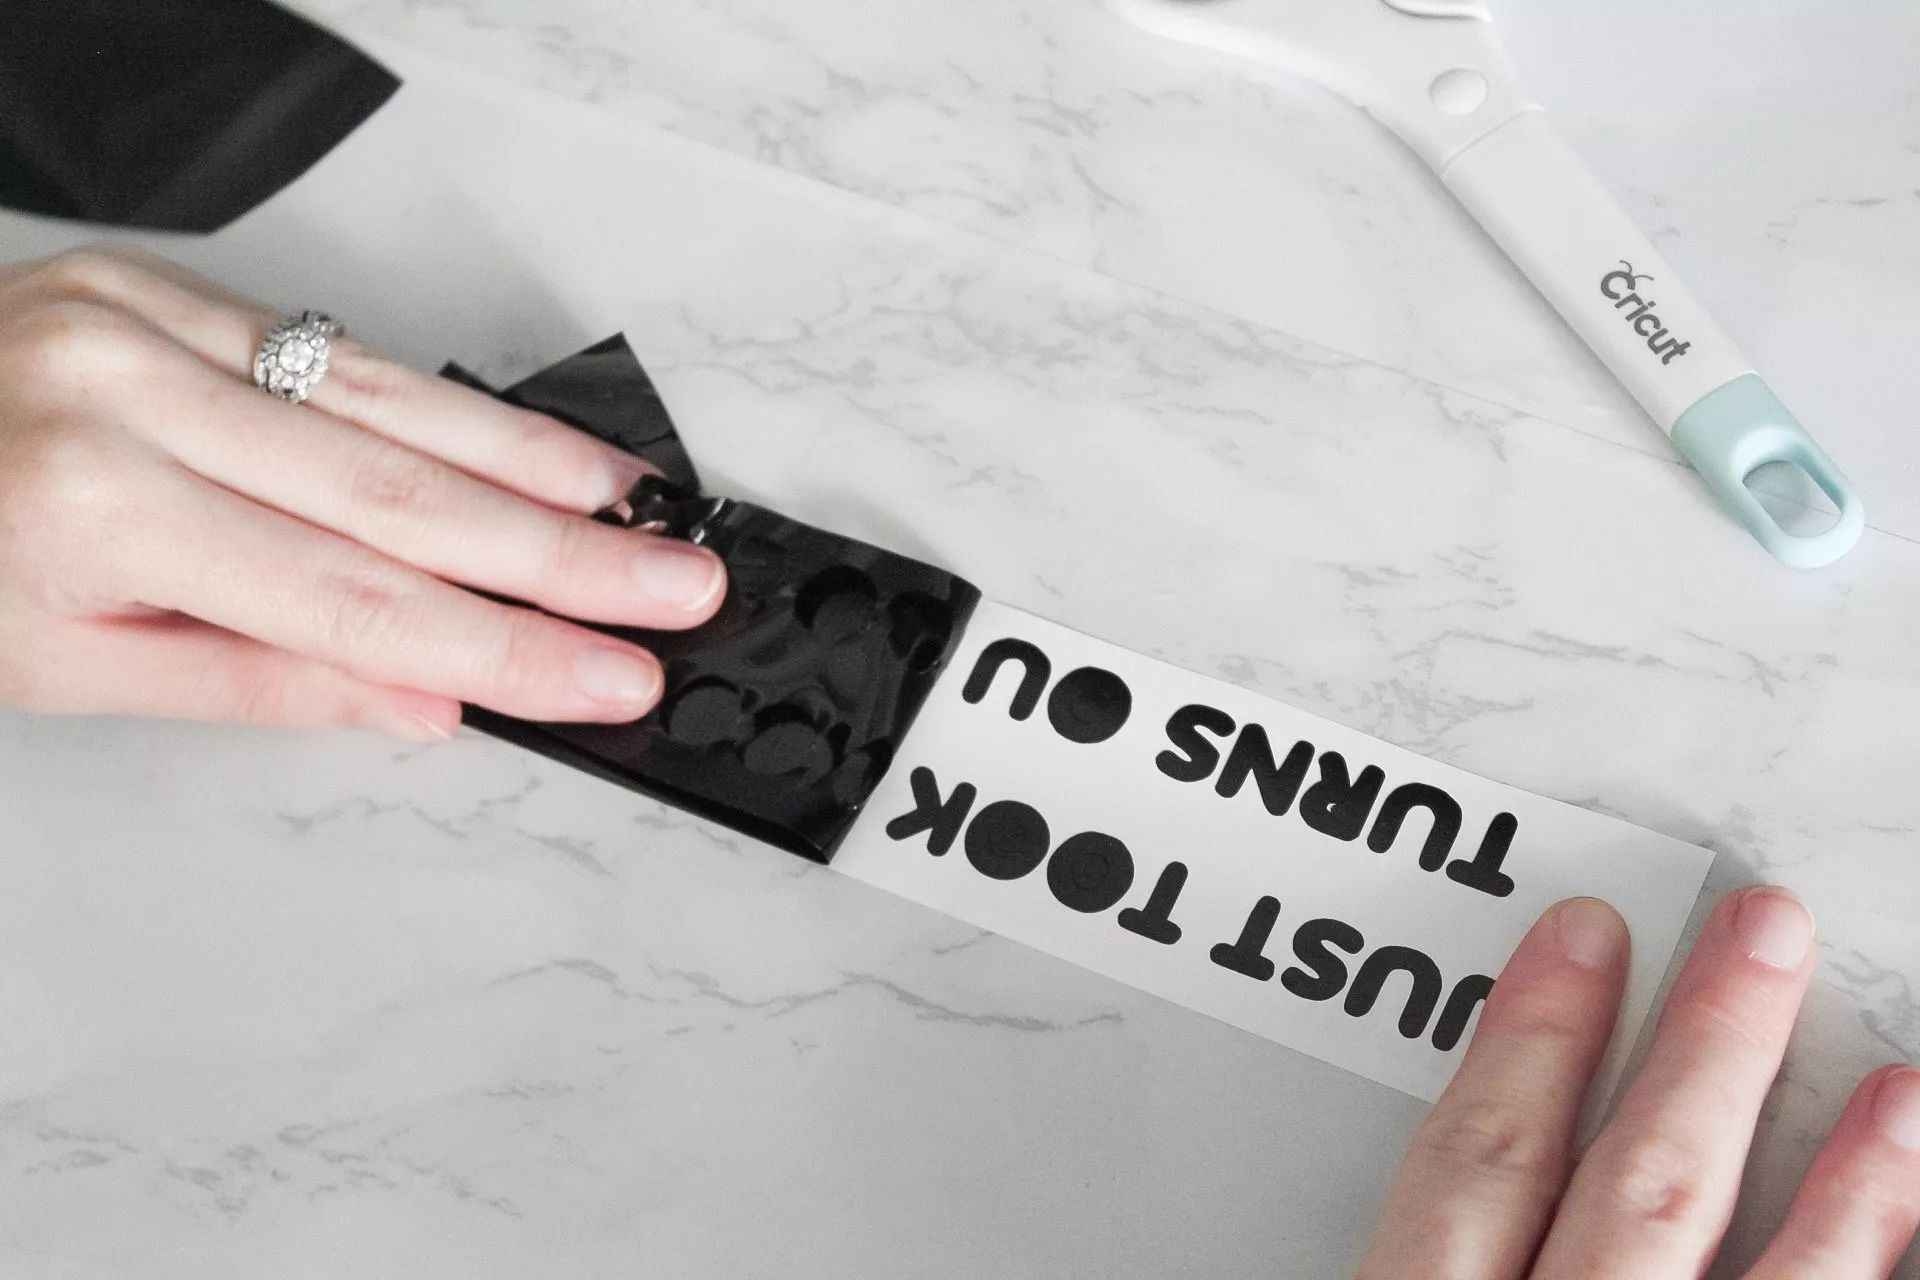
Using the basic tools set, I easily weeded out the excess vinyl from the negative spaces.
BTW, For your first project with lettering (whether it be for vinyl, cardstock, or any other material), I would suggest using a font that is a bit thicker. Skinnier or wispy cursive-type fonts can be difficult for beginners to transfer without some practice first.
This tip is not exclusive to the Cricut machine – no matter what machine you’re using, skinnier font is more difficult to work with for beginners.
In the vlog below, I included a little bit of the transfer paper and vinyl application process for this Halloween sign:
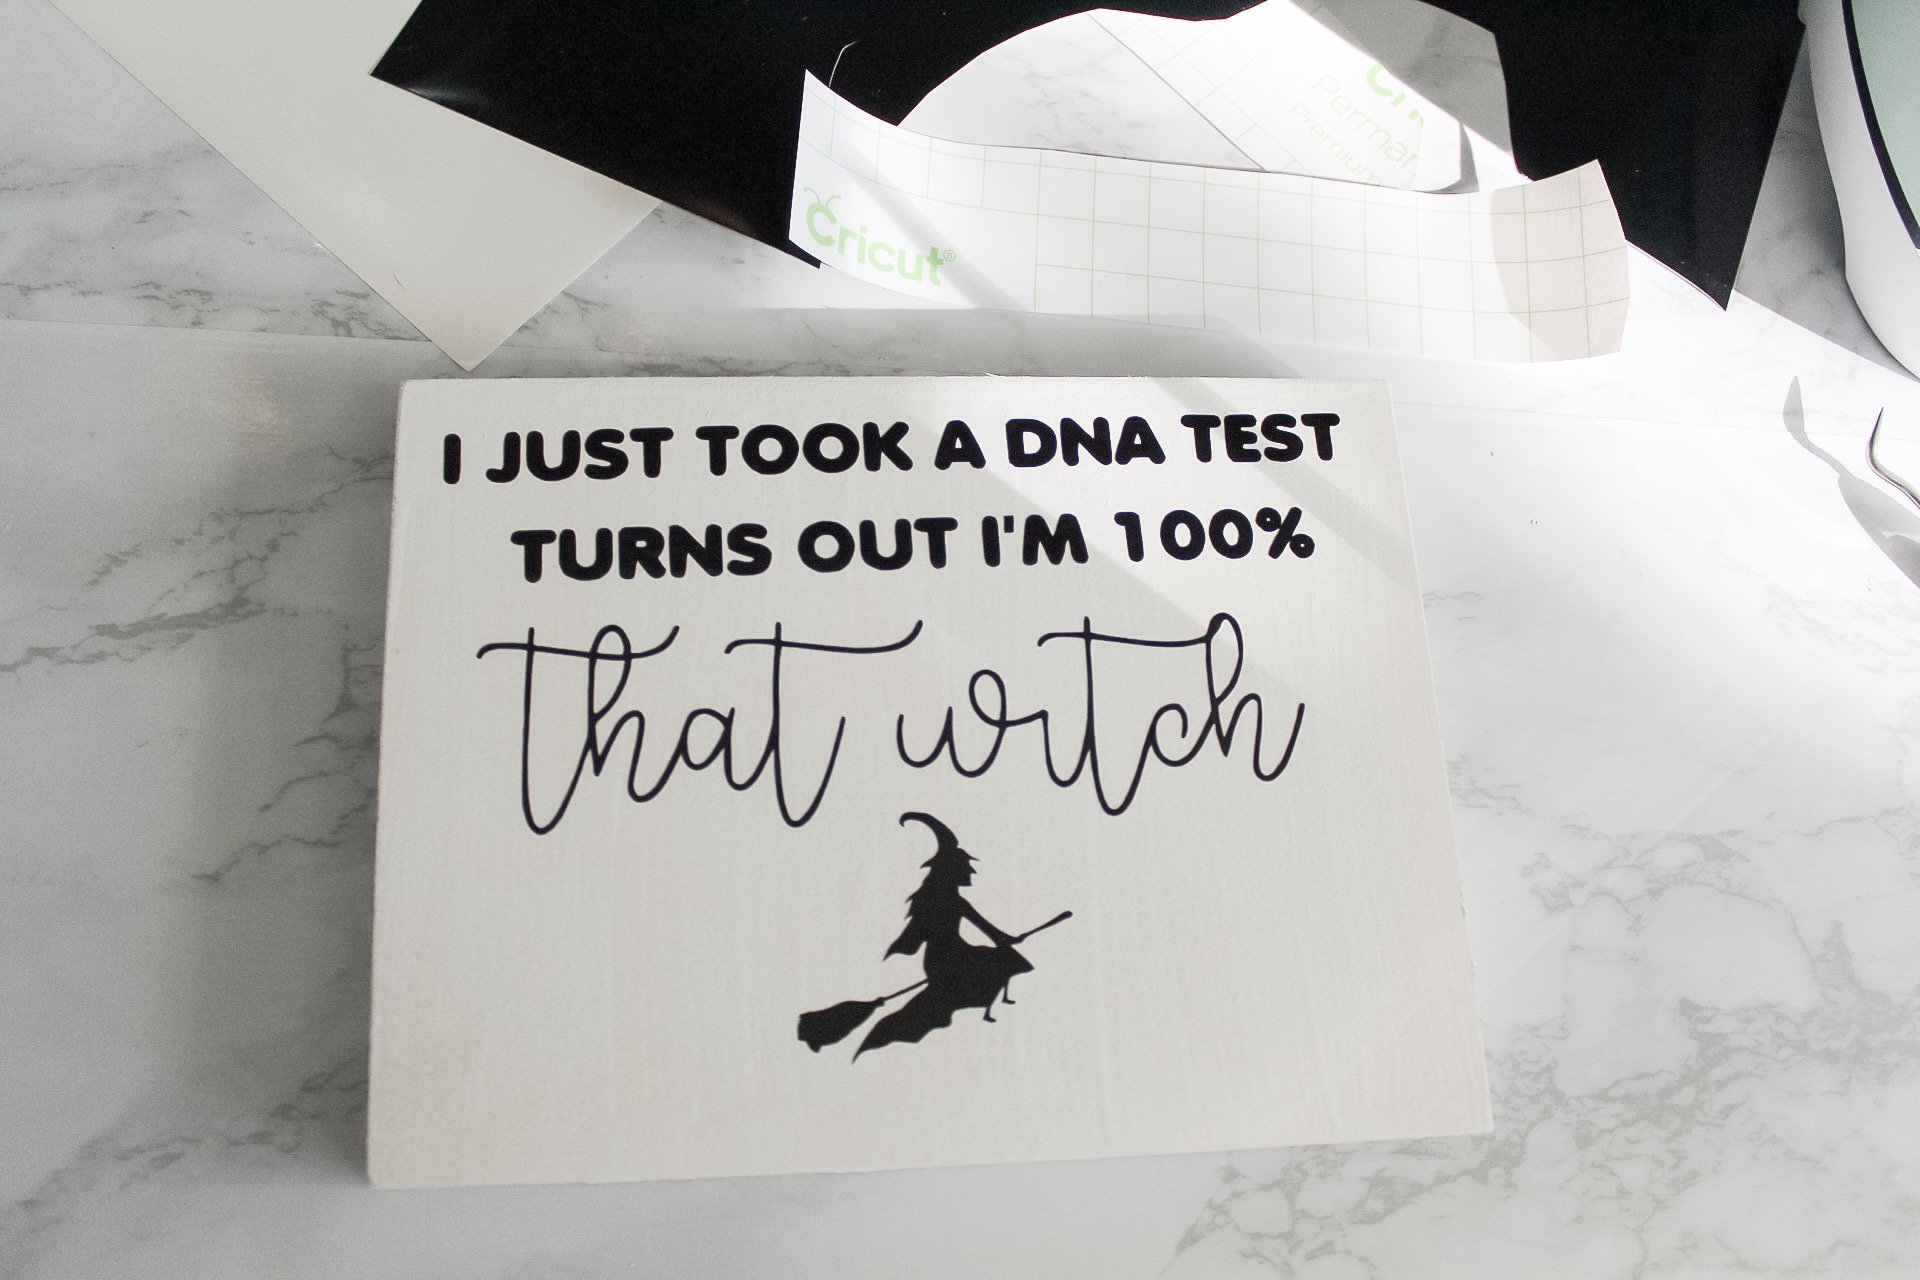
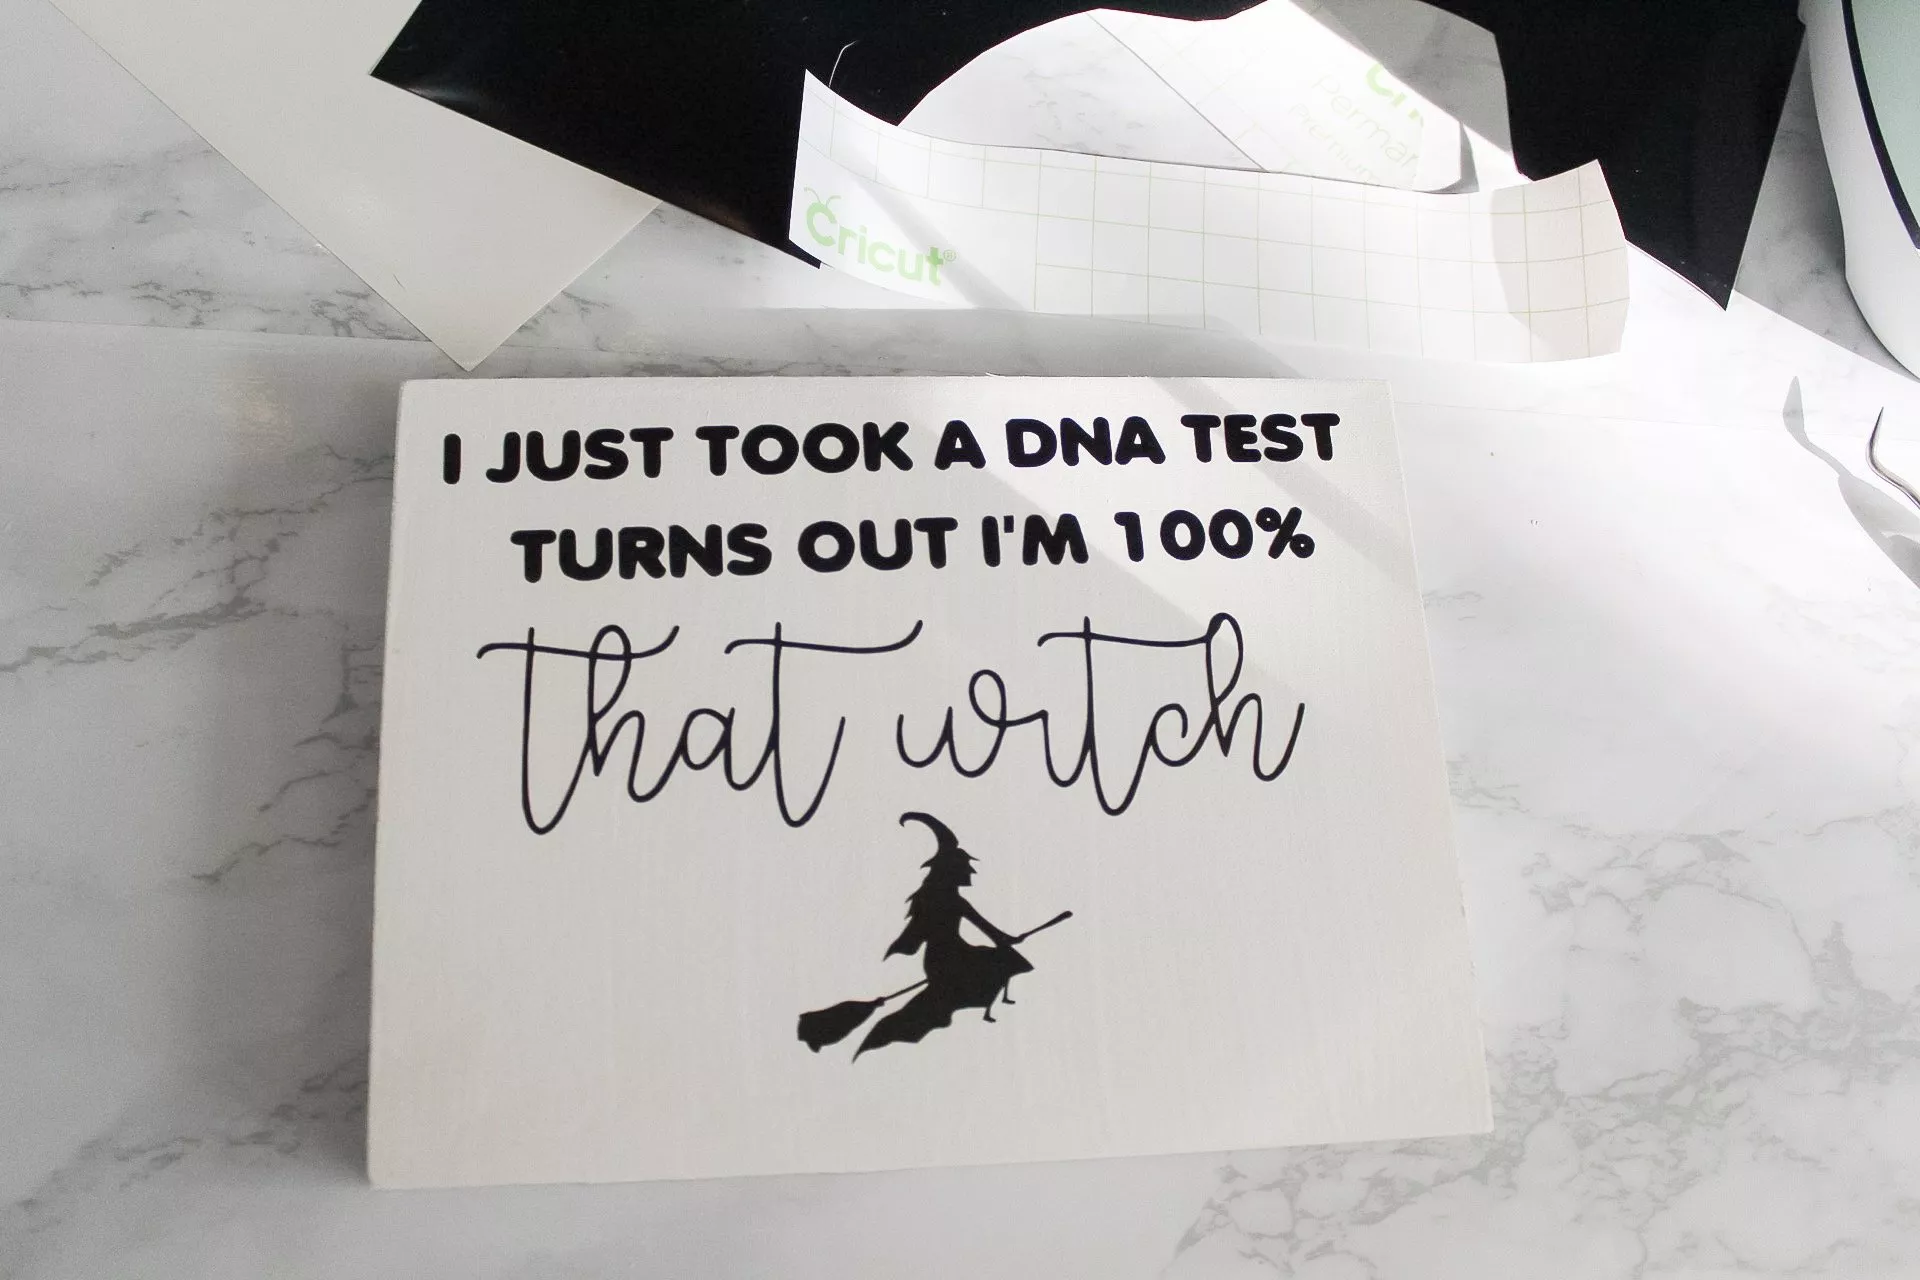
I think for my first sign, it turned out great!
The Cricut cut crisp lines with both block and cursive lettering, as well as accurate detailing in the witch icon.
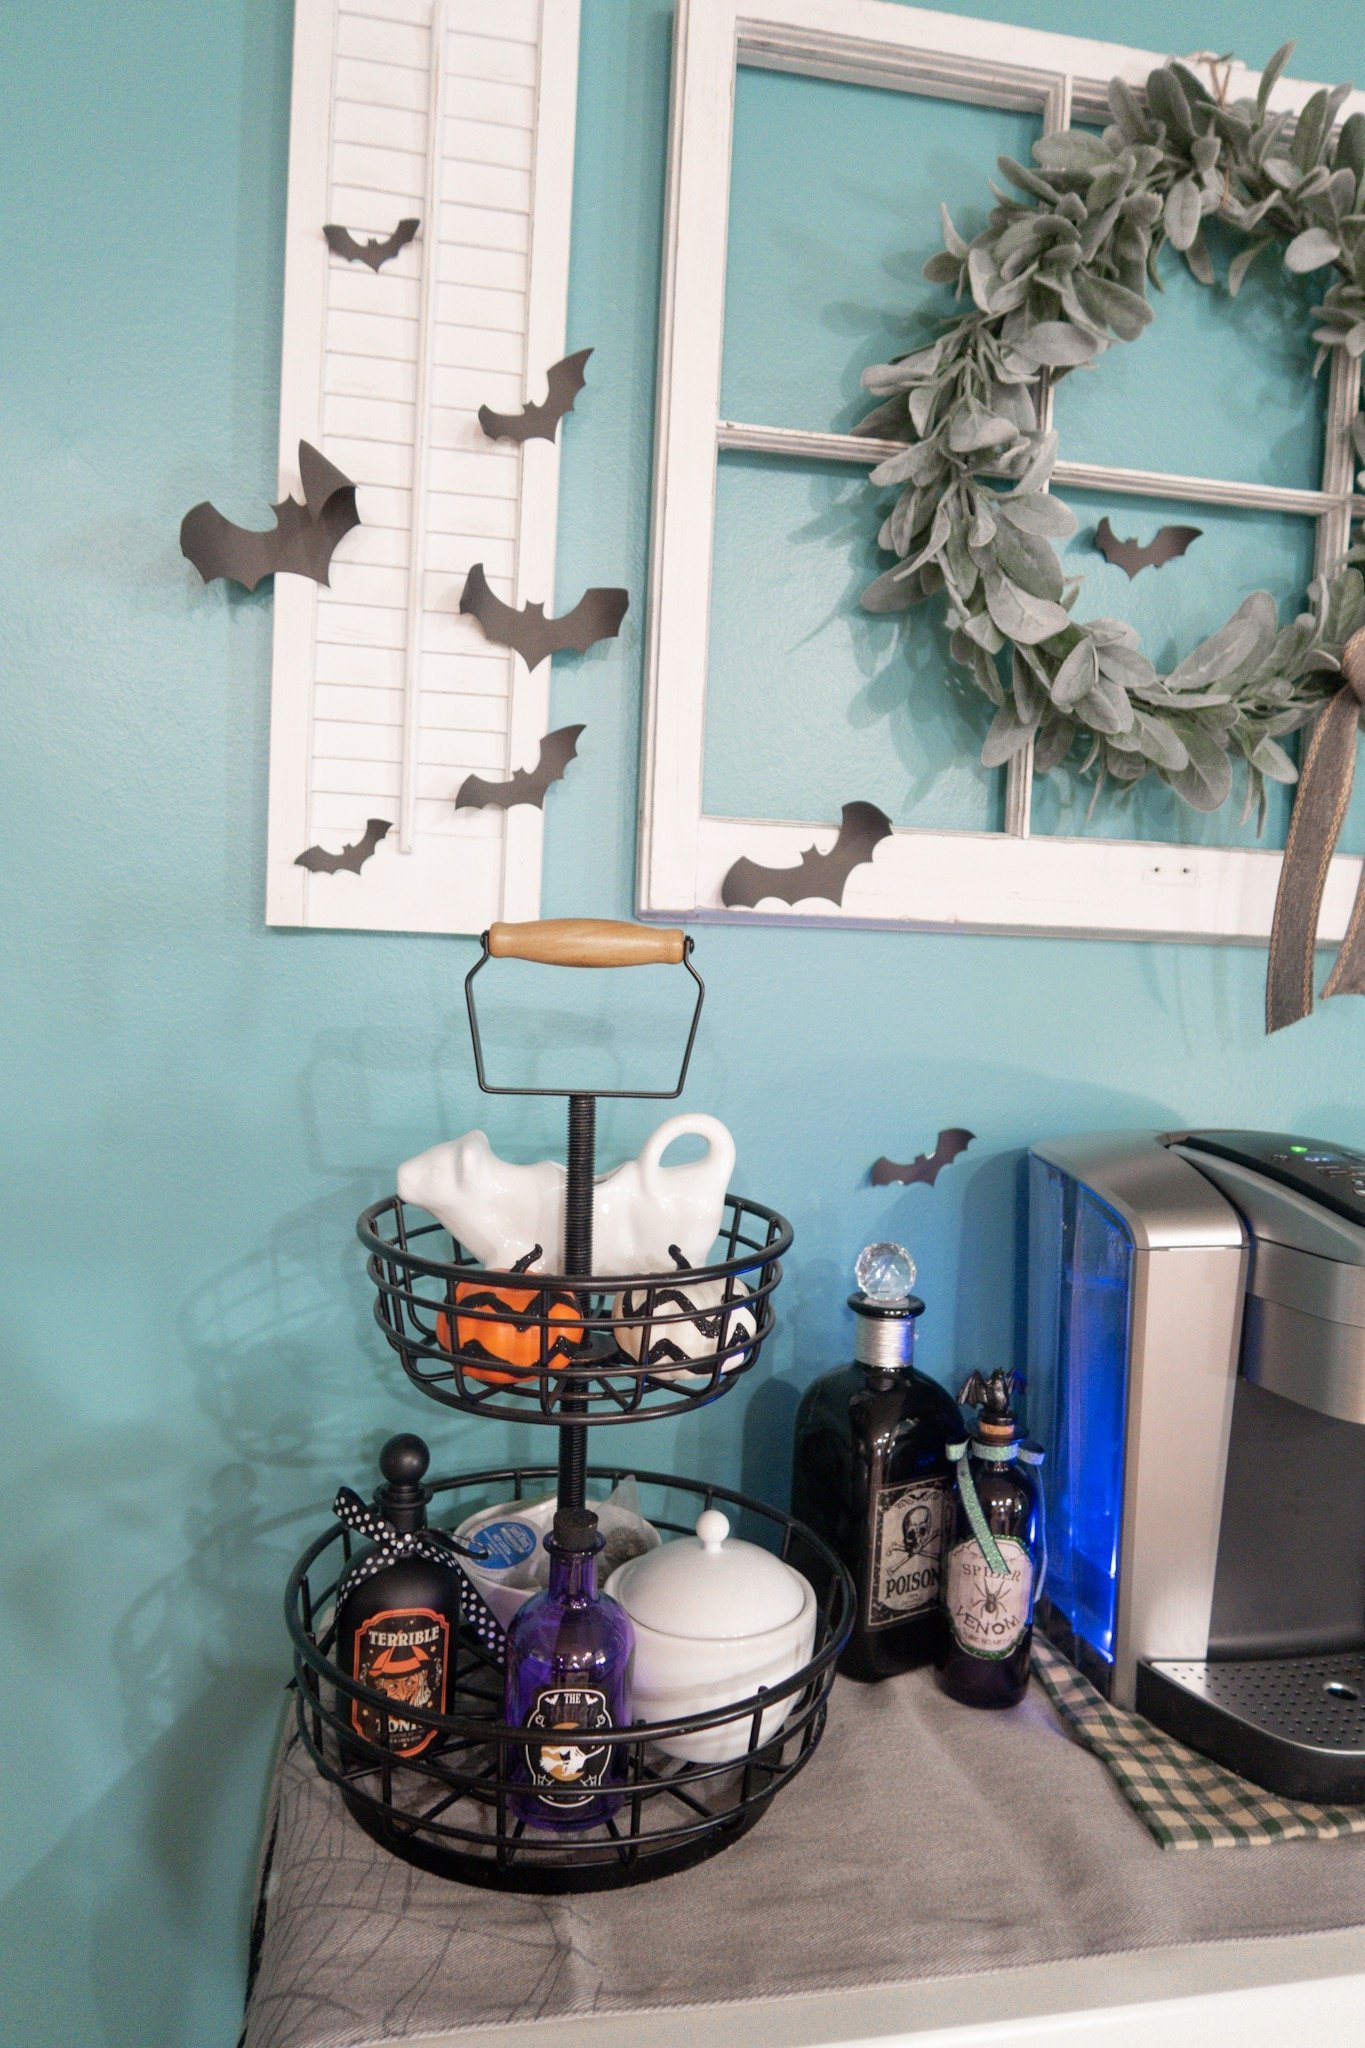

I taped the bats up on the wall and on my farmhouse window frame set and feel like cutting some more bats for this wall!
The sign goes perfectly next to my Keurig.


My Thoughts On The Cricut Explore Air 2
In short, I love it!
It’s my favorite cutting machine now. It’s incredibly easy to use, operate, design with, and even in ‘Fast Mode’, I get beautiful and accurate cuts.
From designing and cutting to applying and admiring, the Cricut Explore Air 2 does not disappoint! I can’t wait to craft more and see what else I can create with this user-friendly cutting machine.
Have you tried cutting with the Cricut Explore Air 2? Let me know in the comments below, and be sure to tell me what projects you’re working on right now!
*Post originally published October 2019, last updated February 2023.
Pam Dana
Thursday 14th of November 2019
What a super cute project!! I love the sign so much and am for sure going to make one next year! When removing cardstock (and even sometimes vinyl or Iron On) I like to actually peel the mat off the cardstock vs the other way around. It helps it not get that curl!! Hope it works for you too!
Corinne
Thursday 14th of November 2019
Oh, I'll try that next time! I was lucky that the curling worked for this project, but I don't *always* want the cardstock to curl ;) haha! Thank you, Pam :)