

Learn how to make a crib sheet for your little one’s nursery with this easy DIY tutorial! This crib sheet makes a great afternoon DIY nursery decor project or a fun baby shower gift…


The countdown to baby #3 is on!
If you’ve been following my blog for a while (or even just the last several posts), you already know I’ve been in a super crafty mood lately as I’m nesting and getting ready for this one’s arrival.
I finally have my hospital bag packed, the car seat installed, and the baby crib cleaned out and situated.
With us being Team Green this time around, I wanted to pack away the strictly boy themed crib sheets we have leftover from Jax and opt for more neutral crib bedding.
And I thought, why not pick out some fabric I like and make my own?!
BTW, Team Green refers to parents who do not want to find out the sex of their baby until the delivery!
This tutorial is super easy, any beginner seamstress can make these crib sheets.
It took me a few tries to narrow down the right measurements and make it as easy as possible to follow along, but I’m consistently making gorgeous custom crib sheets now and am so excited to share this tutorial with you!
*This post contains affiliate links, however, all opinions are my own, as always.*
How To Make A Crib Sheet
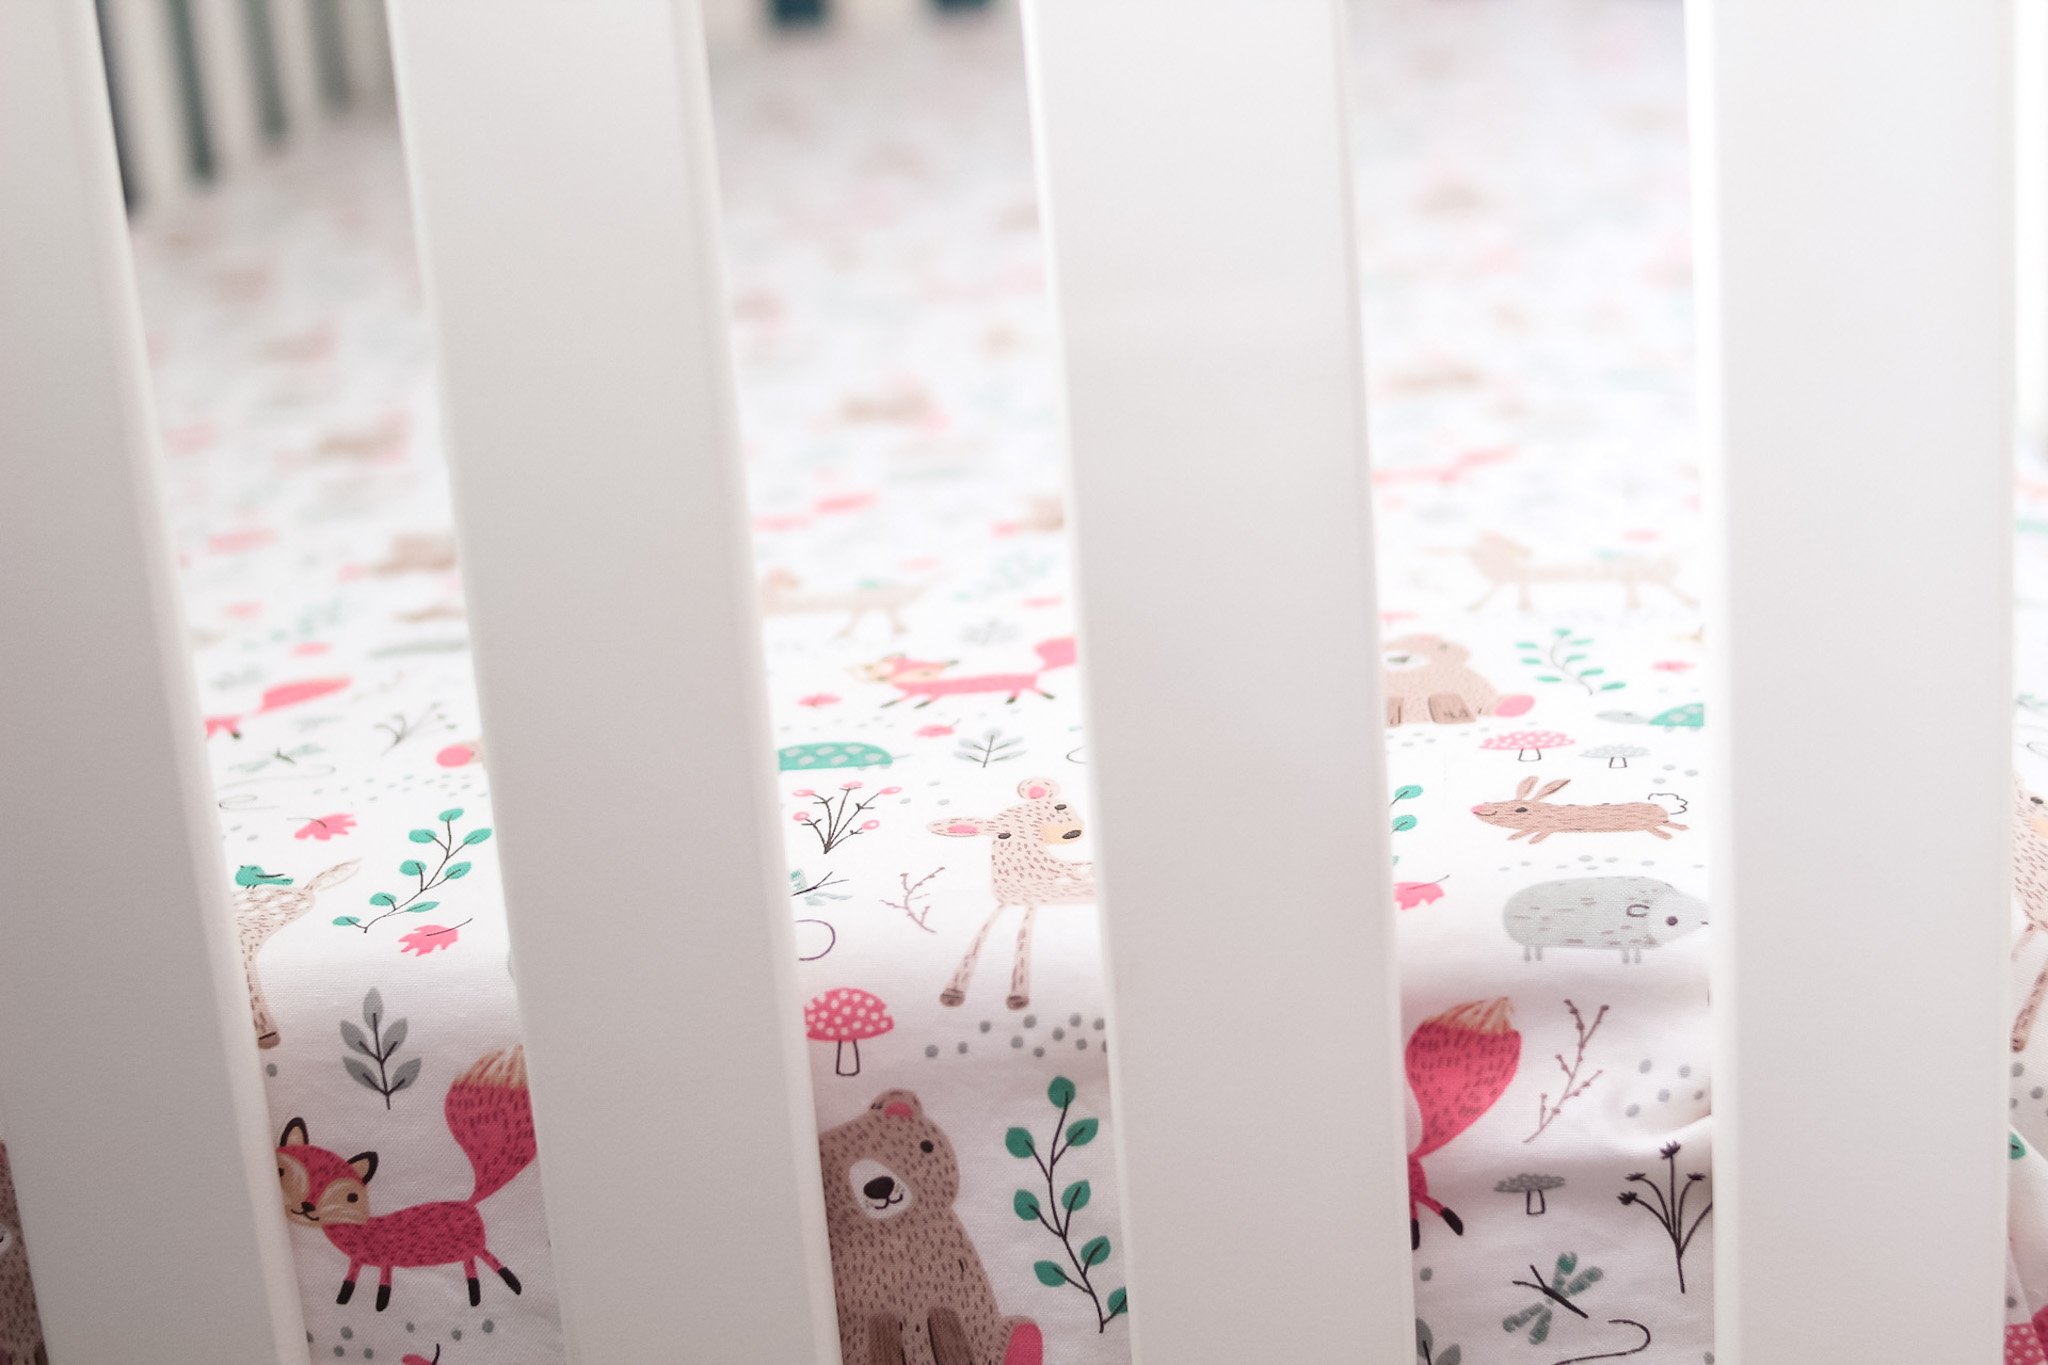


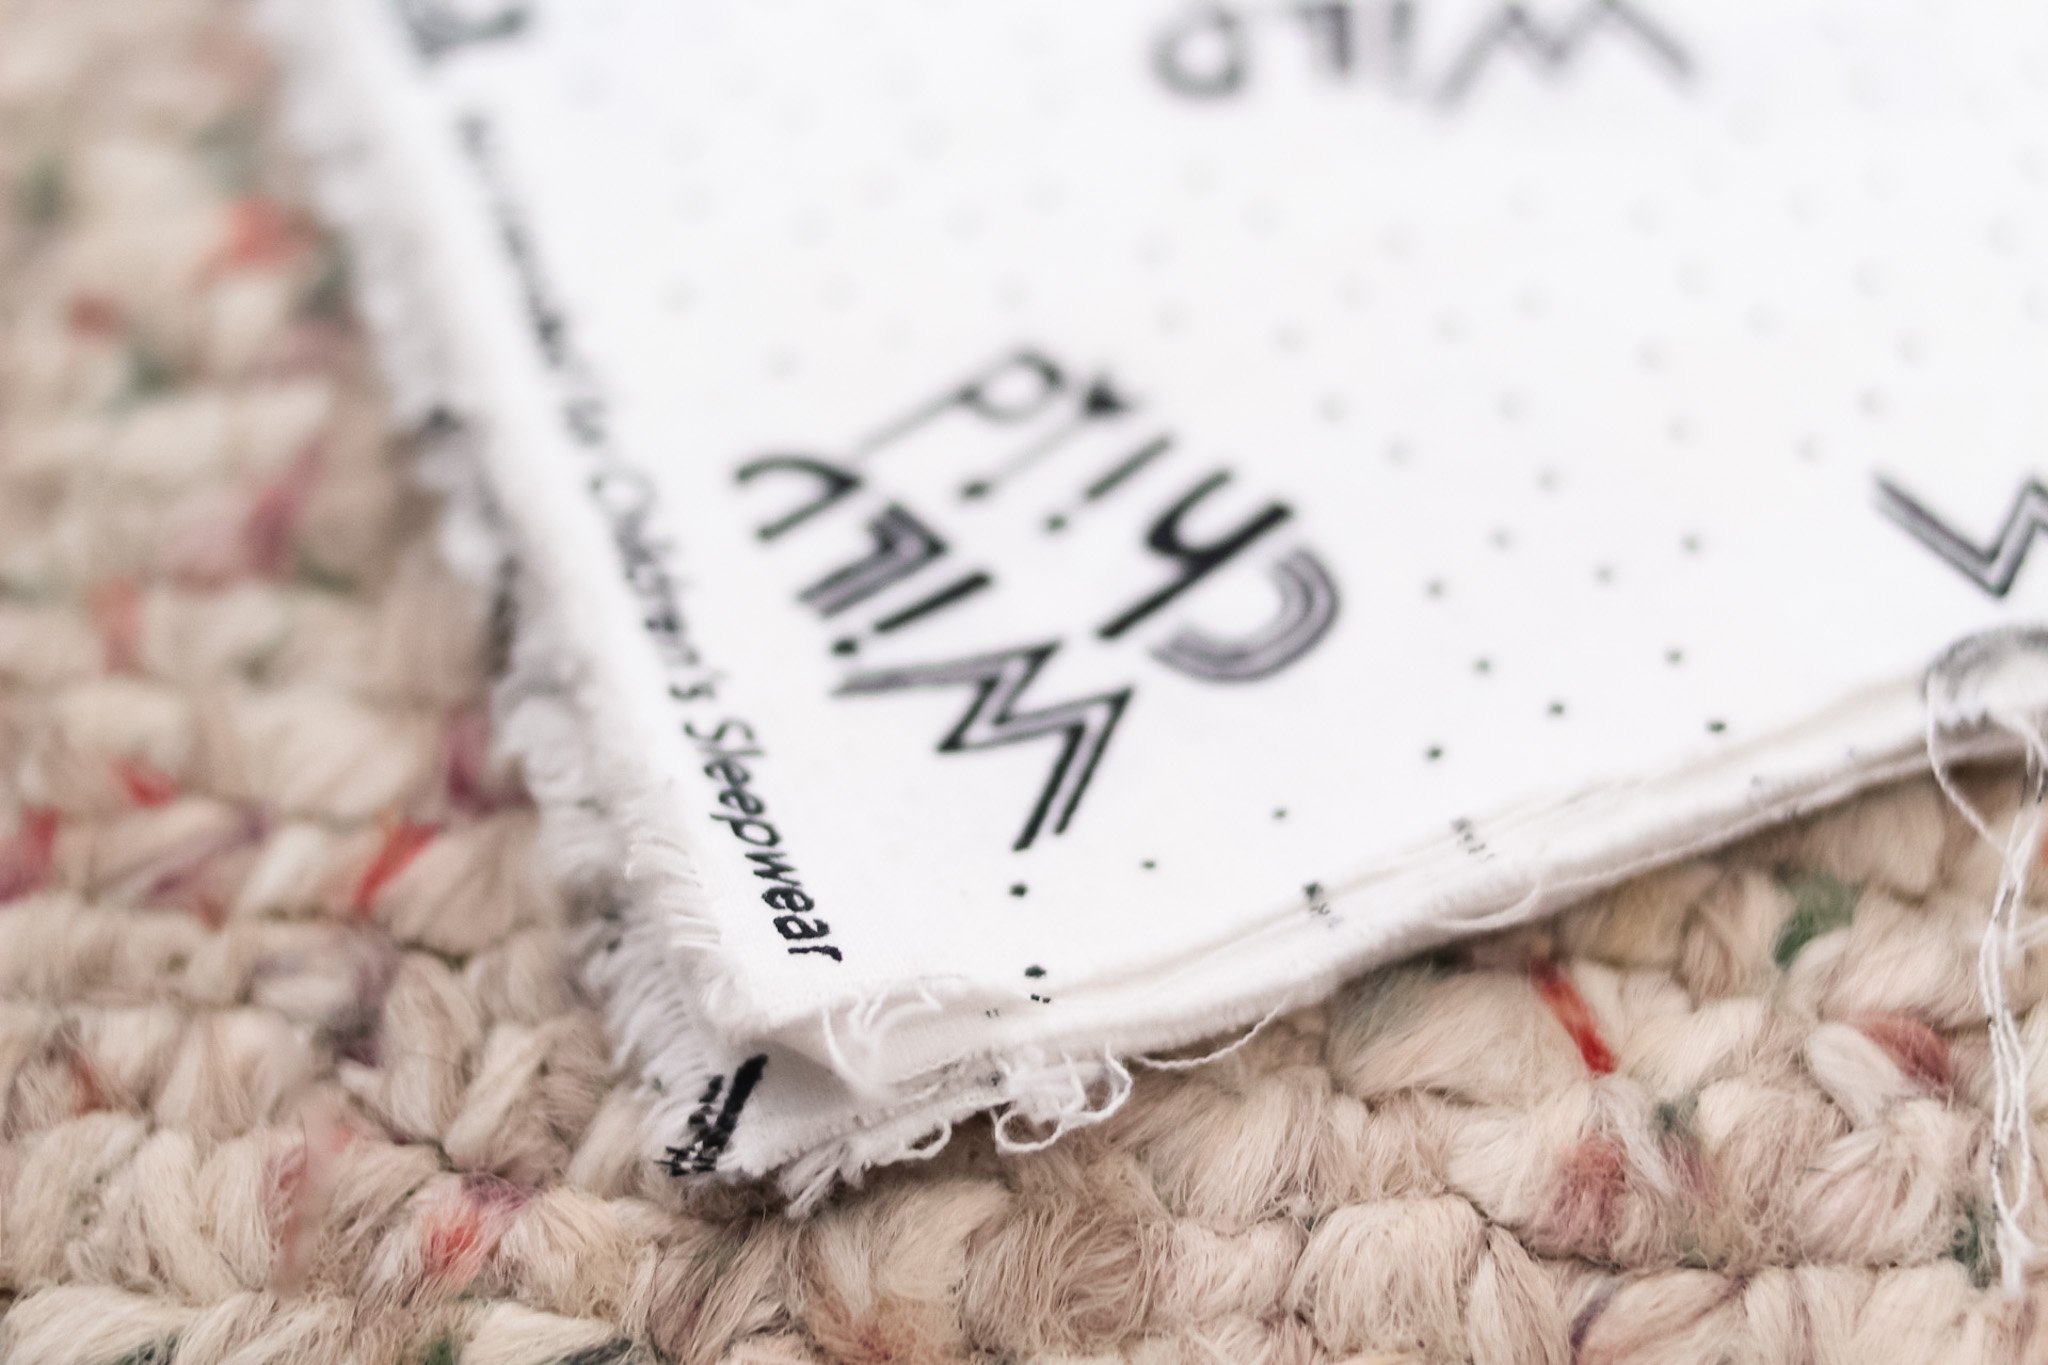
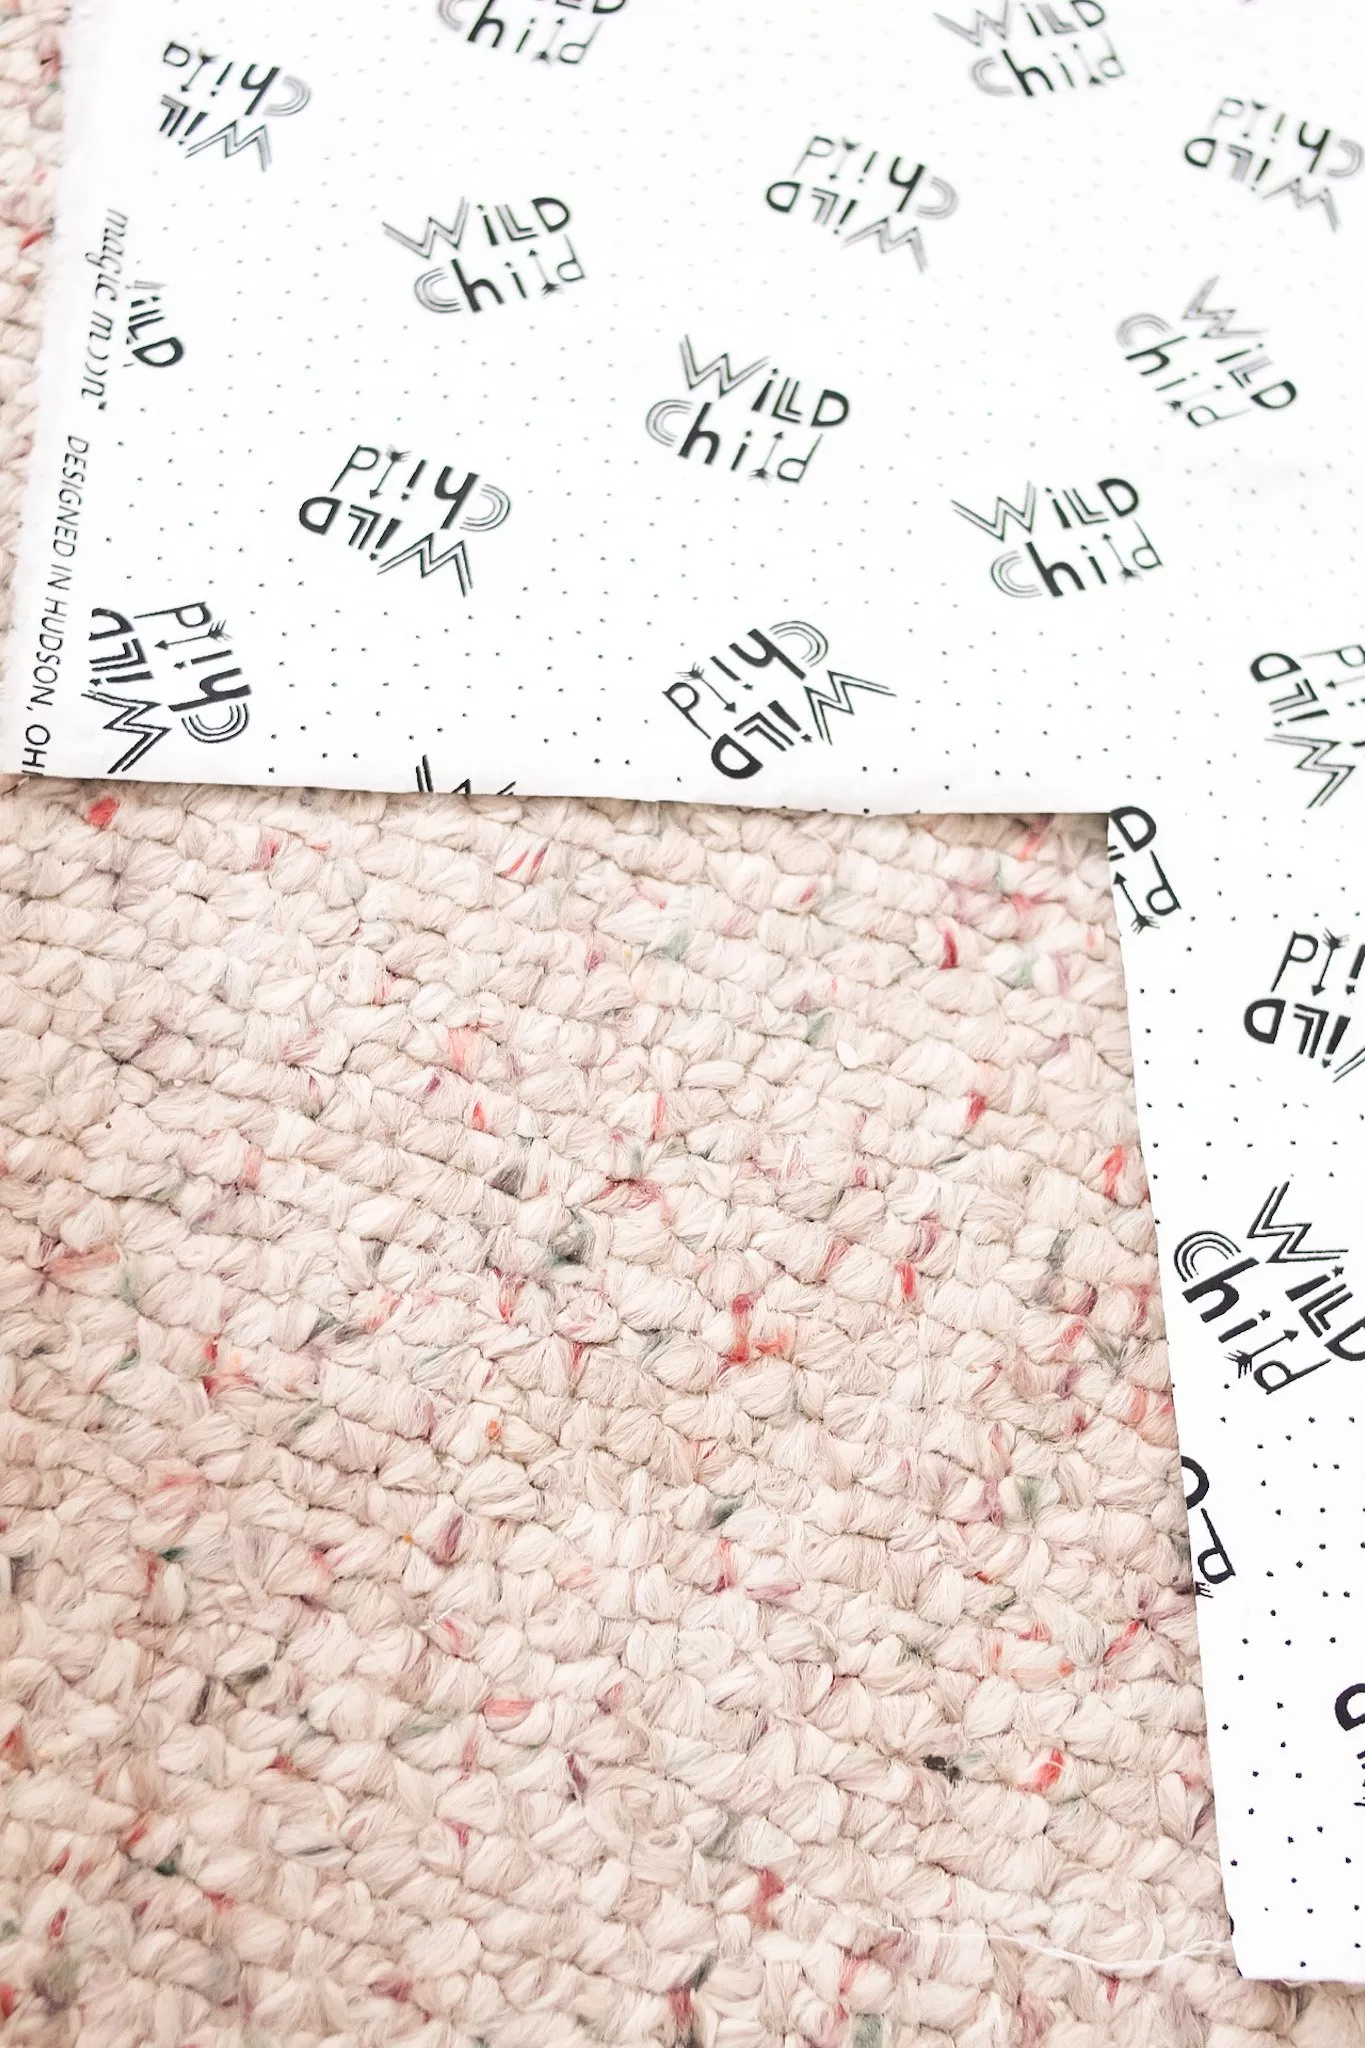
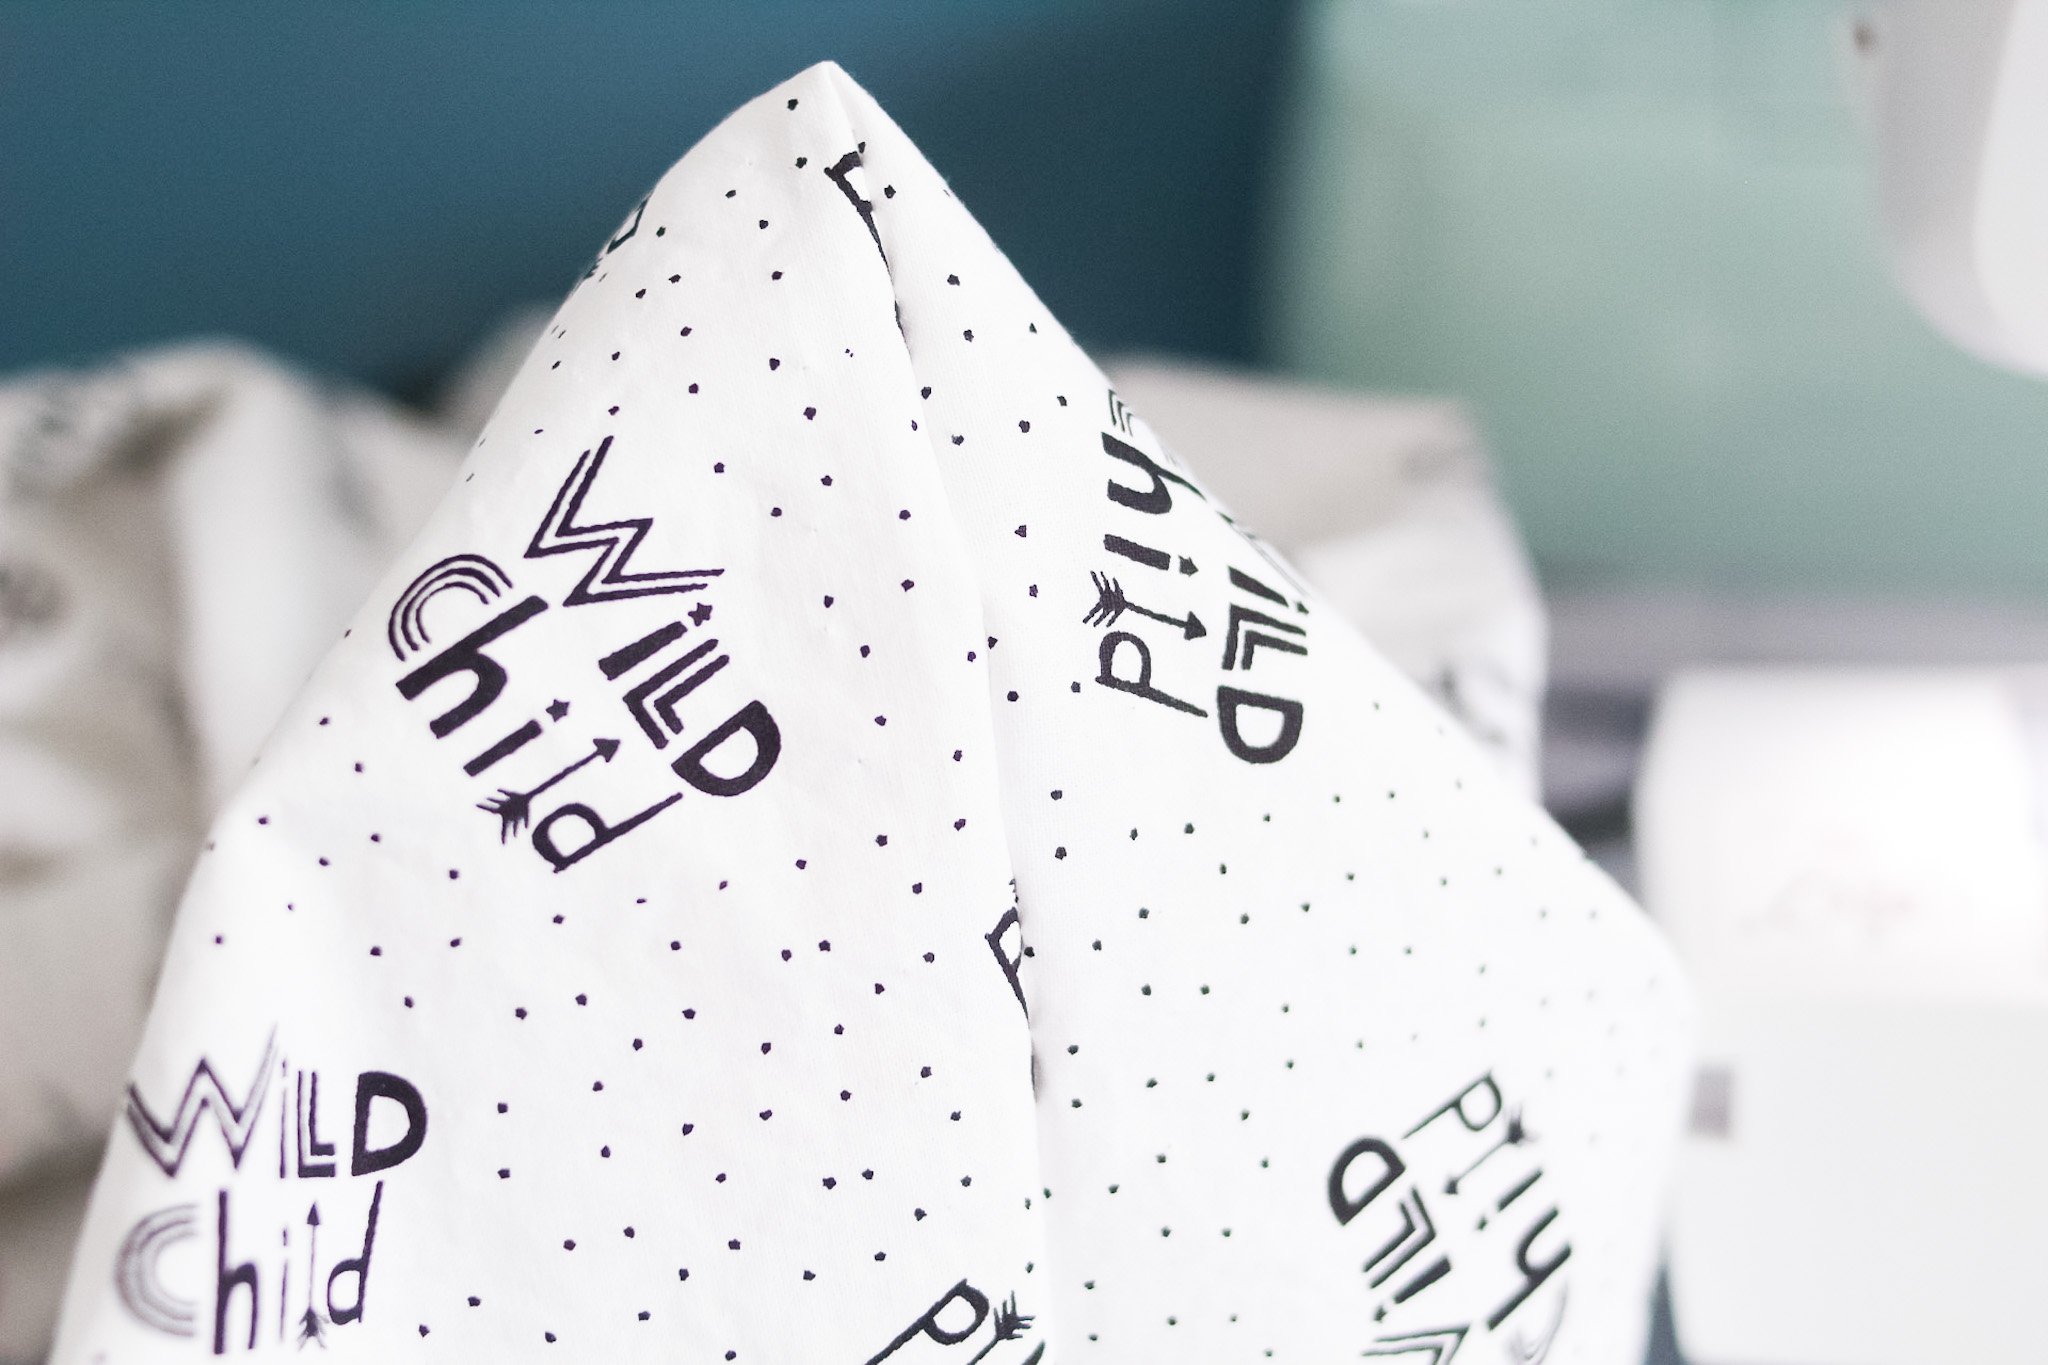
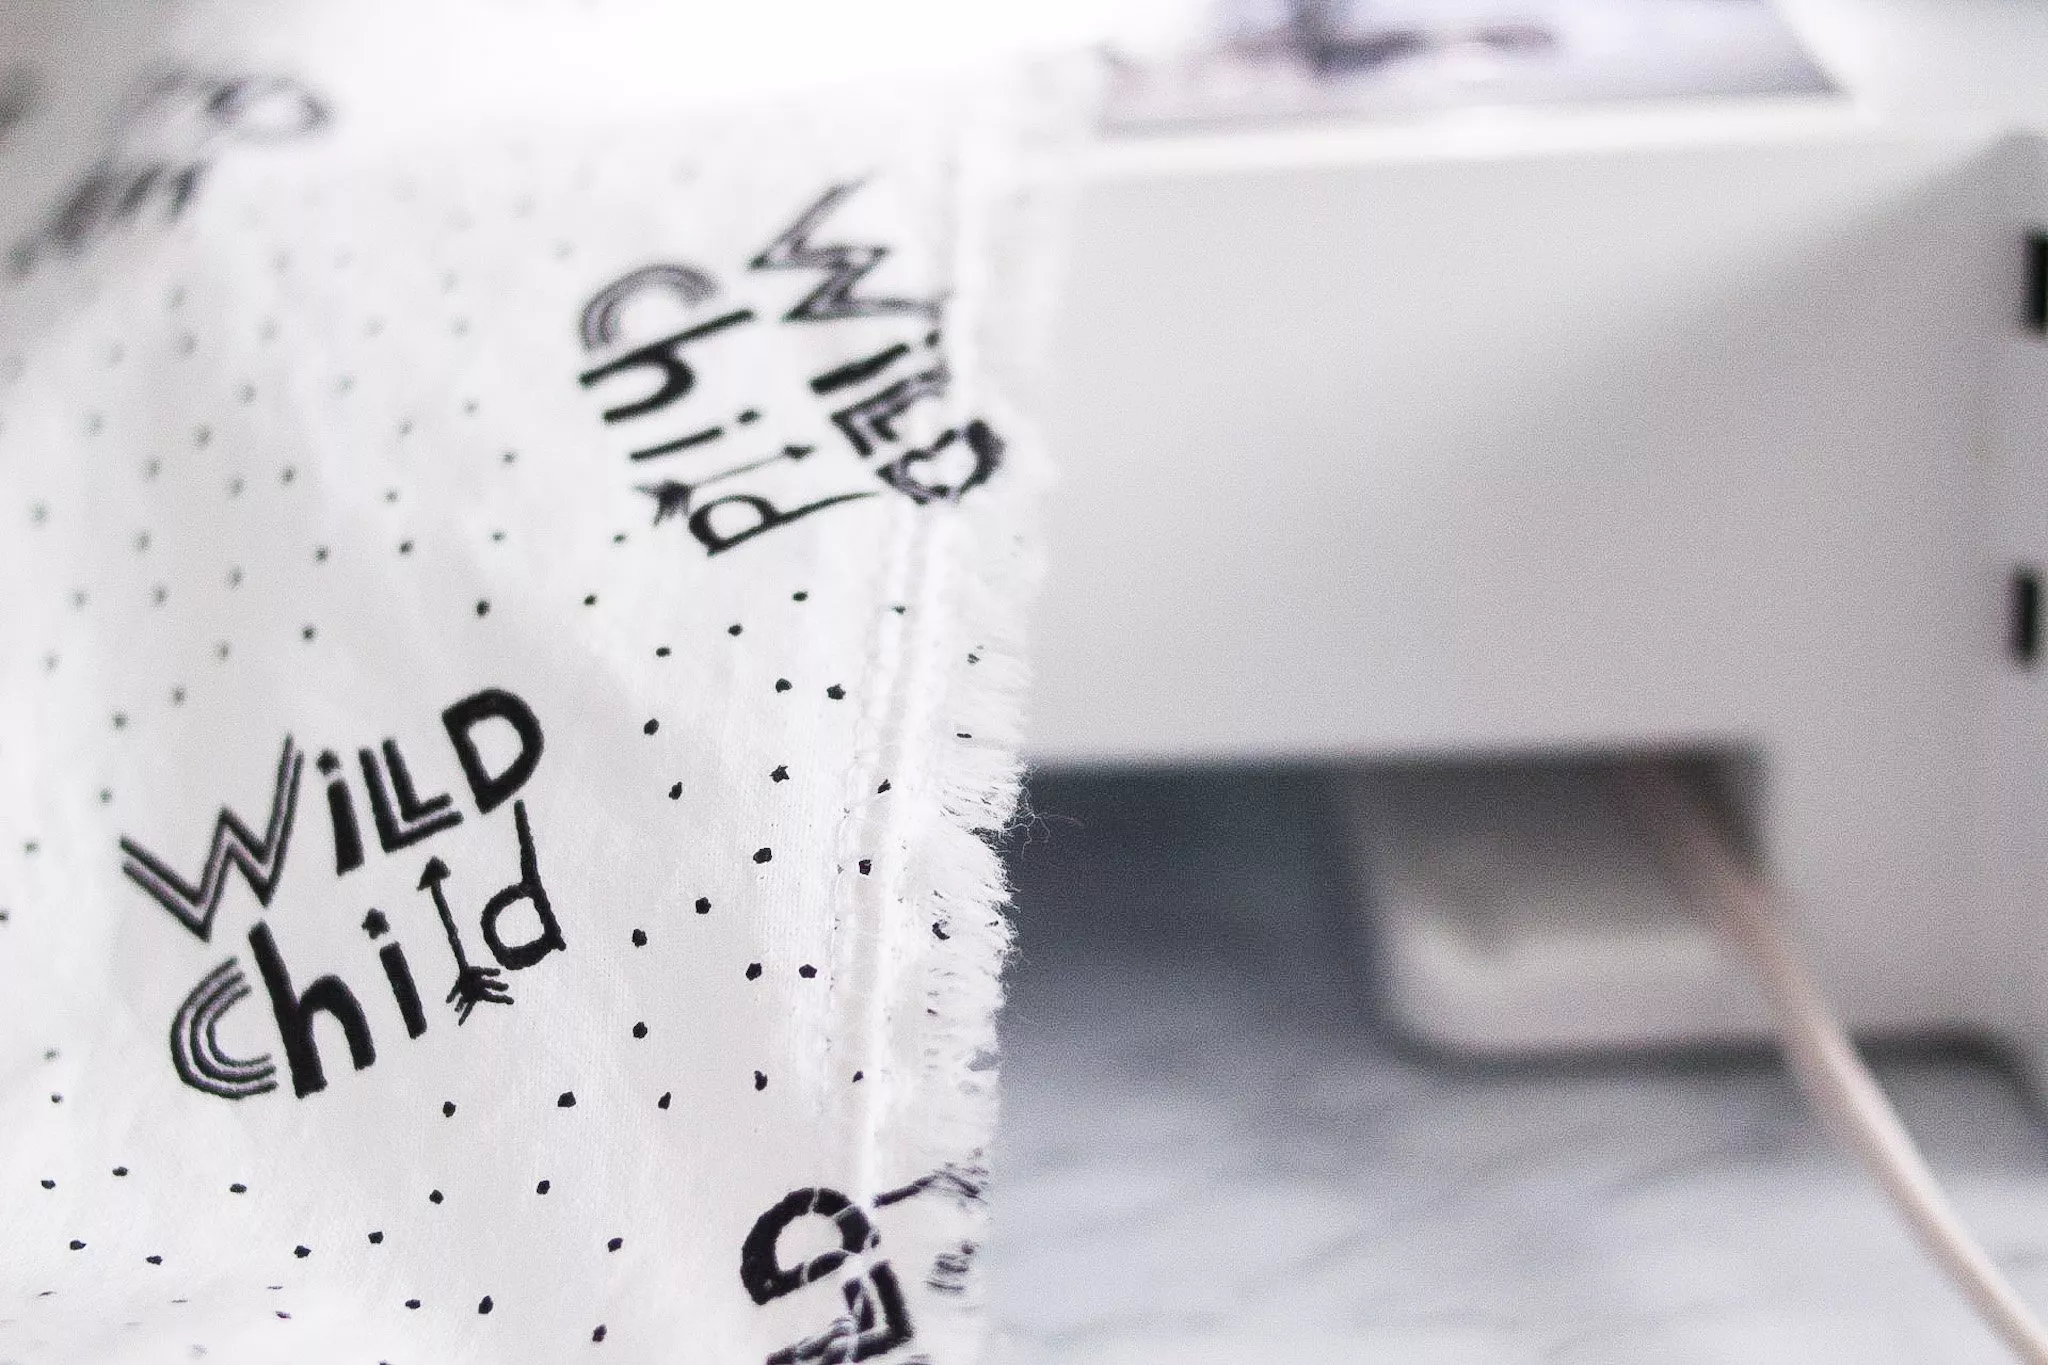
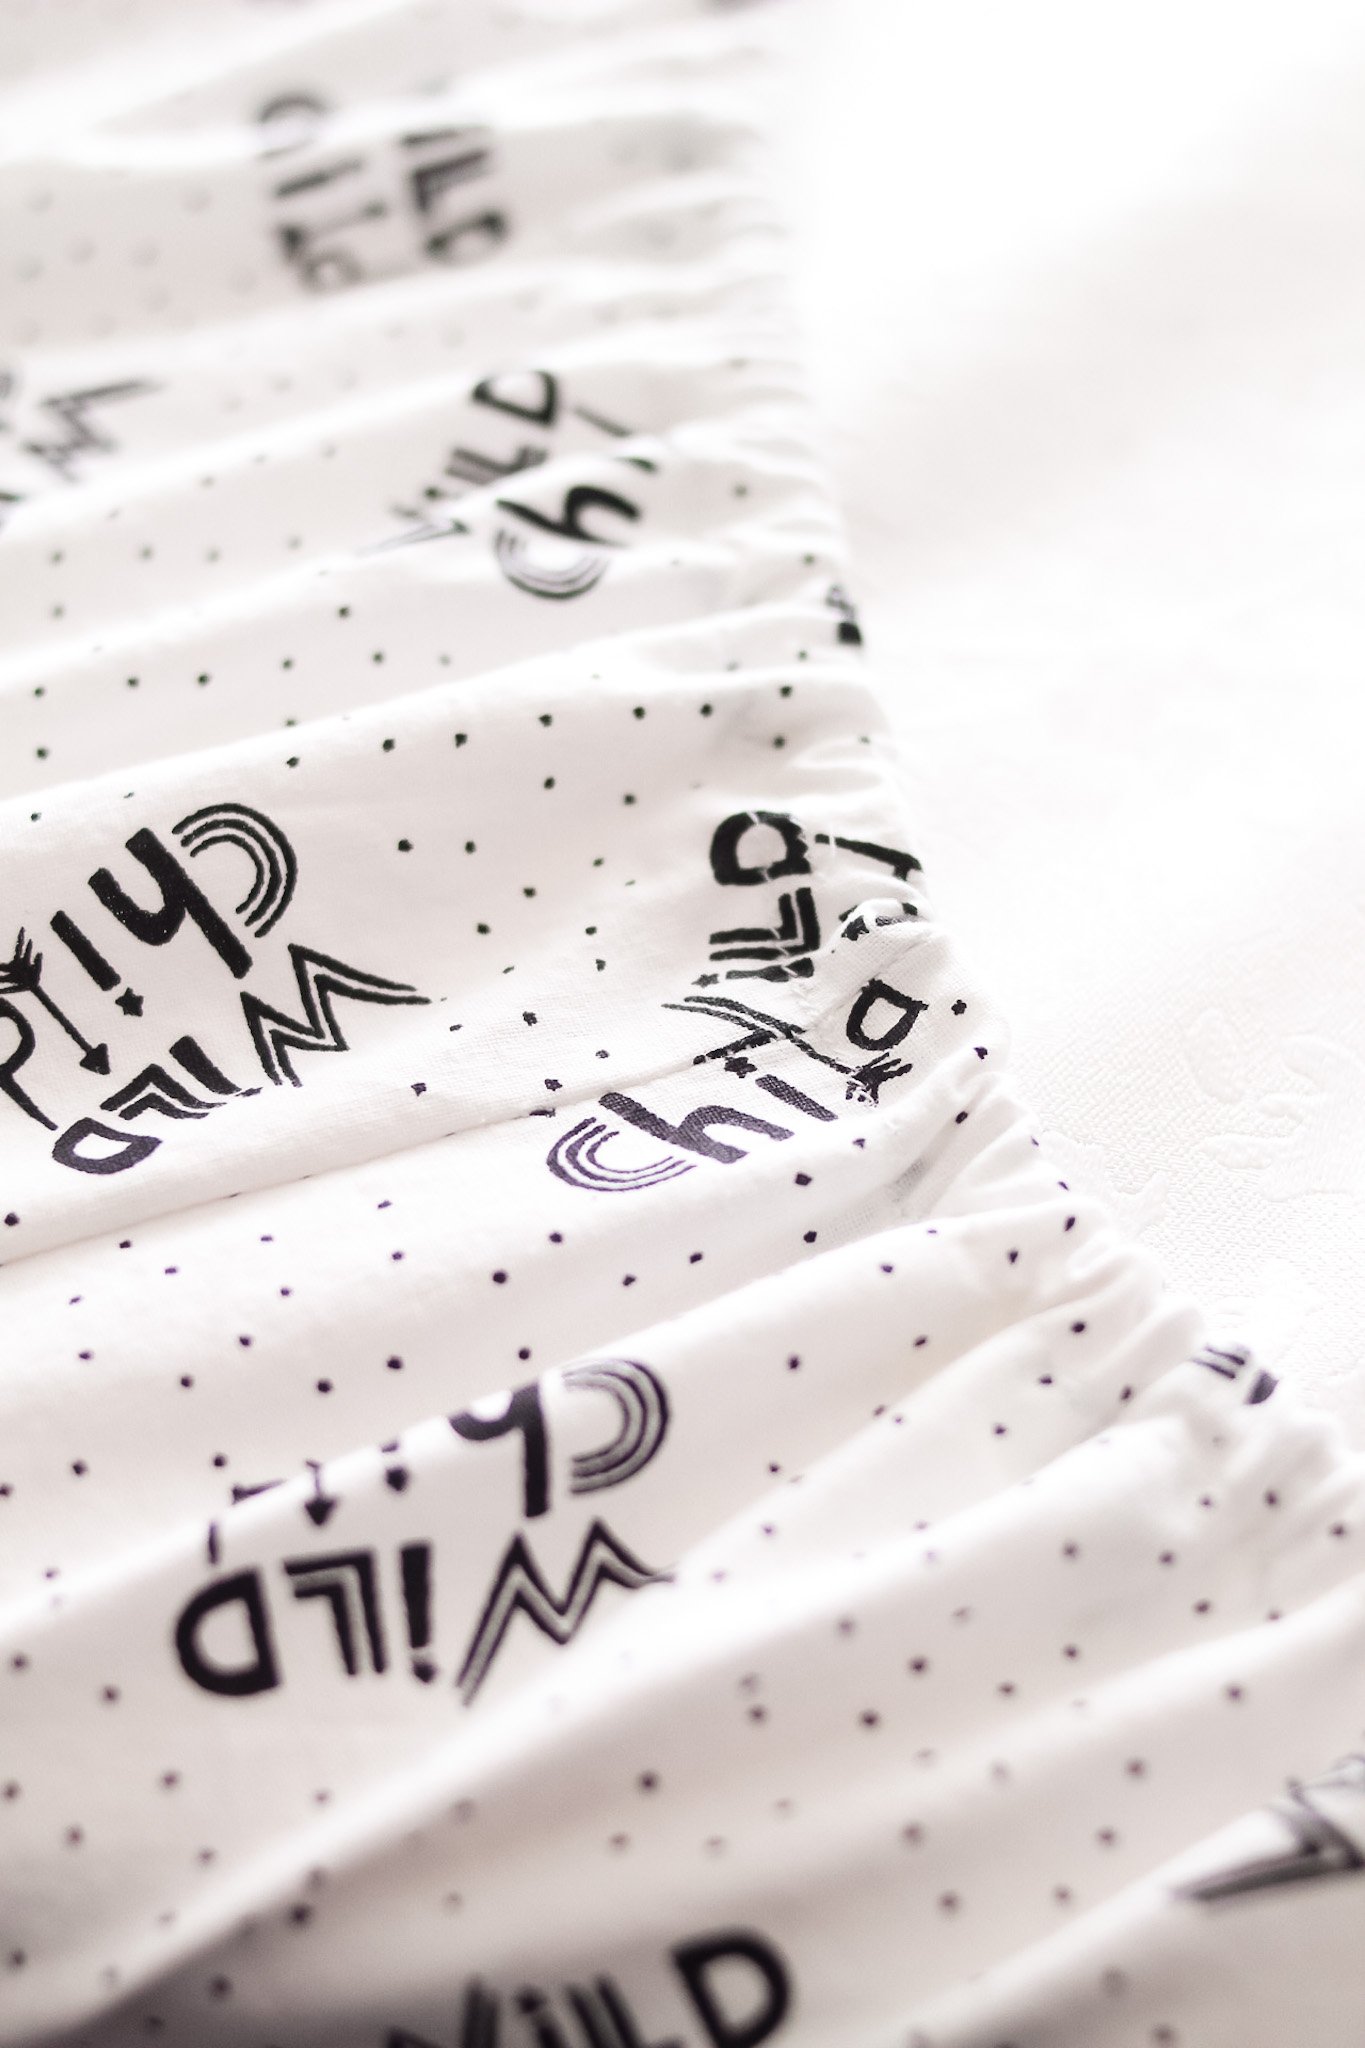
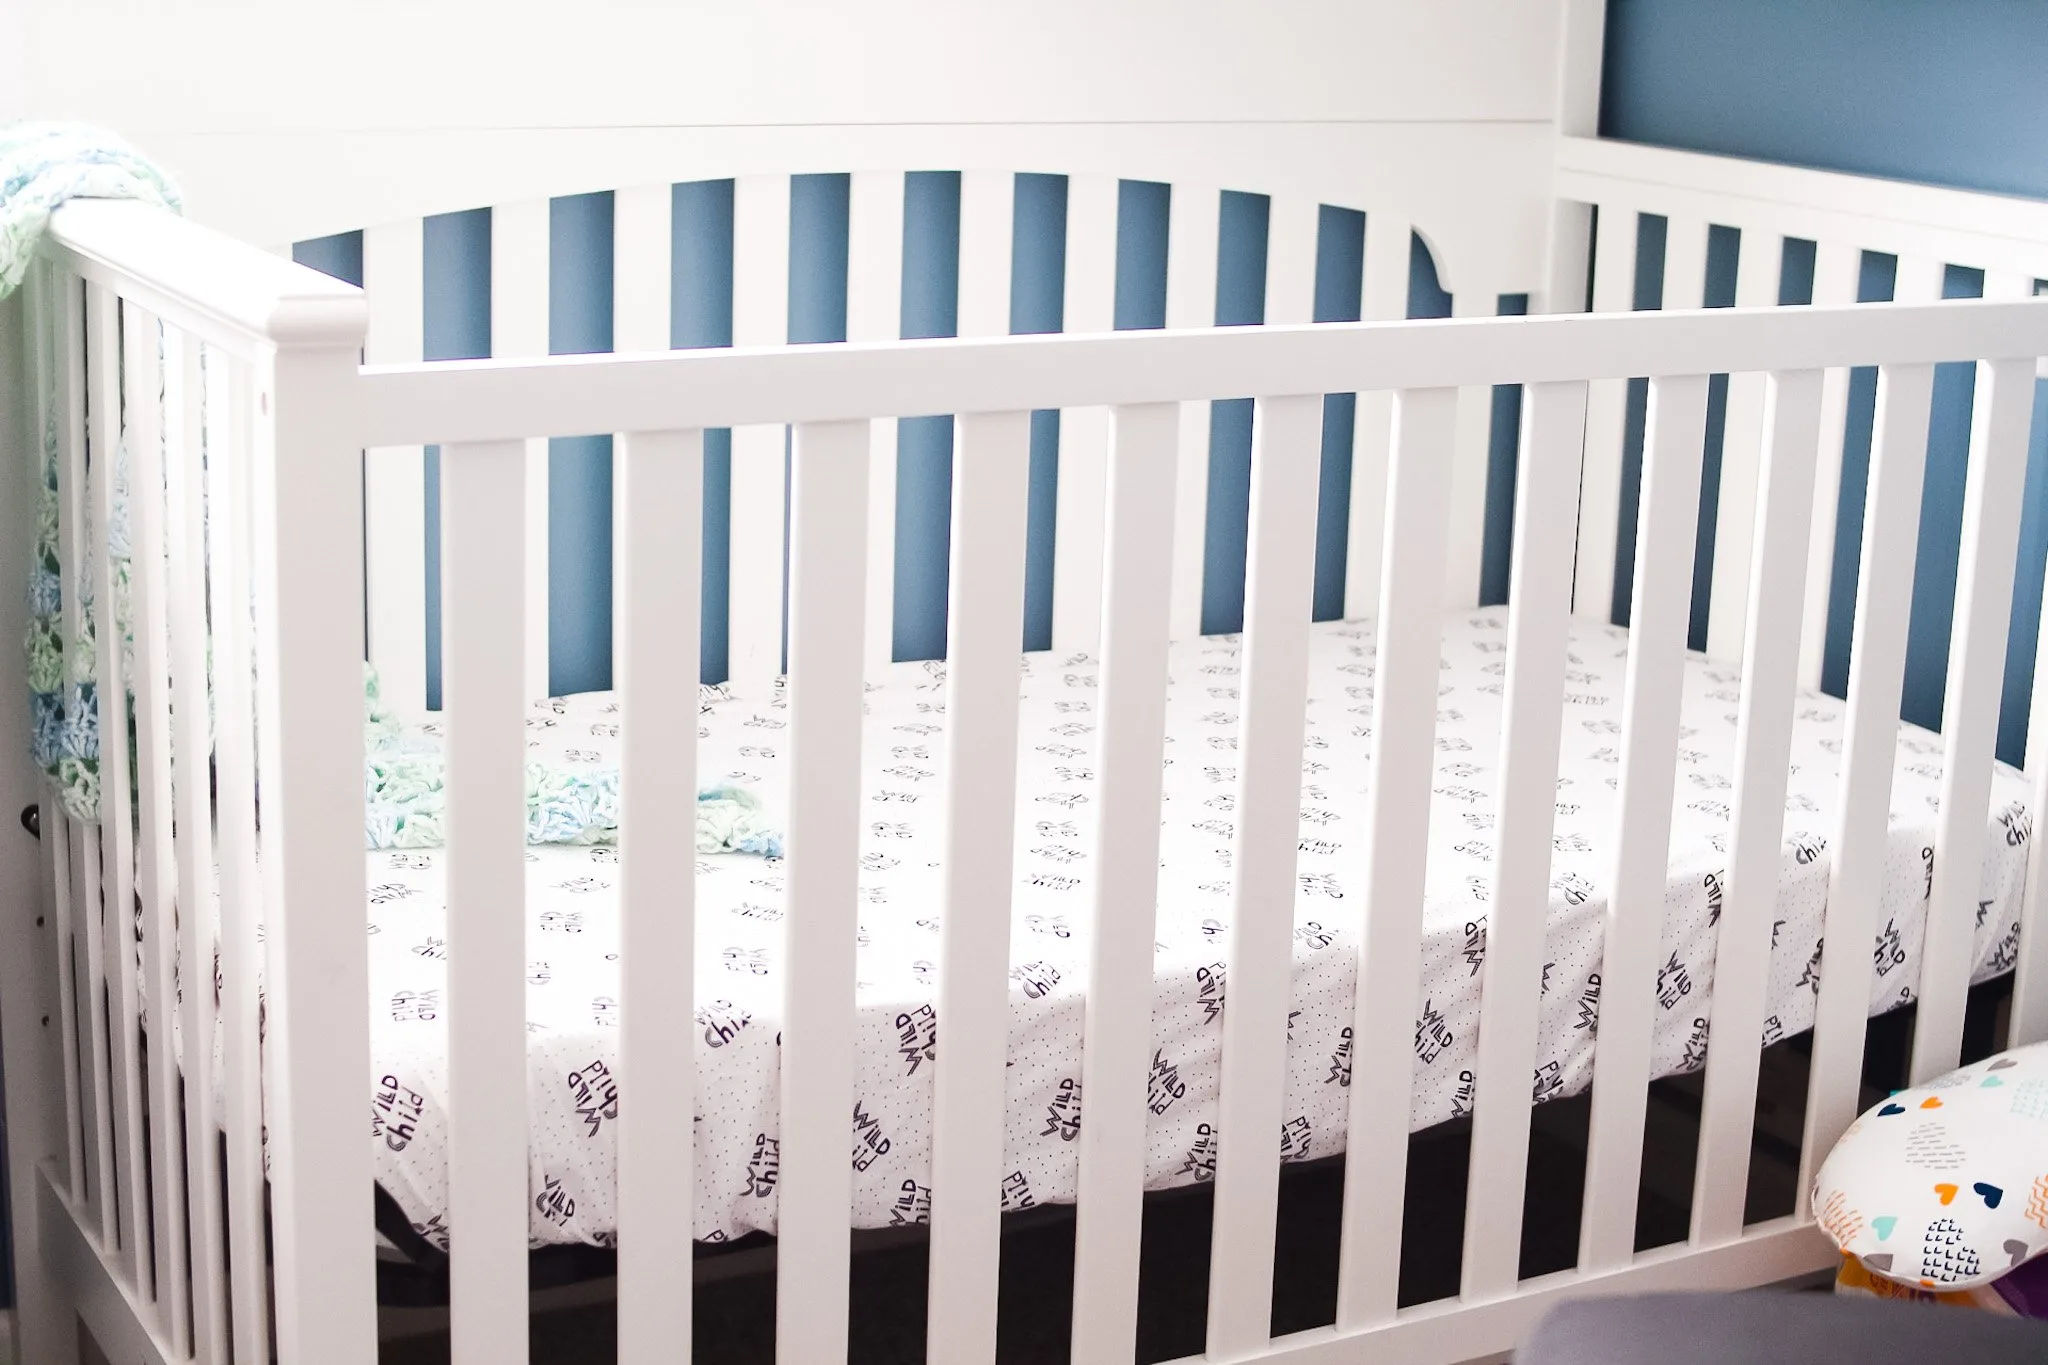
Here’s the very first fitted crib sheet I made – I love the fabric. It is the perfect unisex print, don’t you think?
Materials Needed T Make A DIY Crib Sheet
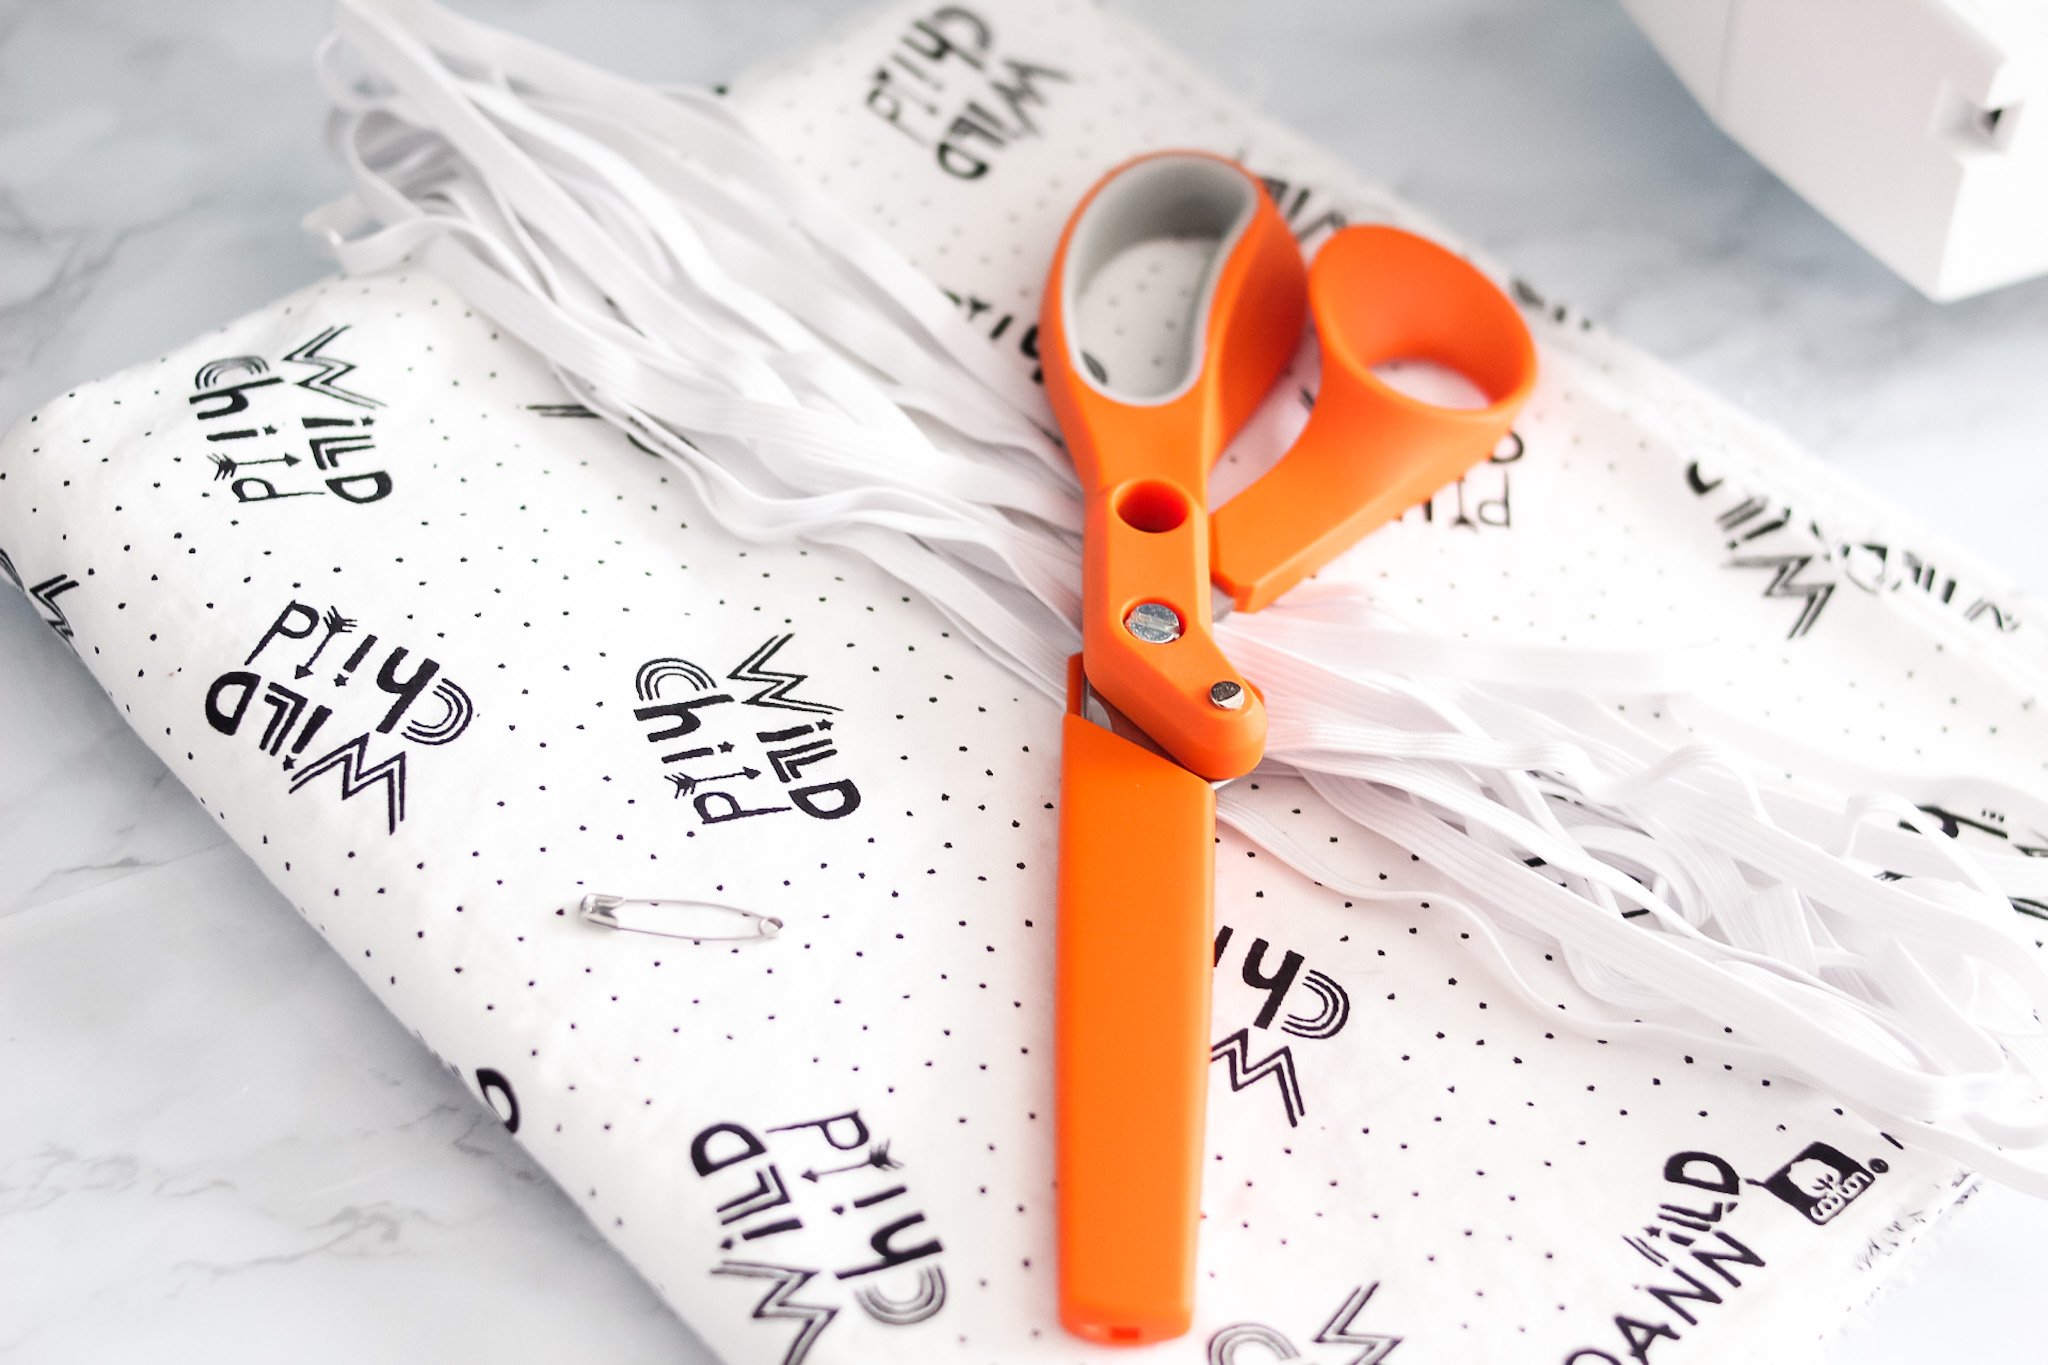
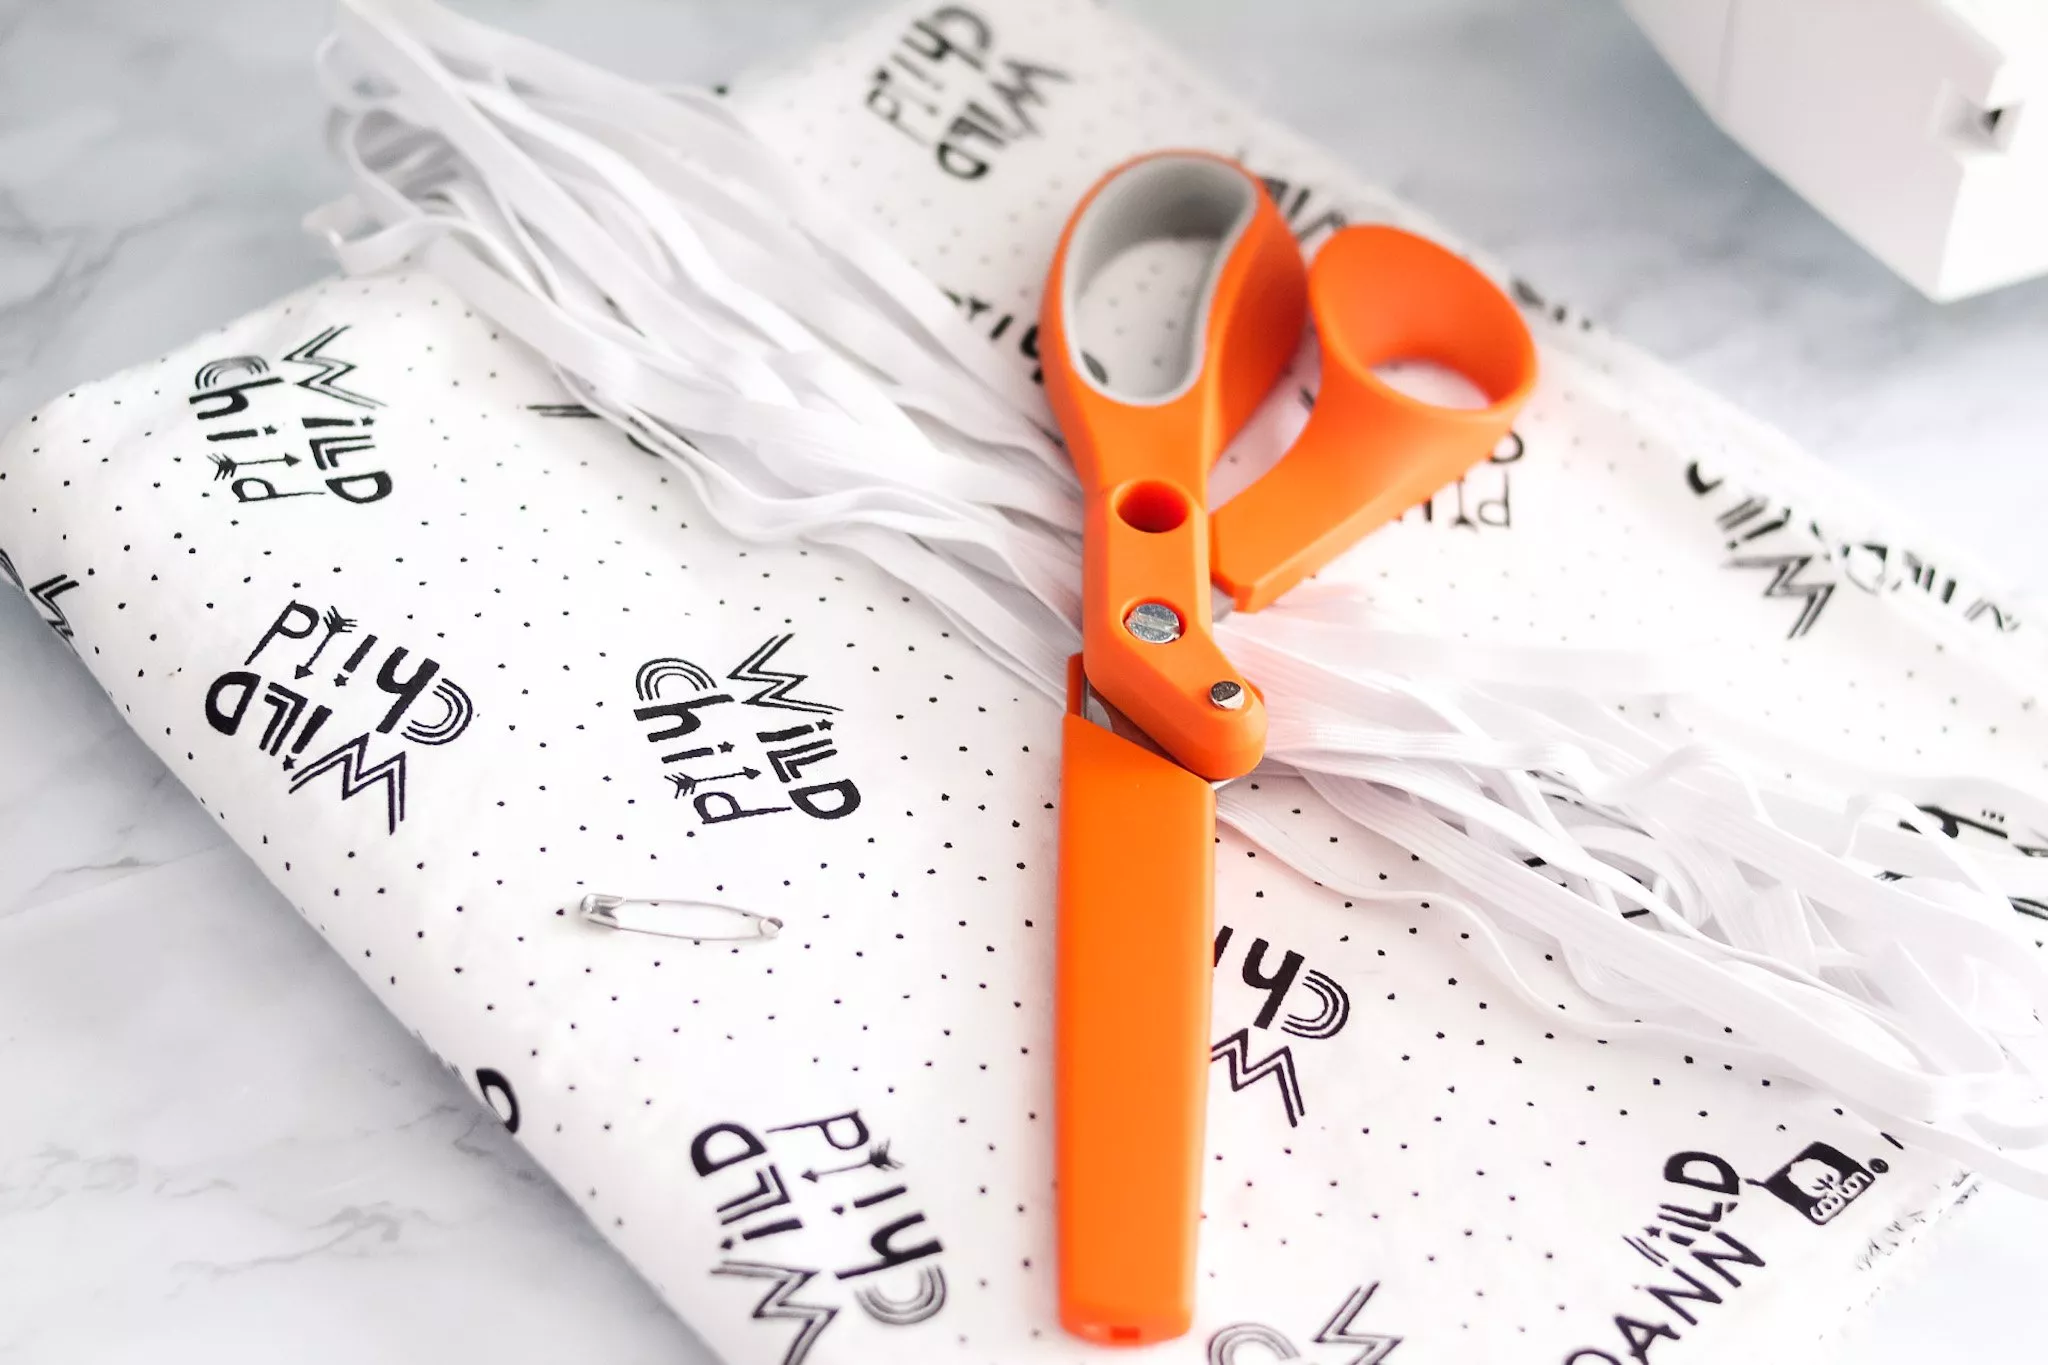
To make your own crib sheet, here are a few materials you’ll need…
- sewing pins
- 2 yards of cotton fabric (here is a similar print to the one I used in this tutorial)
- fabric scissors (here are the ones I use and love!)
- white thread
- sewing machine
- large safety pin
- 71″ 1/4″ braided elastic
You might be looking at the 71″ of elastic and thinking that’s such an odd number to throw out there… and you’d be right!
But as I mentioned in the beginning of this tutorial, I have fine-tuned these directions and materials to wield the perfect crib sheet.
You’ll really only need 70″ of elastic to weave through the fabric to make the crib sheet fitted, but the extra 1″ is so we can sew the ends of the elastic together without taking away extra length from what’s needed in the sheet.
Cutting and sewing the Corners
First, you’ll need to cut the corners of your crib sheet.
I like to simplify this process by folding the two yards of fabric in half hotdog style, and then in half hamburger style.
This gives you the corners that need to be cut on the edge so you can cut all corners at the same time.

Measure 8″x8″ from the corner and cut out a square.


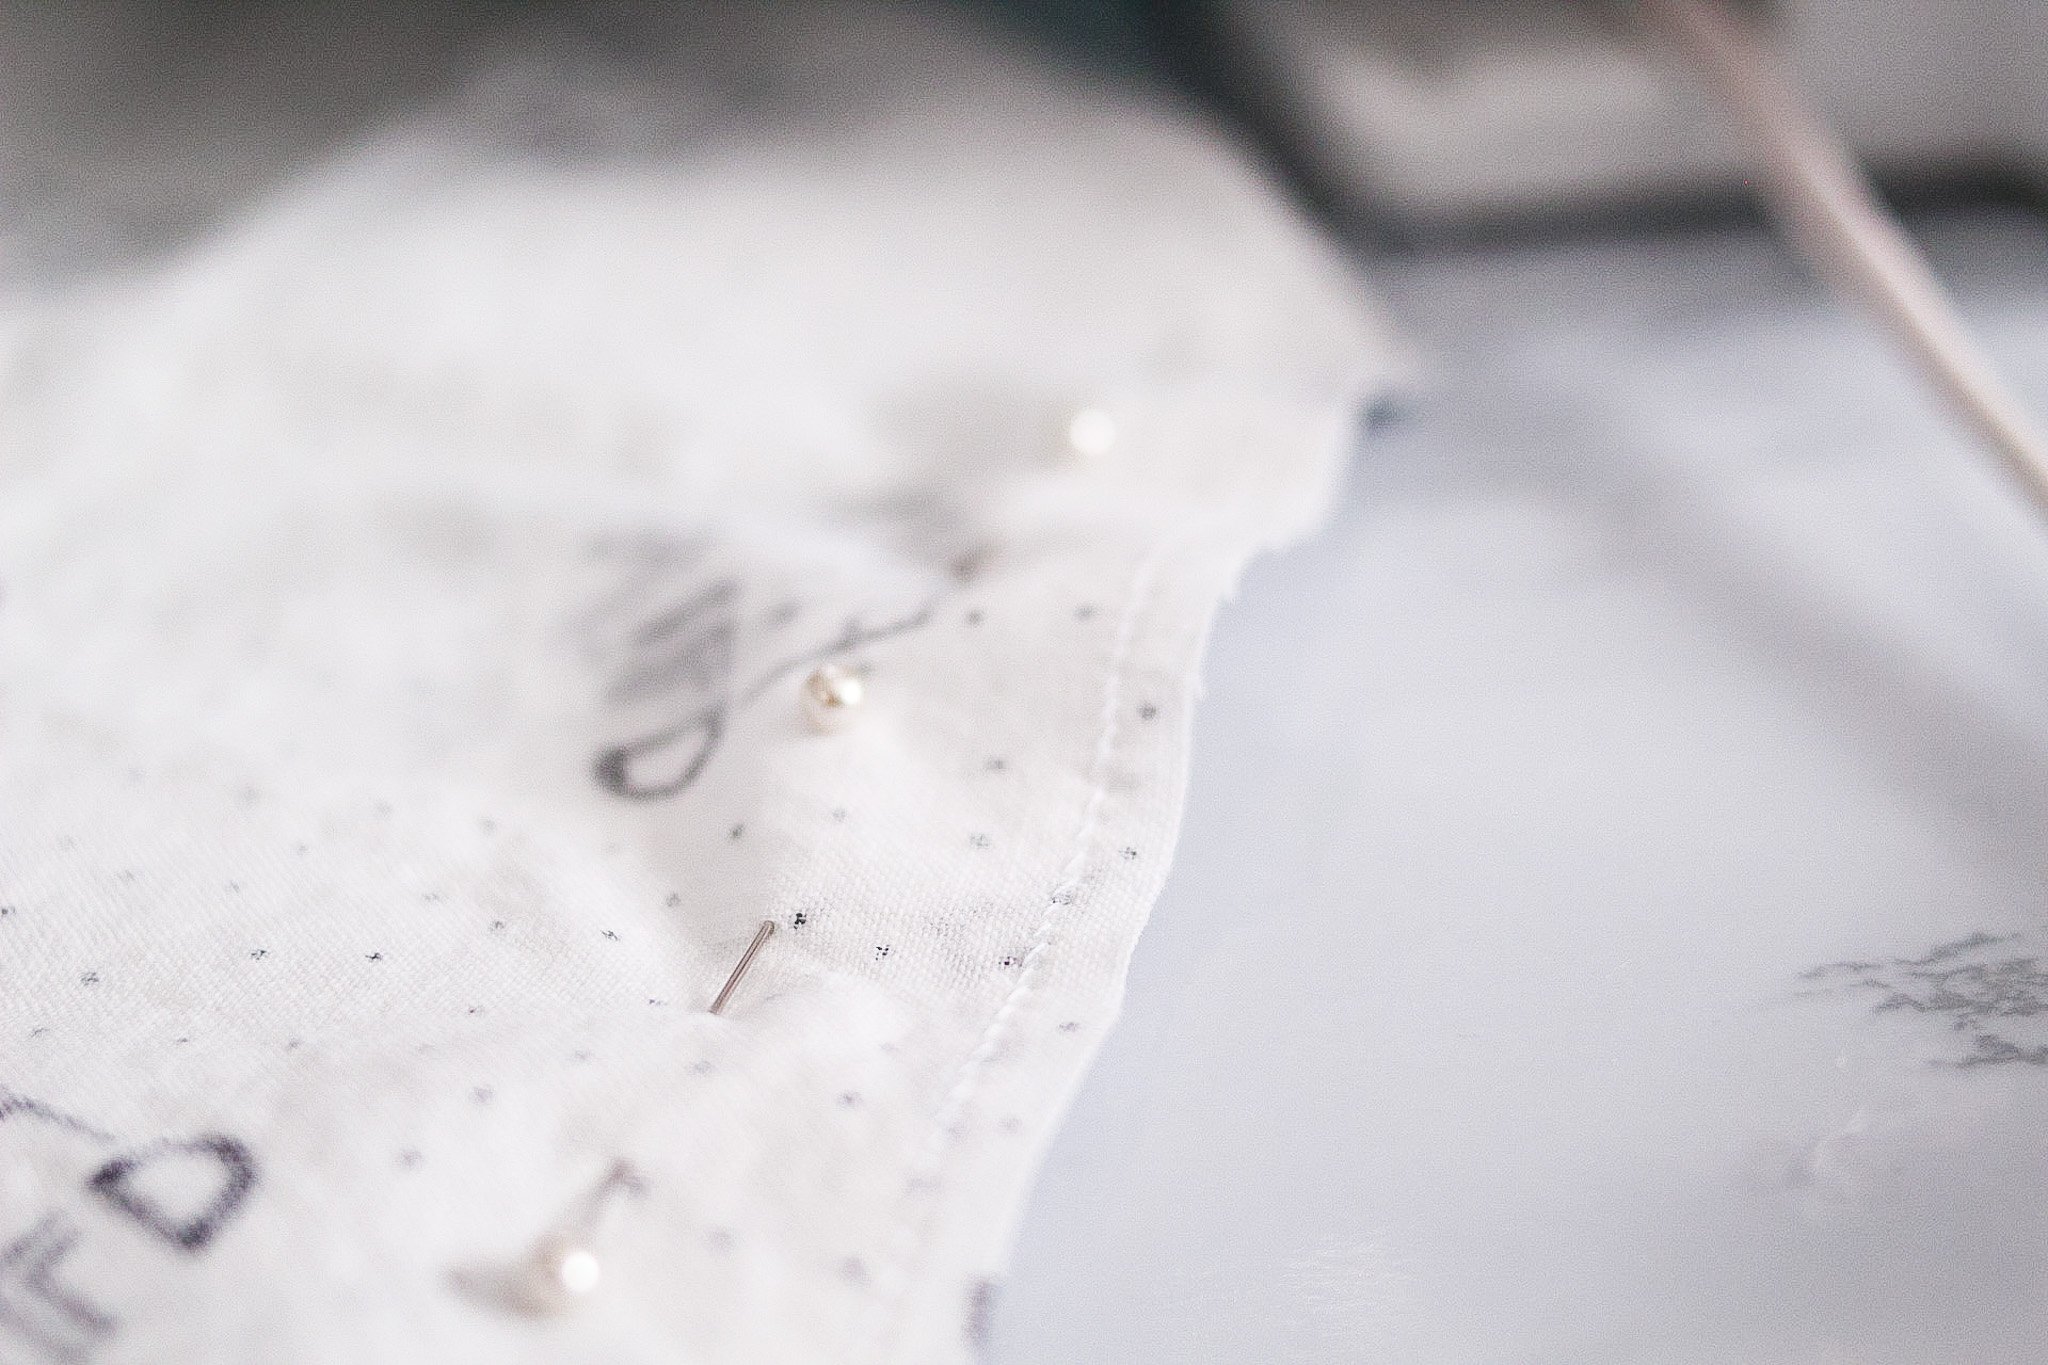
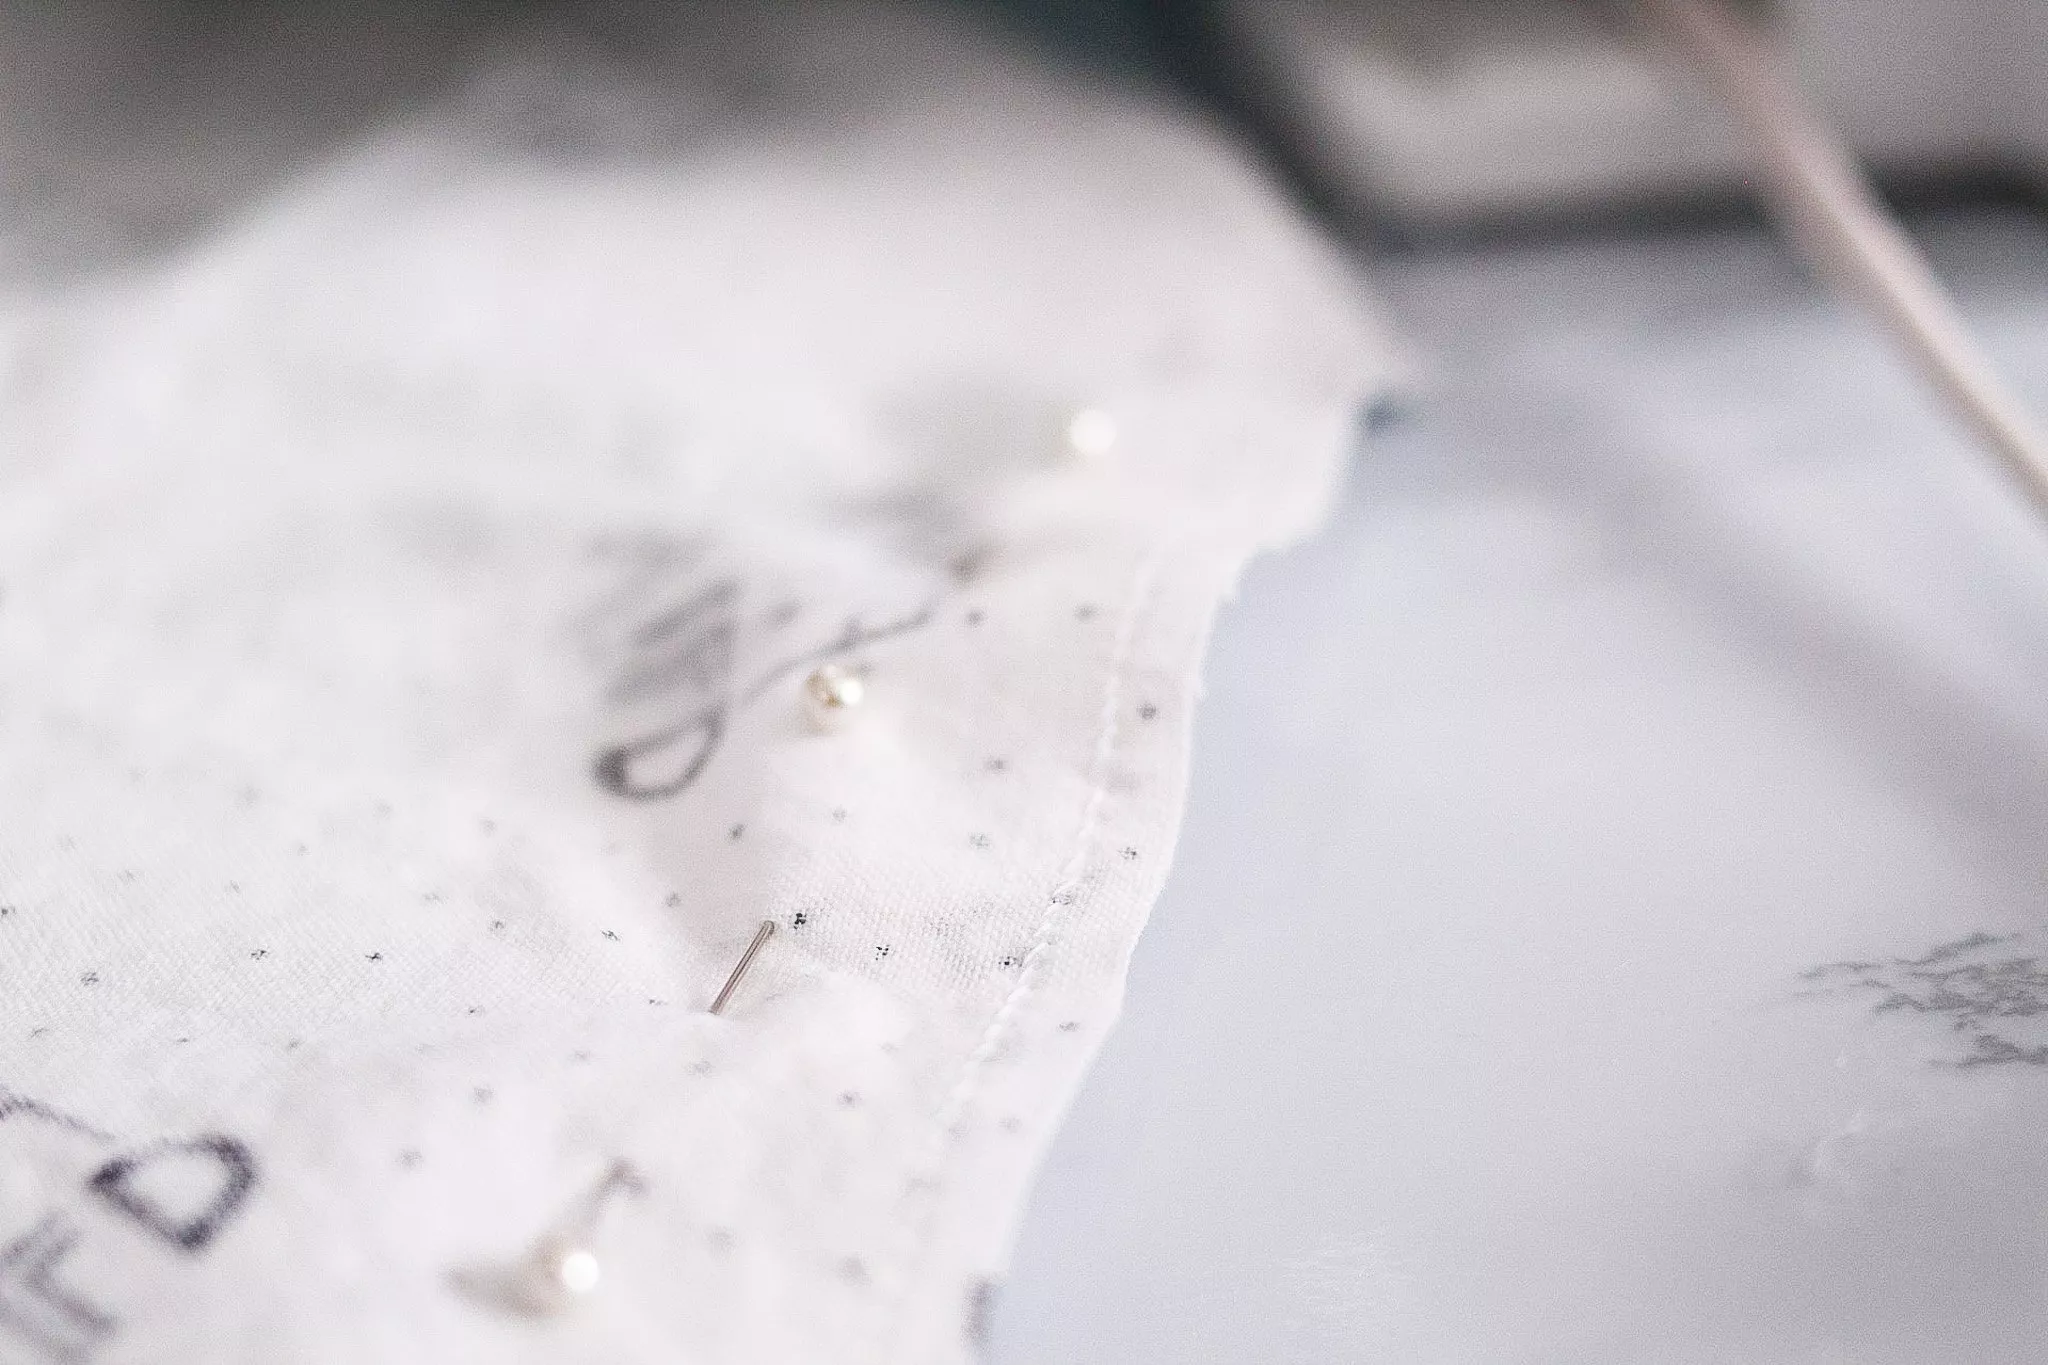
Now that these corners are cut, we are going to sew the edges of each corner together.
Pin the fabric together using 3 or 4 pins and sew the edges of each corner with the right sides together using a zigzag stitch and a 1/4″ seam allowance.
Related: DIY Hanging Unisex Nursery Closet Dividers
Here is what the corners look like, right sides still together, after sewing with a zigzag stitch and 1/4″ seam allowance…
And this is what the corners should look like when they’re turned out…

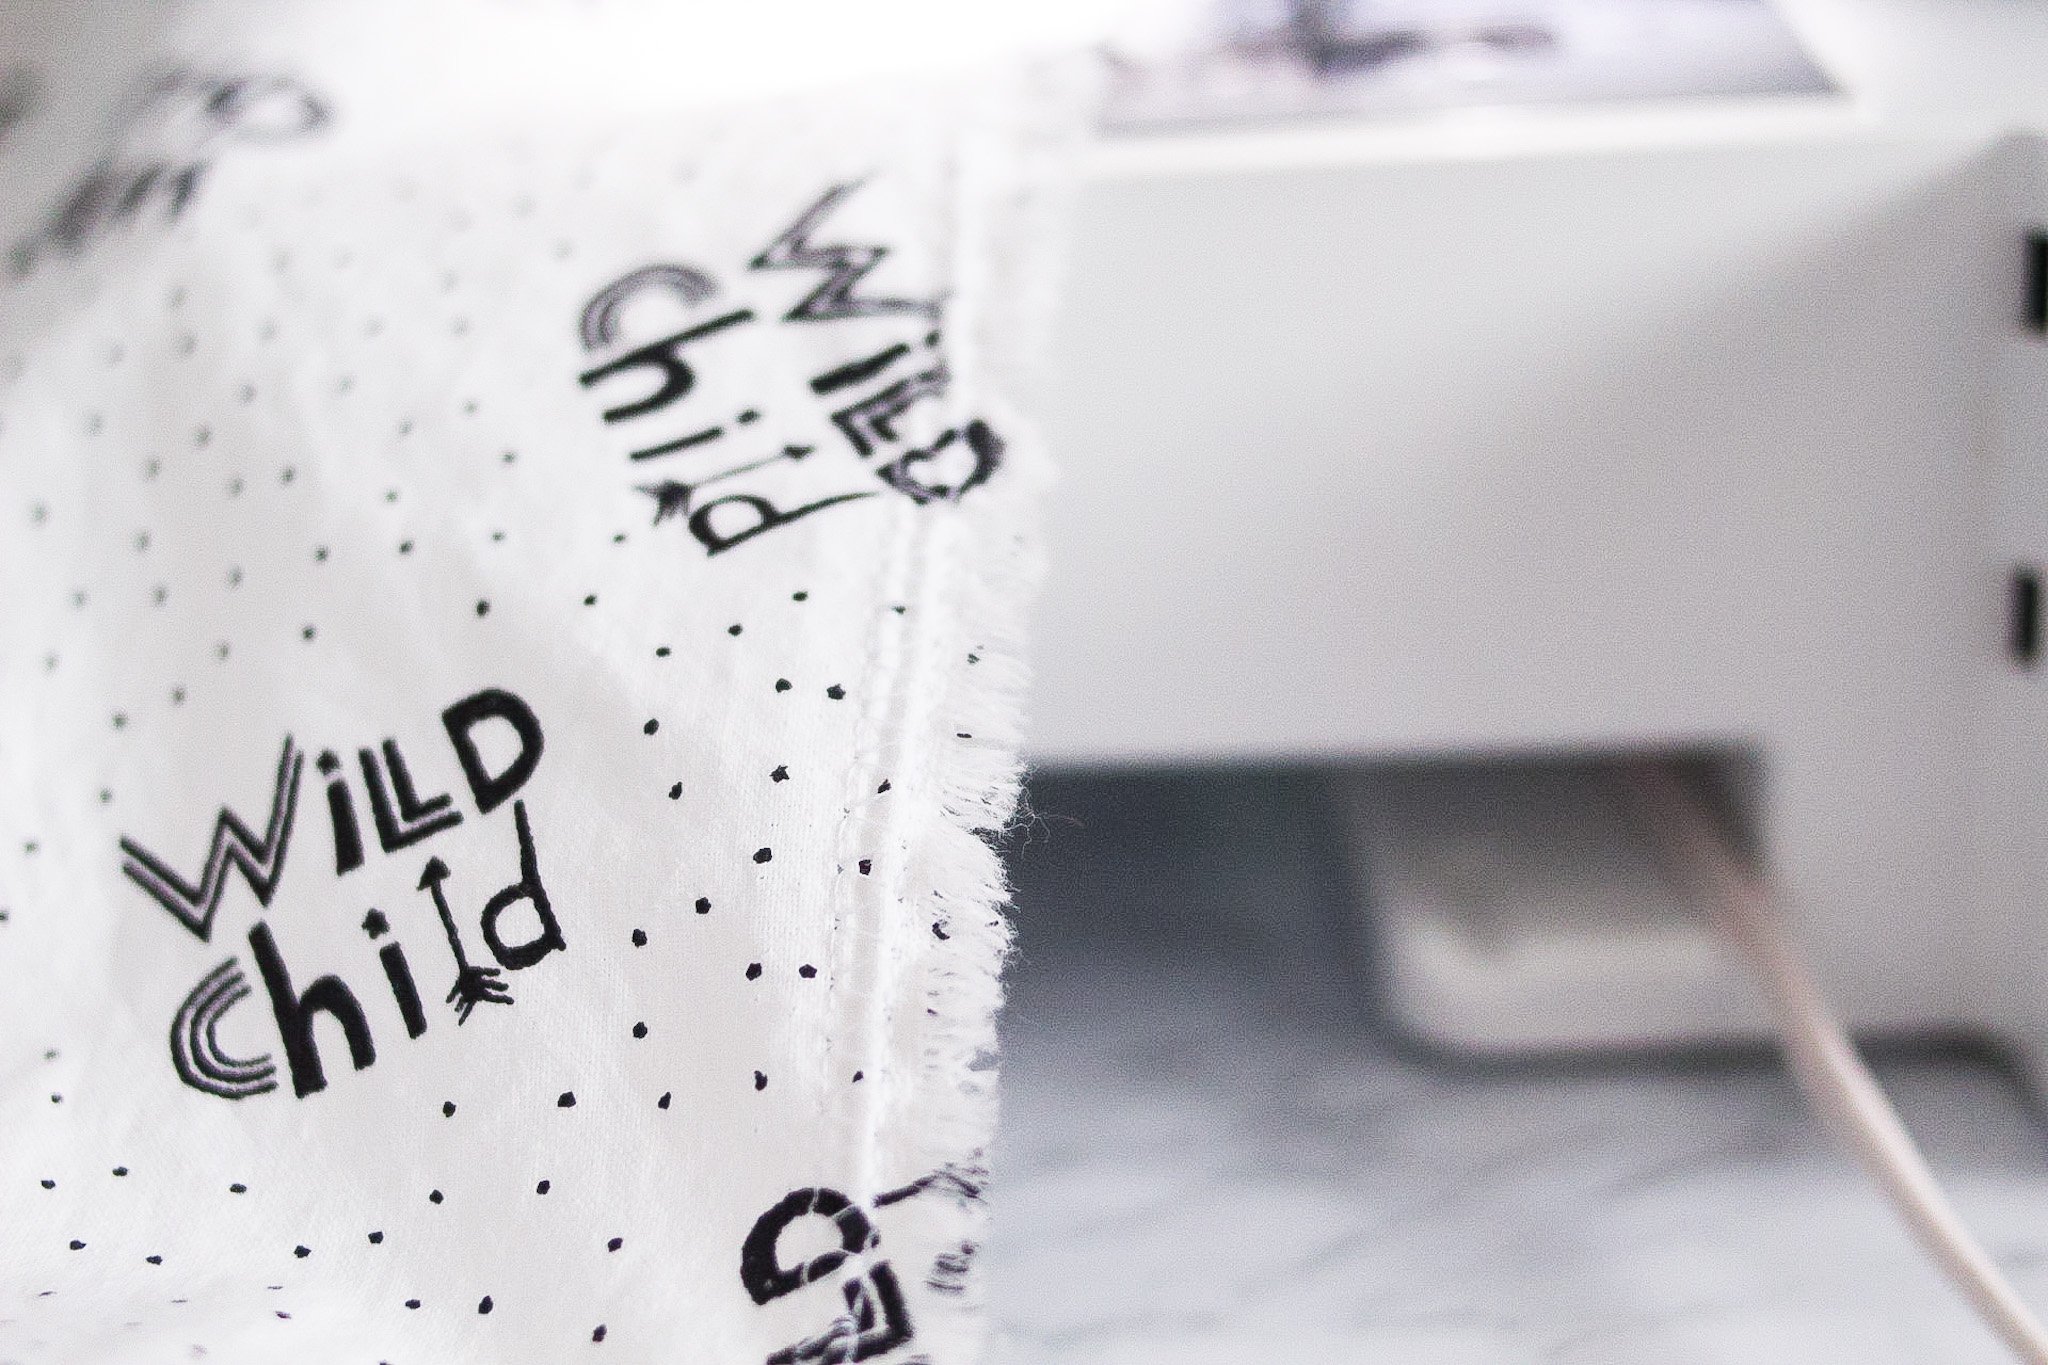
Serge ends or Perform Overlock Stitch
I don’t currently own a serger, although I think 2020 is the year I’ll invest in one.
Perhaps after we move and I get a better sense of what space we’ll have in our new house this year!
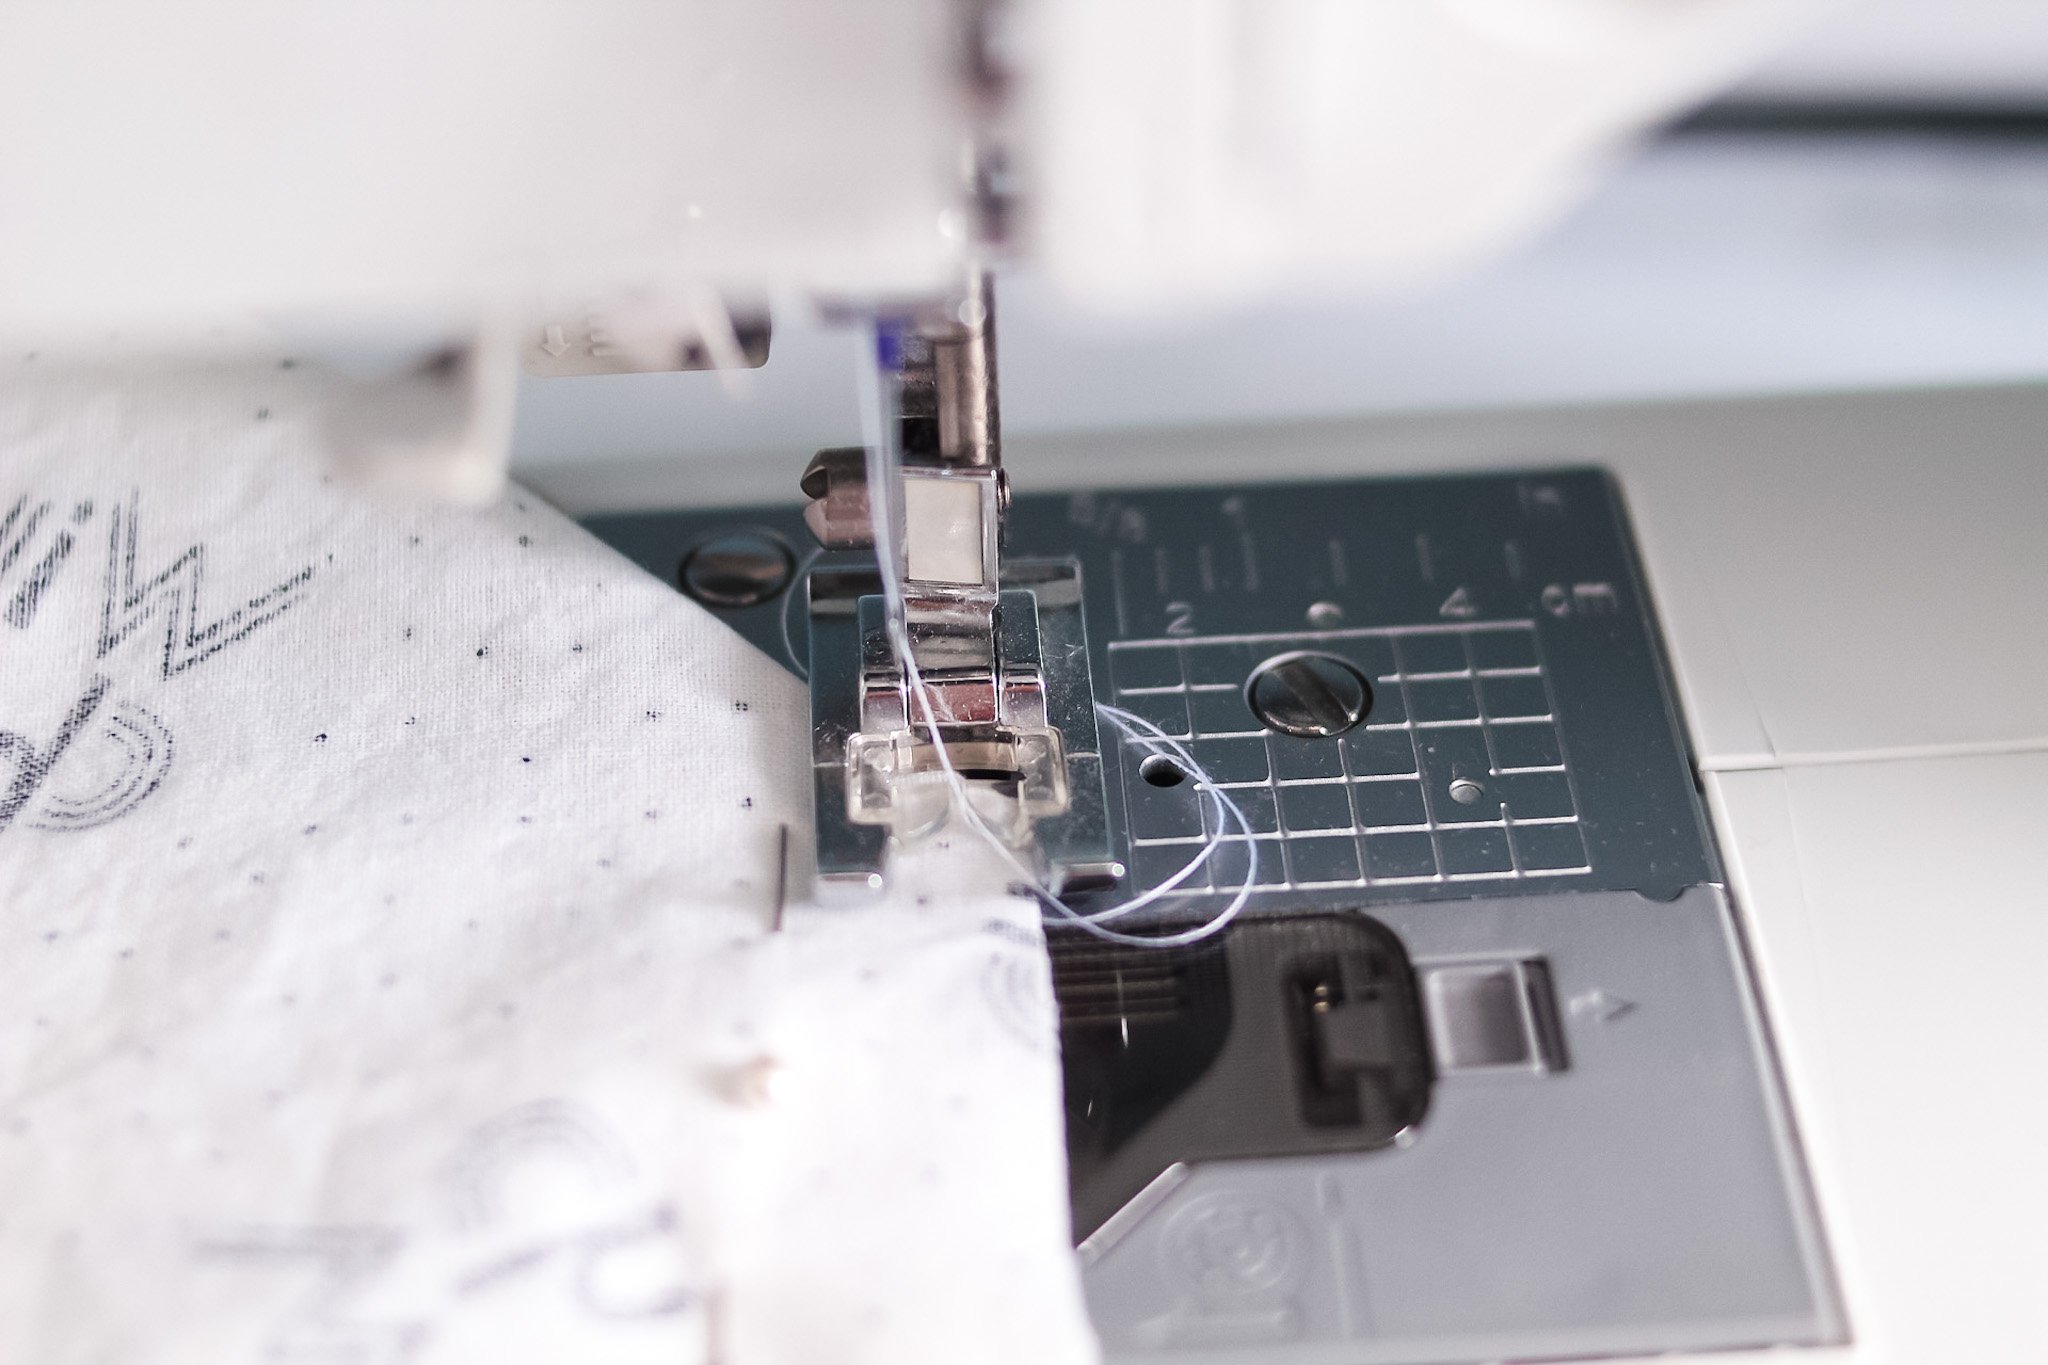
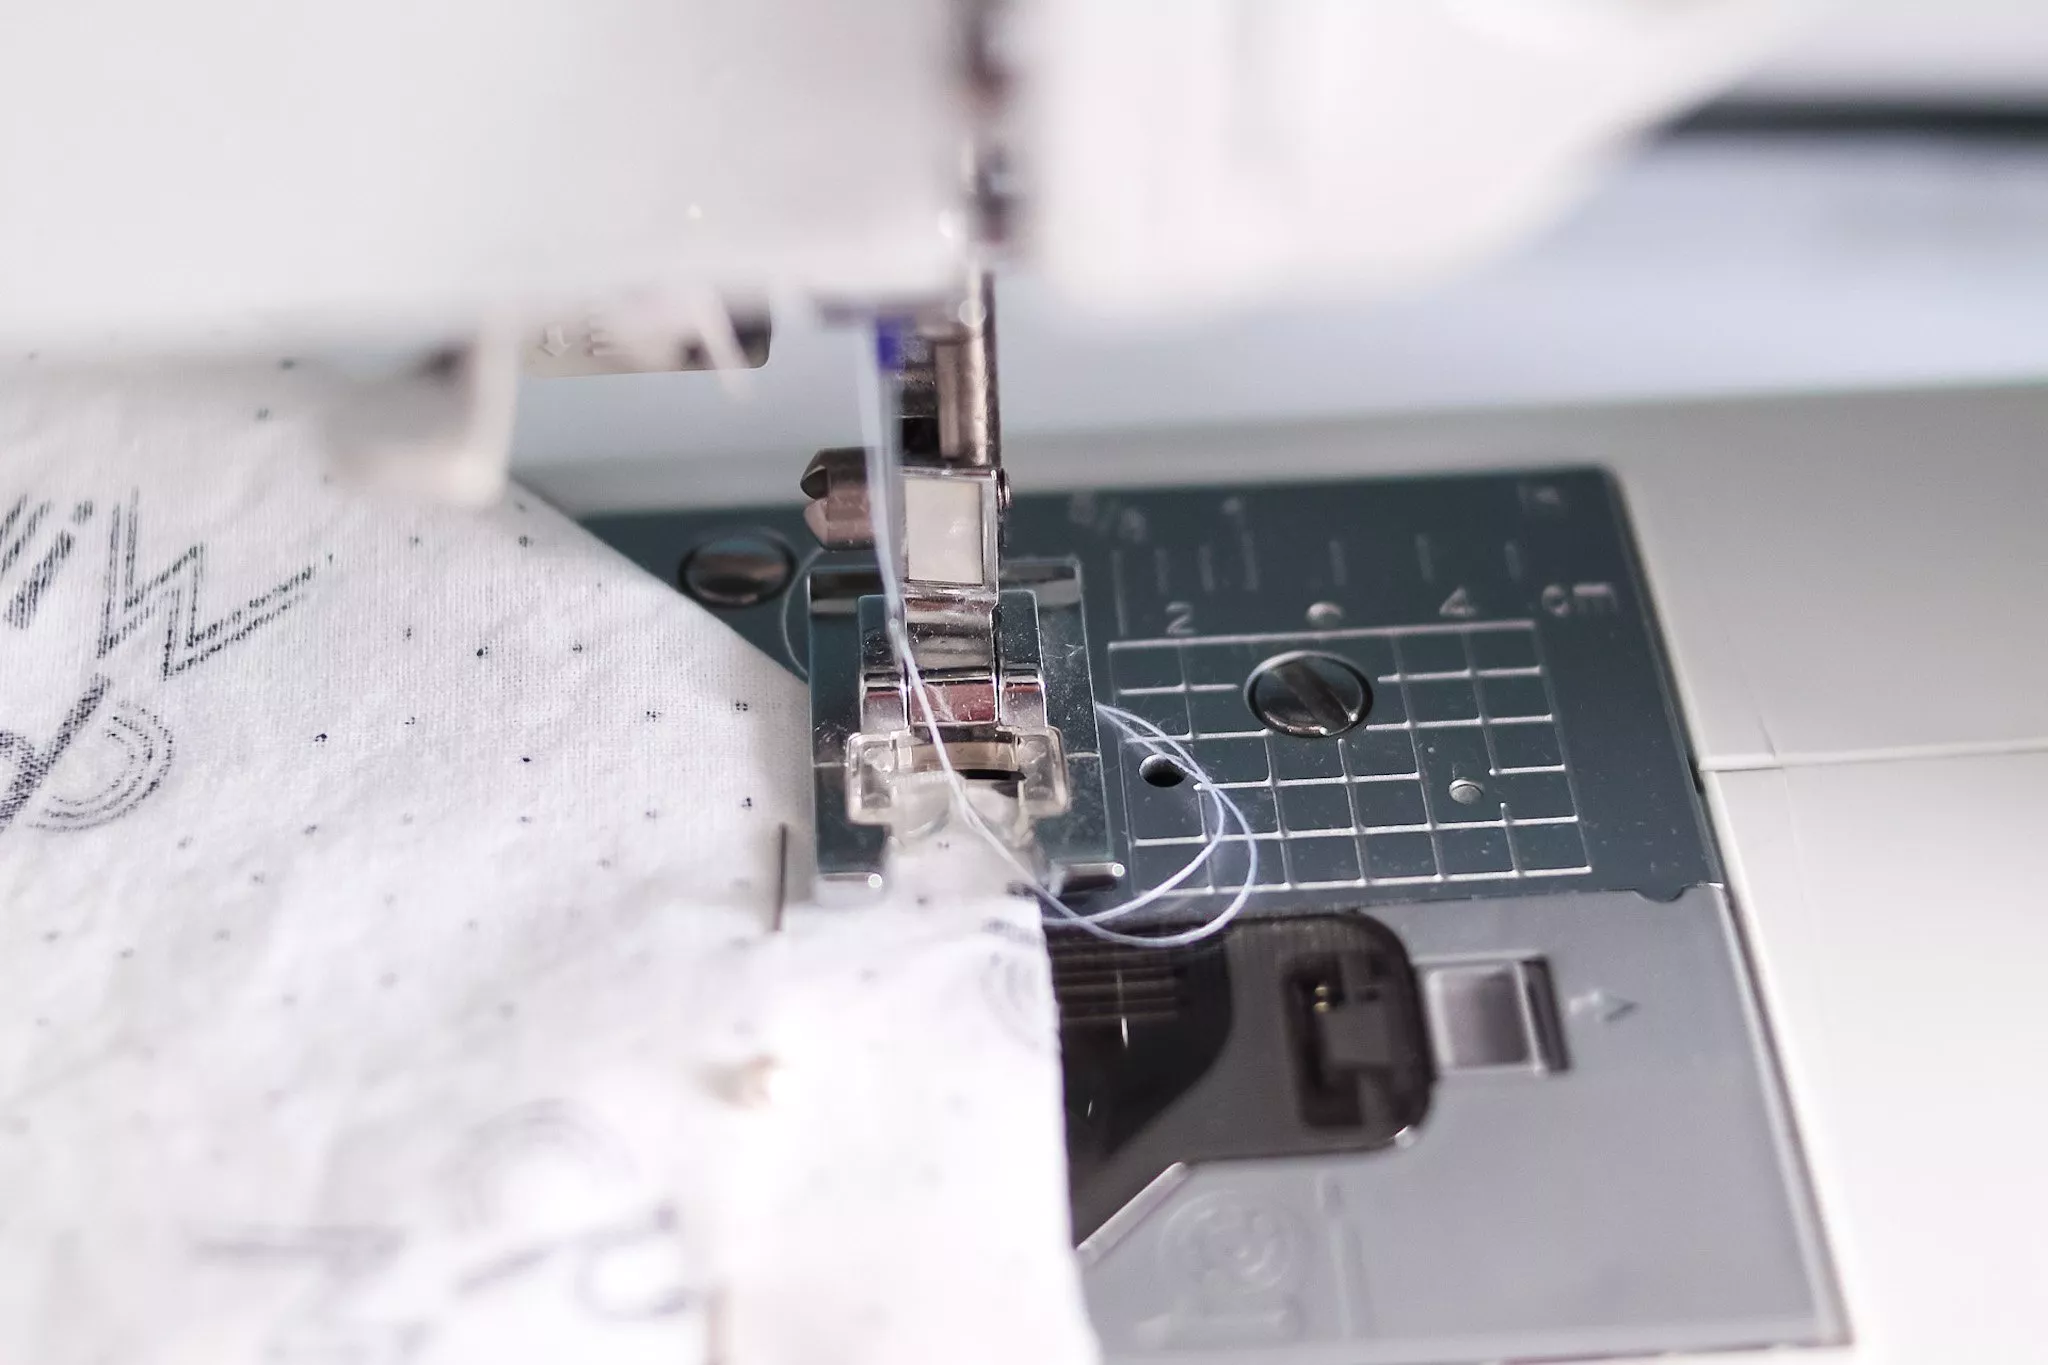
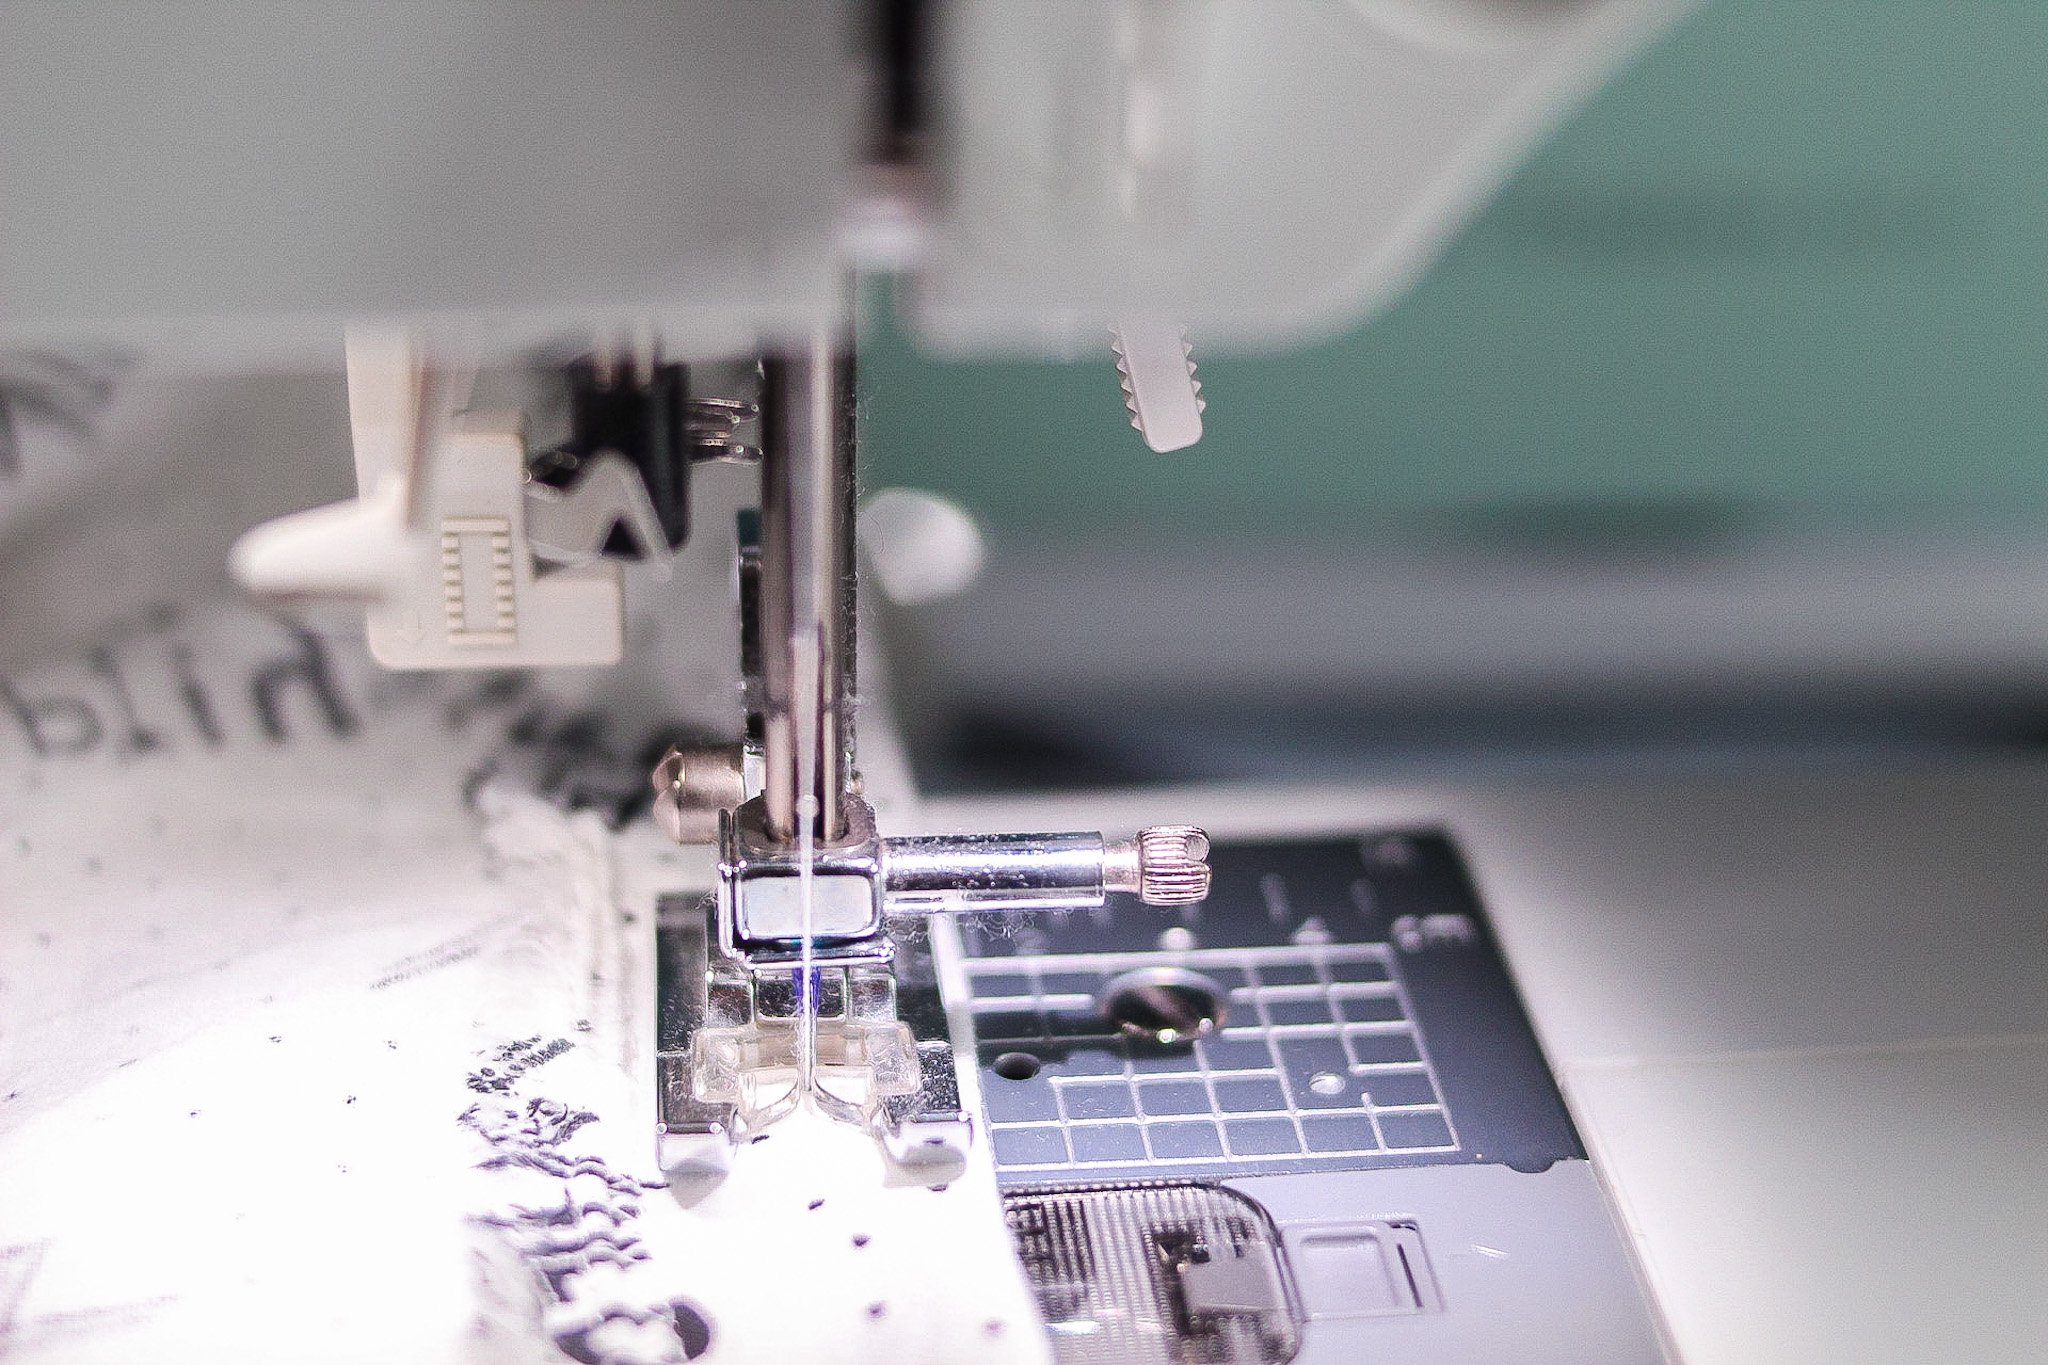
If you have a serger, serge the ends to prevent fraying. If you don’t, no worries, just perform an overlock stitch on the along the edges of your crib sheet!
Your overlock stitch can either go just barely over the edge of the fabric to lock in the frayed ends or close to the edge without going over (which is what I’ve done below).
I have a Brother CS-6000i sewing machine and used stitch #15 with a J foot so I didn’t have to change out anything.
After performing an overlock stitch on your fabric ends, trim any remaining fray with scissors, being careful not to trim the stitching.
Sew A Pocket for elastic

Next, you will need to fold over the fabric about 2 inches and sew with a zigzag stitch with a 5/8″ seam allowance all the way around.
This will be where the elastic lives in your crib sheet so it conforms to the shape of the mattress.
Leave yourself a 1-2″ hole, though, for the elastic.
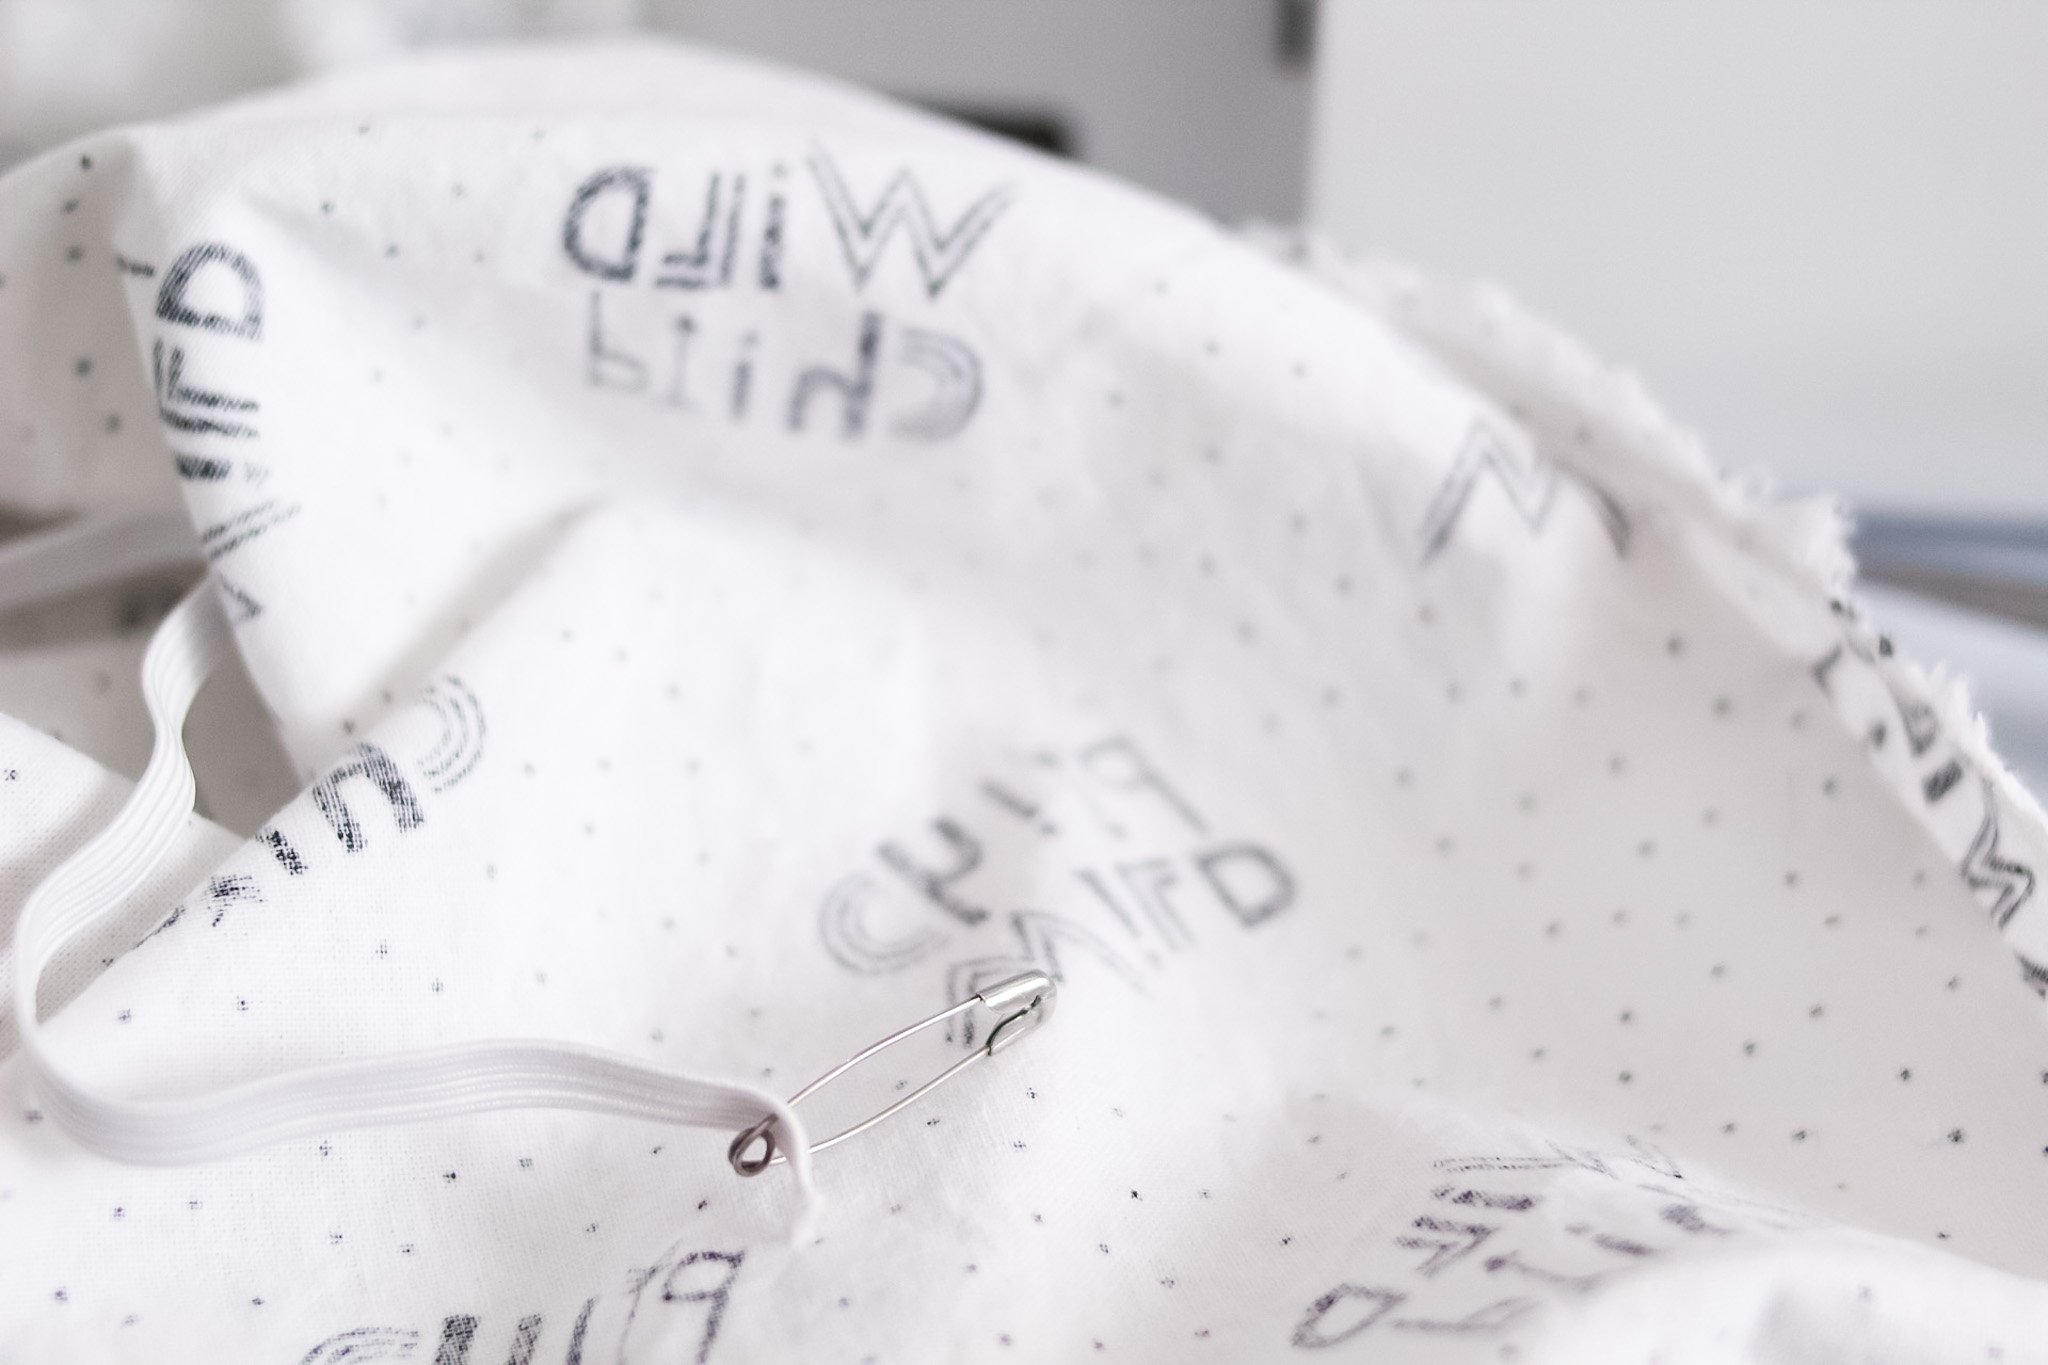
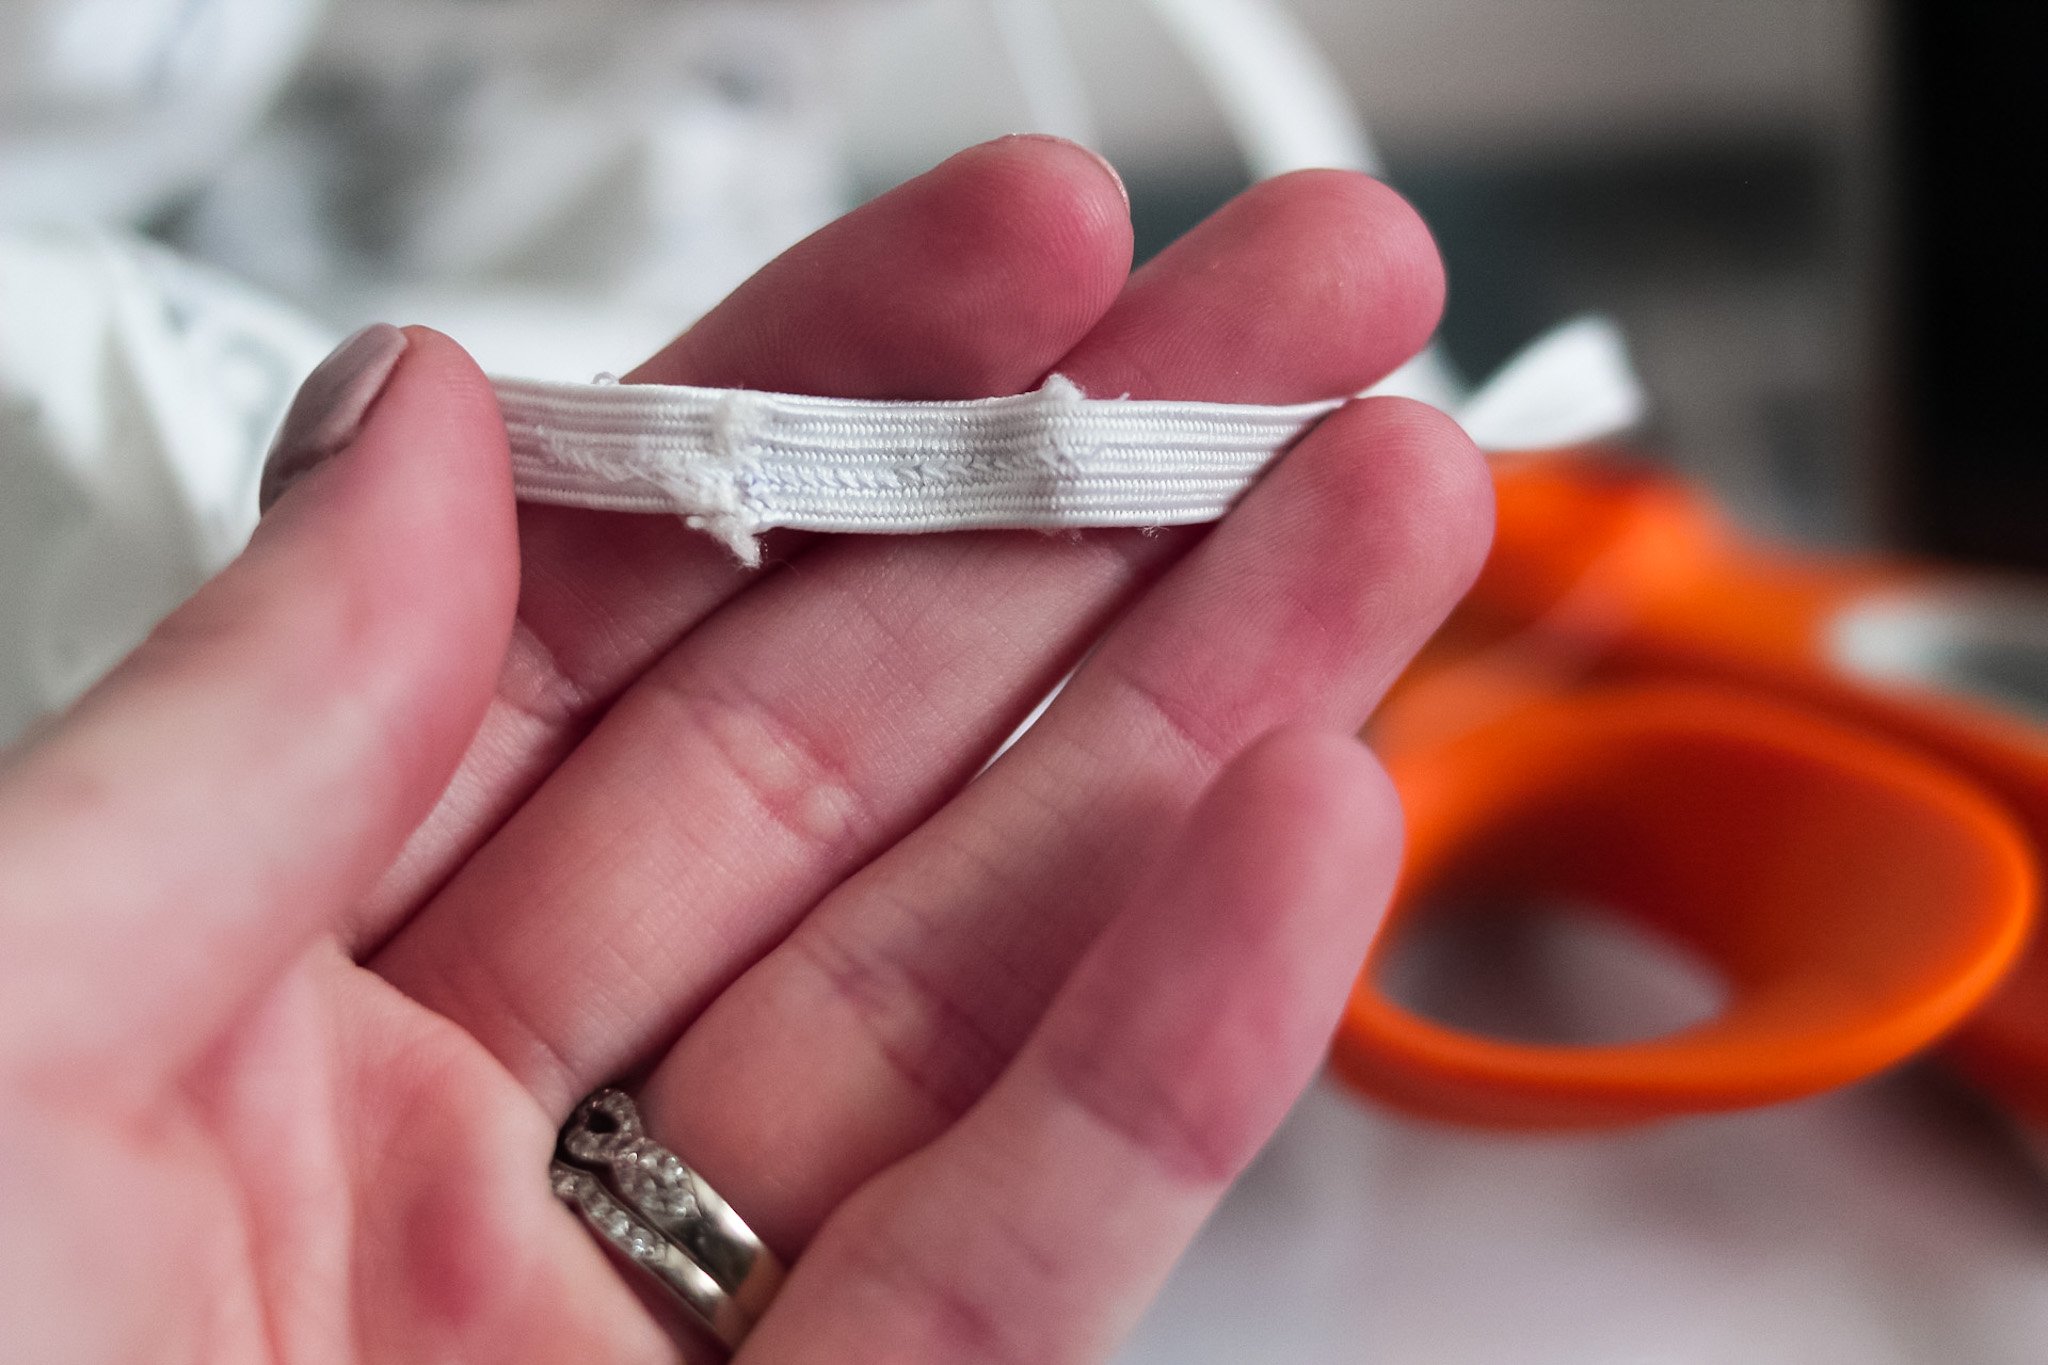
Thread Elastic through the pocket
Now it’s time for the elastic! Measure and cut a strand that is 71″ long.
Attach a large safety pin to your braided elastic, and thread the elastic through the open hole you left in the last step, and through the entire crib sheet.


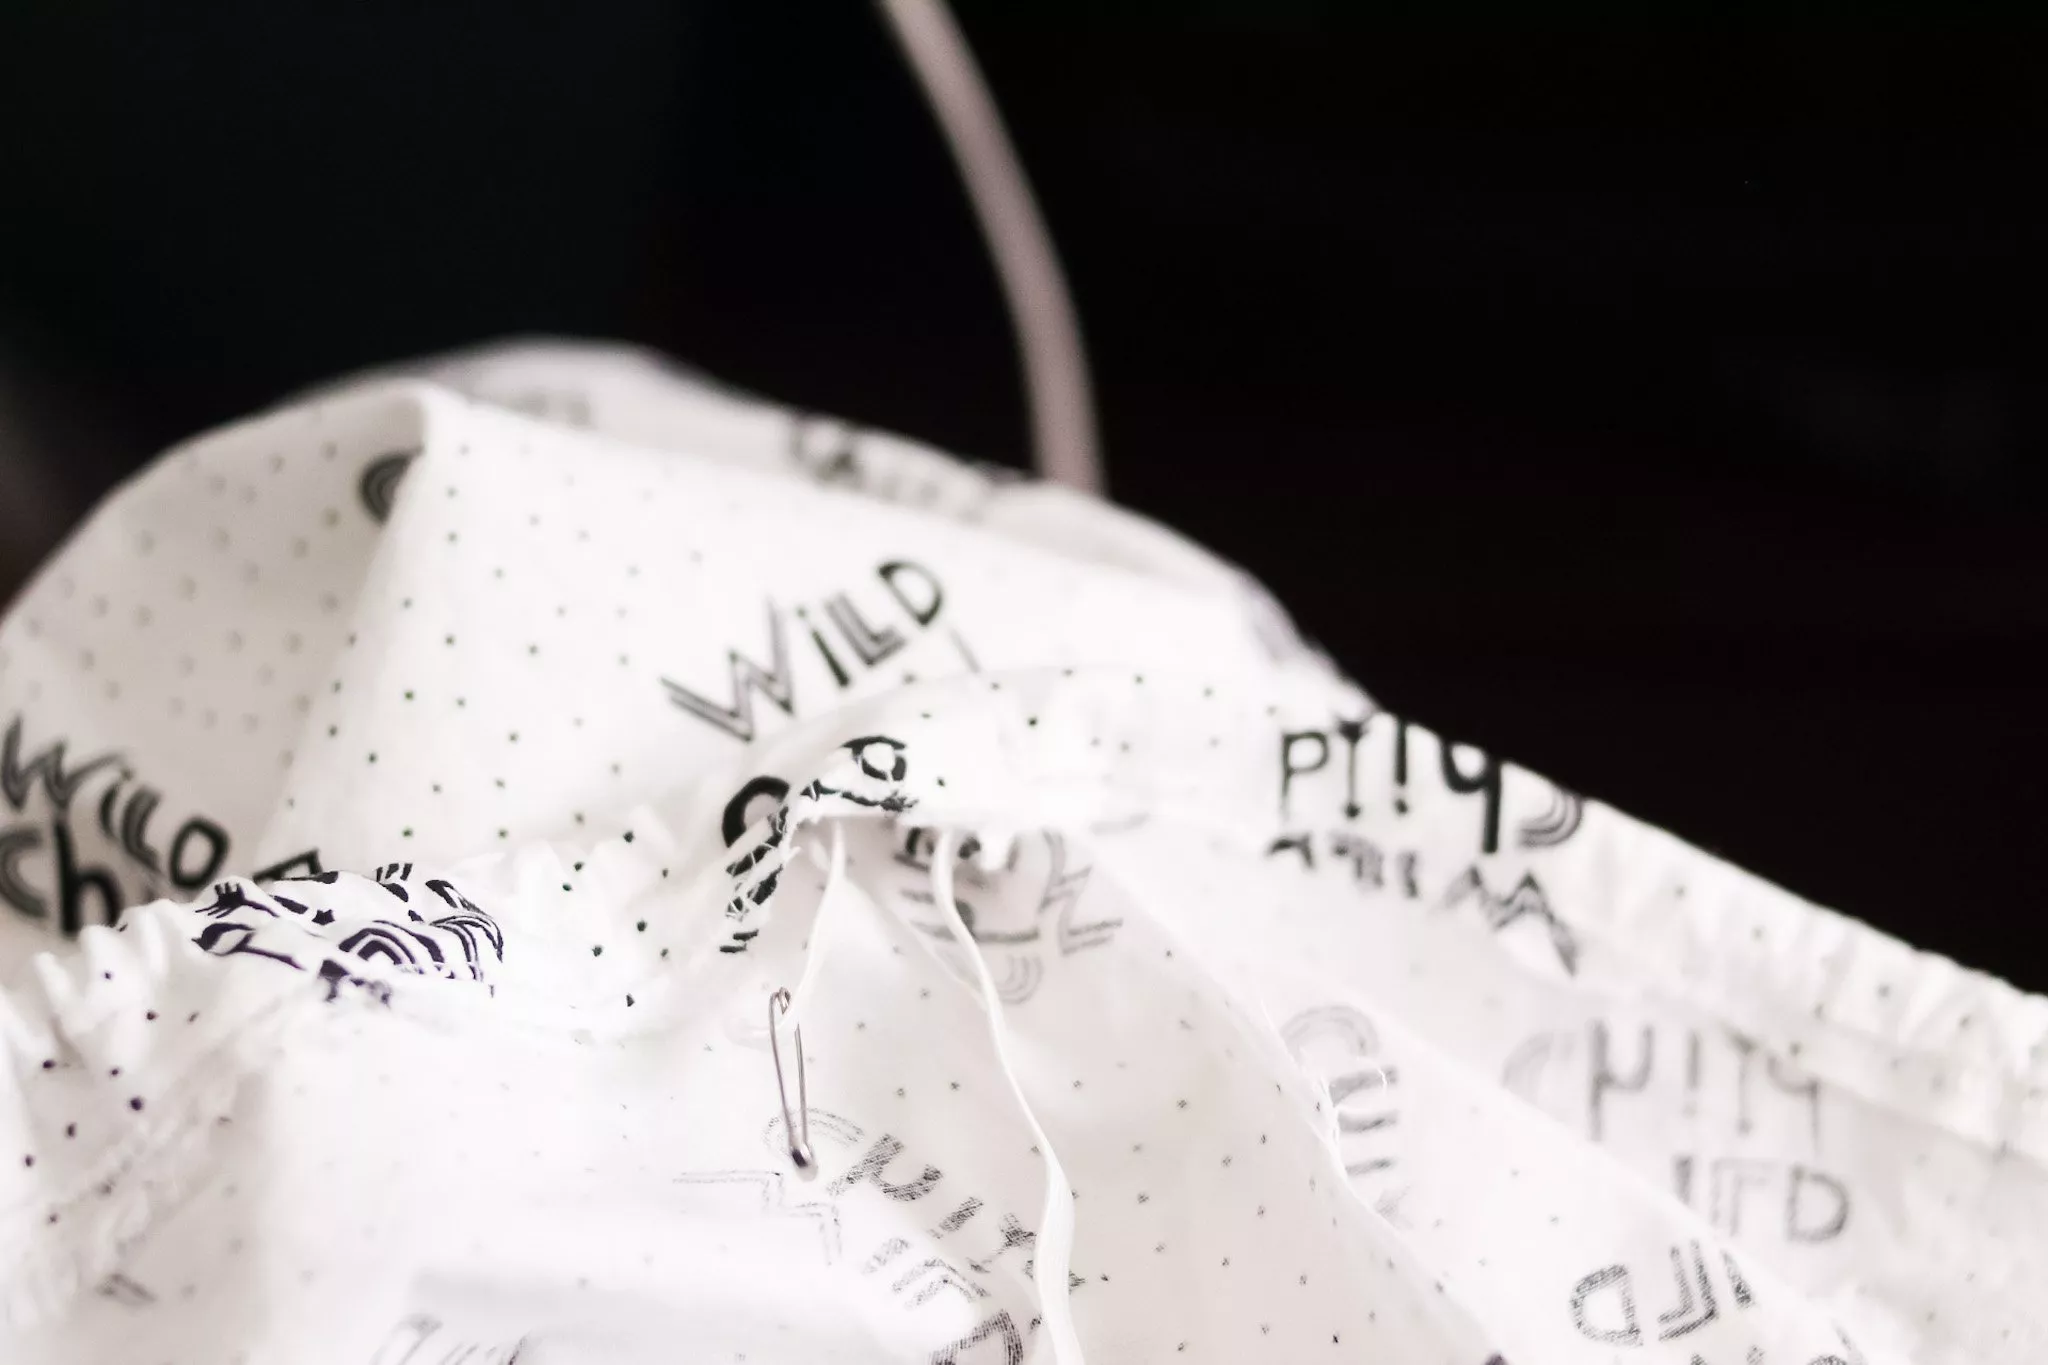
Overlap the elastic ends by 1″, and sew ends together using a zigzag stitch…

You May Also Like: Scheduled C-Section Hospital Bag Checklist
Sew the elastic pocket hole closed with a zigzag stitch and cut any remaining thread.
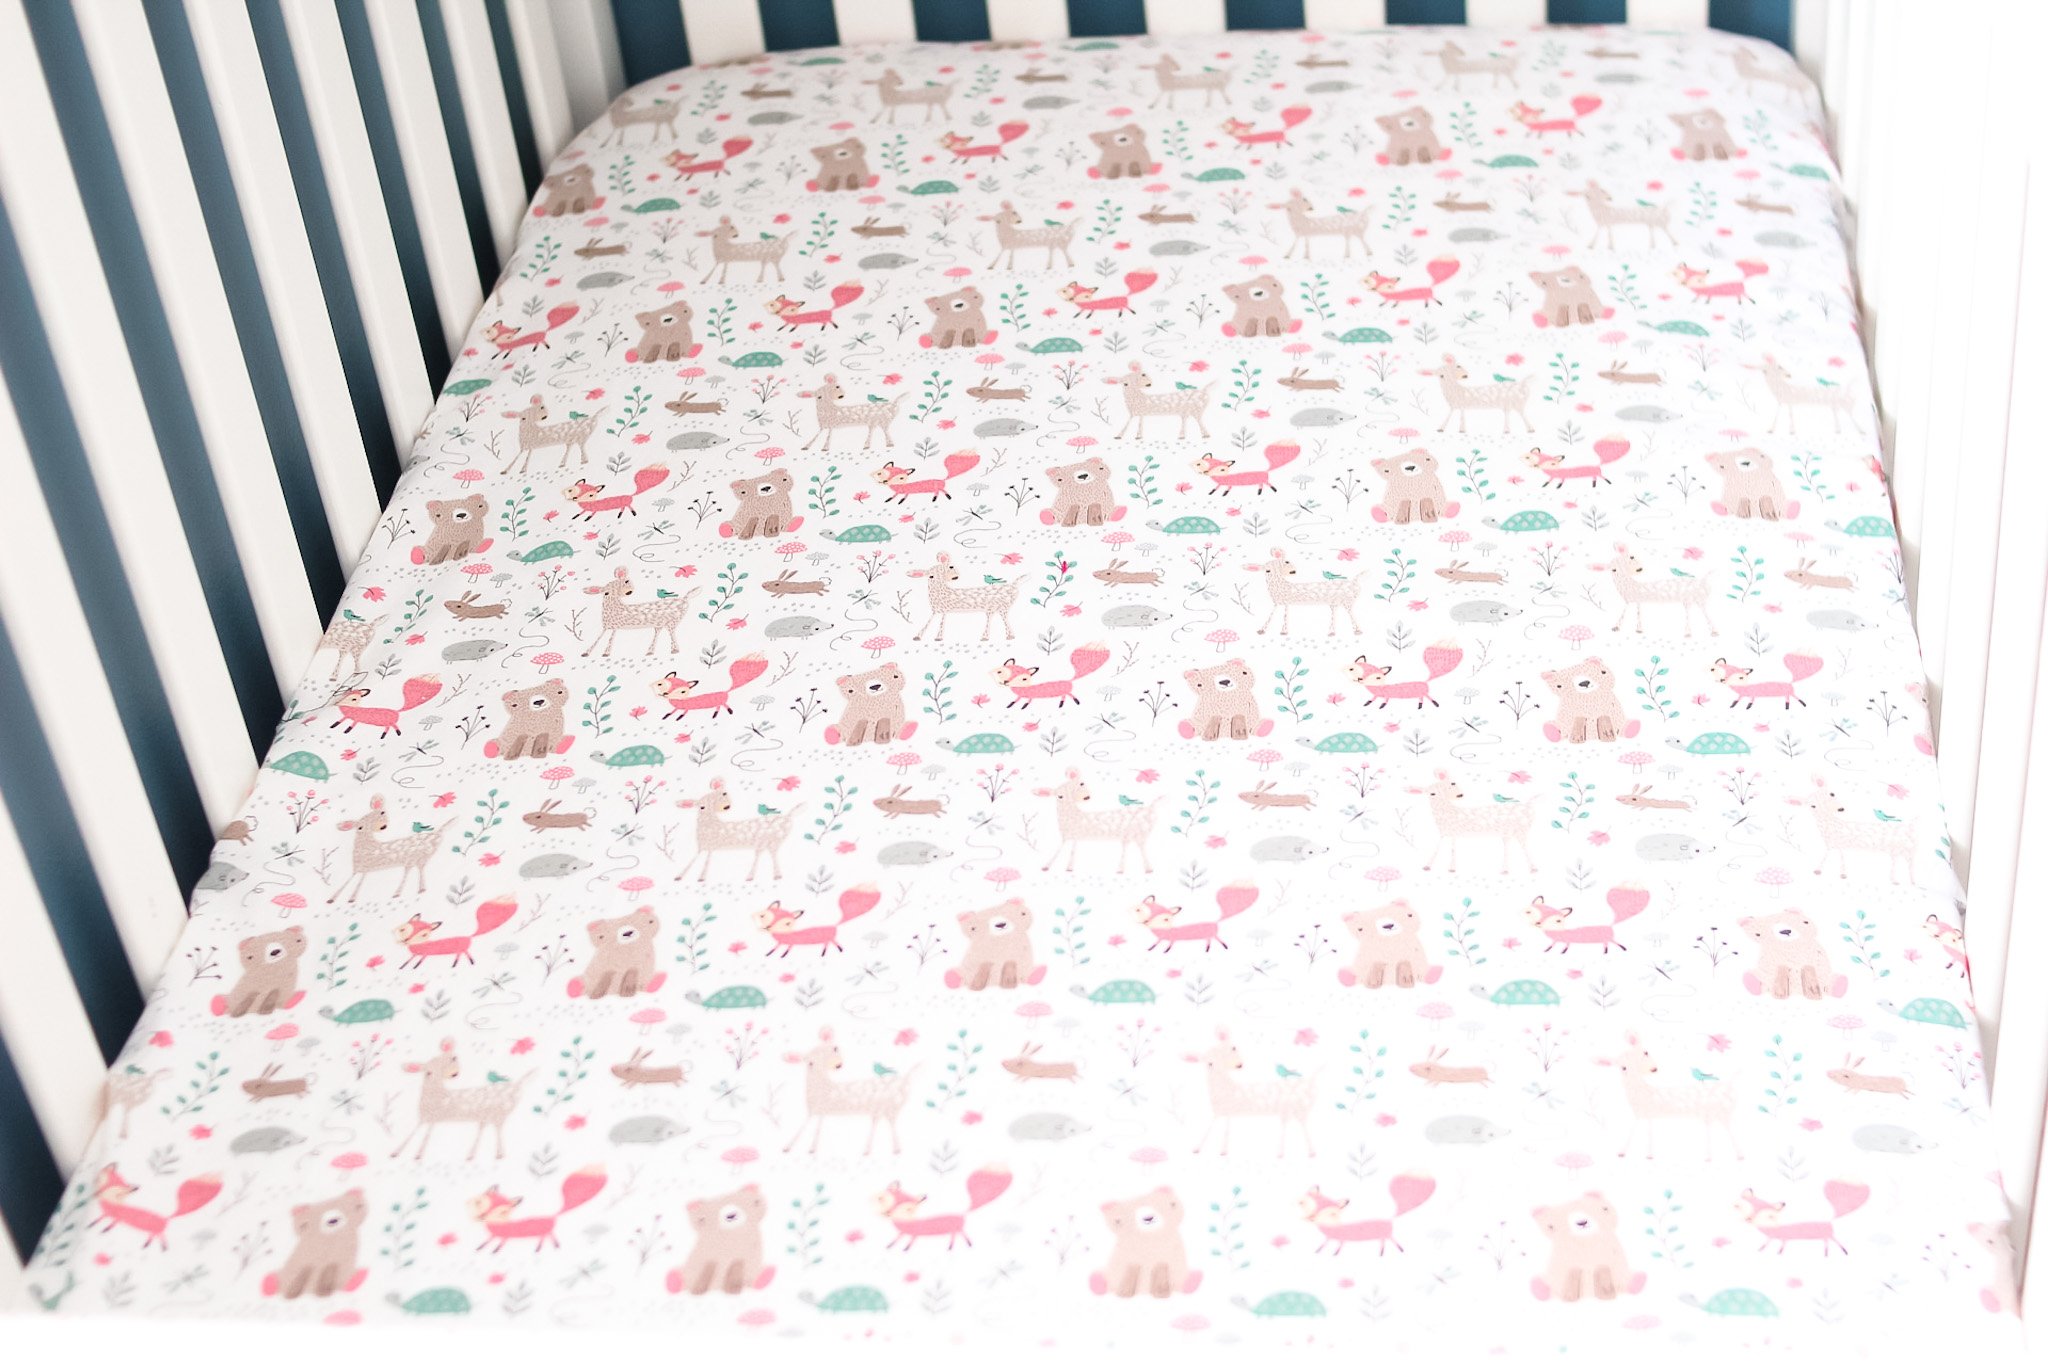
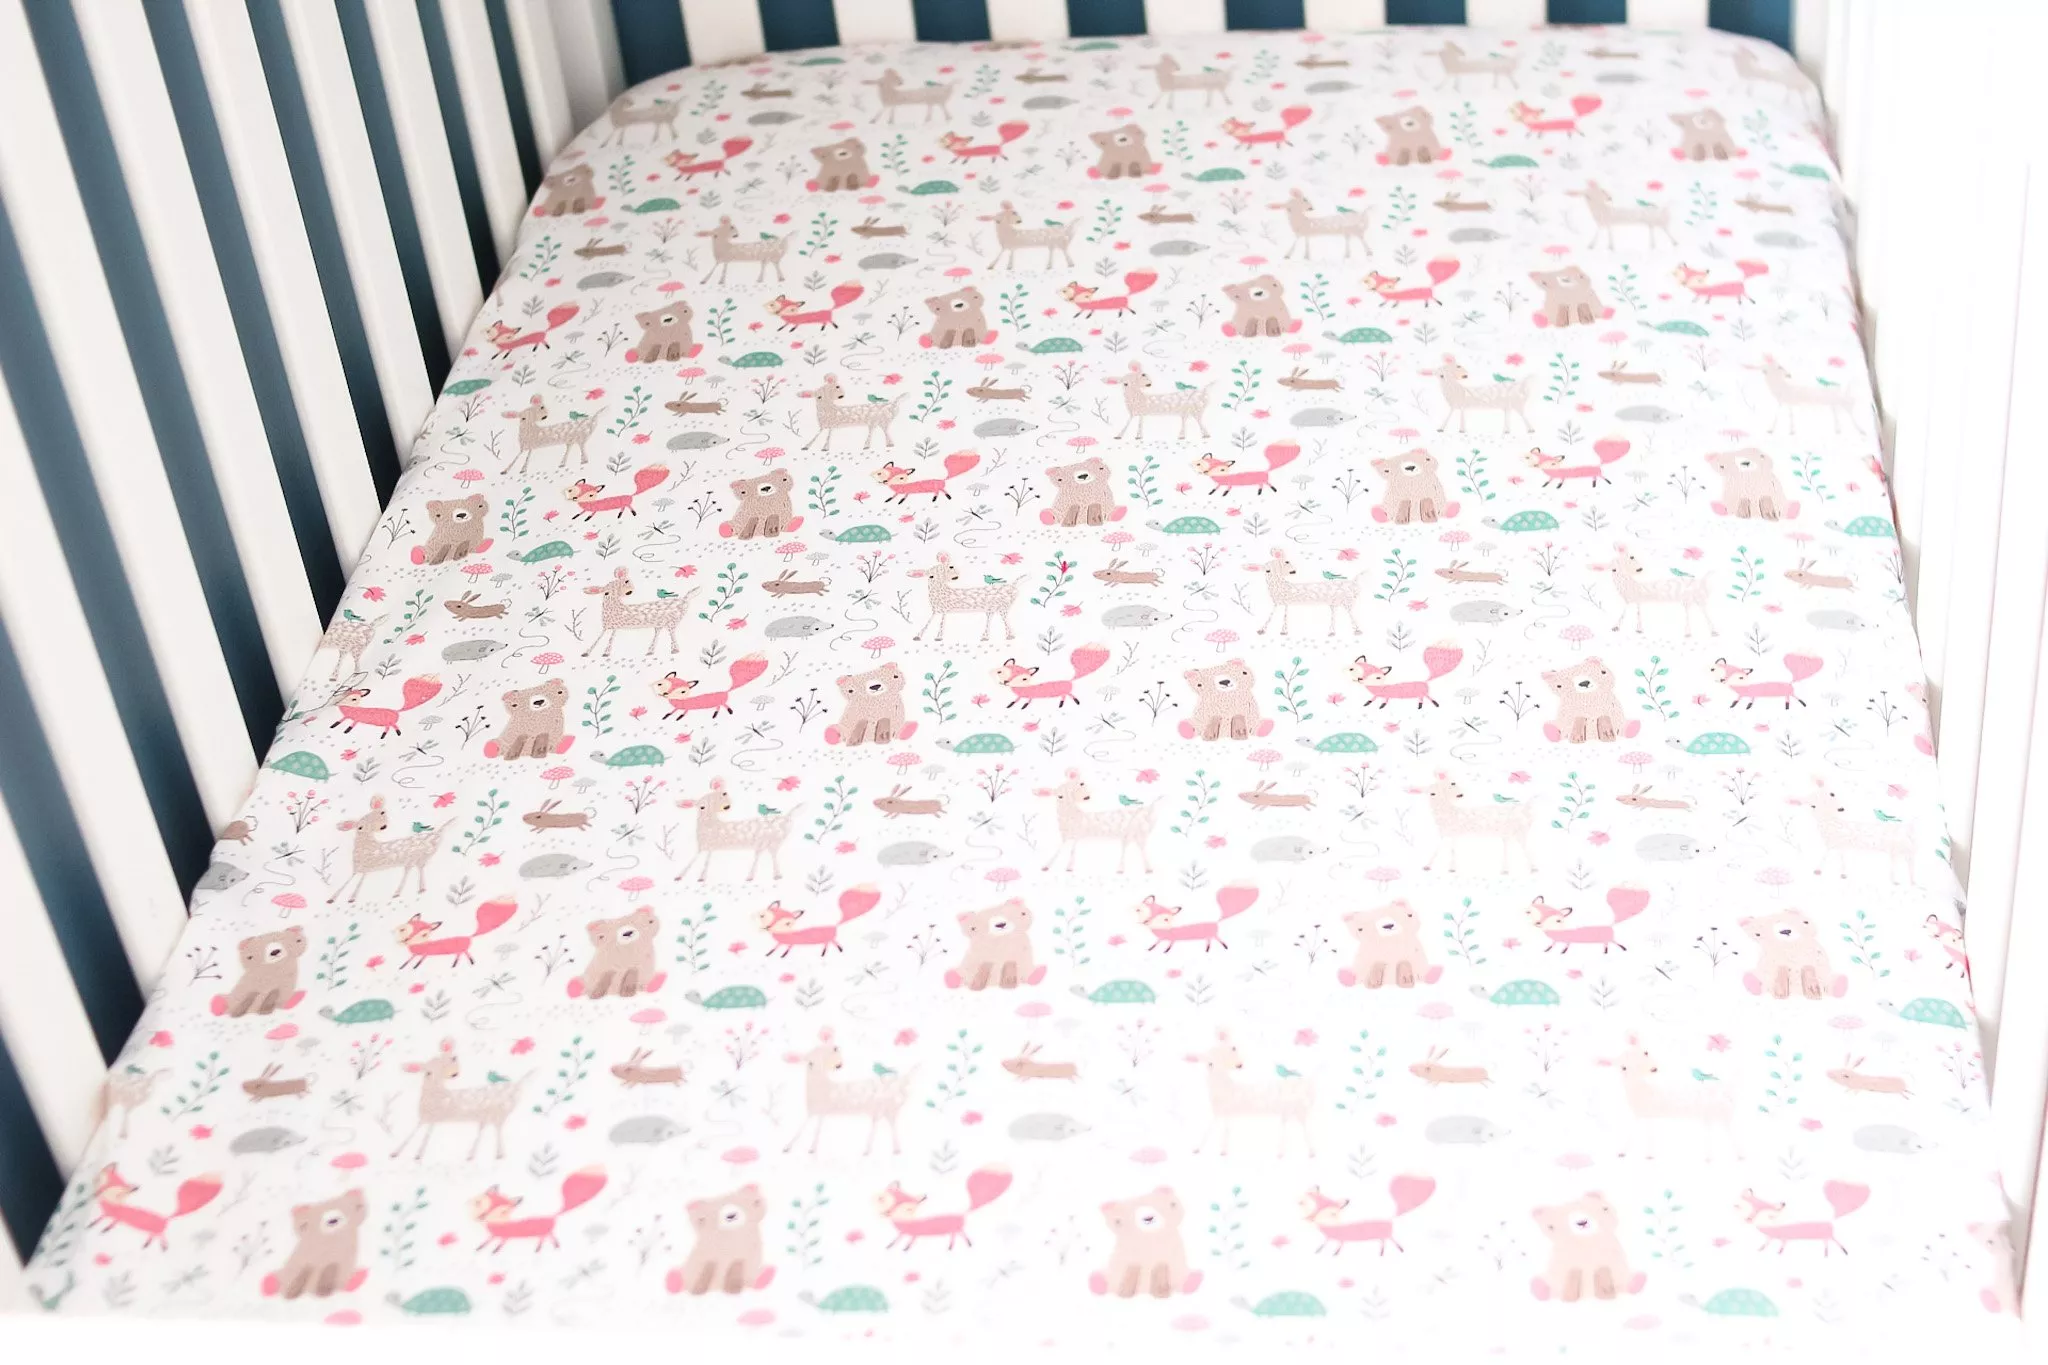
Now try the crib sheet on your little one’s mattress!

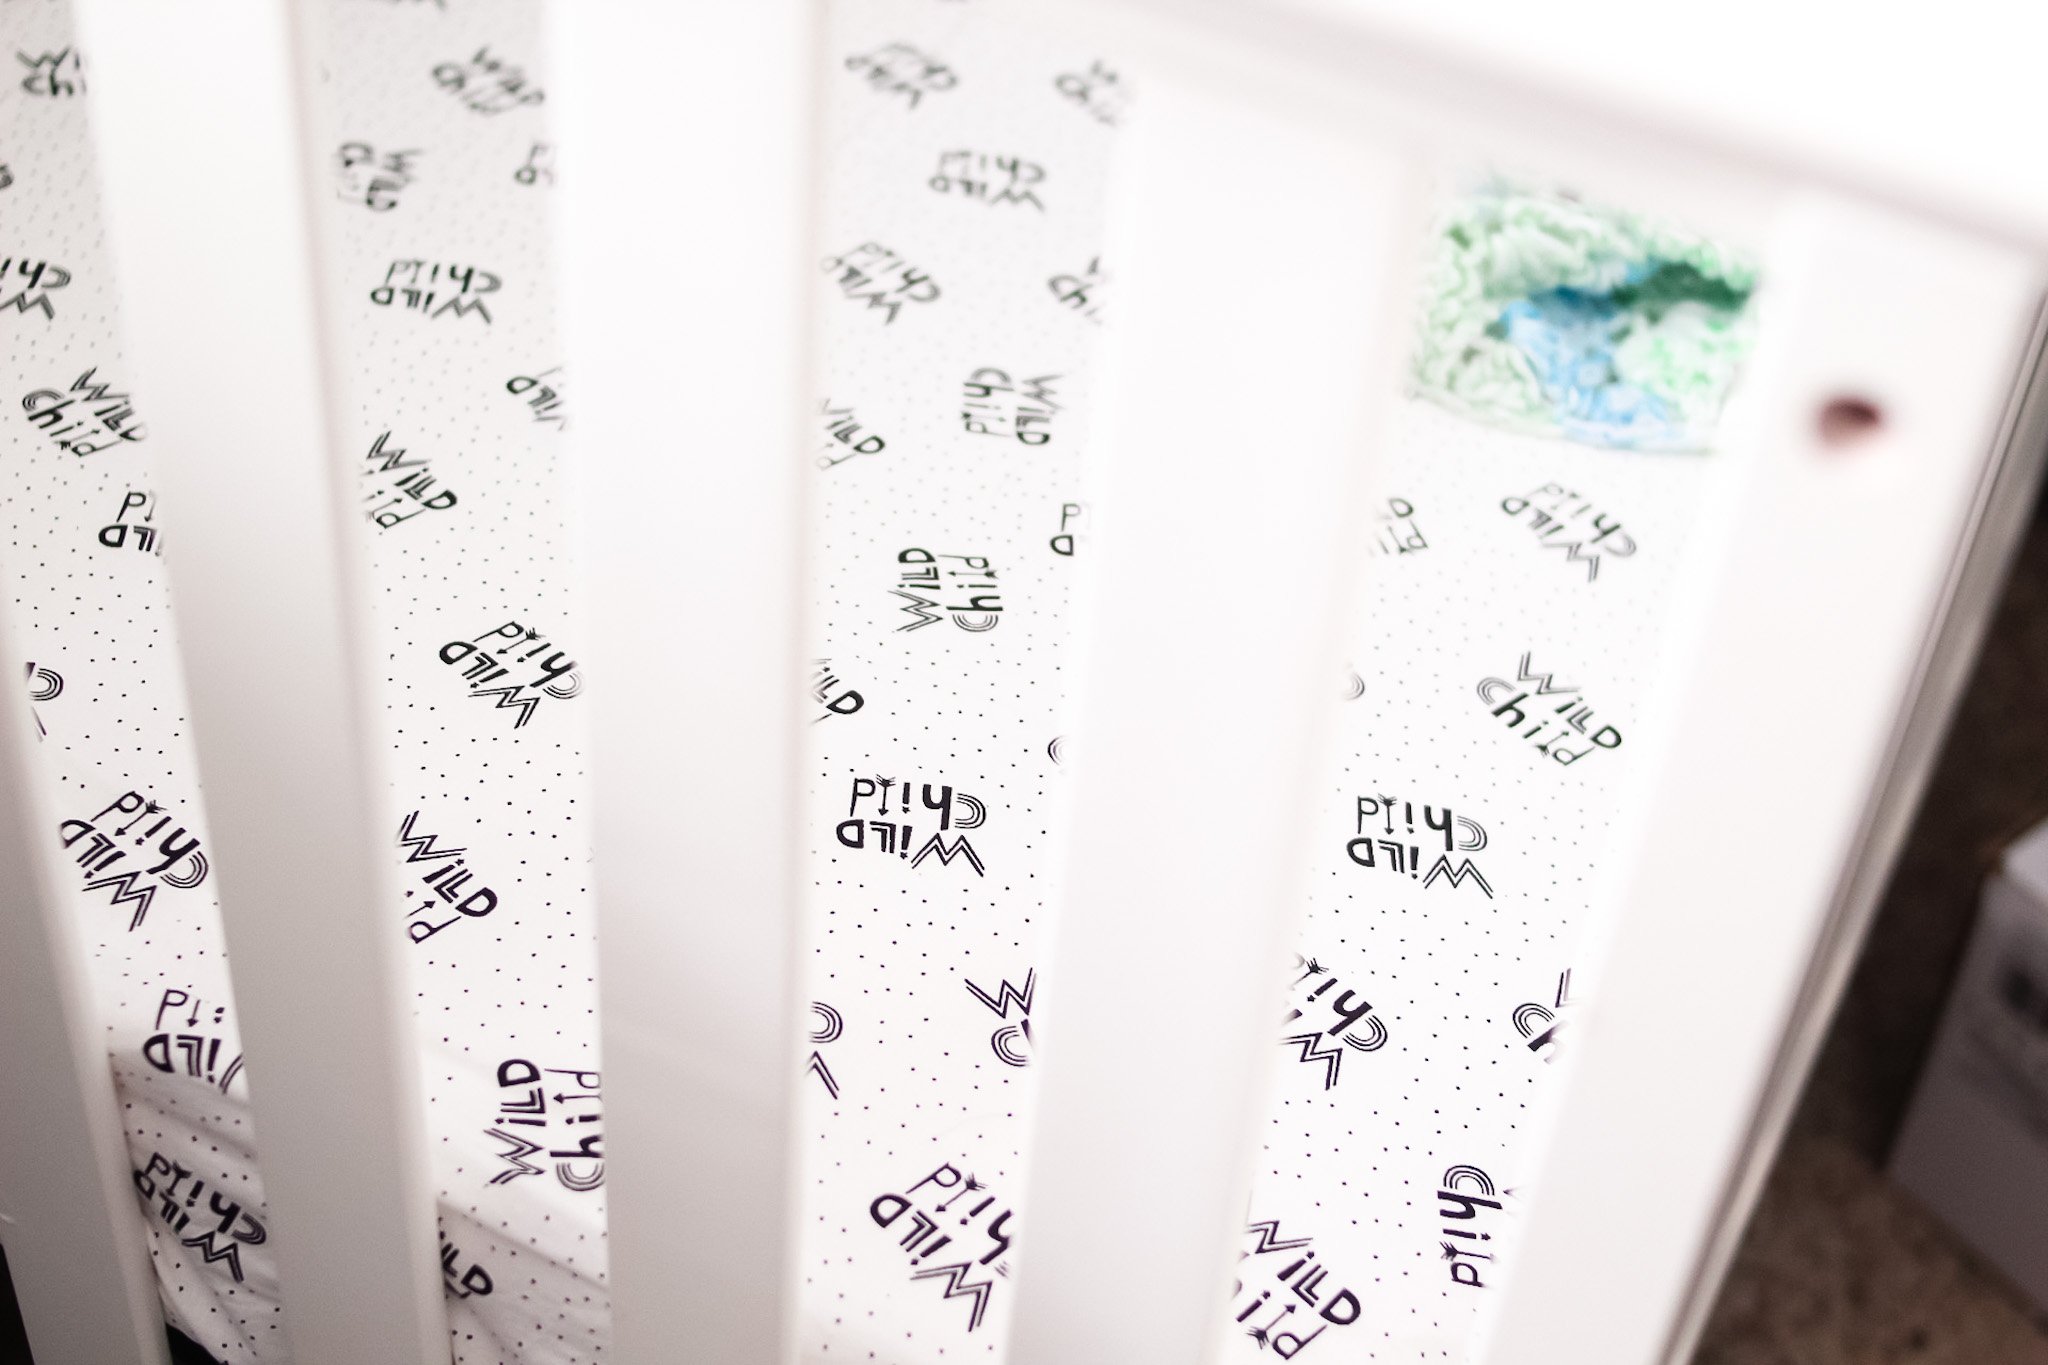

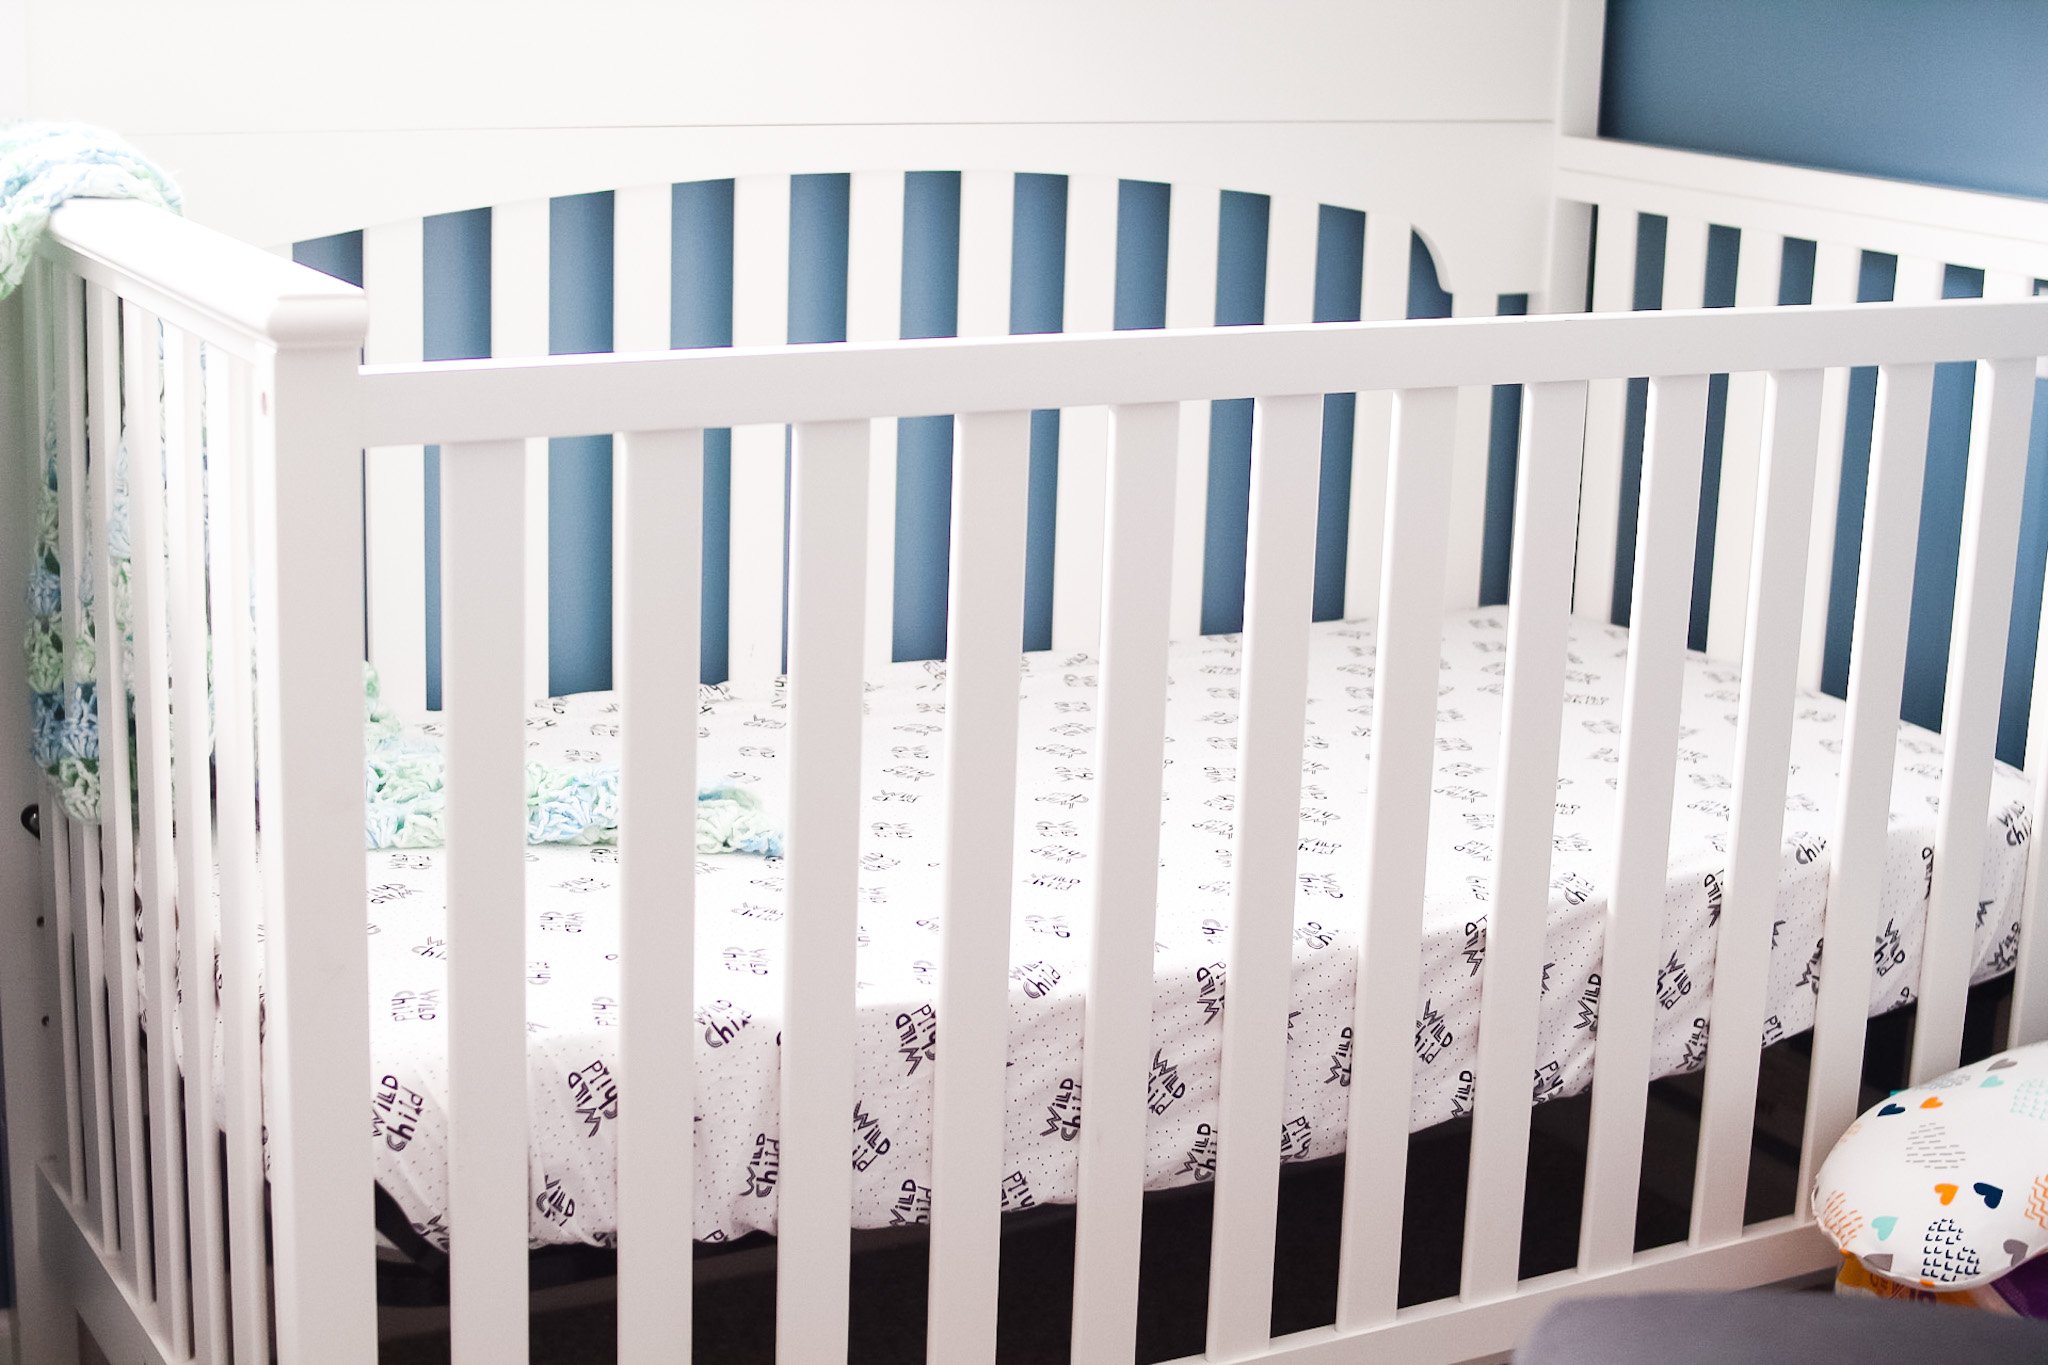
And WA-LA! You’re done!
This crib sheet tutorial is not only great for expecting moms, but can also be a great way for you to make a personalized baby shower gift, or possibly recycle some leftover fabric you have.
And that’s it for this tutorial! I hope you found this DIY easy to follow – be sure to tag me on Instagram (@slayathomemother) if you use this tutorial so I can see your creation.
*Post originally published November 2019, updated October 2020.