Easy 5-minute craft! Make your own easy DIY Halloween bat decor…
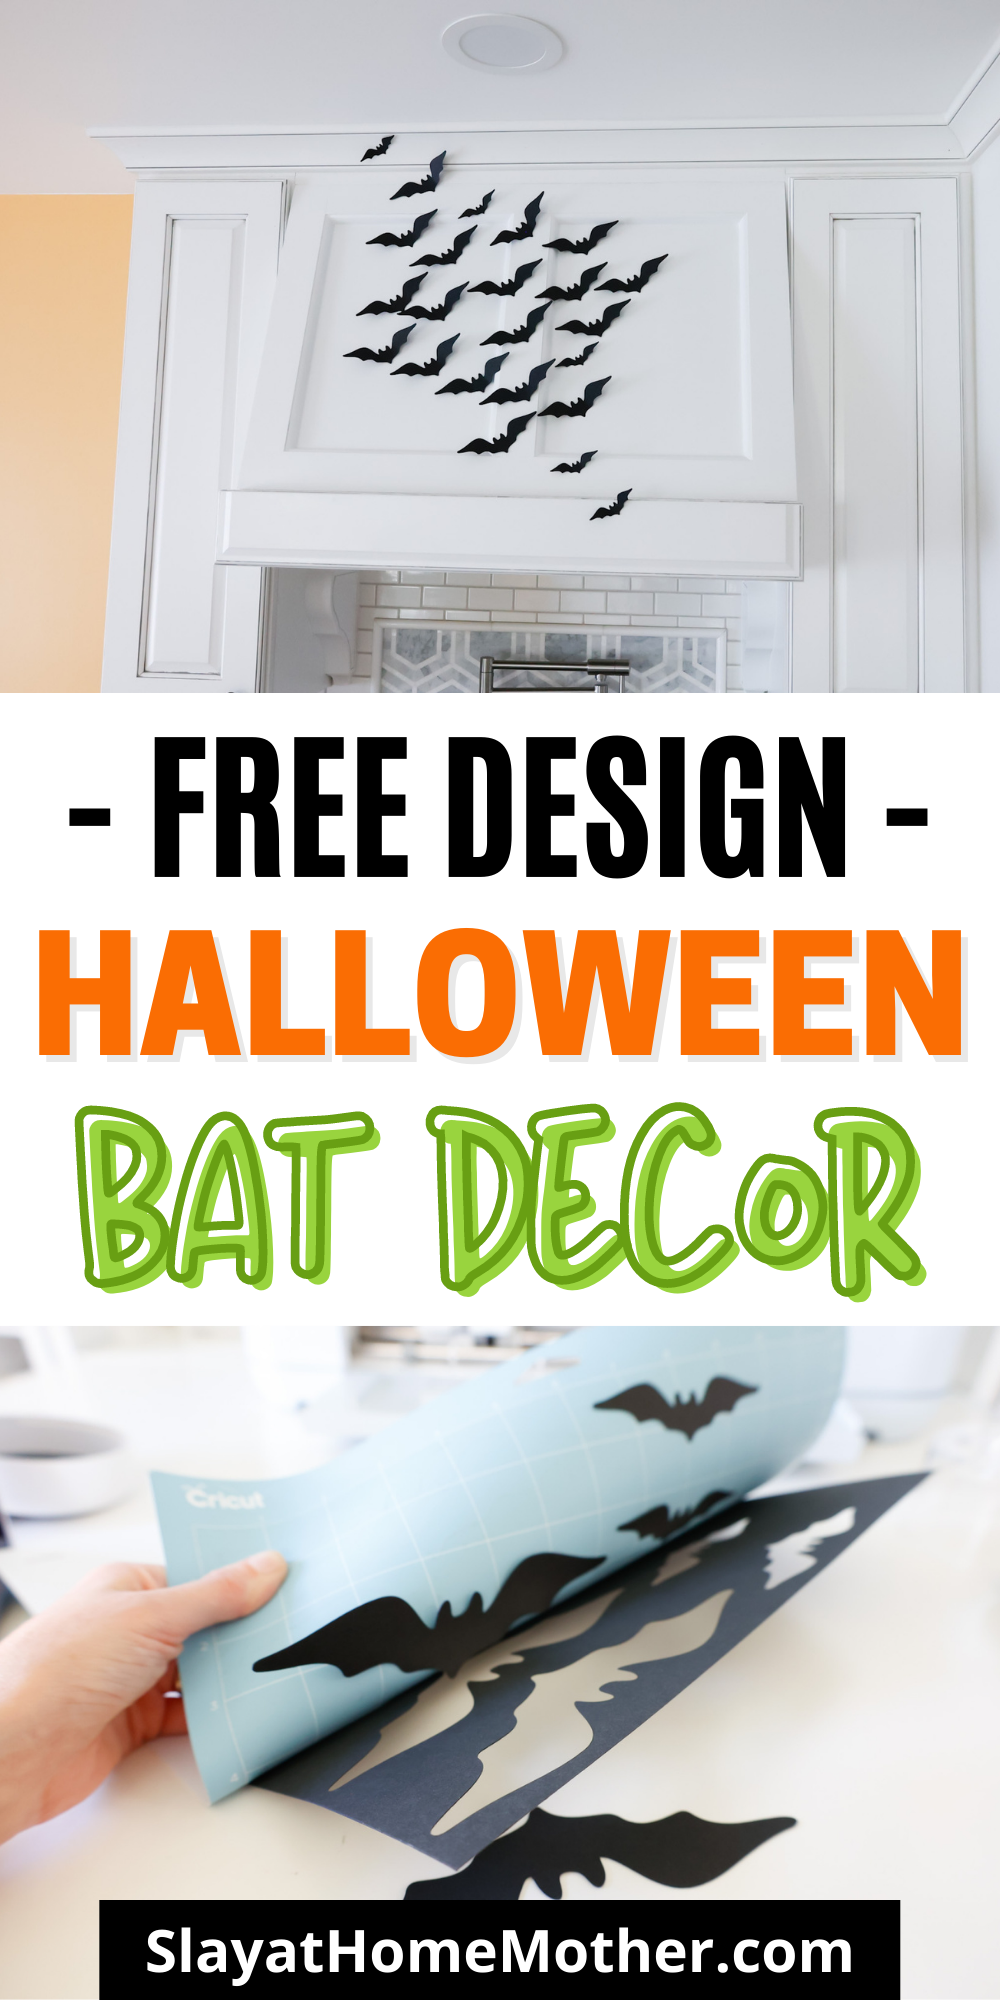
Hi friends, I’m sharing a free design with you today!
Today’s post incorporates crafting and home decor – what could be better than that?
I’ll tell you…
This craft takes only 5 minutes, from start to finish.
So no matter how busy your schedule is – you can crank this one out in now time, especially because I’m sharing the free Design Space link for it.
For the Spooky Season, I’m making some paper bats.
You may have seen these before on my blog as my very first Cricut project!
Looking back at it – I’m not too proud of how my bats turned out, ha!
But that post was written in 2019, and I’ve learned a lot since then.
These bats will knock your socks off – check them out…
This post contains affiliate links, however, all opinions are my own, as always.
What You’ll Need To Make Your DIY Paper Bats
You’ll need…
- black cardstock
- Cricut machine (I’m using my Maker 3, but this project is compatible with the Explore Air 2, Explore Air 3, Maker, Maker 3, etc.)
- LightGrip Cricut cutting mat
- tacky putty (here is the exact kind I use for walls – safe for paint, easily removable!)
And that’s it!
Cutting Out Your Halloween Bat Decor
Access my Design Space link here to get to cutting out your Halloween bats.
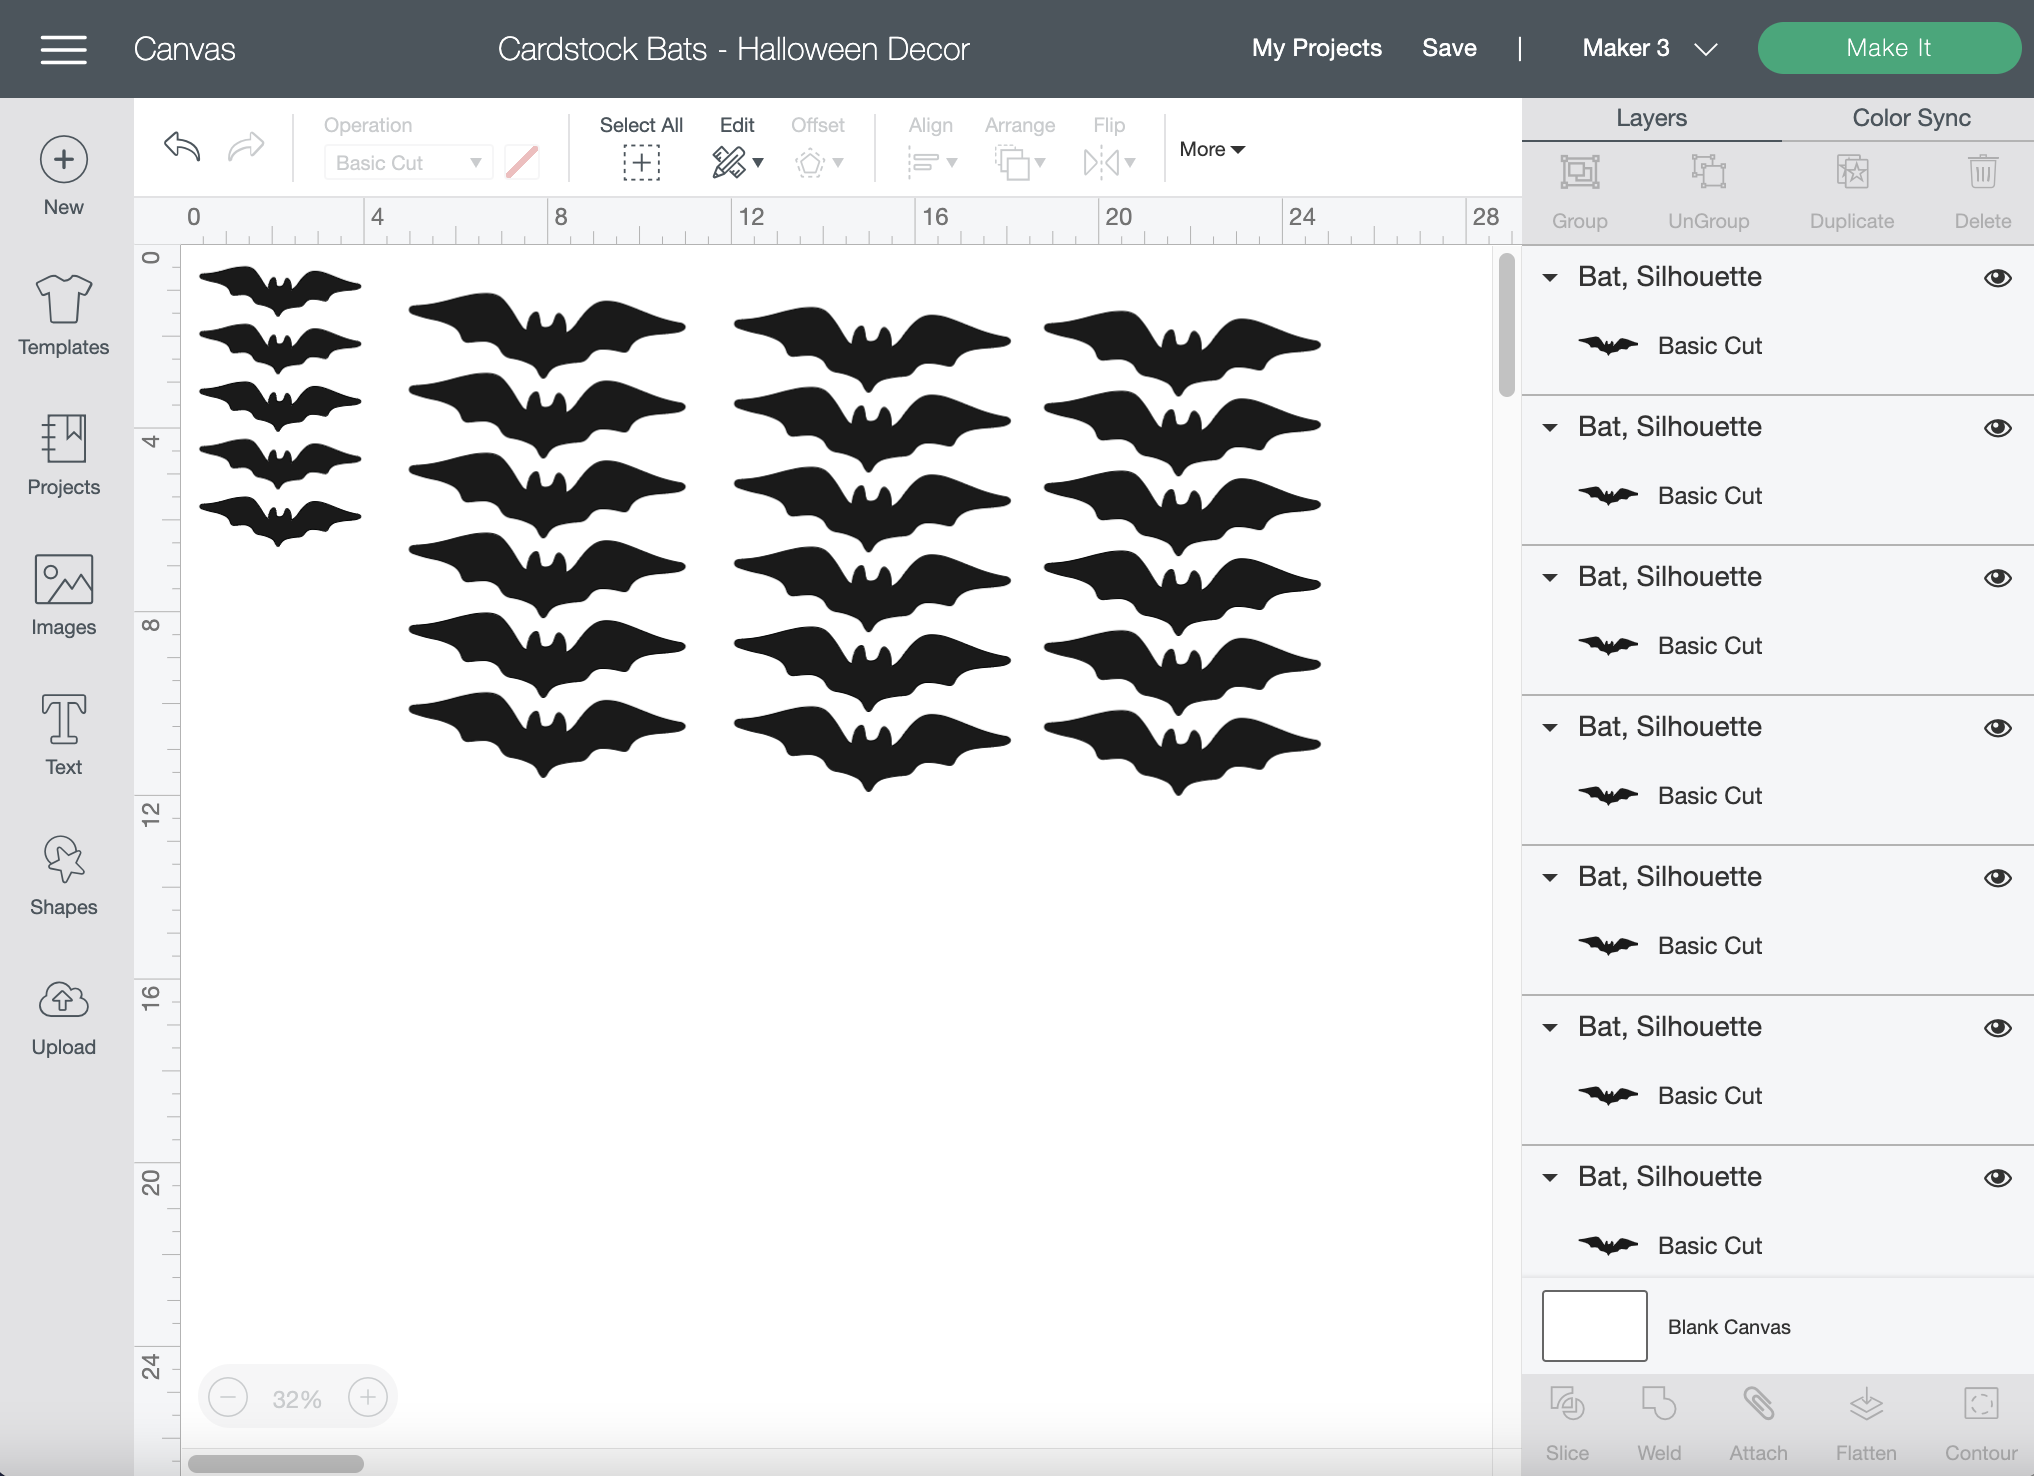
Within the Canvas, simply click on the green Make It button towards the top right.
Place a black cardstock sheet on your LightGrip mat, select the Light Cardstock option as your material, and cut.
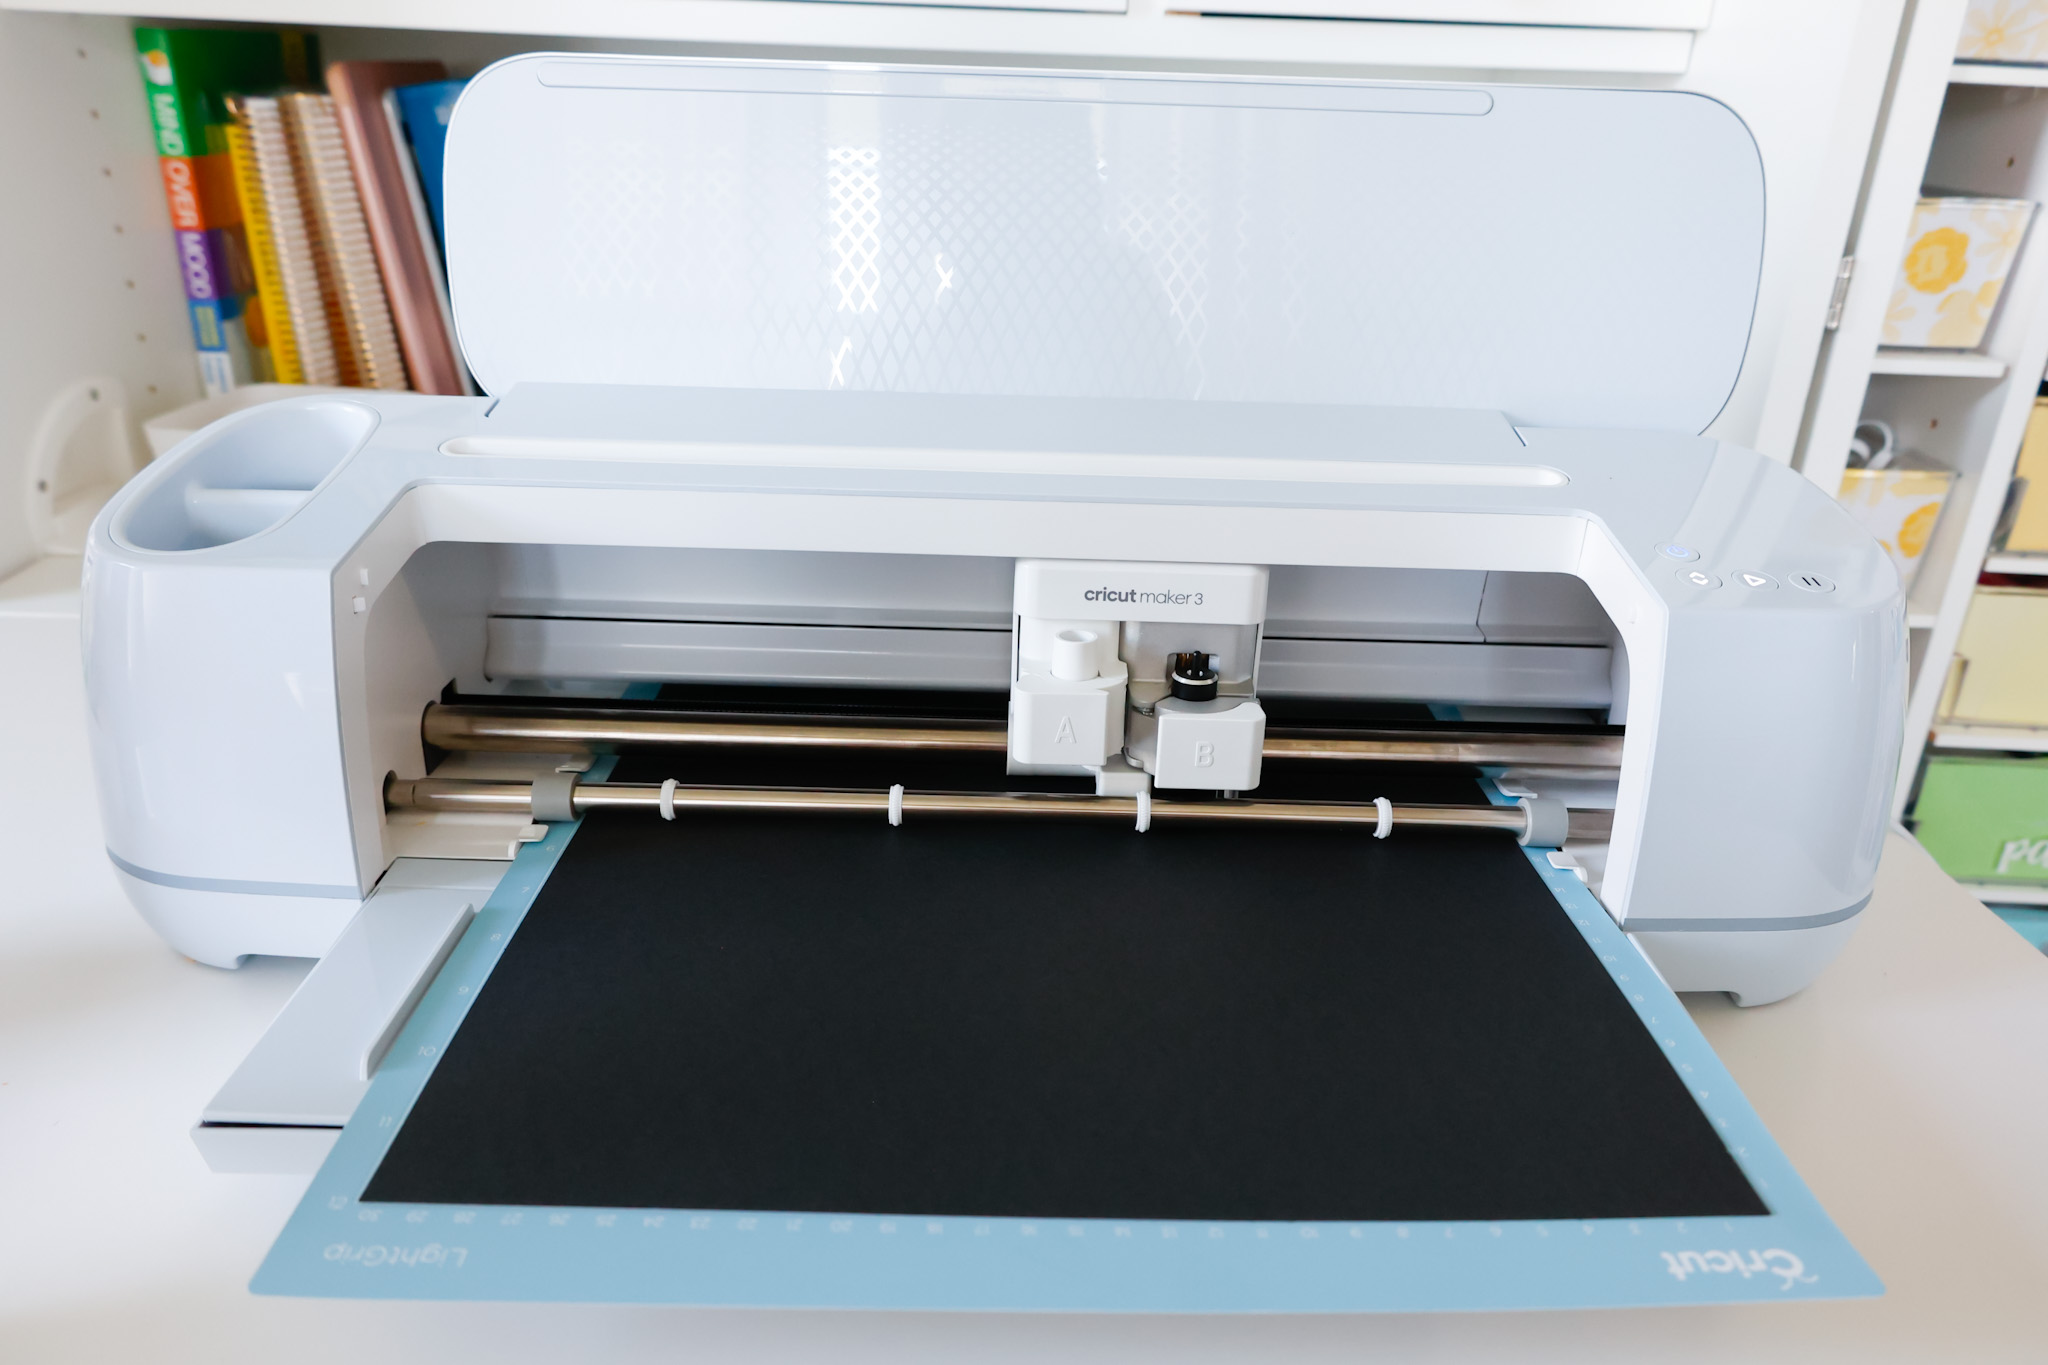
If using the new Maker 3 or Explore Air 3, your design will be cut in a matter of seconds.
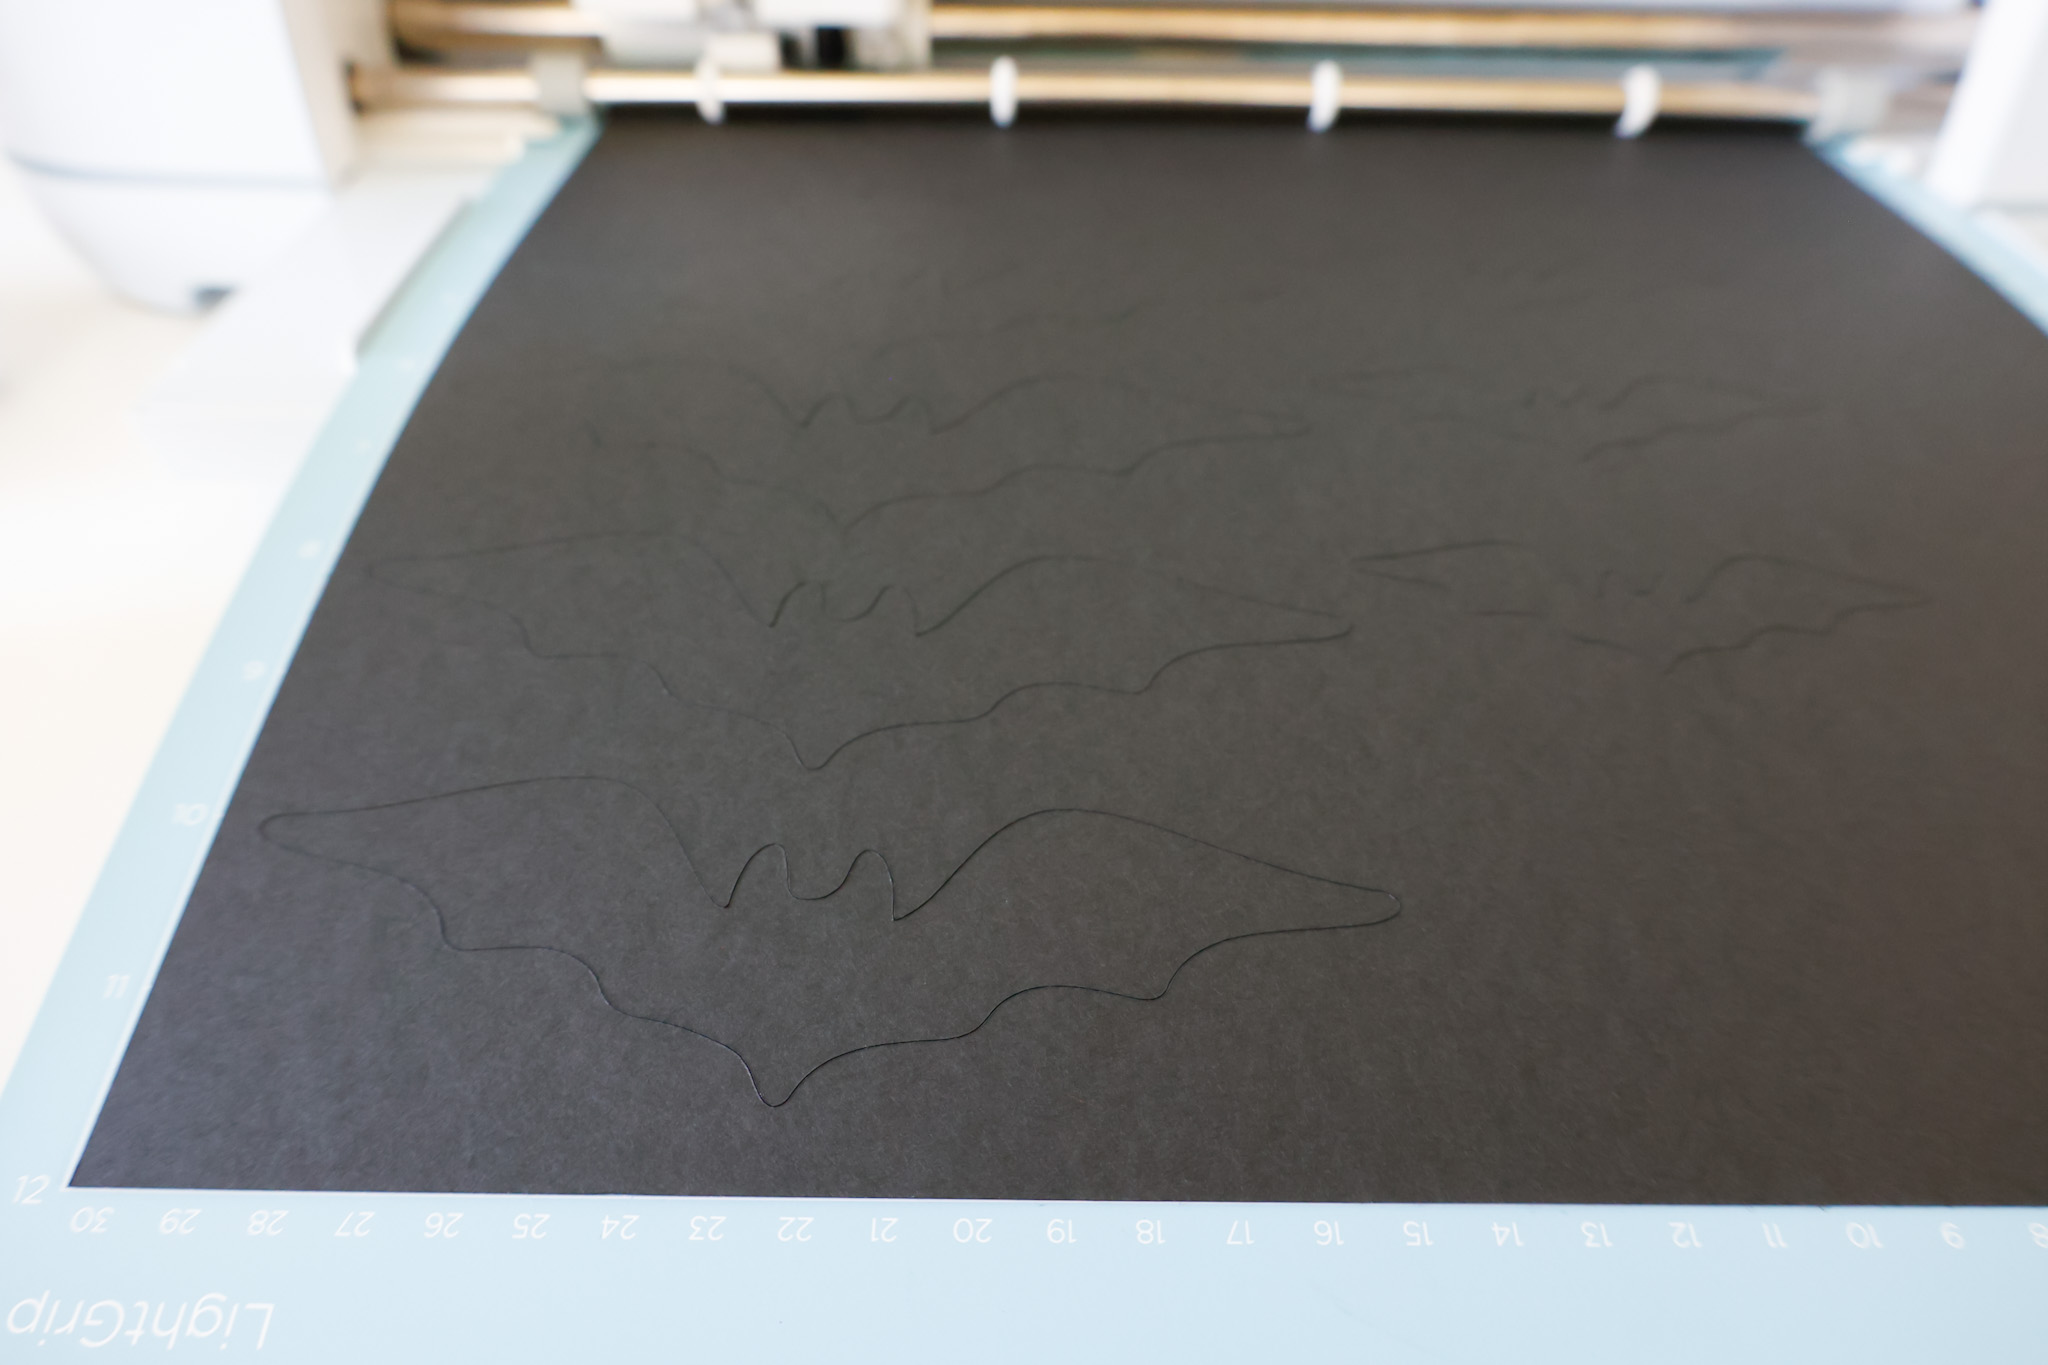
After cutting paper or thin materials (except for fabric), you’ll need to place the mat material-side down on a flat surface.
Roll the mat up and away from the table surface so that the mat curls and your material doesn’t.
if you try to peel the material away from the mat, it will curl your paper.
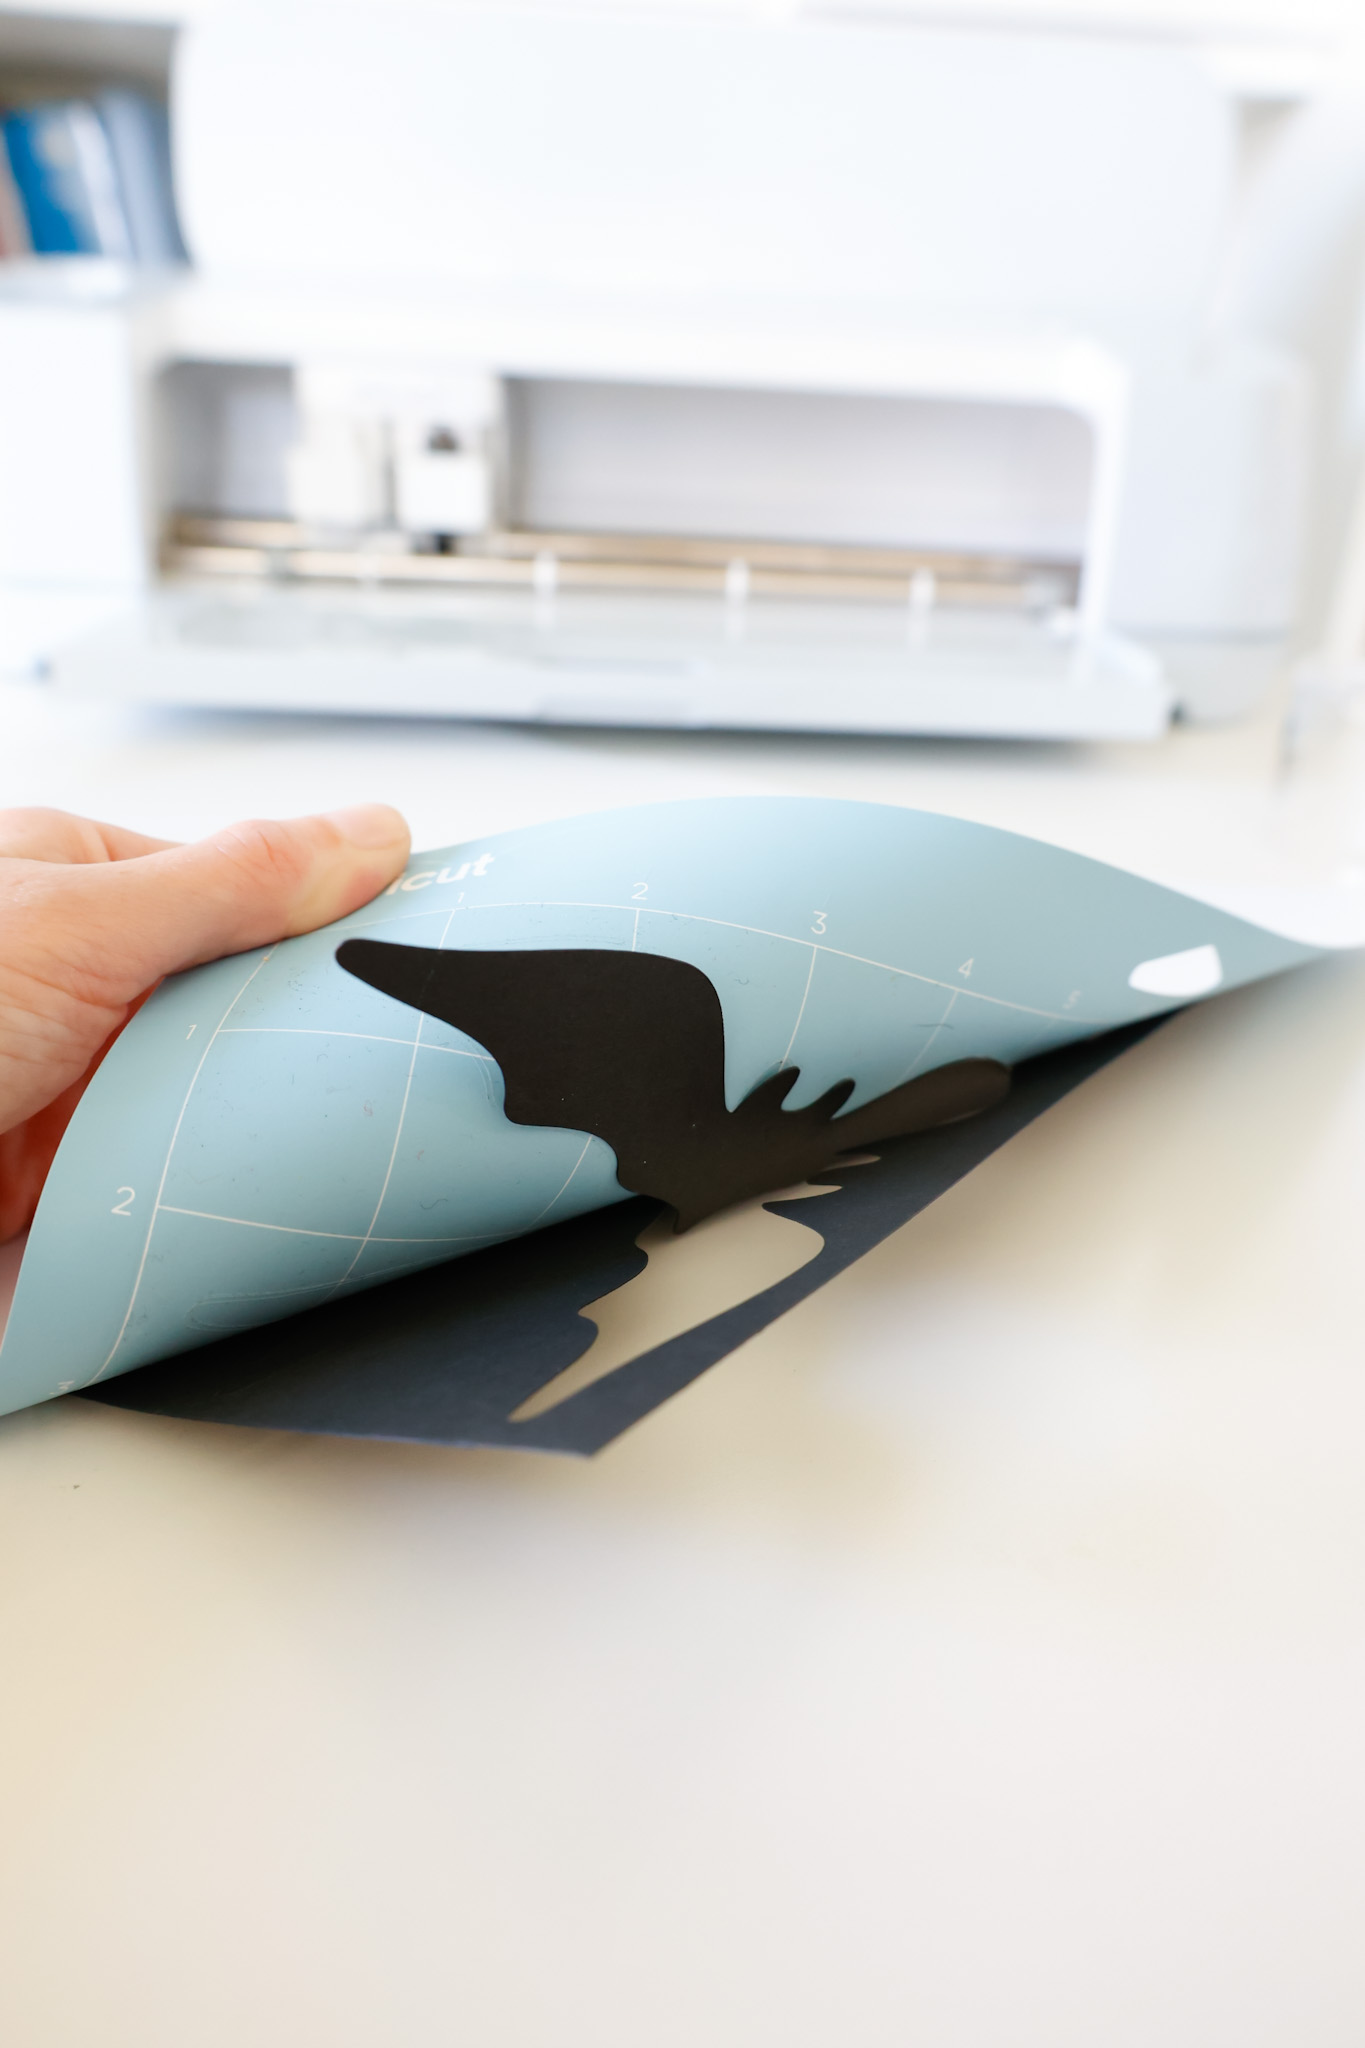
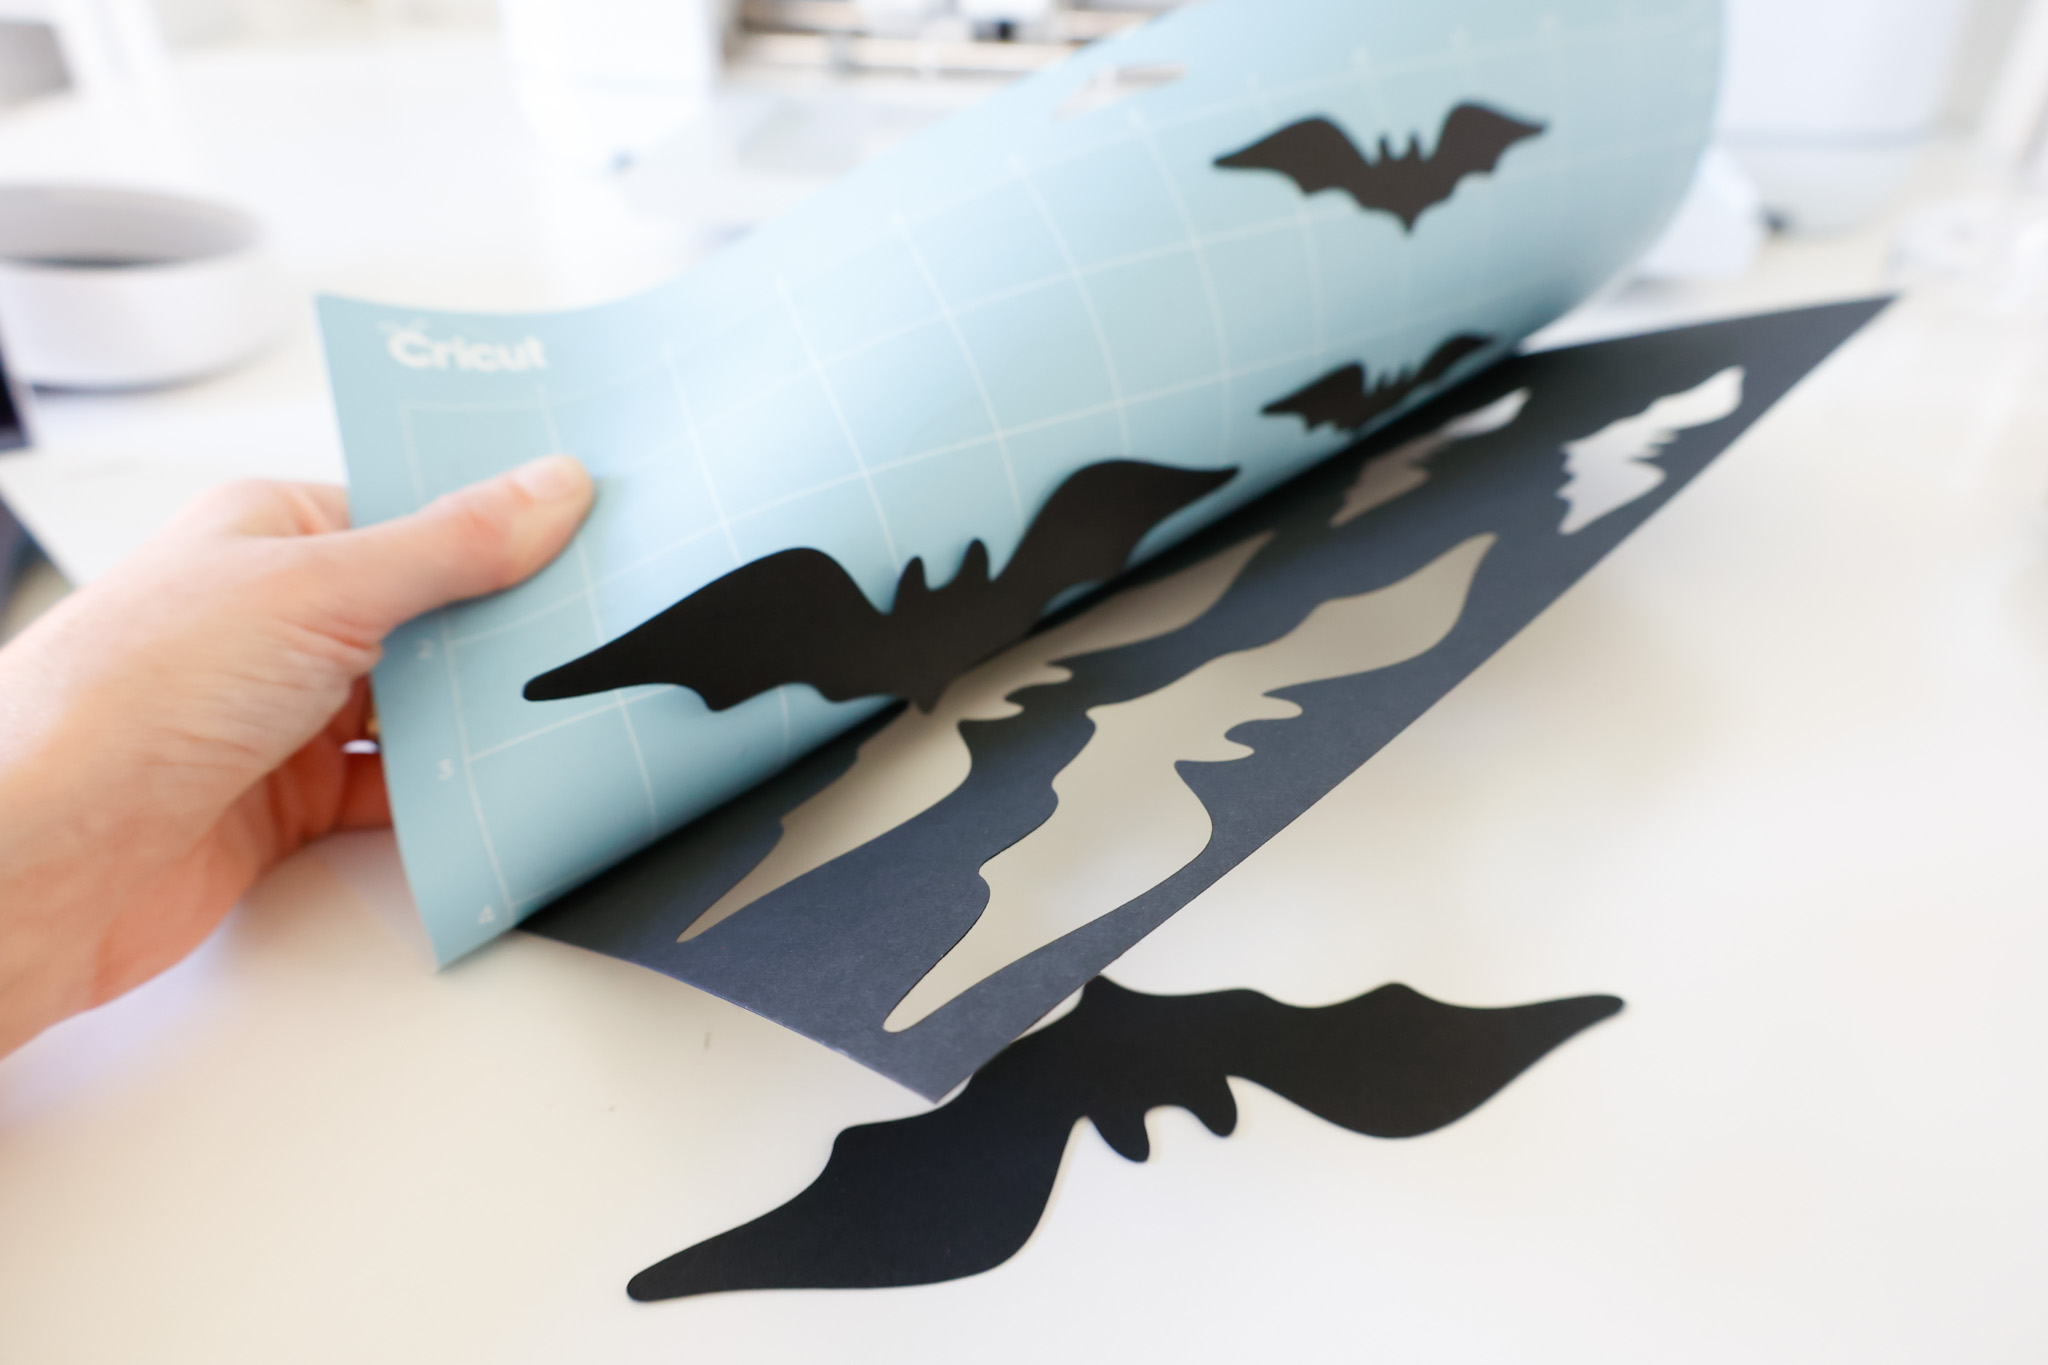
Use small balls of tacky putty to adhere your finished paper bats to the surface you want.
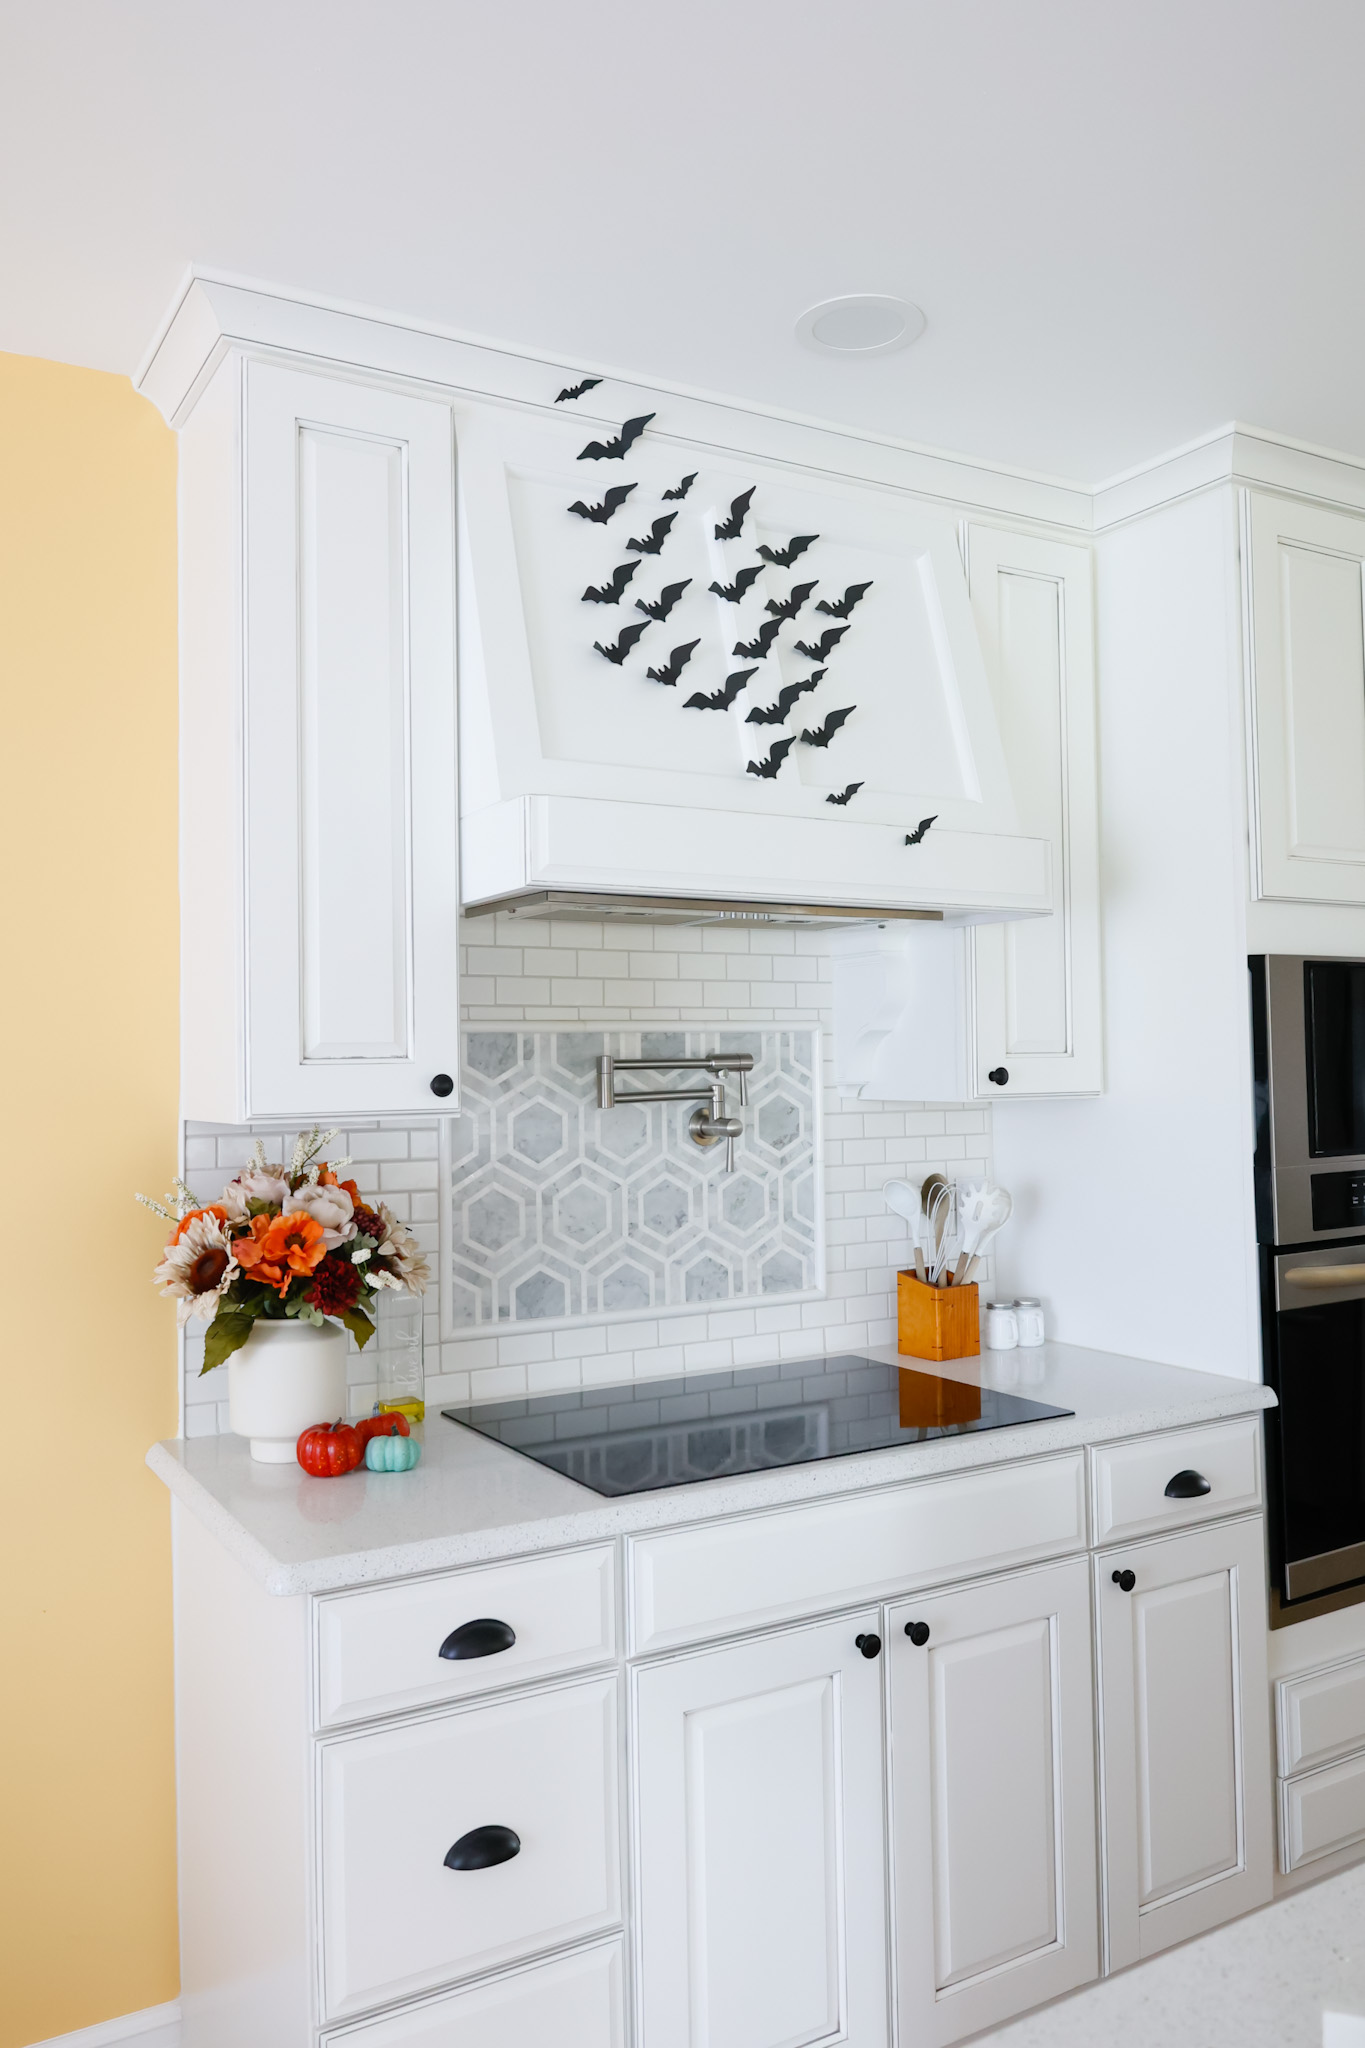
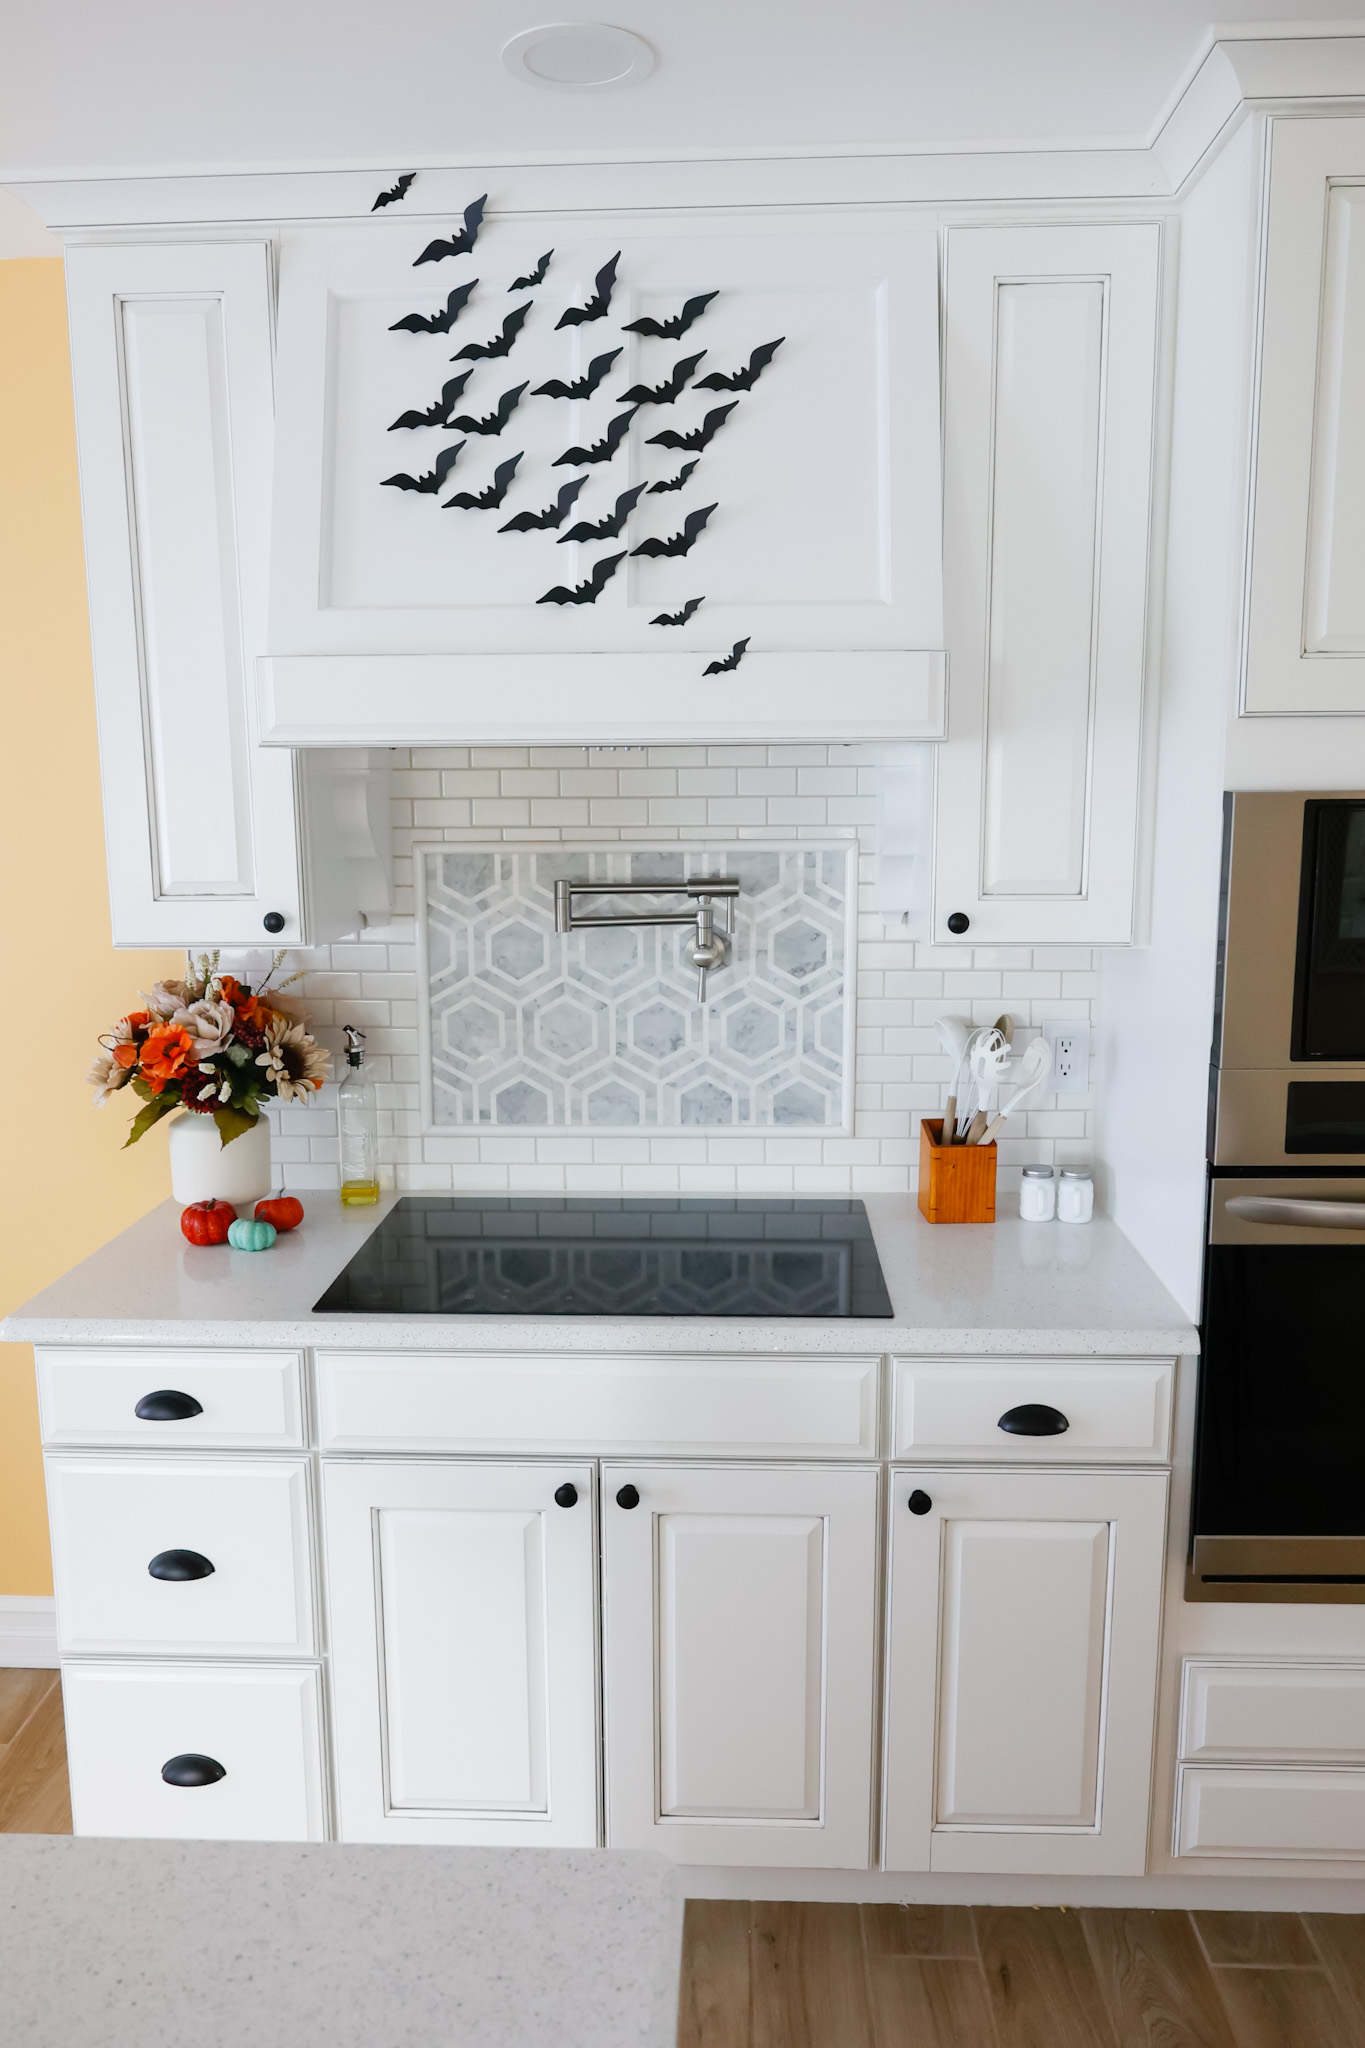
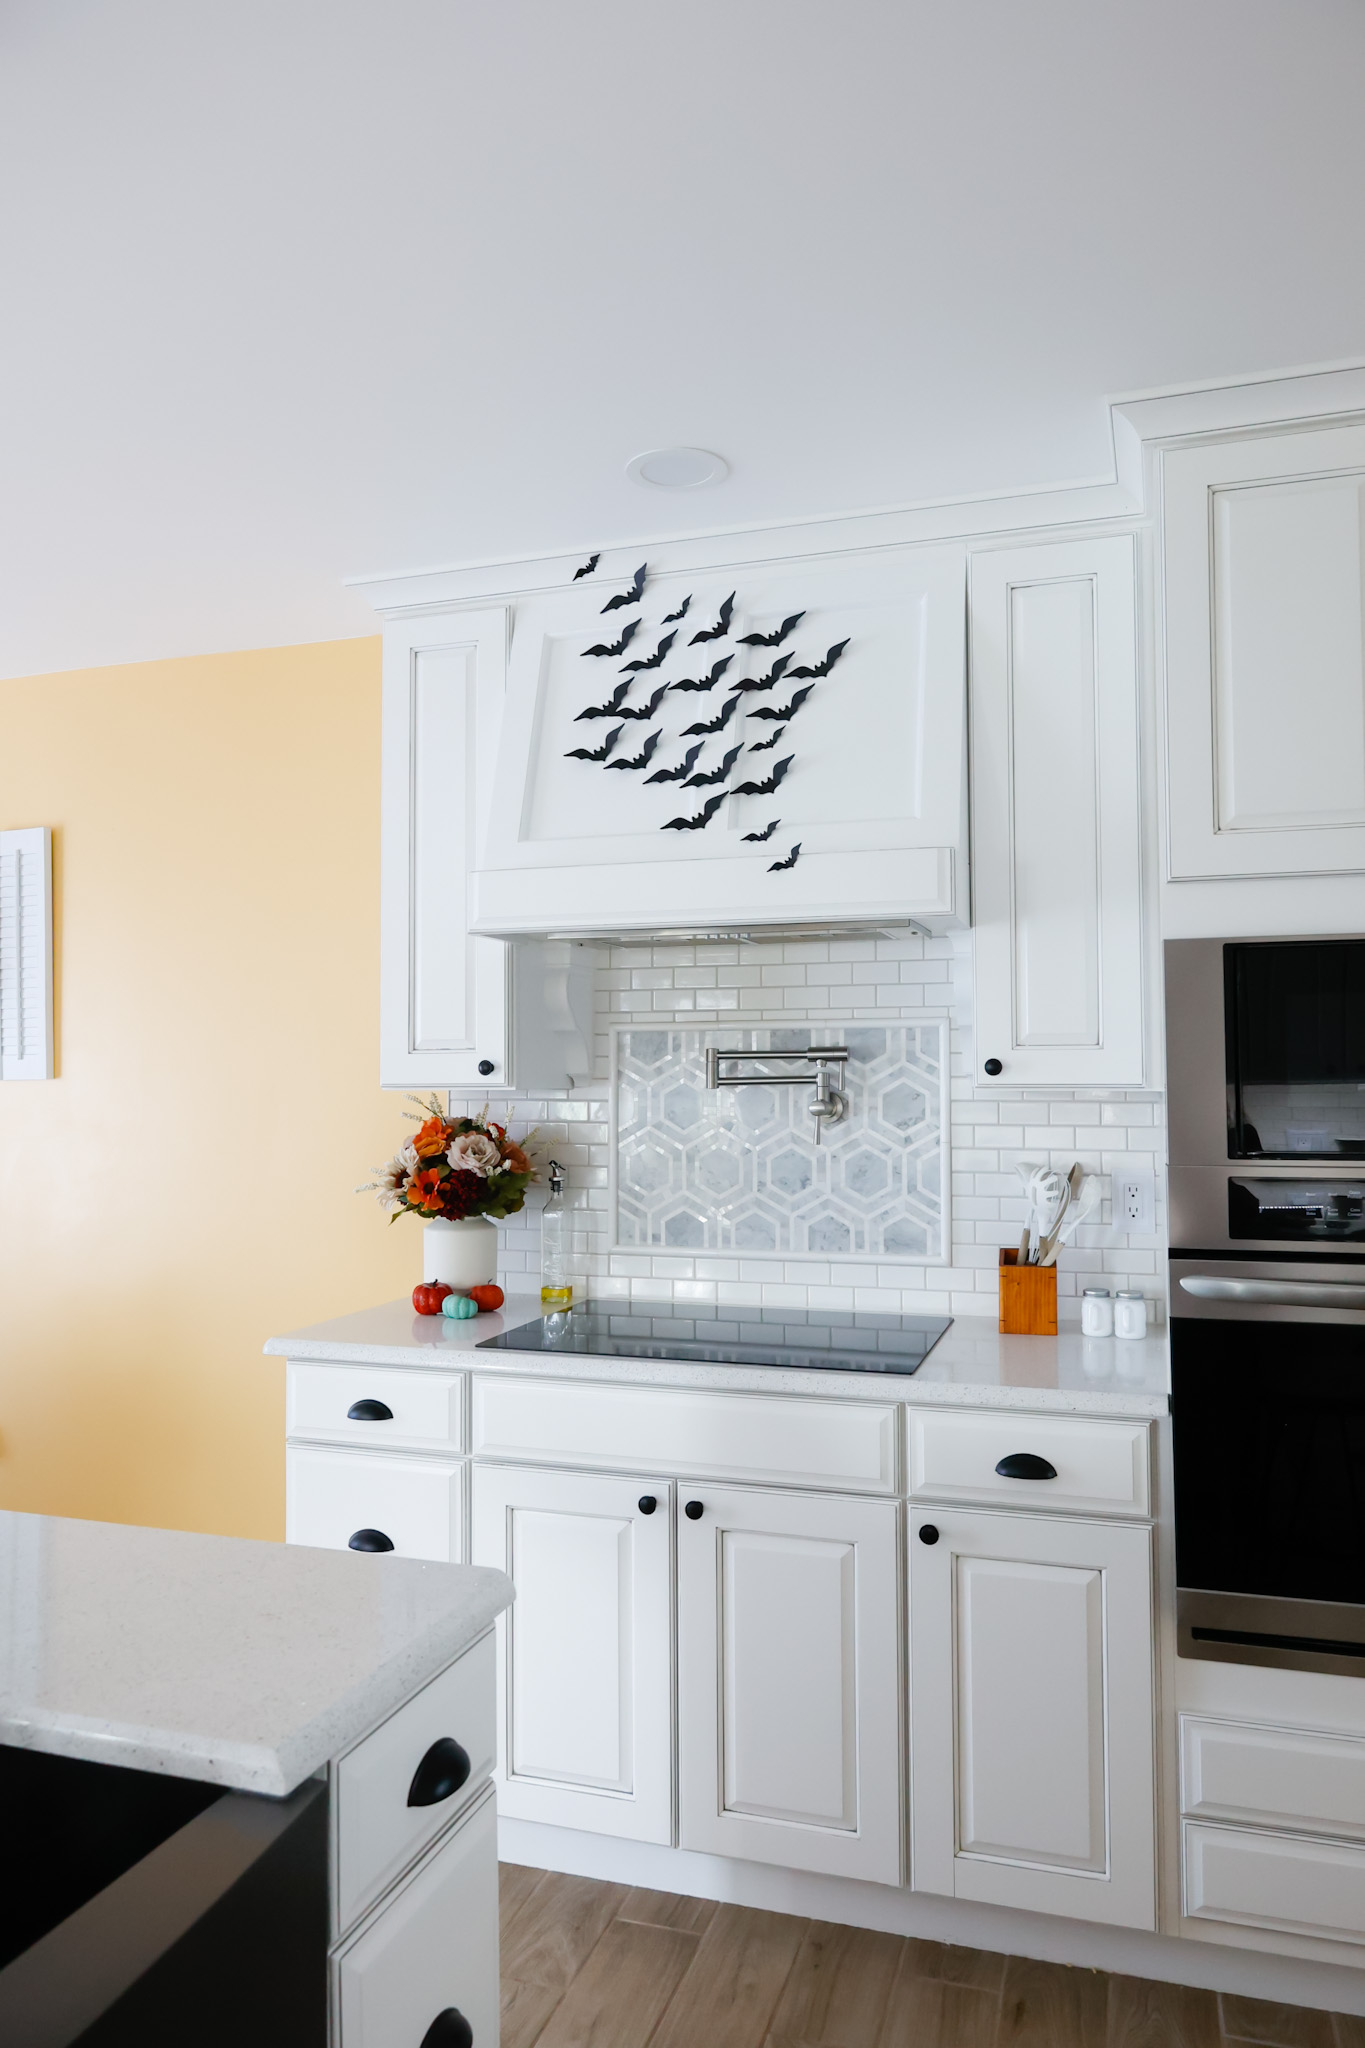
This can be your fireplace, coffee bar, front door or porch, or even your range hood!
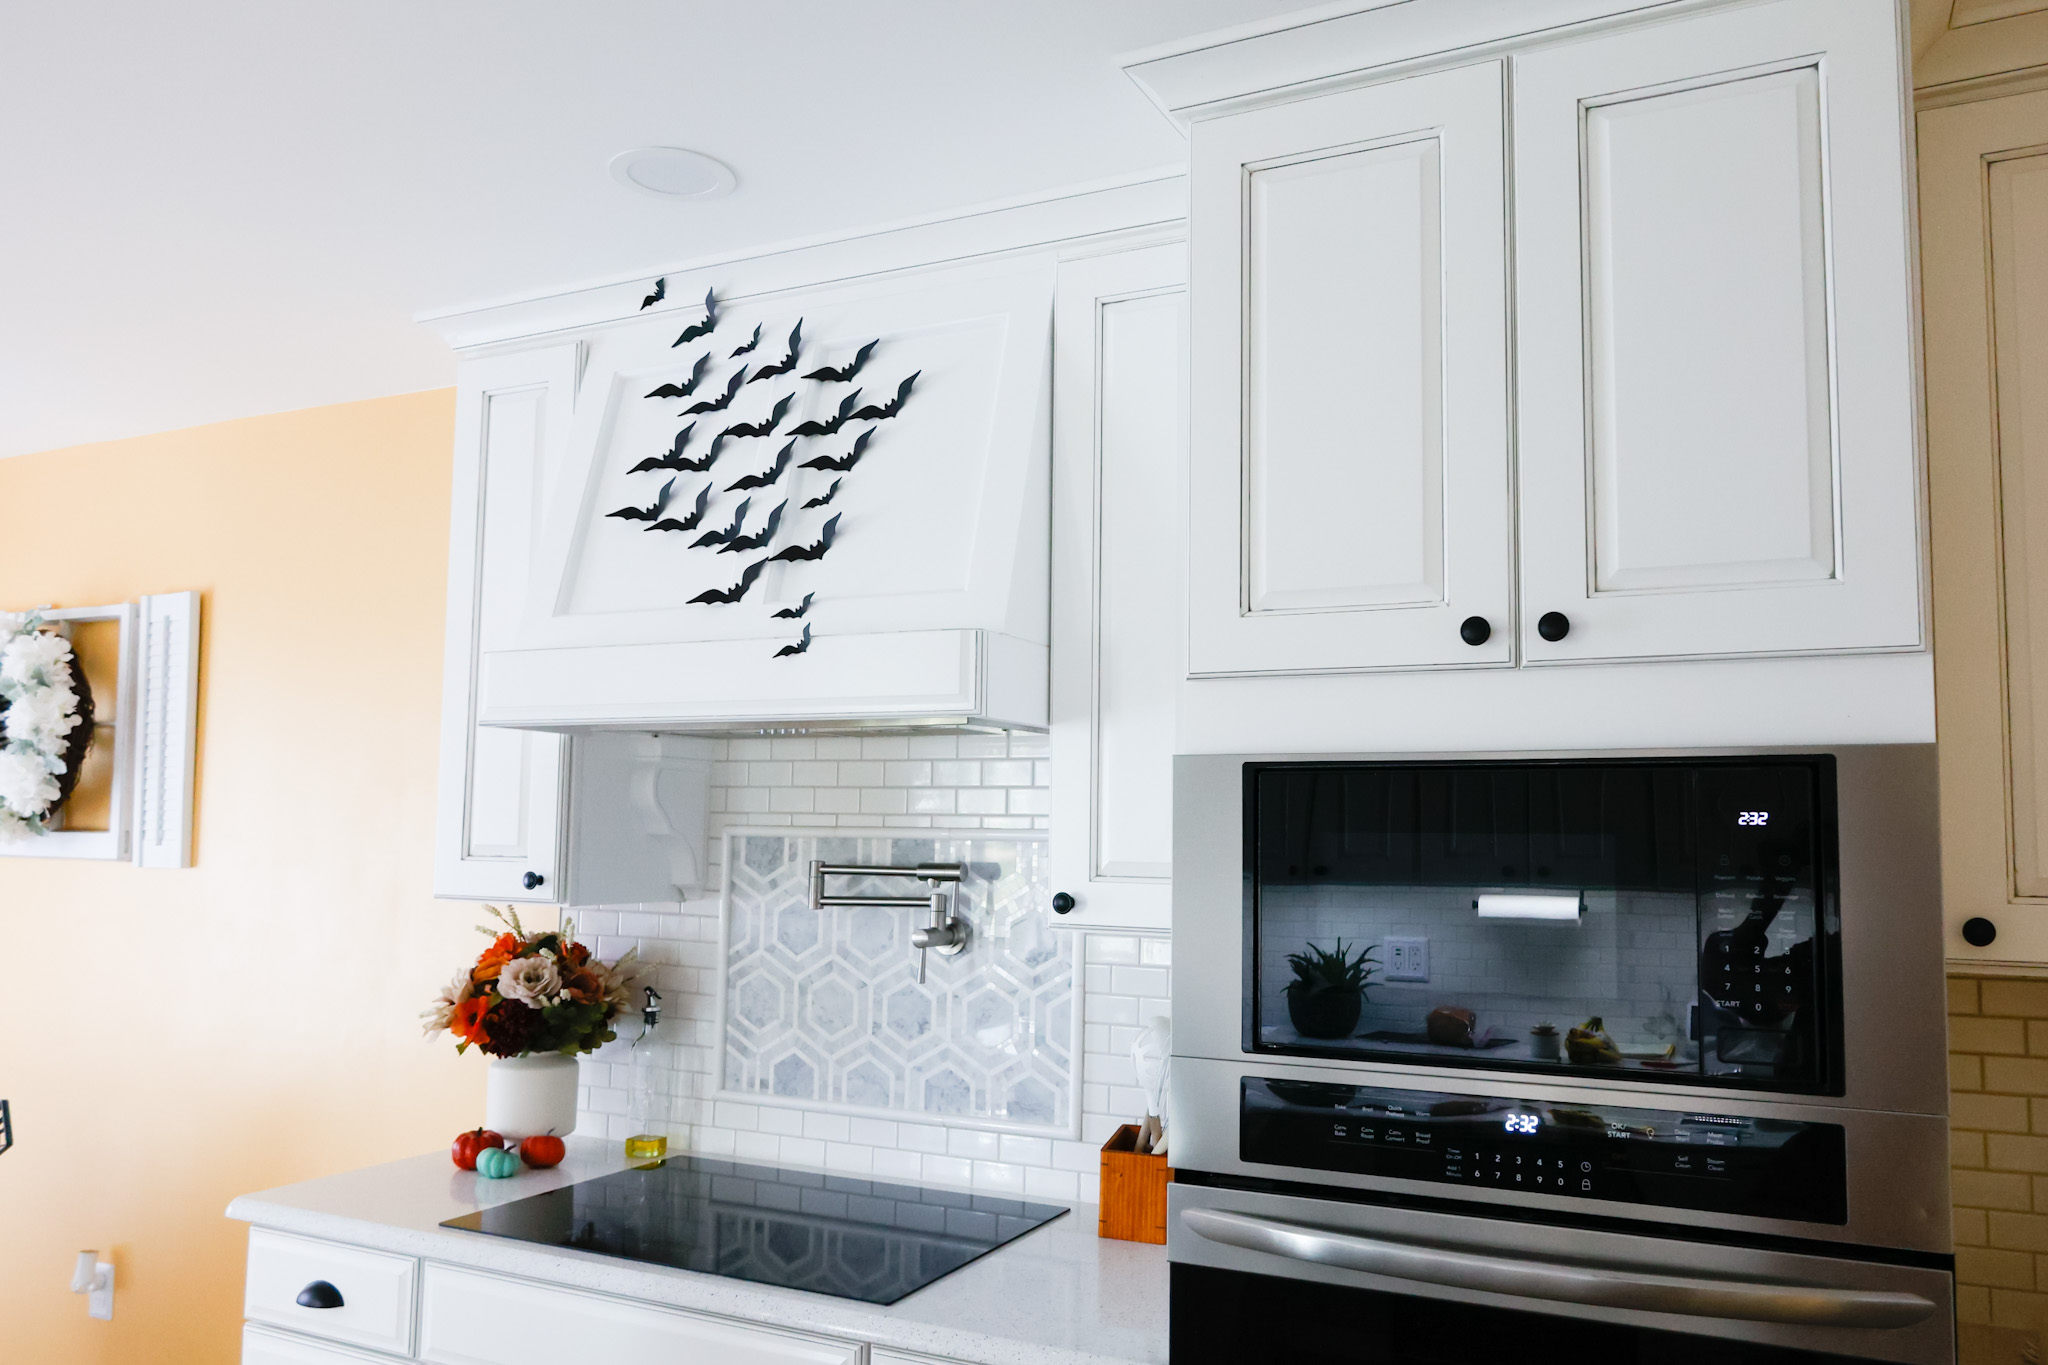
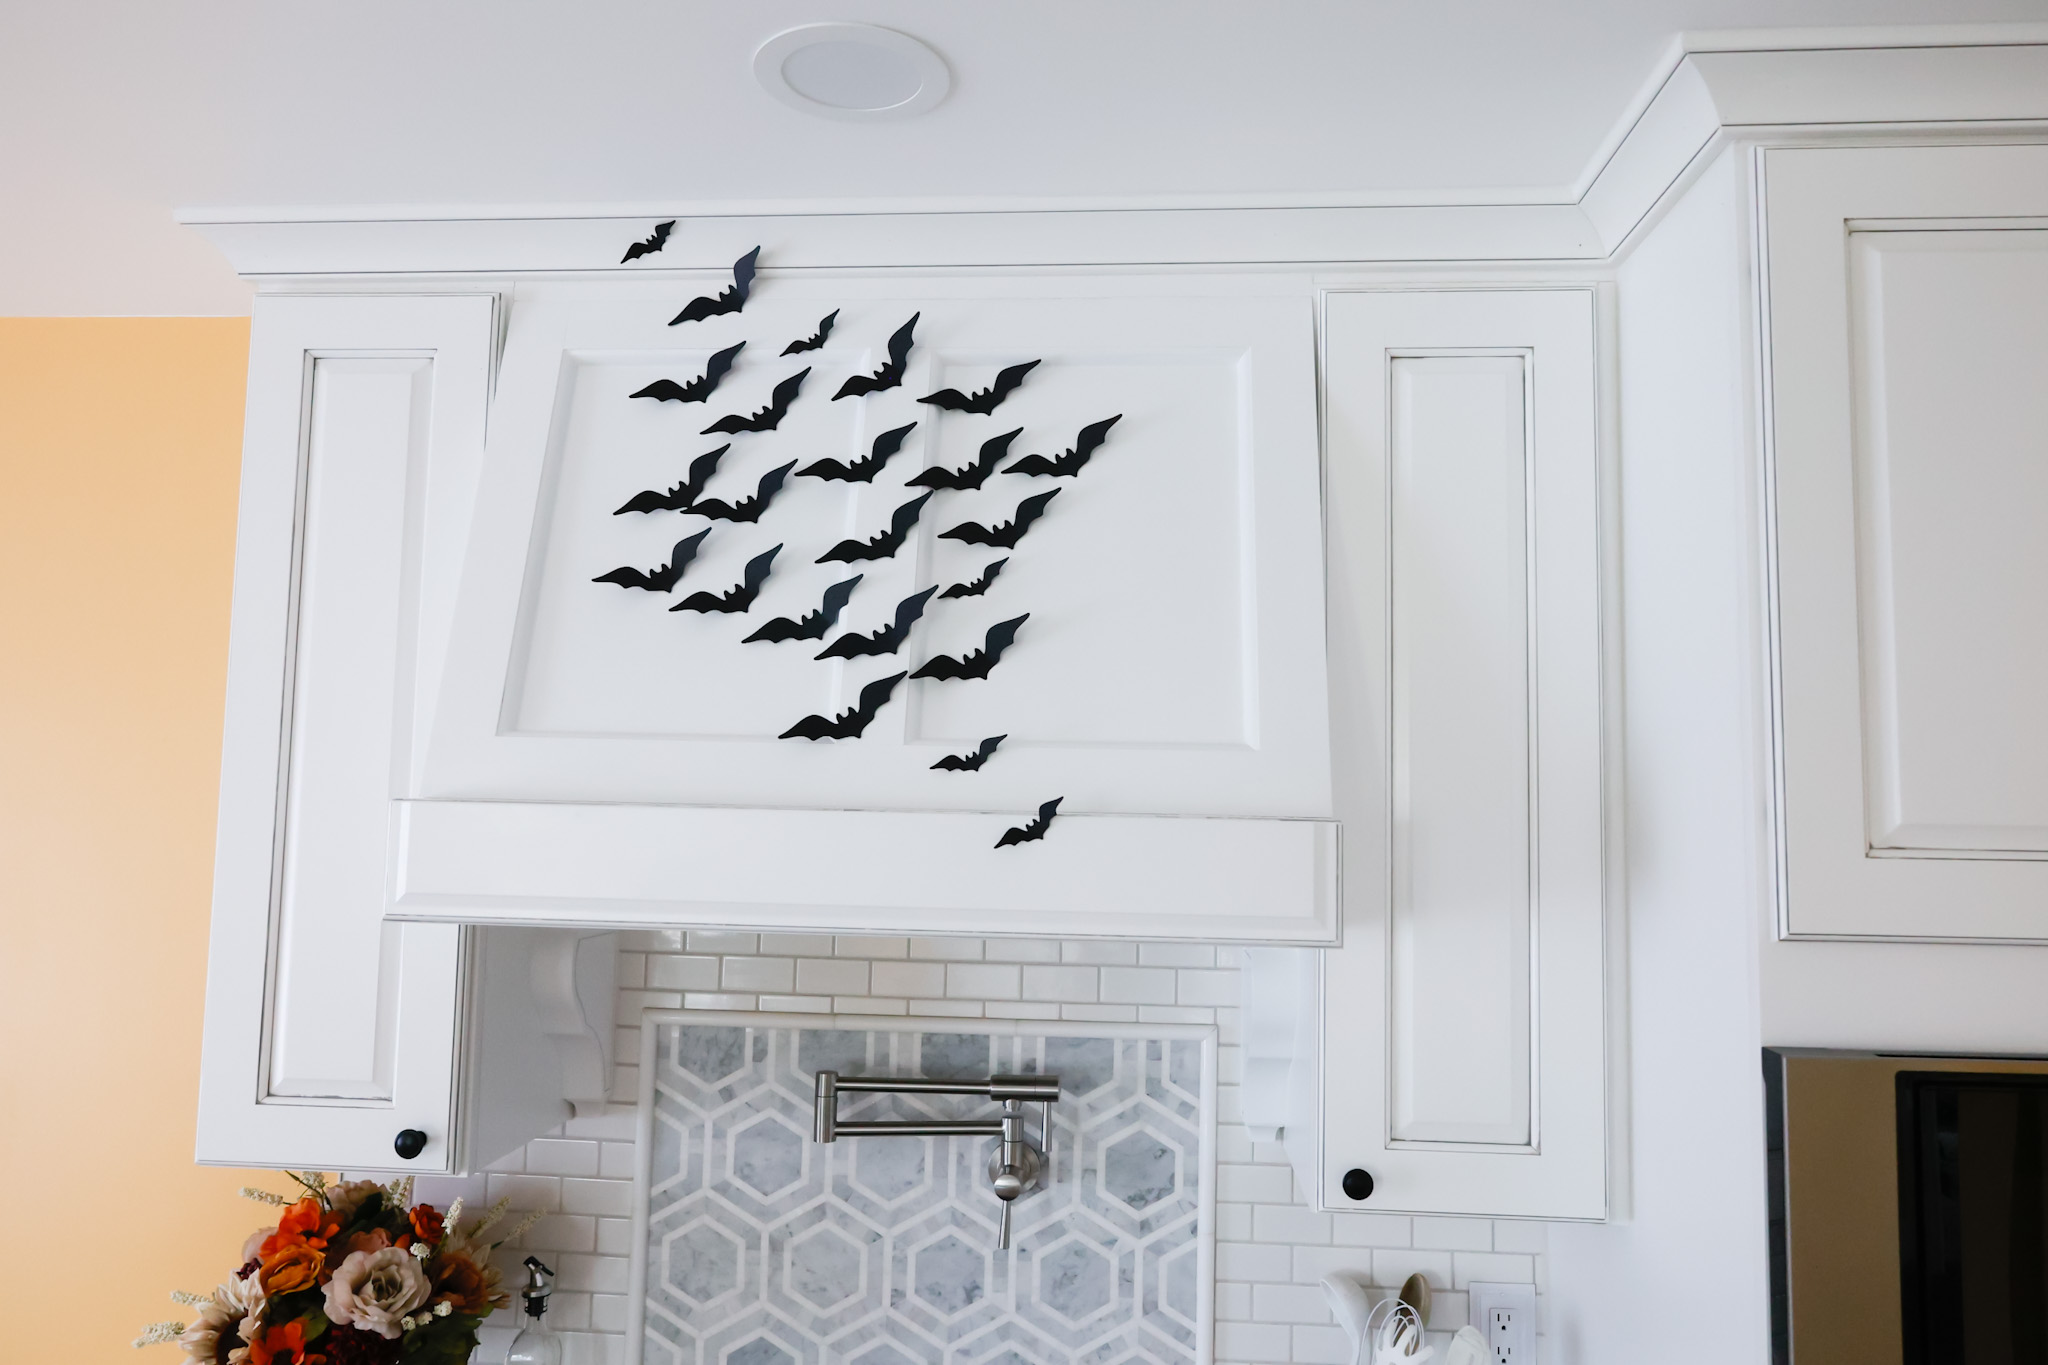
I love the way mine turned out – and I was done in a matter of minutes!
If you enjoyed this post, be sure to check out these other posts:
DIY Halloween Sign – An Easy Cricut Tutorial
DIY Felt Dolls with the Maker 3
Over 50+ Cute Halloween Treats
Have you tried making these easy Halloween bats? Tag me on social media (@slayathomemother) – I’d love to see yours!
Post originally published September 2021, last updated August 2025.
Leave a Reply