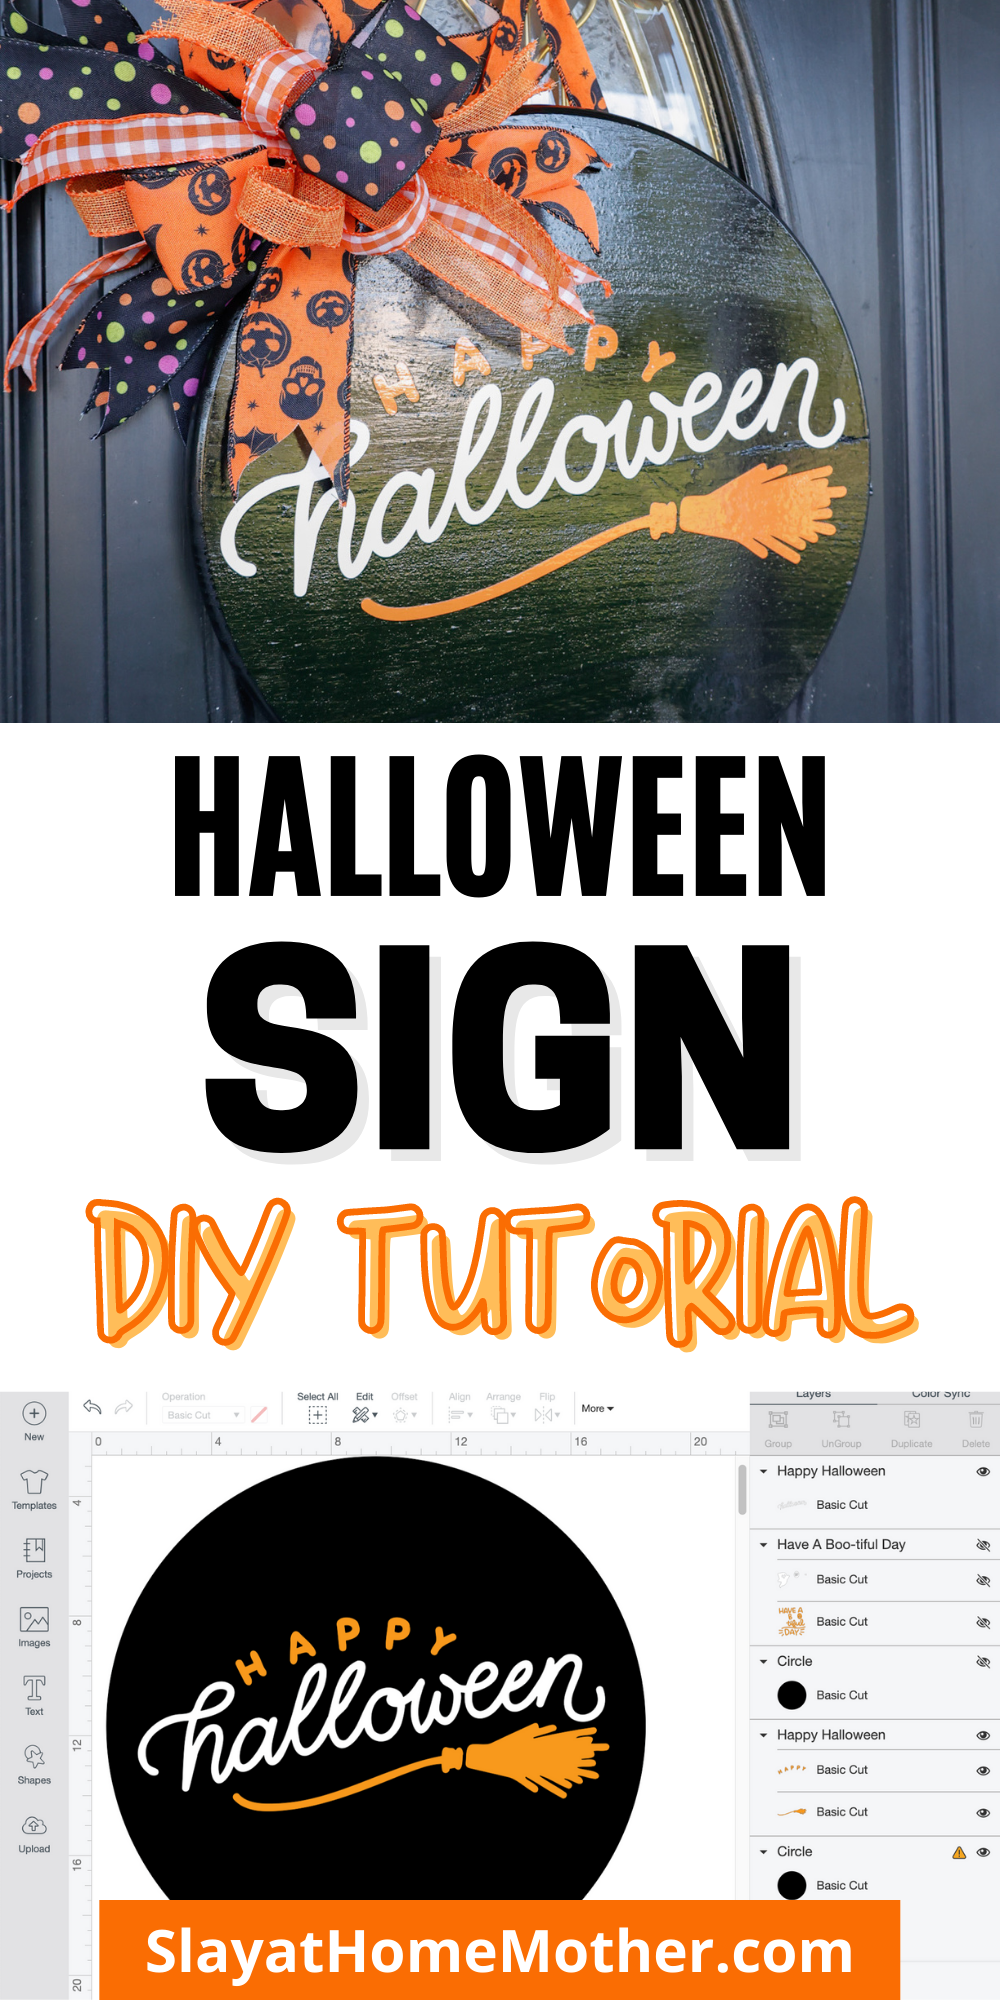
An Easy DIY Cricut Tutorial: Make your own DIY Halloween Sign…
Hi friends!
In today’s post, I’ll be sharing my latest crafting project with you – a wood sign!
I love making signs – it’s always a great way to get creative and make something I know no one else on the block has ;).
I’ll be sharing with you step-by-step how I made this Halloween sign, and how you can make one, too!
Feel free to use this tutorial to make and sell wood signs, but please credit the original tutorial.
*This post contains affiliate links, however, all opinions are my own, as always.
What You’ll Need To Make This DIY Halloween Sign
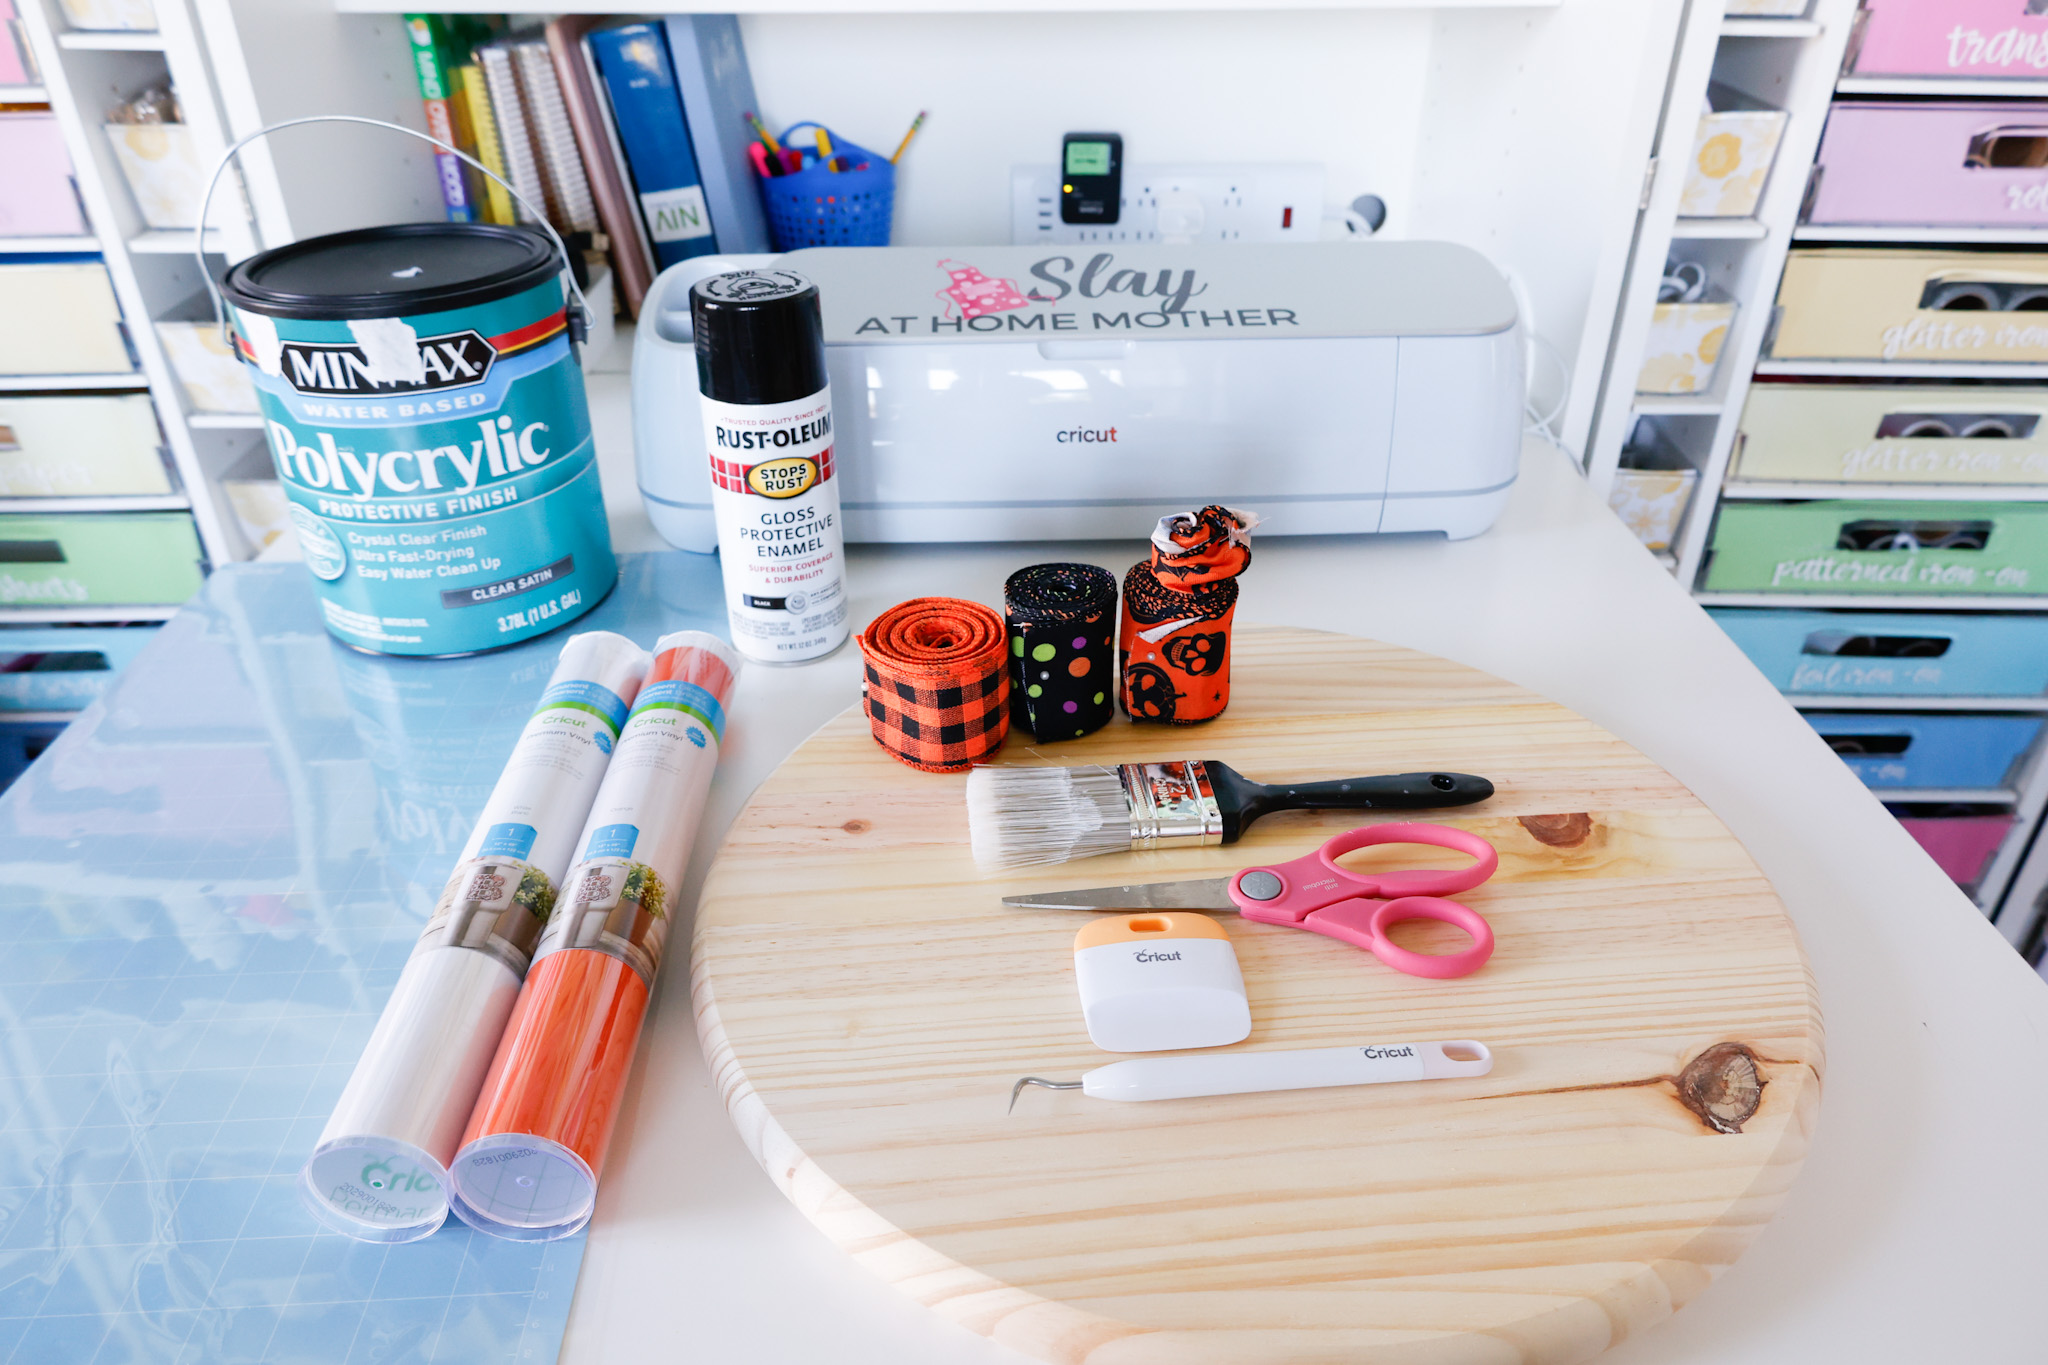
- Cricut machine (I’m using the new Maker 3, but this project is also compatible with the Explore Air 2 or 3, or original Maker)
- fine-point blade
- LightGrip mat (light blue) in 24″ size
- Permanent Vinyl in the colors of your choice
- Paint (either spray paint or regular paint)
- 18″ wood round
- Cricut weeder and scraper
- transfer tape
- scissors
- paintbrushes
- Halloween-themed ribbon (optional)
- polycrylic (optional – great for weatherproofing if the sign will live outdoors, and also a nice touch if you’re looking to sell these)
- staple gun (optional)
- zip tie (optional)
How To Make This DIY Halloween Sign
Designing Your Sign Decal
First, I designed my Halloween sign decal.
I messed around with one of the existing Cricut Access designs available to make it two colors vs. the original one color.
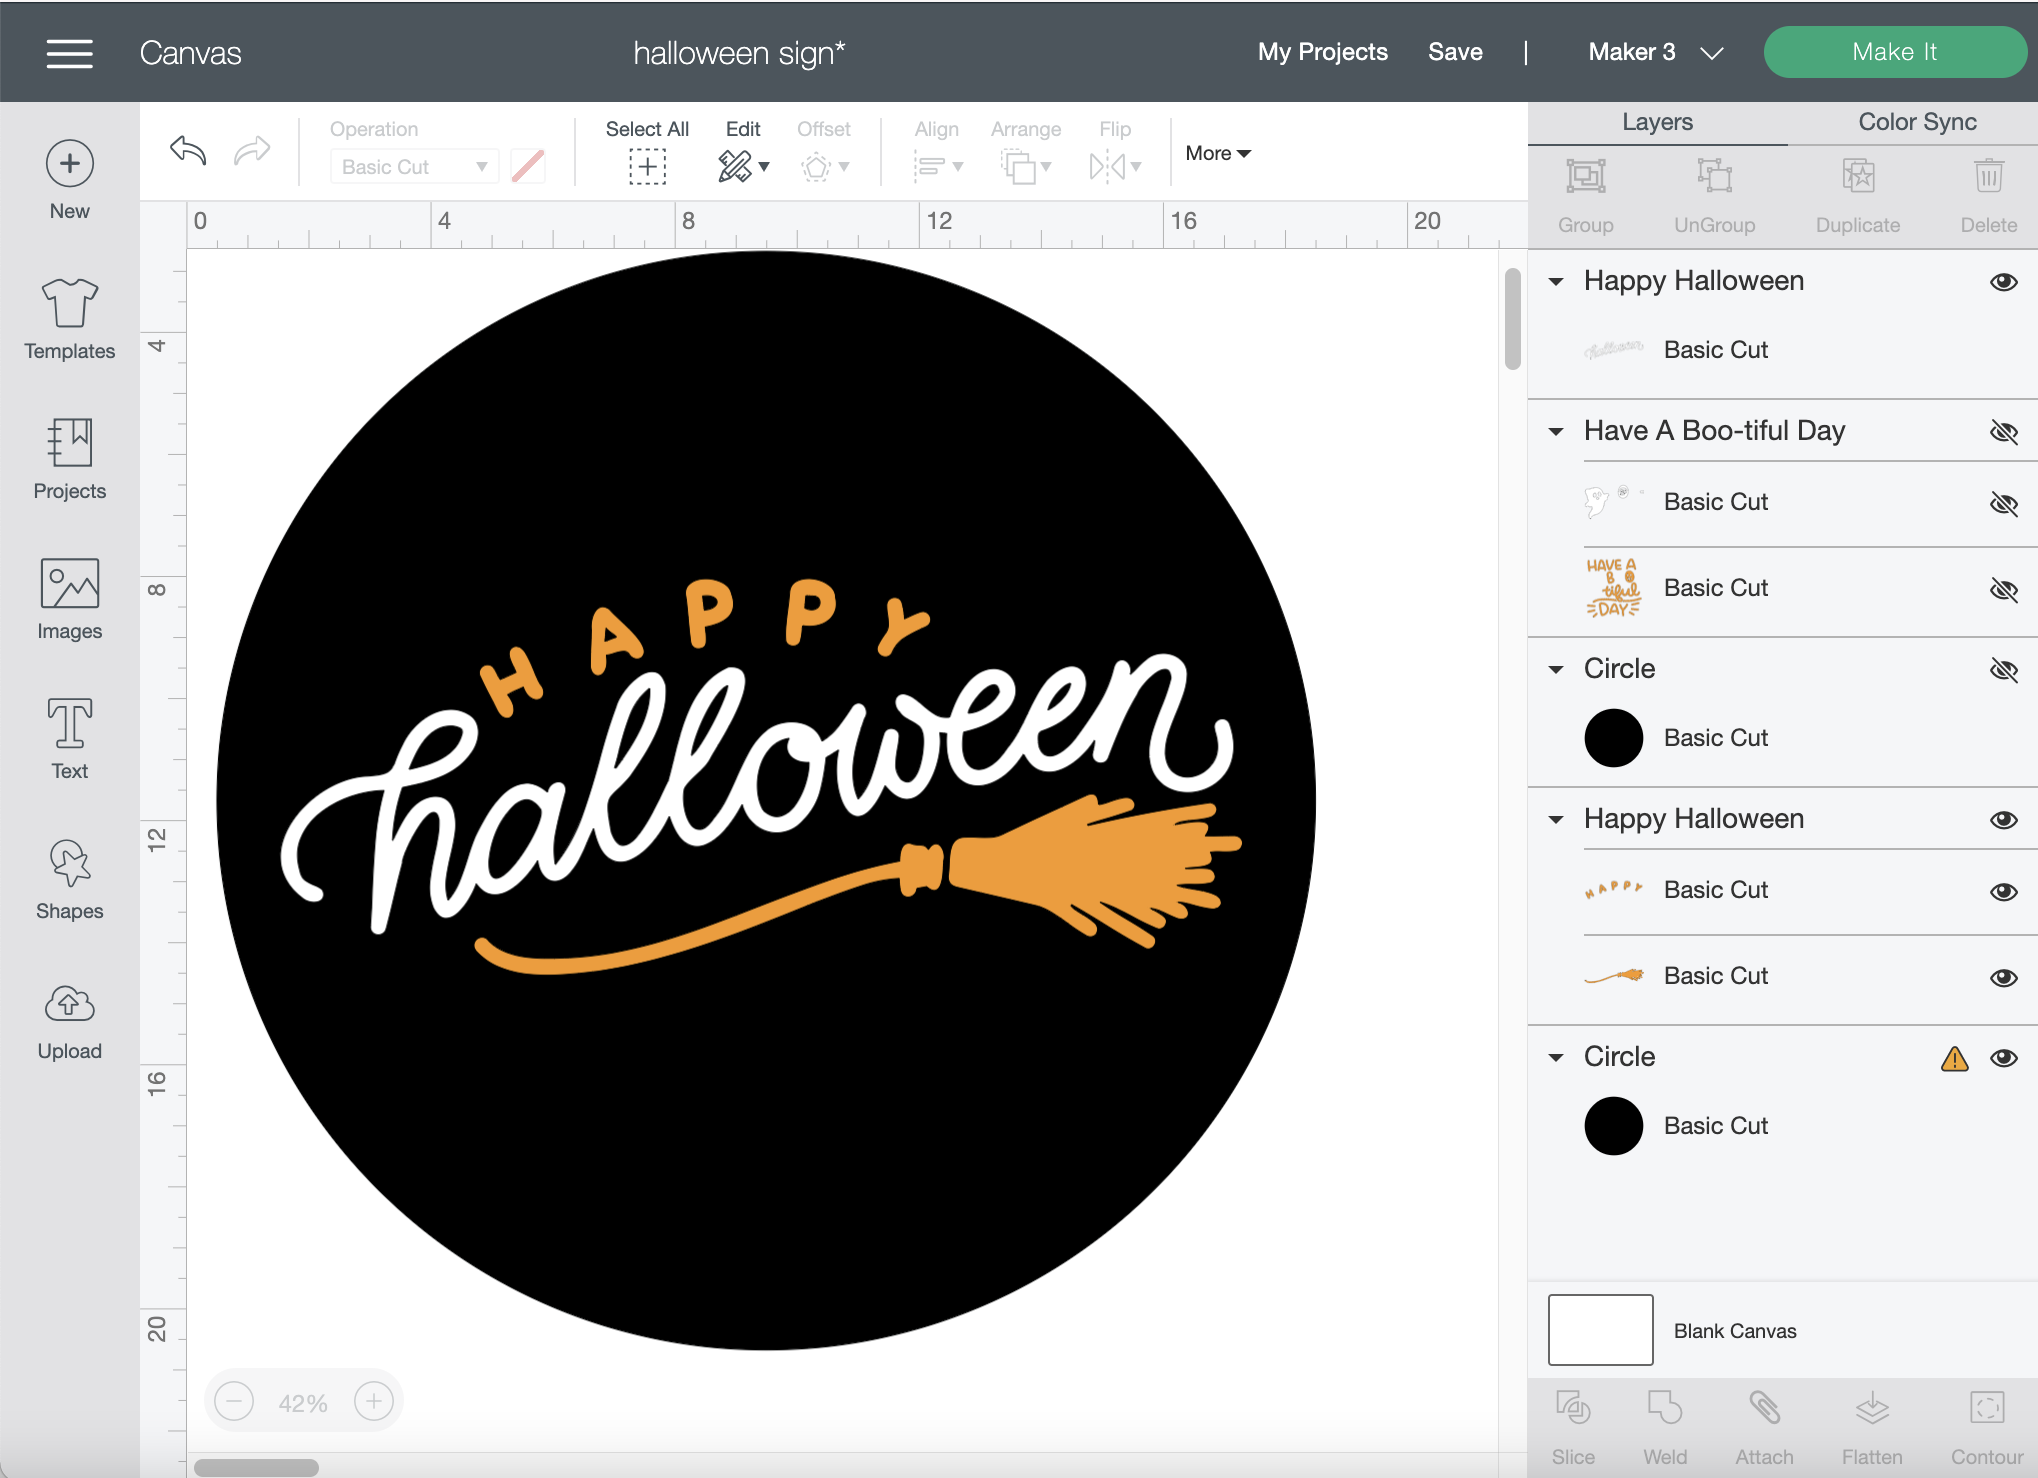
To do this, I simply sized it to the size I wanted it to be, duplicated it, and clicked on Contour.
I used #M2C791F9A from the Erin Wilson – Halloween image set.
Within the Contour pop-up window, I could select and deselect which elements of the design I wanted to appear or disappear.
P.S. When there are multiple elements within an image in Design Space, the Contour button may not always look readily clickable or accessible. You need to click on an individual element on the right-hand toolbar first (see ‘Happy Halloween’ Basic Cut selection on the right toolbar in screenshot below…)
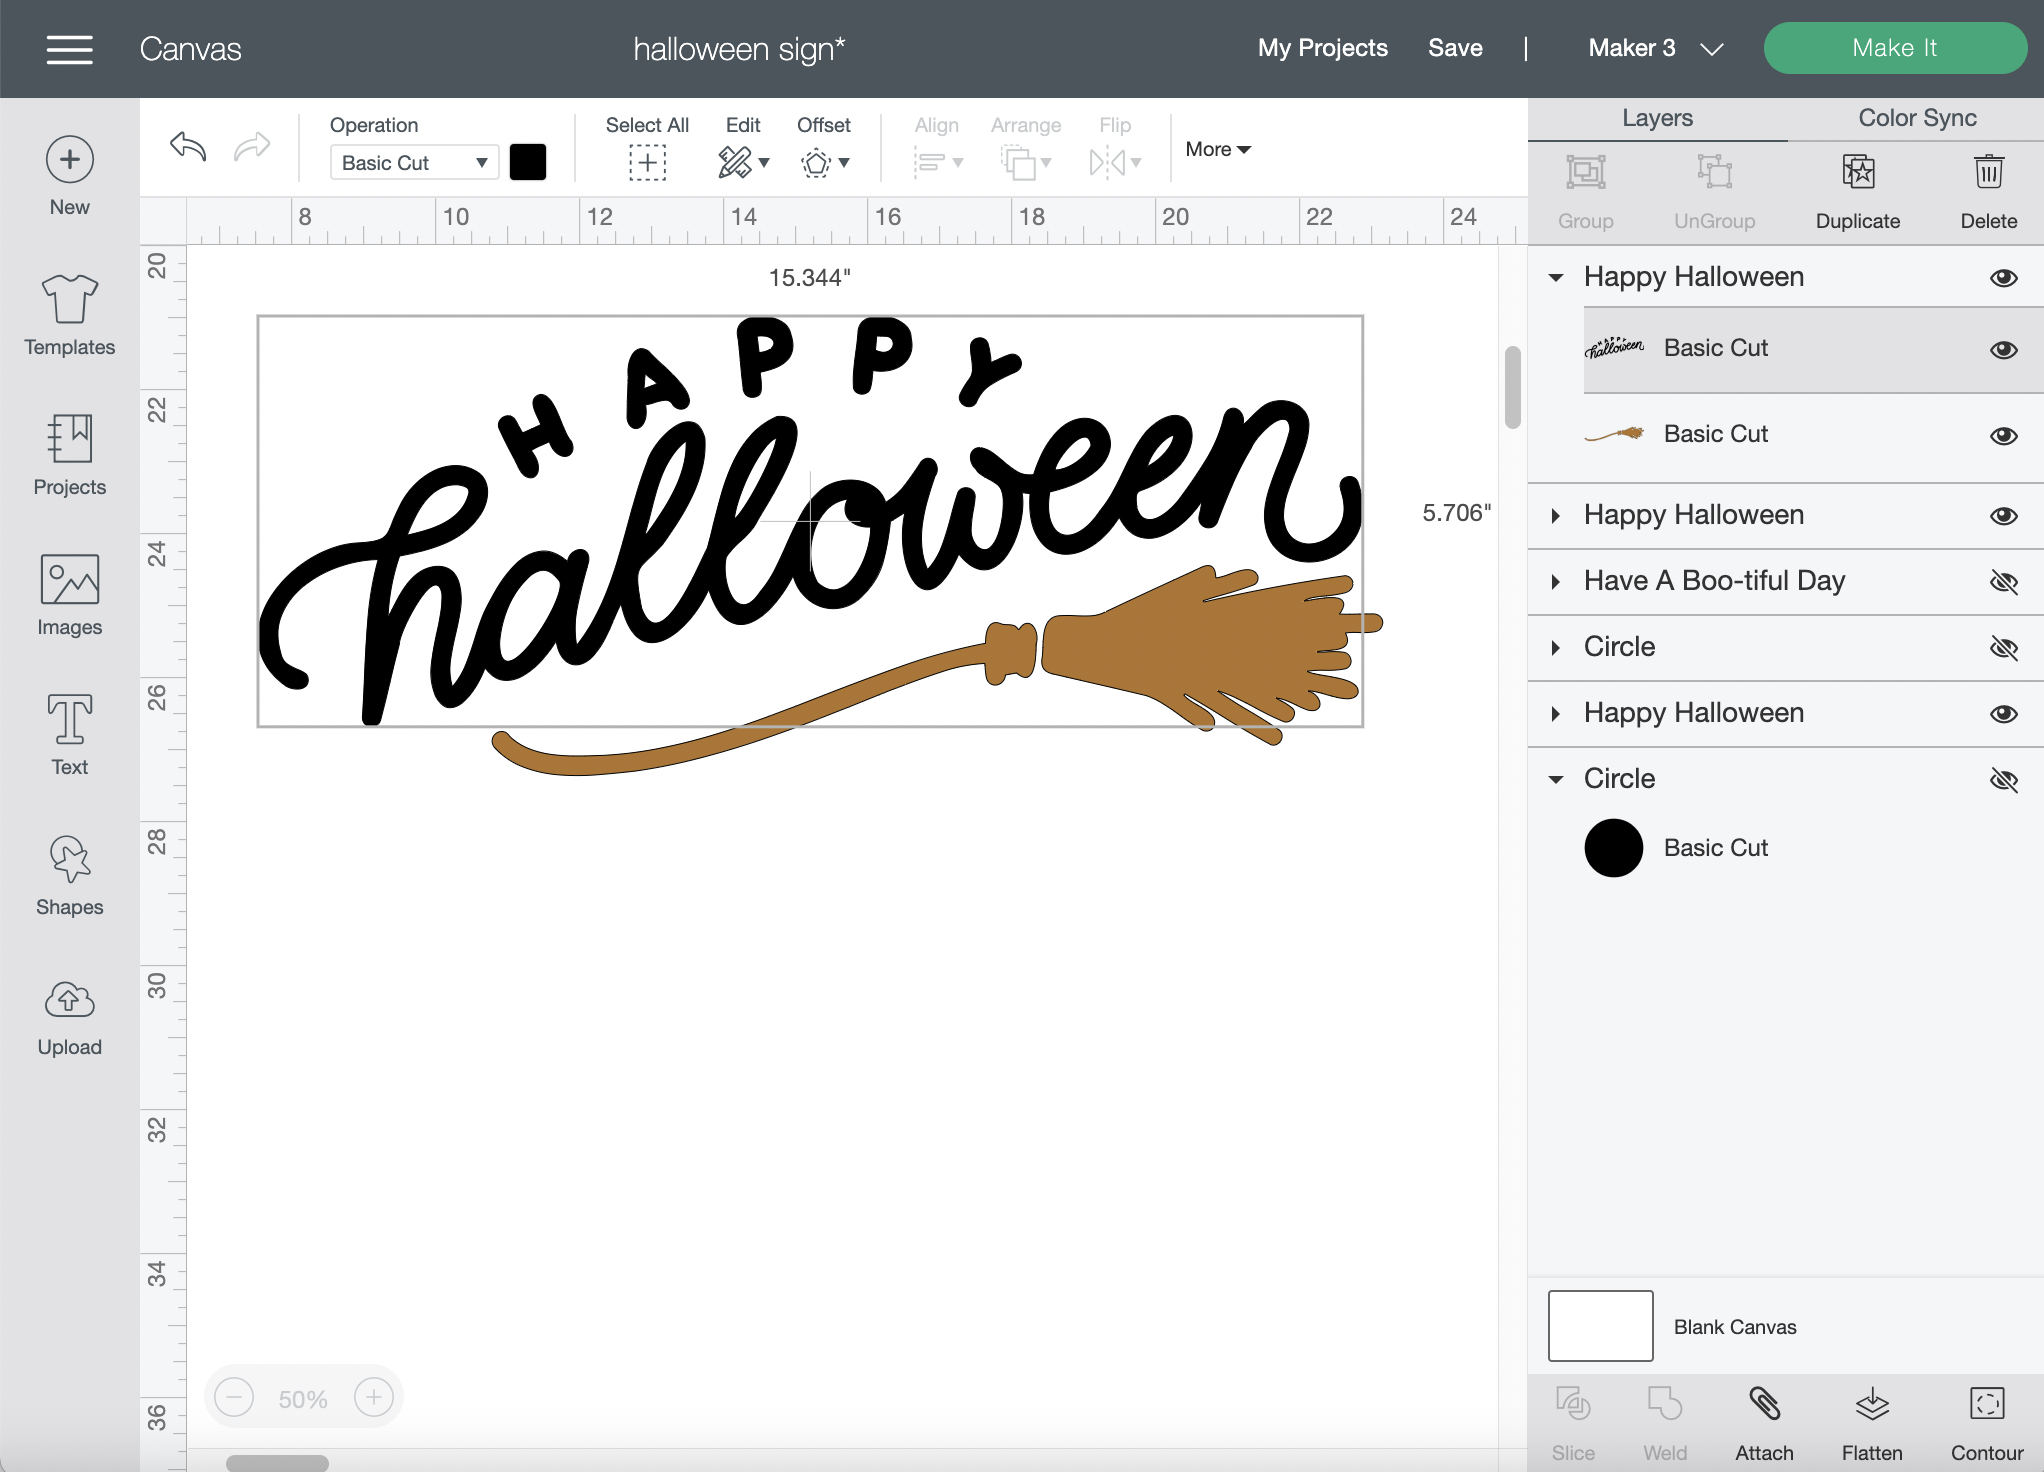
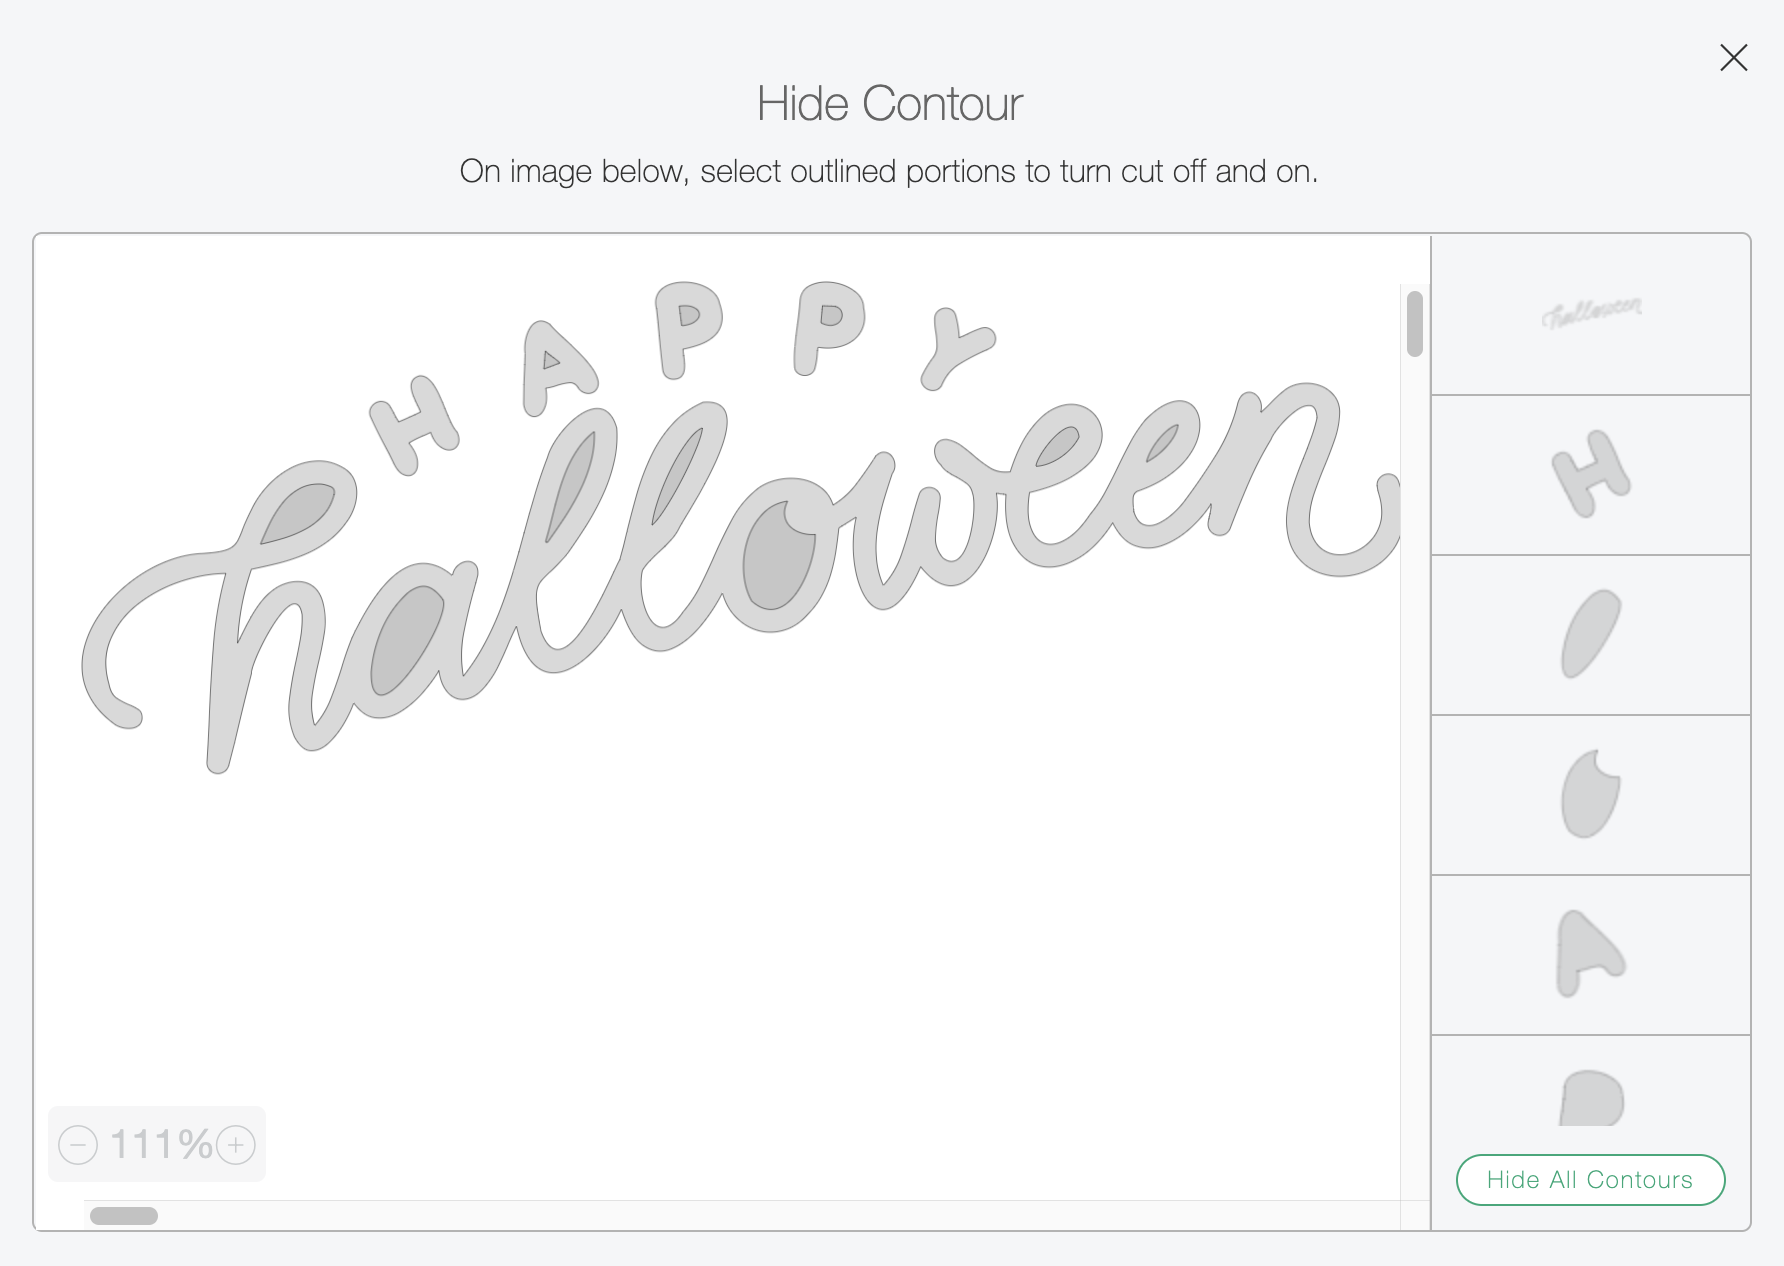
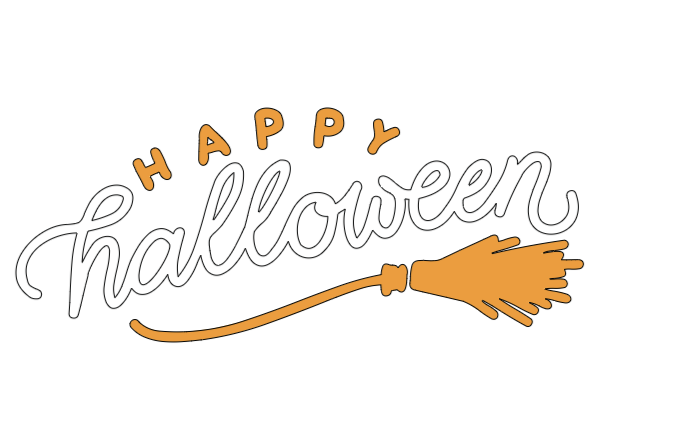
For one of the images, I chose to eliminate the ‘halloween’ word so I could make it a different color (white).
In the other image, I eliminated the ‘happy’ and broom elements so I could make it one color (orange).
Here’s what it looked like when I was done…
I also inserted a circle shape and sized it to match the size of my wood sign (18 inches) so I could see how well my decal would fit. Then, I clicked on the eyeball icon next to the circle to hide it so my machine would know not to cut it.
Painting Your Wood Sign
Next, I painted my wood sign.
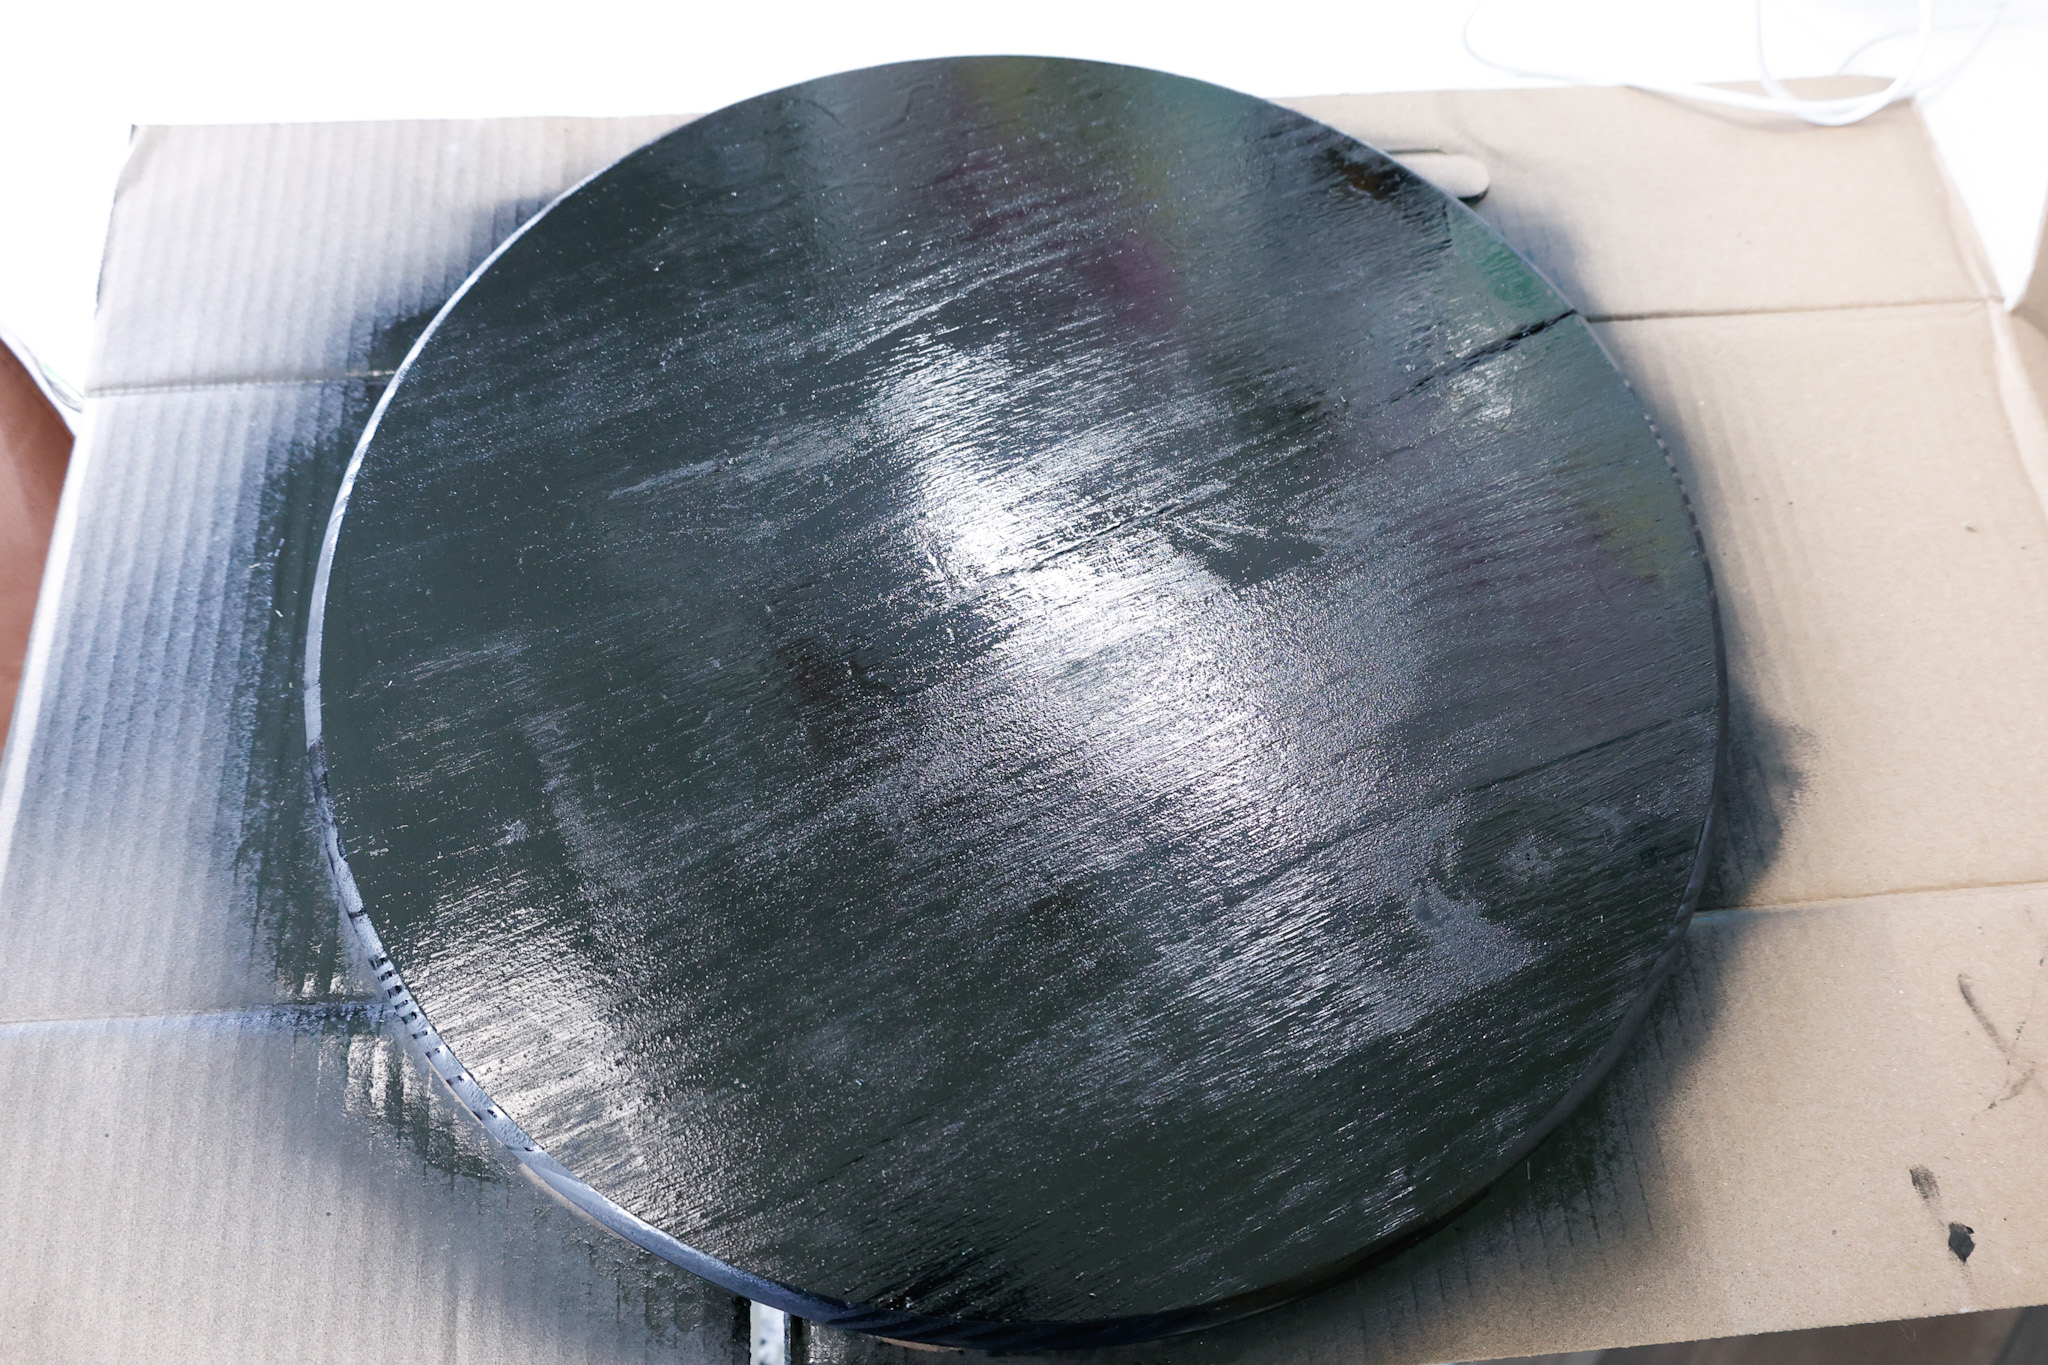
For this project, I decided to try spray paint.
I coated my 18″ wood sign in black spray paint outside on a cardboard box in our driveway and allowed it to dry for about 3-5 hours.
I didn’t keep a watch handy so I can’t tell you exactly how long it took to dry, but I did go out and check on it from time to time.
I was pretty satisfied with the paint job accomplished with the spray paint.
Here’s the exact color and type I used for this project.
Cutting Your Cricut Decals With Your Maker
While my sign was drying, I began cutting my decals with my Cricut machine.
Because my design was over 11.5″ inches, I needed to use the 24″ LightGrip mat.
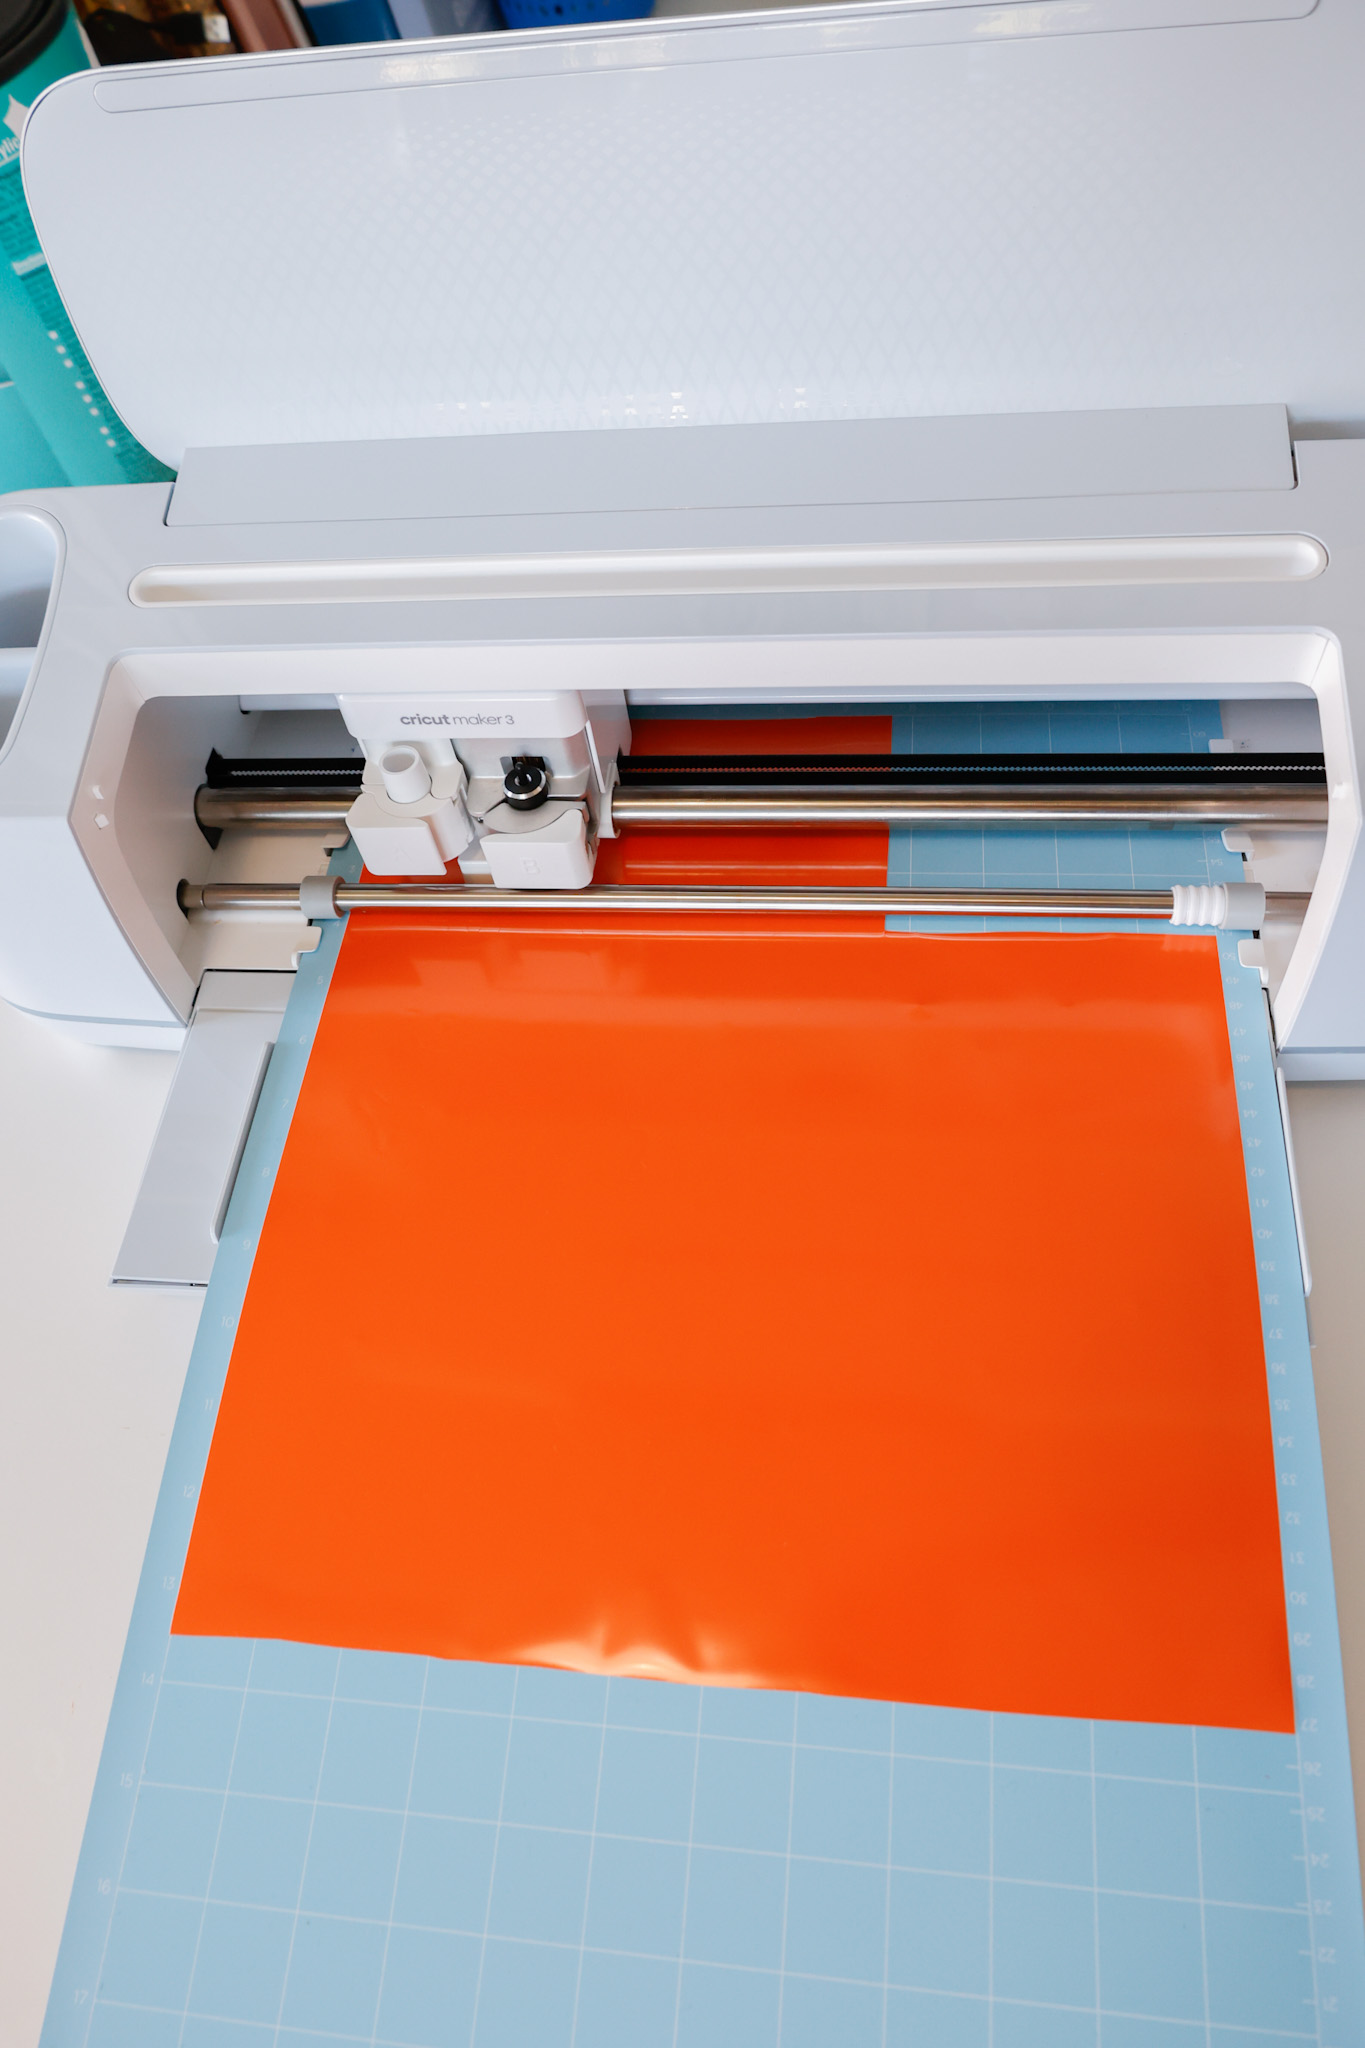
P.S. I misplaced my fine-point blade for this project, but the deep-point blade worked fine!
I weeded out the negative space in my design, staged them together, and taped them together so they wouldn’t move.
I gently laid a piece of transfer tape over the entire design, starting in the center, and smoothing the tape out to each side.
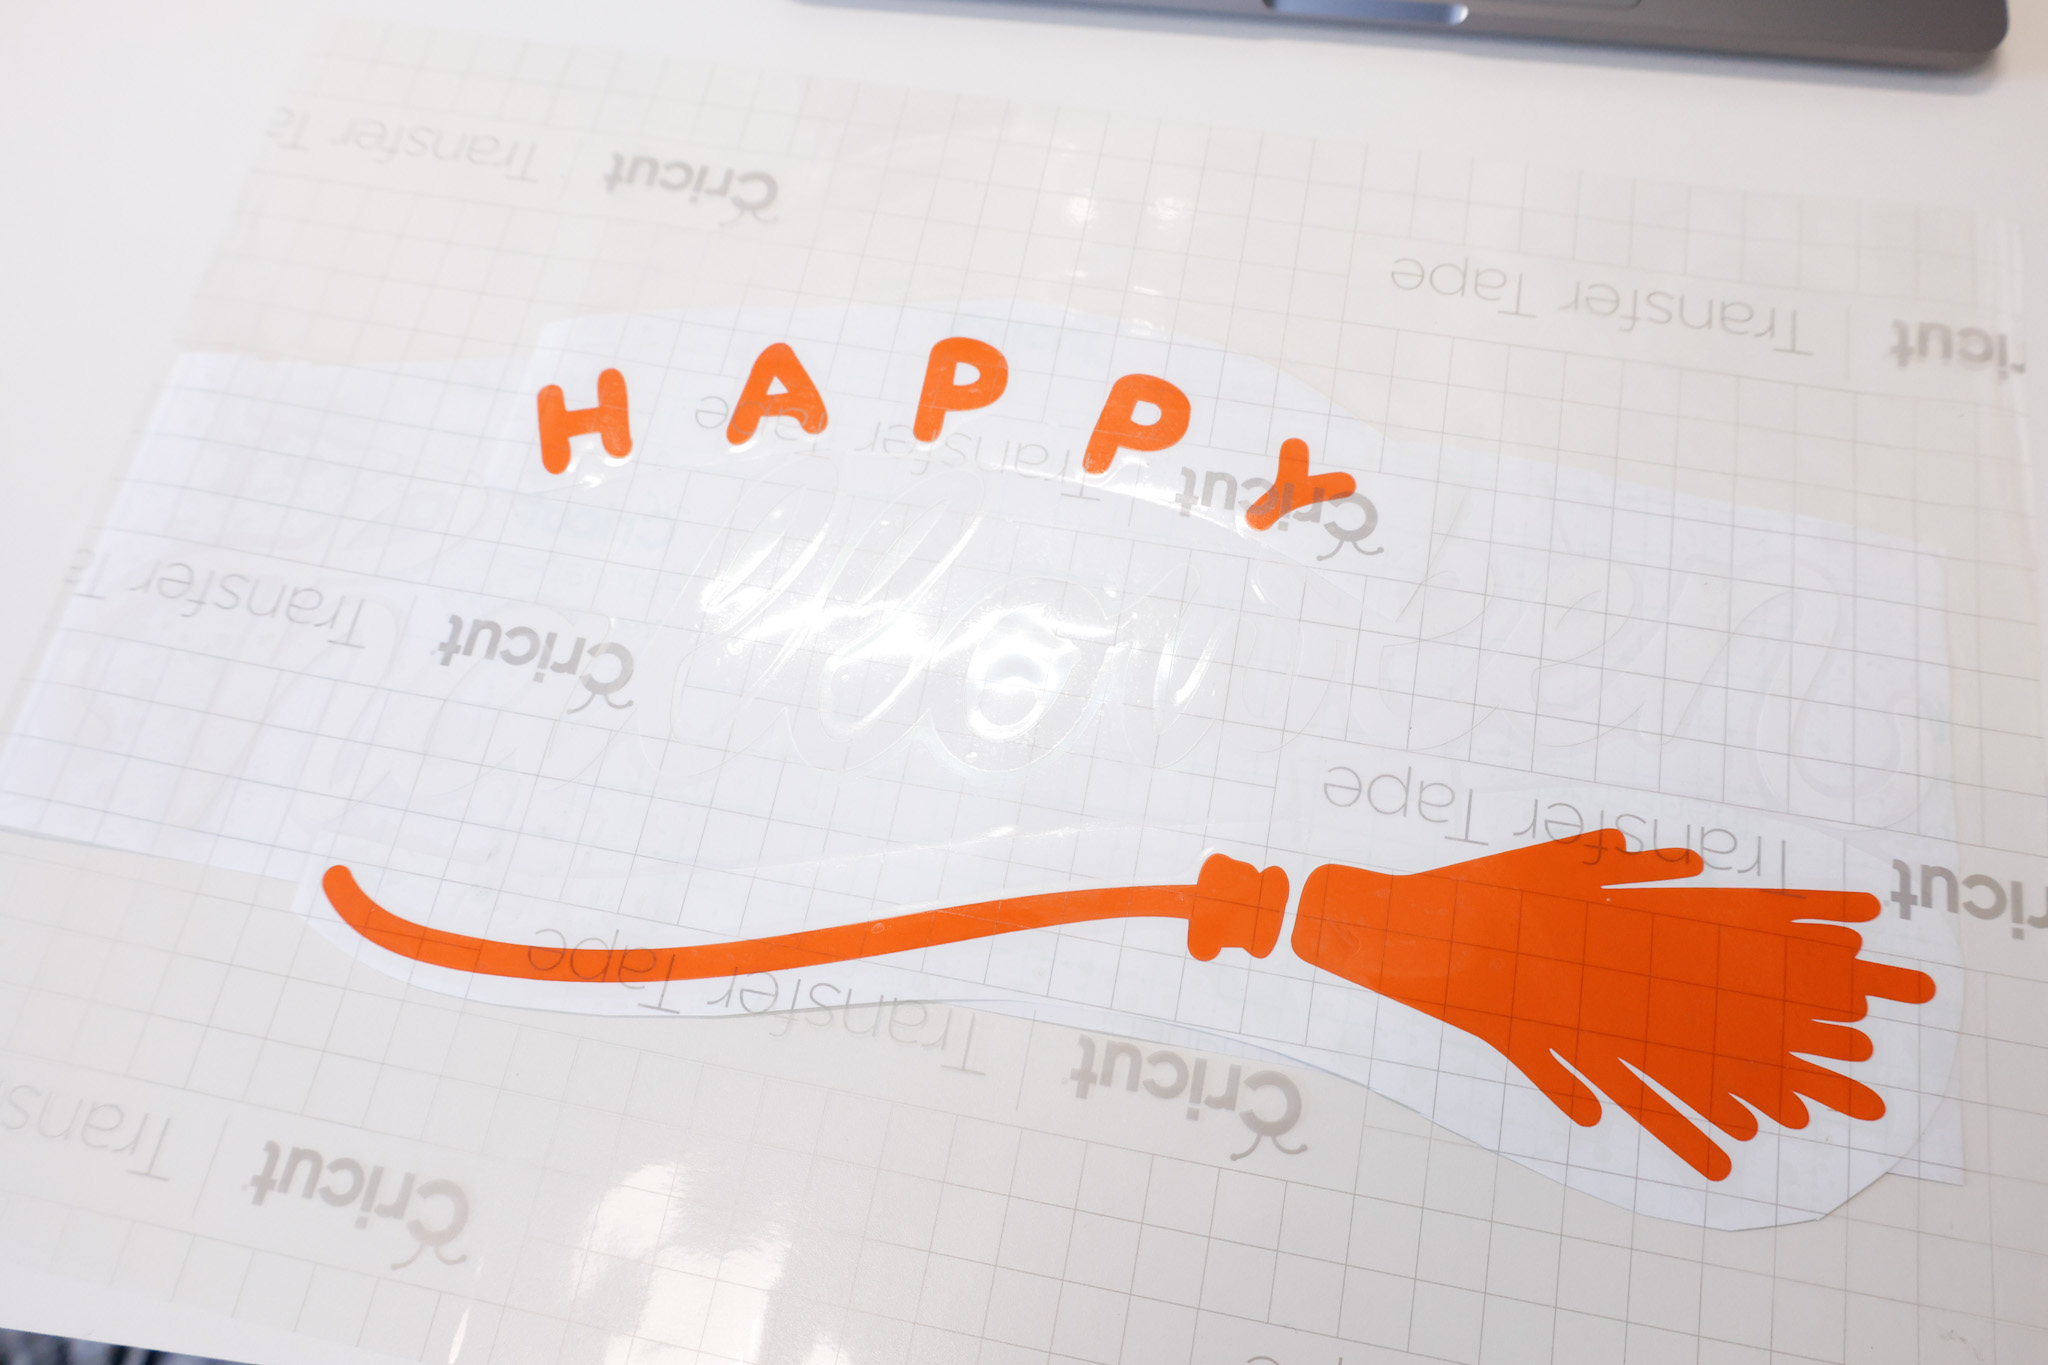
You can’t see the white ‘halloween’ word very well in the picture above, but I promise it’s there.
Weatherproofing Your Sign
To help my sign withstand the outside elements and last longer, I put a coat of polycrylic on the front and rounded edges of my wood sign.
This helps protect the vinyl, paint, and design as a whole once it’s outside in the wind, rain, etc.
This is also a great extra step to take if you plan on selling these signs (which, again, I’m totally fine with you doing as long as you credit the original tutorial).
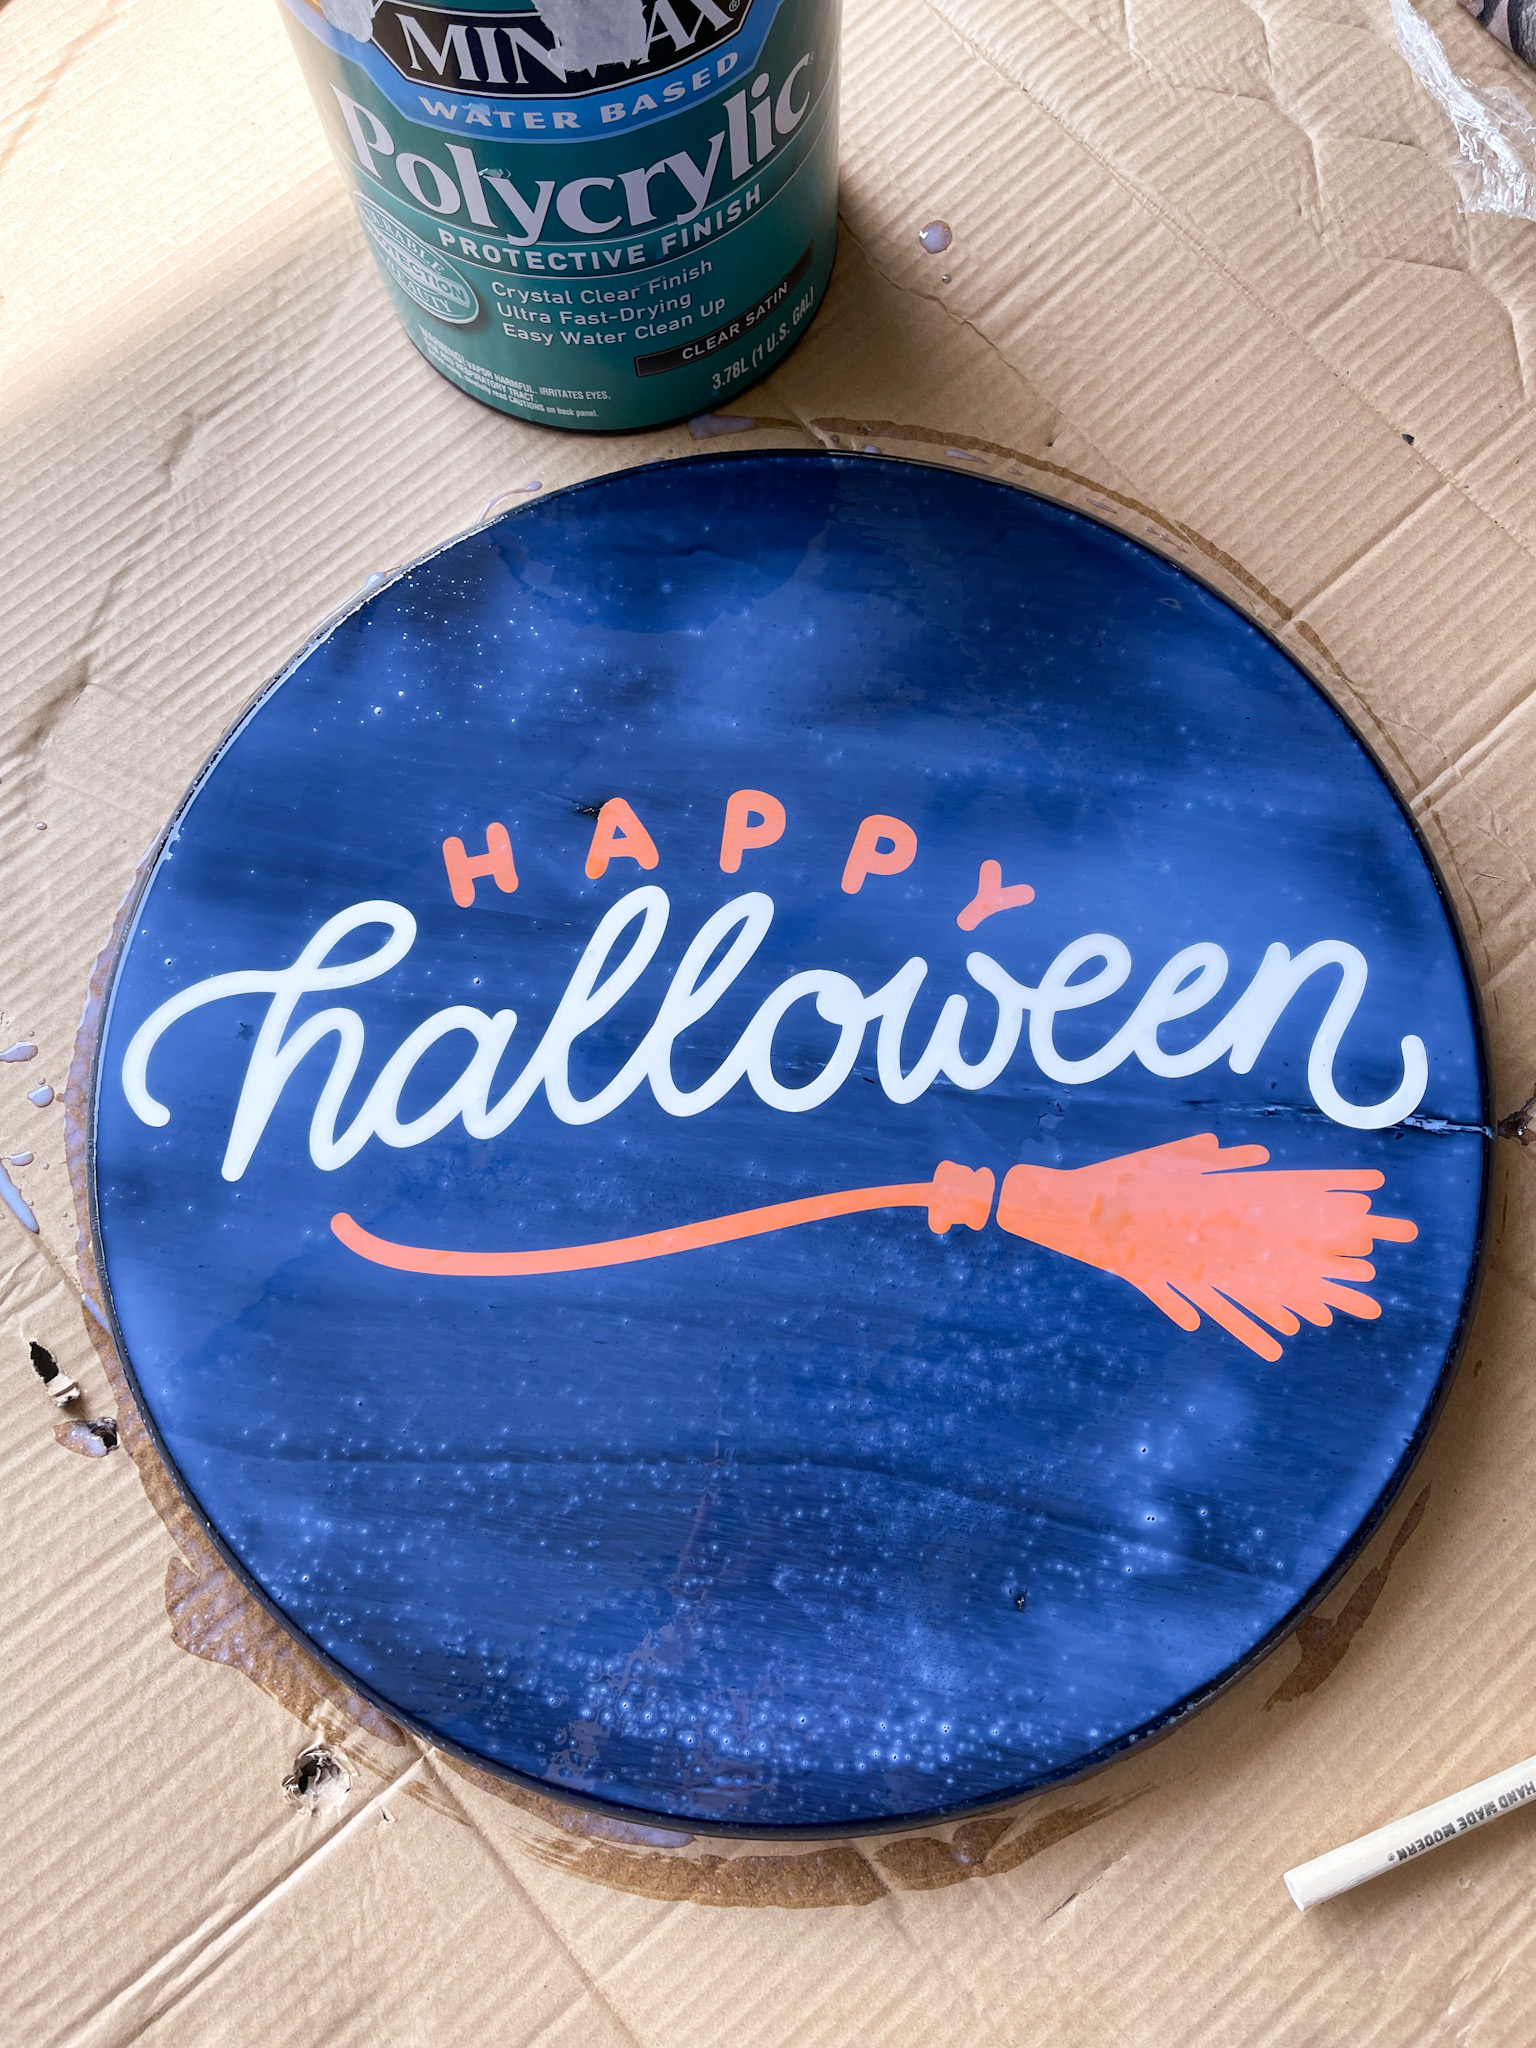
P.S. I thinned the coating a bit before allowing it to set, the above photo is more of an in-process photo.
This is a completely optional step, but one I highly recommend!
Also, a word of advice – place your wood sign on top of something small, like a woodblock or a roll of tape to separate it from a flat surface. This will help lift it so the polycrylic dries without adhering to any surface around it.
Otherwise, if you paint it like I did and leave it on the flat surface, it can glue itself to it.
Just want to throw that out there – I wasn’t ready for how tough the seal would become between the cardboard box I used to set it on and the sign painted with polycrylic…
Attaching the Bow To Your Sign
The next morning, my sign was dried, set, and ready to have the bow and hanging ribbon attached with the staple gun.
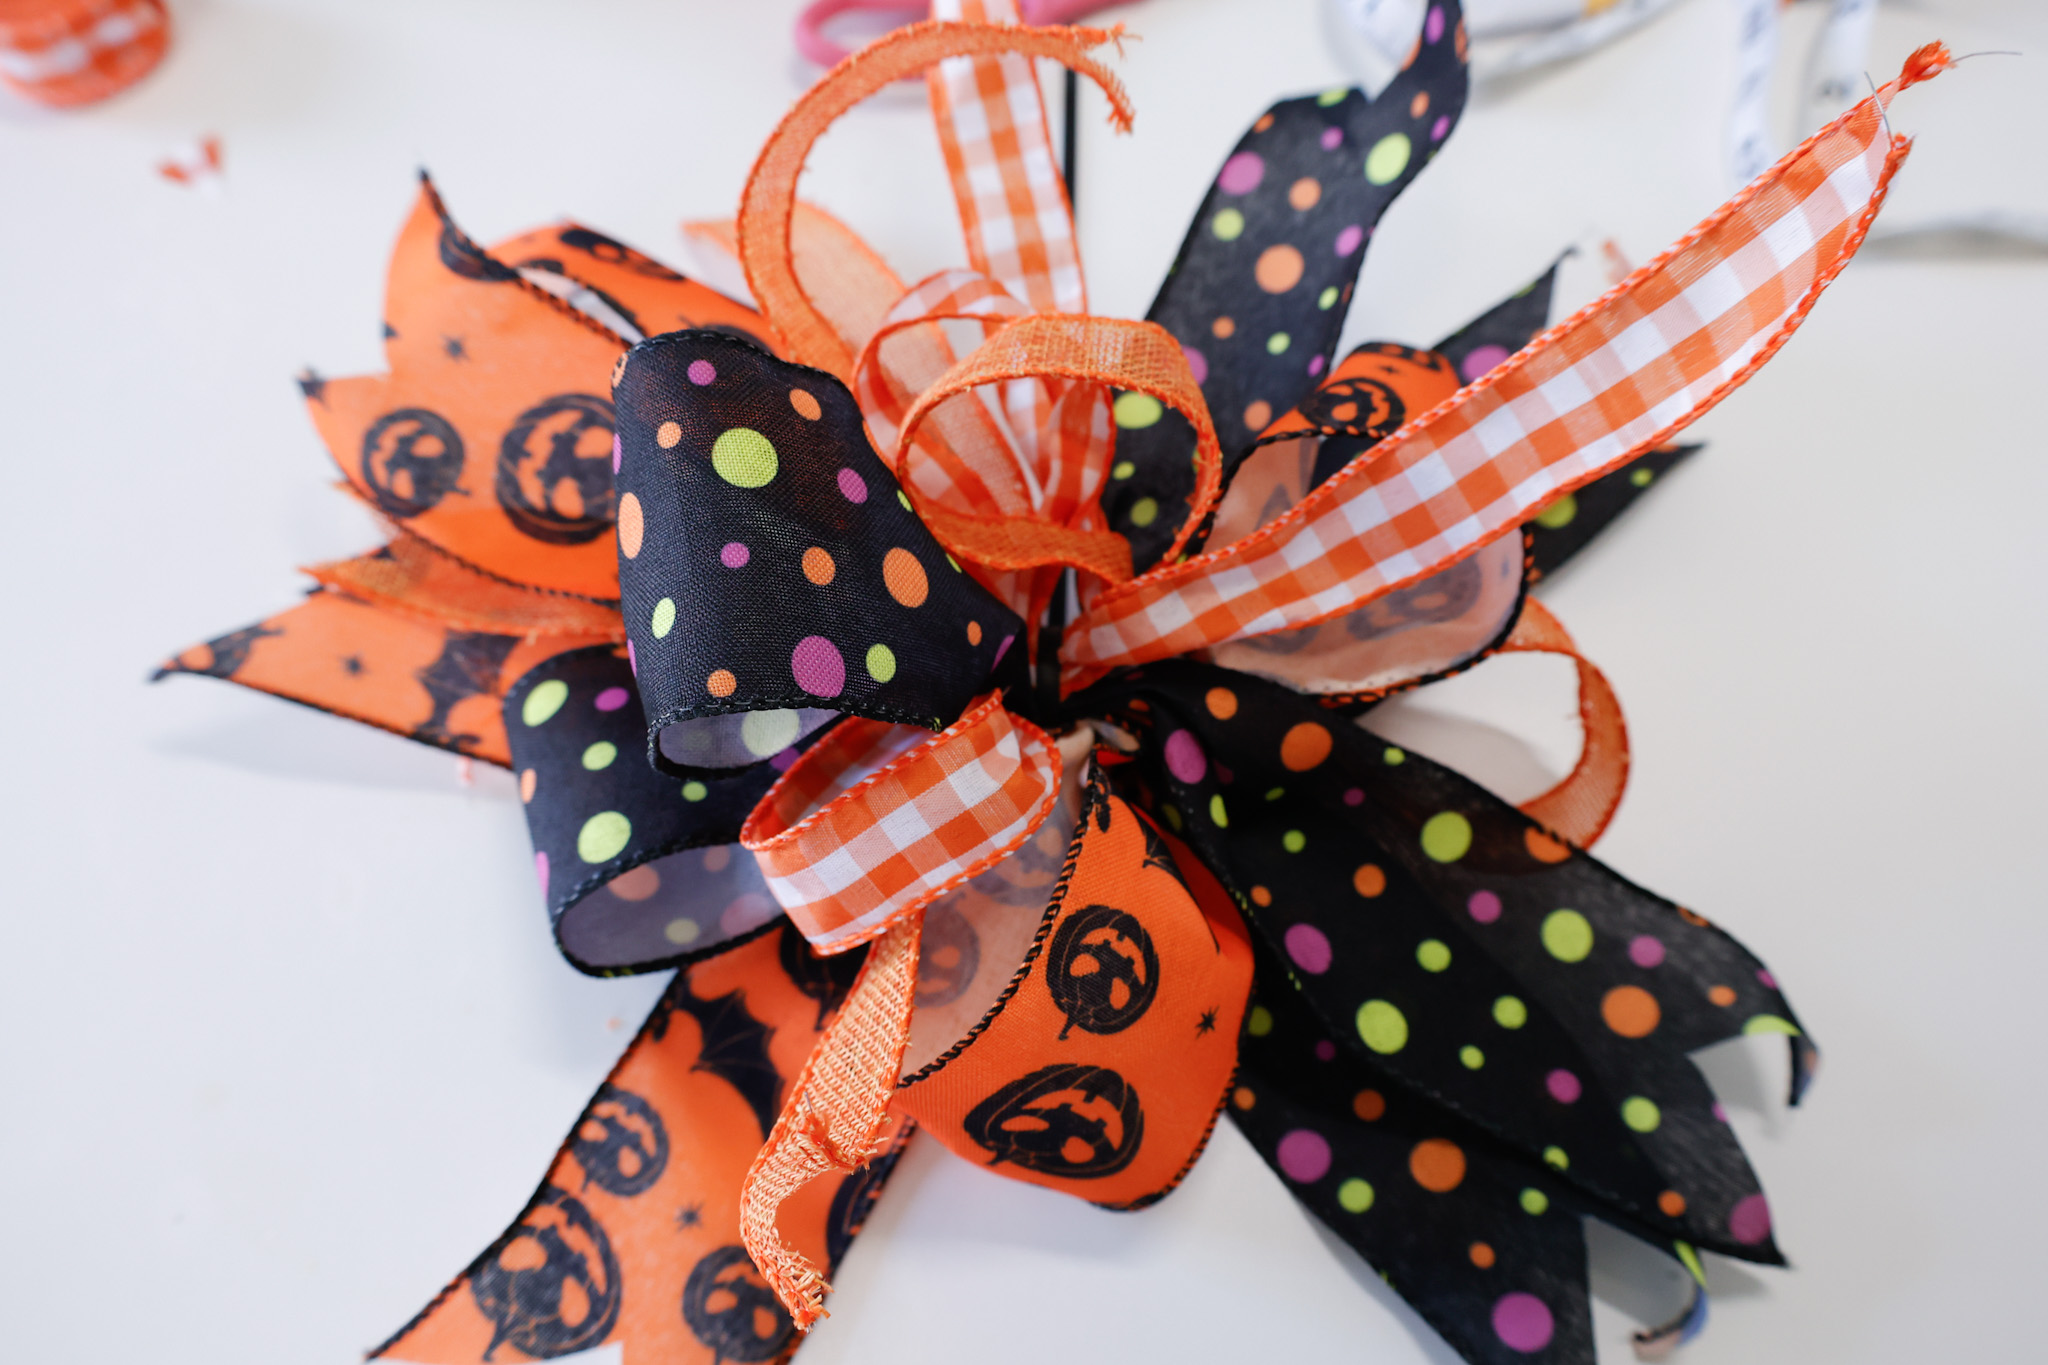
For my bow, I used the Funky Bow tutorial that can be found on YouTube and used a black zip tie to attach the ribbon pieces together.
Here is the exact Halloween ribbon set I found online that was perfect for this project.
I kept the length to the zip tie, and staple gunned that to the back of the sign.
After cinching the ribbon pieces together, I laid the tail against the back of the sign and aligned the bow where I wanted it to sit in regards to the front of the sign. I used my staple gun to secure the tail of the zip tie to the back of the sign.
You can see my reel on Instagram here for how I did it.
I would normally hot glue a bow to the sign, but I didn’t want the ribbon lengths to cover the wording decal on the front, so this was a great fix to adhere the bow to the top front of the sign.
I also took a piece of wired ribbon, folded it into thirds lengthwise, and stapled it to the back of the sign to use as a hanger.
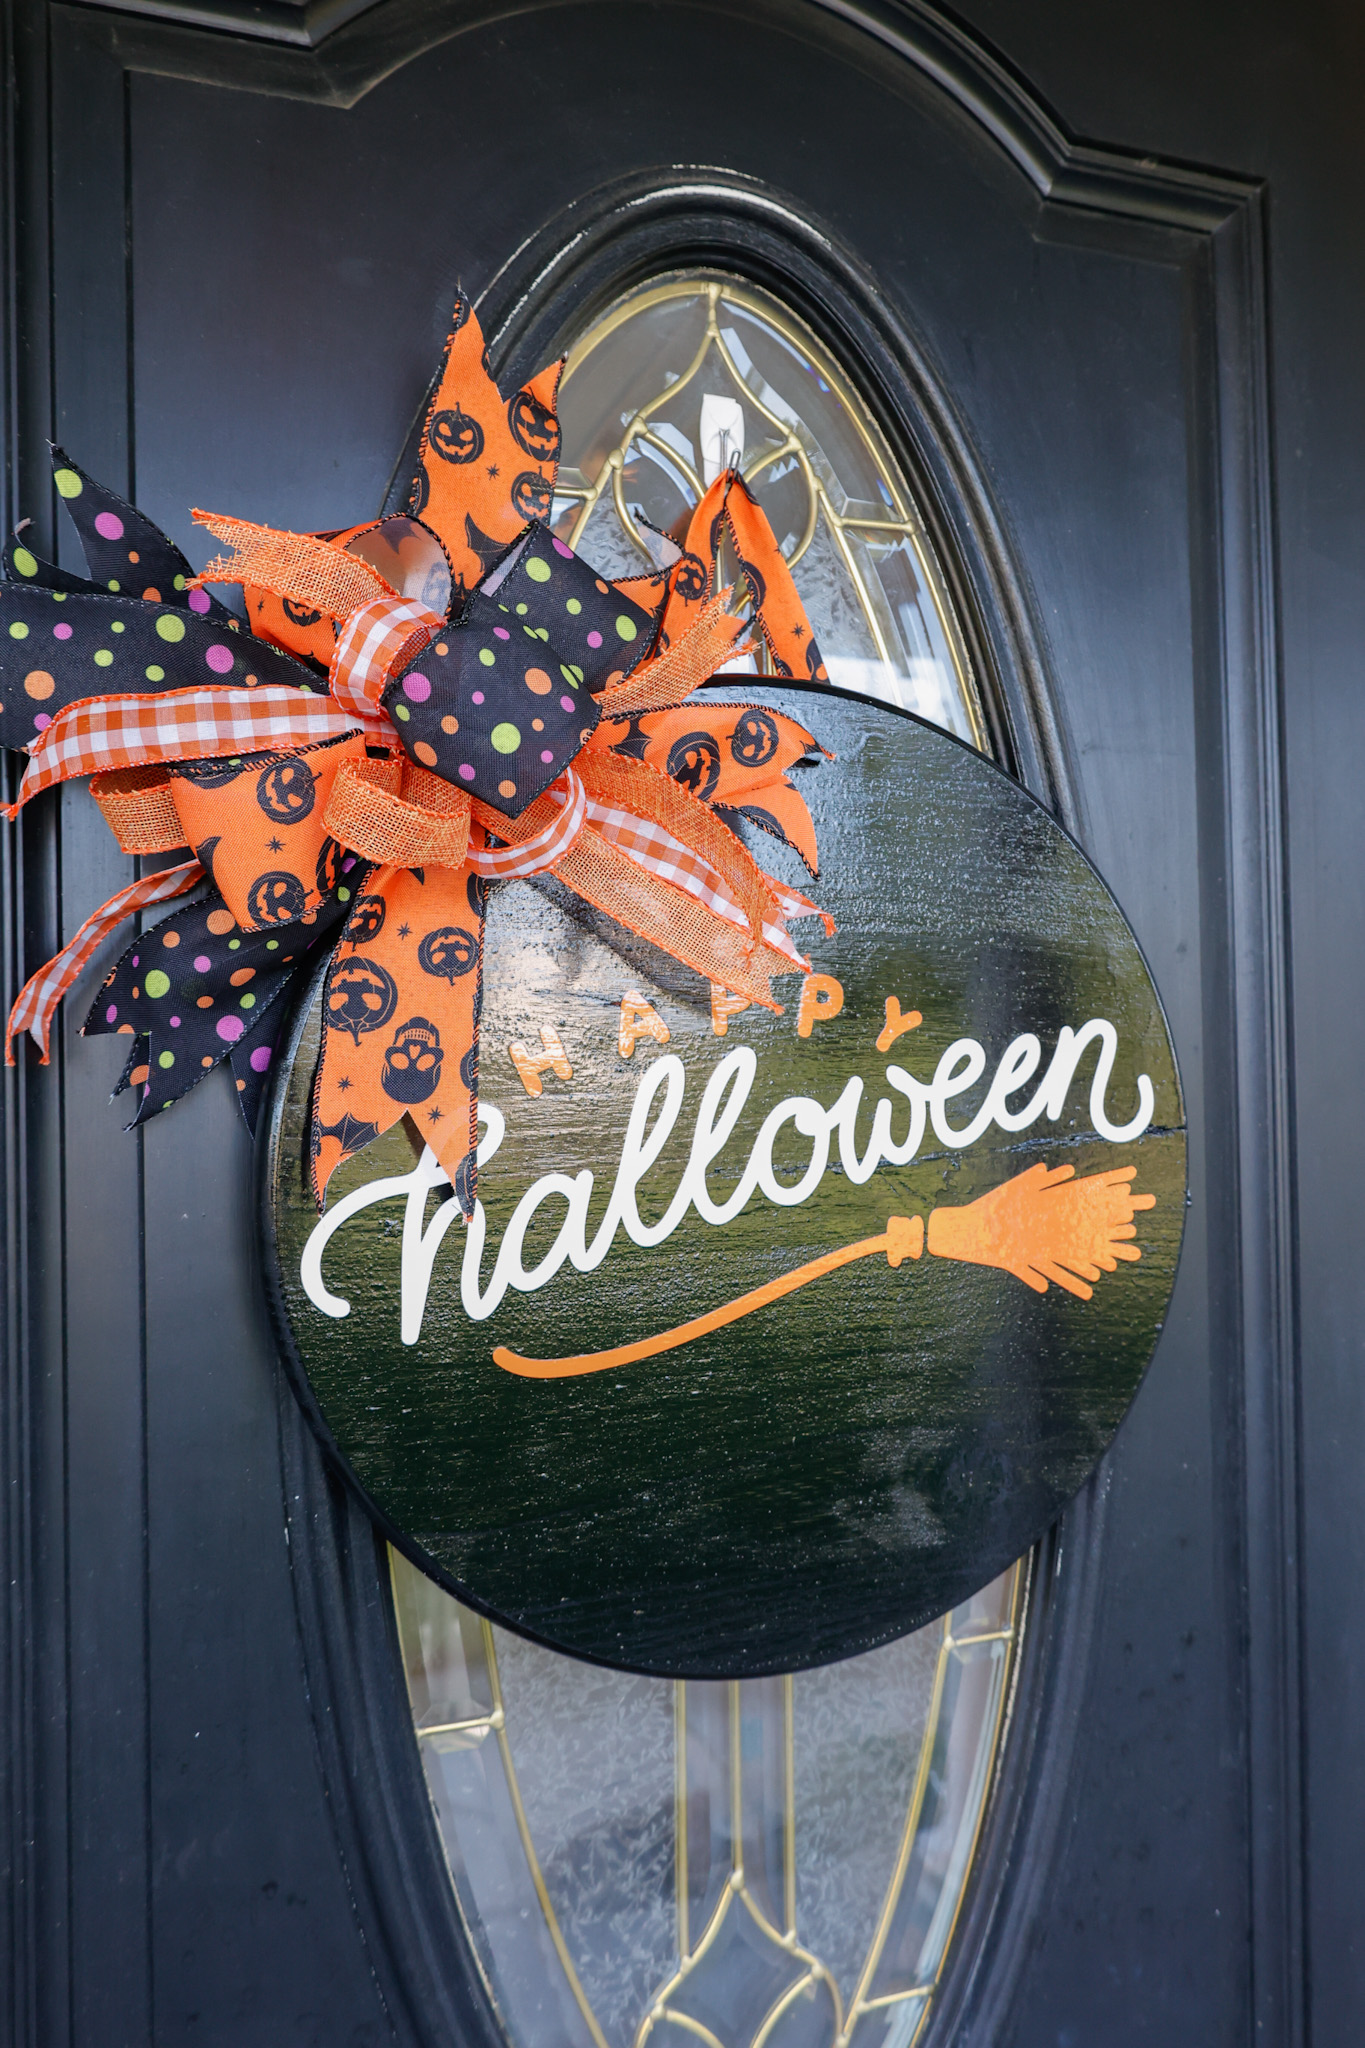
Finished DIY Halloween Sign
And here she is…
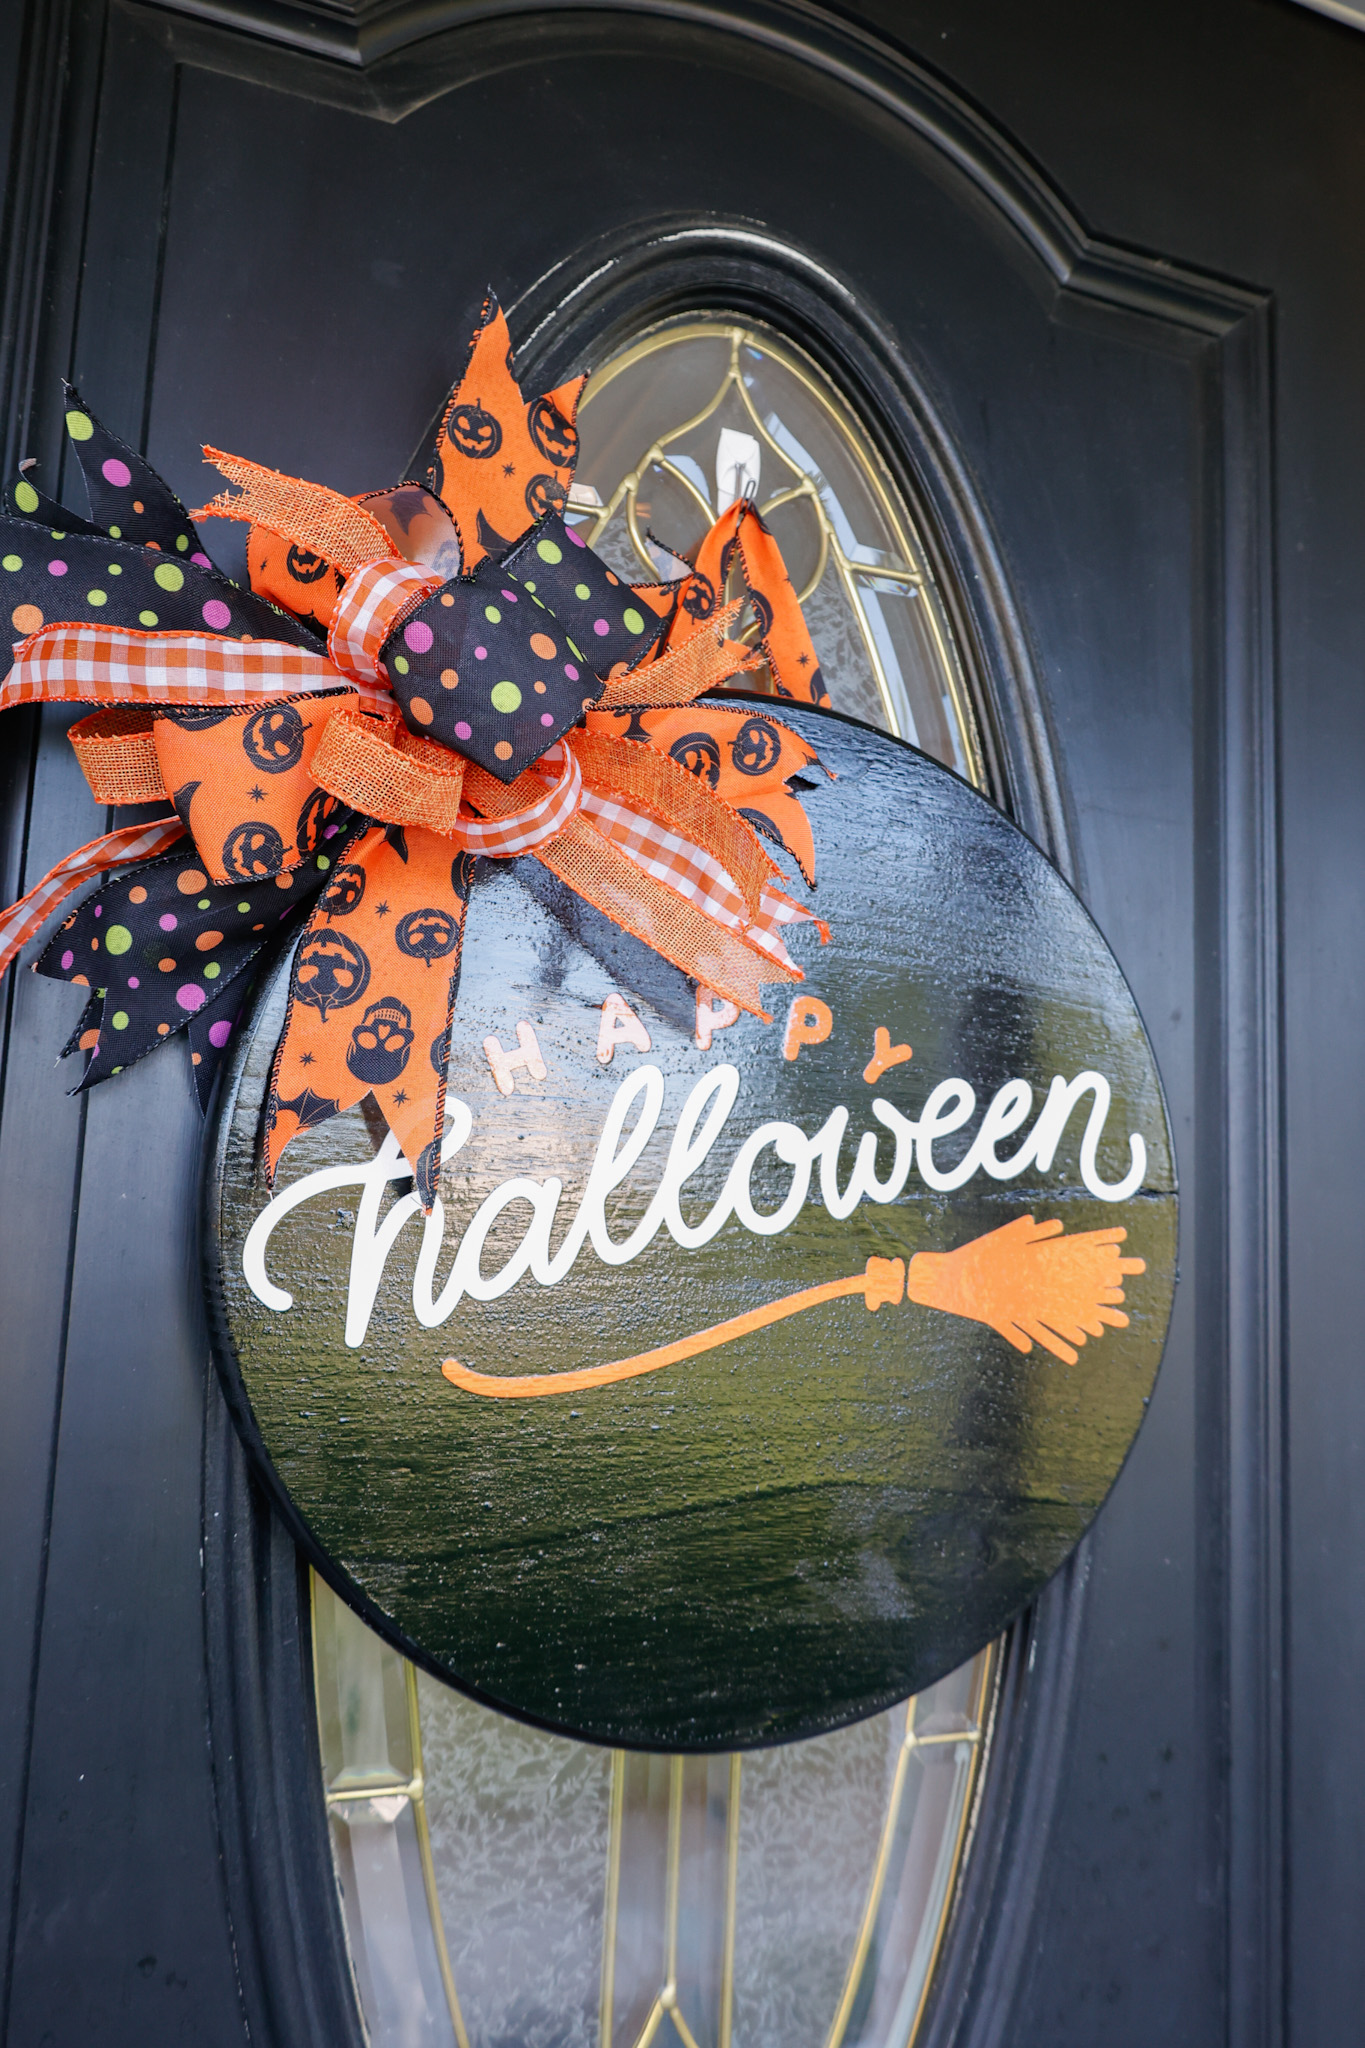
I’m thrilled with how it turned out, and I know this sign will last many spooky seasons outside!
I hope you enjoyed this tutorial! Feel free to access the free Design Space link HERE – you will need Cricut Access because there are Access elements used in this design.
You May Also Like…
DIY Felt Dolls – Cricut Maker Tutorial
Teacher Appreciation Mug (“I’m Not A Regular Teacher, I’m A Cool Teacher” Mug)
Homeschool Cart Makeover With Vinyl
Be sure to tag me @slayathomemother on social media if you create this sign – I’d love to see how yours turns out!
*Post originally published September 2021, last updated August 2025.

Leave a Reply