

I recently upgraded my Create Room DreamBox totes to the DiviDrawer and am sharing my honest thoughts and opinions…

*This post contains affiliate links, however, all opinions are my own, as always. I am a partner of Create Room, and only share brands with my readers that I truly love.
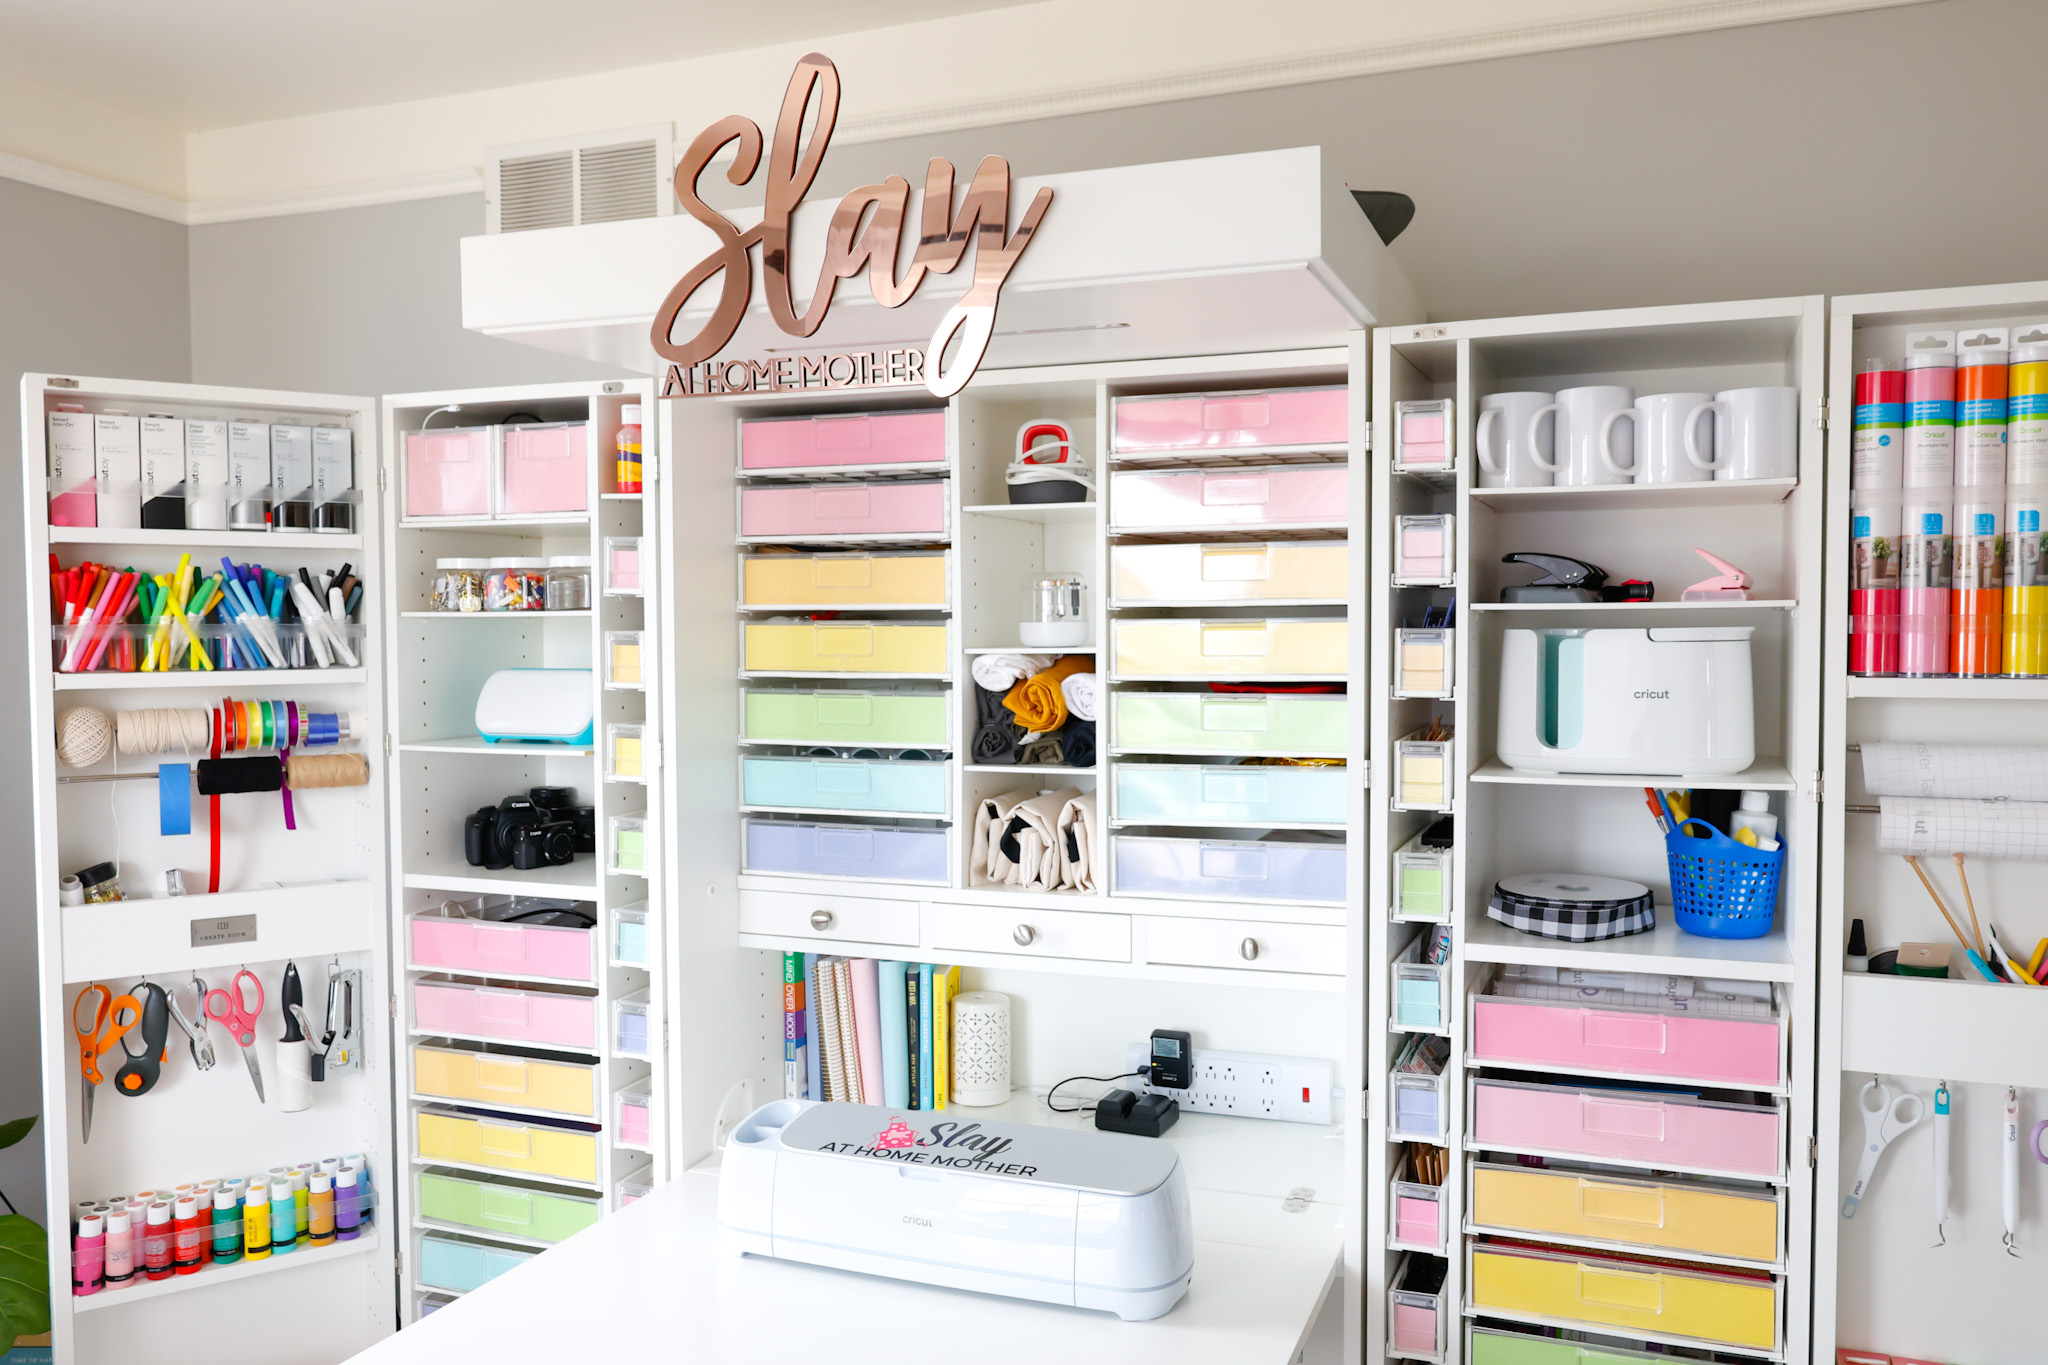
Create Room DreamBox
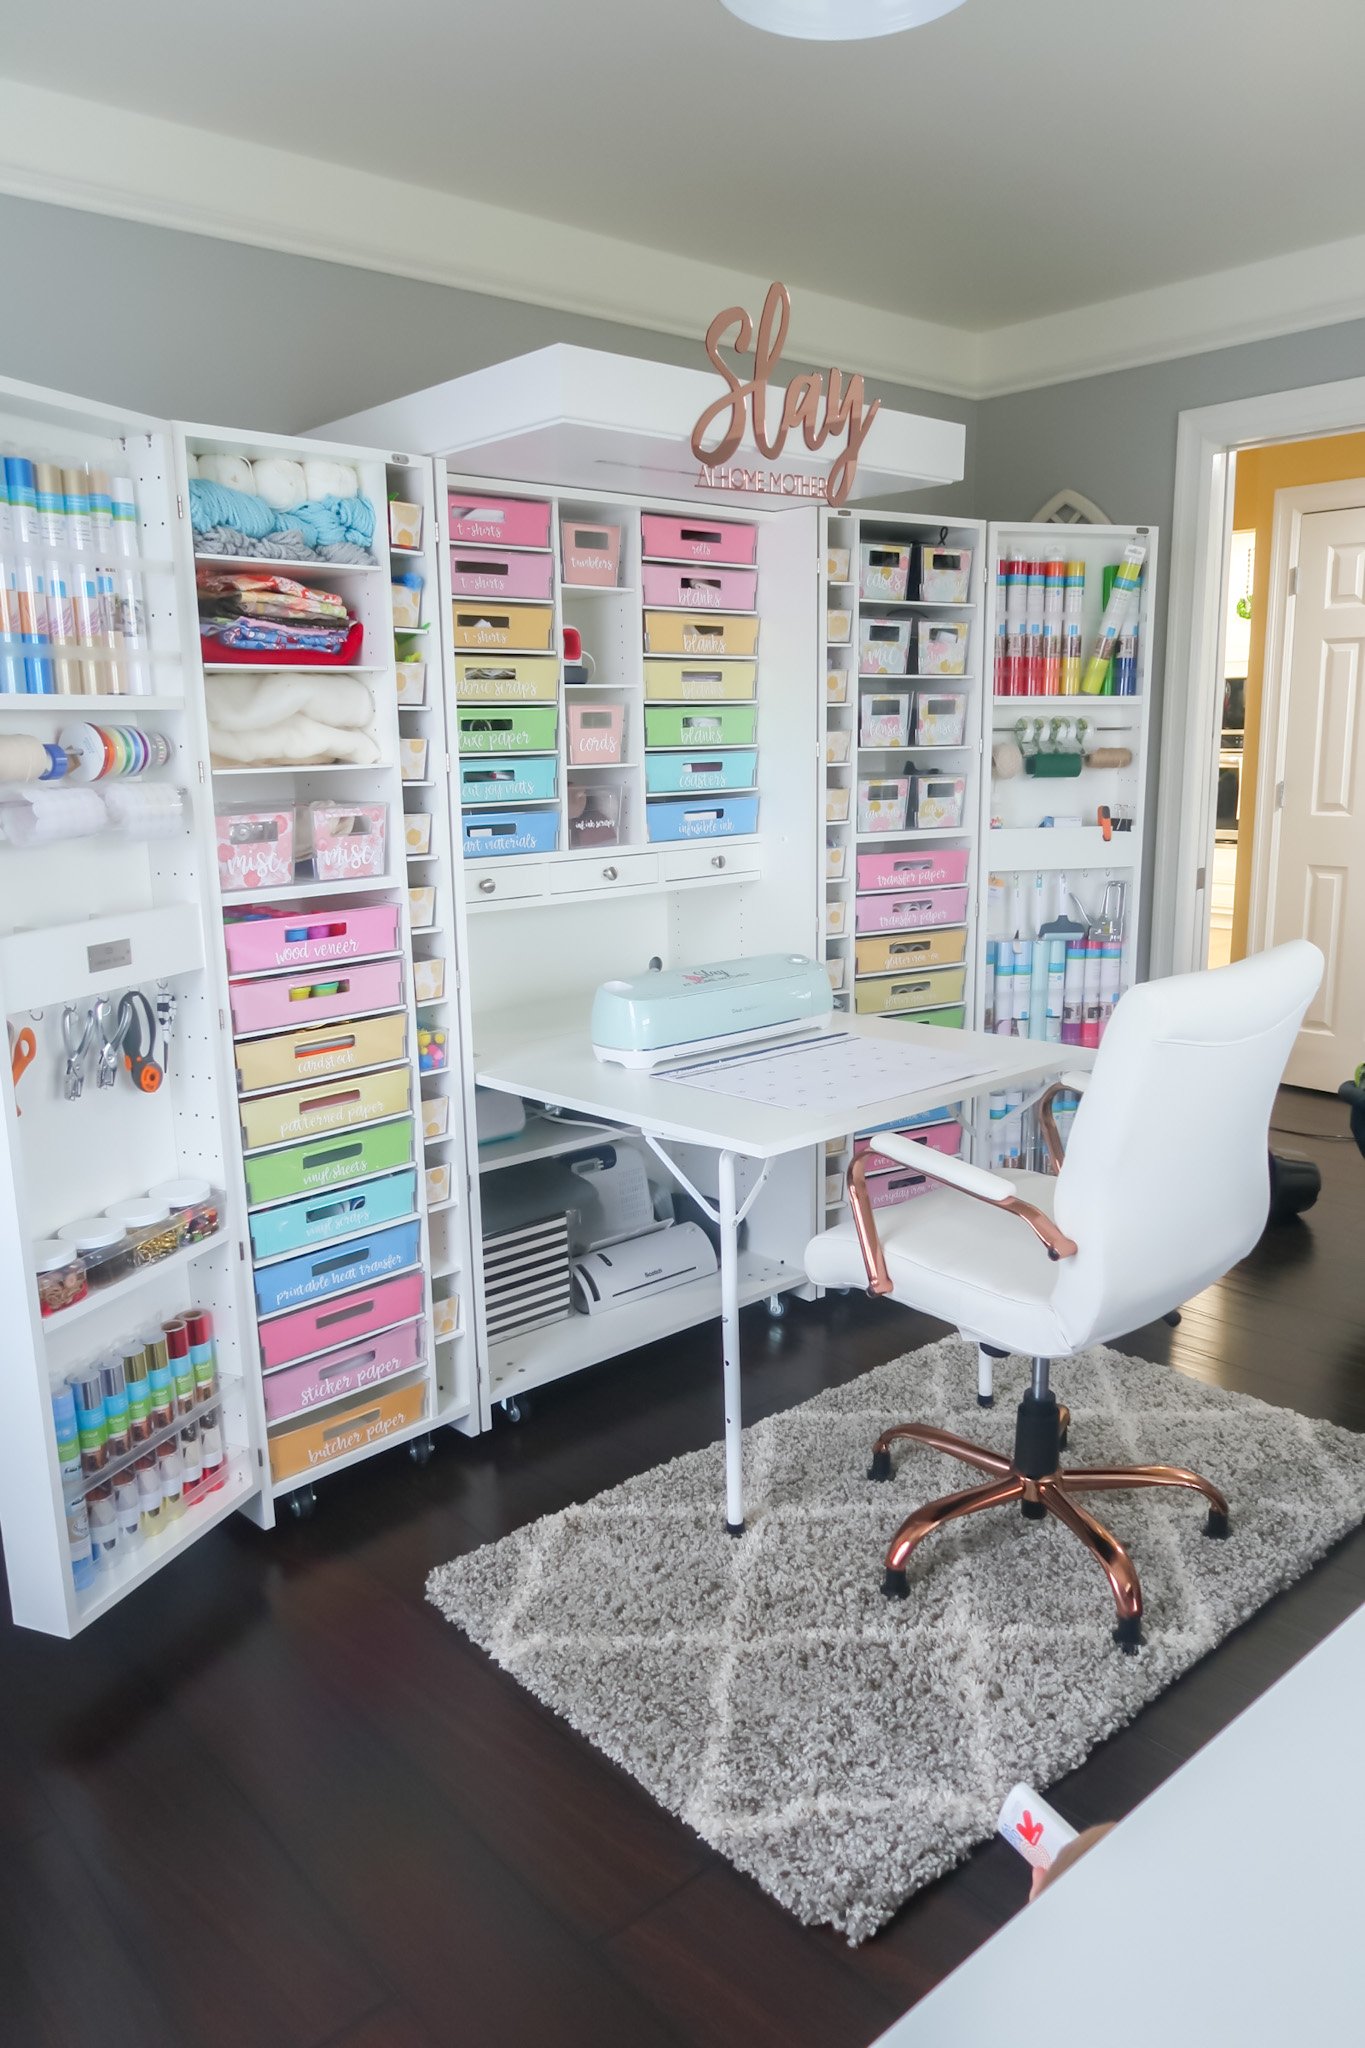
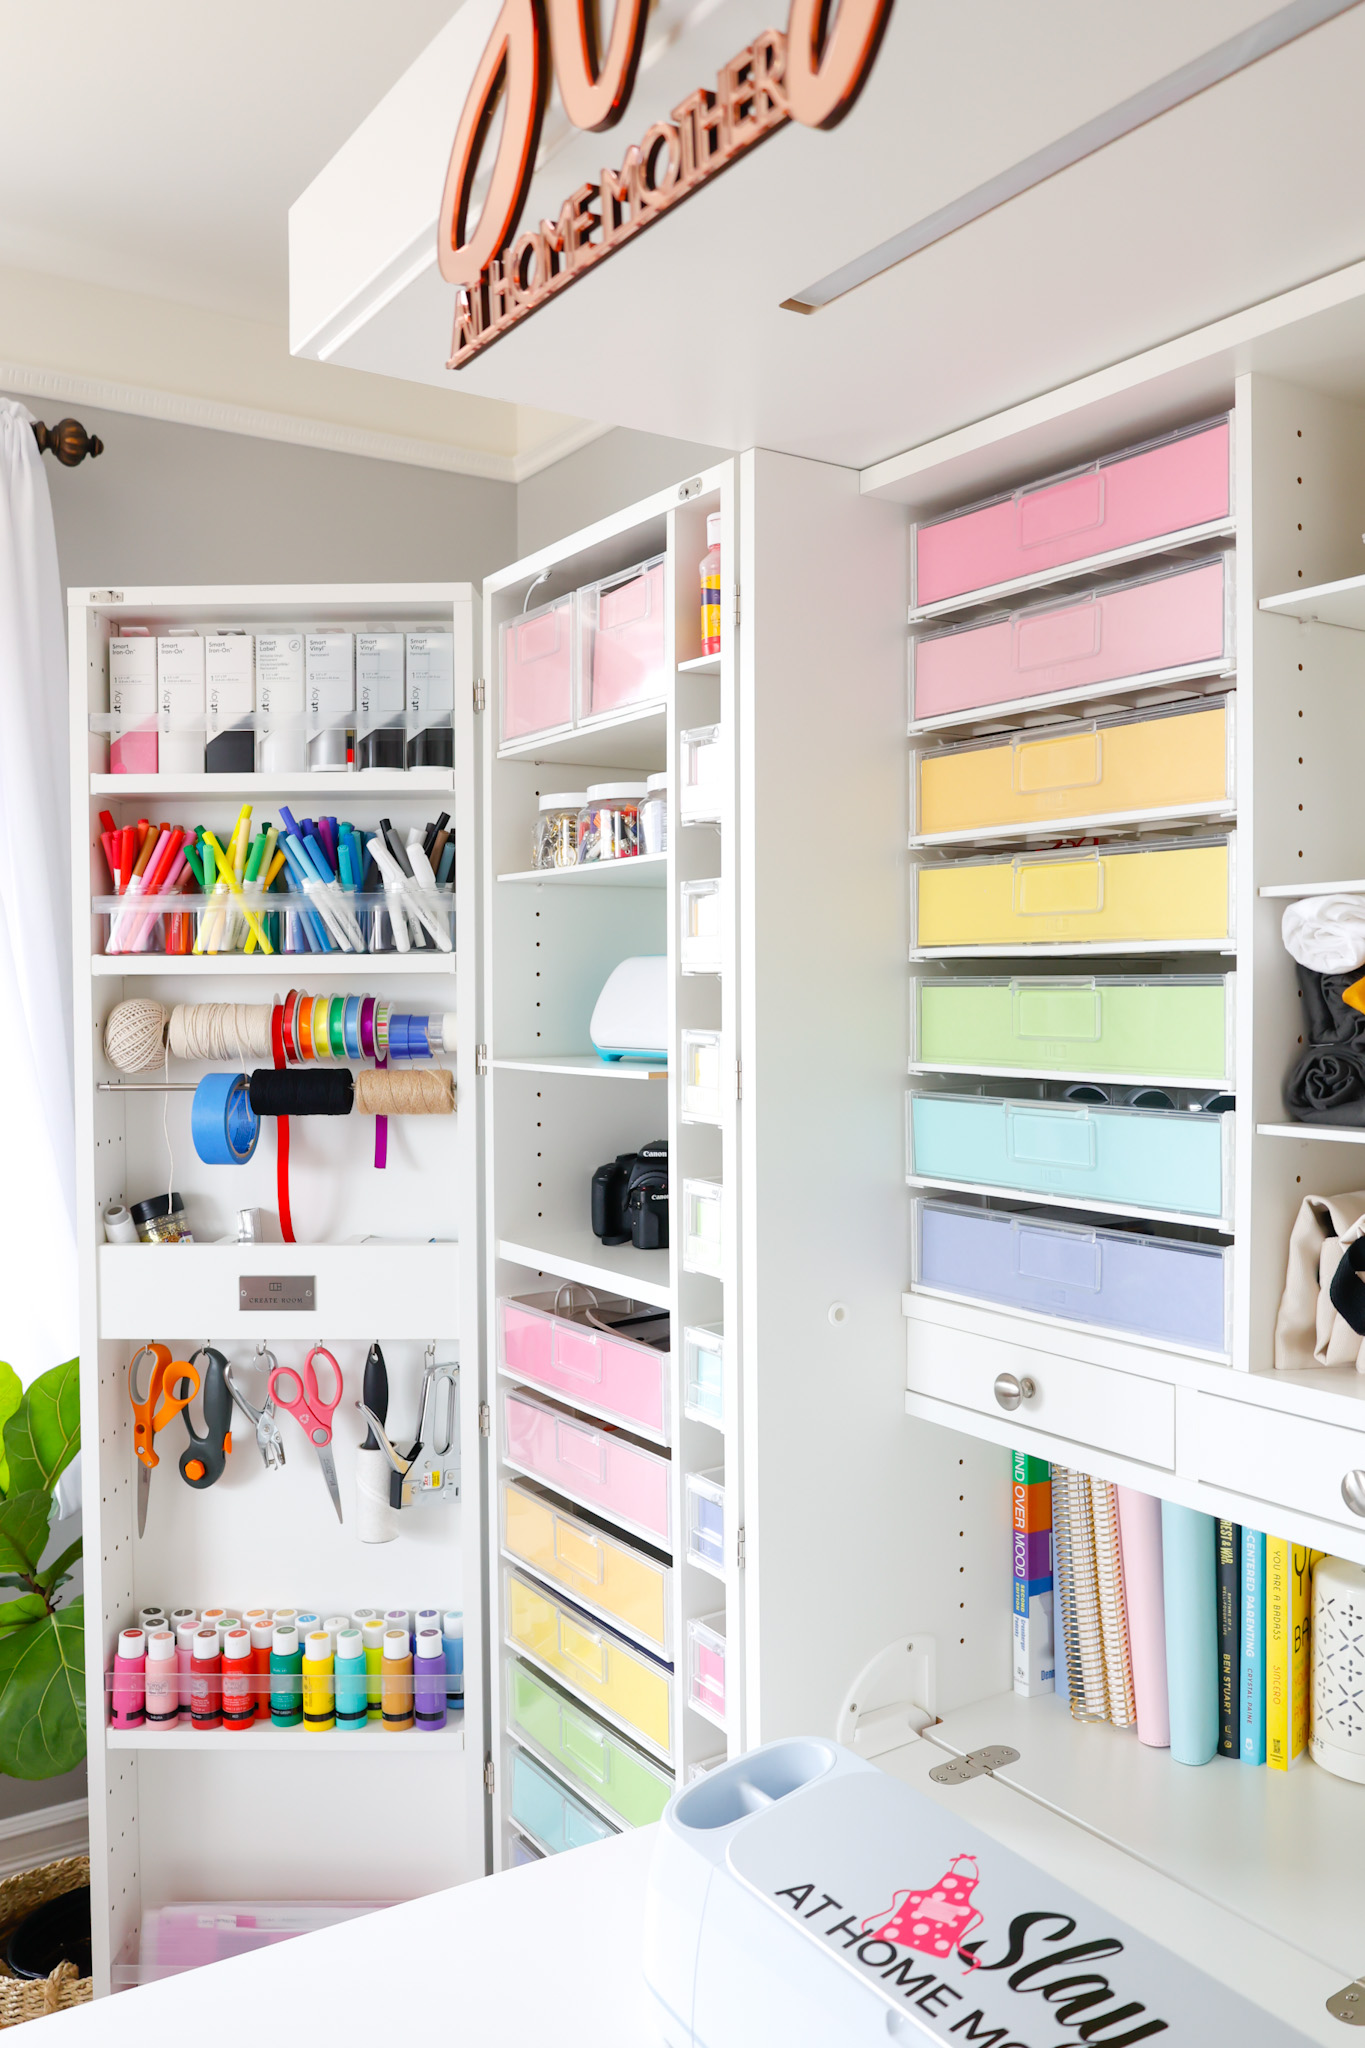
I’ve owned my DreamBox for just over two years now, and it’s still my favorite piece of organization furniture.
Nothing beats it – it is the ultimate organization system for crafting or working from home.
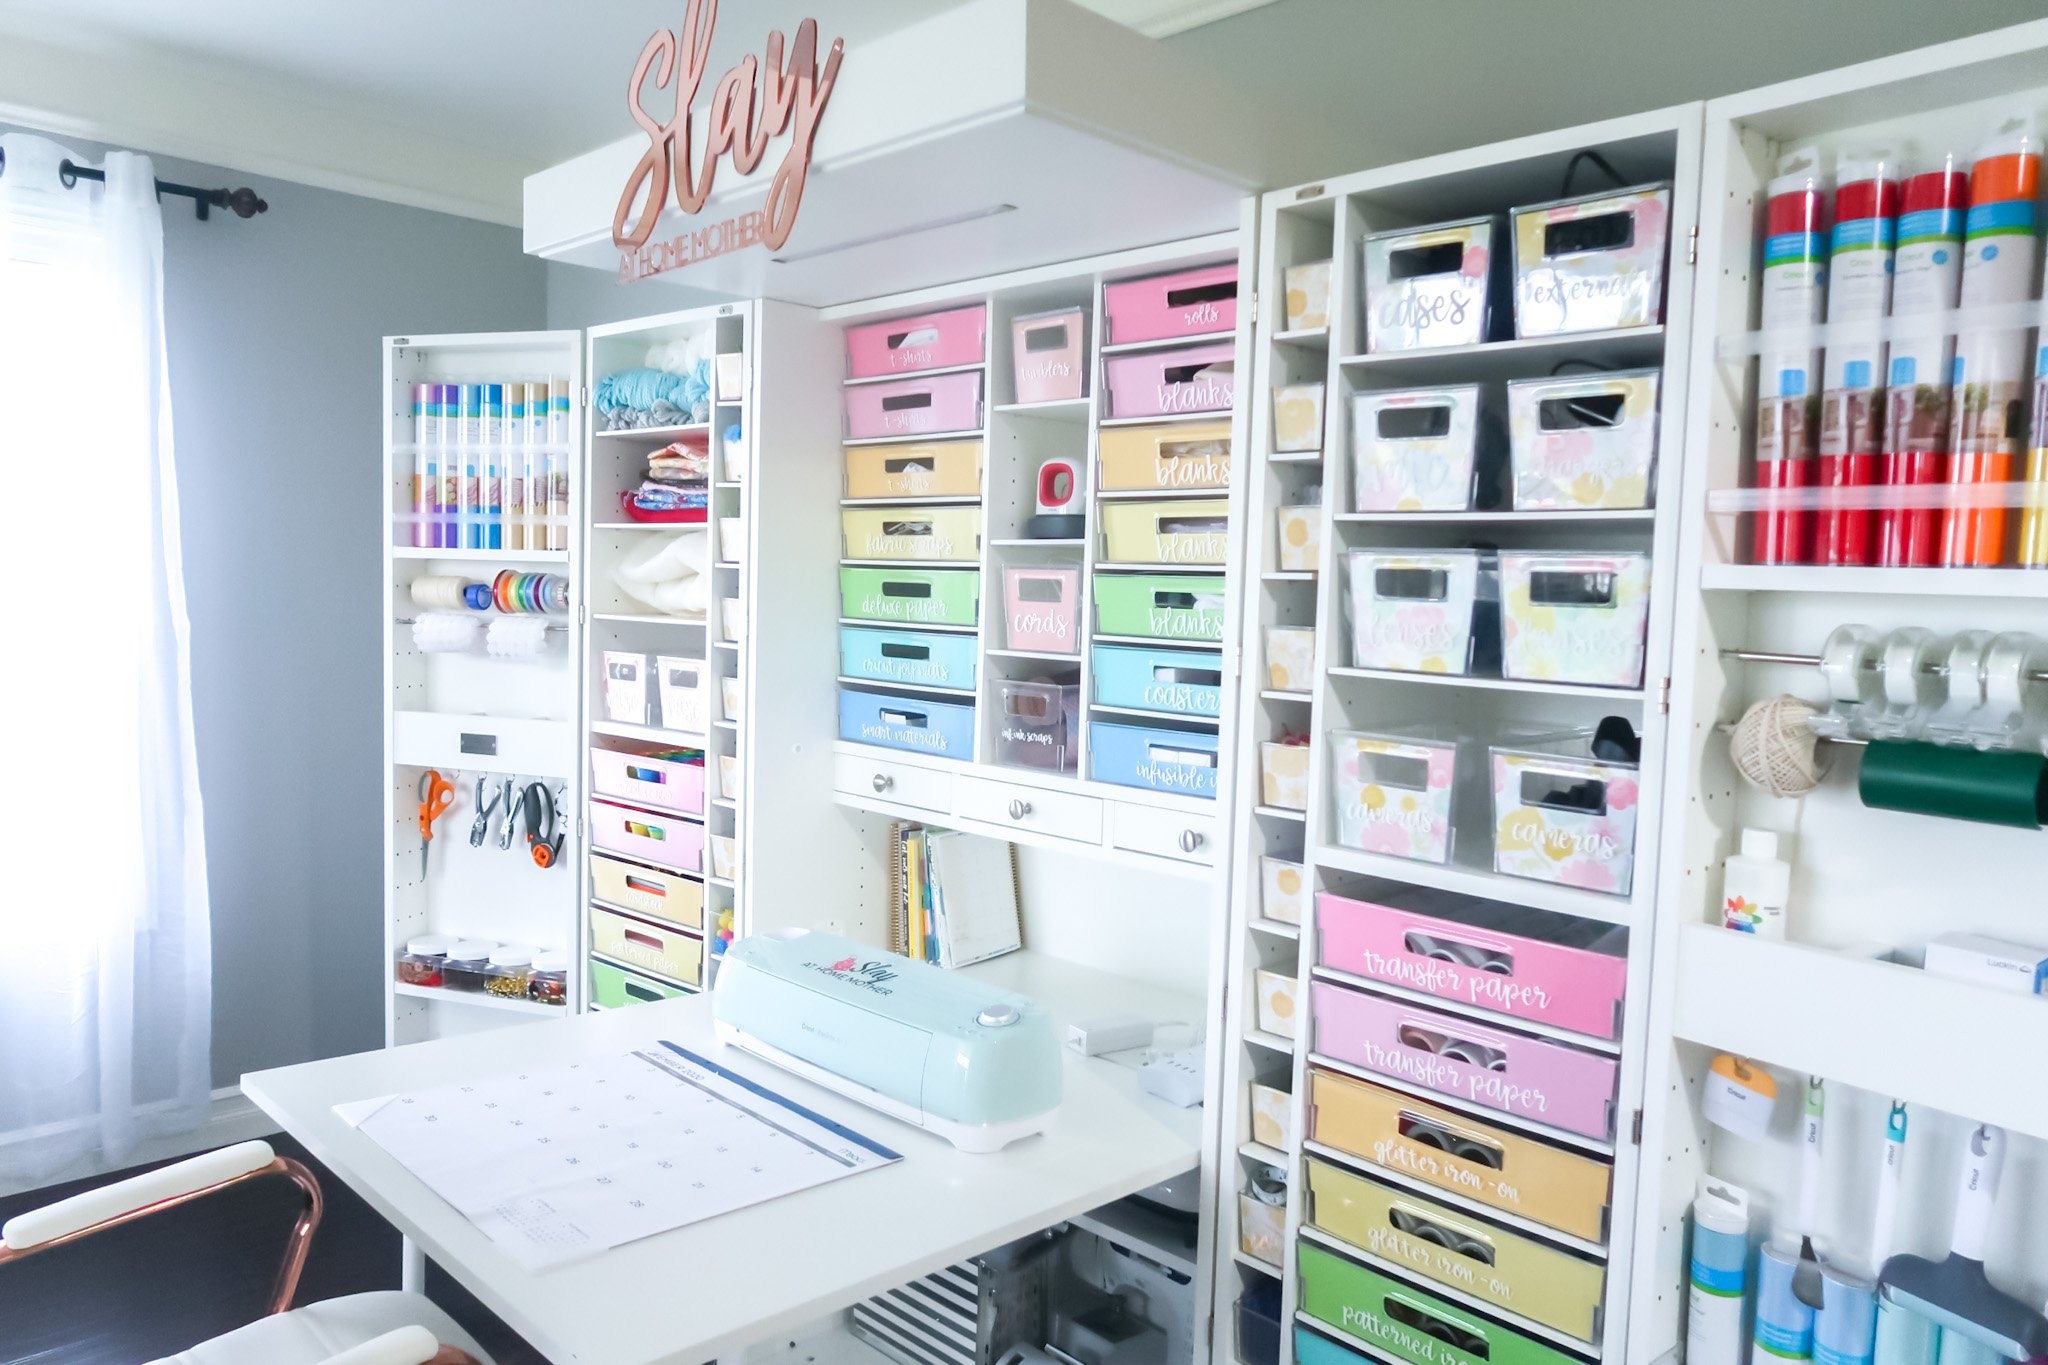
My DreamBox holds everything I need for crafting my heart out and storing all of my blogging and planning materials.
I made the choice years ago to finance mine (I used their Bread financing option at the time – I believe that is still an option), and paid mine off early!
If you’ve been looking to get your DreamBox and need a savings code, I have two Create Room discount codes to share with you…
- Use code SLAYATHOMEMOTHER at checkout to save $100 on your Dreambox
- Use code SLAYATHOMEMOTHER50 to save $50 on your DreamCart
These codes never expire, so use them whenever you’re ready!
I also have a printable DreamBox Savings Tracker you can use to help track your savings until you’re ready to buy yours.
DreamBox In-View Totes
Here’s what my DreamBox looked like before with the in-view totes…

The in-view totes taper a bit at the bottom.
The paper pieces I have placed in them are suspended between the clear front of the tote and whatever is inside.

Create Room DreamBox Dividrawers
When Create Room offered to send me their Dividrawer upgrade, I jumped up and down at my desk.
Yessssss – of course, I’ll try them out!
I had seen so many videos online from Create Room broadcasting their sleek design, along with the shelf system that would replace the clear pegs the in-view totes relied on.
When they arrived, they were very well packaged and labeled.
I have a video showing how they were boxed up and labeled in case you want to check that out below…

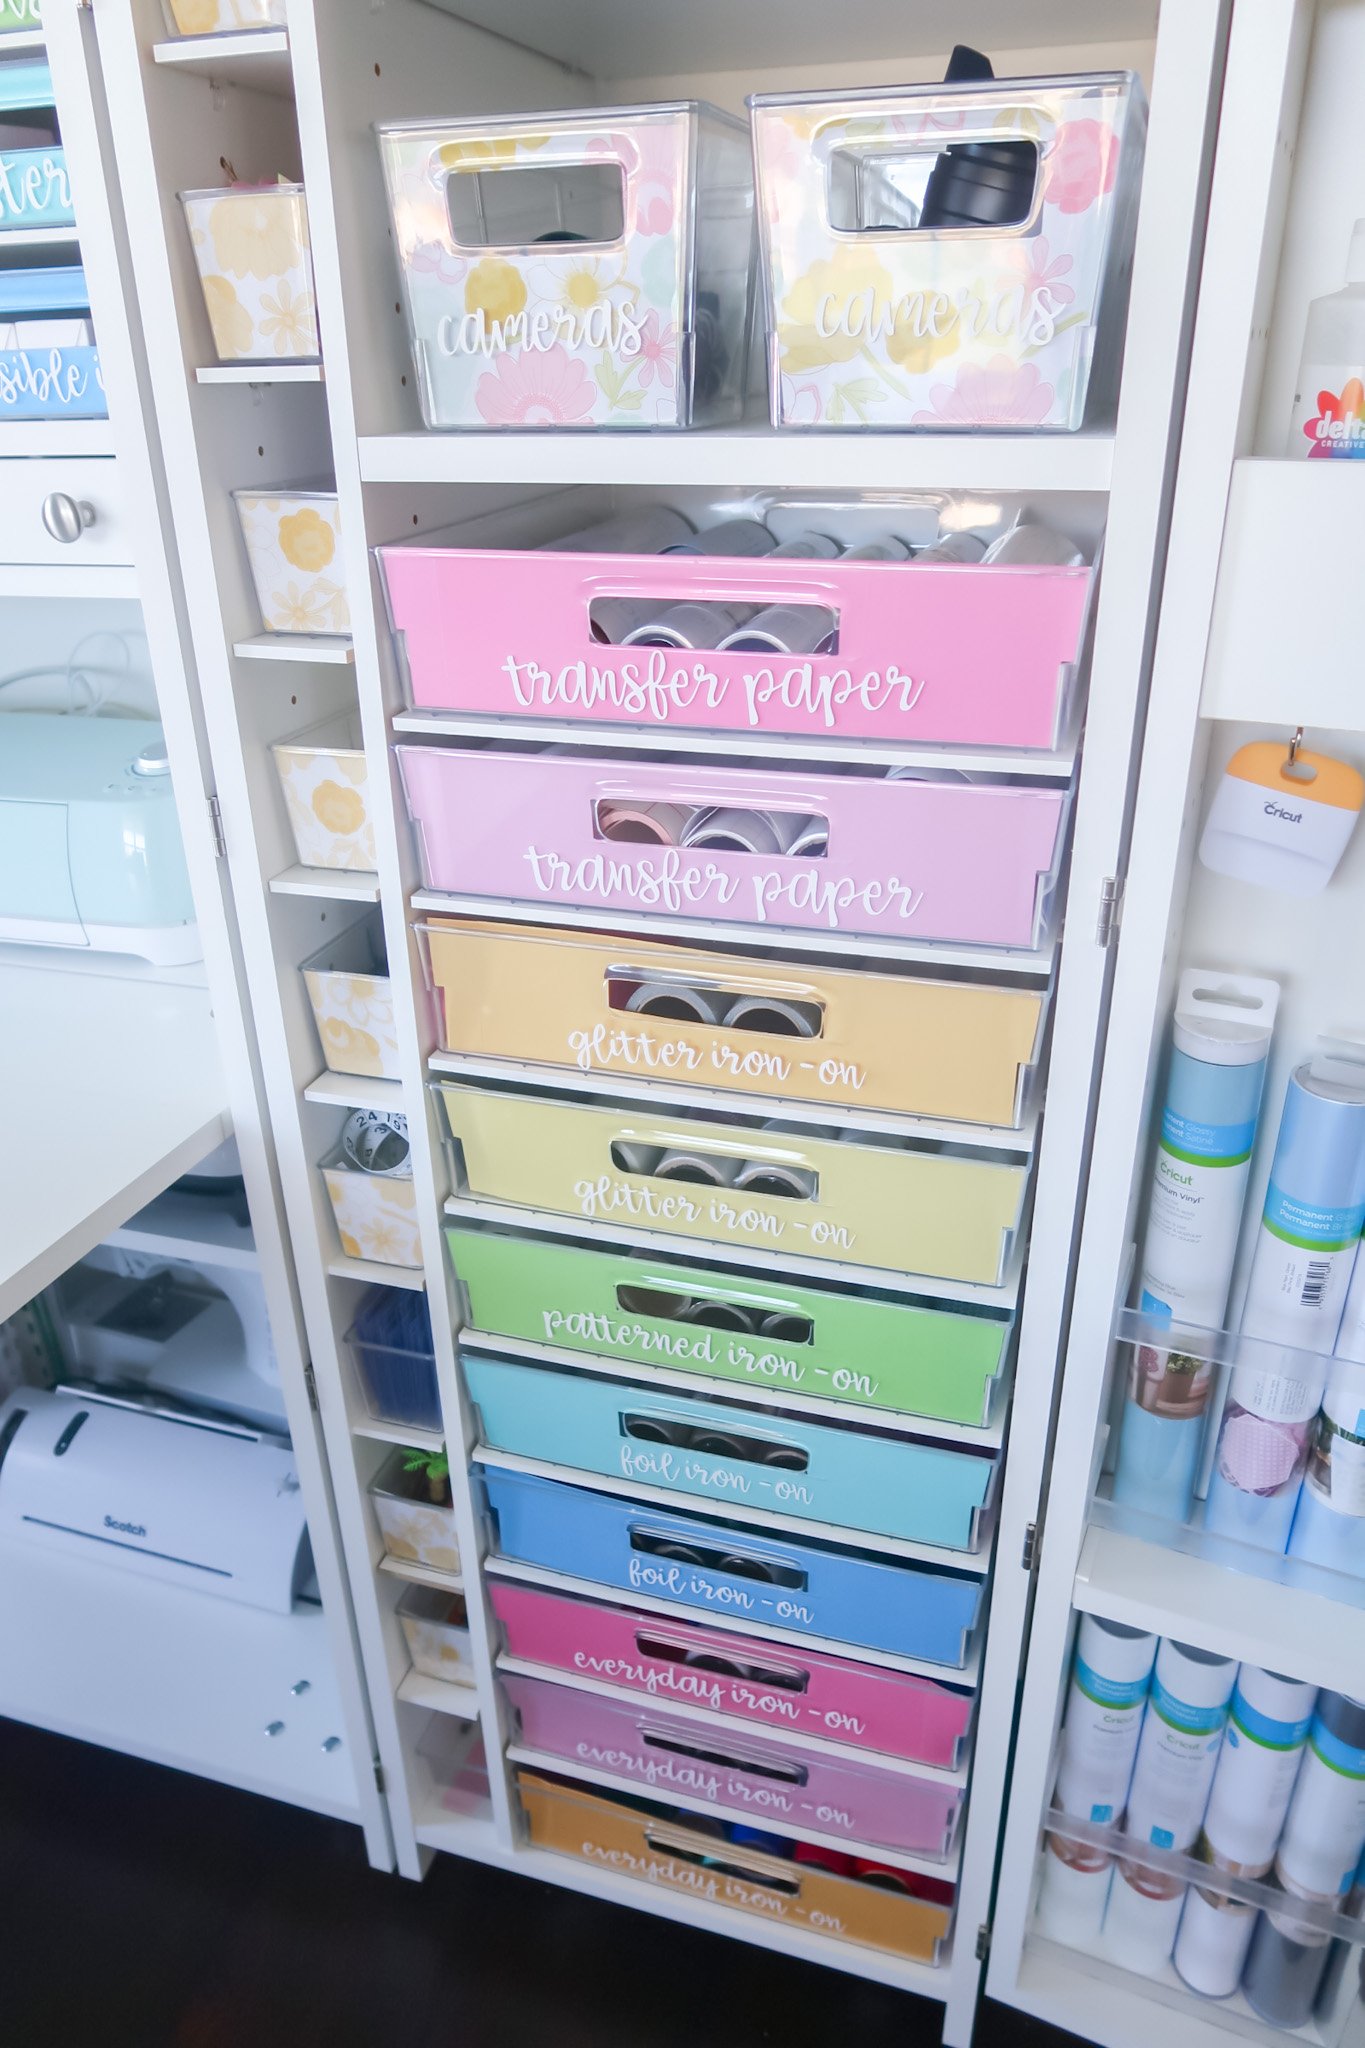
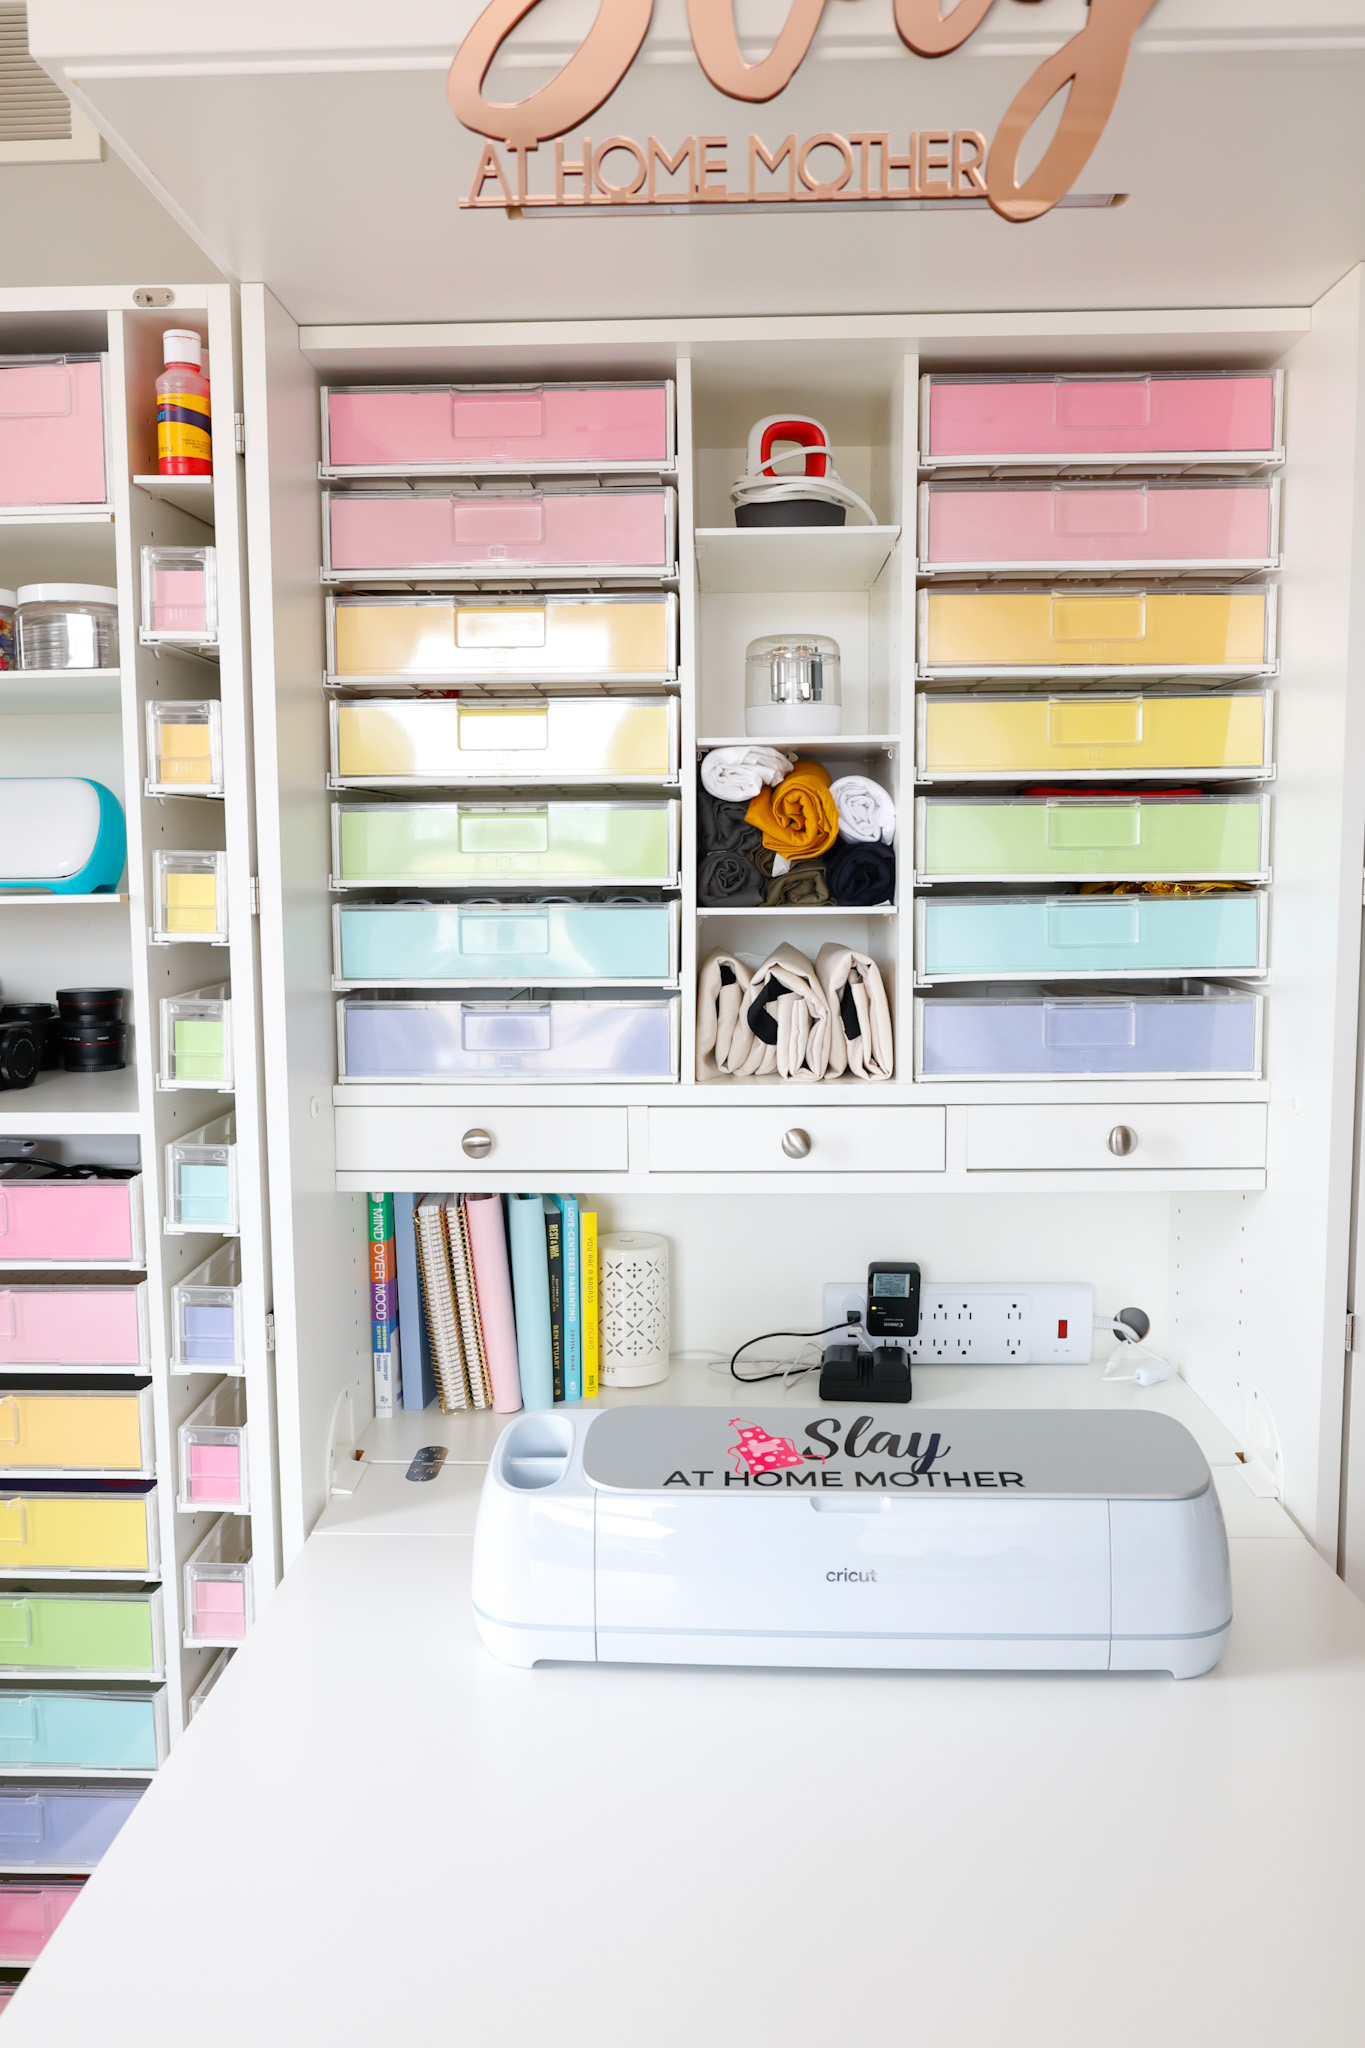
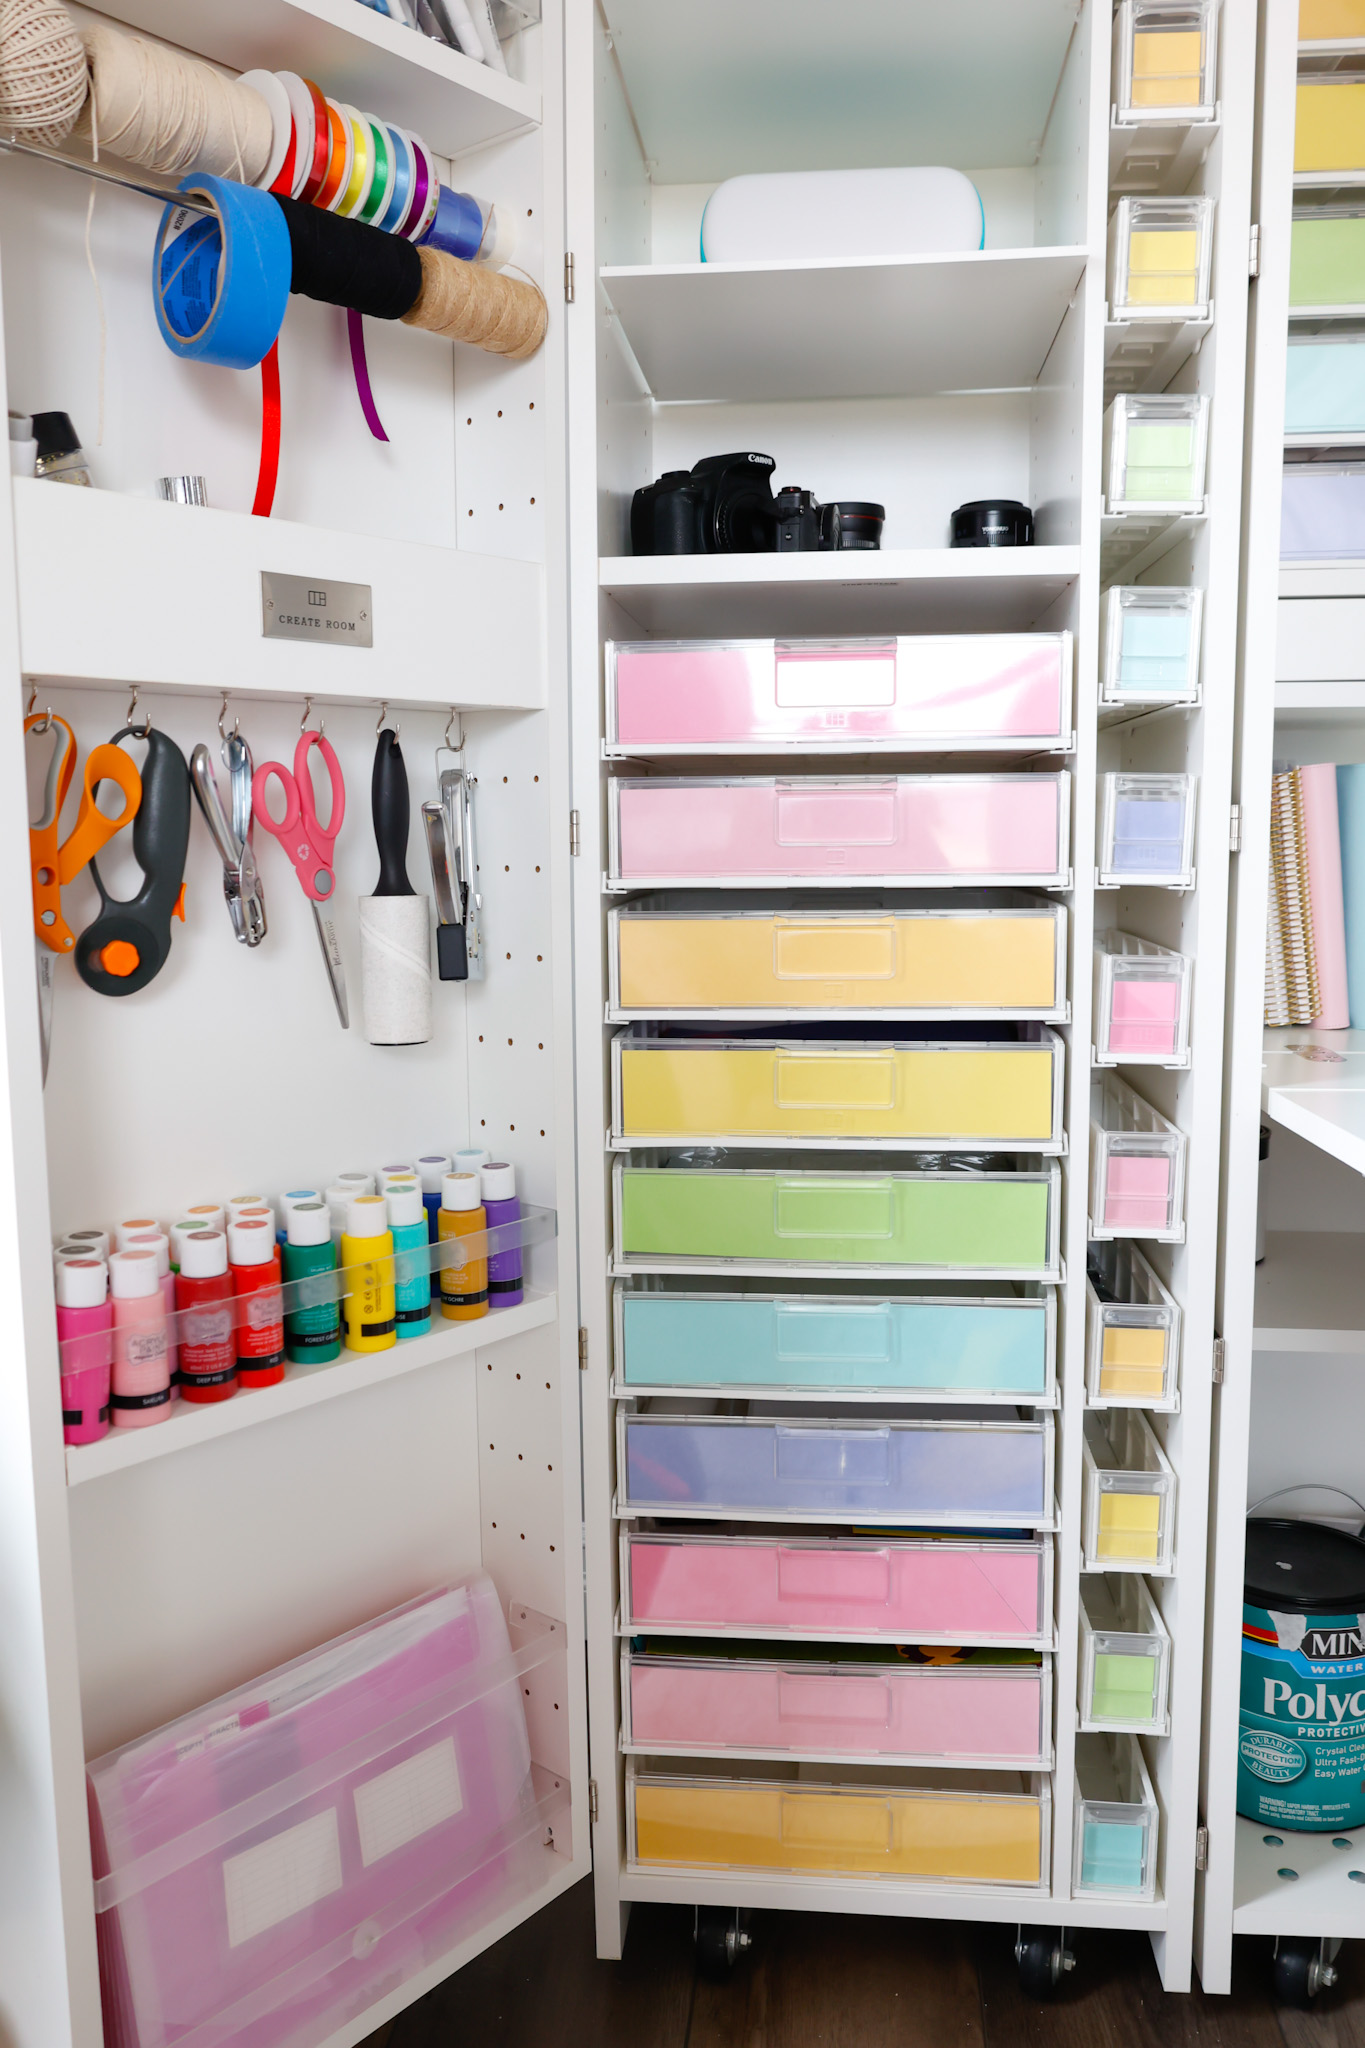
Here are my Dividrawers in my DreamBox (aren’t they gorgeous?)…
You May Also Like: DreamBox Review
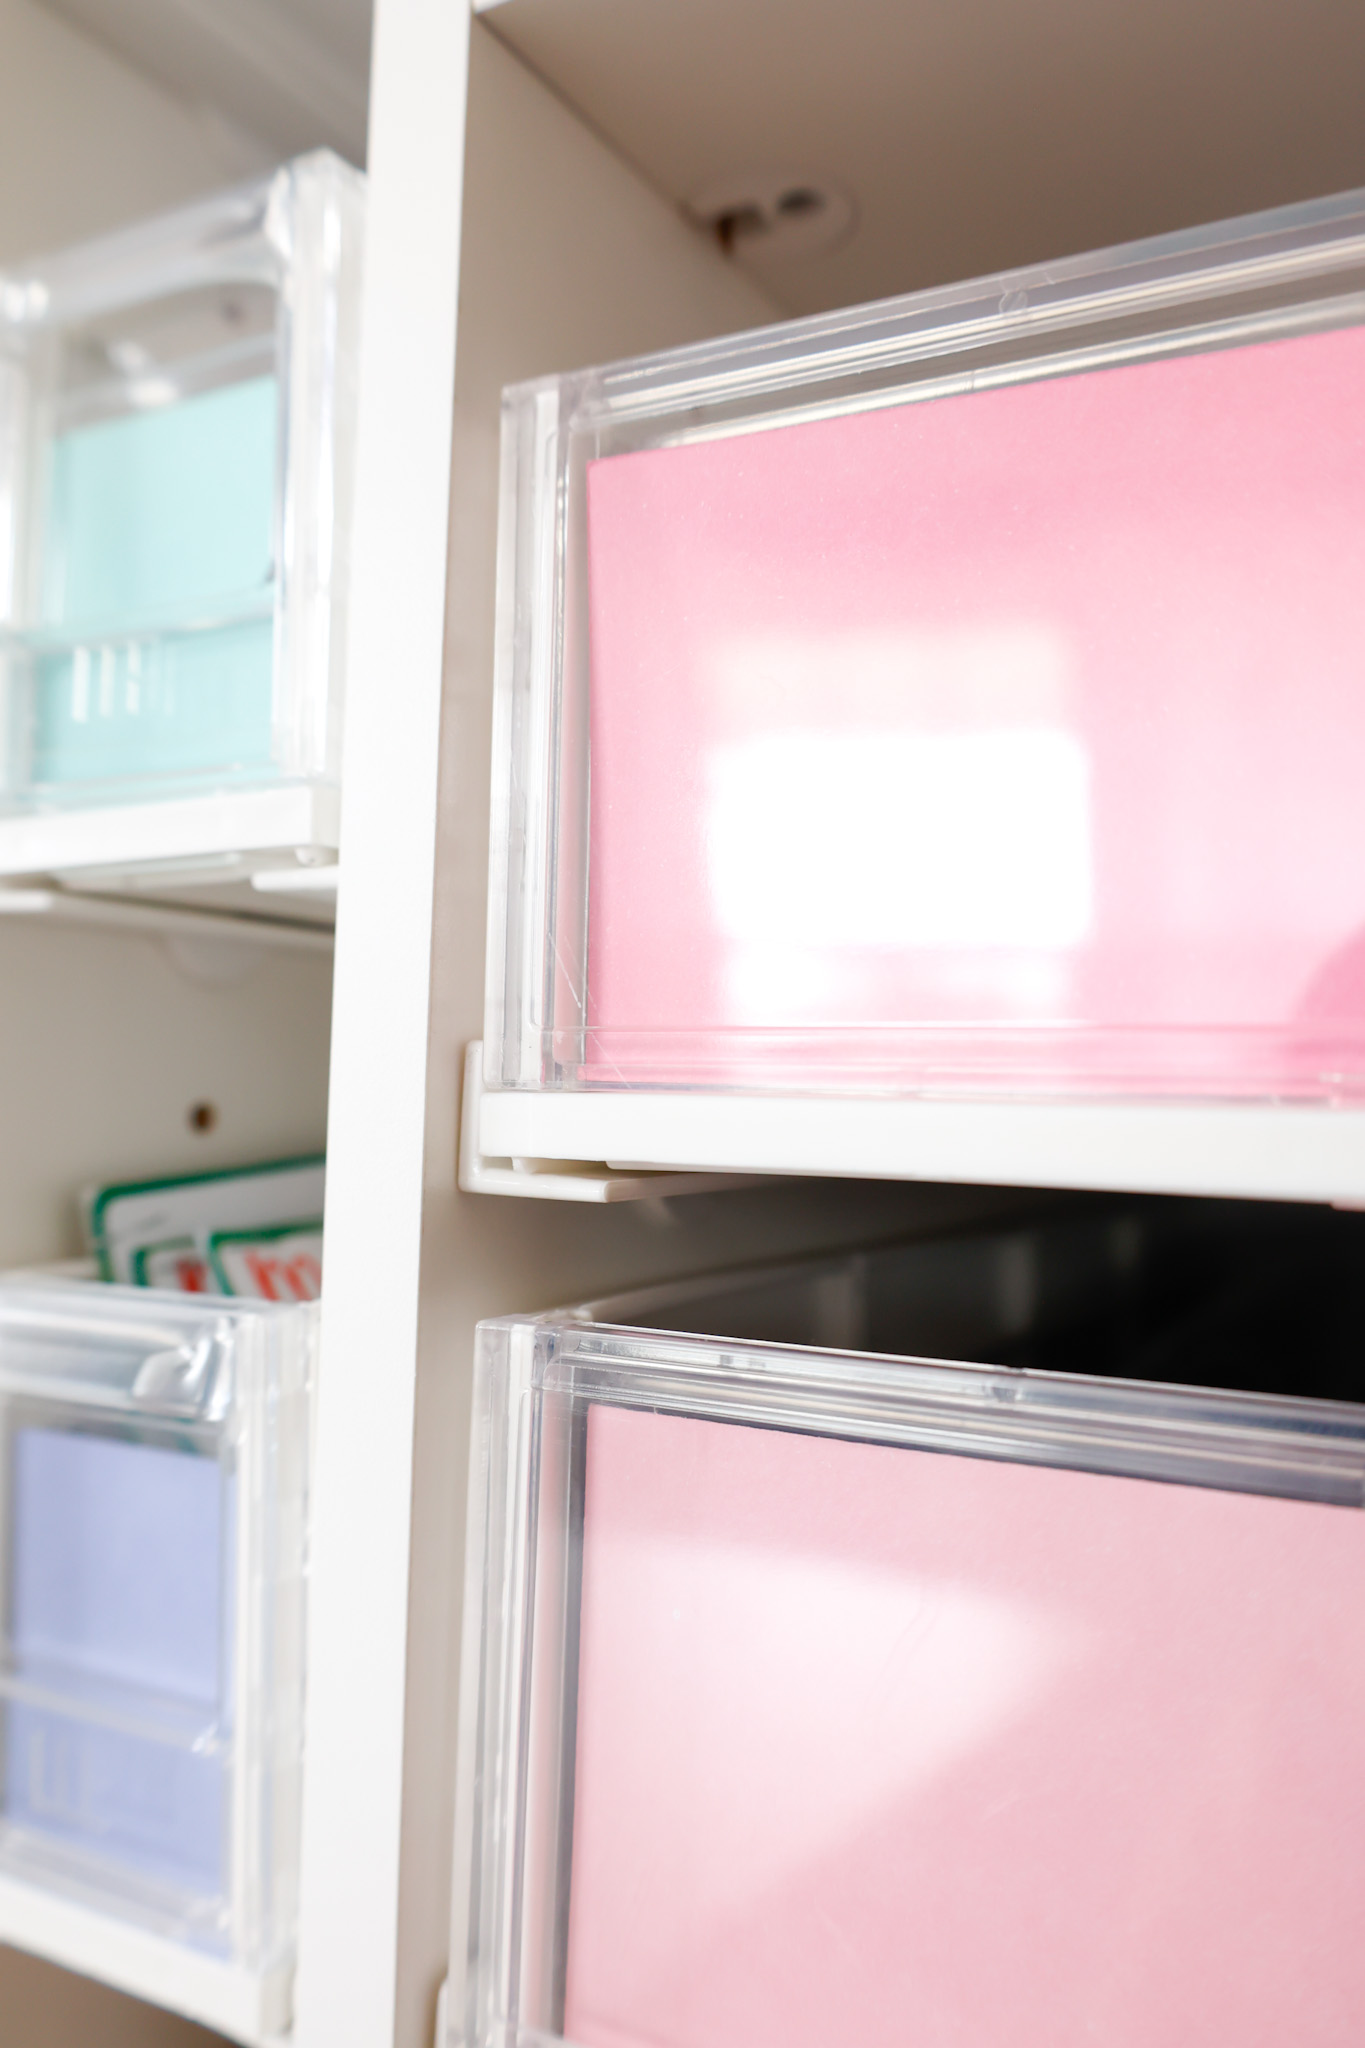
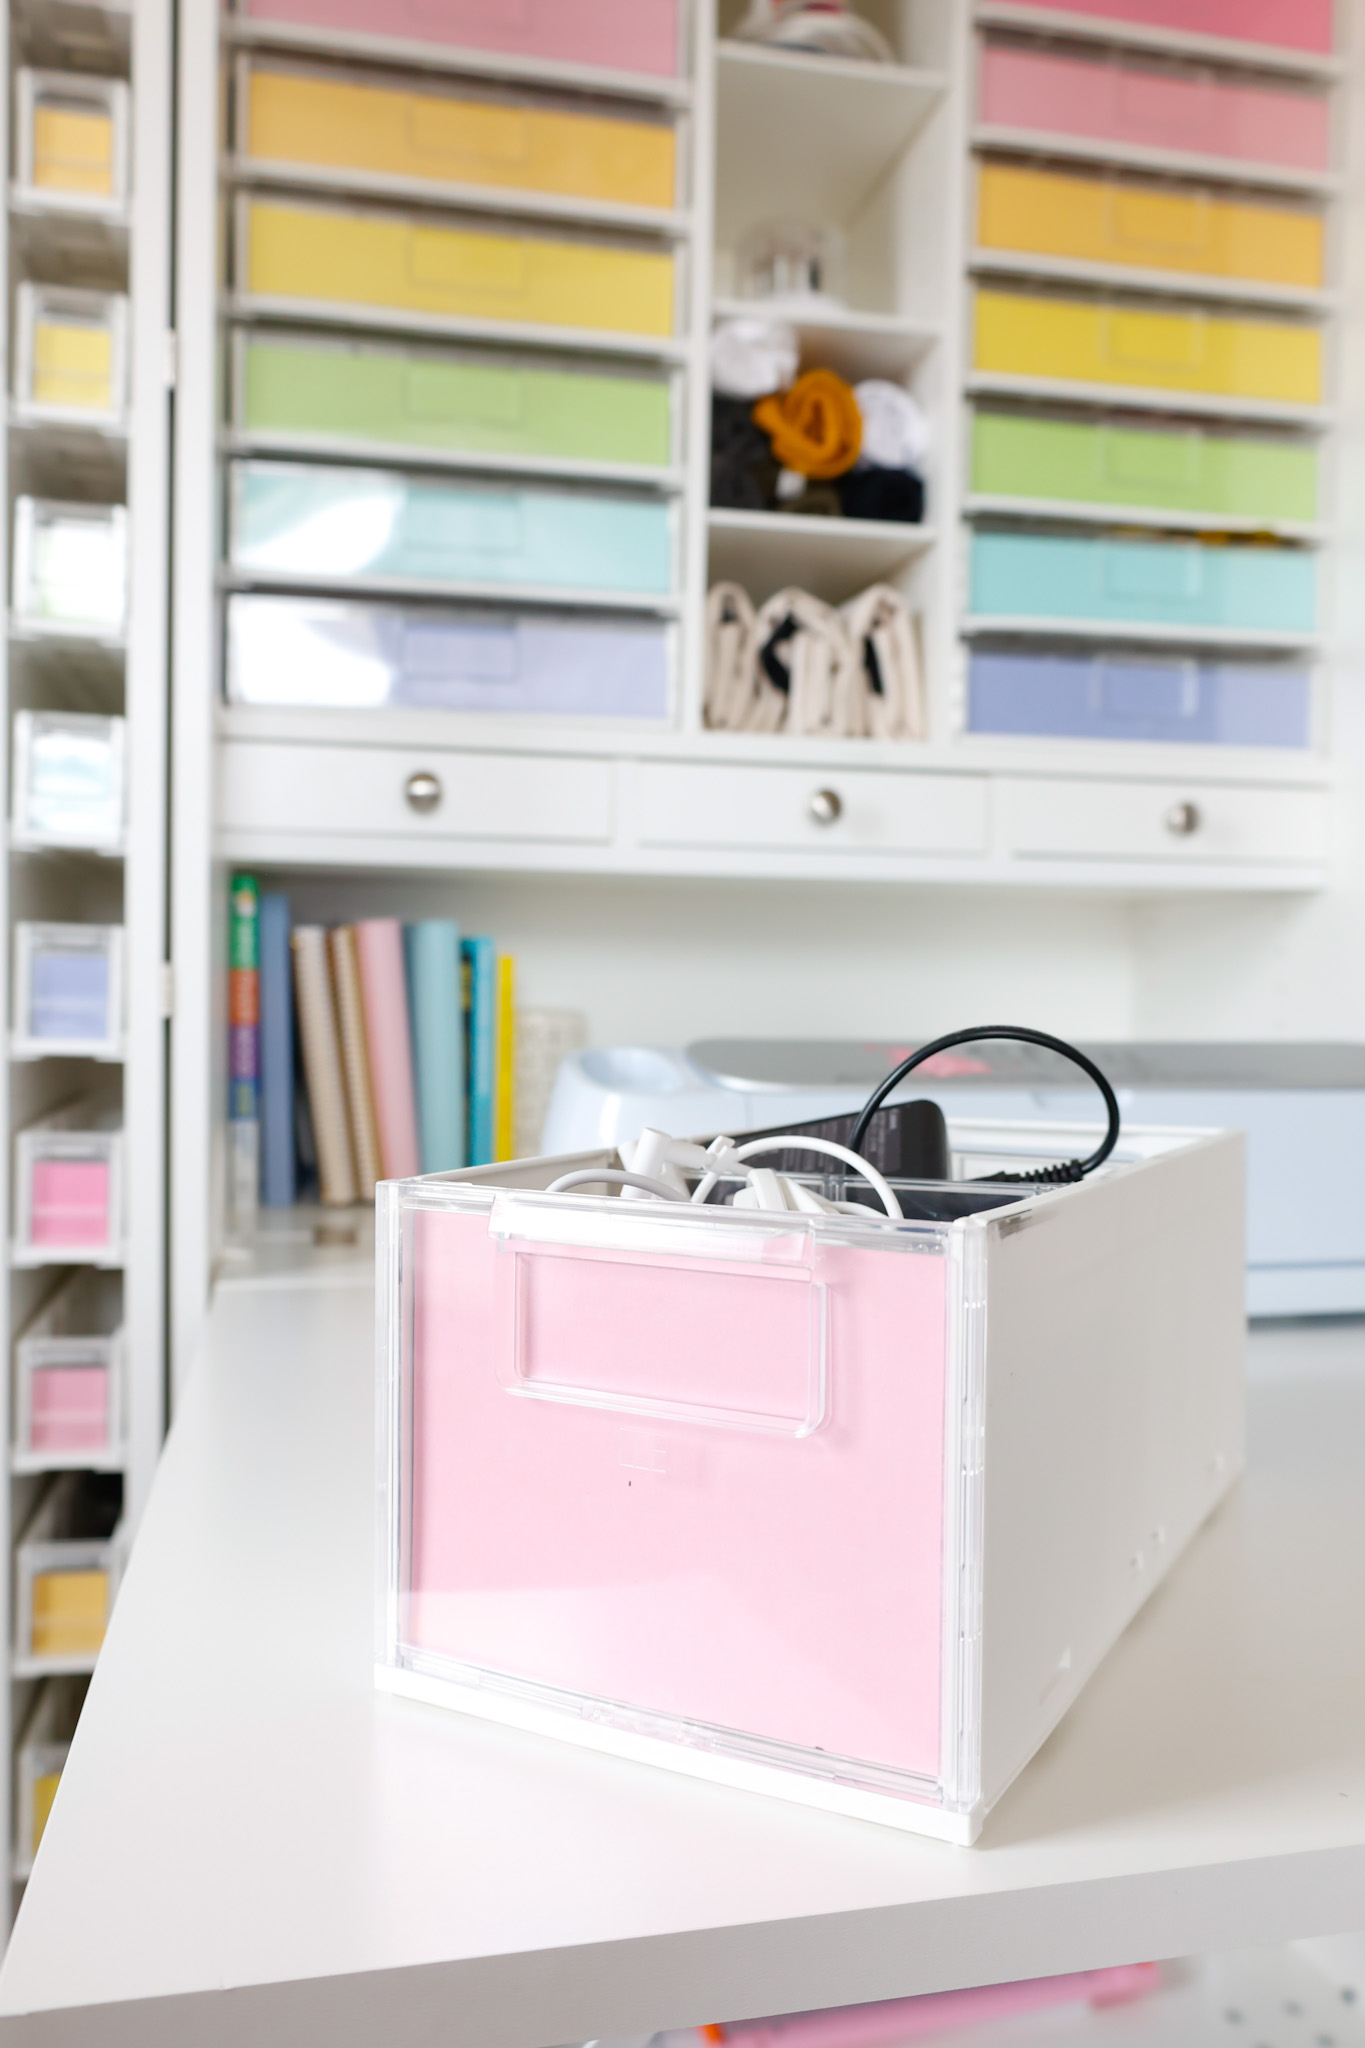
I love the square shape of the dividrawers, and the built-in pull handle.
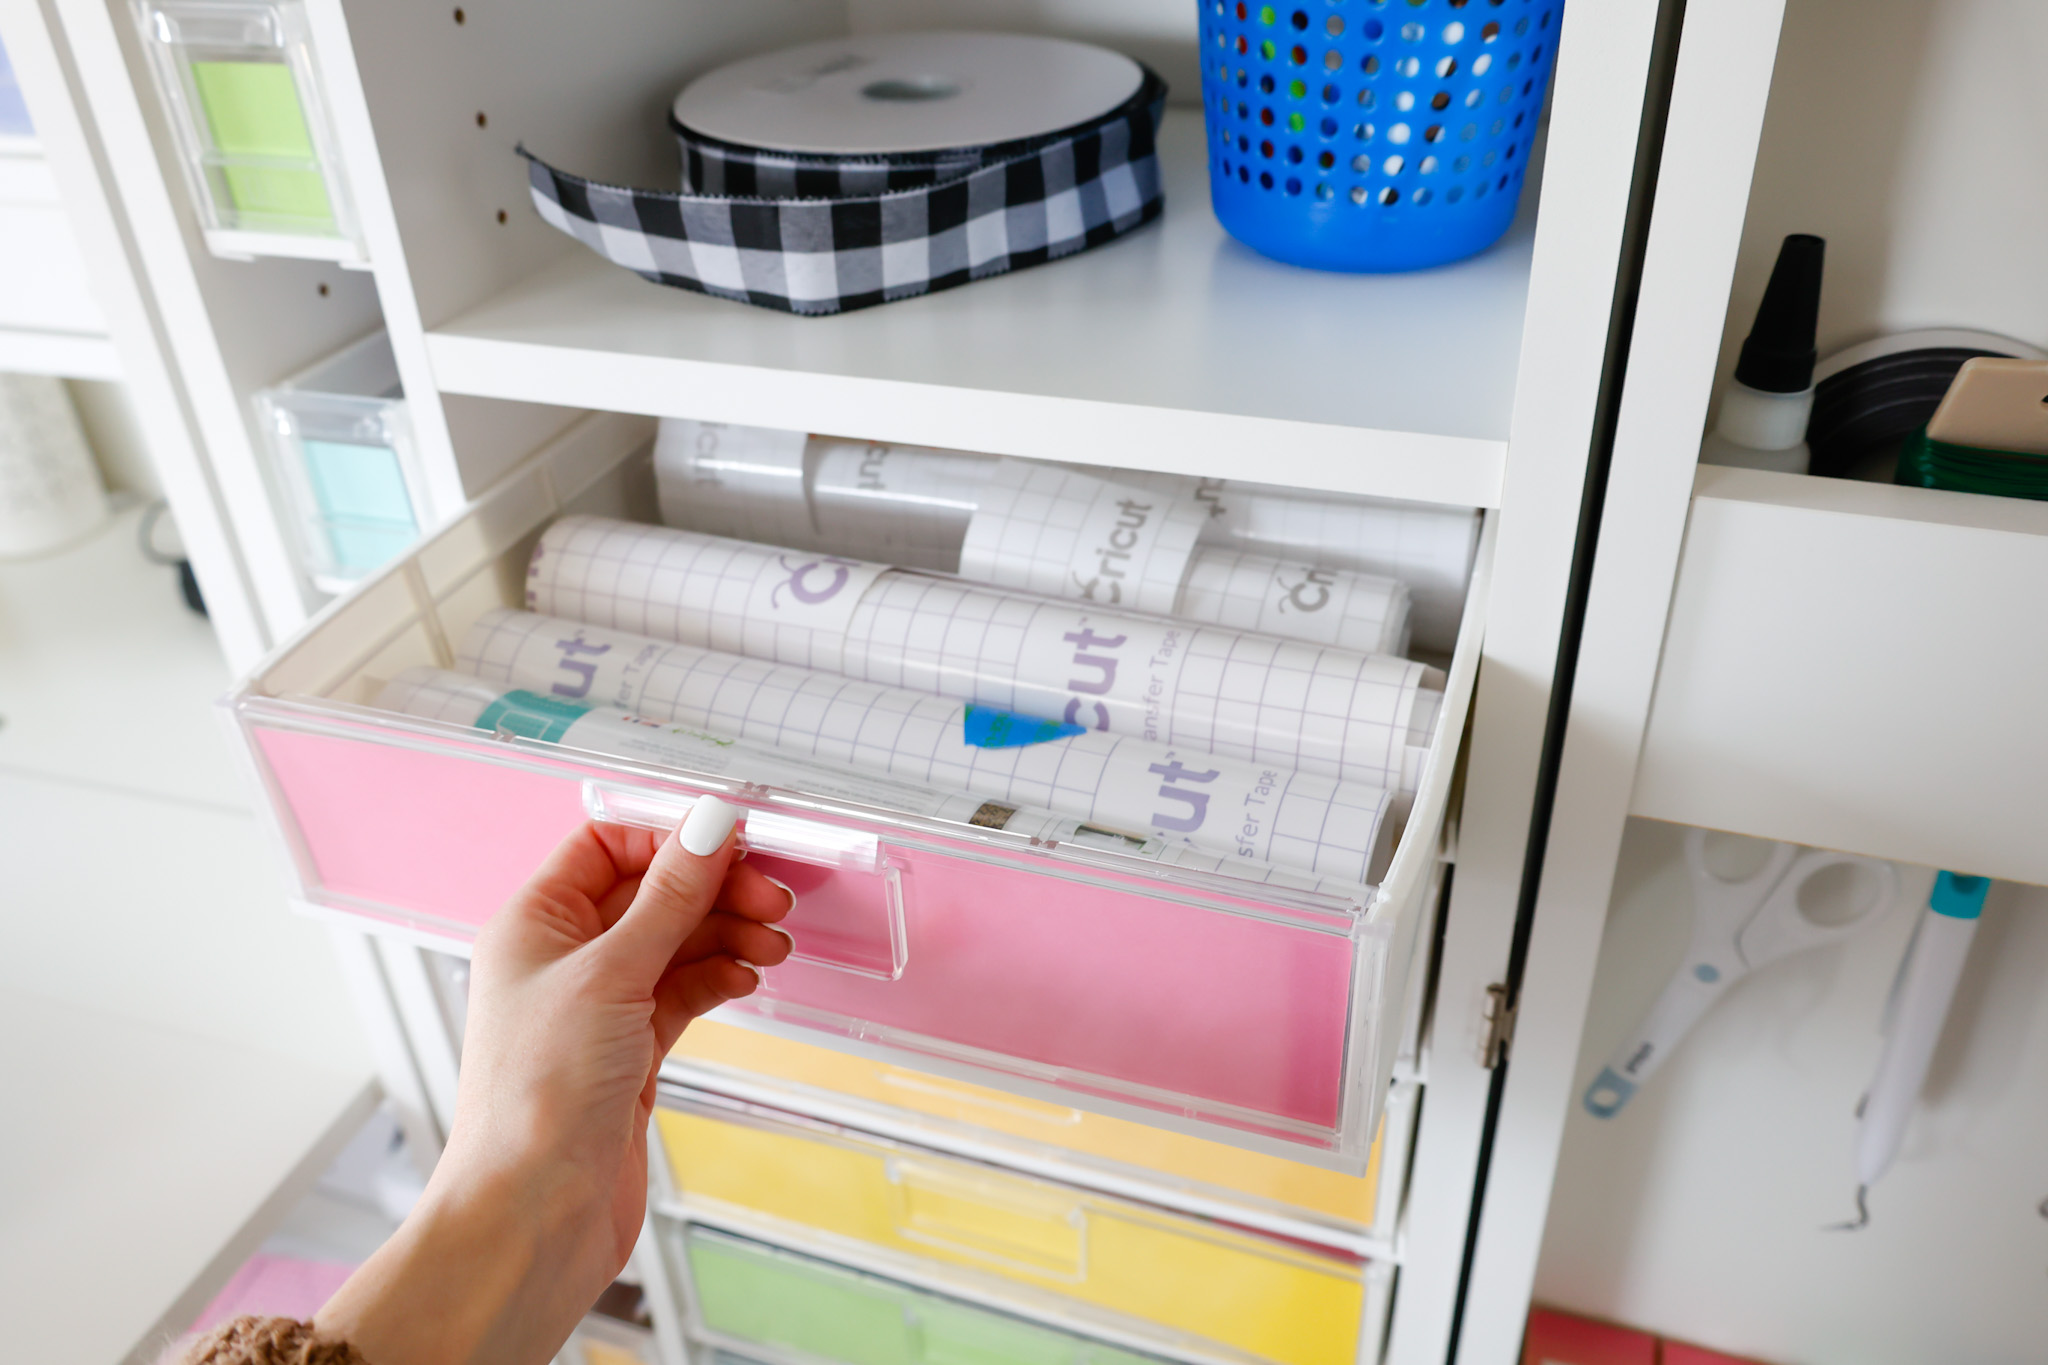
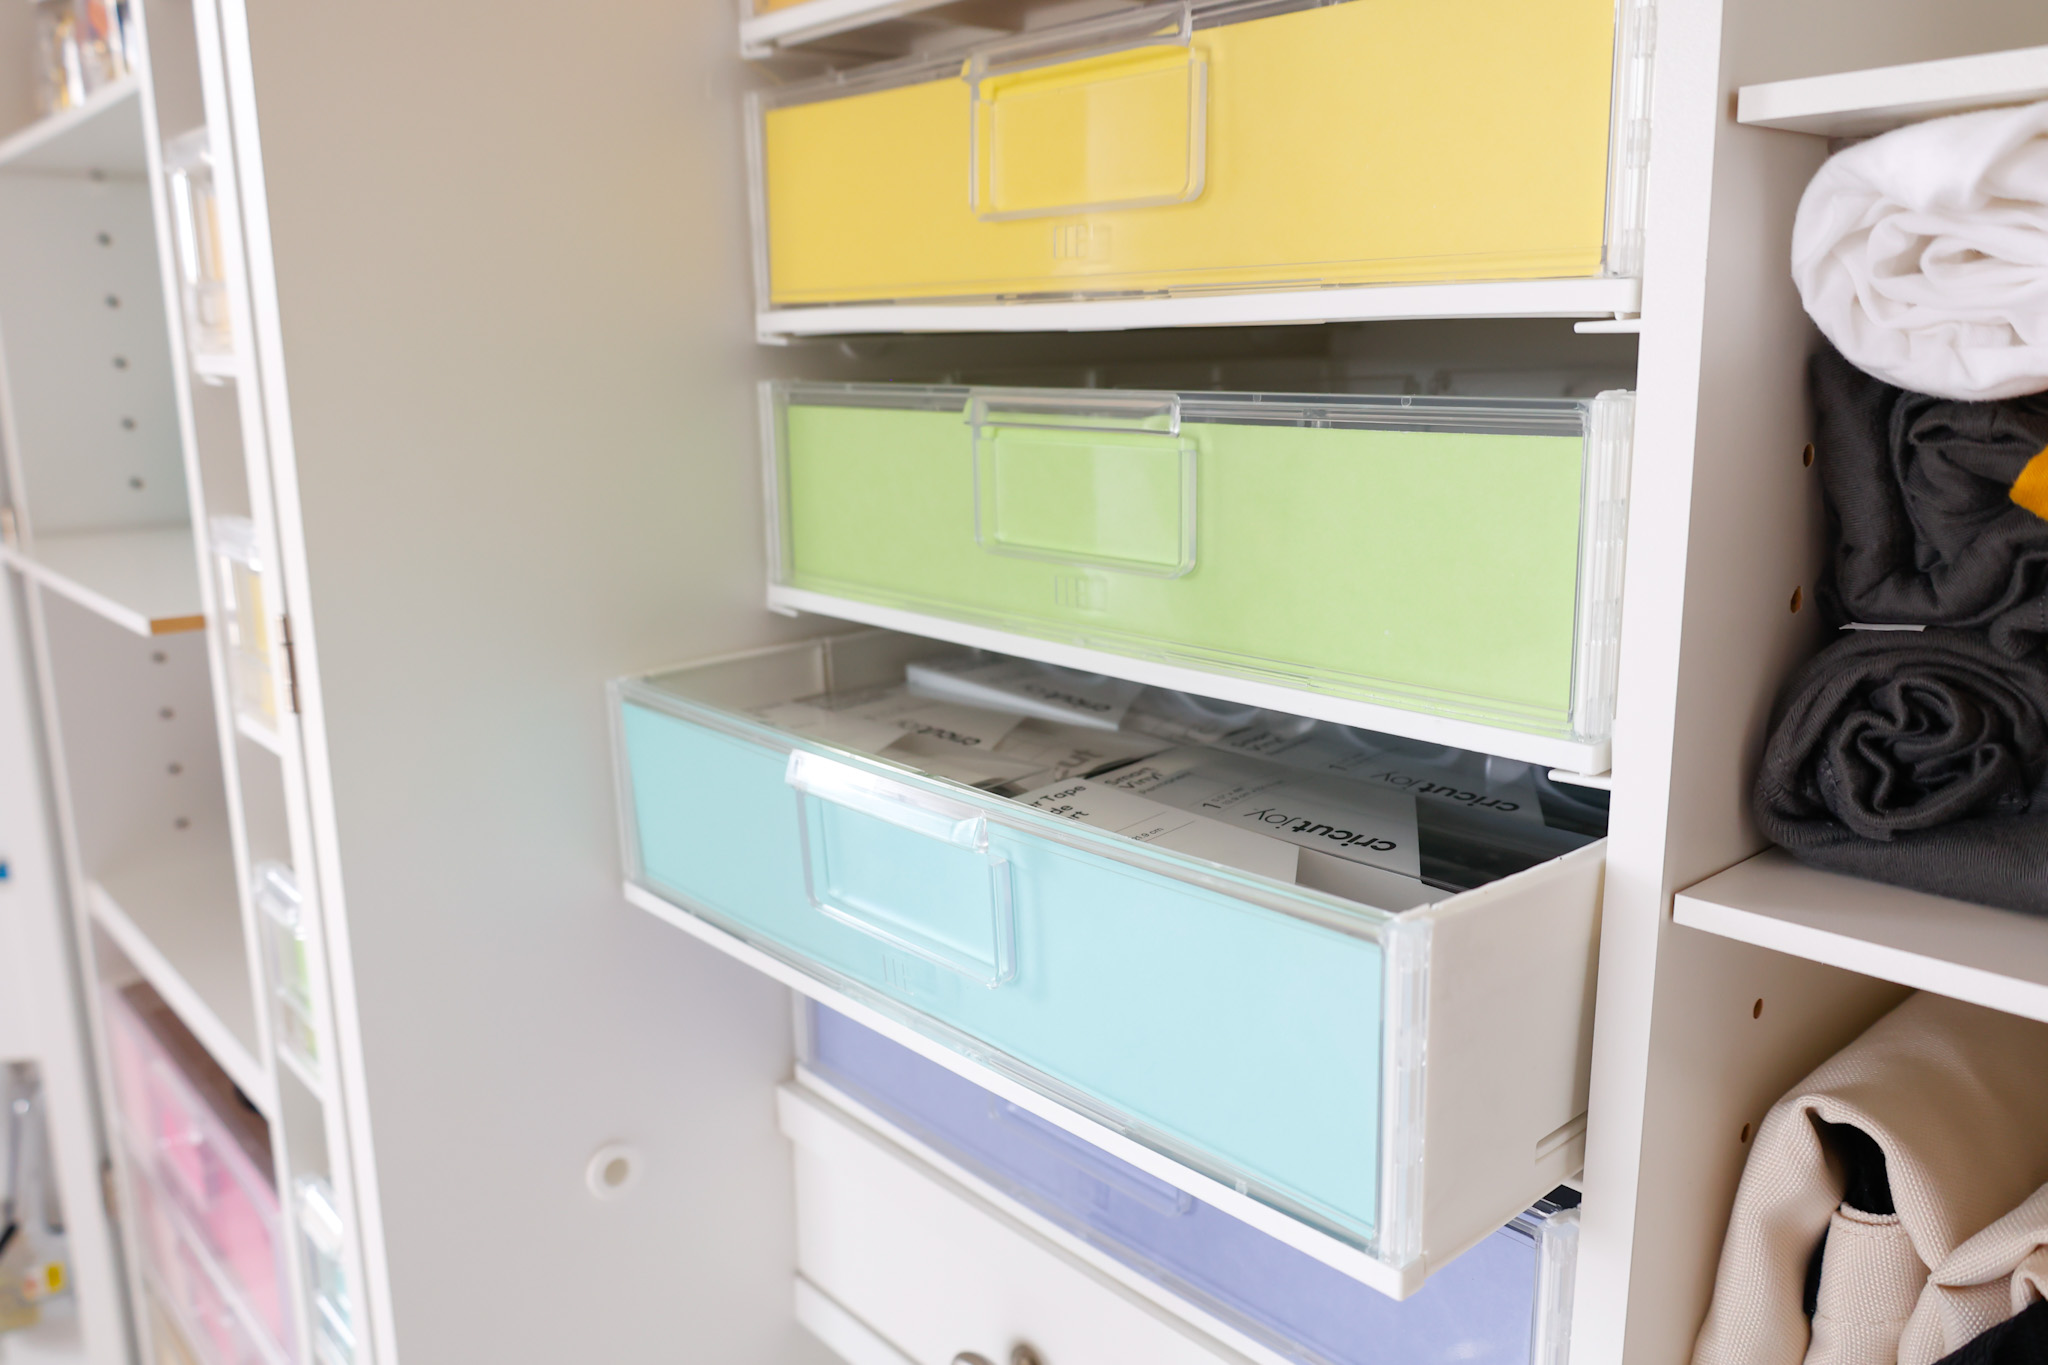
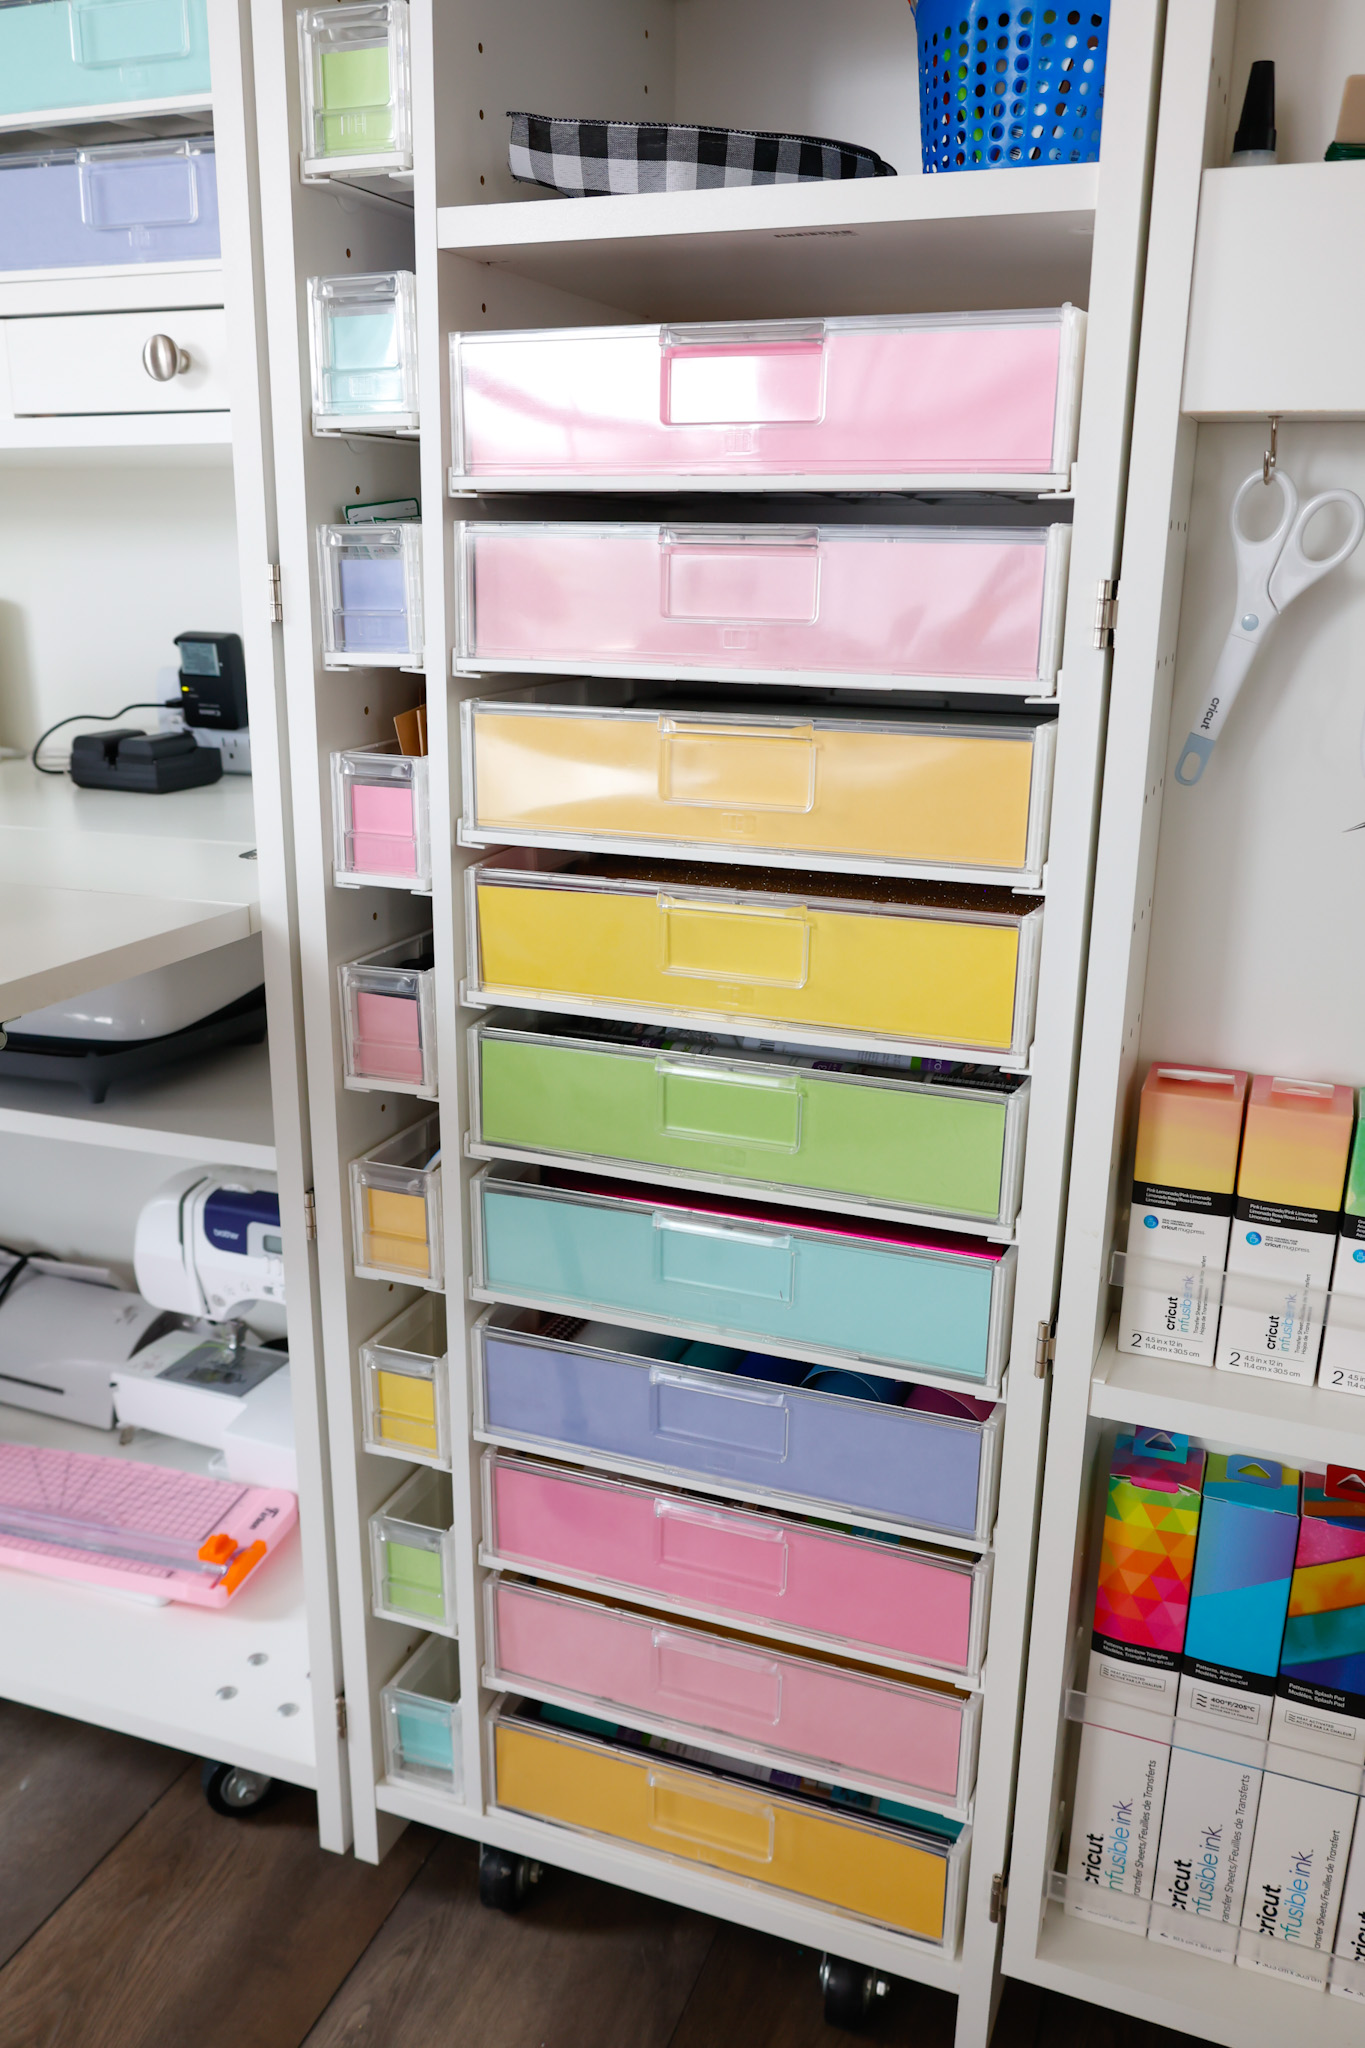
While the in-view totes have clear pegs that fit into the holes inside the DreamBox cavities onto which a thin wood shelf sits on to hold the totes, the DiviDrawer shelves are a little different.
The DiviDrawers don’t sit on shelves, but they slide onto tracks that fit into the holes.
They slide onto the tracks and are very snug-fitting.
The bottom of the DiviDrawer serves as the shelf.
If you’re looking at this picture and wondering if these would be easy to pull down – you’d be wrong! These are incredibly sturdy, and the design process behind them is wonderful.
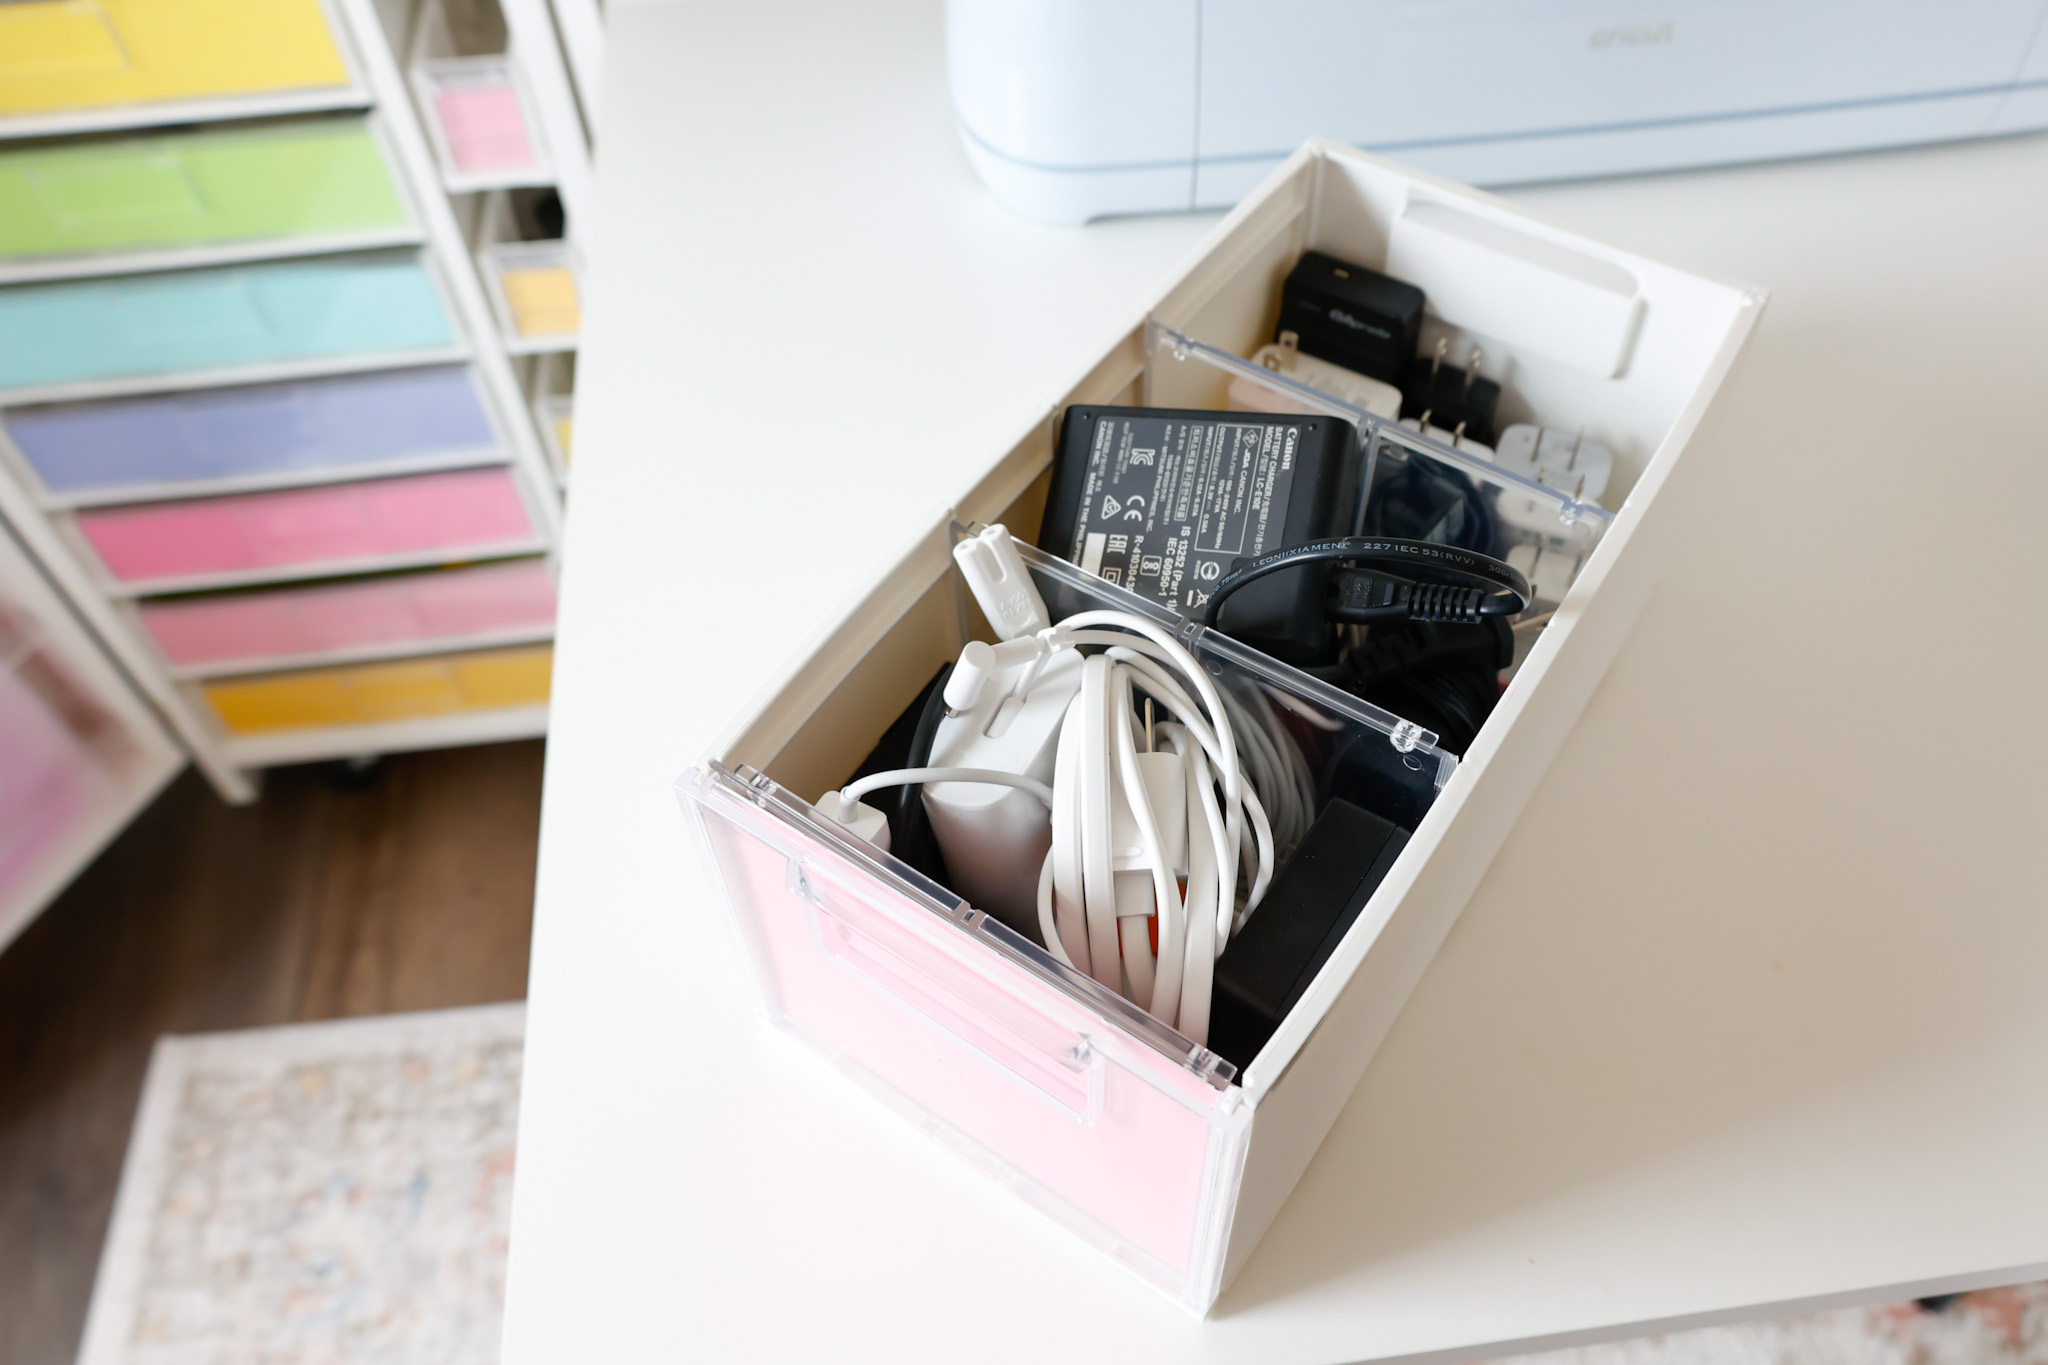
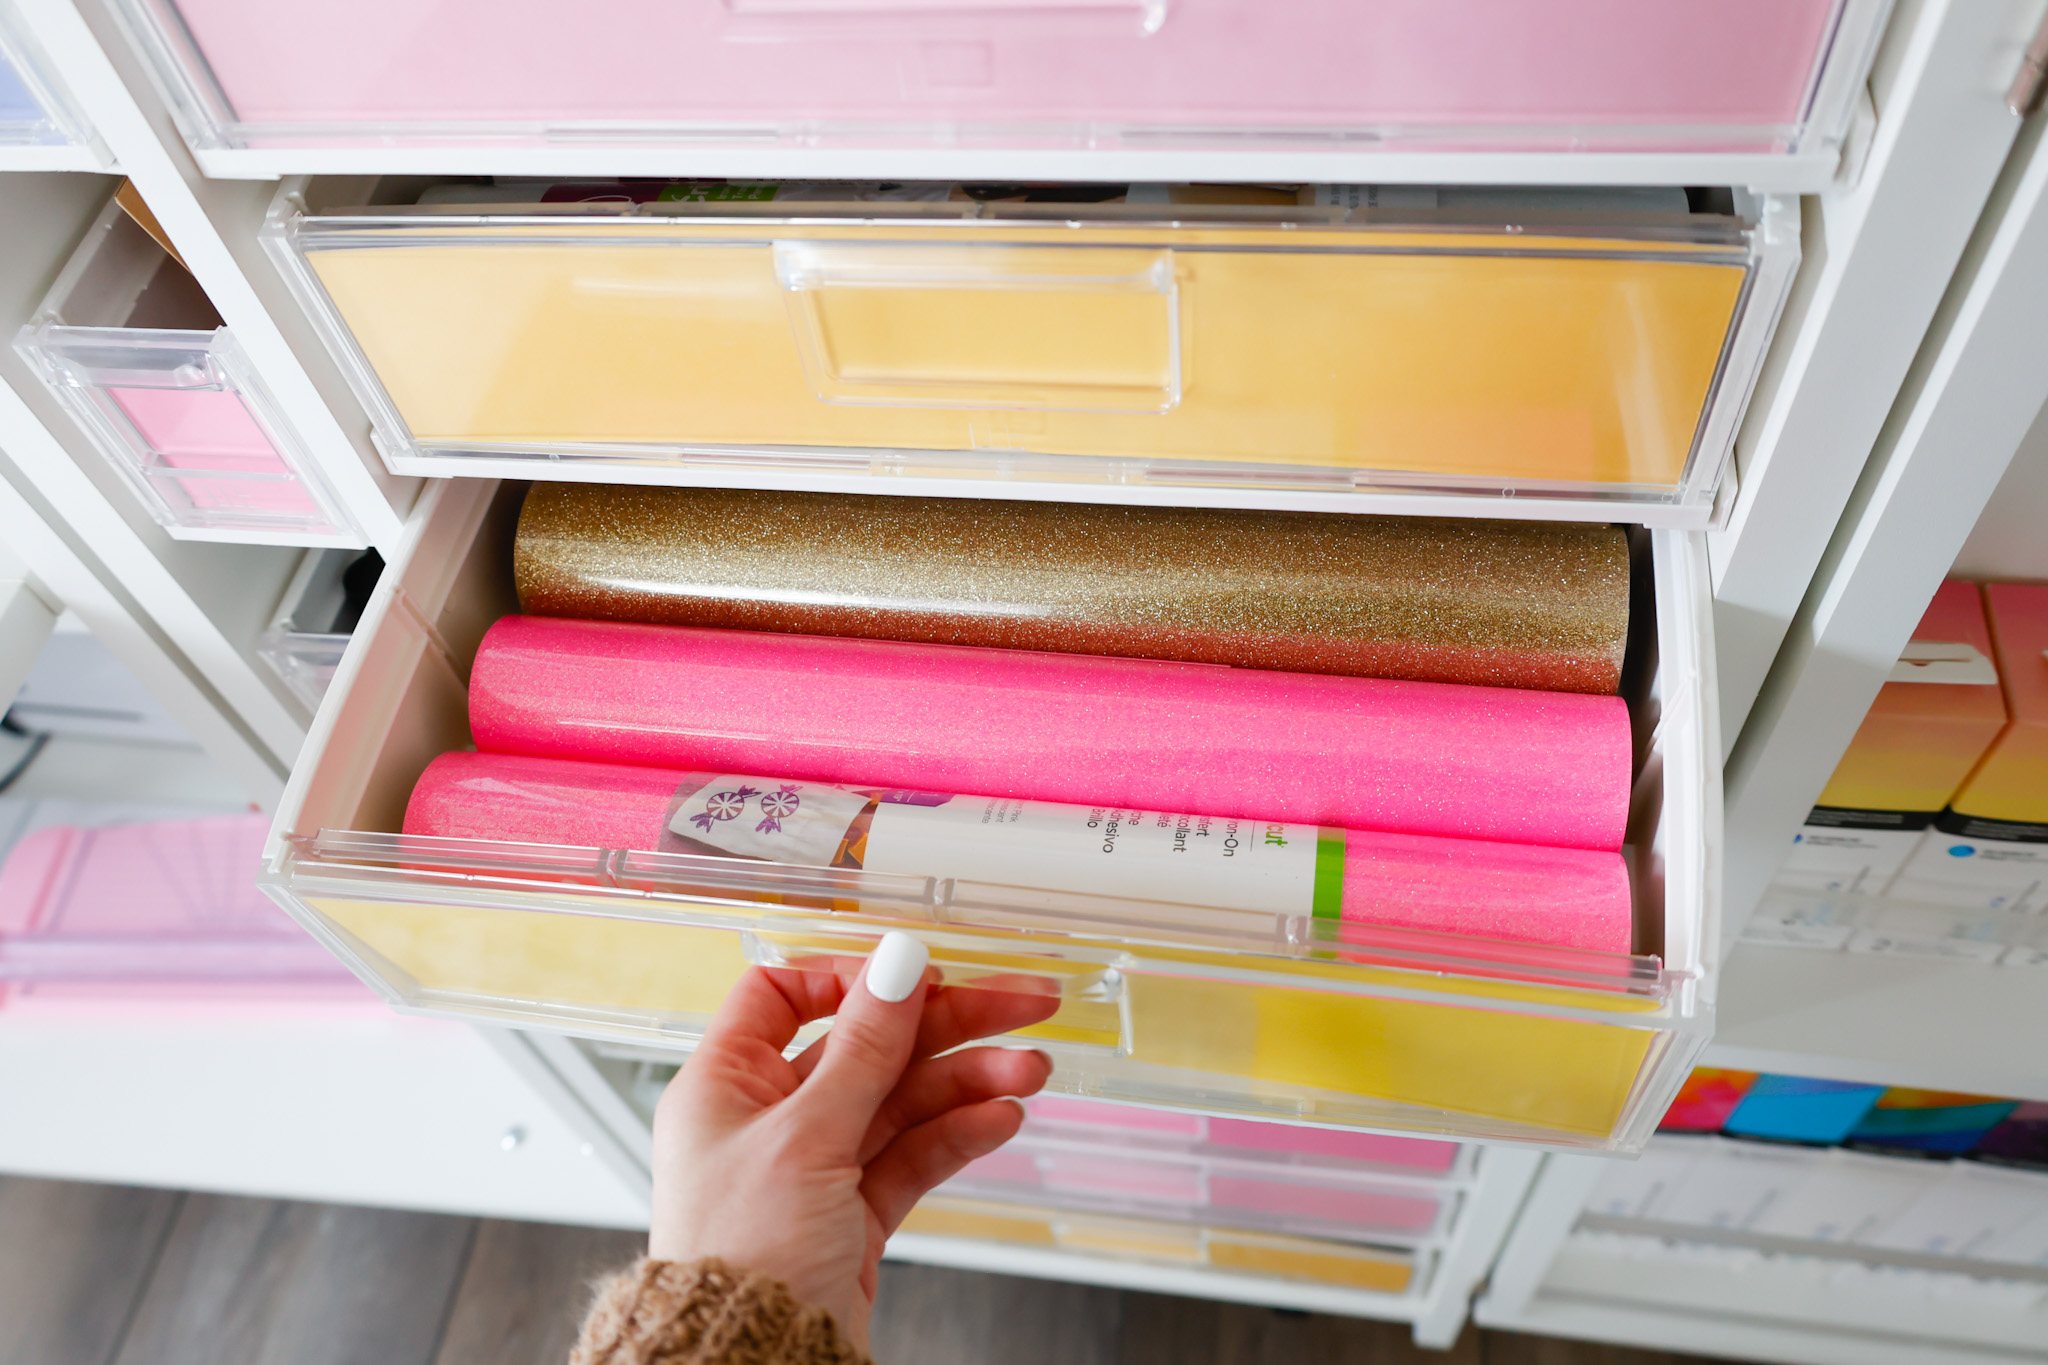
Like the In-View totes, the Create Room Dividrawers also have dividers that you can use to separate certain items within the container for customized organization.
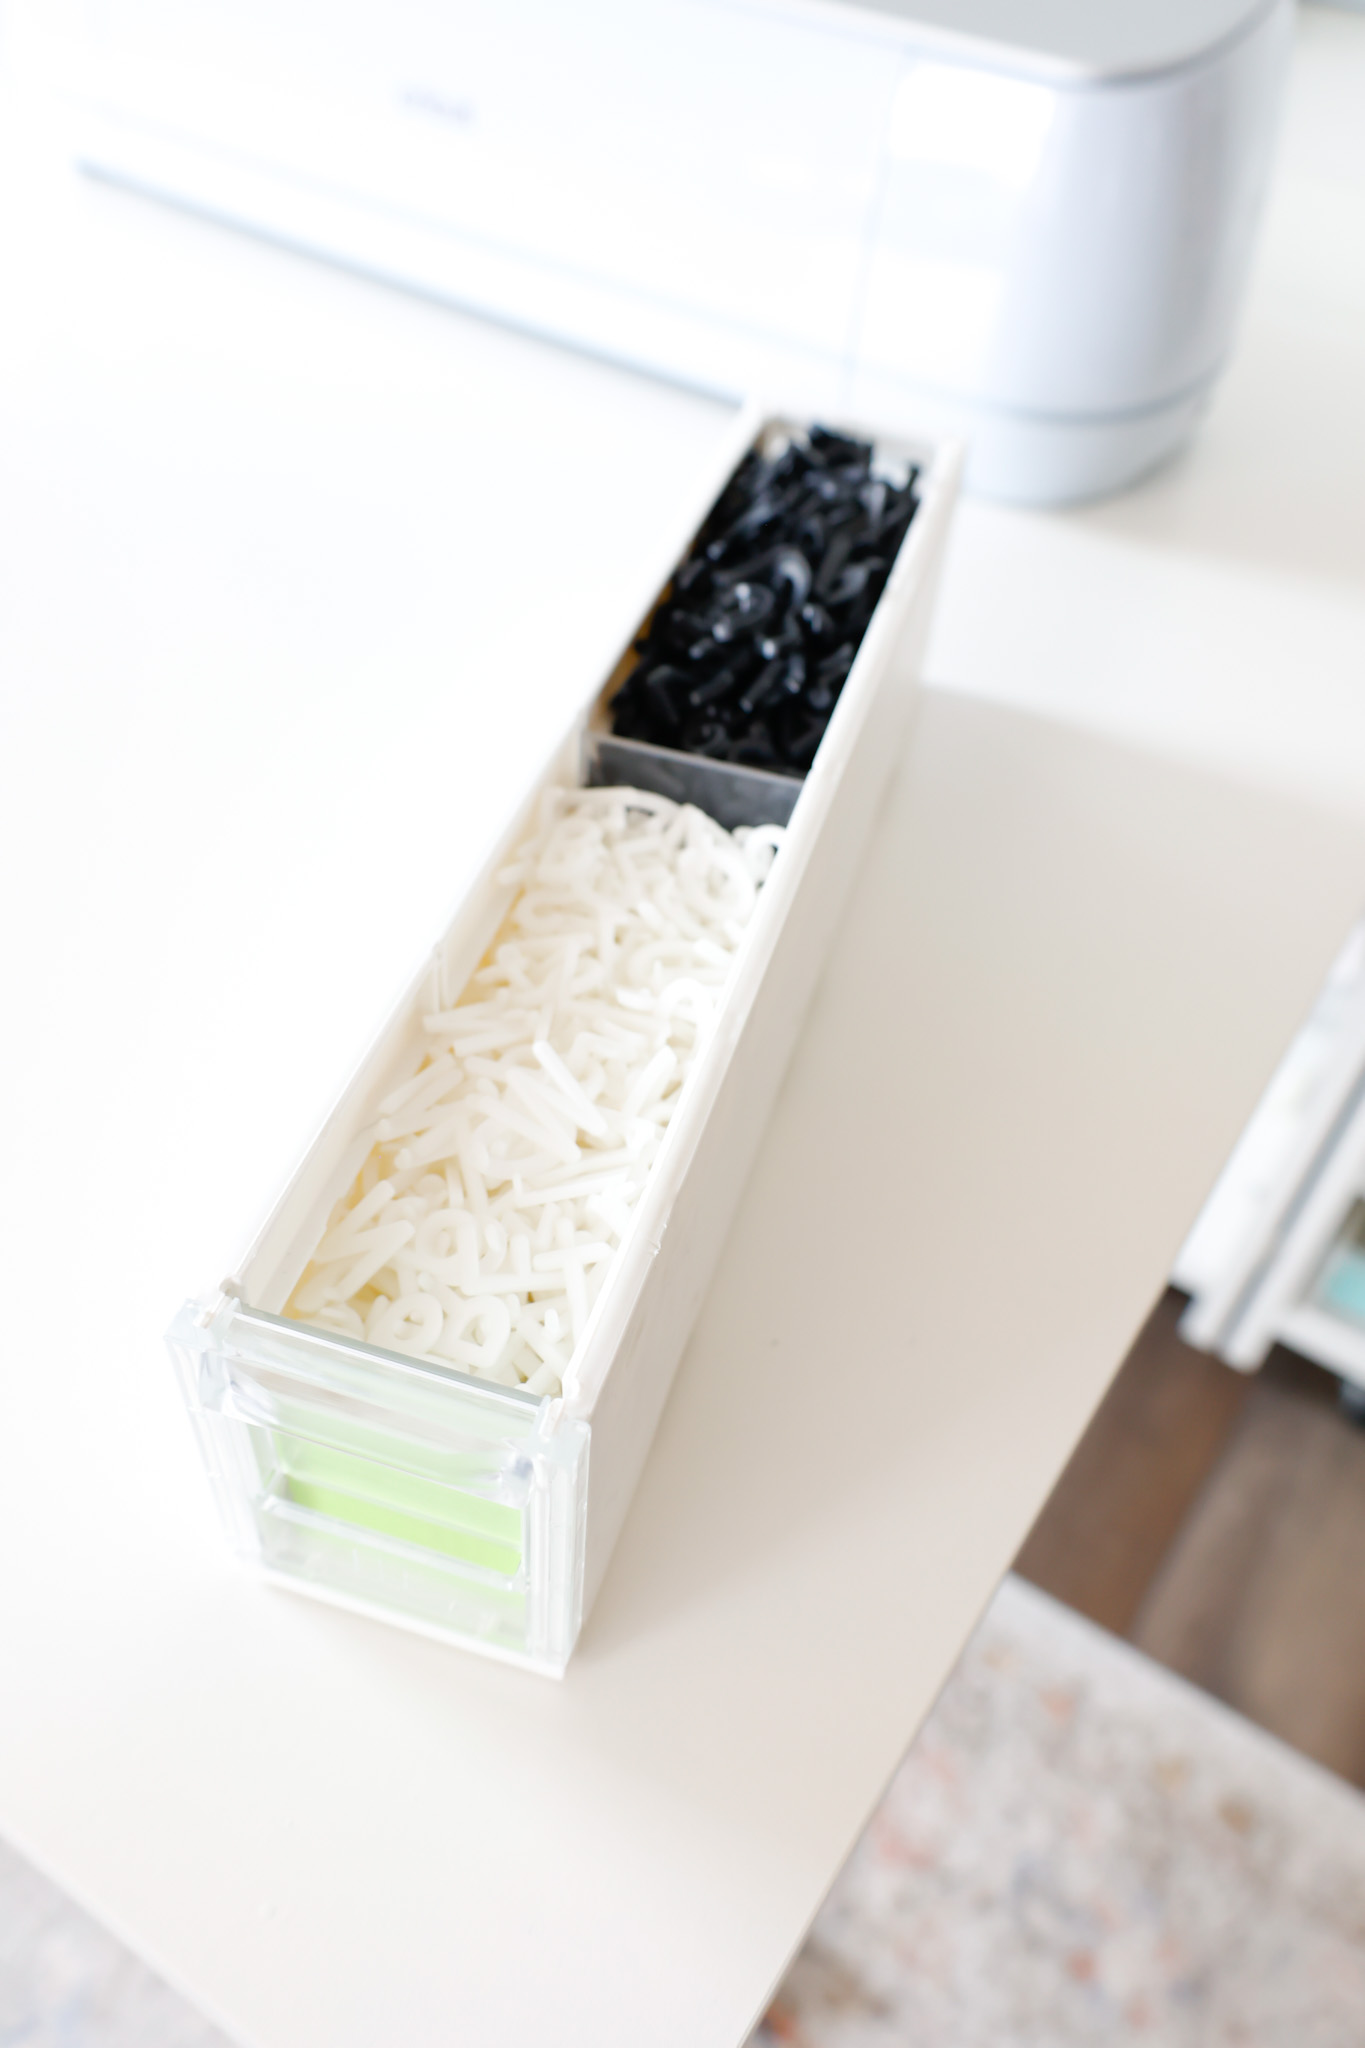
Here’s a bird’s eye view of one of the medium-sized DiviDrawers I use for my charging cables and plugs, with two dividers in place to help keep my better organized!
Building my DiviDrawers and installing them was a simple process, and I’m glad that Create Room included a rubber mallet!
If you’re debating on upgrading to the DiviDrawers from Create Room, I hope my video above and this post were helpful.
I may end up adding labels in the future to these label windows in the future, but for now – I’m loving the solid, clean look my DiviDrawers are giving my DreamBox!
If you have a DreamBox, do you have the DiviDrawers or the In-View totes? Share your thoughts with me in the comments below!