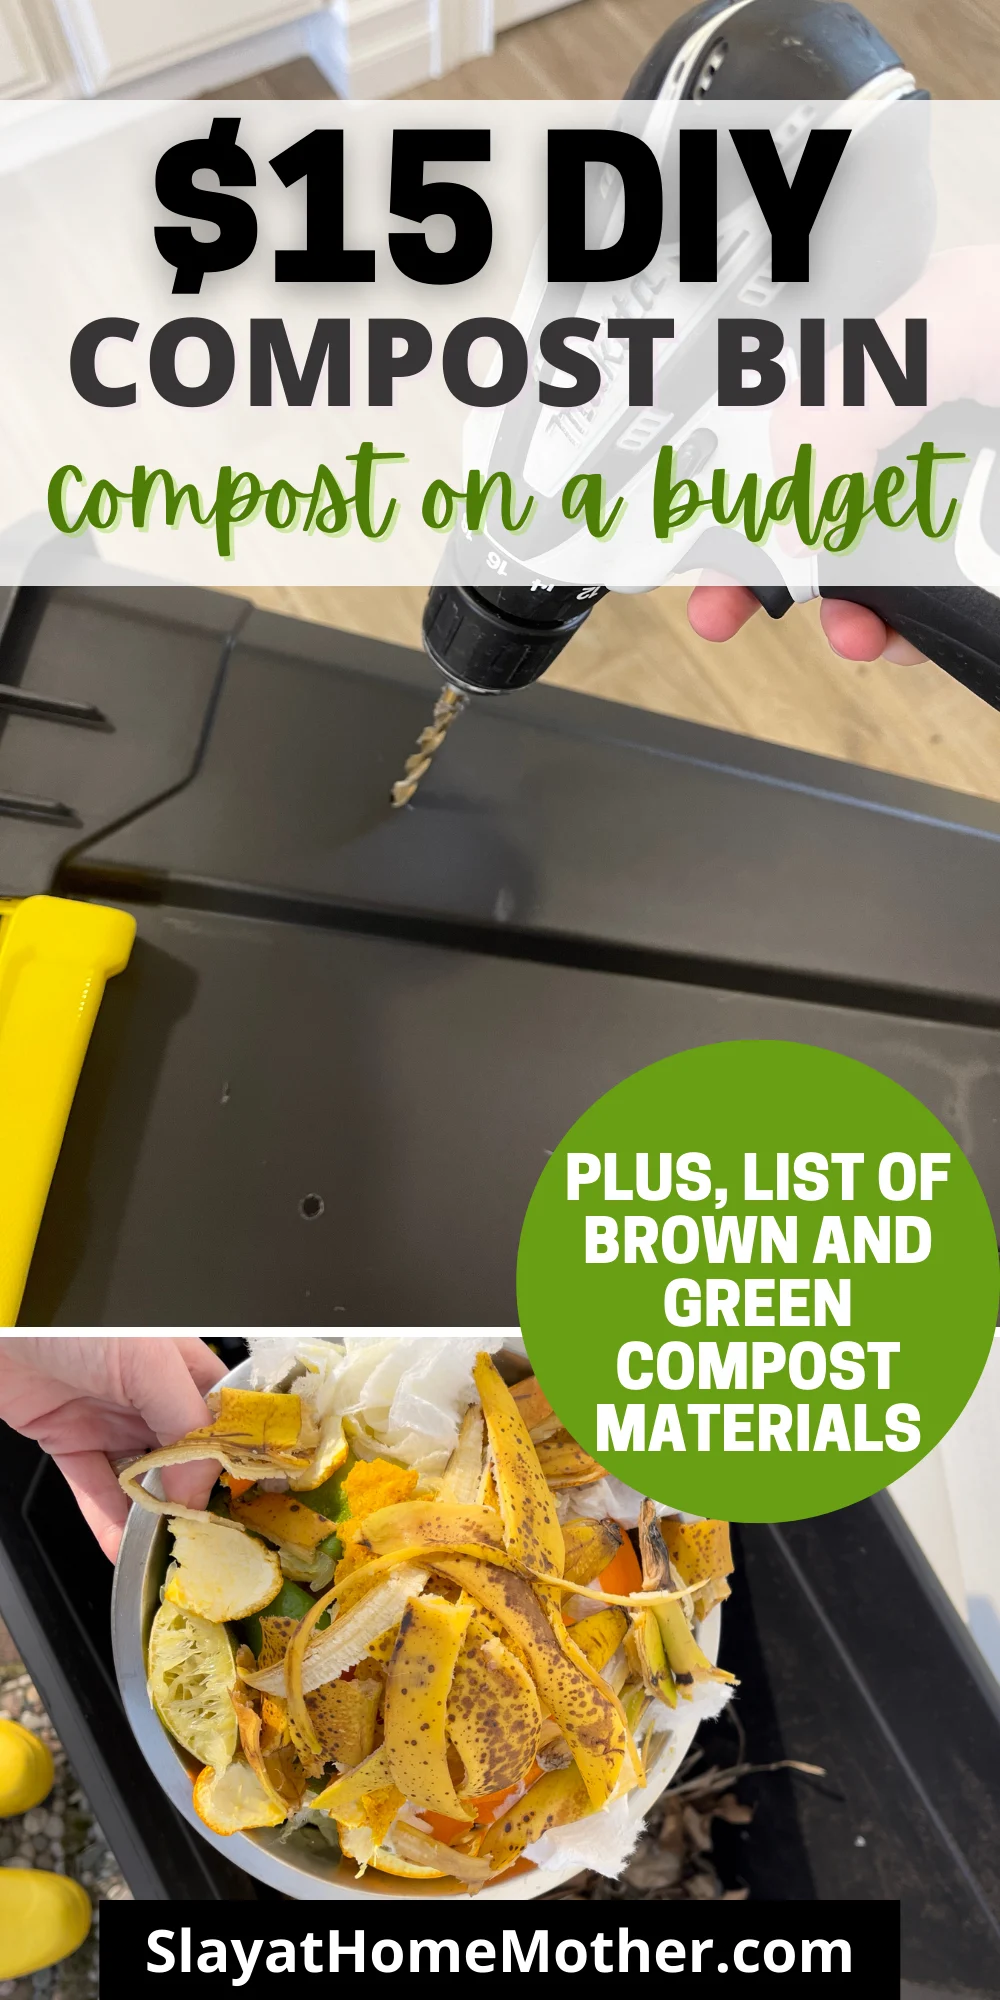
Learn how to make your own DIY Compost Bin on a budget – this one cost us just $15…
If you’ve been thinking about making your own compost bin, this post is for you!
I’ll be sharing how I made a budget-friendly DIY compost bin, some top reasons you should consider composting, and some key household items you can start composting in your bin this week…
*This post contains affiliate links, however, all opinions are my own, as always.
Why Make A Compost Bin?
Reason #1: It’s Cheaper
You might have stumbled across composting bins online ranging from $50-$100+.
And they’re probably all gorgeous and promise to do all kinds of wonderful things, like tumble!
I don’t see anything particularly wrong with buying a compost bin, but I’m always aiming to share budget-friendly options with my readers, too.
And while a $90 all-in-one compost bin might sound great – I can show you how to make your own DIY compost bin on the cheap!
It’s fully possible to make your own compost on a dime using what you (most likely) already have on hand, and by reducing your kitchen scraps.
Here’s the great part – your DIY compost bin can be made with what you already have on hand!
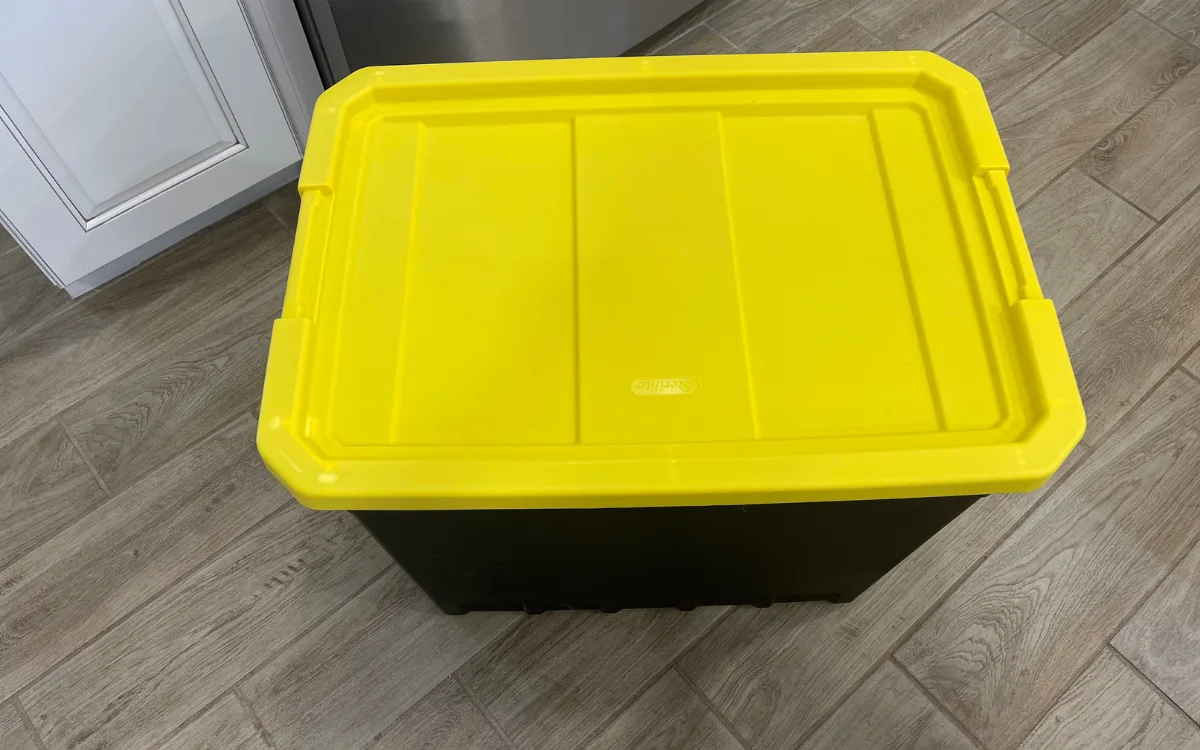
The only out-of-pocket expense that I have to insist on for the sake of longevity, would be a container with a snap-on lid.
Here’s the container I’m using for this post.
At the time of writing, it cost around $15.
Reason #2: Reduce Trash Volume
Instead of chucking your paper towels, eggs, kitchen scraps, and toilet paper rolls into the trash each time – you can compost them instead!
There are dozens of household items you use every week that can be composted instead of thrown away.
Reduce your trash load, trash bag usage, and environmental impact by composting instead of tossing.
If you’re looking for a more detailed list of items you can compost, check out my list below…
Reason #3: Improves Soil Health
If you’re like me and are tending a vegetable garden, your plants will love the homemade compost you add to their soil.
Composting can greatly help your veggies grow better than they would in just regular soil by re-introducing essentials vitamins and minerals back into the soil (source).
Reason #4: Compost Is A Natural Fertilizer
Think of compost as a natural time-release fertilizer for your soil.
The plus side to using compost as your fertilizer vs. commercial fertilizers is the fact that is all-natural, and won’t burn or harm your plants. Veggies grown in compost and soil are completely healthy to eat.
Reason #5: Reduce Water Use
Compost helps your soil retain water better, which means you can water your garden less often.
Less maintenance in your garden means you can focus more on other things in the yard (and life).
Here’s how to make your DIY compost bin on a budget…
$15 DIY Compost Bin
Breakdown in cost of my homemade compost bin:
- Compost bin with snap-on lid: $15
- Drill with drill bit: $0 (we already owned this – it’s several years old)
- dirt
If you don’t currently own a drill or a specific bit, consider asking a neighbor, relative, friend, acquaintance at church, or even renting one from a local hardware store.
For your dirt, you need very little to start with – this can be found either in your yard or even from an old bag in the garage from some potting plants you potted the previous year (where we got ours from).
If you need to buy dirt, grab a $2 generic topsoil bag – you don’t need anything fancy.
I grabbed this bin from Walmart. You can also scour your garage, shed, or yard for a bin like this if you already own one, and save even more by using what you have on hand.
As I mentioned earlier in this post, you want to get a lid that snaps on.
This helps with pests, pets, and kids, but also with the weather.
You don’t want the wind blowing over your compost bin and knocking everything out.
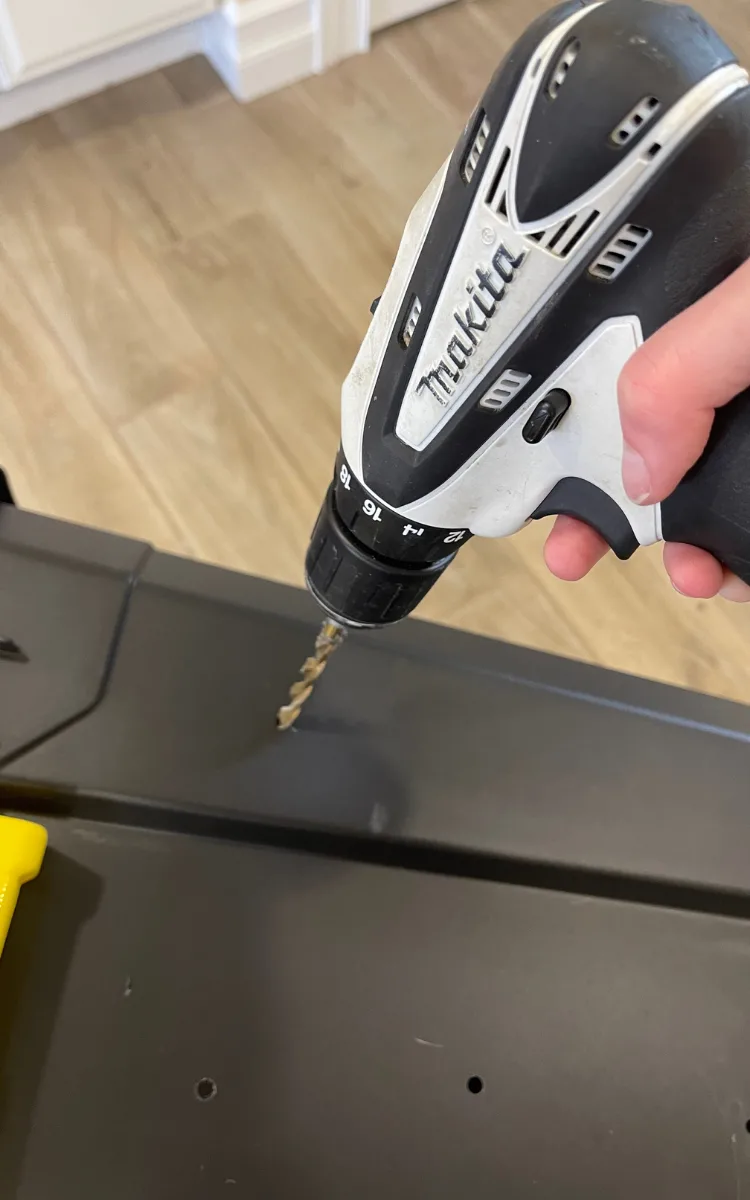
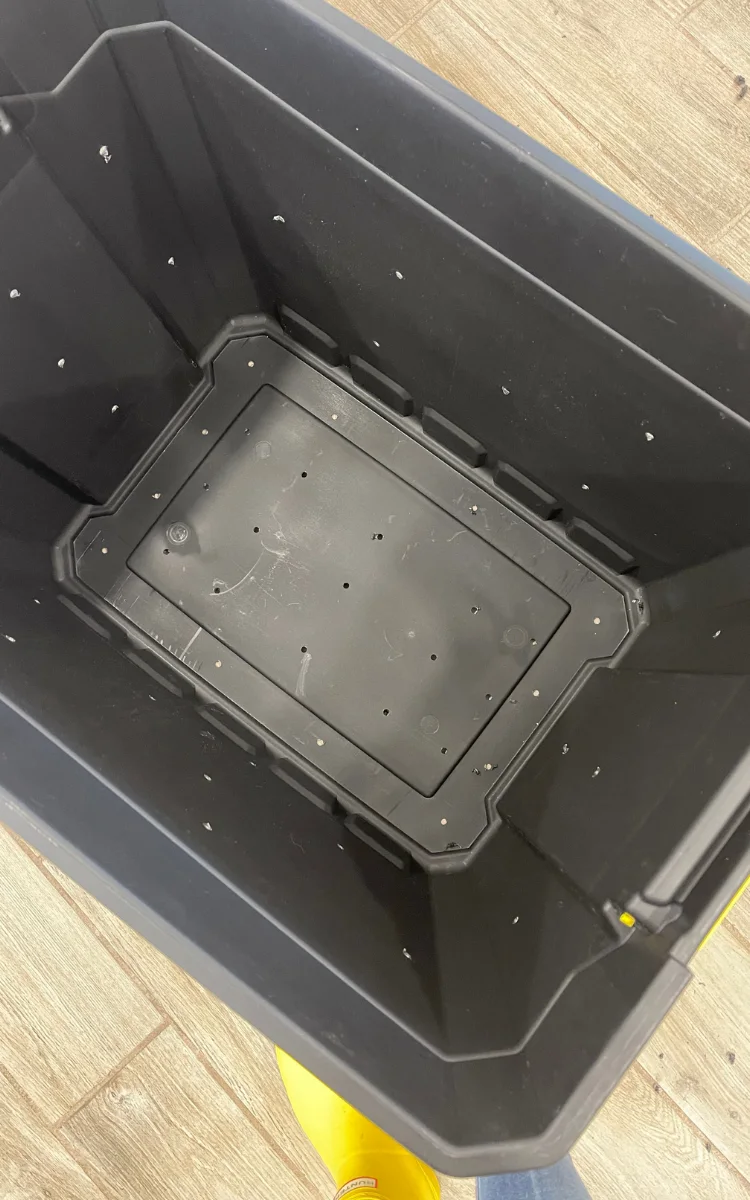
With a 1/4 drill bit (just use the one you have on hand), drill holes in the sides and bottom of your new bin.
The size of the drill bit you use isn’t crucial – you want the size of the holes to be large enough for water to drain, but not large enough to let your compost material seep out of.
This helps allow your compost to drain, which can help in the long run with odor issues.
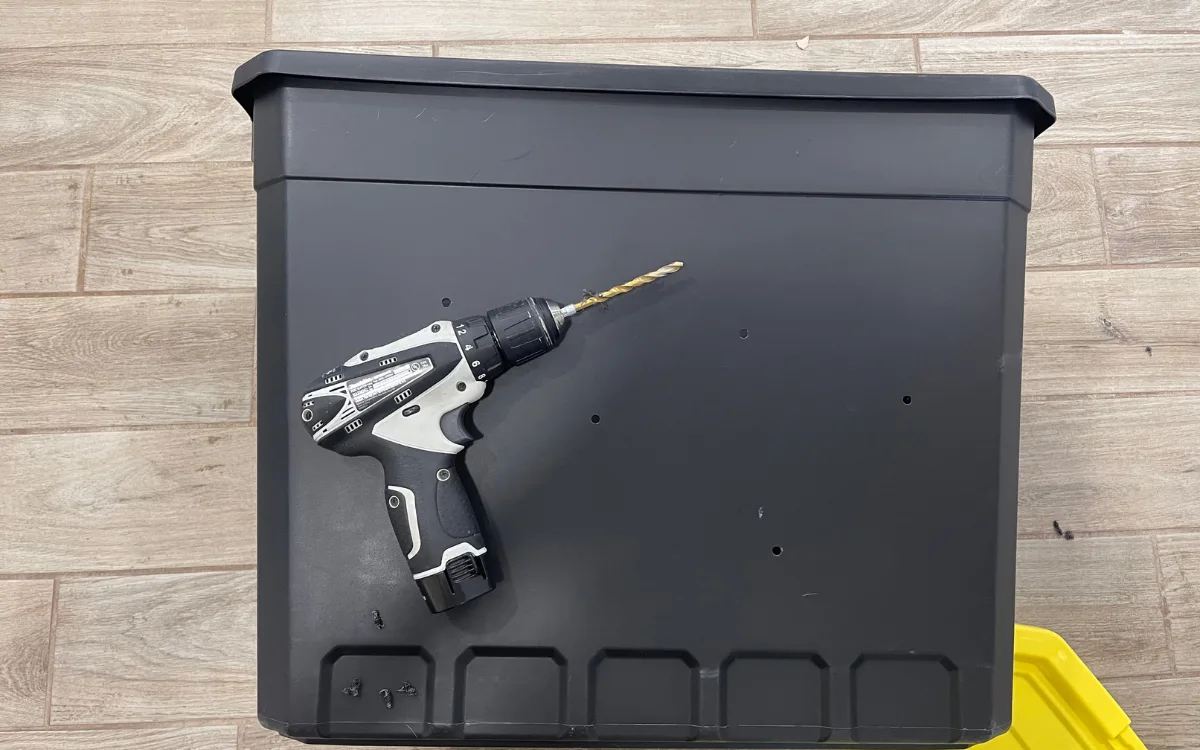
Here’s what my finished bin looks like after drilling.
Notice the holes along the sides and bottom…
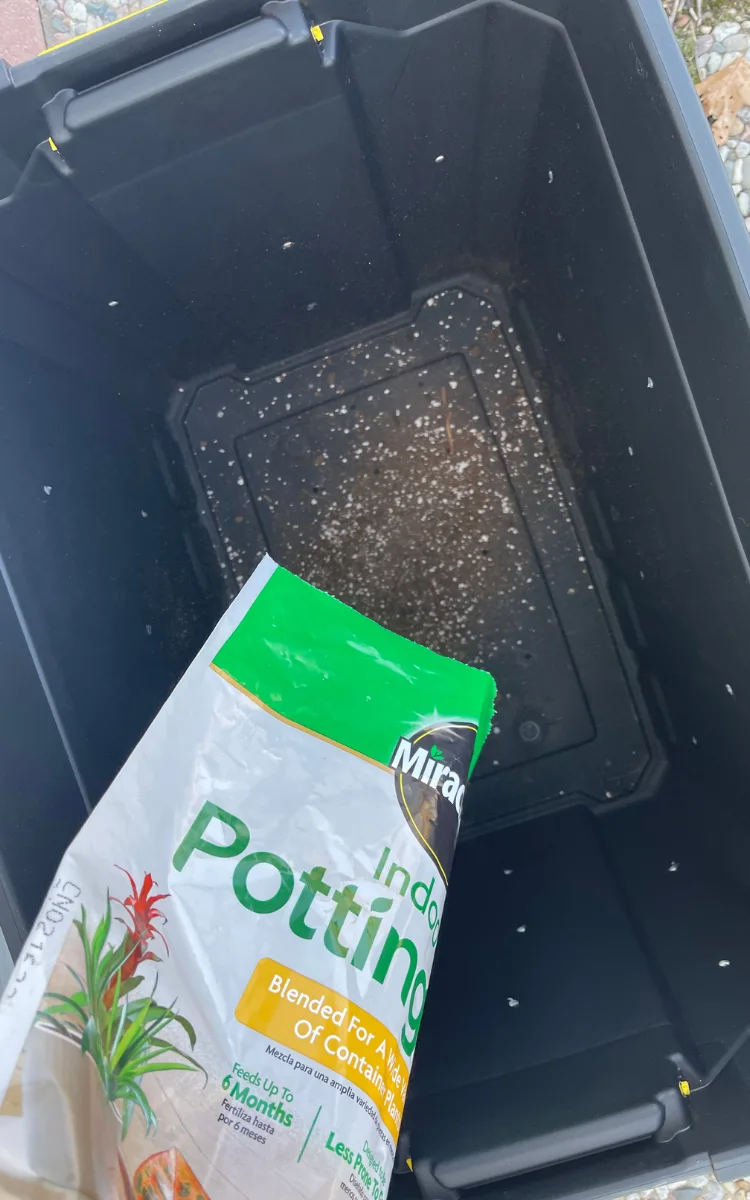
To start composting, grab an old bag of dirt (or a pile from your yard) and fill your bin up about 2 inches deep with dirt.
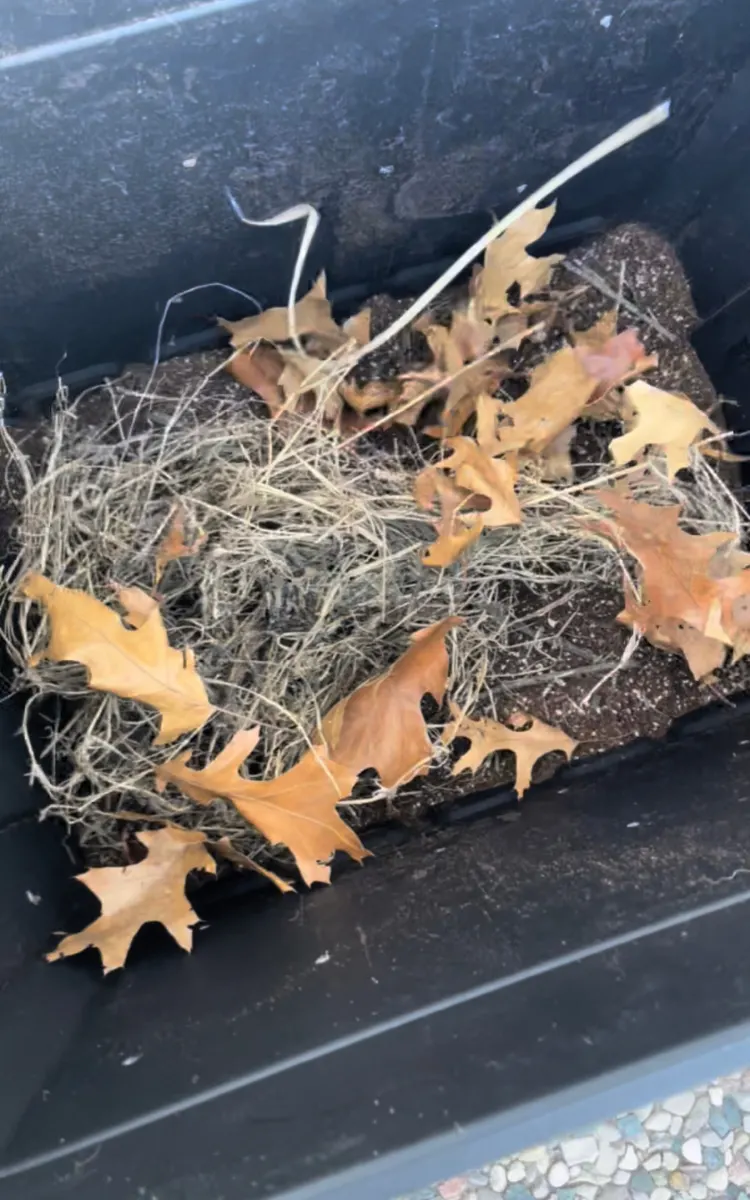
Add in some brown material.
I’m using old yard waste and leaves…
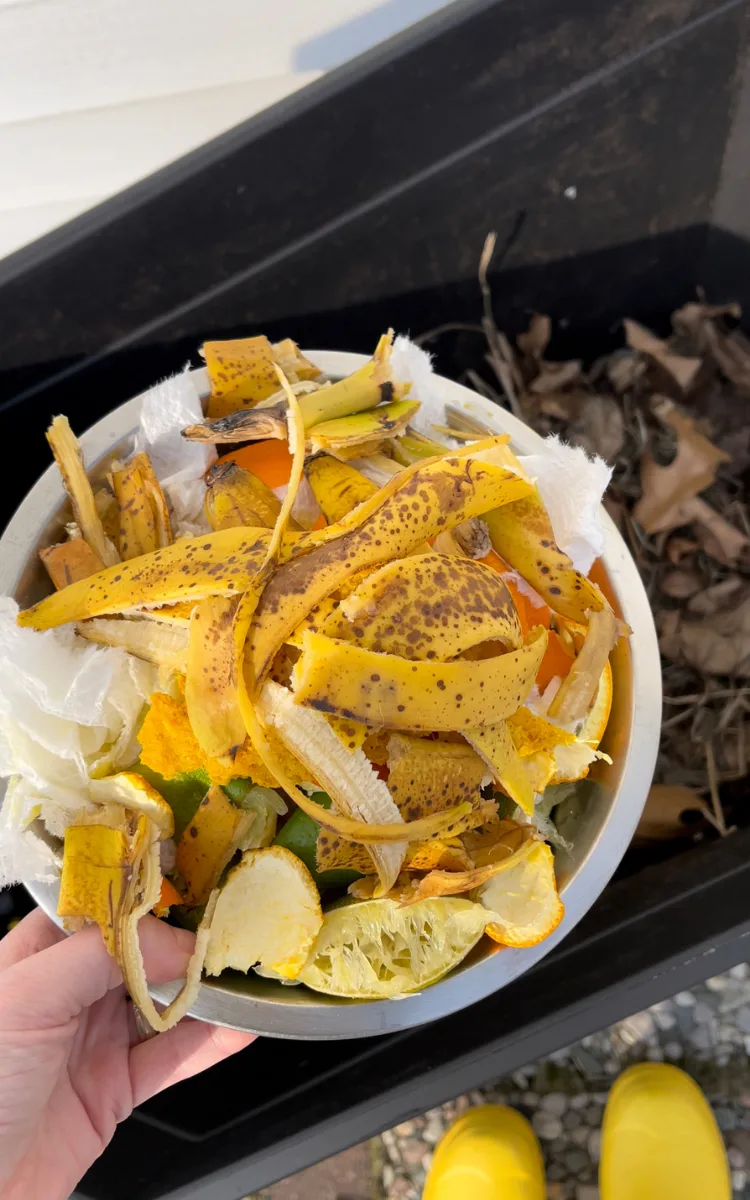
Next, add in some greens.
I’m using old banana peels, rinsed eggs shells, ripped-up paper towels, and citrus peels we had from the last few days.
I keep a compost bowl on the counter in our kitchen that we can put our kitchen scraps into – at the end of the day, I’ll go dump the contents of the bowl into our new bin.
Next, add some more top soil on top, and give it a good mix.
You can mix your to-be-compost with a stick, rake, etc.
What Is Compostable?
Here are some examples of things you can start composting in your house this week:
Composting: Examples of Browns
- sticks
- logs
- dry leaves
- cardboard (tore up, shredded)
- dryer lint (from natural fibers)
- shredded newspaper
- cut up toilet paper rolls
Composting: Examples Of Greens
- fresh grass clippings
- garden waste
- fresh leaves
- flowers
- houseplants (non-diseased)
- manure (rabbits, chickens, etc. – not pets like cats or dogs)
- vegetable scraps
- fruit scraps
- coffee grounds
- hair (as long as it isn’t chemically treated or dyed)
What To Avoid Adding To Your Compost Bin
When adding items to your DIY compost bin, there are certain items you should avoid:
- meats
- dairy
- pet wastes (litter, cat/dog feces)
- chemically-treated or fertilized yard trimmings
- coal
- charcoal ash
- fats
- greases
- lard
- oils
- bones
- black walnut tree leaves or twigs
- diseased plants
- cardboard/paper waste with any of the above on it
How Long Does Compost Take To Break Down?
Alright, here’s the big question…
When will you be rewarded for your good deeds?
Compost can take anywhere from 2 weeks to 2 years to break down and be ready for use.
Contributing factors to this time include:
- the size of your compost pile – the larger the pile, the longer you can expect it to breakdown
- how often your compost is turned – aim to turn yours every 2-4 weeks.
- when you add new compost
- the season you are composting in
- the ratio of brown:green compost materials
As you add new material to your compost pile, give your compost a quick turning.
It’s generally advised to wait for a minimum of two weeks between turning your compost so you don’t disturb the growth of necessary fungi needed to break down your materials, but your compost will do a better job breaking down once you mix in new shredded materials.
Have you tried making your own DIY compost bin? Let me know in the comments below!


