

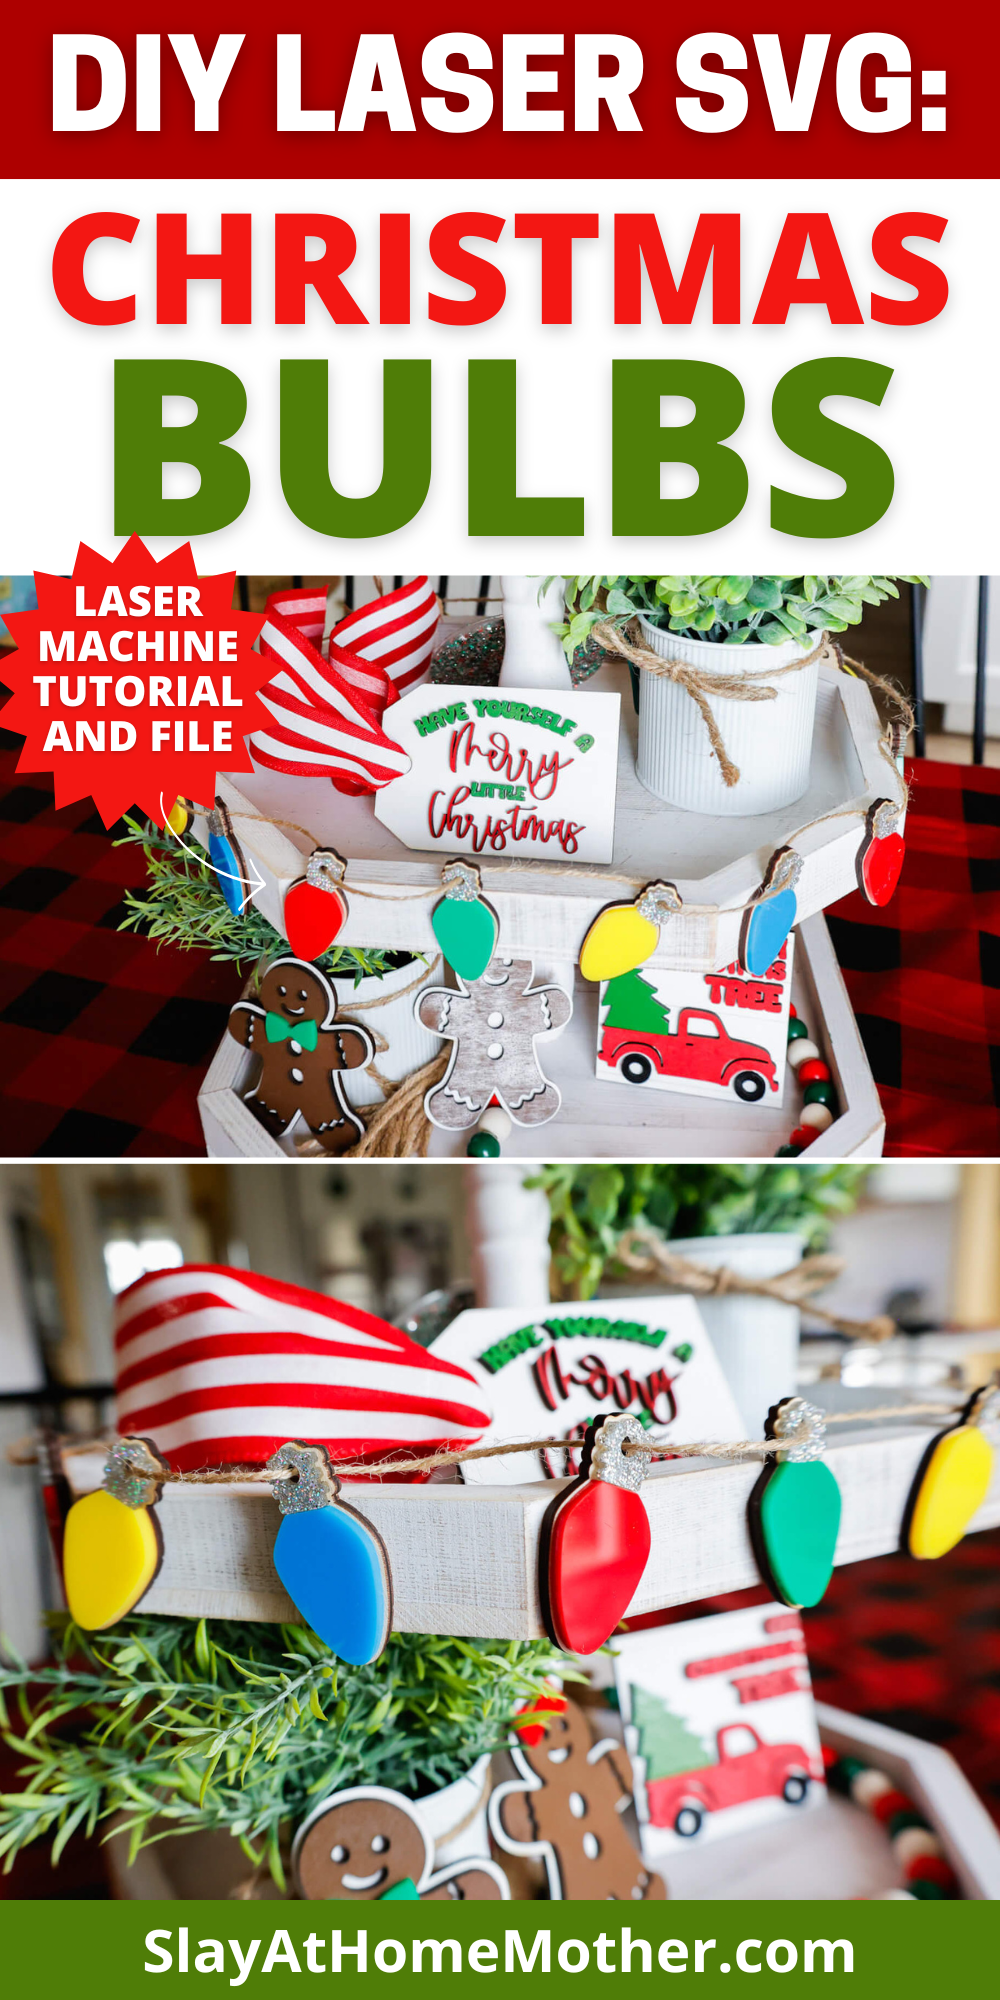
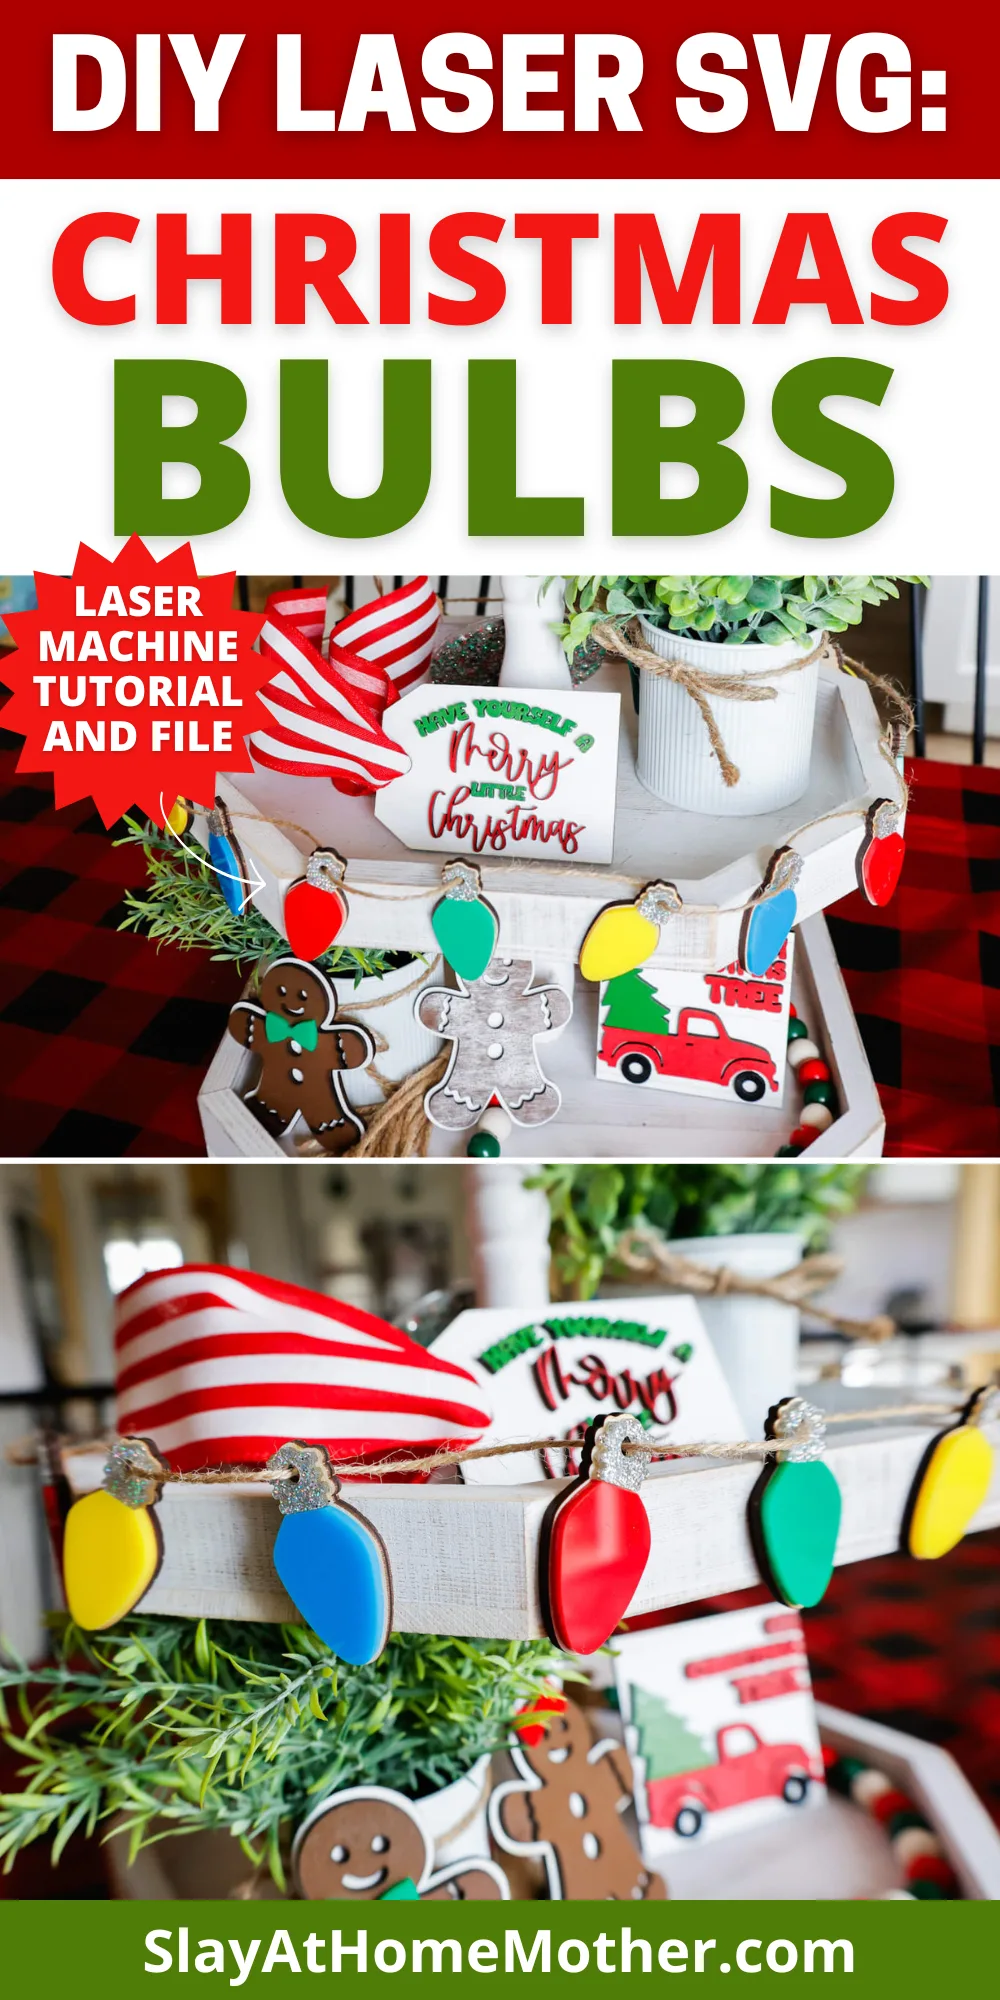
Make this festive Christmas lights SVG project for your home to display with your laser machine, and download the free SVG in the post at the bottom.
I recently made some tiered tray decor items for a VERY empty tiered tray I had – find the project and free SVG here!
Part of that project, which I felt deserved its very own post, was the Christmas light bulbs I made to decorate the middle tier.
Made with a mix of acrylic and wood, these Christmas lights were easy to cut with my laser, and I hope you’ll enjoy decorating with them, too!
In this post, I’ll be sharing a free SVG of my designs for this project at the bottom for you, as well as my cut settings for my laser machine…
This post may contain affiliate links, however, all opinions are my own, as always.
What You’ll Need For DIY Tiered Tray Decor
Here is what I used to create this banner:
- 3mm Baltic Birch wood (scraps are great for this project!)
- laser machine
- SVG file (grab my free SVG download at the bottom of this post!)
- Starbond glue – this one is my favorite for gluing wood to wood or acrylic to wood
- acrylic in colors Red, Blue, Green, Yellow, Silver Glitter
- tiered tray (if you don’t already have one)
- double sided dots
My Laser Machine
In this project, I’m utilizing the Nova Plus 35 60W, which is a workhorse laser machine – read the specs here.

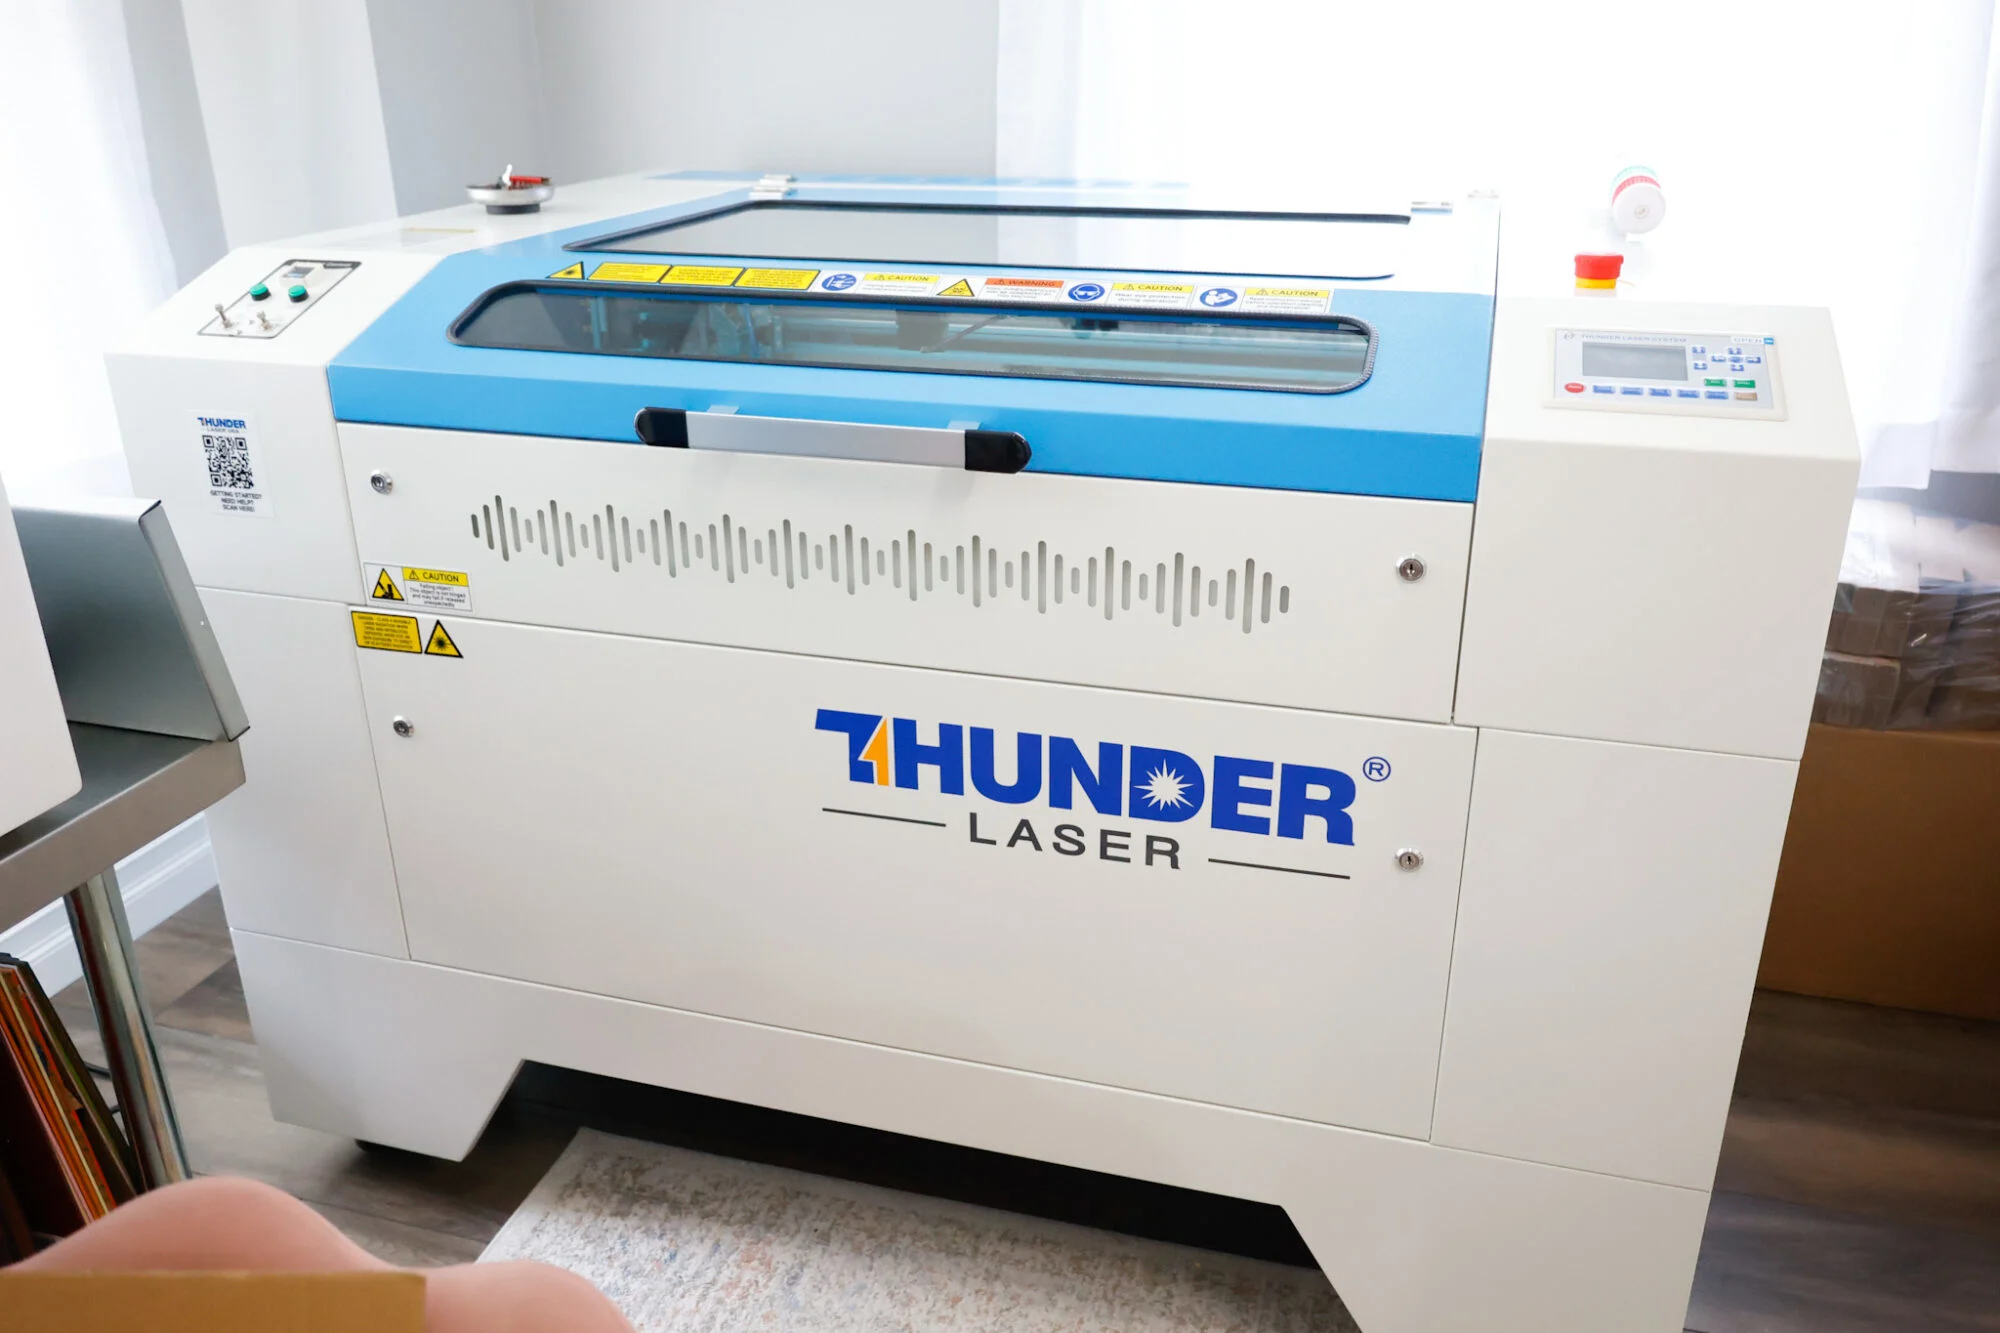
This machine has been incredible for crafting nursery signs, ornaments, door signs, tiered tray decor, and so much more!
If you’re just starting out, I might recommend the Bolt over thus one as it’s a bigger investment, but this is more suitable for serious crafters or small businesses.
It’s also a better investment than a Glowforge, just FYI. 😉
Laser Cut Settings for DIY Tiered Tray Decor
My cut settings are different for wood vs. acrylic, and I will share those with you here.
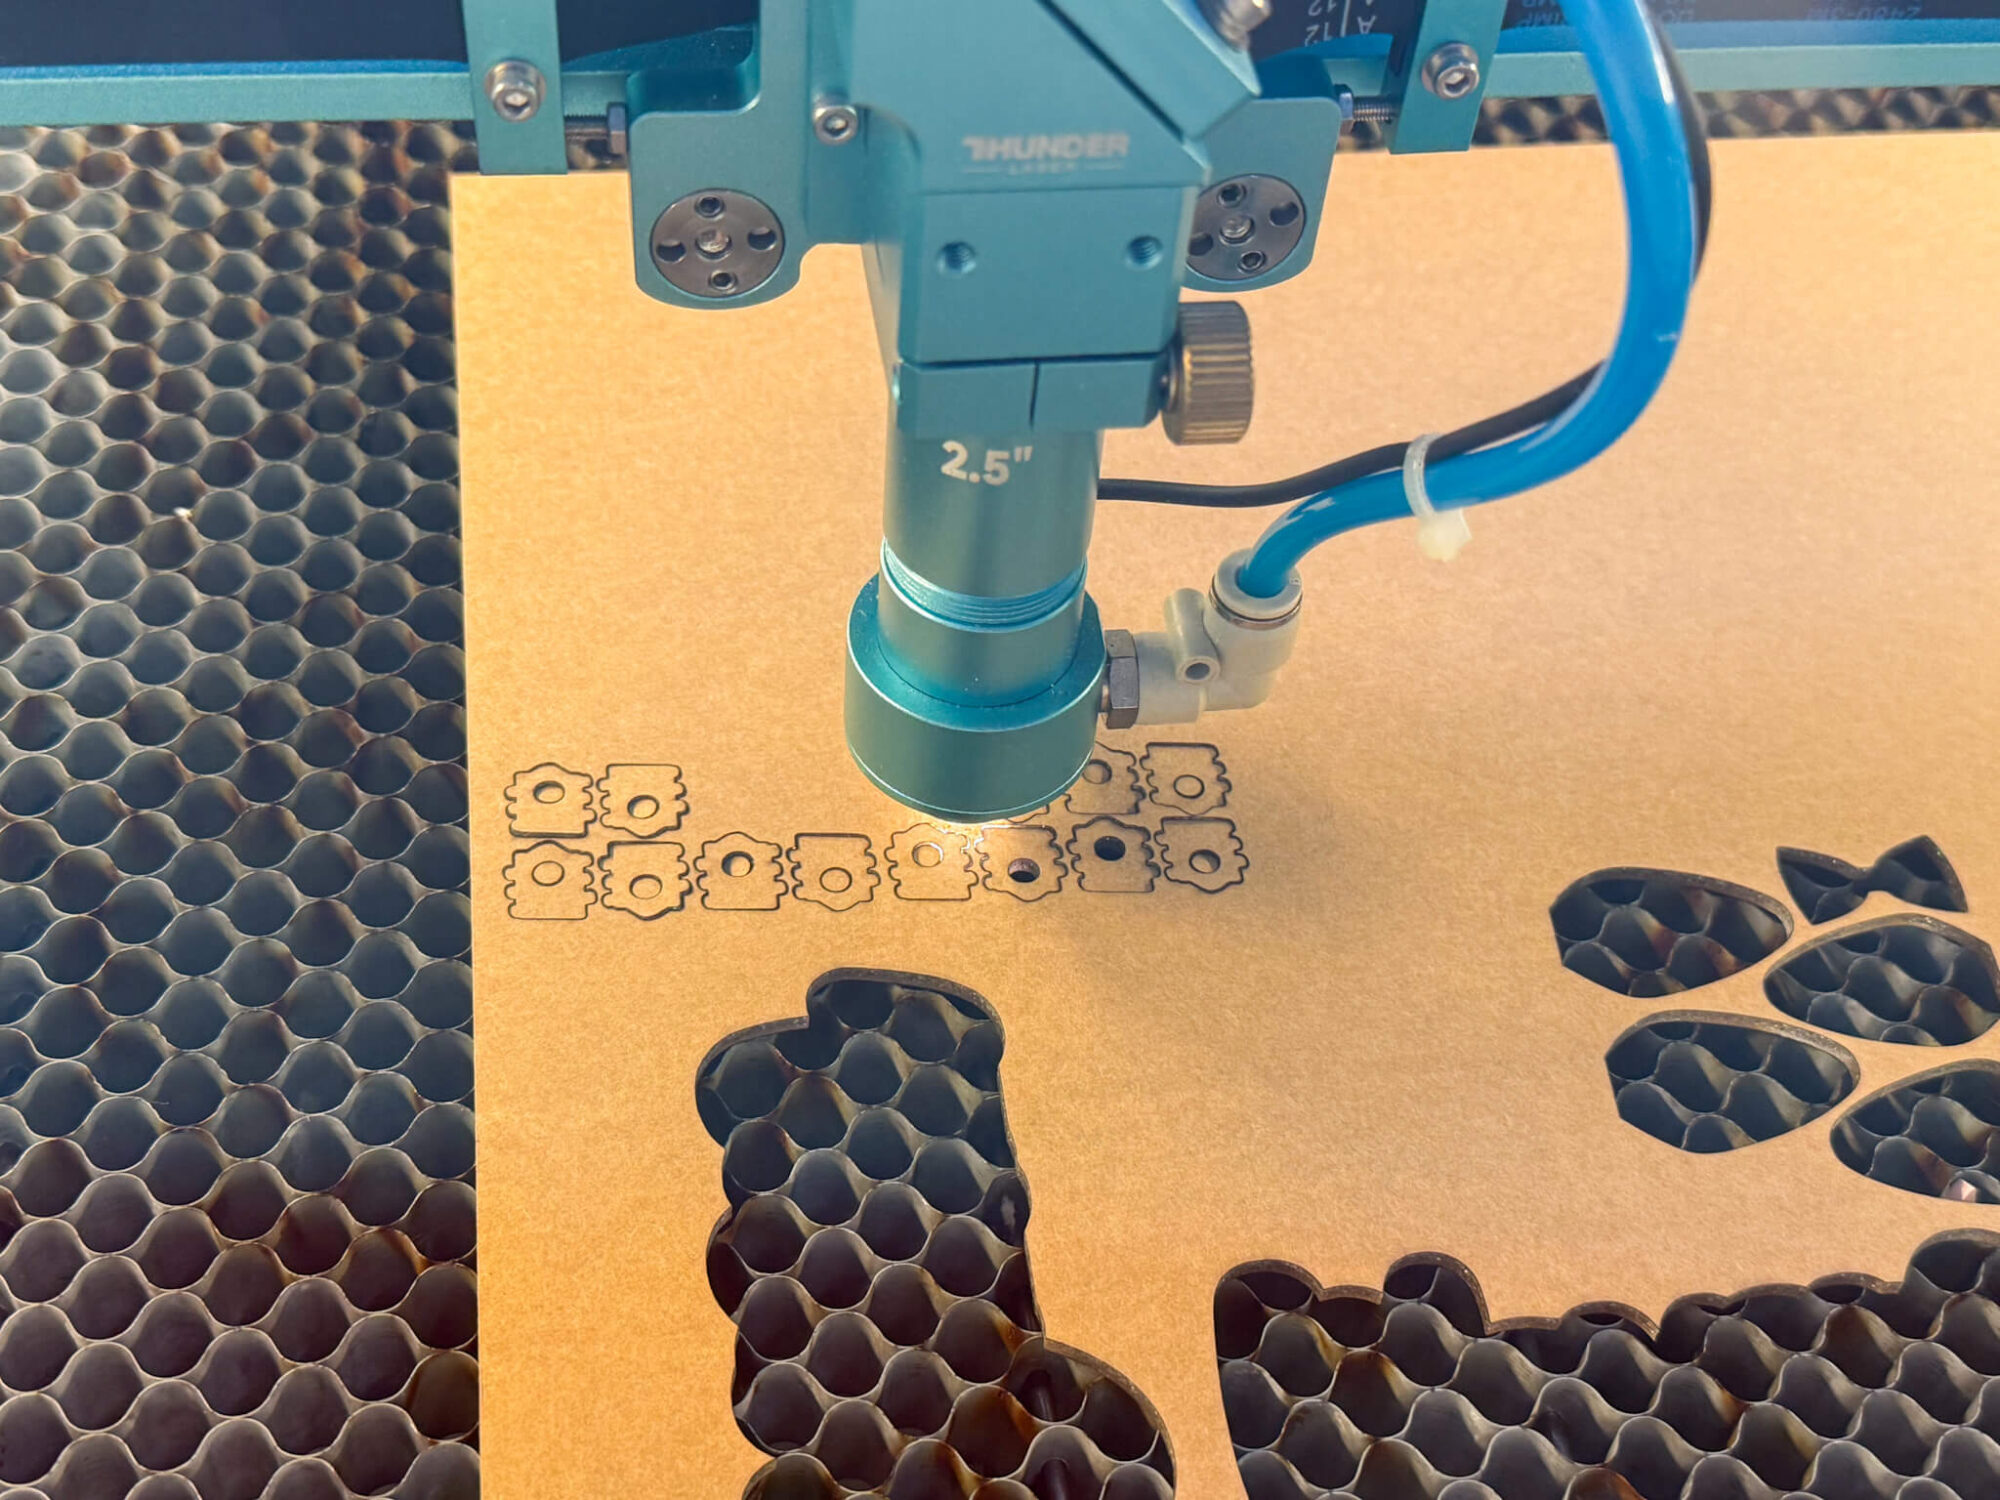

To cut these shapes out cleanly, I used these settings with my laser machine:
Cut wood: 8 mm/s at 60% Max power, 25% min power
Cut acrylic: 8 mm/s at 35% Max power, 25% min power
FYI: If you have a CO2 laser, the settings will differ for you as well as my settings shown in this post are for my RF laser. It’s recommended that you run a test sheet for scoring/engraving/cutting for your laser so you have some go-to settings for the different materials.
You may also like: DIY Tiered Tray Decor + Free SVG
Finished Christmas Lights Garland
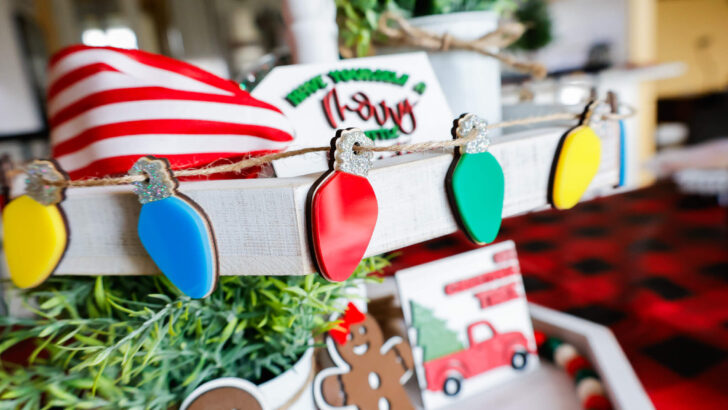
Here’s what my finished tiered tray looks like with these DIY Christmas lights garland I made with my Thunder Laser!

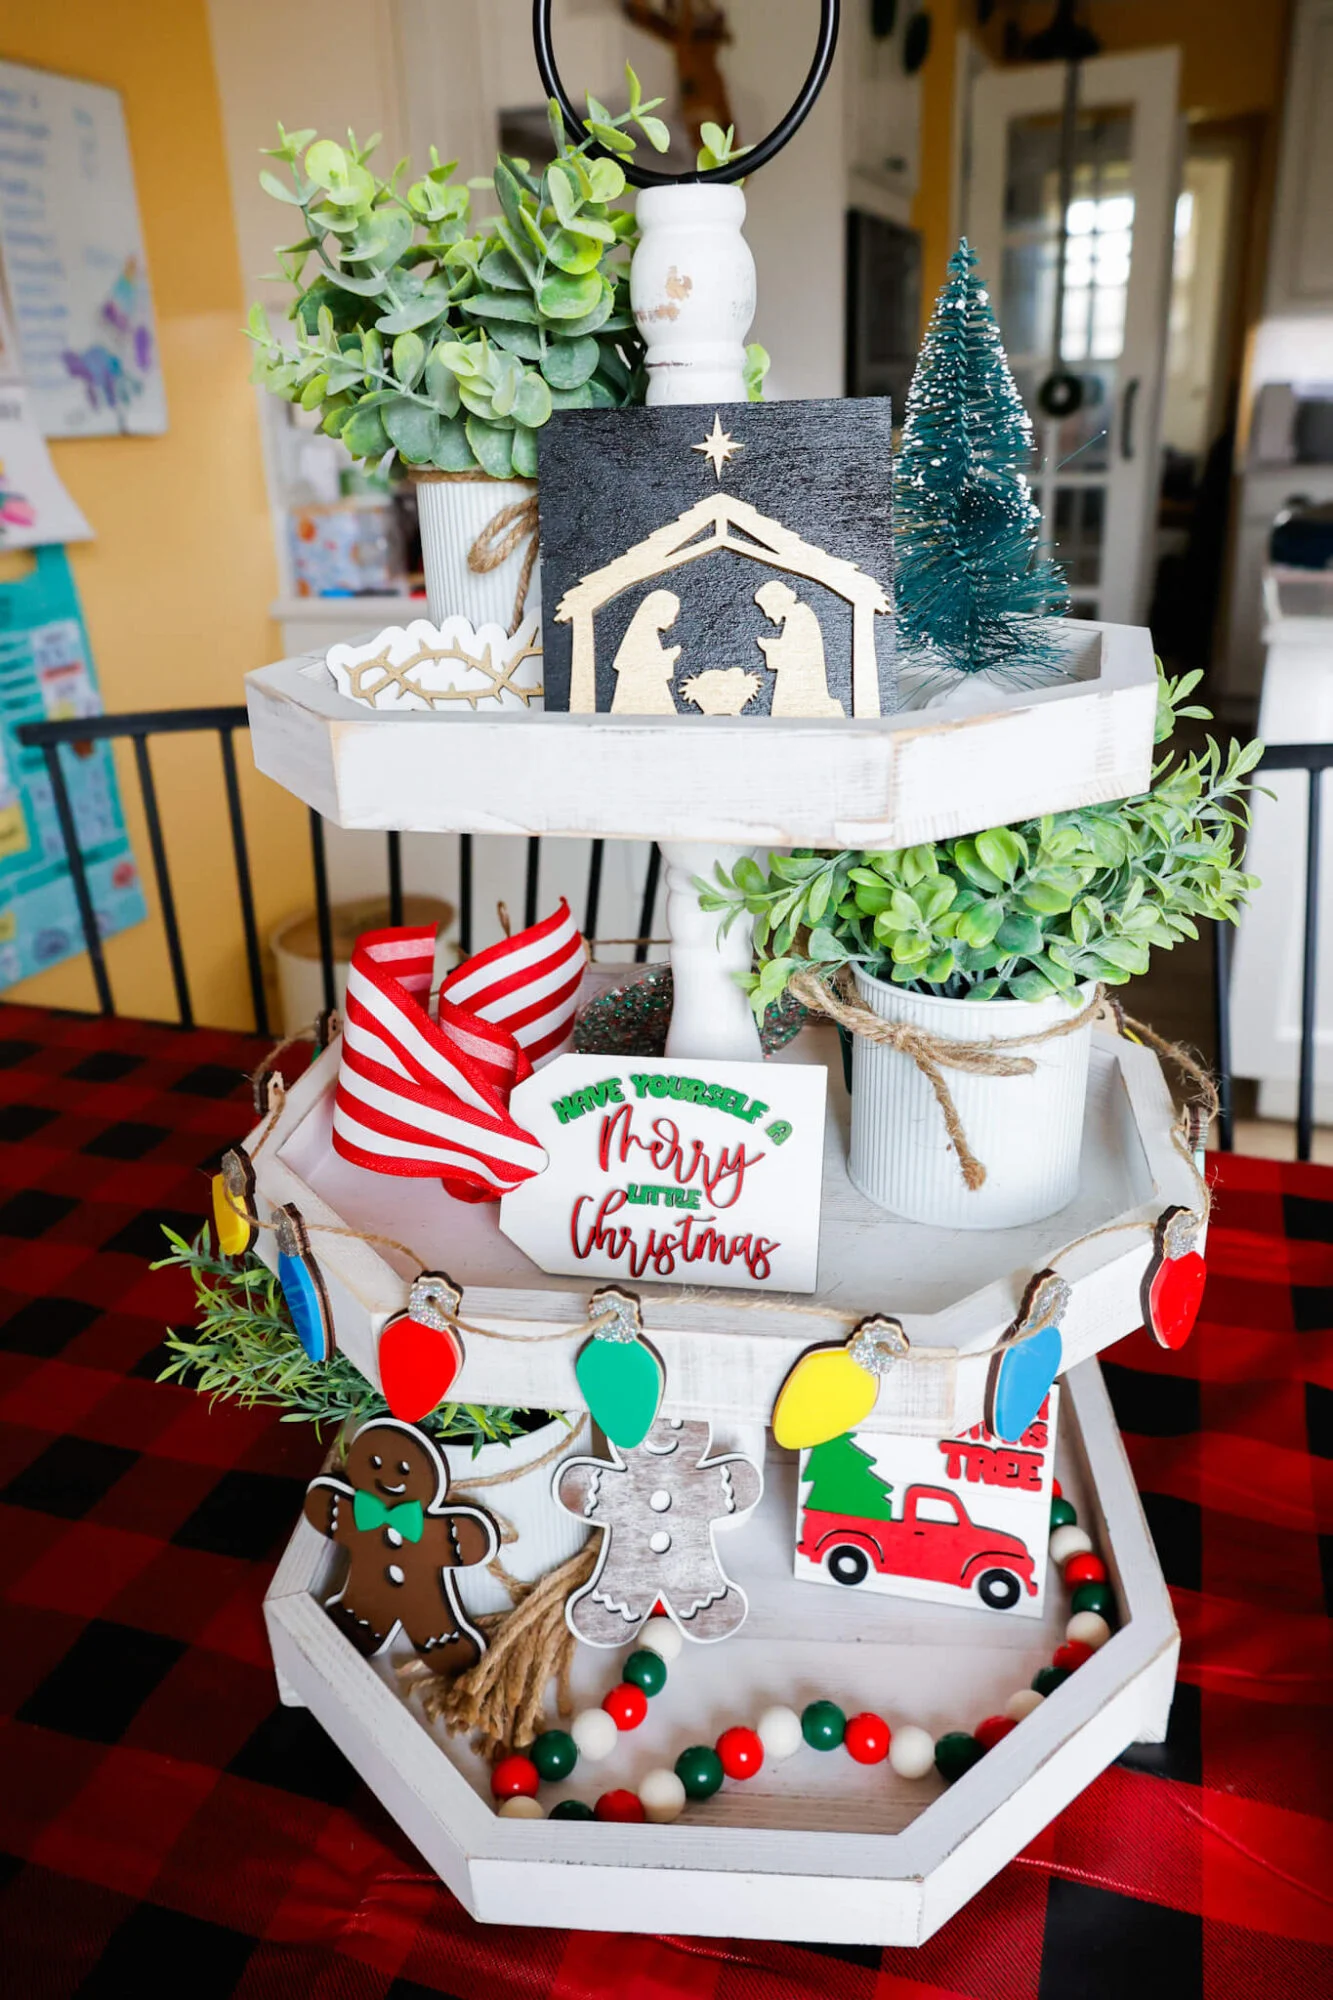
Once I was done assembling my acrylic to the wood and let it dry, I used double sided dots (like those used in balloon arches) to stick them to the side of my tray.
I then weaved a piece of twine through the holes at the top to make it look like a true string of lights.


Here is a picture of one of the bulbs next to my thumb as a size reference.


These Christmas lights added the perfect touch of holiday cheer to this tiered tray!
Free SVG Download: Christmas Lights SVG Garland
Sign up below to gain instant access to my free SVG file for this project:
Please remember that all free files are for personal use only, and cannot be sold, copied, or distributed. Thank you!