


See our living room transformation and install of our new Plank + Mill reclaimed wood wall…


Hi friends!
I’m incredibly excited about this post, which is in partnership with Plank & Mill, a company that makes peel-and-stick reclaimed barn wood planks.
With Plank & Mill’s reclaimed barn wood, we were able to take our outdated (and frankly, dangerous) rock accent wall in our family room, and turn it into a beautiful rustic living space.
We’ve been slowly updating our home to be more in the farmhouse style, and this wood accent wall would be perfect for our living room.
We debated doing a shiplap wall, but being that we have painted paneling on the other three walls, we decided that there were just too many painted lines in one room for us.
This wall added some much-needed warmth, texture, and that rustic feel we were craving in our home.
I’m finally ready to share our accent wall with you guys, and I think you’ll be just as excited about it as we are!
Keep reading to see how easy our application was, and how we went from an ugly (and dangerous) faux rock wall to a gorgeous peel and stick wood accent wall…
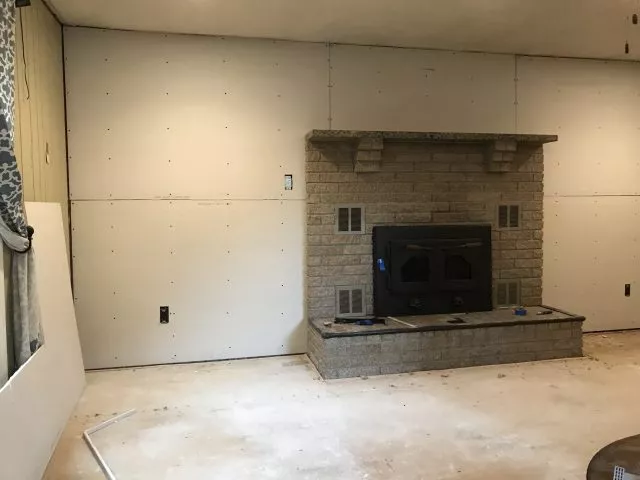
Before Our Renovation
Here is what our accent wall looked like before…


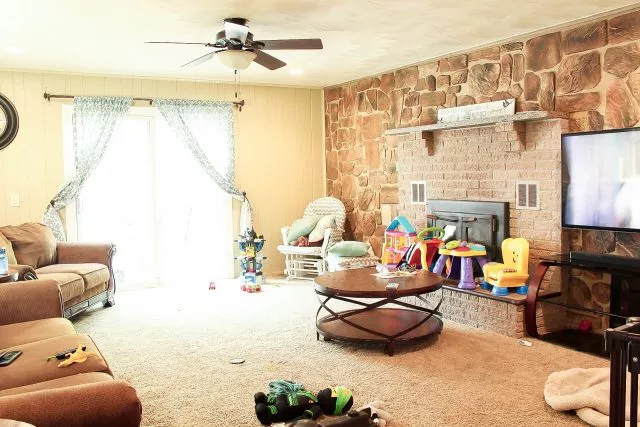
The shag carpet was brown, the walls were a warm yellow/tan color, the fireplace was tan, our furniture was brown, and even the accent wall was made up of different colors brown rocks!
Especially with the evening sunlight, the rocks on the wall, and the painted walls would take on an orange-like color.
This wall was put up by our home’s previous owner.
The main driving force for changing our rock wall was the fact that the rocks would actually fall off of the wall.
We even had one of the rocks fall off onto our flat screen one evening after work, unprovoked.
After we first moved in, my husband Chris had to screw some of the rocks to the wall to prevent them from falling.
You can see some empty spaces on the wall where some of the larger rocks fell – but when these rocks fell, they shattered and couldn’t be reapplied.
With two small children, two pups, and our flat screen at-risk – Chris and I put our heads together and tried to figure out what we could do to make this room work for our family…
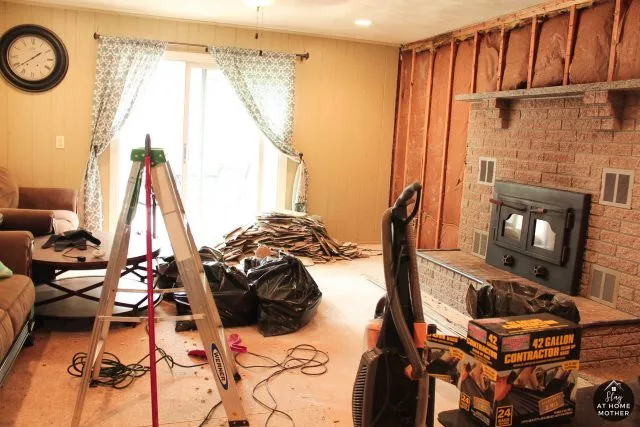
So we went into DEMO mode, and never looked back!
We actually ended up doing a complete reno of this room, which I will share details on later this week.
To get rid of the rock, we had to remove each one individually.
If you’re imagining Chris and I up on a ladder with a crowbar and some serious elbow grease, you’d be right!
Some of them were applied with caulk and took some serious force to remove, while some were barely hanging on with a screw here or there.
They were applied very irresponsibly, and I’m not happy with the previous owner for the lack of care that was taken with the application and the securing of the rocks.
Okay, rant over.
Needless to say, it was time to figure something else out and get with the times.
DIY Accent Wall With Peel And Stick Wood Planks For Walls

I was so happy to receive our reclaimed peel and stick wood planks from Plank + Mill.
Per their directions, we let him breathe and adjust to our home for 48 hours, and used that time to start demoing our living room.
We started off by removing the rocks from the walls.
The drywall needed to be removed as well, since some of the rocks were clinging to it fiercely.
We removed everything from that wall, and new drywall was measured and put up around our built-in fireplace.

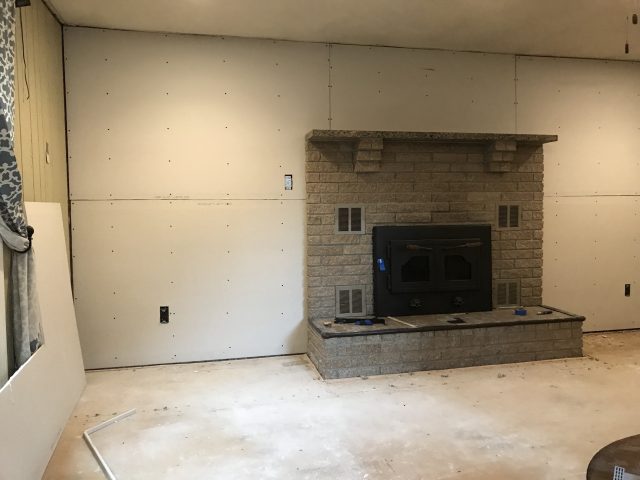
Even with just the drywall up – the room took on a completely different feeling!
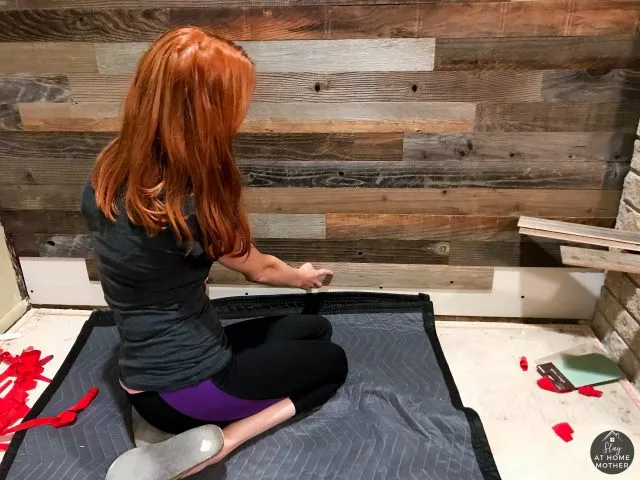
We thoroughly vacuumed the drywall (to get rid of any extra dust and debris for clean application), mapped out the pattern of planks, and started applying our new accent wall from Plank & Mill!
When I say ‘pattern’, I don’t mean we used a pattern at all.
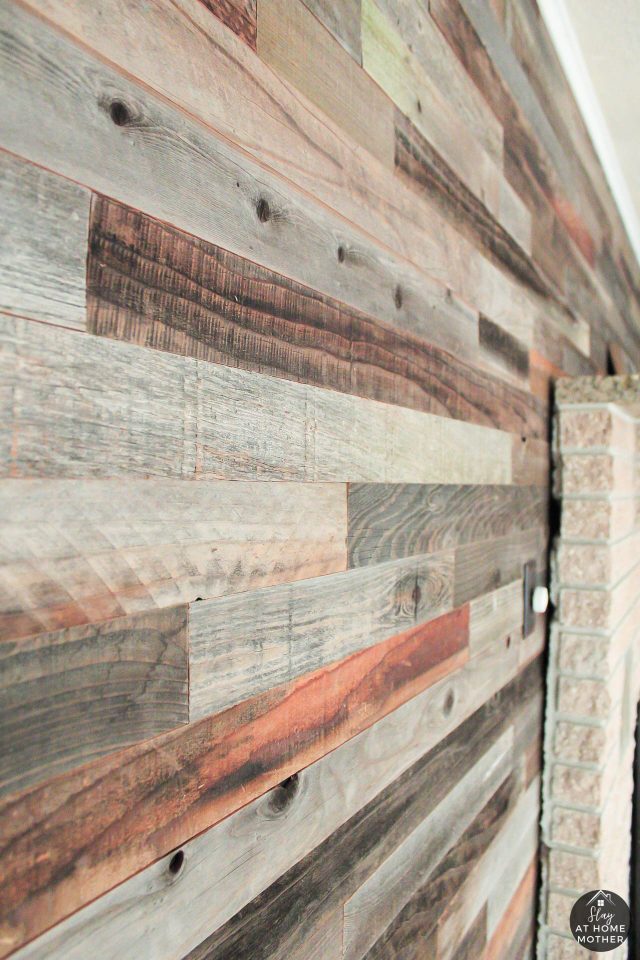
We applied them in a manner that visually appealed to us, by selecting planks to go next to/above/below other pieces to help each one stand out.
Each plank has a unique quality, and pairing it randomly with another plank that would bring that out was key.
But it was easier than I’m probably making it seem.
With the rustic theme we were going for, patterns and uniformity don’t apply.
*Plank & Mill recommends that once you receive your box(es) of planks, open your box(es) and allow them to remain in your home for 48-72 hours prior to use.
Also, begin the application by performing a test – take one of your planks, apply it to the surface/wall, and wait 48 hours to ensure the adhesive will stick to the surface.
If it sticks, you’re good to go!
If you’re considering painting before application, know that you’ll need to wait 30 days for the paint to cure and wood plank adhesive to be able to adhere to the painted surface.

We started the application once the kids were in bed on a Saturday night, and then during Jaxson’s nap the following day.
This way, we weren’t being interrupted by our littles.
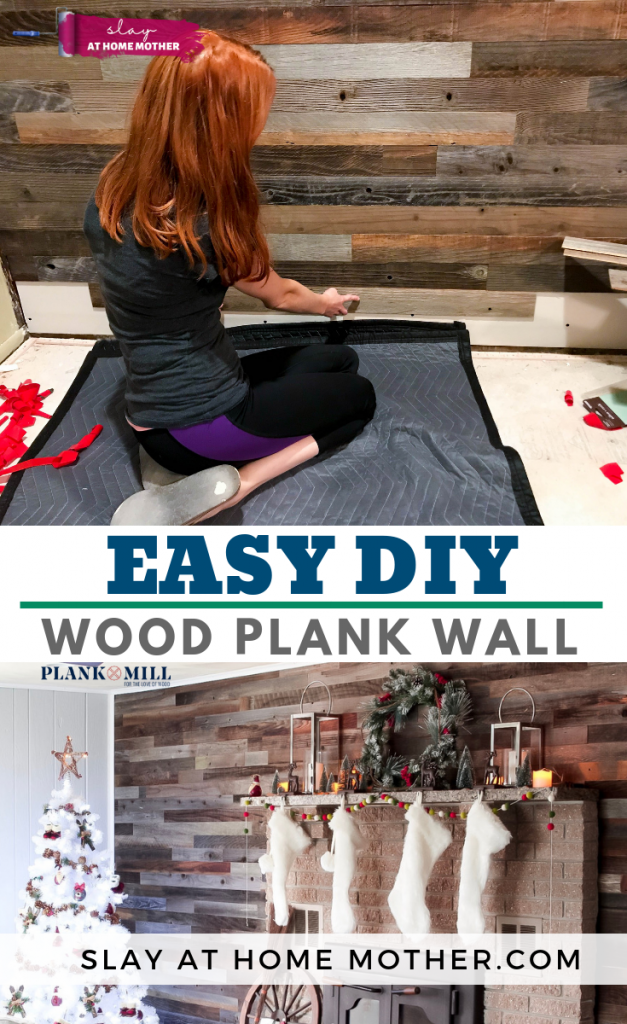
Easy Application And Quick Install
The application was so easy, we simply pulled off the plastic backing from the adhesive strips, and applied it to our drywall!
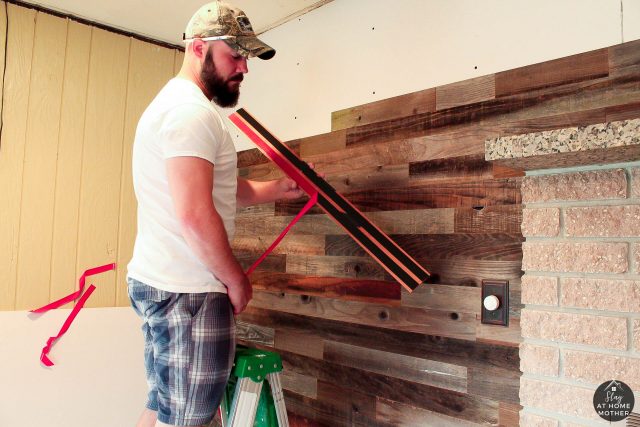

We took our time applying them to ensure longevity, although I don’t think it would have made a difference.
Once the planks were on the wall, they were there to stay ;).
Check out our time-lapse video below!


I felt that it actually brought out more of the natural tan tones in our fireplace, which had a tendency to appear pink at times, ha!
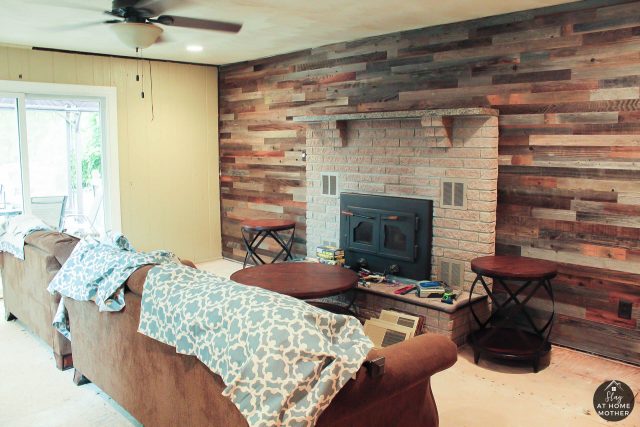
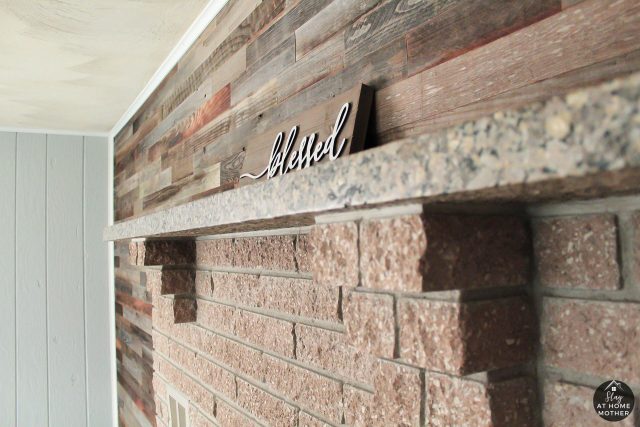
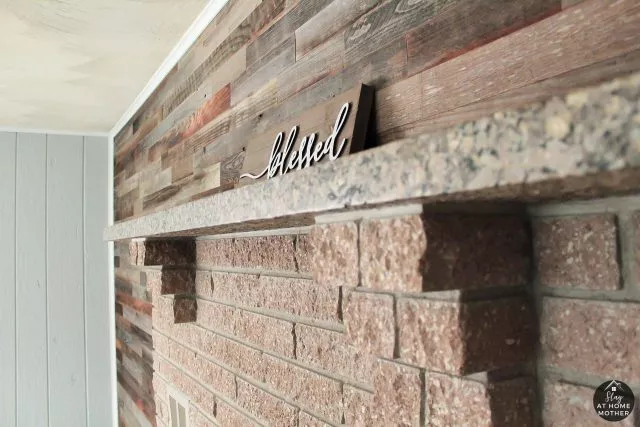
After – DIY Wood Plank Wall

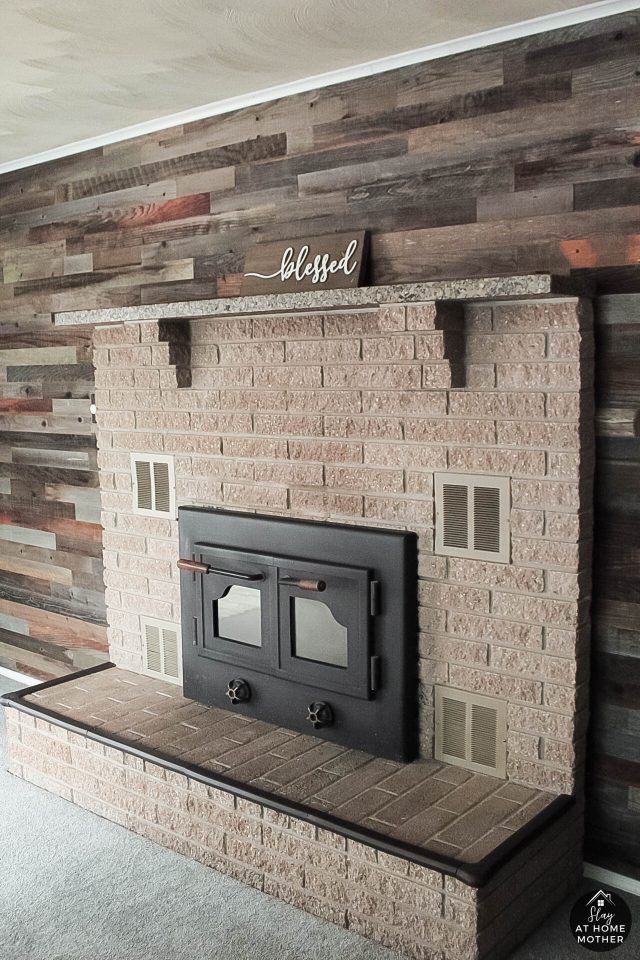

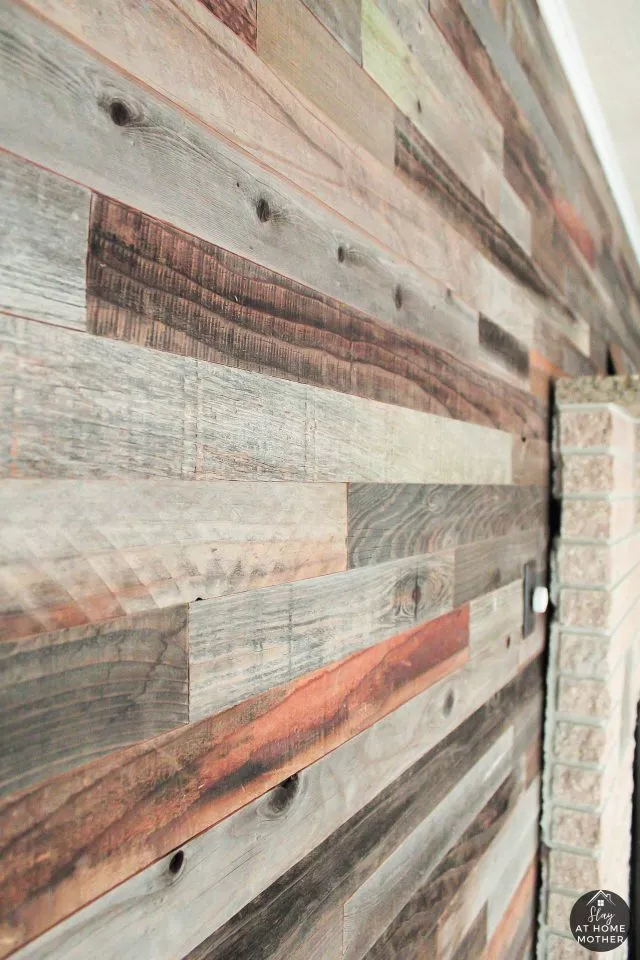
It is rustic, natural, and gorgeous!
The planks each have their own unique characteristics, and it was truly fun to put them together in our own way, uniting colors, textures, and patterns together to help make each plank stand out on its own on our wall.
Some planks had specs of paint, while others had split colors and knots.
Tell me – what are your thoughts on our reclaimed wood wall, and what project would you use Plank & Mill’s reclaimed wood planks for?
*Post originally published August 2018, last updated December 2021.