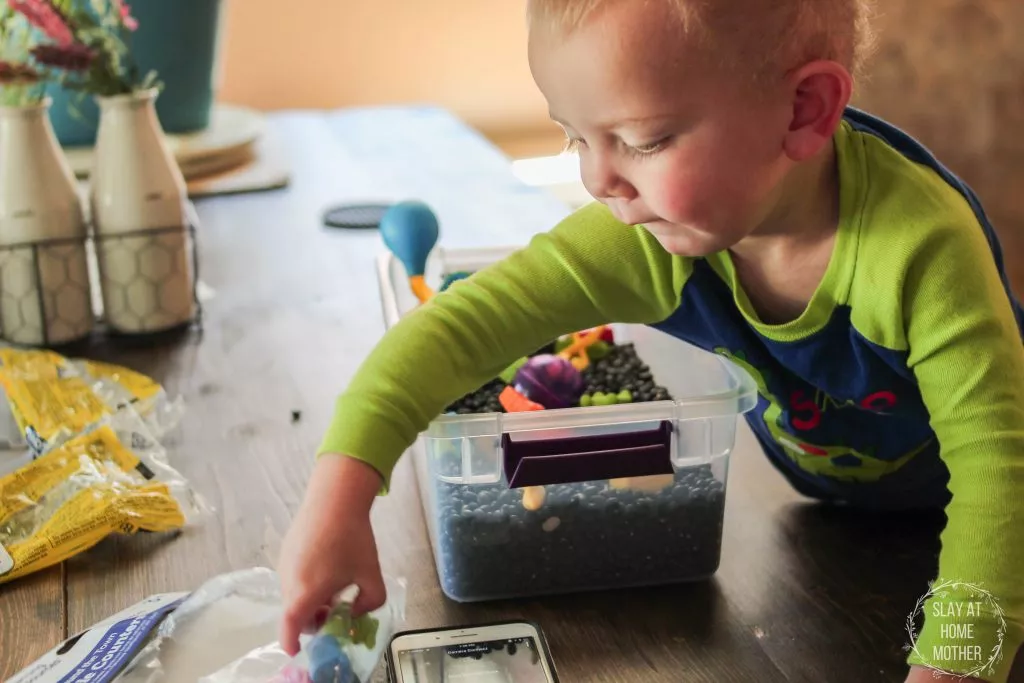
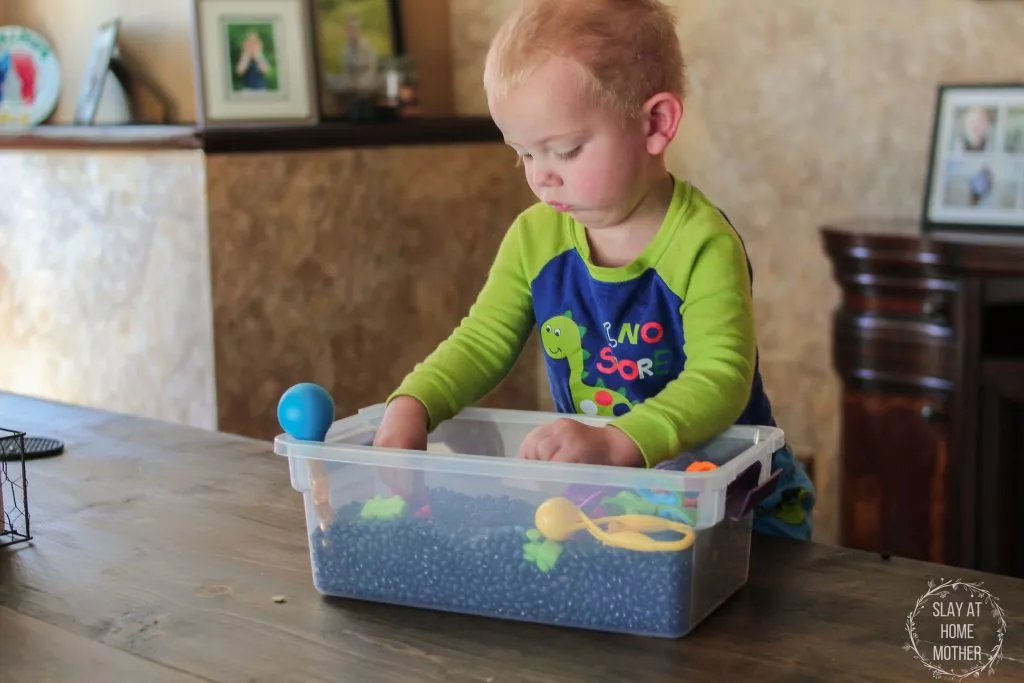
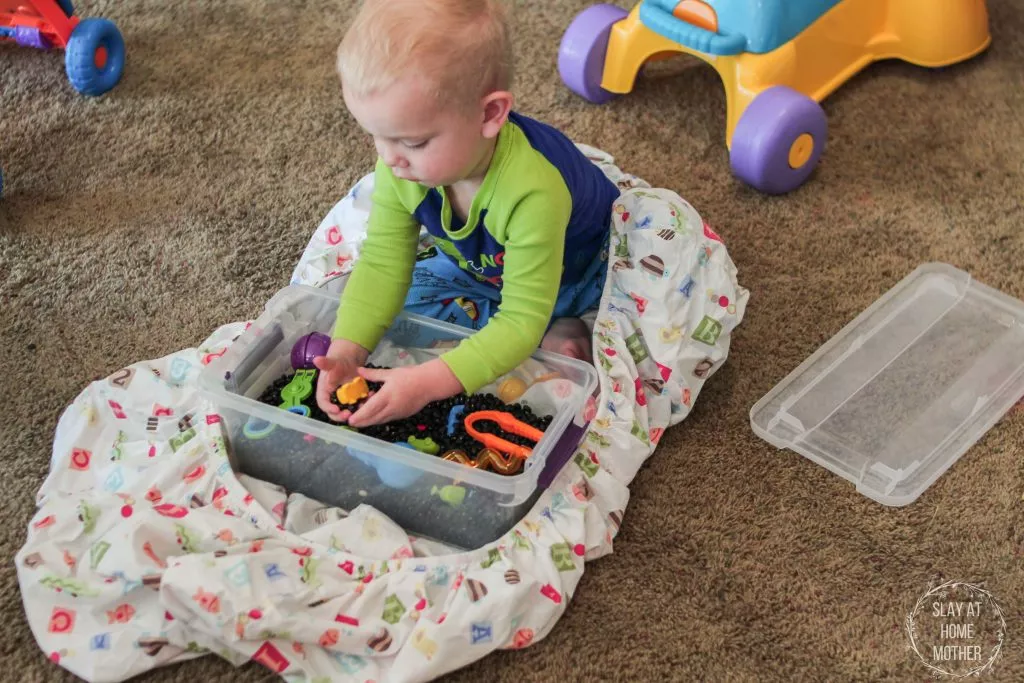
Put together an easy sensory bin for your toddler that encourages both gross and fine motor skills!
Hi friends!
Jax and I have been attending speech classes through both a private therapist and a local University program that allows graduate students to help young toddlers.
But these are great options for us to help improve his speech without putting ourselves in the poor house!
Jax was recently diagnosed with Expressive Language Delay.
We have been learning a lot through our 2x a week classes and have been implementing a lot of those practices at home the other days of the week that we aren’t in classes.
One of the really awesome tools we’ve been using has been a sensory bin.
*This post contains affiliate links, however, all opinions are my own, as always.
Why Use A Sensory Bin?
With a sensory bin, little ones are able to utilize most (if not all) of their senses (touch, sight, sounds, taste and smell) while doing something really fun.
Kids can work on language development, practice fine motor skills and play-based learning, stimulate their 5 main senses, and experience child-directed exploration.
For my oldest son, Max (who has SPD – Sensory Processing Disorder), sensory bins help him relax and explore while having fun.
If he is having a difficult morning with the way his clothes feel on his skin or hearing the toilet flush, I just have him play in our sensory bins and he calms right down.
By stimulating other senses he has (feeling the beans in his hand, scooping the toys up out of the beans, etc) he can focus on something other than the negative stimuli affecting him.
For my youngest son, Jax (who has oral aversion, and possibly a minor form of SPD), his Occupational Therapist and I are trying to expose him to more textures and stimuli to get him comfortable.
I also do this with food because if you aren’t willing to touch it, you aren’t going to put it in your mouth!
Sensory bins are great for kids of all ages, and can help them with:
- Fine motor practice
- Language development
- Improve focus and concentration
- Play-based learning
- Fun
- Stimulates the 5 main senses
- Child-directed exploration
Plus, they are super easy and inexpensive to put together!
Materials Needed For A DIY Sensory Bin
Here’s what you need to make your own sensory bin for your toddler…
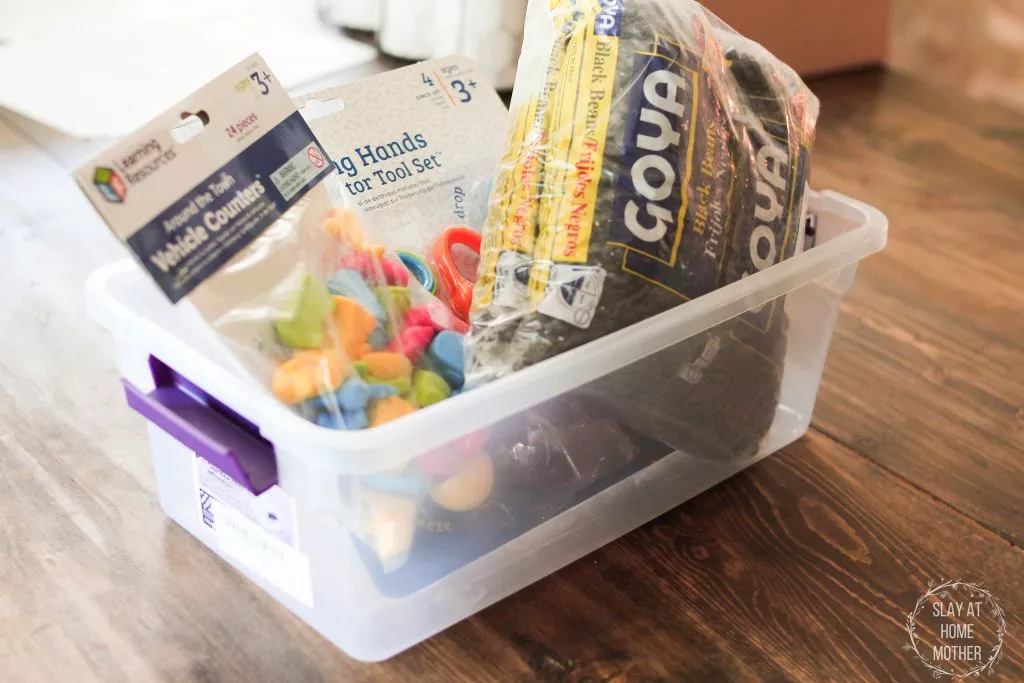
- 6 quart (or larger) bin with a secure lid
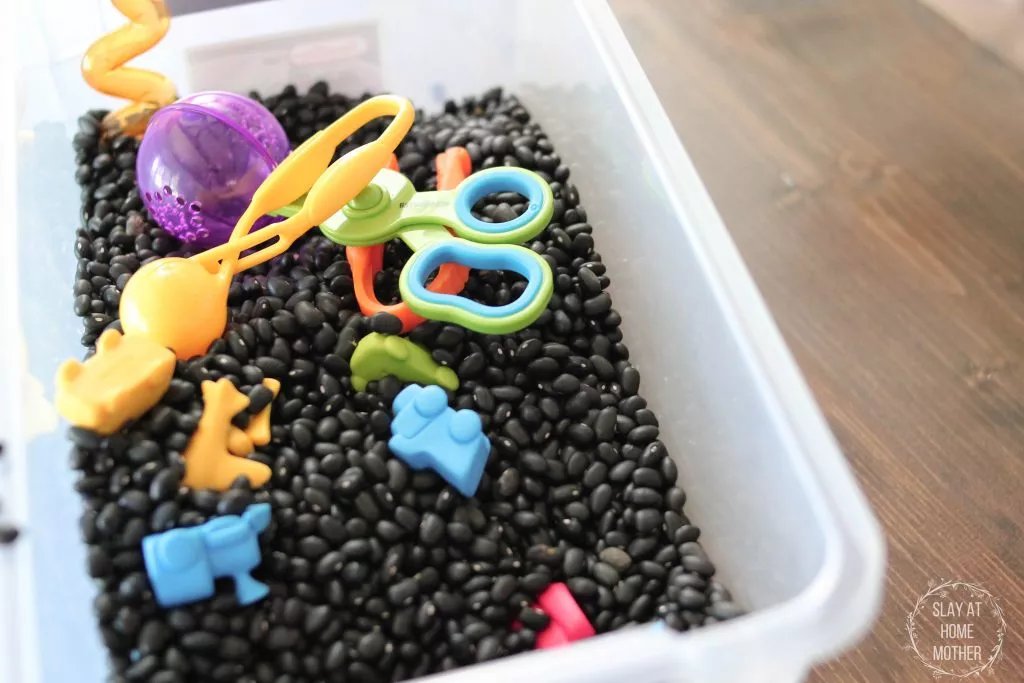
- 4 (1 lb.) bags of black beans (you can use rice, pinto beans, navy beans, etc.)
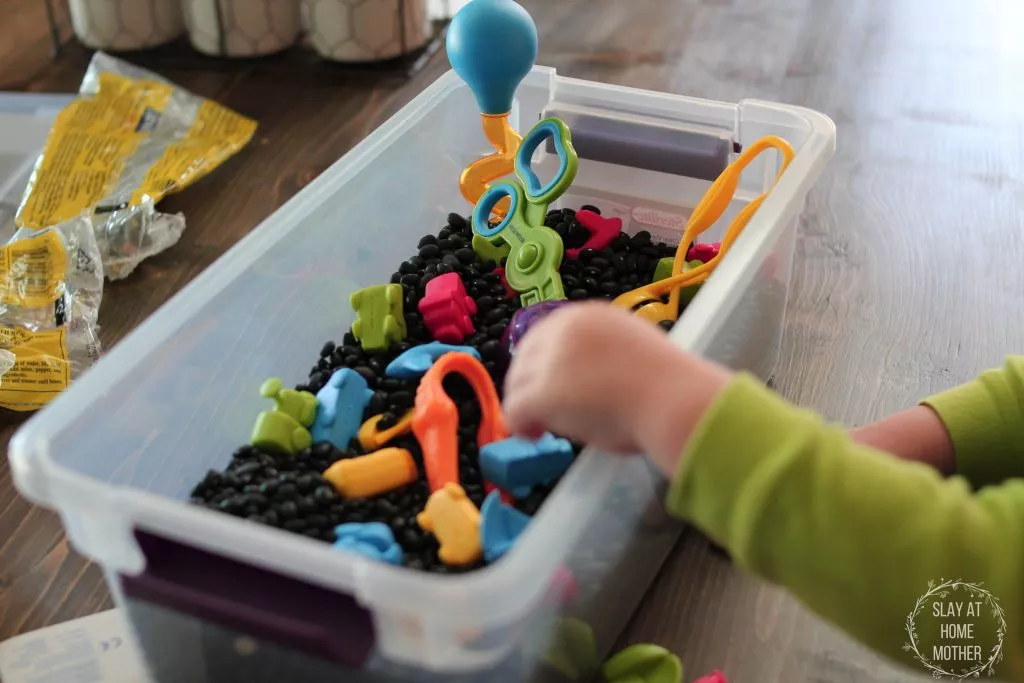
- 1 bag of counters (we used cars, trains, and airplanes)
- 1 Fine Motor Tool Set
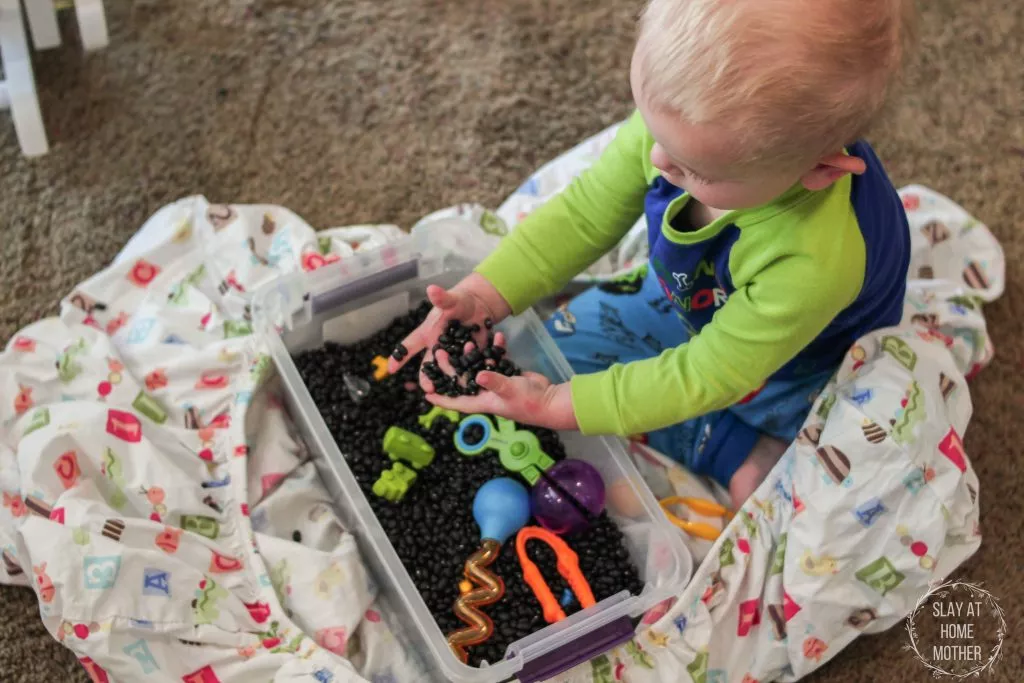
Pour all 4 bags of black beans into the clean, dry container.
You can probably get away with just 3 one-pound bags, but over time these little beans will find their way out of the container, so it’s best to start with a little more than you think you’ll need.
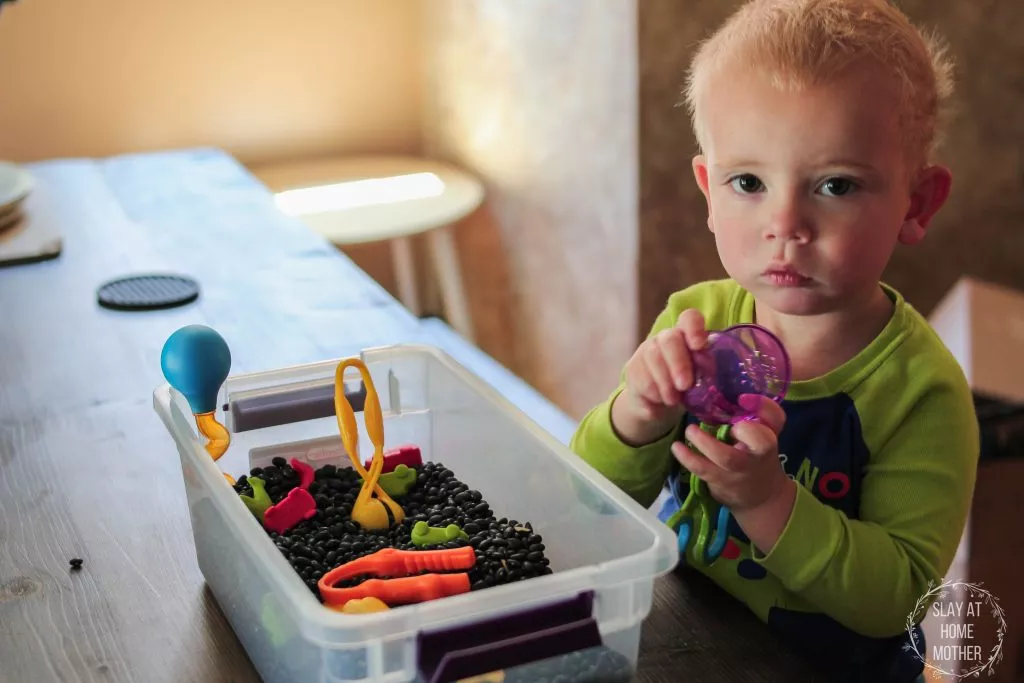
Open the fine motor toolset, and counters, and place them in the container as well.
That’s it, time to play!
See the tool that looks like scissors, but has a ball scoop on the end?
That’s great for OT because it helps with our kids’ fine motor skills by getting them ready for scissor use skills later on.
We race the cars over the beans, saying ‘Car, Car! Car goes FAST!’
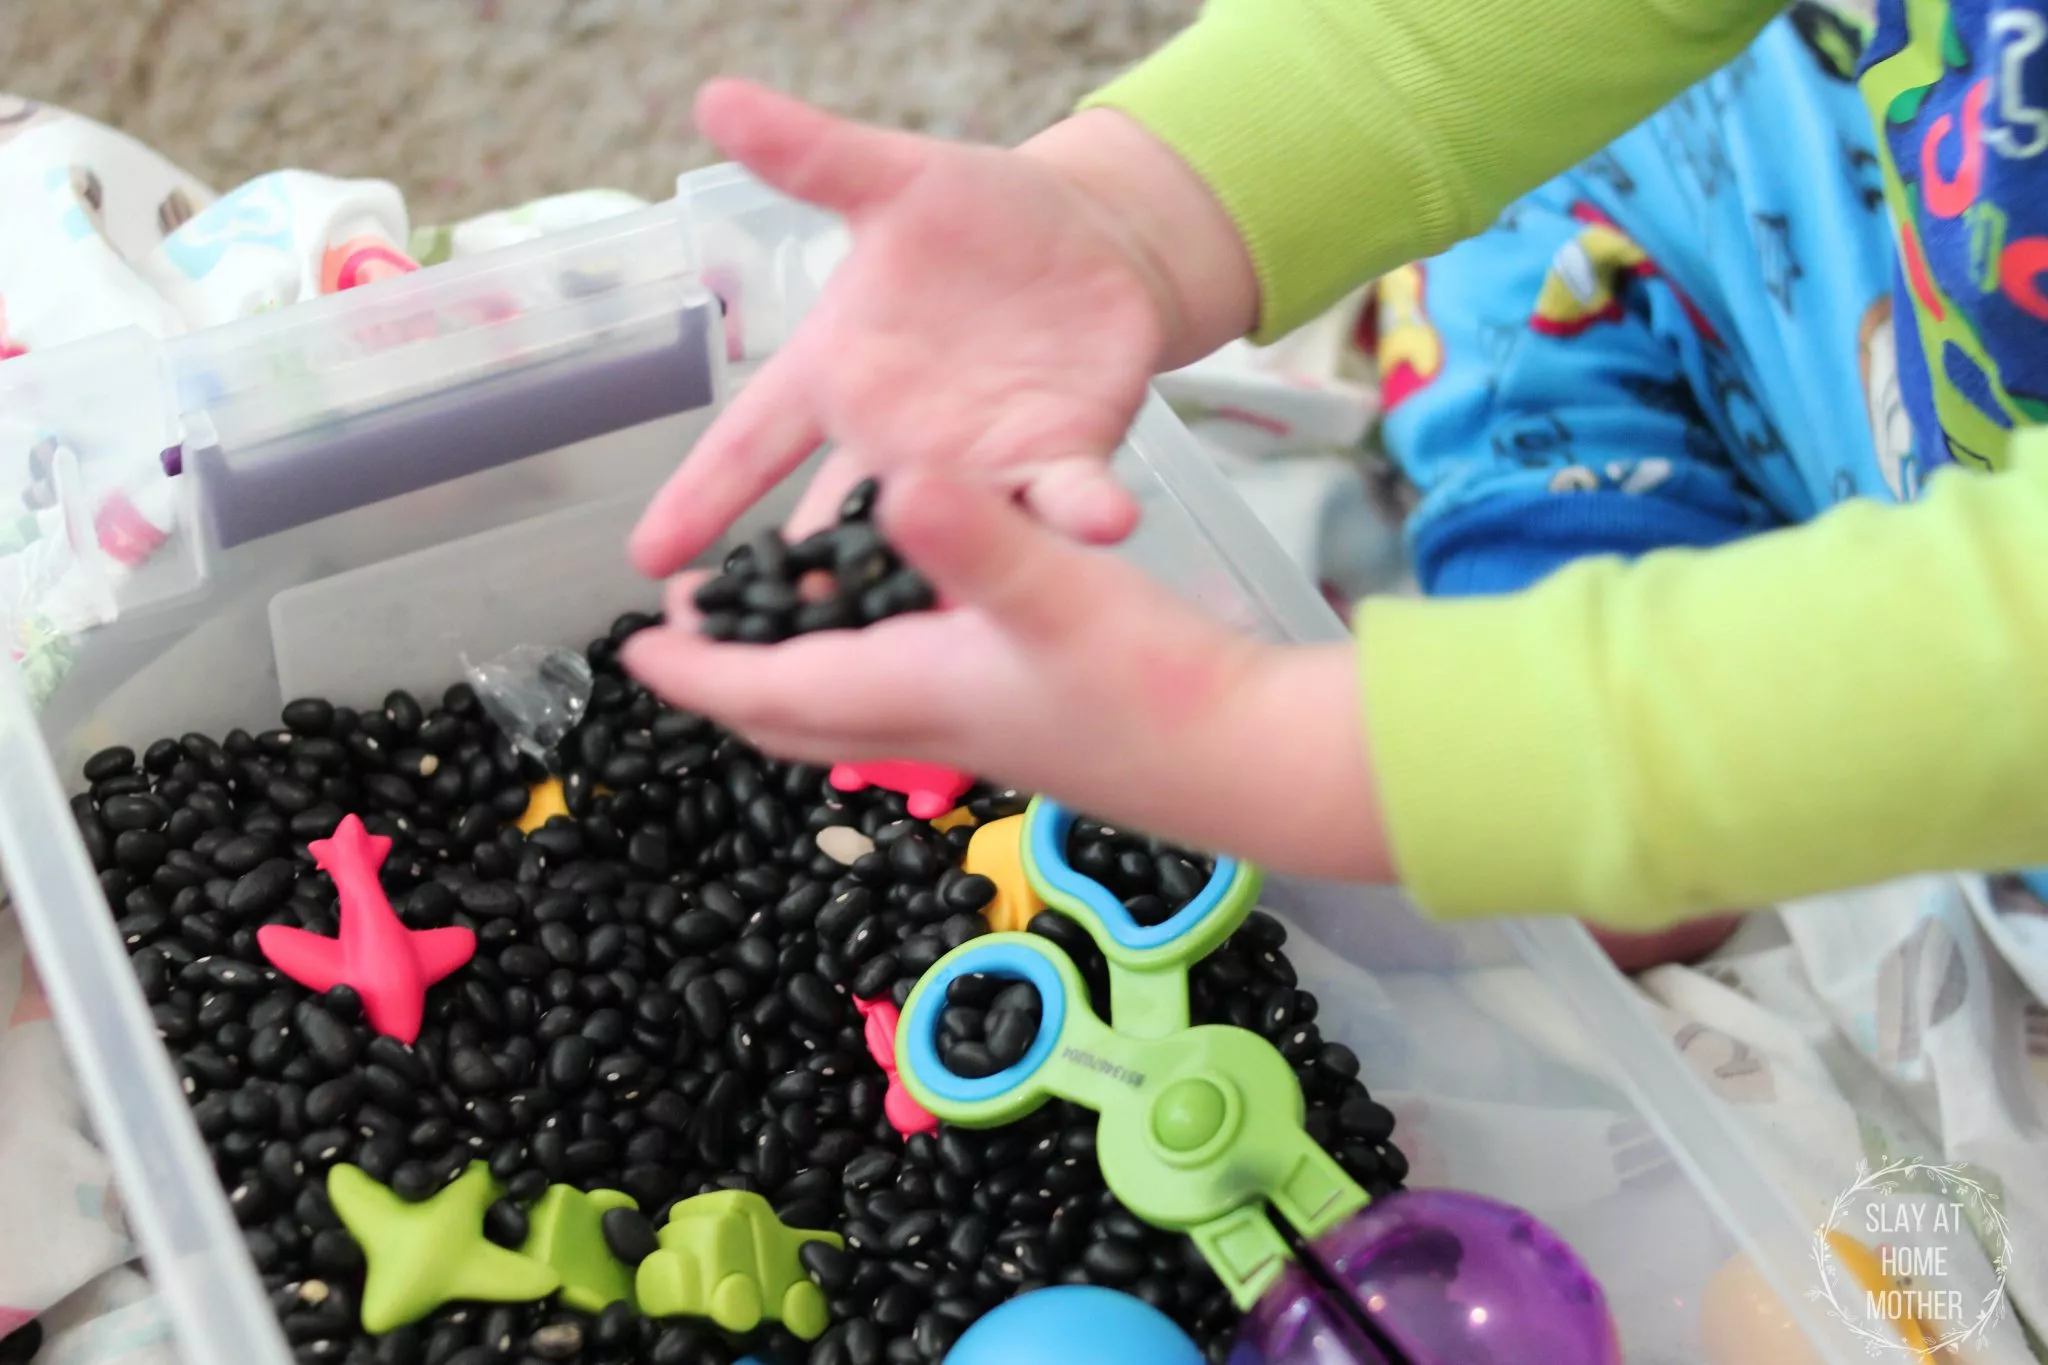
Jax loves to bury the cars deep in the beans, and then scoop them out.
One thing we will be adding to the bin later on is scent.
Jax’s Occupational Therapist recommended we add some orange oil or another scent to the bin by either rubbing the toy counters in oil or expressing a few drops in the beans and mixing them up.
Containing The Mess Of A Sensory Bin
When we play on the carpet, I like to set the sensory bin and Jax’s sweet little tush in a crib sheet to contain the mess as best I can.
In OT and Speech, they use a flat sheet to lay the bin on top of.
Both are great options!
You May Also Like: 5 Easy At-Home Speech Therapy Activities For Your Toddler
Does your child have SPD or use sensory bins? Tell me in the comments below!
*Post originally published June 2018, last updated October 2021.
