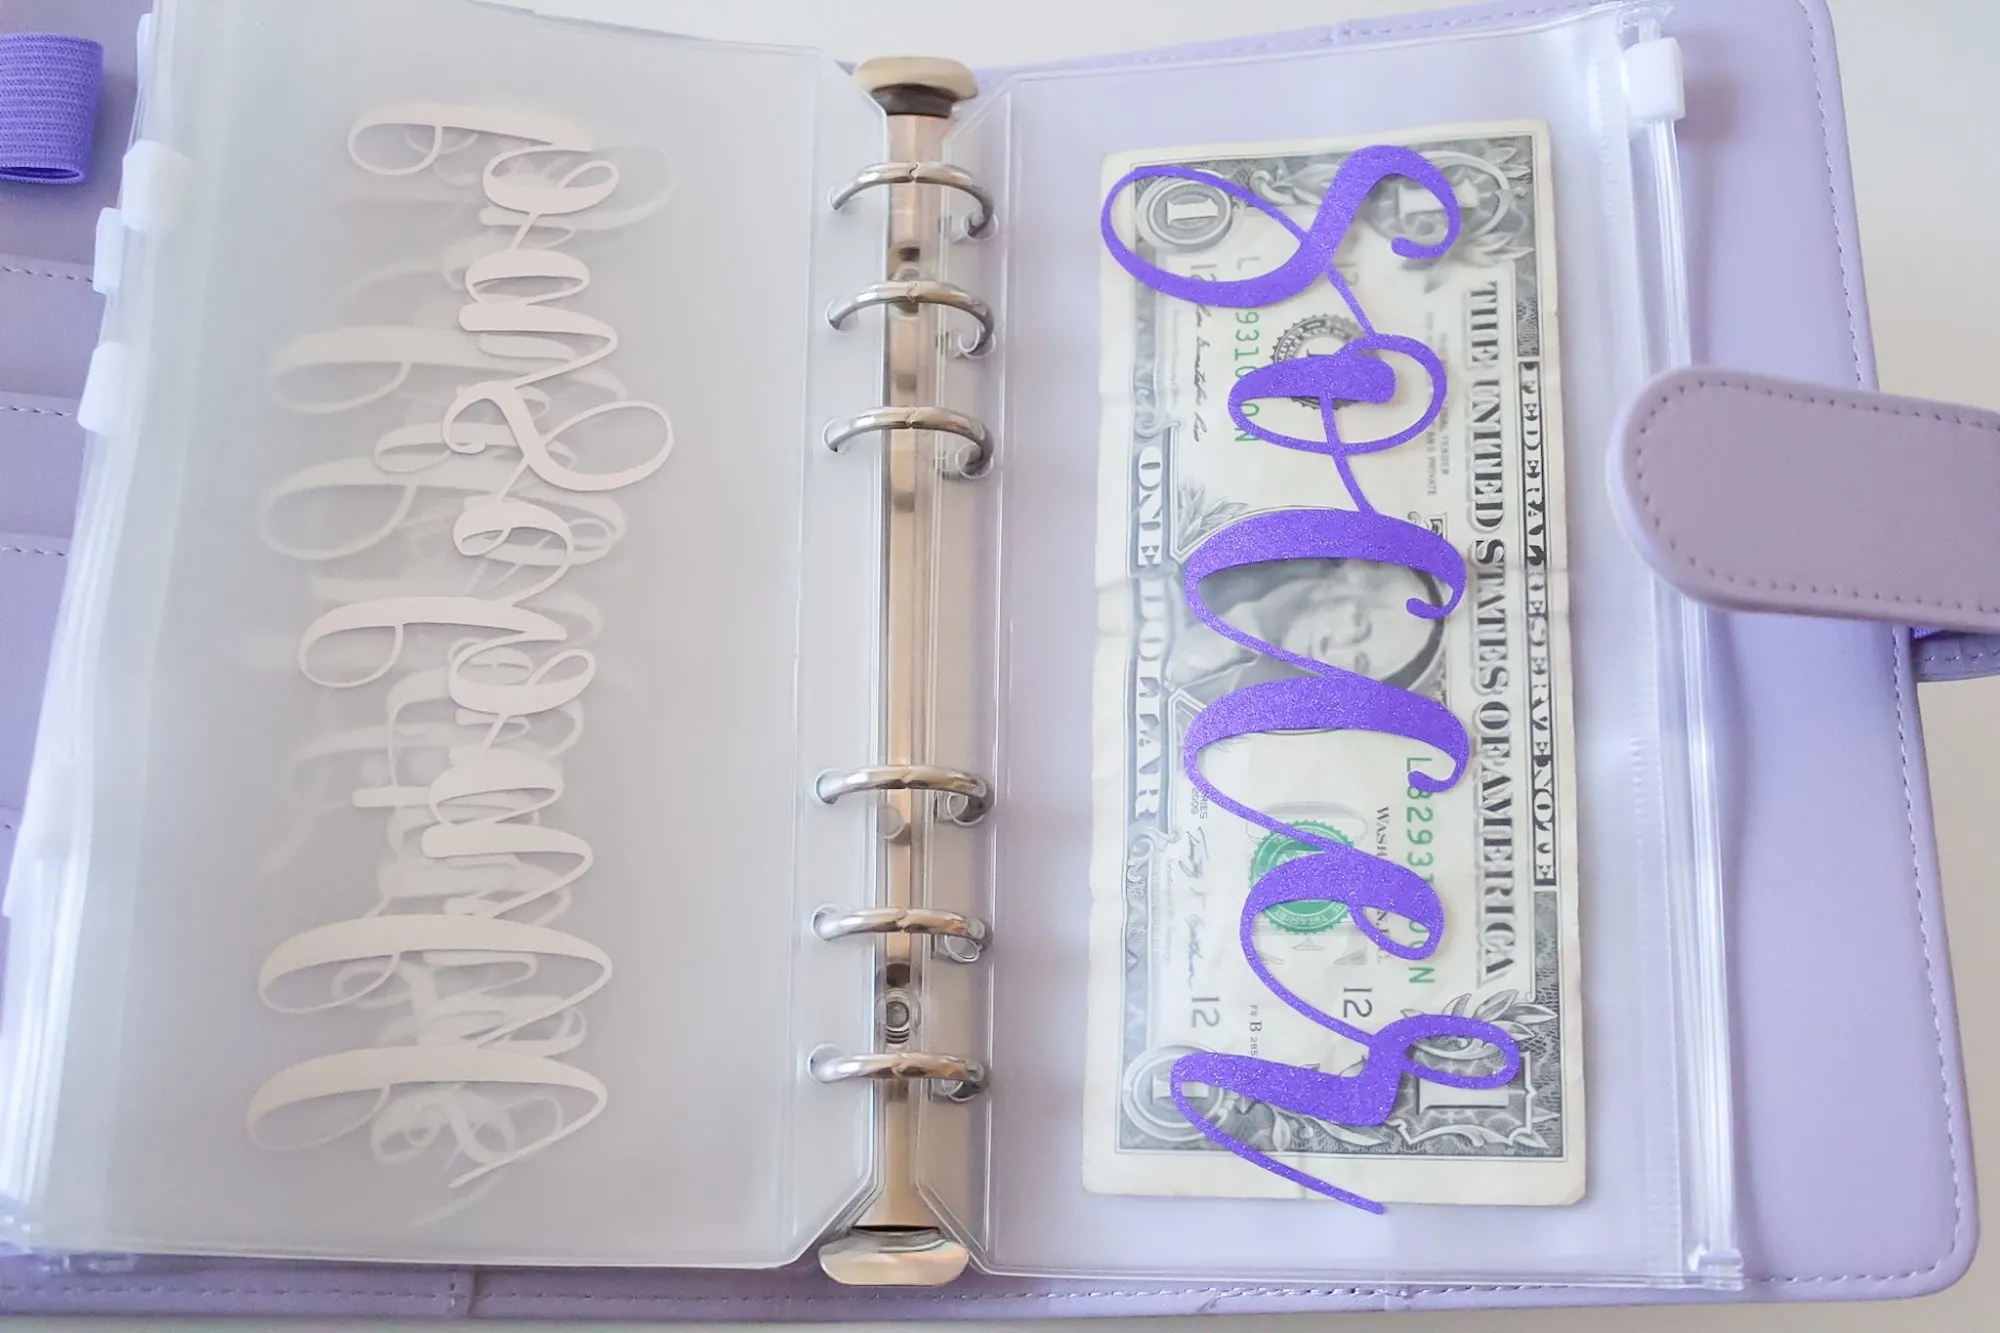
Make your own cash stuffing envelopes to help save money (or give as a gift) with this easy Cricut tutorial…
Budgeting can be hard when it’s as easy as a few clicks to buy anything you want.
Save money and learn to budget better by using cash stuffing envelopes that help you keep track of spending with this easy DIY.
As someone who has struggled with budgeting in the past, I know just how frustrating it can be to stay on track and save money.
But by using a cash envelope system for your finances, you can easily keep track of what you have left to spend at any given time.
Whether you use a physical cash envelope wallet or a digital one like the Goodbudget app, the key is to assign each category of spending its own envelope (or “virtual” envelope in the app).
Using Cash Stuffing Envelopes
Oftentimes, our debit cards are linked through PayPal, Amazon, Walmart, Kroger, Target making it too easy to spend on things you may not need. Let’s be real, the idea behind linking your cards to apps and programs is to make purchasing that much easier.
It was a genius move that retailers made to further shoppers’ spending habits.
In fact, the last time I tried to hand a $20 to the lady at the register at Target (and we’re talking this had to have been months ago with the current economical and health climate we’re living in right now), I got a strange look from her as she slowly proceeded to take my money.
Spending with our debit cards is so common and so easy, it’s becoming harder for people to save money.
Enter the cash envelope wallet system!
The Idea Behind the Cash Stuffing Envelopes
This idea originally came from Dave Ramsey and has helped millions of people save money and divide up their available funds to go to the correct place.
The idea behind the cash envelope system is to budget your money into categories and keep yourself from spending frivolously.
When creating your own cash envelope system, think of 4-12 categories of spending that you can expect to divide your money between.
Within this step, you can create a budget and even sort things out into a spreadsheet for free, like in Google Sheets.
Here are some examples to get you thinking:
- vacation
- HOA fees
- groceries
- self-care
- hair and nail appointments
- fast food
- family outings
- emergencies
You can skip the payments that are automatically drafted from your checking account or those that you pay directly from your account, like your mortgage, car payments, or electric bill.
*This post contains affiliate links, however, all opinions are my own, as always.
Cash Envelope System Wallet for the Family
Originally I tried to use envelopes to keep my money straight, but juggling the individual sets of cash in the different envelopes proved to be difficult.
When I got tired of carrying around bulky cash envelopes, this cash envelope wallet project was born.
Now, this envelope system is so much easier to follow. Everything is in one place and I’m able to just pop it in my purse. Because it’s cheap and easy to make, I also made one for my spouse.
You can even introduce the idea of saving and budgeting by making one for the kids!
DIY Cash Stuffing Envelopes
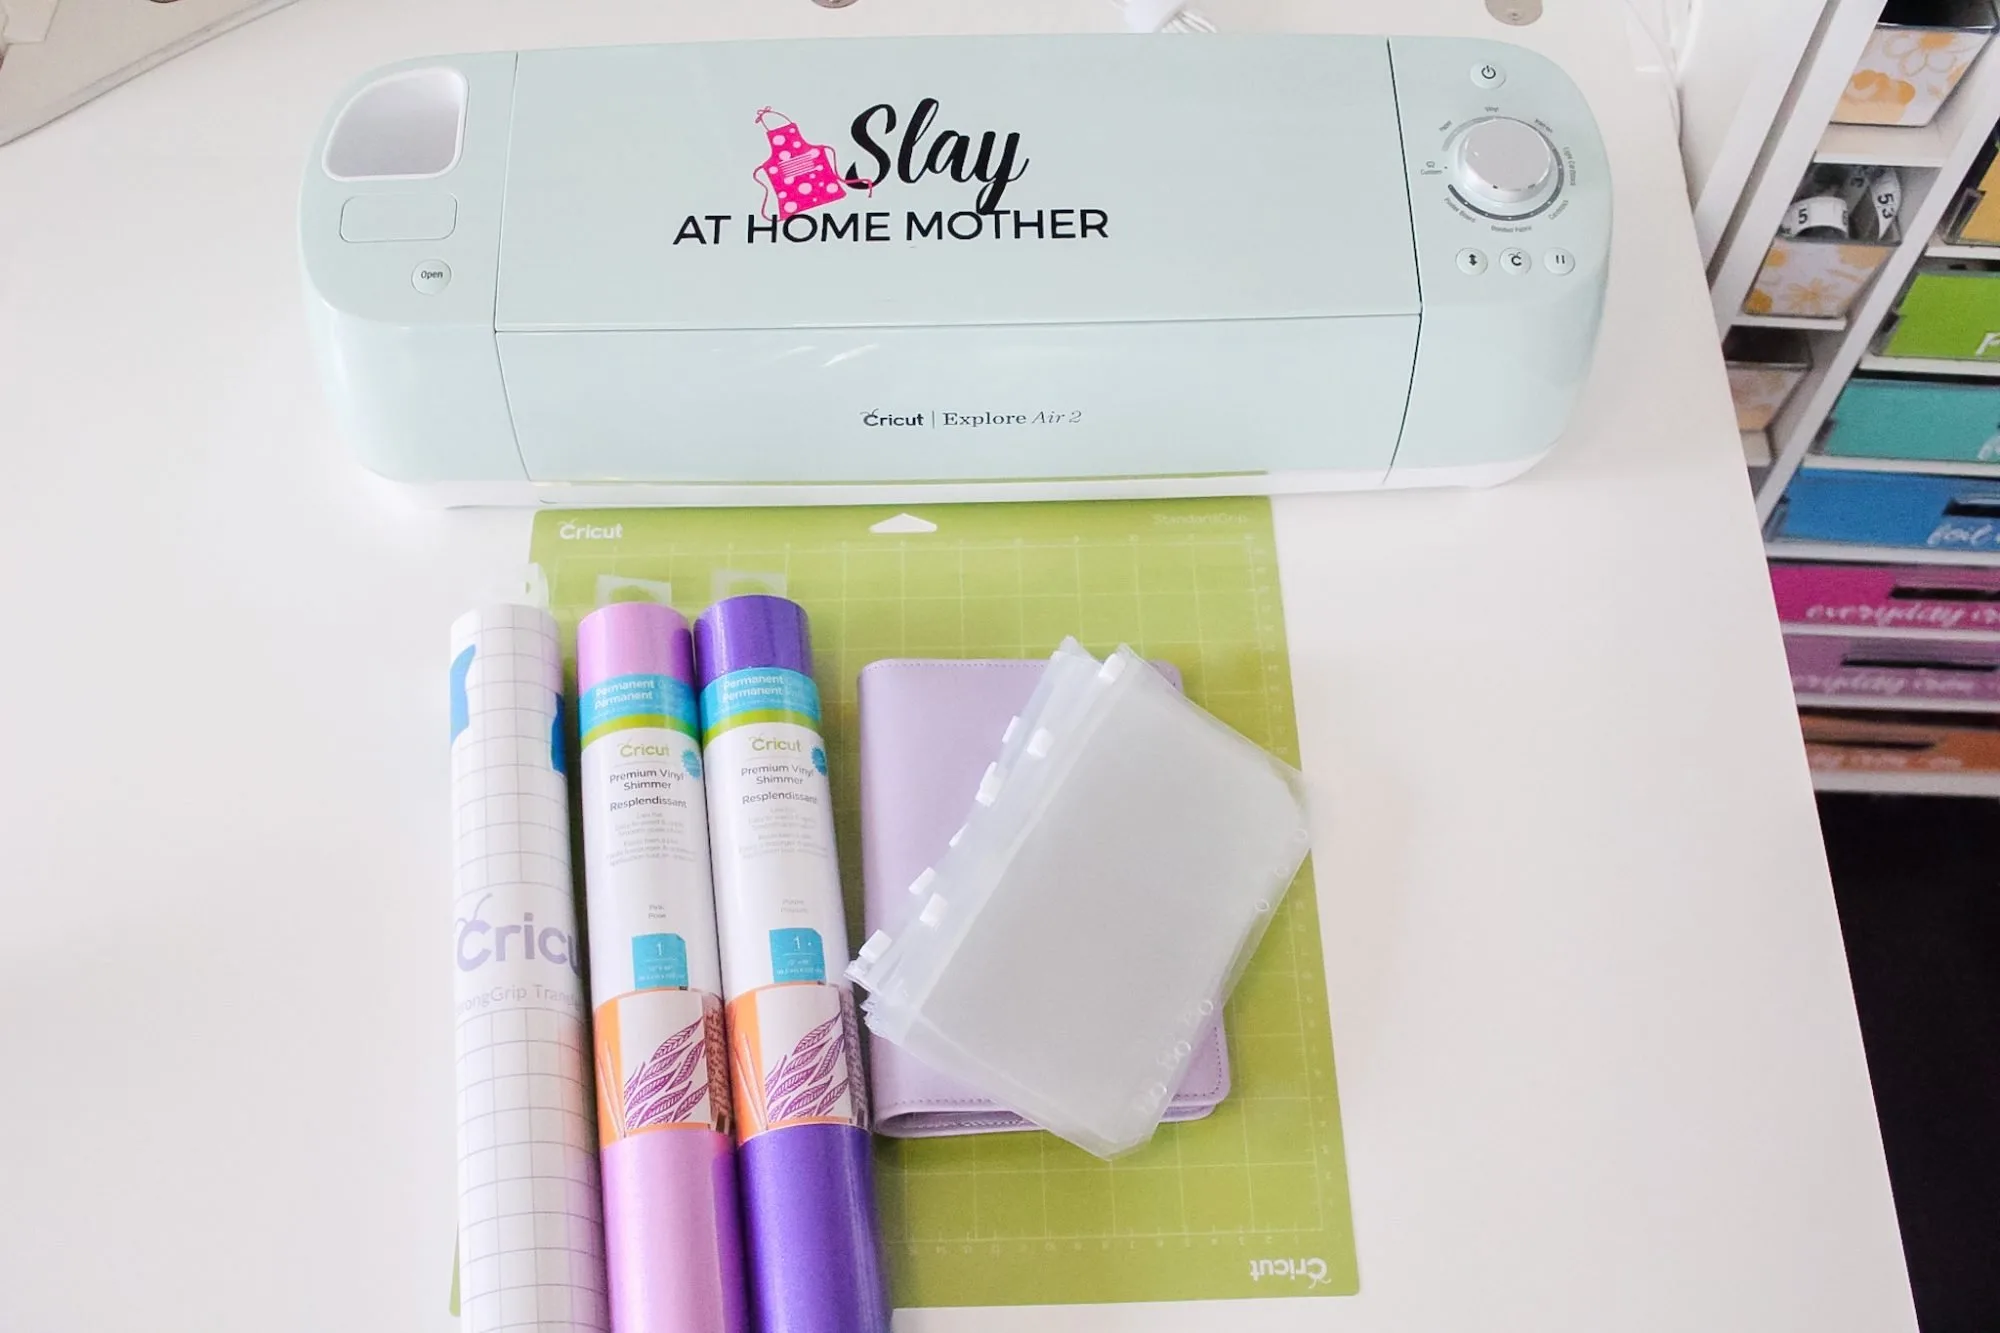
When it comes to making your own wallet, you can be as creative or go as simple as you like. I personally picked out a wallet and clear envelope system I found on Amazon that I will link below for you guys.
The wallet and clear envelopes are featured in this post as well…
- wallet
- clear envelopes
- vinyl (I used Cricut Vinyl Shimmer)
- StrongGrip transfer tape (if you are using Vinyl Shimmer like I am- each roll of Vinyl Shimmer has a 12″x12″ sheet of StrongGrip transfer tape included!)
Regular transfer tape (if you are using regular vinyl, you won’t need StrongGrip).- StandardGrip cutting mat – the green one 😉
- Cricut Explore Air 2 or Maker with the fine-point blade in the blade housing
You can also simply use a wall organizer with physical mailing envelopes as well if you are short on time or need to be even more budget-friendly.
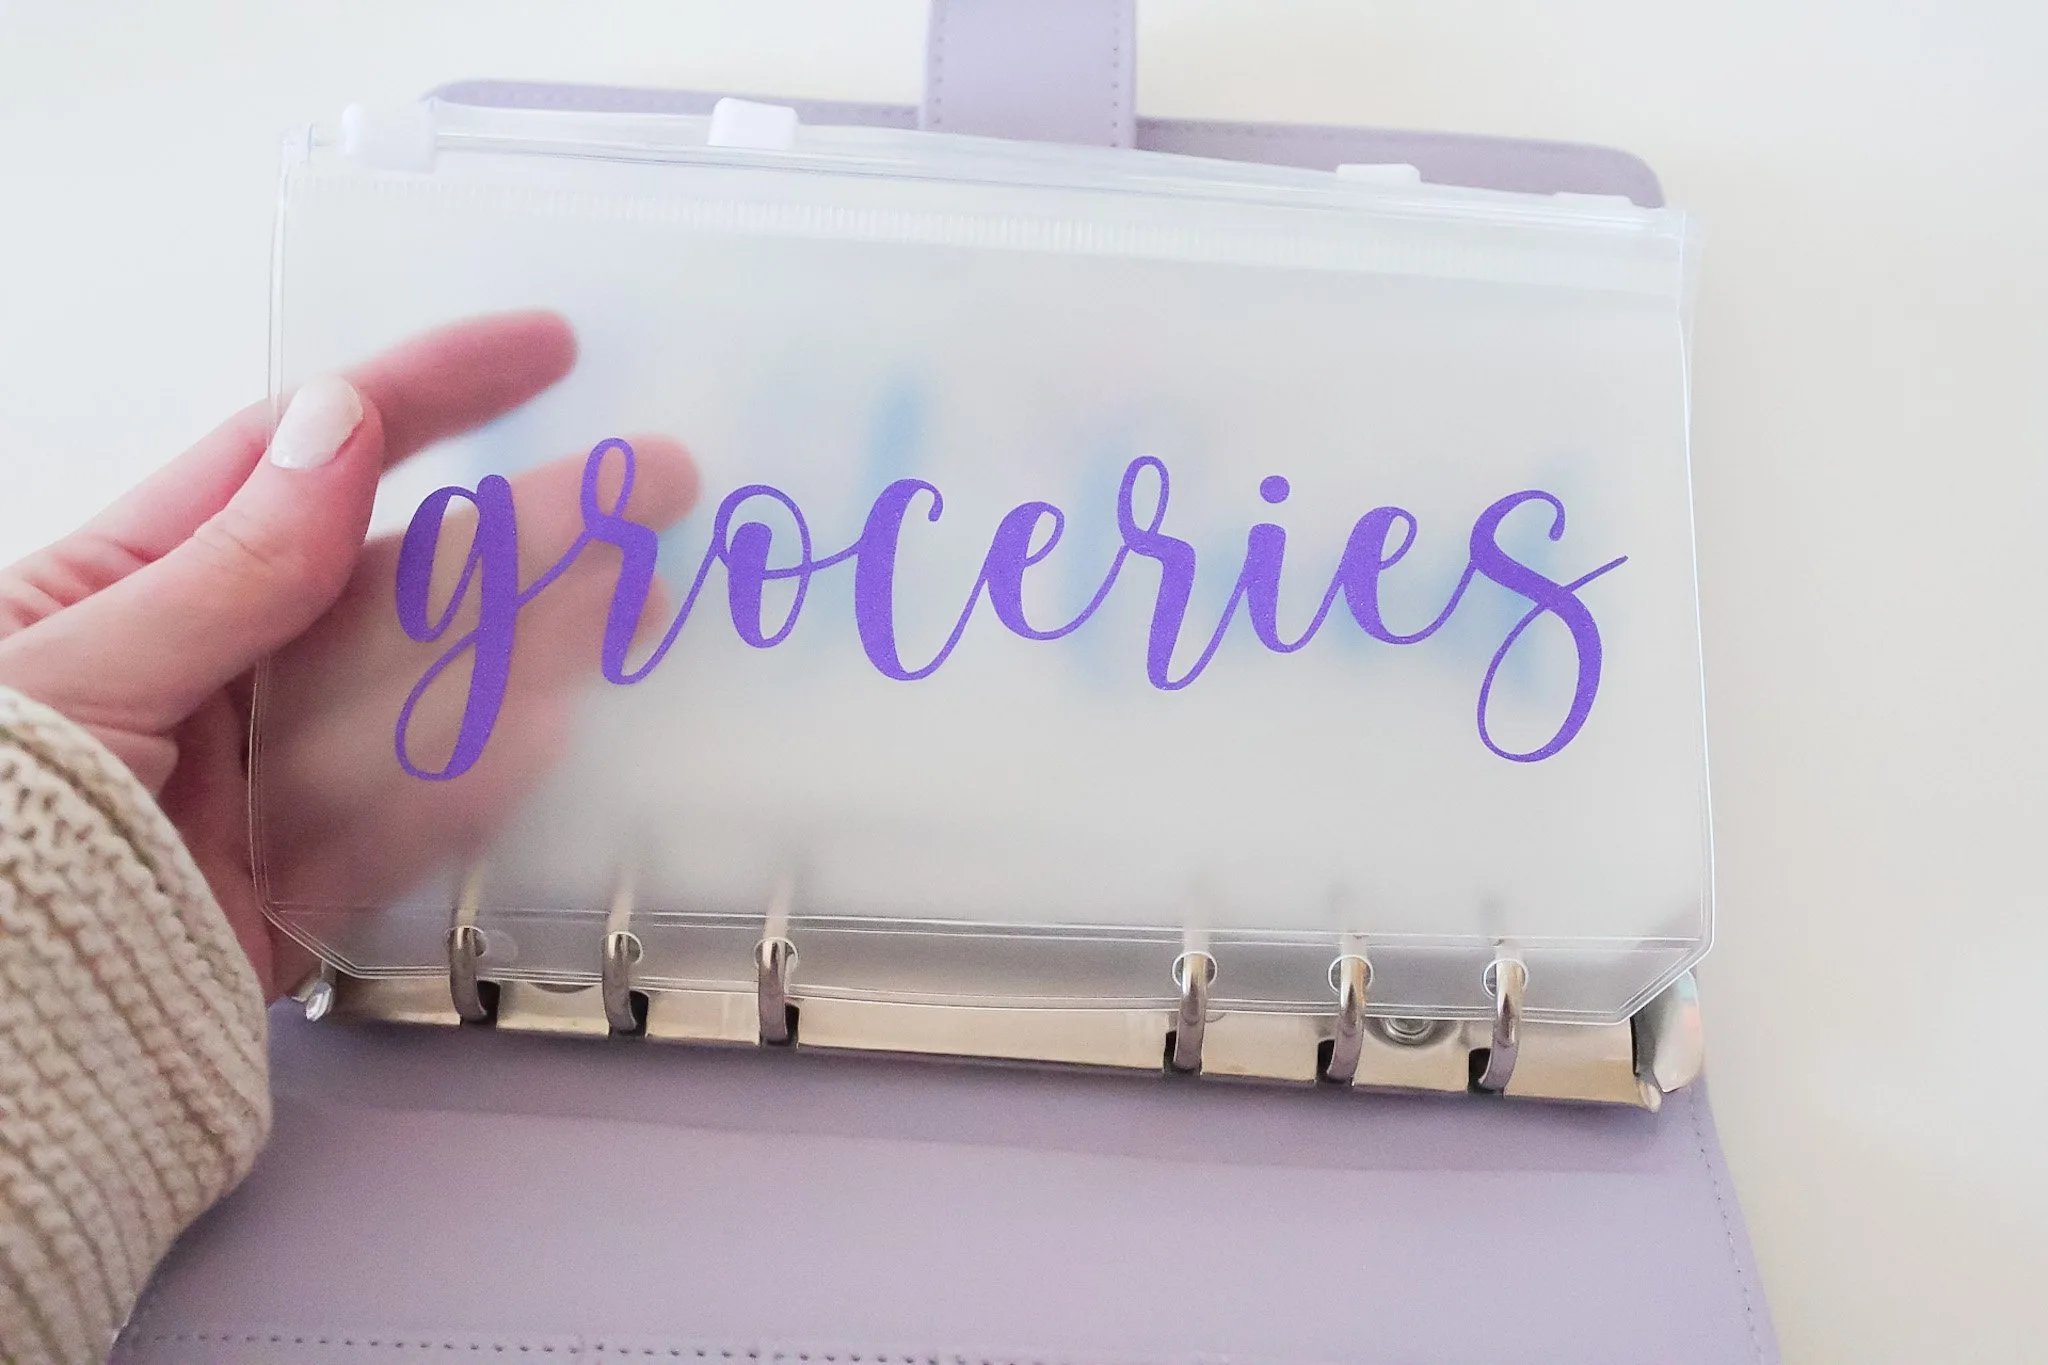
Once you have your cash envelope system set up, feel free to label each envelope with the designated bill, savings, or expenditure that you need to.
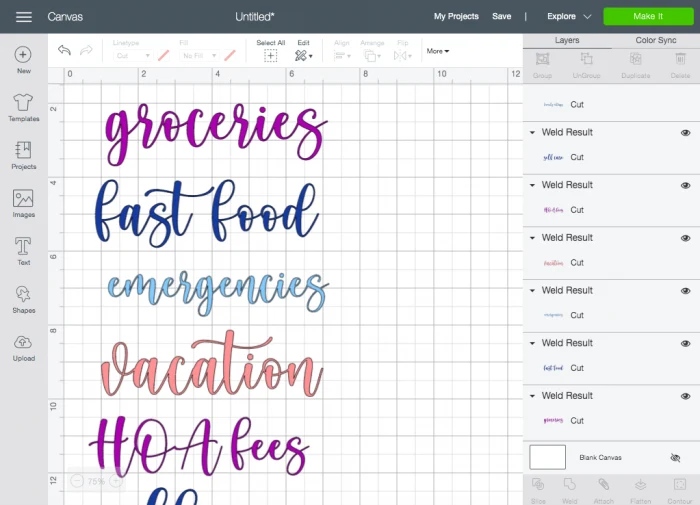
If you have a Cricut like I do, I have created some labels for in Design Space (the same ones featured in this post) that you can easily customize and make for your own envelopes.
Design Your Envelope Labels
For my cash envelope wallet, I wanted to create labels in a cursive font and alternate the colors because colorful things make me happy!
Glittery things also make me really happy, so I chose to use Cricut Vinyl Shimmer, which is an adhesive glitter vinyl that comes in a variety of colors. The shimmer vinyl is a very low-grit glitter and isn’t scratchy.
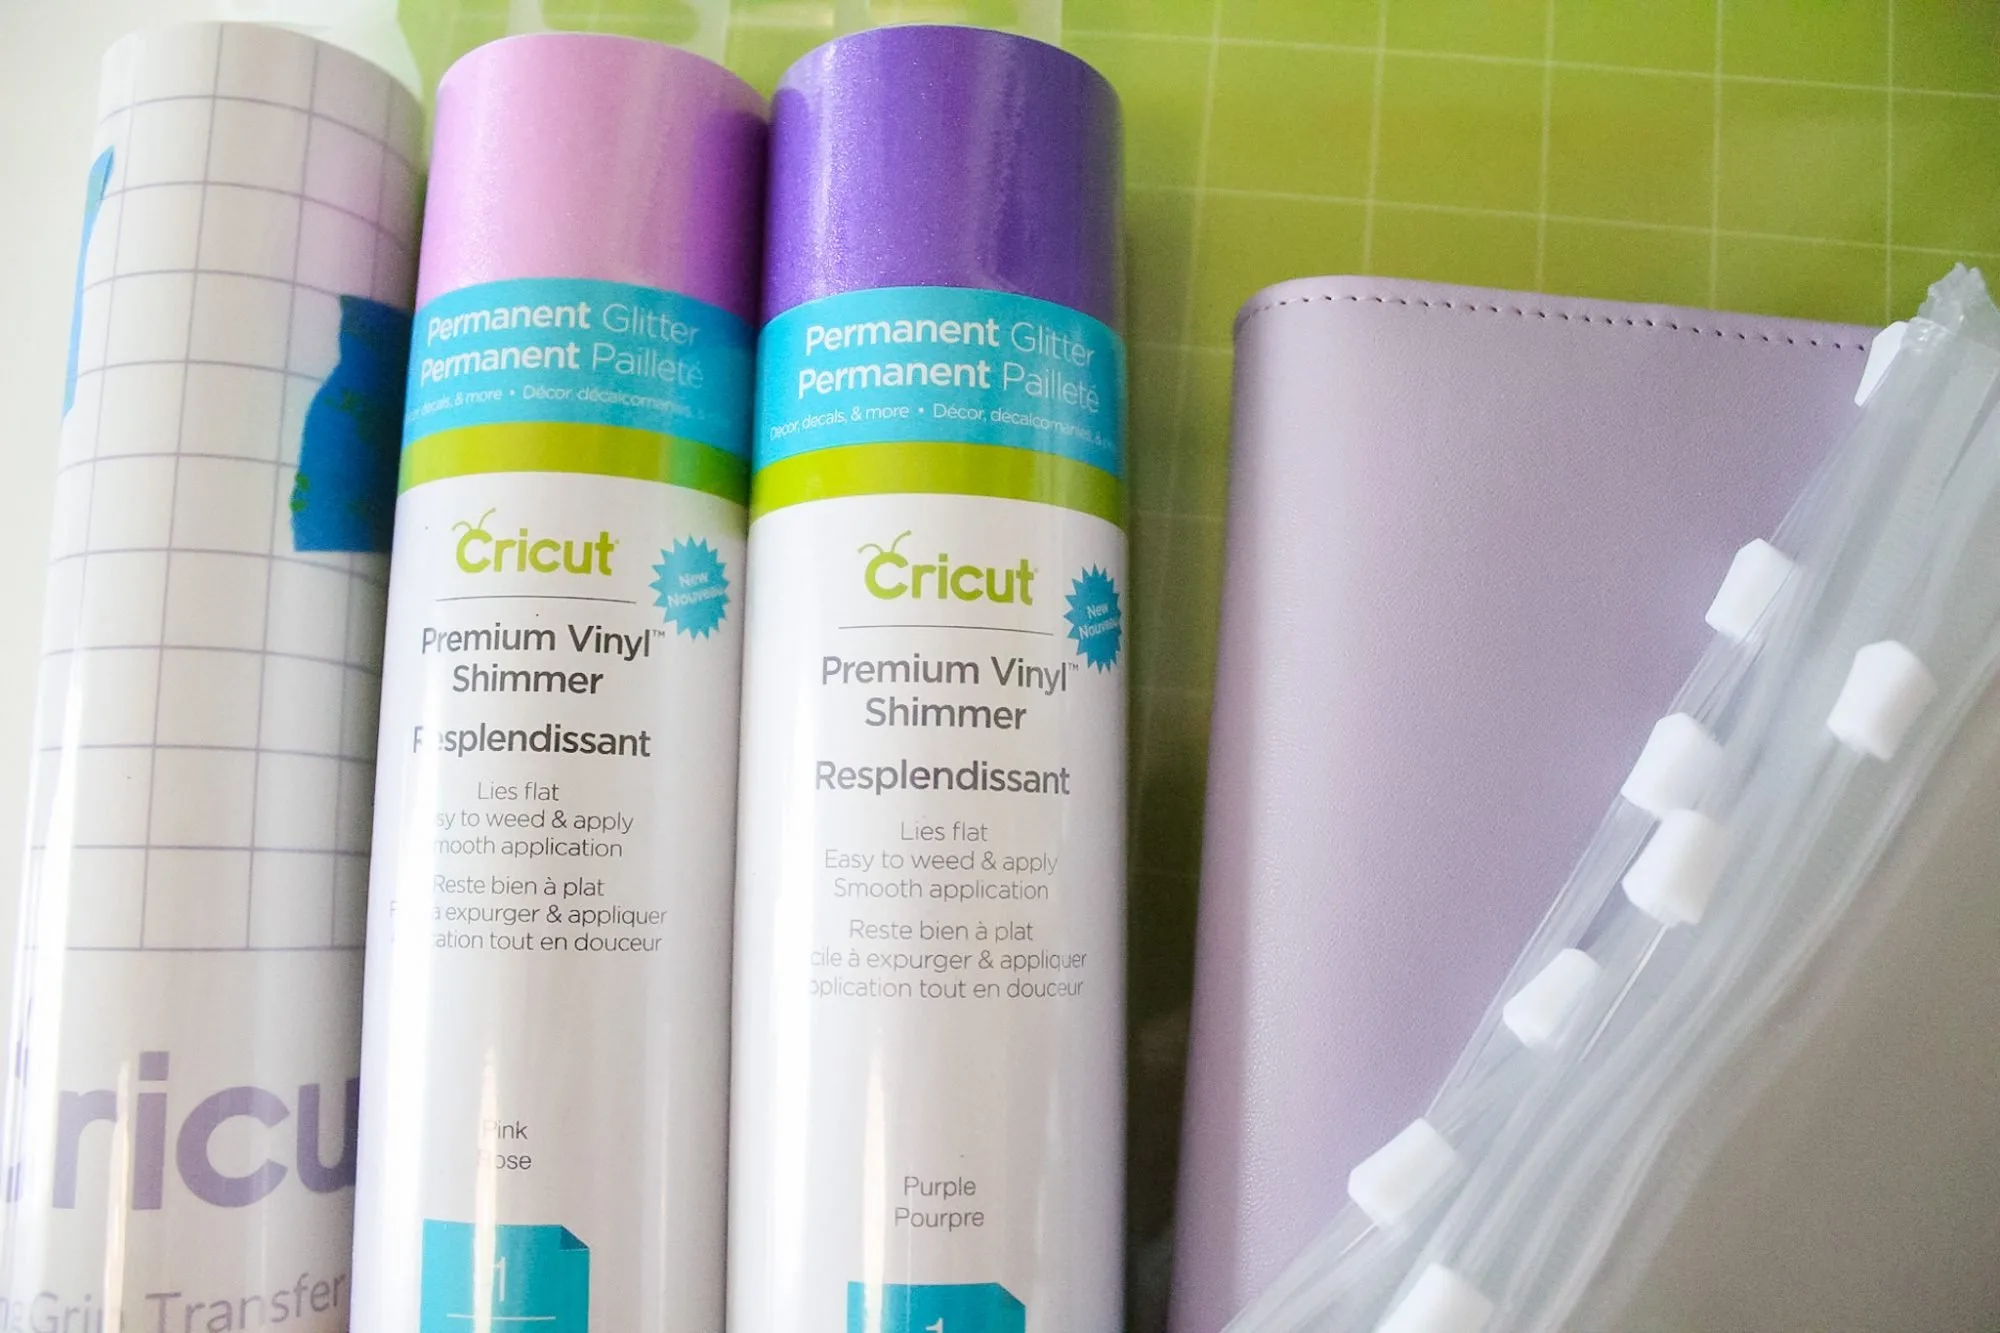
My cash envelope wallet is a light purple color, so I went with pink, purple, light blue, and blue vinyl shimmer.
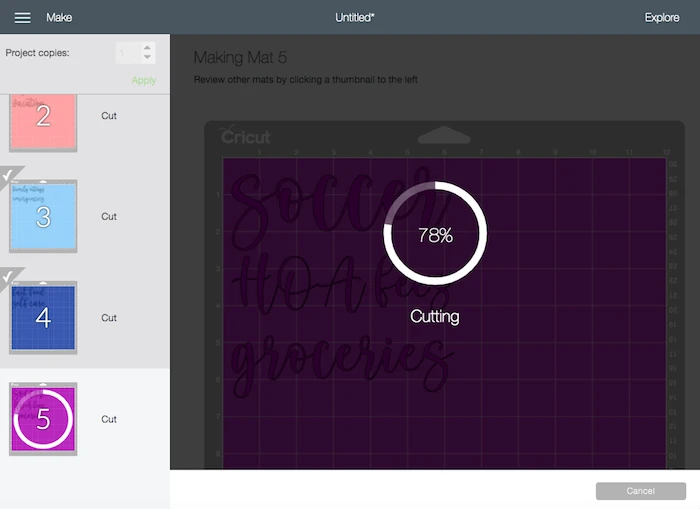
When using a cursive font, remember to WELD your letters before cutting or your machine will cut them separately.
Cut Your Vinyl Decals On Your Cricut Machine
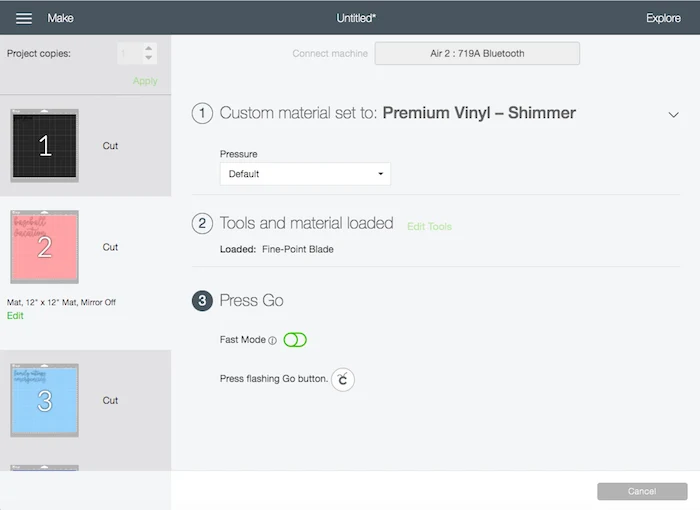
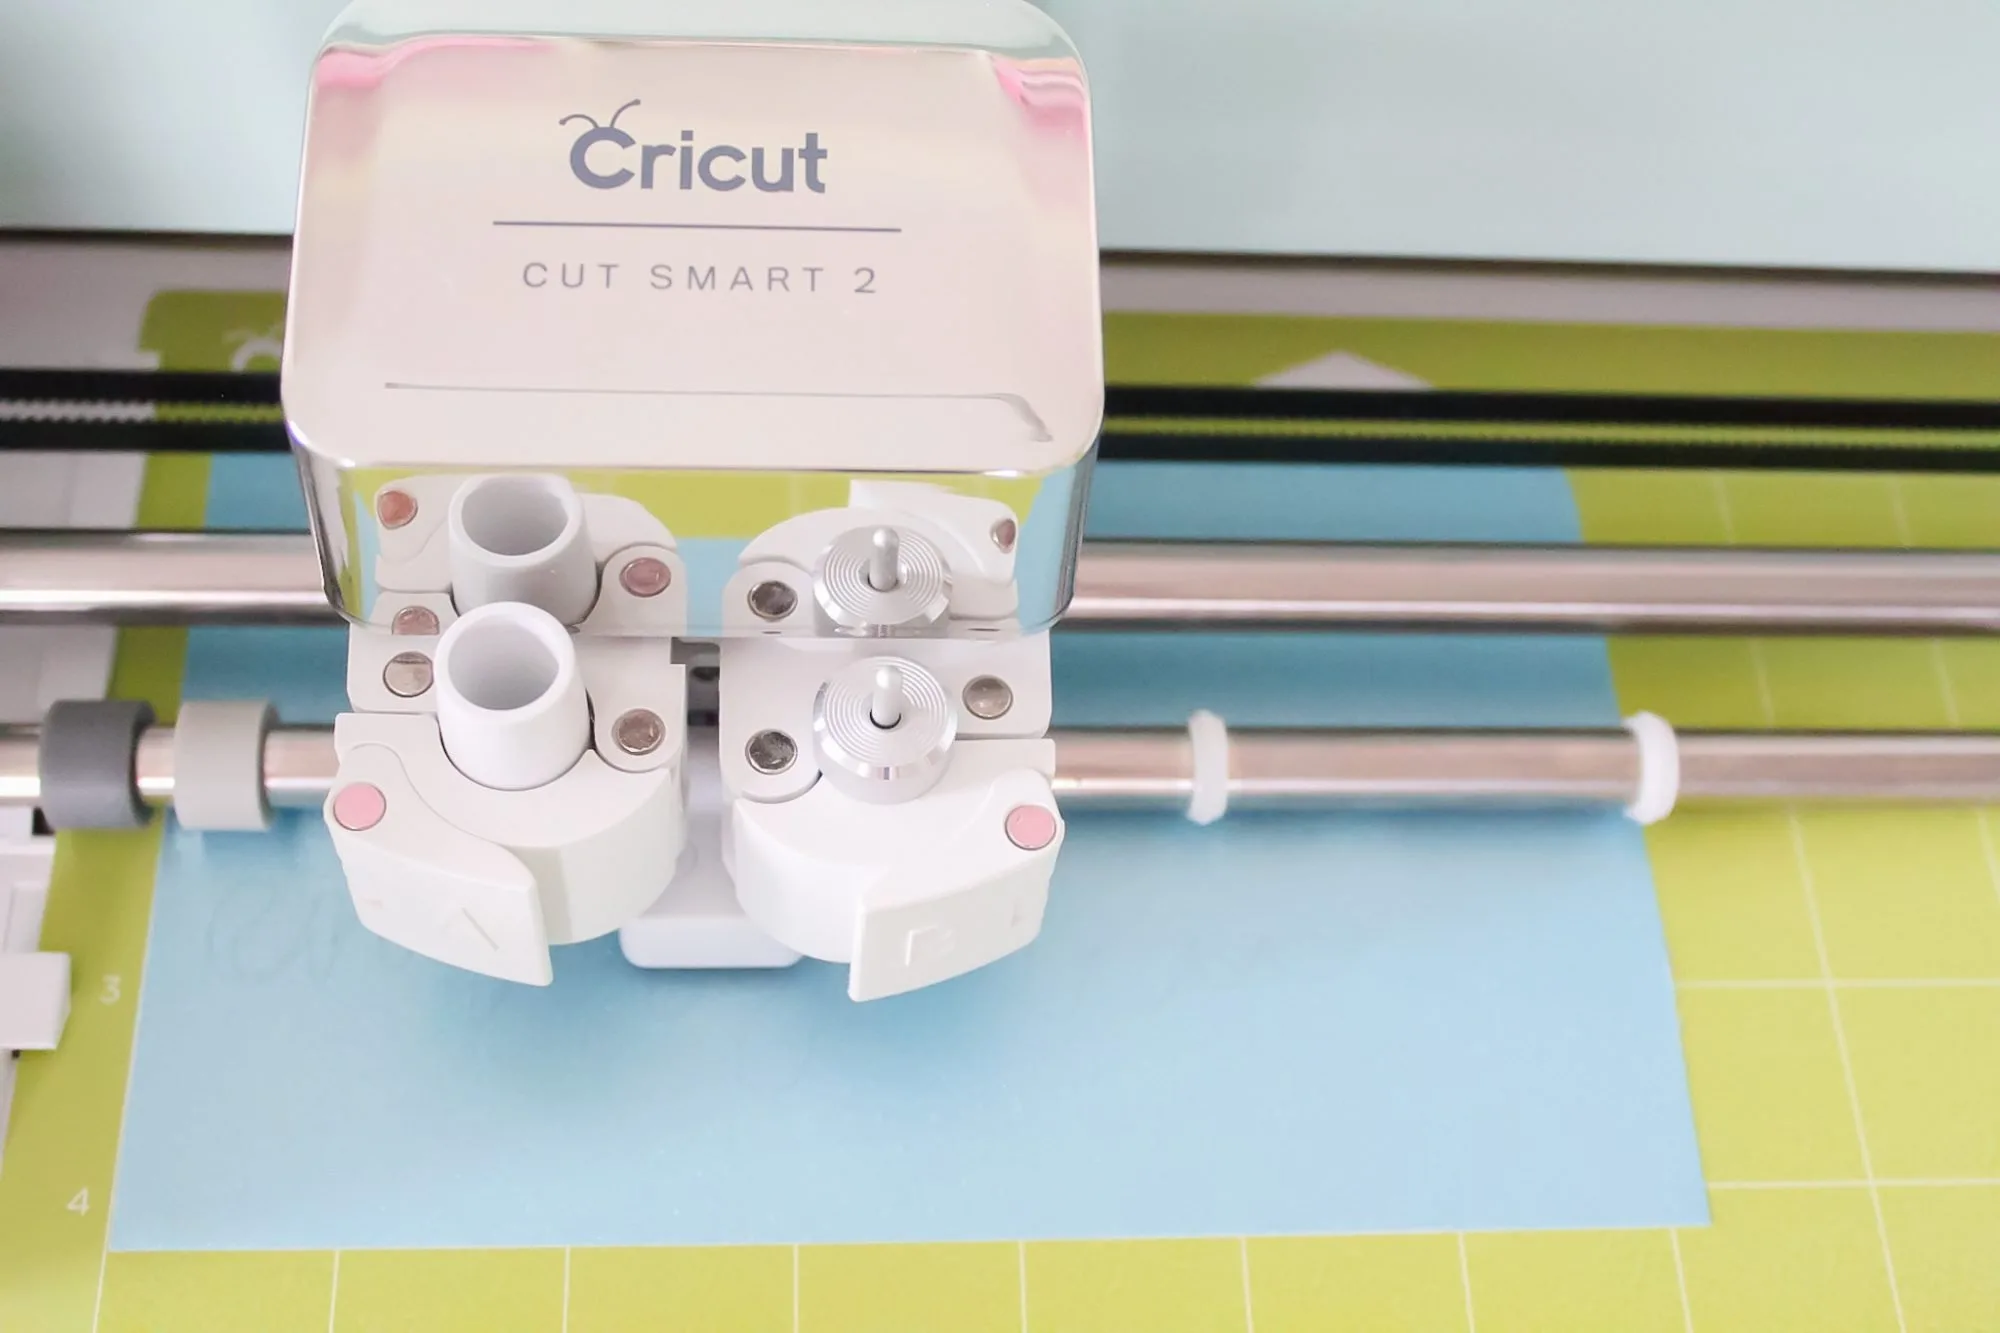
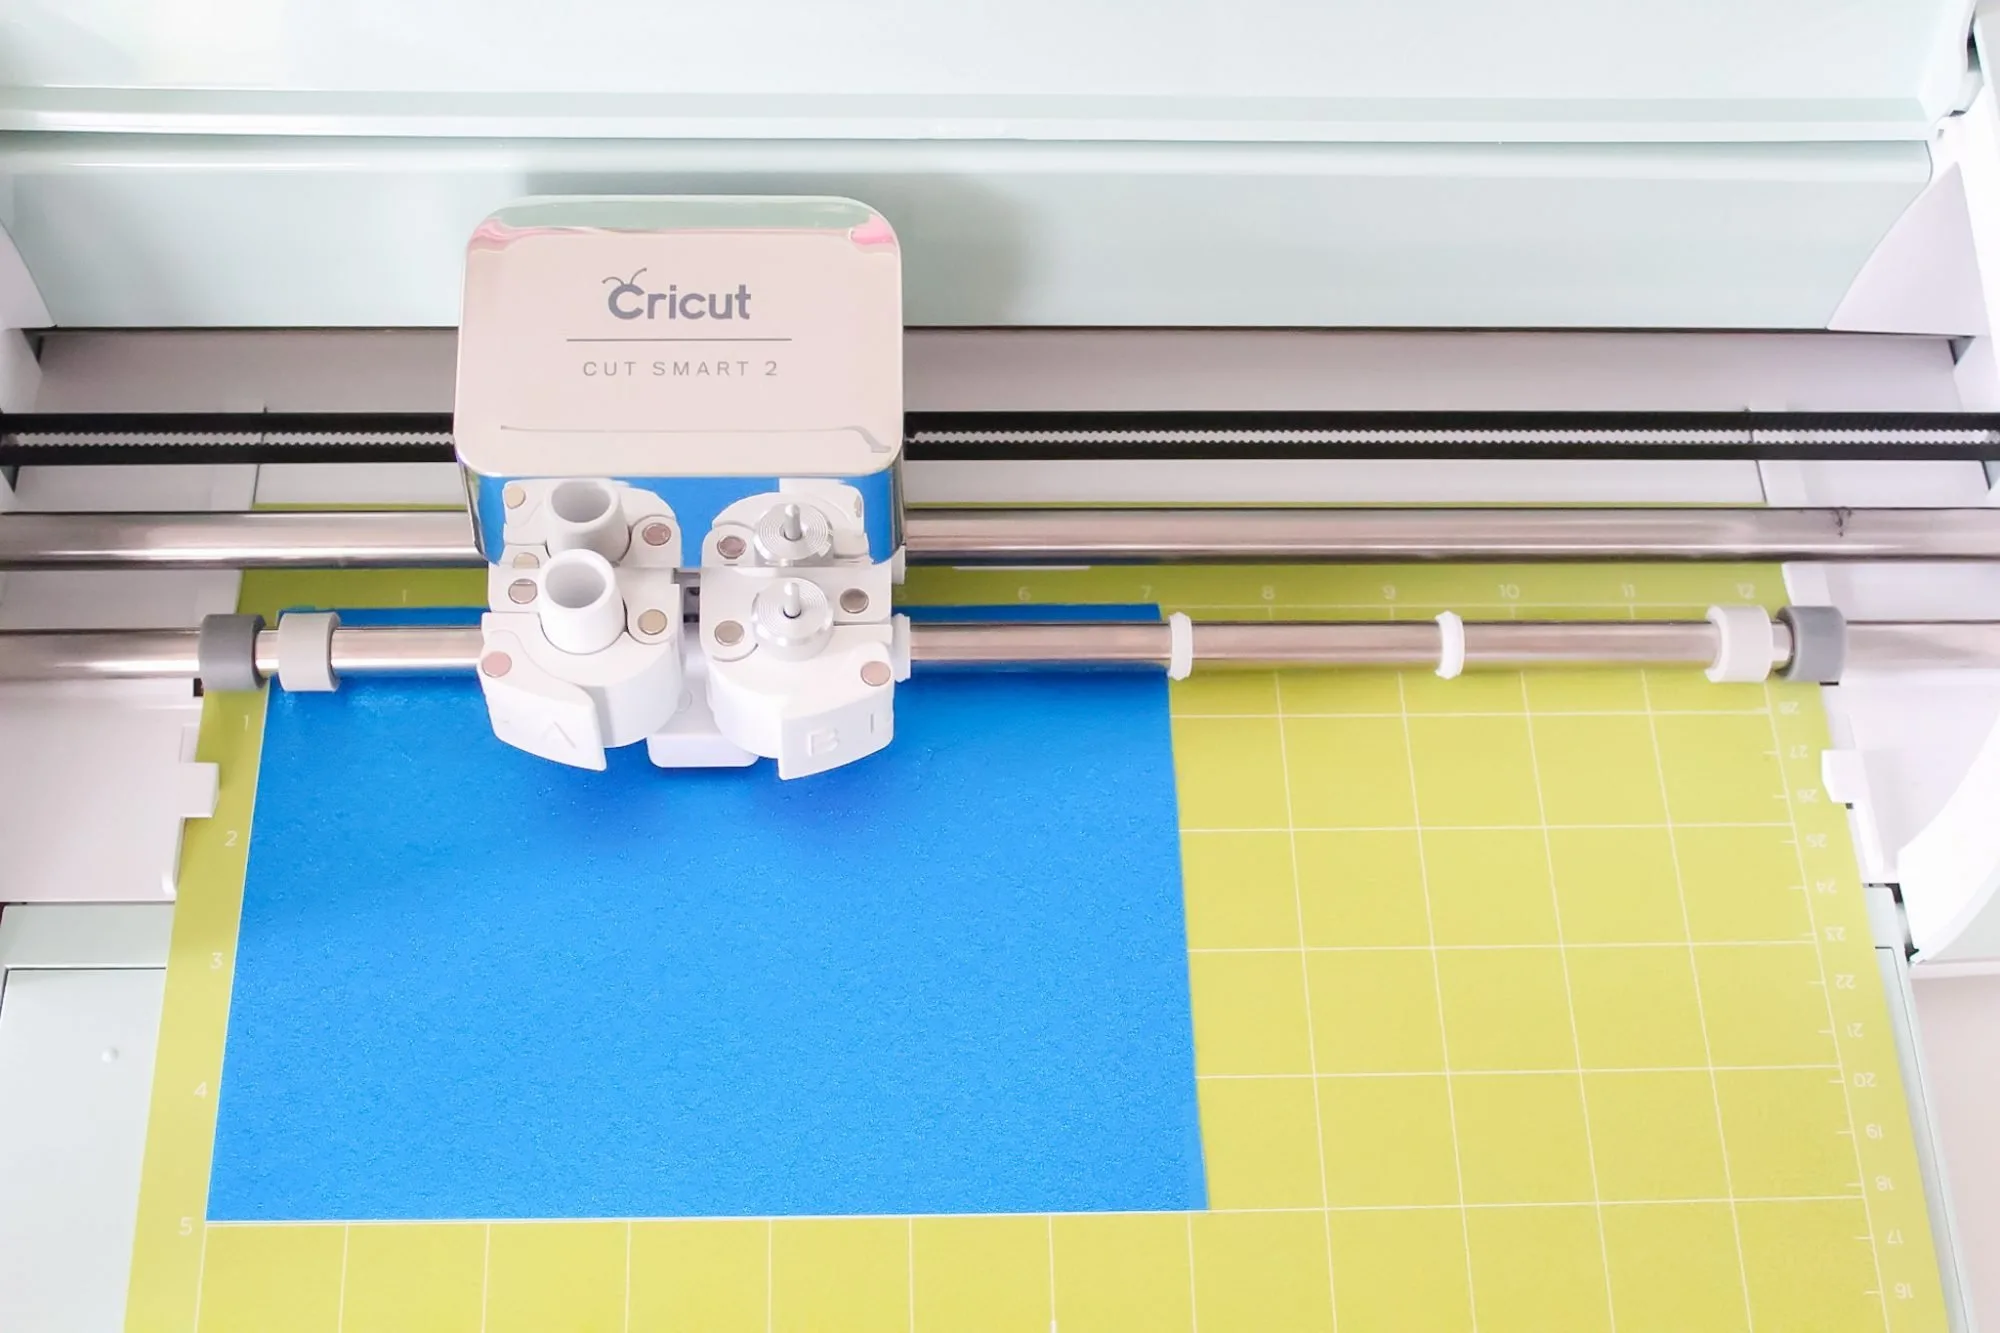
Once your labels are customized, welded, and ready to cut, set your machine setting to the cutting material you need.
I’m partial to keeping my machine set to Custom on the dial and selecting the material I’m working with each time.
For this type of project and vinyl, you DO NOT NEED TO MIRROR your words.
Depending on the color choices you have for your labels, you may need to change out the colors on your mat to complete the cuts you need in the colors of vinyl you want.
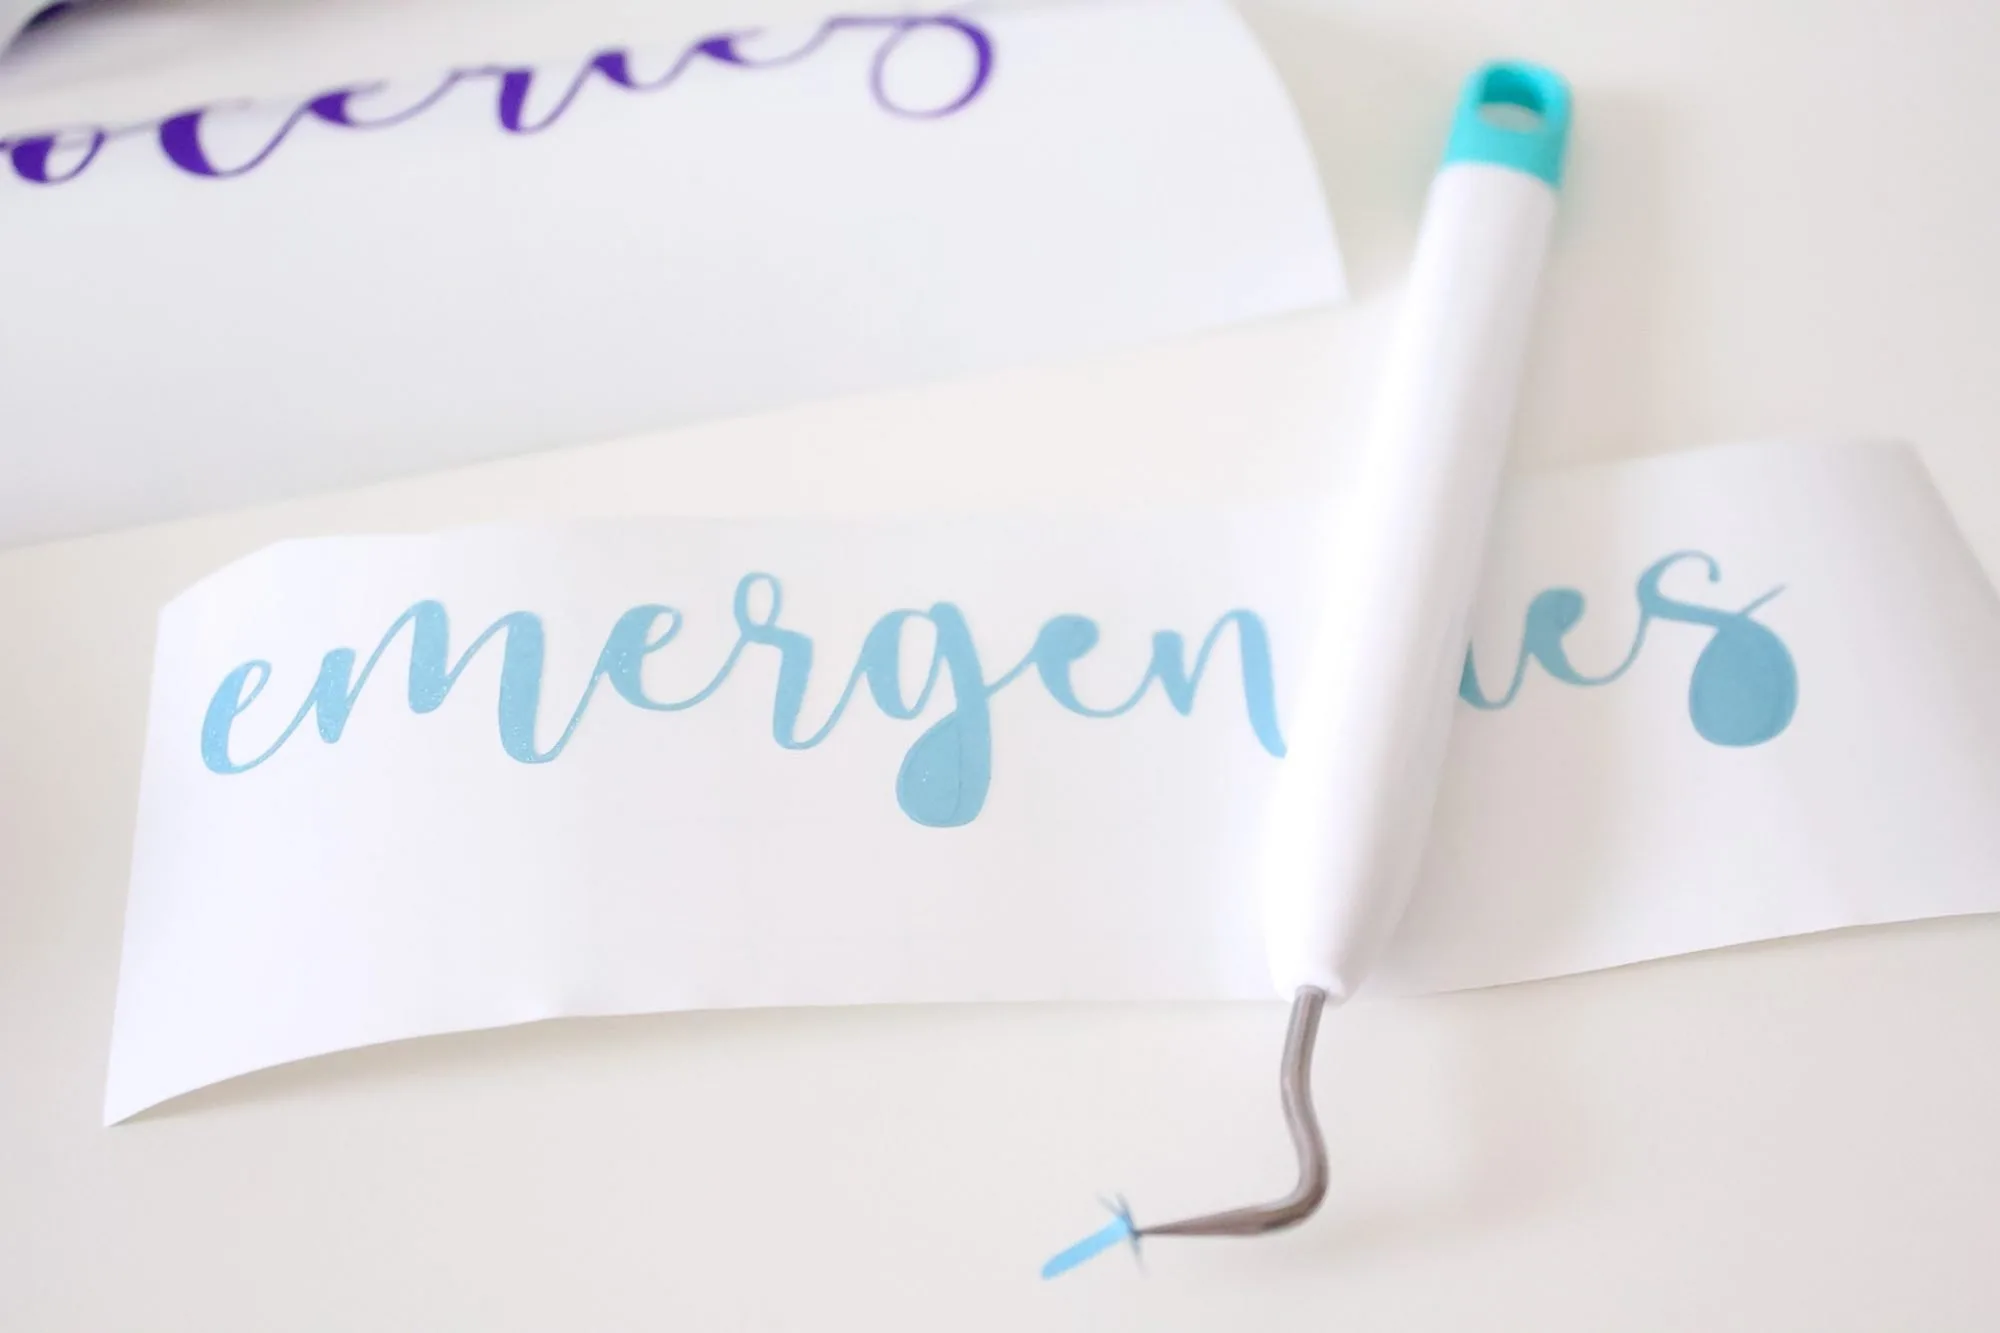
Weed the excess vinyl from your labels using a weeding tool (this comes in the Cricut basic toolset).
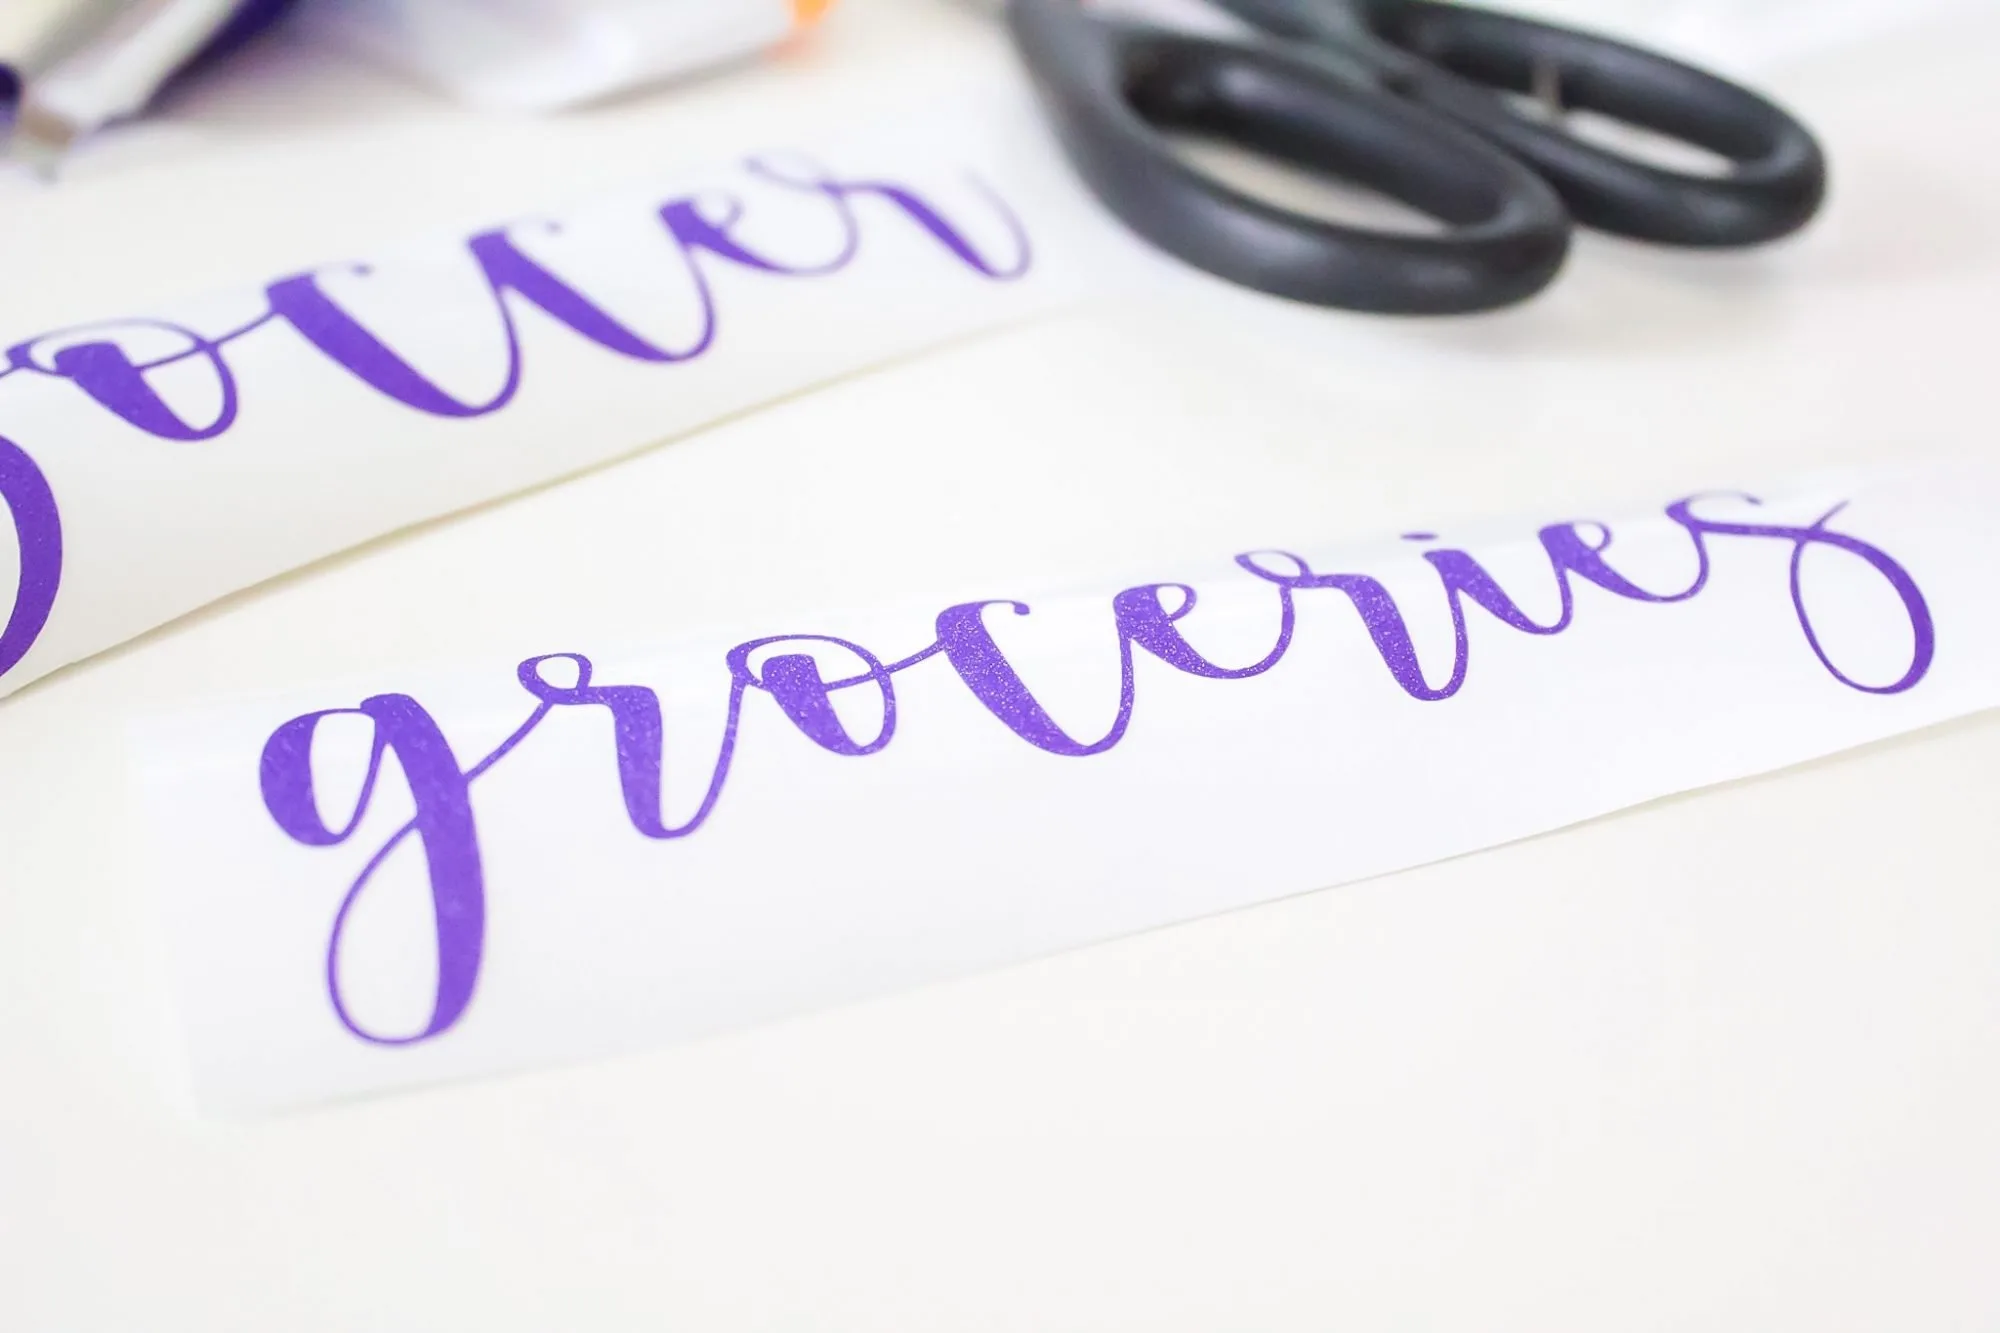
Using StrongGrip transfer tape, transfer the shimmer labels to the transfer tape, burnishing the back of the labels with a scraper (also available in the Cricut basic toolset).
Place the label on transfer tape onto the plastic envelopes, burnishing the lettering onto the envelopes.
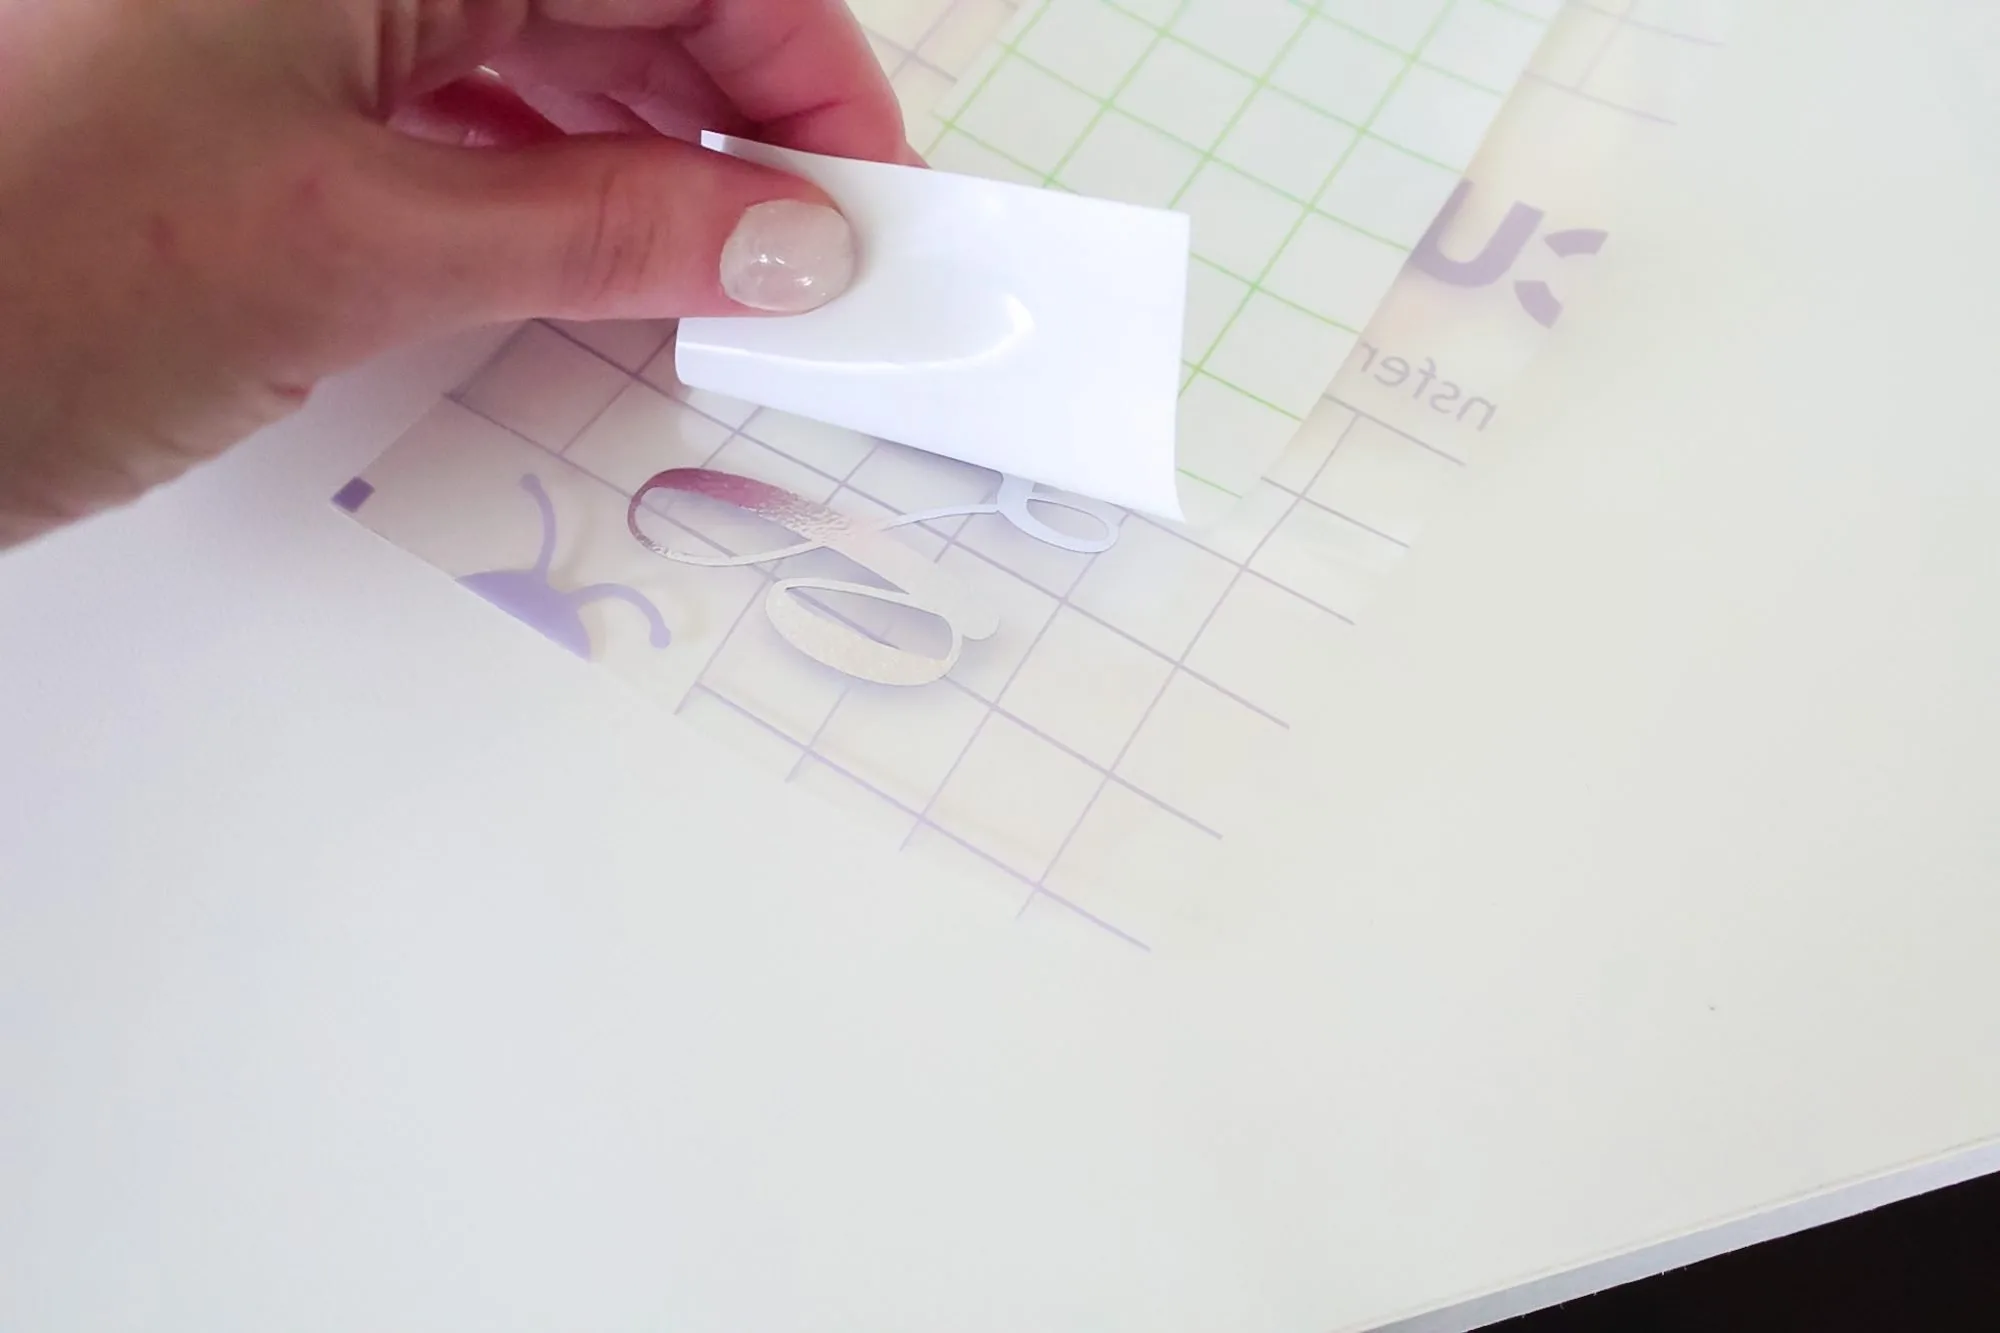
Remove the transfer tape, and reuse it for as many times as it will allow.
I was able to use one piece of StrongGrip transfer tape for all nine labels I made and adhered to my envelopes.
Now that your cash envelope system is labeled and set up, feel free to start budgeting with your cash in each category so you can help your family save money for the things you need like groceries, sports fees, and vacations.
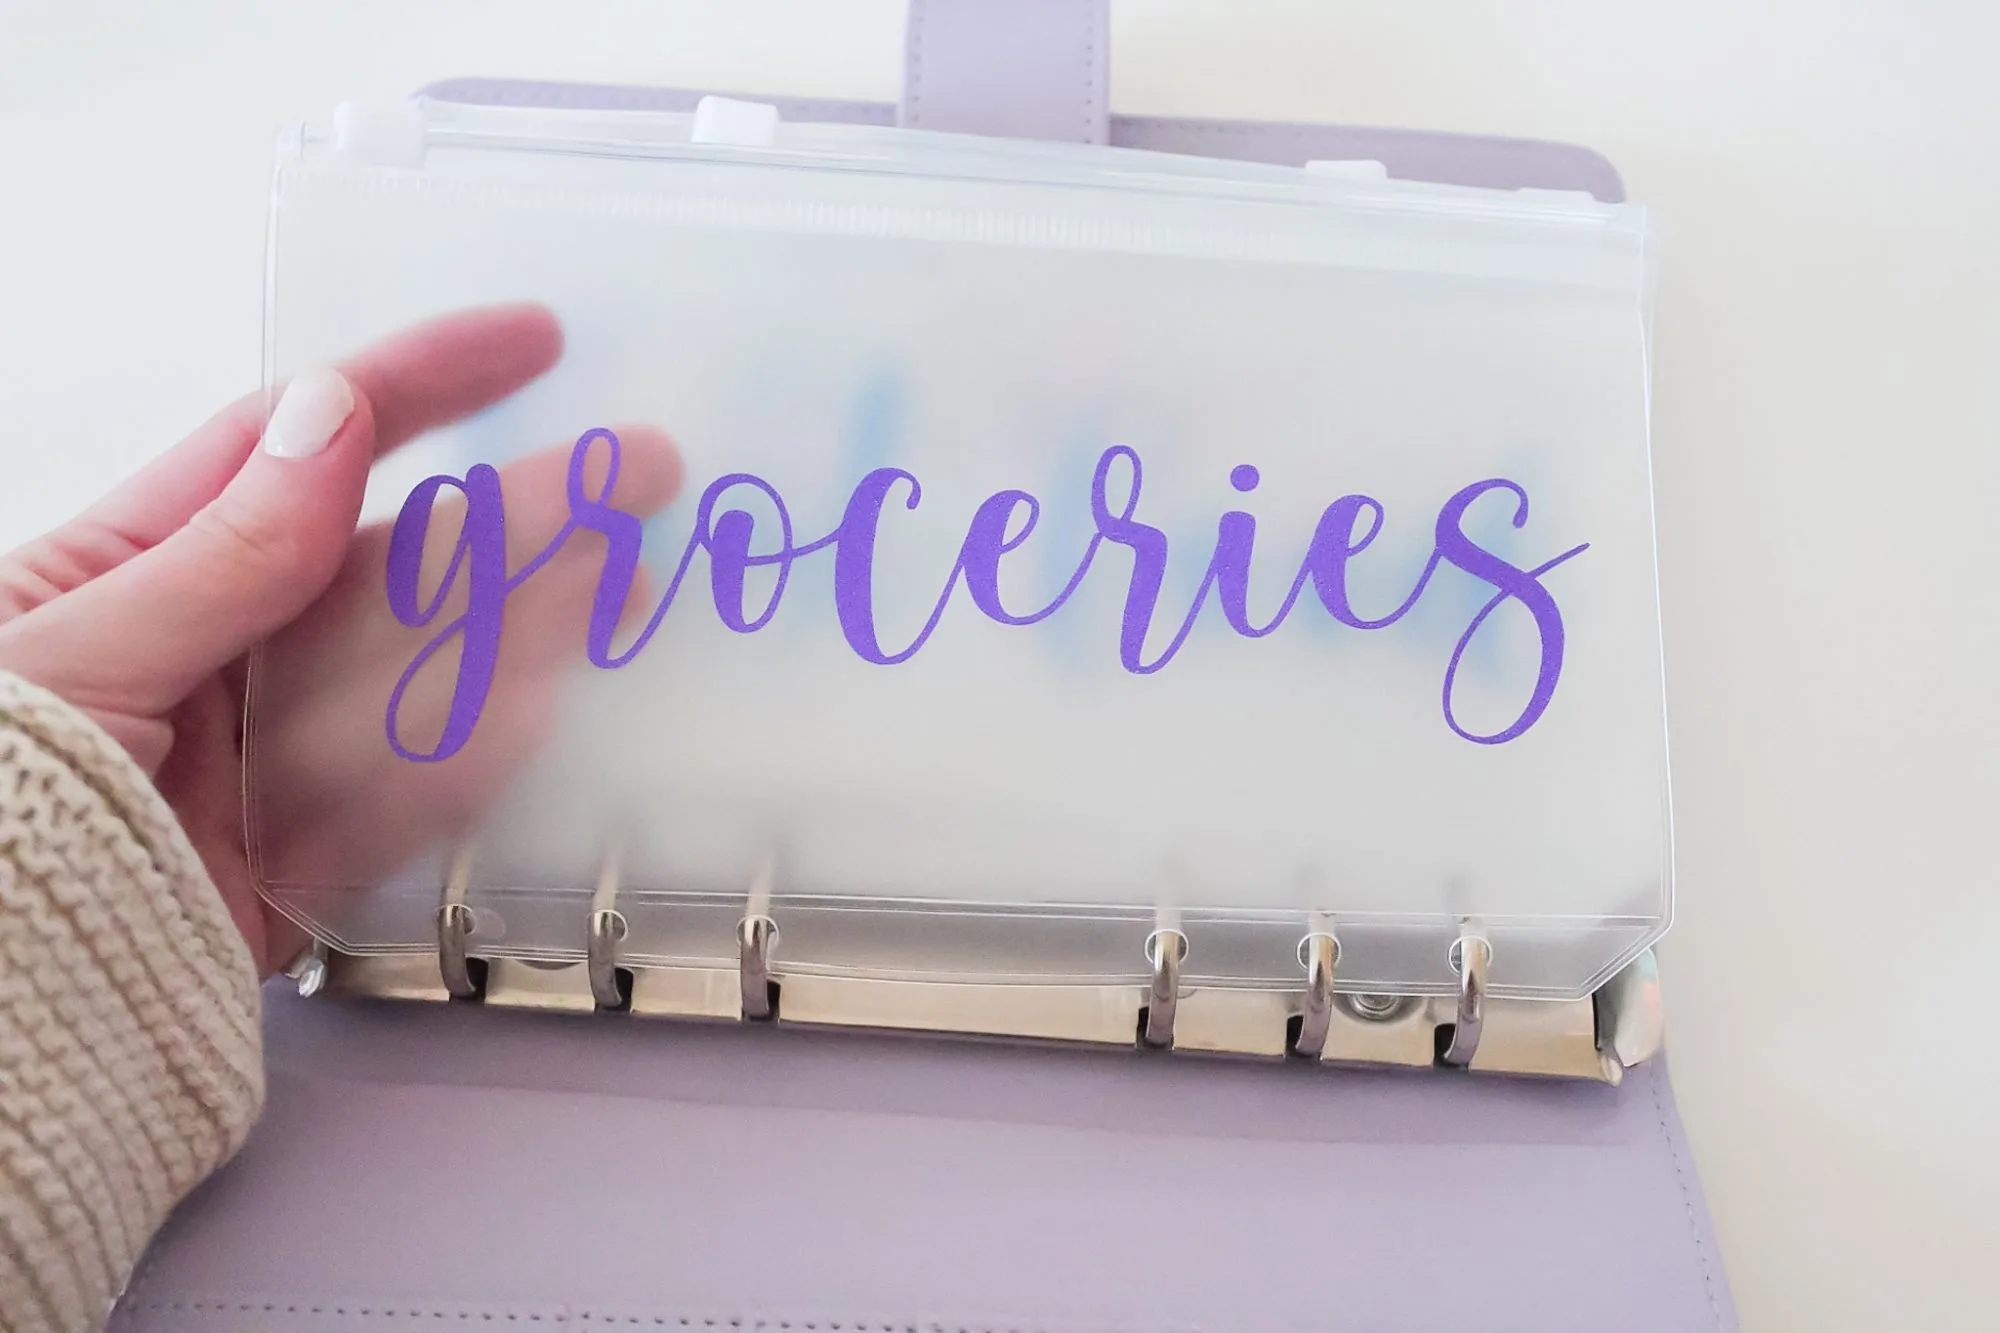
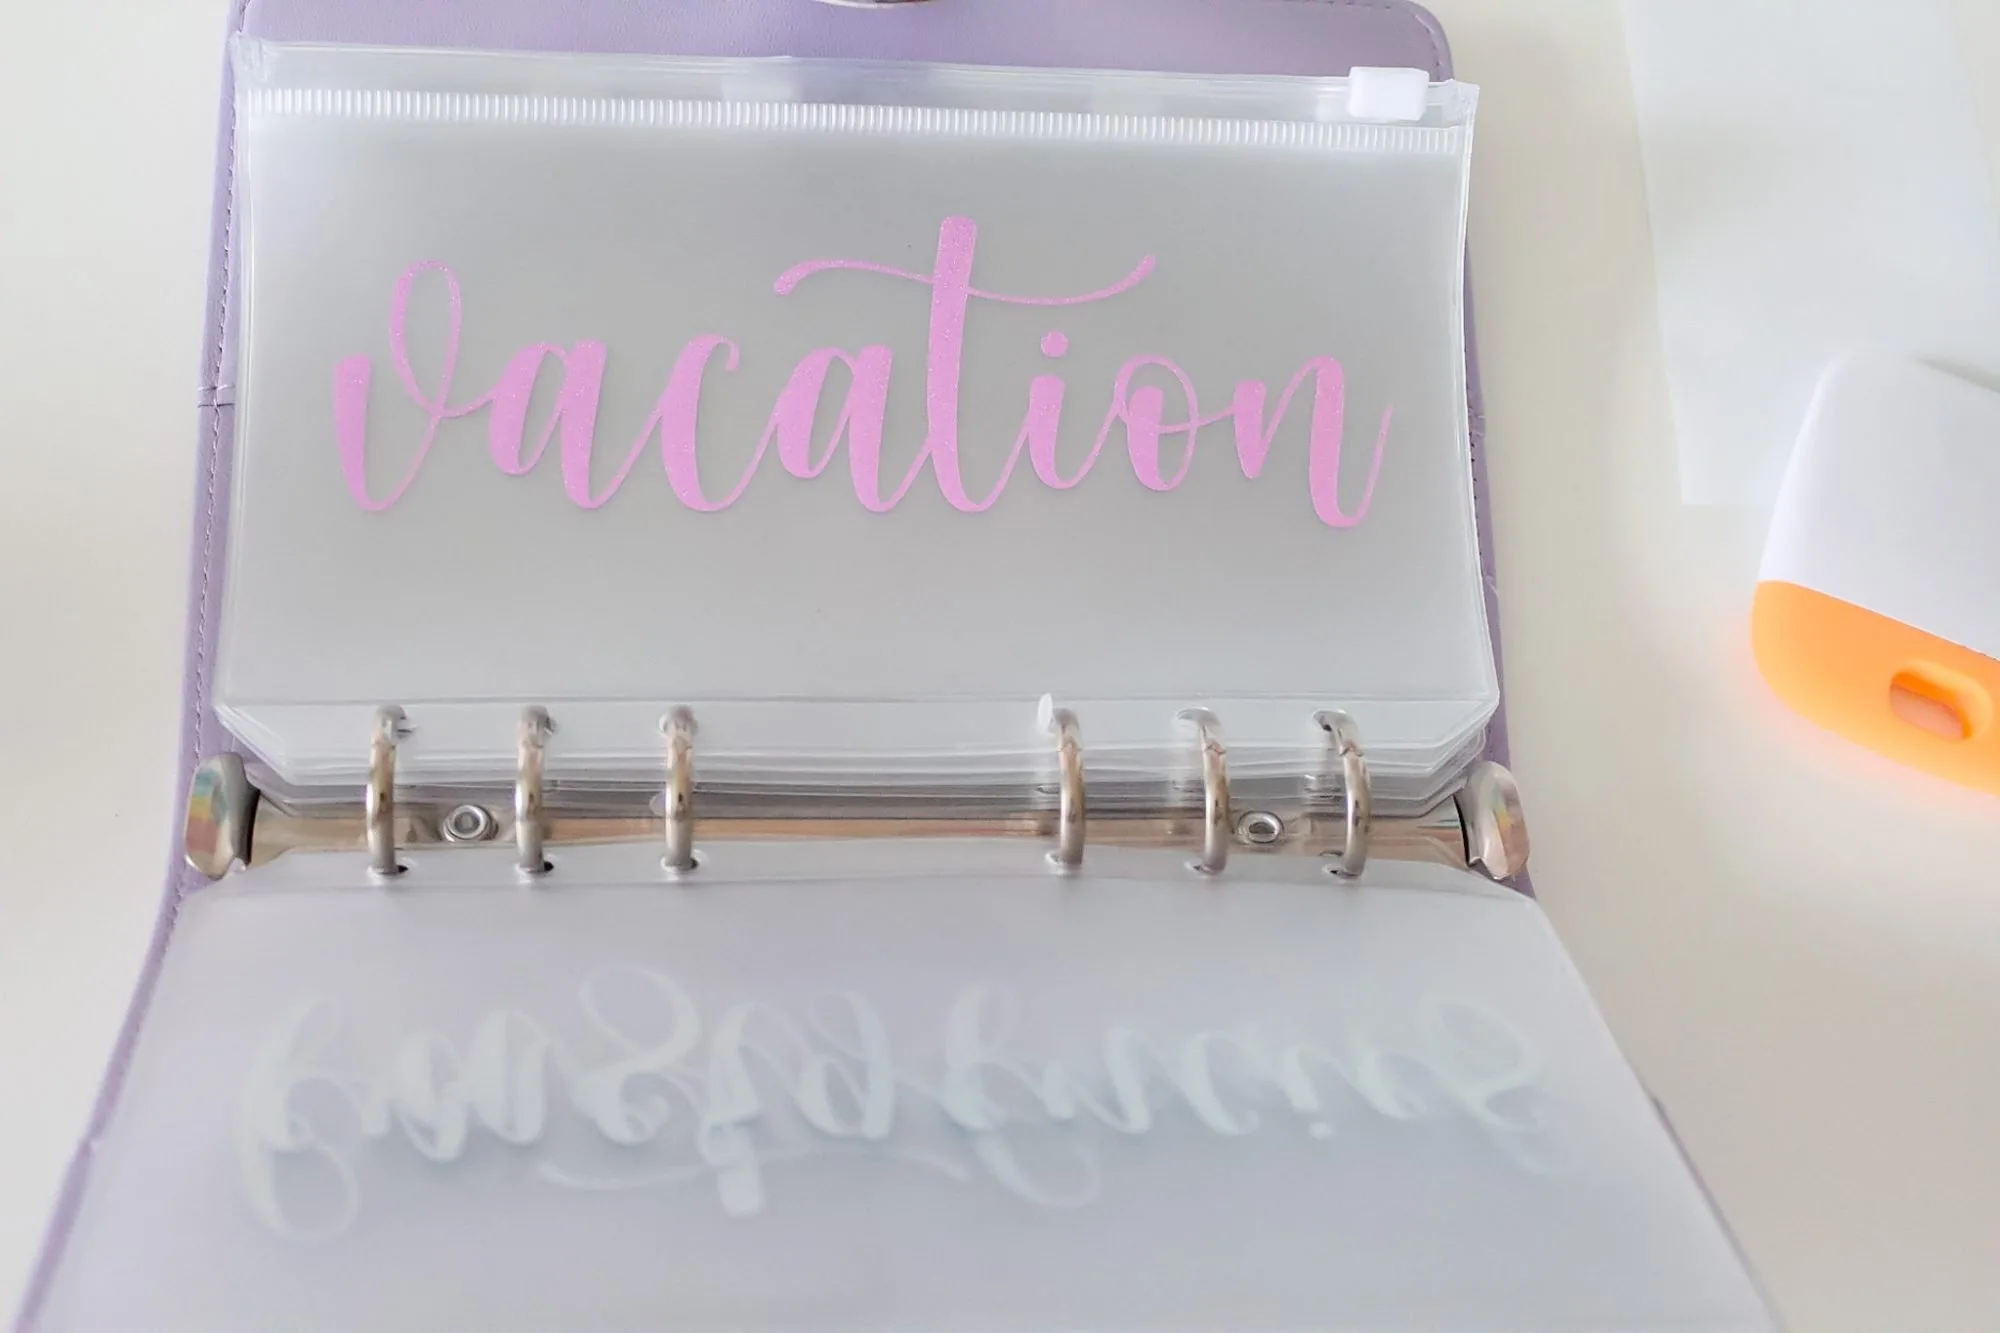
And now you’re on your way to saving more money with your own cash envelope system!
Related Posts:
DIY Pantry Labels with the Cricut Joy
How To Create Monograms In Design Space ($5 Keychain Tutorial)
Infusible Ink Coasters – A Comprehensive Infusible Ink Tutorial
*Post originally published June 2020, last updated January 2023.
