

These DIY gift tags are so easy and fun to make and add some gorgeous sparkle to your presents or gift bags.

Hi friends, I’m back at it today with another gorgeous Christmas craft!
These DIY gift tags came to mind when some rolls of gorgeous plain brown wrapping paper found their way into my cart at the store the other day.
I’m not sure what drew me to them.
I usually go for sparkly decorations, especially around Christmas time.
My tree and fireplace mantle can attest to that.
I think I love the simplicity of the brown wrapping paper. It allows all of my other decorations to shine and complements its surroundings very well.
As much as I love the paper, though, I still found myself needing a tiny bit of sparkle.
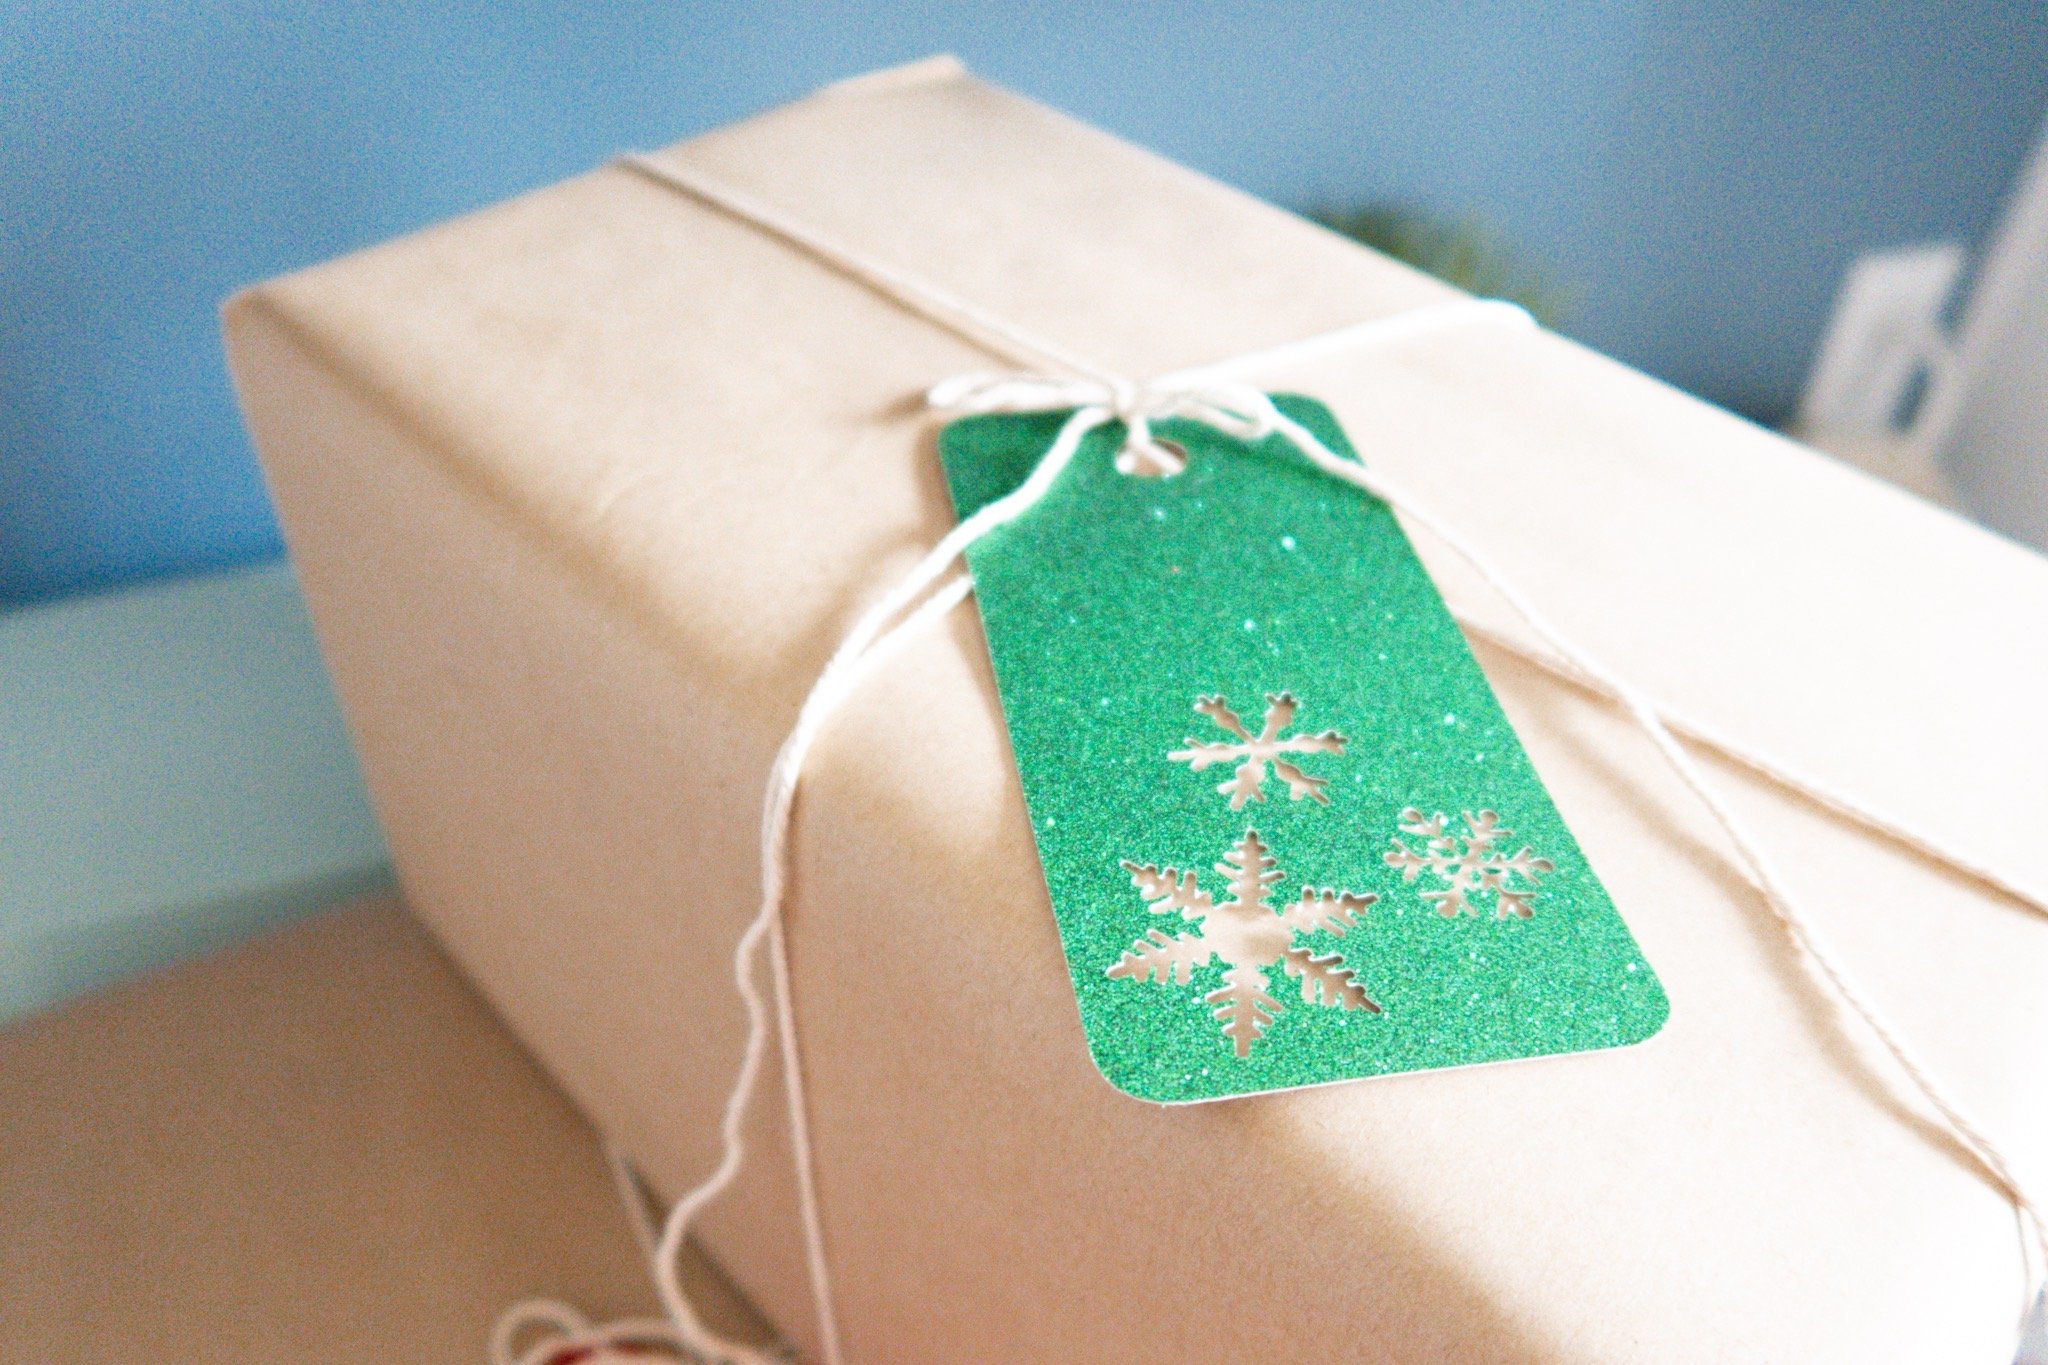
And that’s when I thought to make some glittery gift tags with my Cricut Explore Air 2!
I love the way these gift tags turned out, the way they stand out against the plain wrapping paper, and the bit of sparkle they add to our wrapped presents.
I used glitter cardstock to make these tags, but you can, of course, use any cardstock pattern or color you wish.
I hope you love these tags as much as I do, and maybe even feel inspired to create your own!
This is a sponsored conversation written by me on behalf of Cricut. The opinions and text are all mine.


Materials Needed For Christmas Gift Tags

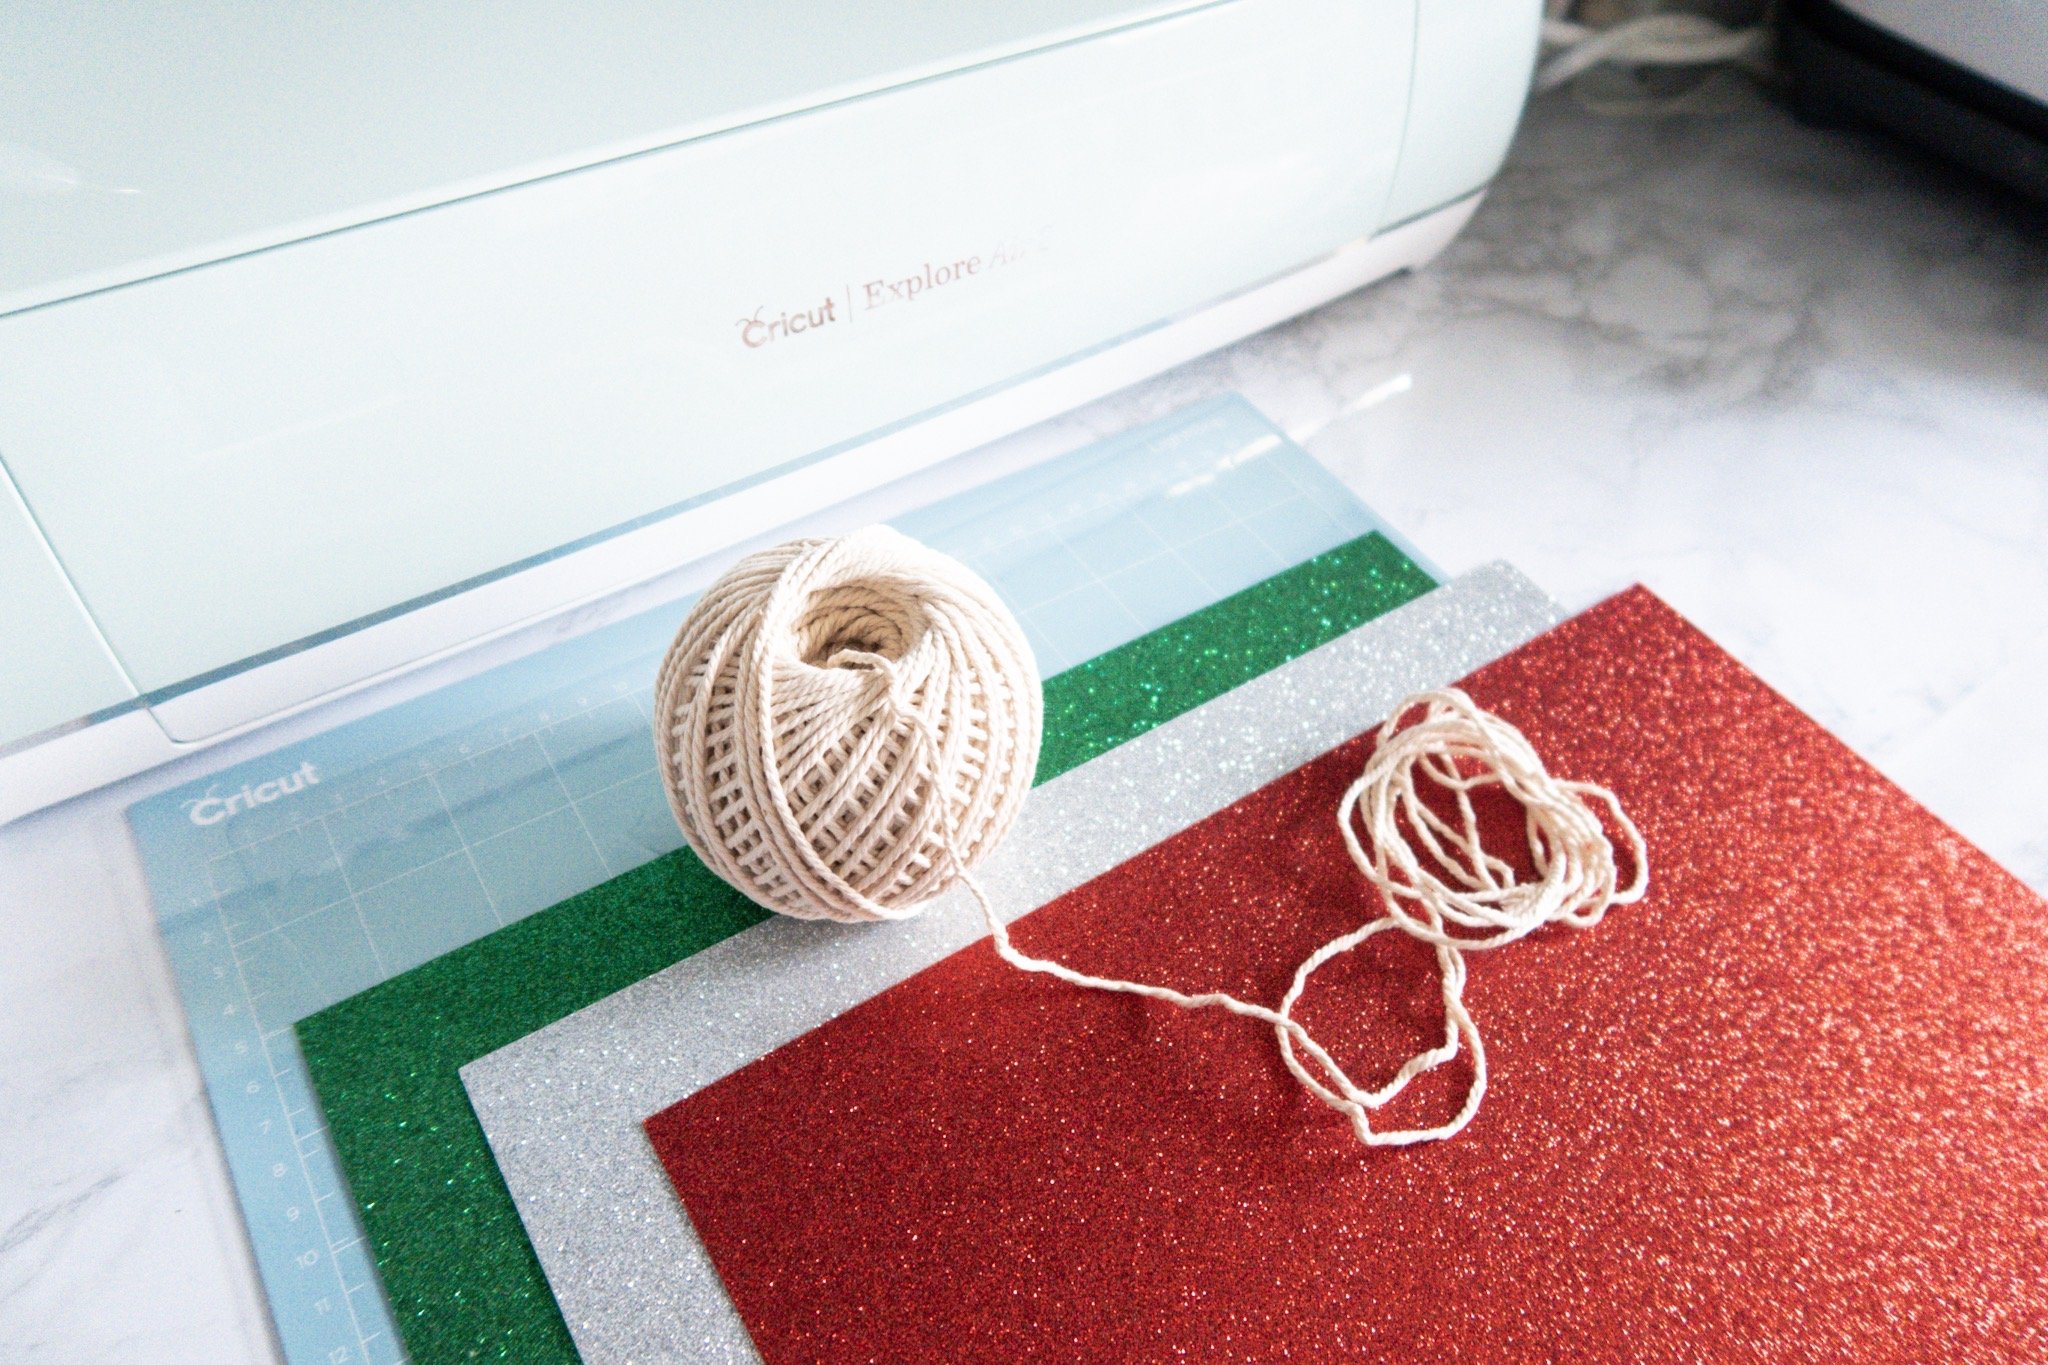
Here’s what you’ll need to craft these gift tags:
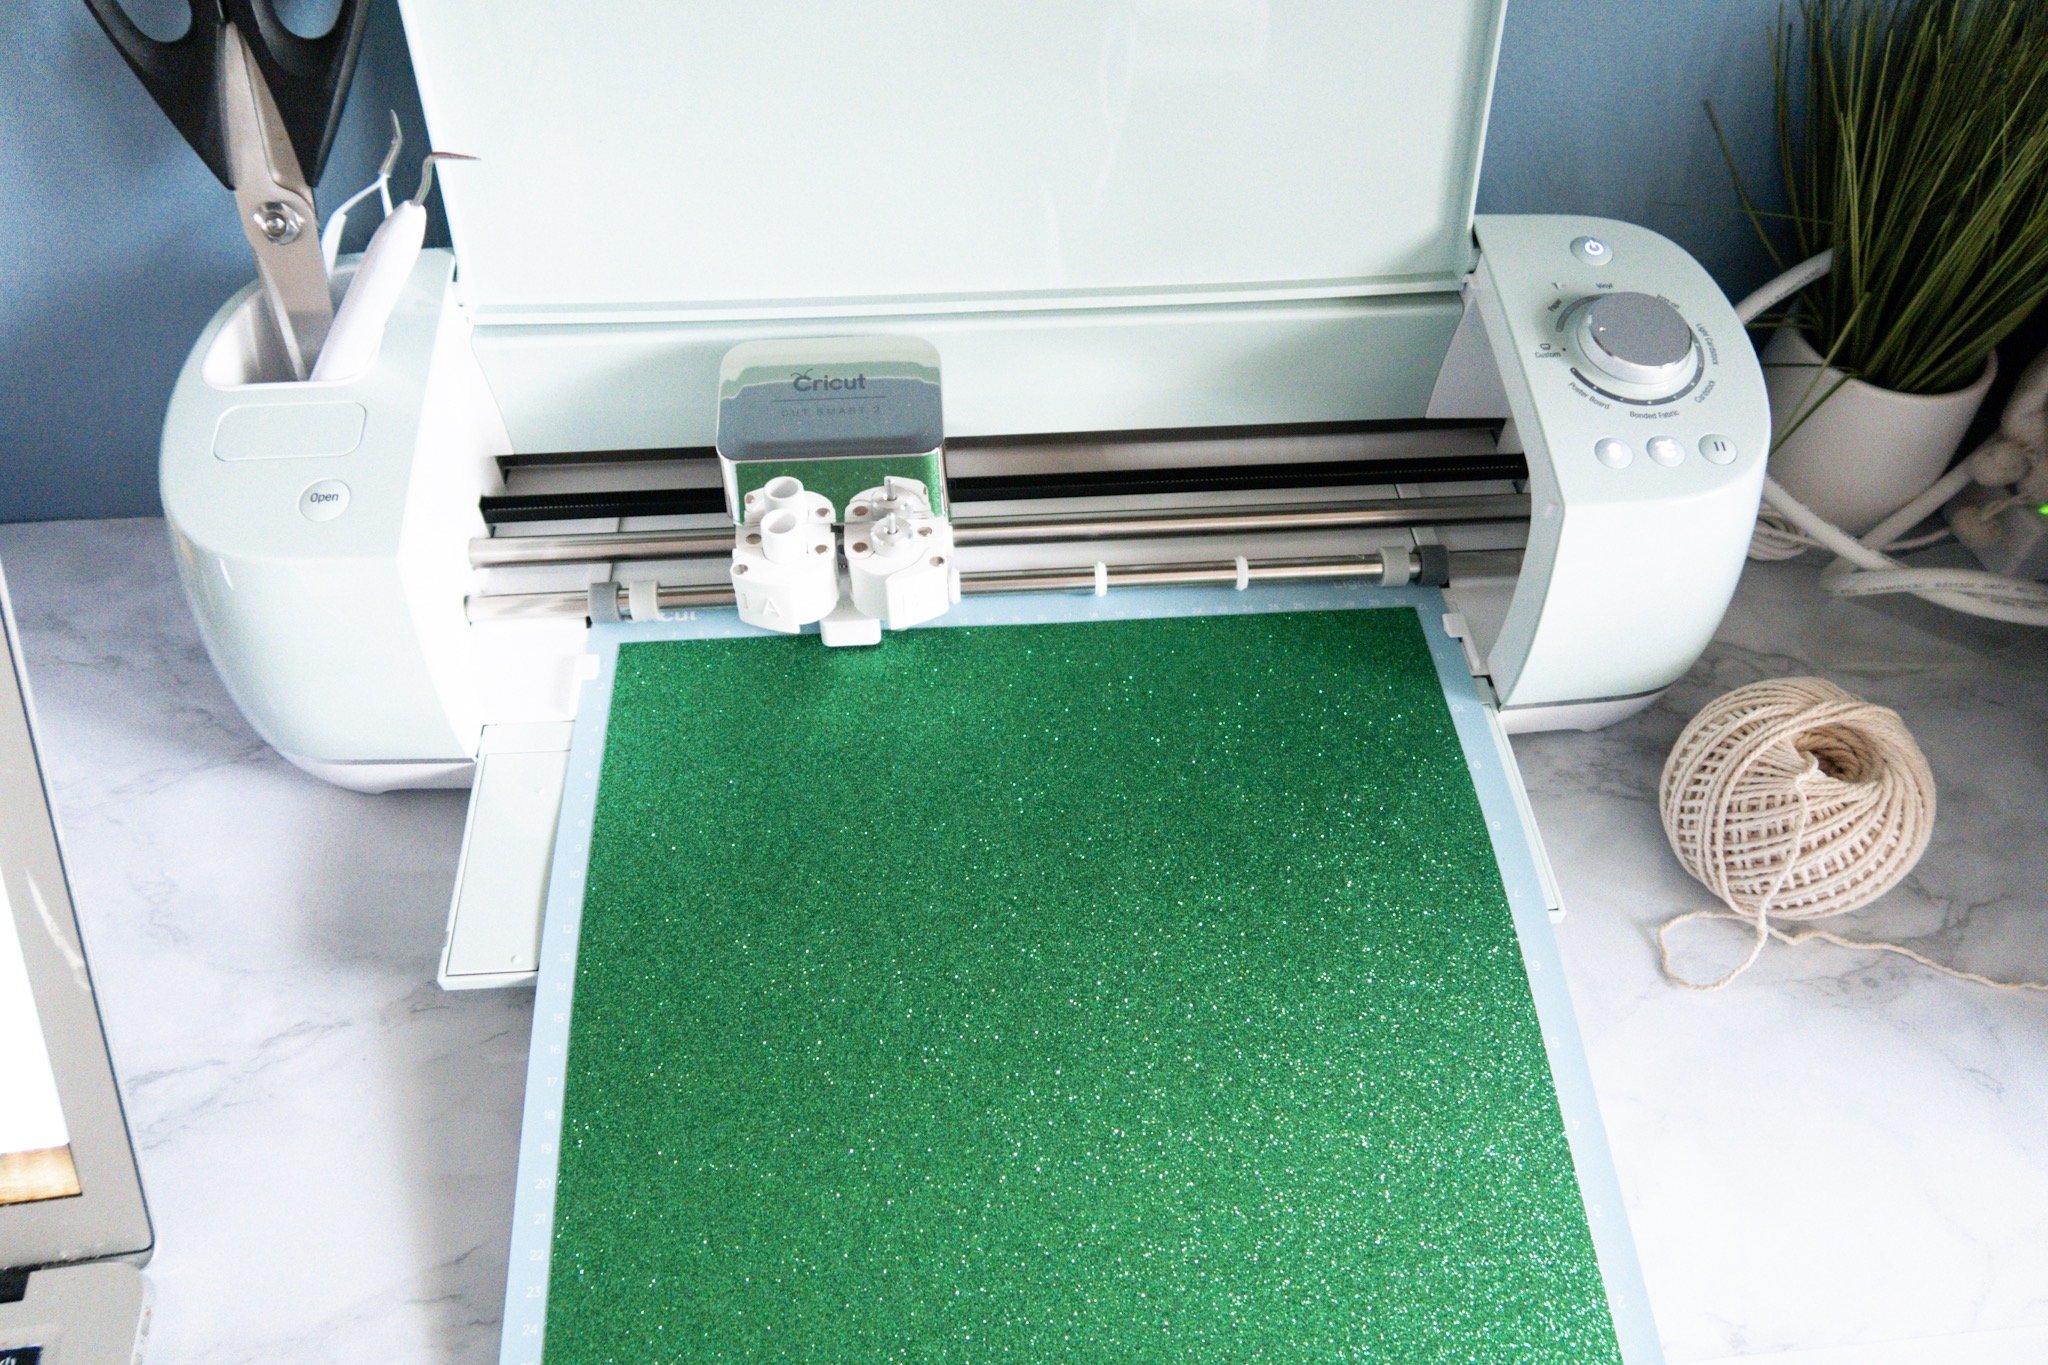
- cutting machine (I’m using my Cricut Explore Air 2 in the color mint)
- cardstock of your choosing (mine are linked below)
- string, jute, or twine (whatever you have on hand is fine!)
- LightGrip mat
- Cricut basic tools set (with spatula and weeder)
Should I Use Glitter Or Plain Cardstock?
That’s up to you!
I would suggest using glitter cardstock if your wrapping paper is more on the plain side so they stick out, and sticking to plain colored cardstock for gift tags going on sparkly or busy prints of wrapping paper.
But, that’s completely up to you!
If you are using regular cardstock, however, you will not need to use the same machine dial or Design Space settings mentioned below.
How To Make DIY Christmas Gift Tags
First, you’ll need to design your gift tags – or just use my design for free by clicking HERE!
I did a few trial runs to start with because I wanted to see how intricate I could get while still being able to successfully remove the cardstock from the mat, and found that bolder shapes work better.
Cursive is pretty and fine lines are gorgeous, but removing cardstock from the mat after trying to cut intricate designs is almost a surefire way to tear your cardstock design while removing it from the mat.
If you’re downloading my gift tags, you’ll need to upload the PNG file into Design Space. Be sure to choose ‘Complex‘ for the image type:

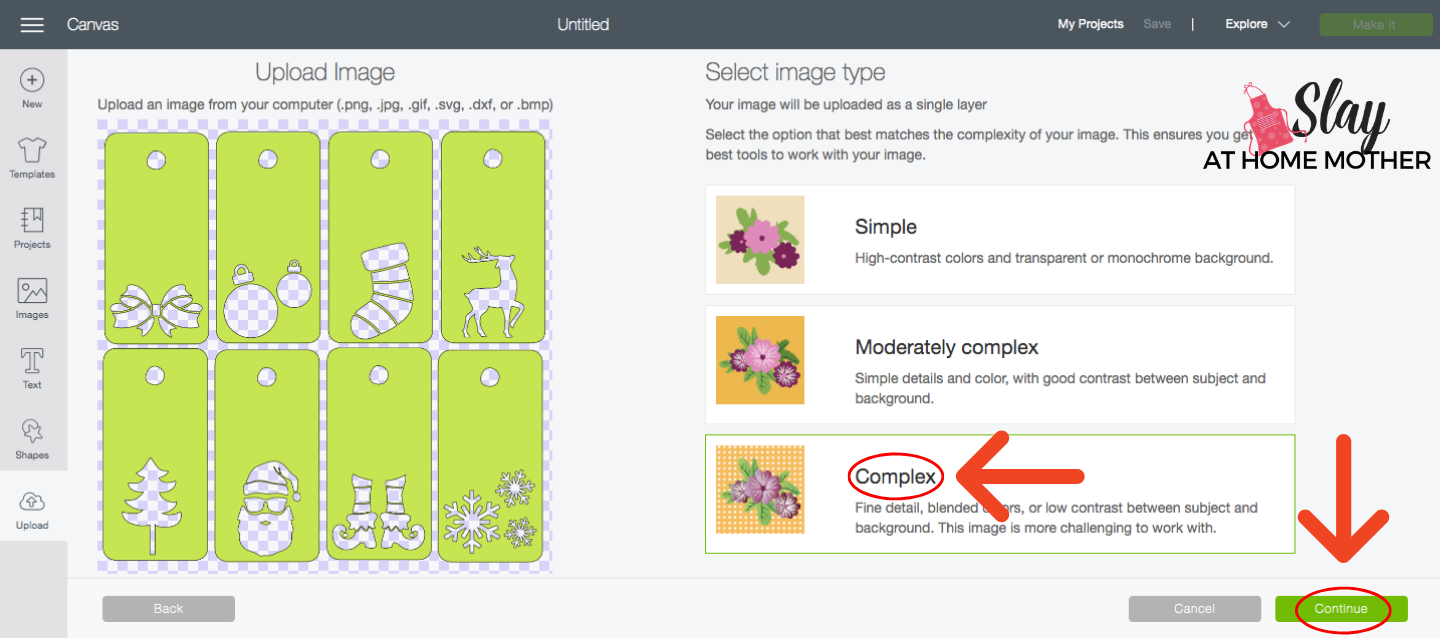
The PNG already has a transparent background, so there isn’t any editing that needs to be done:
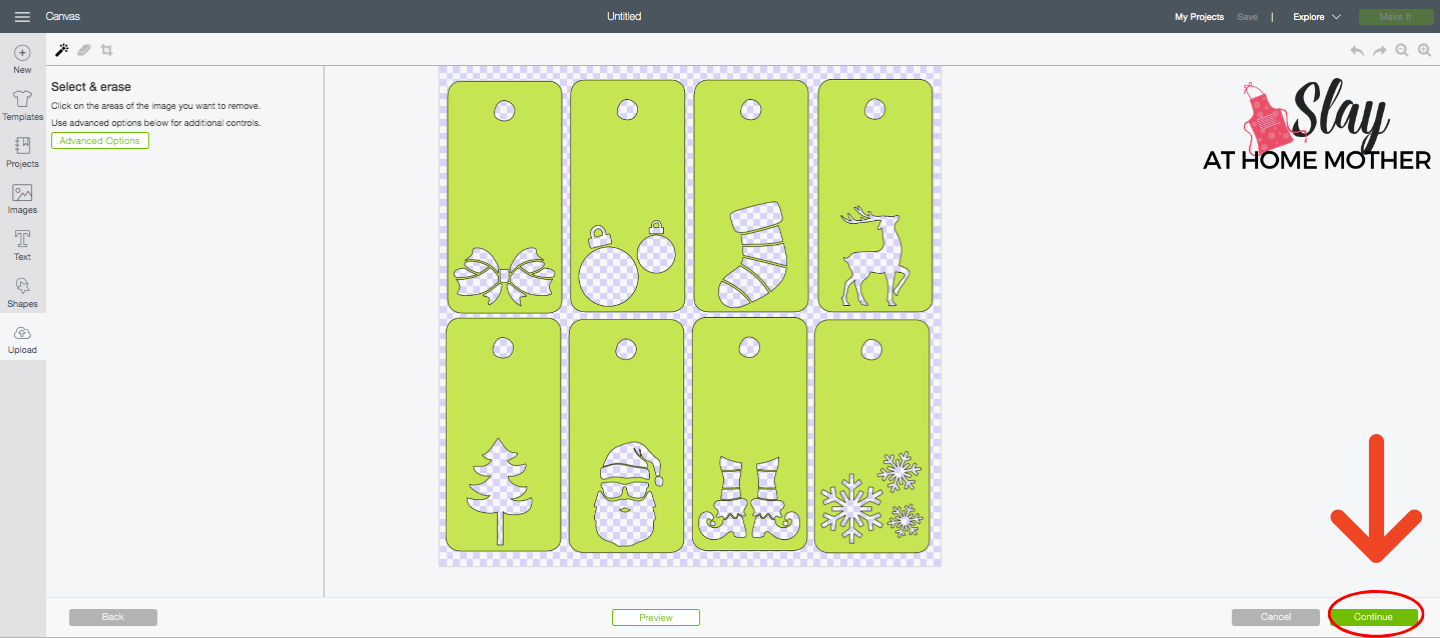
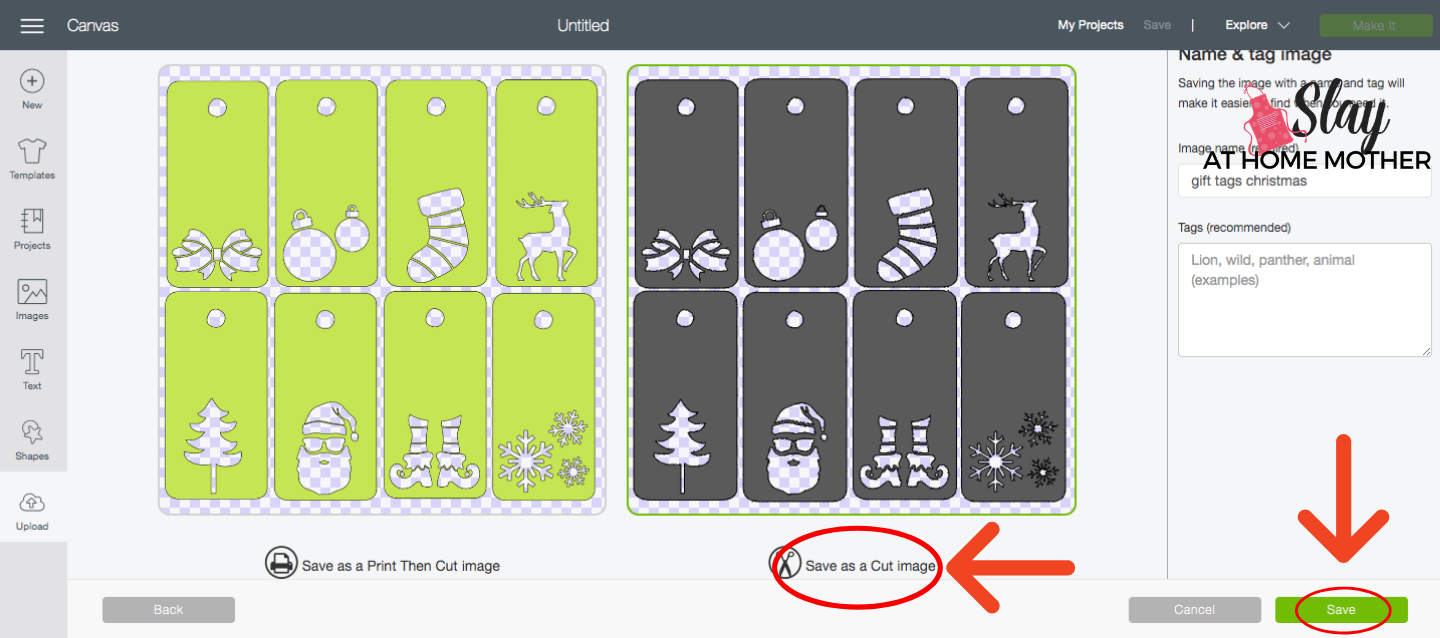
Select to ‘Save as a Cut Image‘, give the image a name, and ‘SAVE‘:
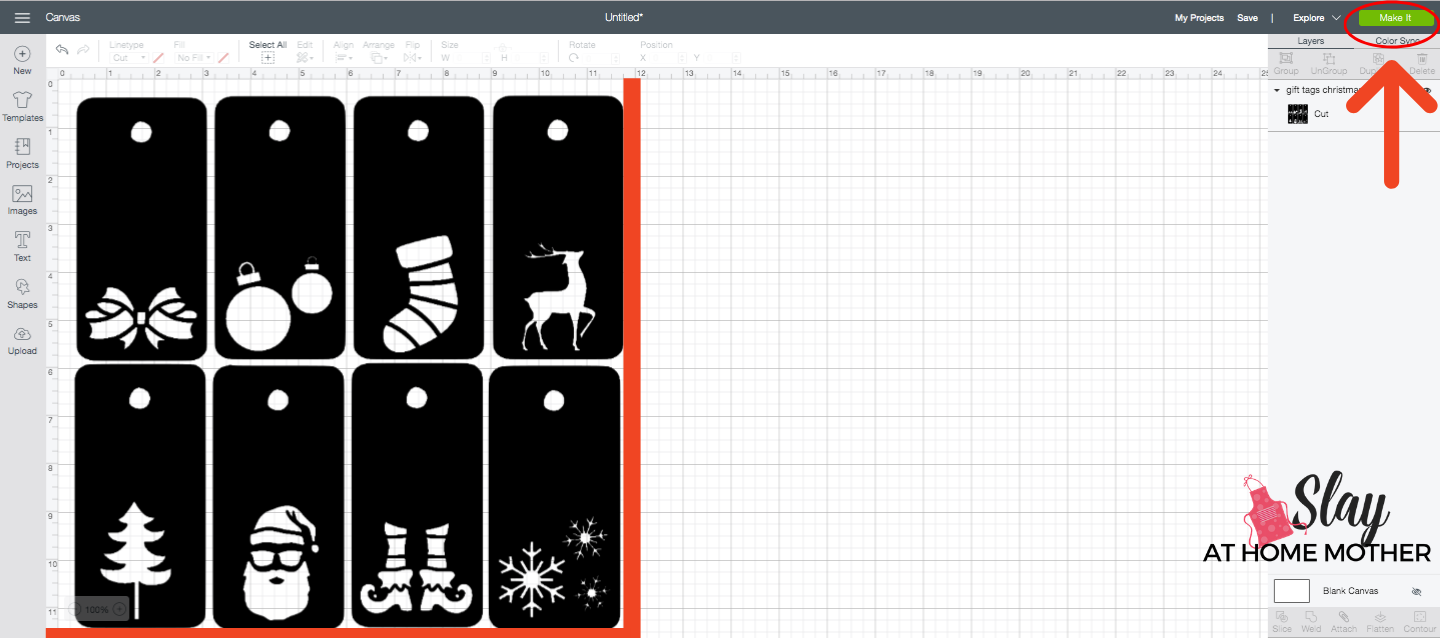
Size the image down to fit into a 12″x12″ square for cutting (or smaller if you want smaller gift tags), and select ‘MAKE IT‘:
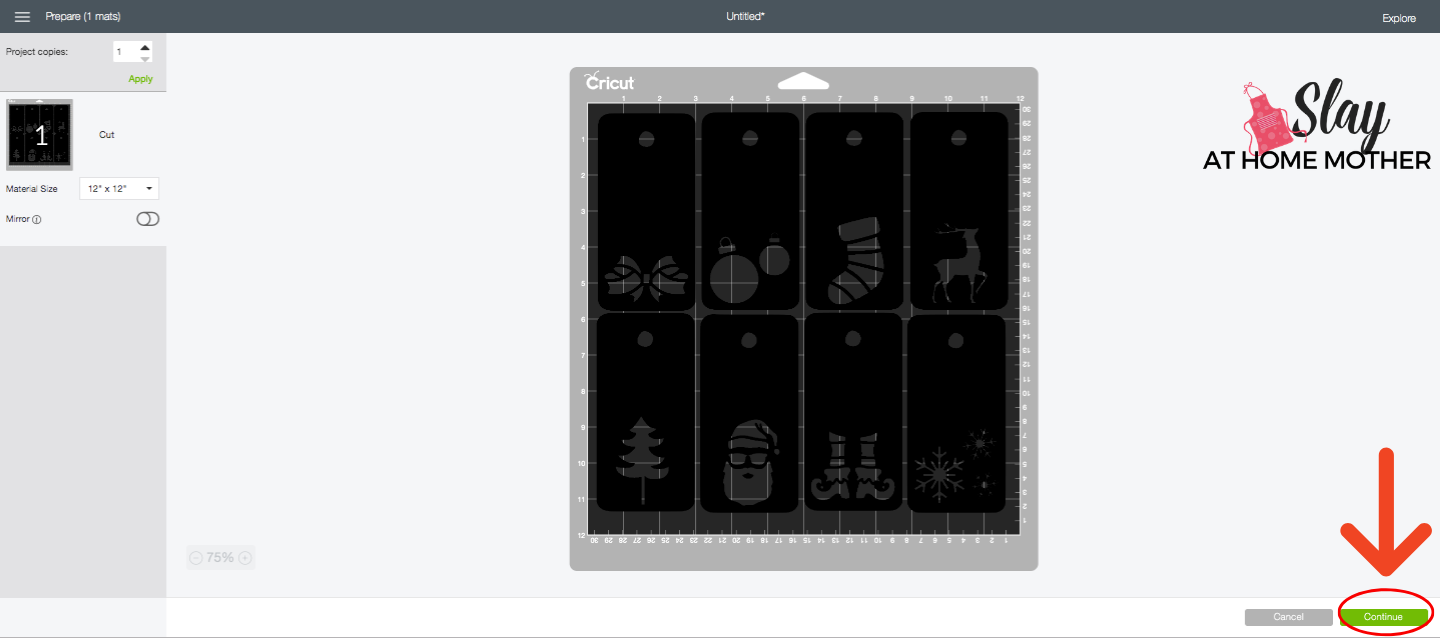
Prepare your design on the mat within Design Space – here is where you can shift the design around to be more centered or move towards the edge of the mat to match your preference:
The directions below pertain to cutting with Glitter Cardstock, so keep that in mind.
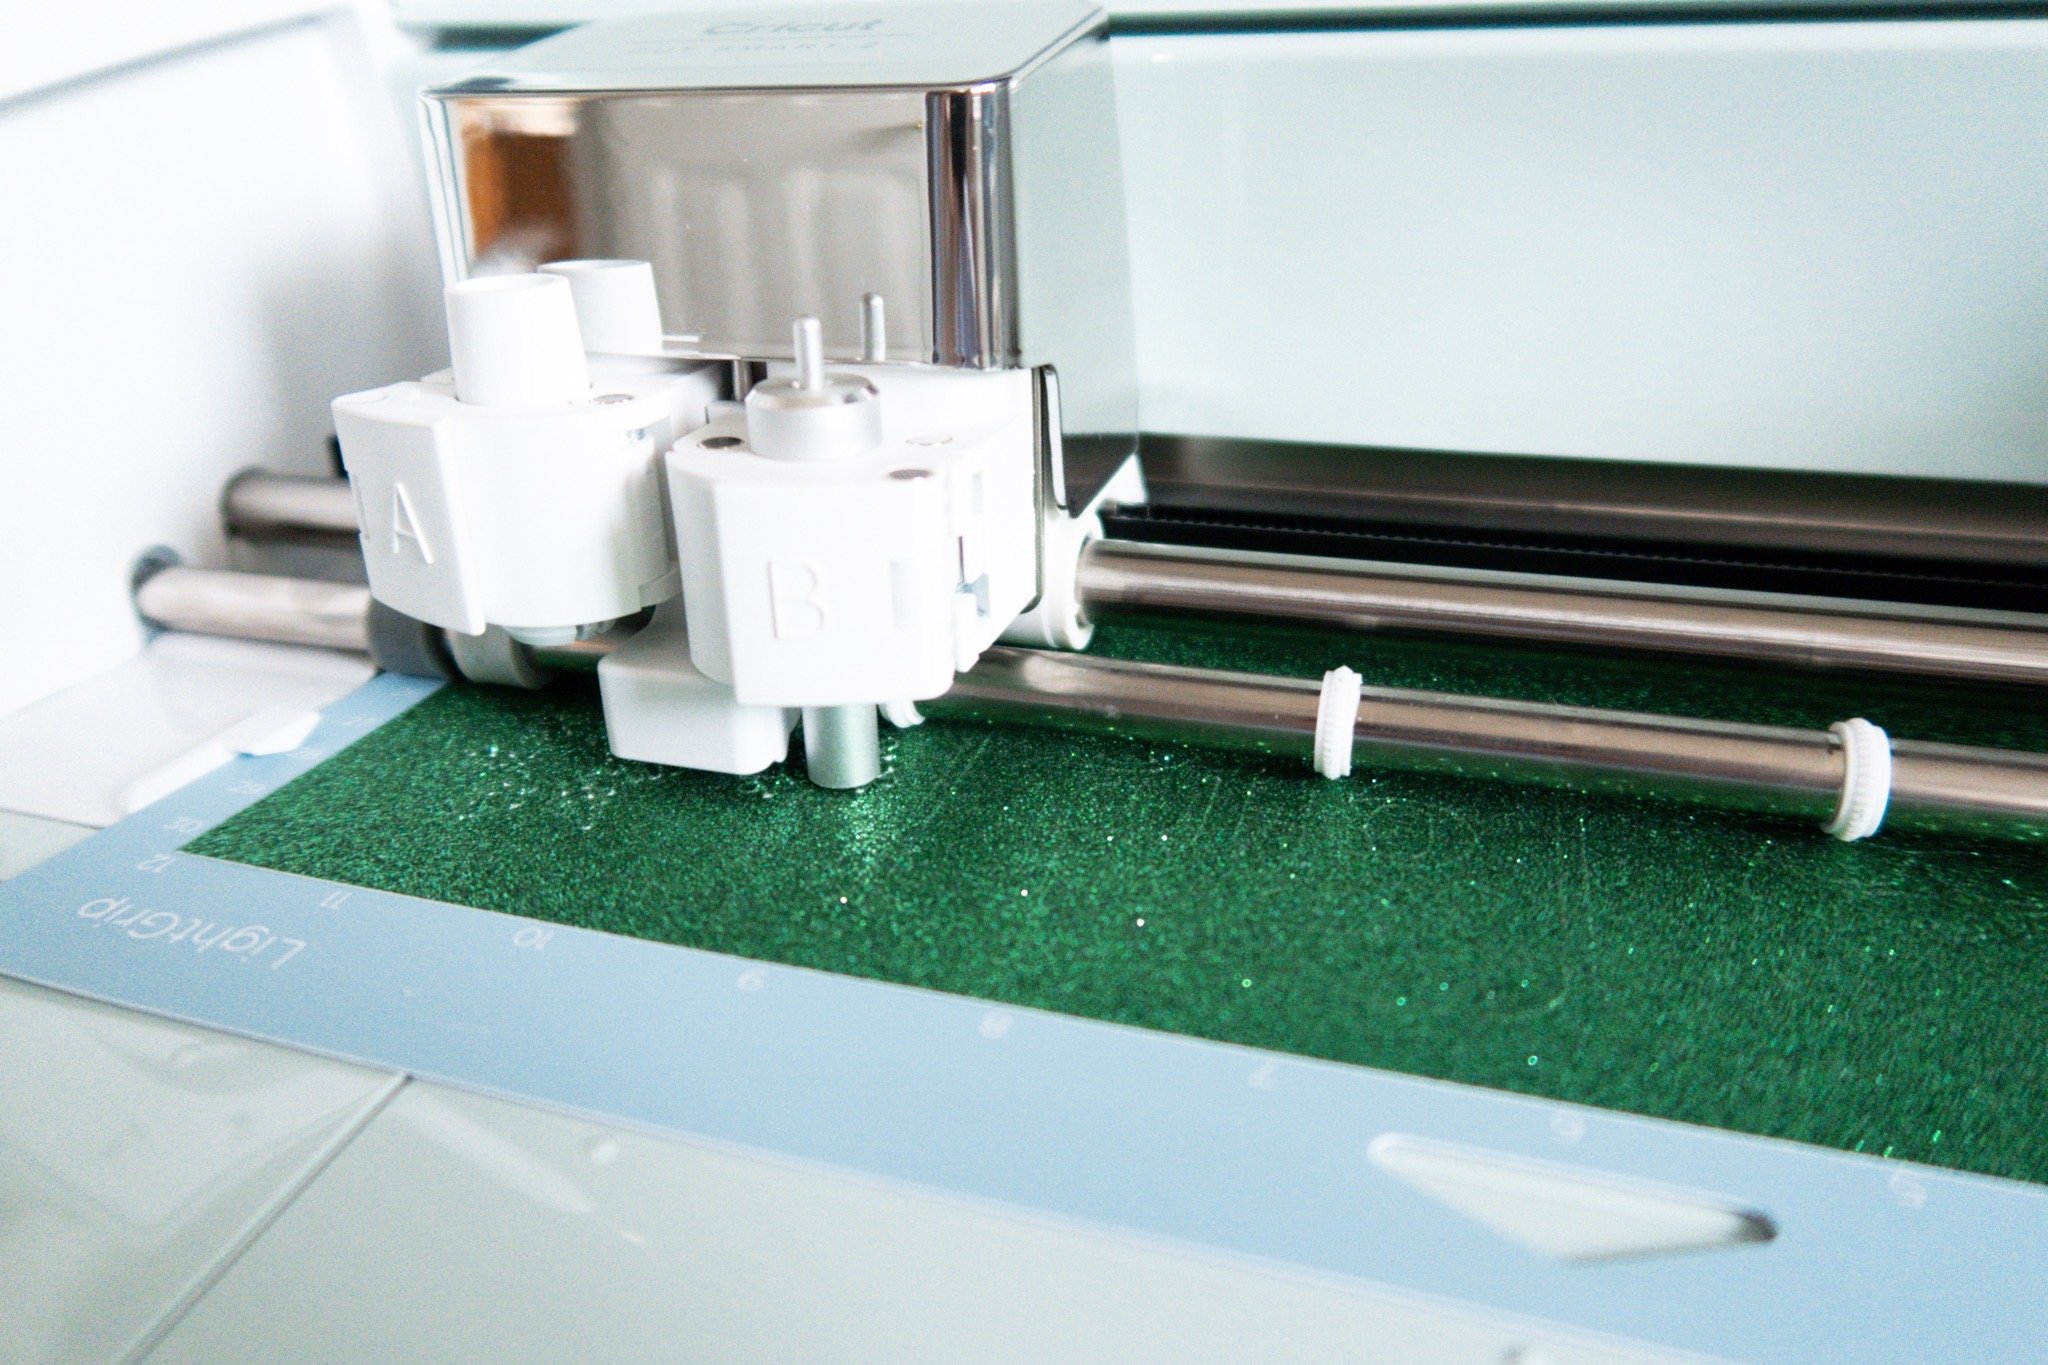
On your Cricut Explore Air 2, set the dial to ‘Custom‘.
Load your LightGrip mat with the cardstock of your choice.
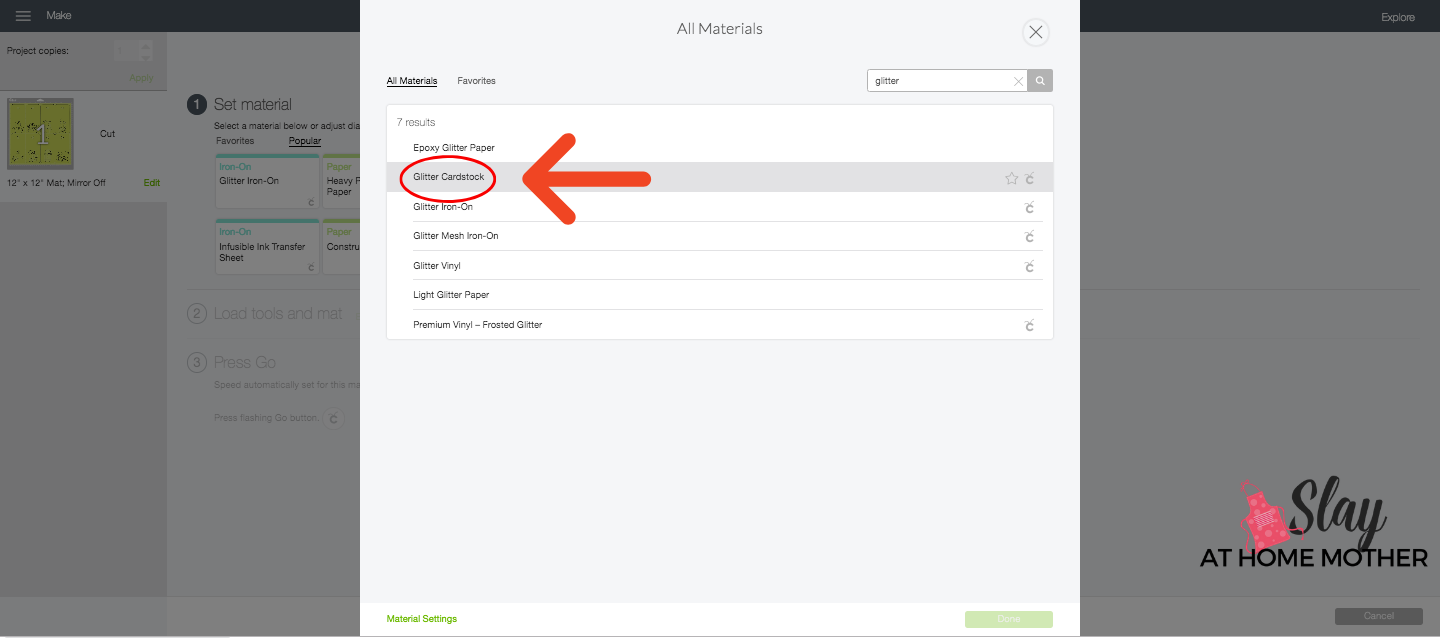
Cricut Design Space will then ask you to set your custom material – select ‘Glitter Cardstock‘:
Your Explore Air 2 will now cut your design into your cardstock, running through the cuts twice.
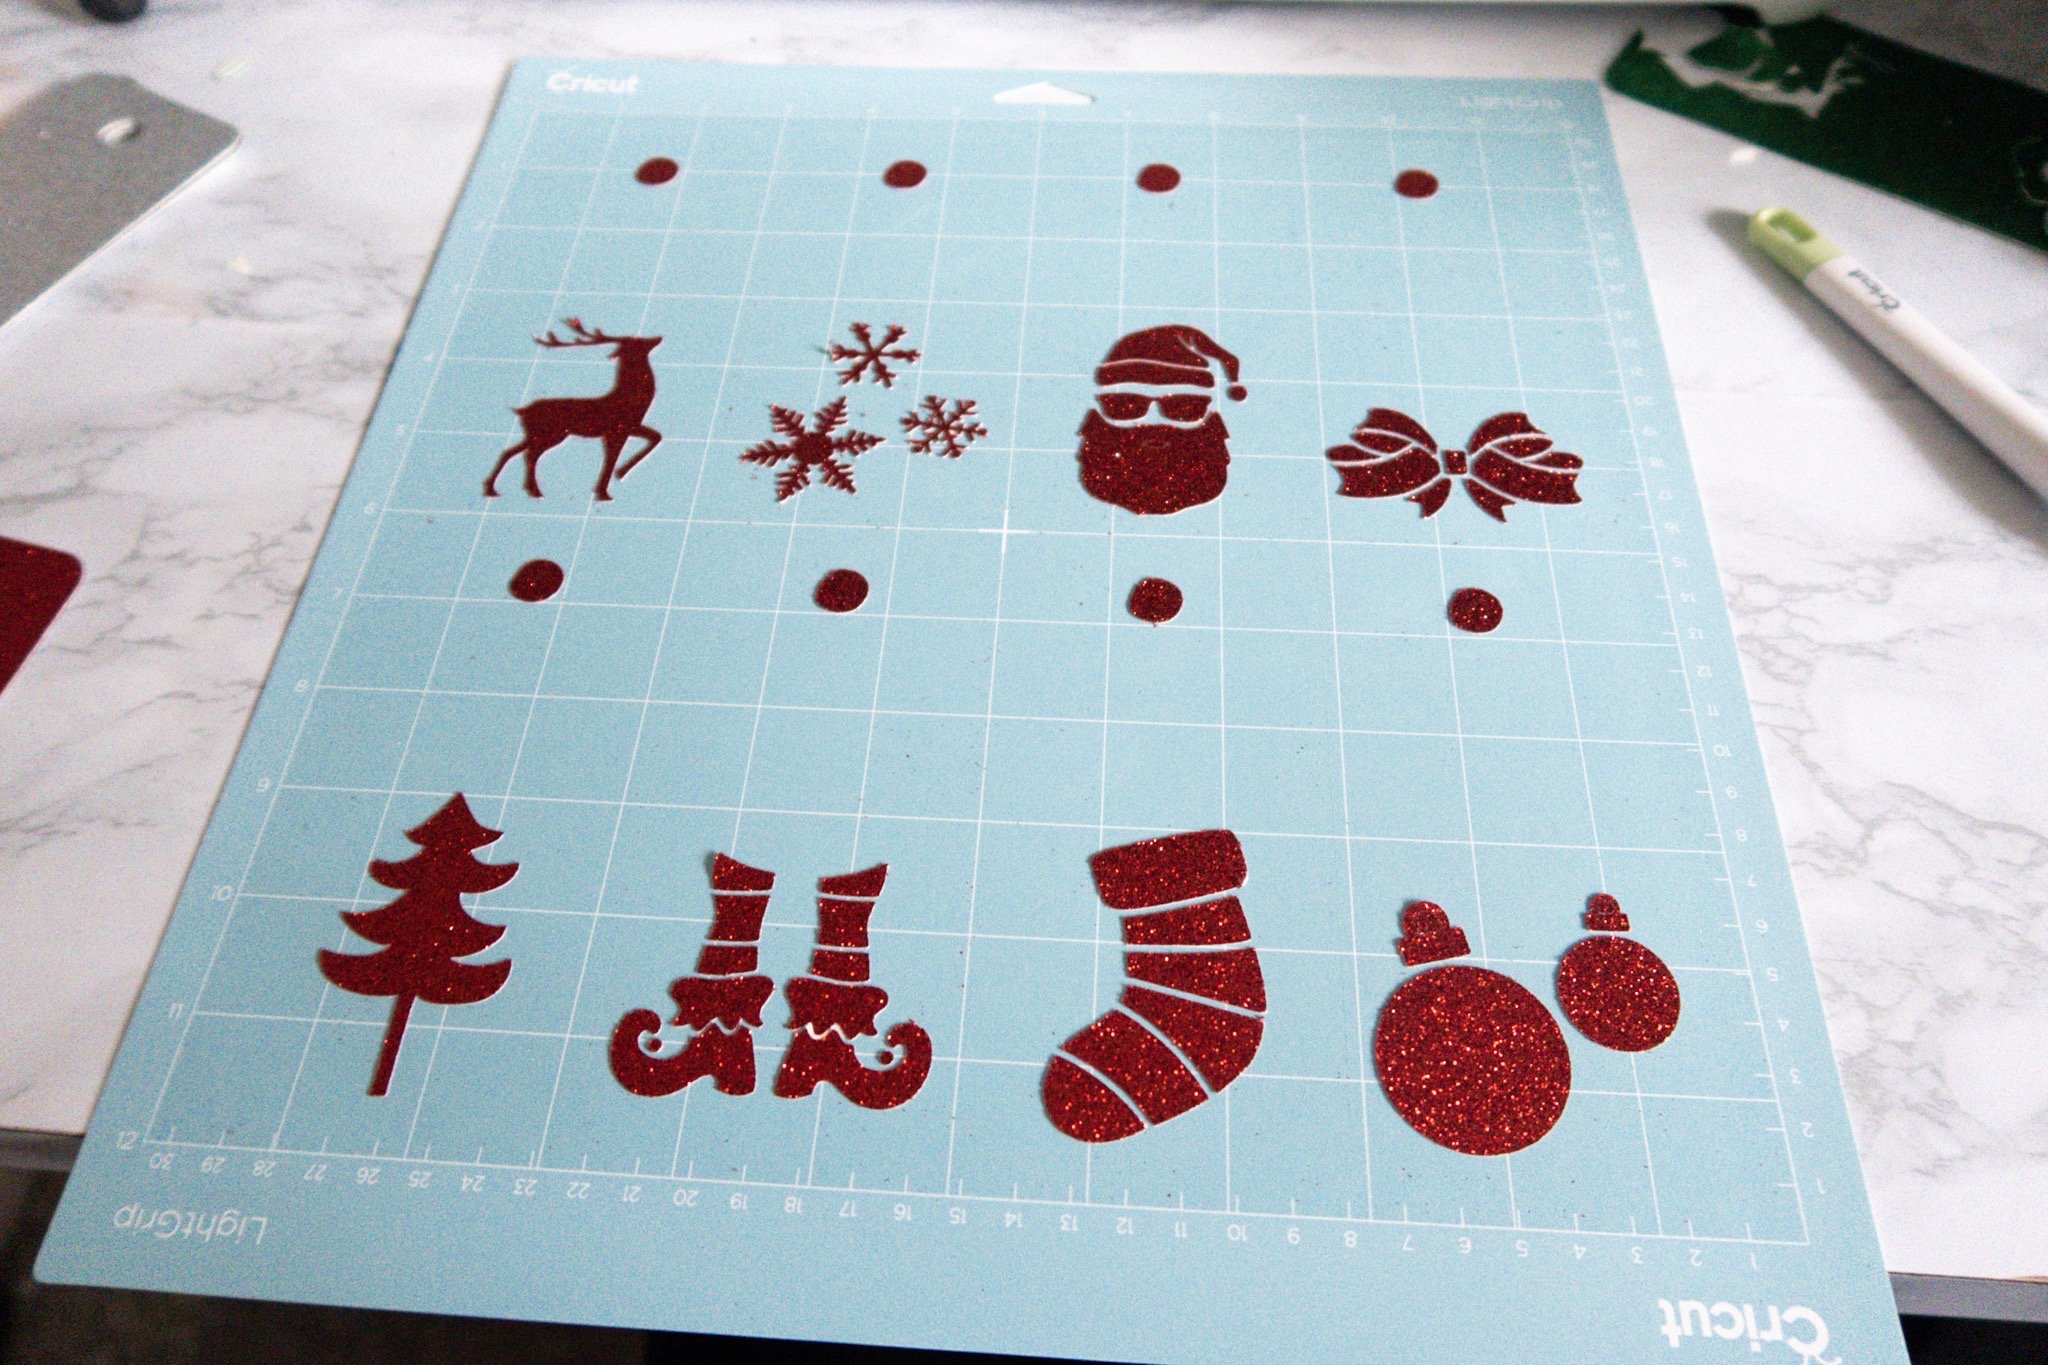
When your design is all done cutting, unload your mat and peel the cardstock from the LightGrip mat.
**I’ve seen and heard a few people saying that you can flip the mat over upside down and peel the mat away from the paper to prevent curling, but that method doesn’t really work with this design because of the number of cuts. I tried it out myself. The best method of removal for these gift tags, I’ve found, is with the Cricut spatula.**
I gently wedge the spatula all around the edges, working my way in towards the inside cuts in the tags, gently lifting.
You’ll need to remove the negative space of the design from the mat as well, either with your thumbnail or the spatula (this took no time at all and is super easy to do).
P.S. You can always keep the negatives to use for a Christmas decoration DIY, to make a Christmas bookmark, etc.
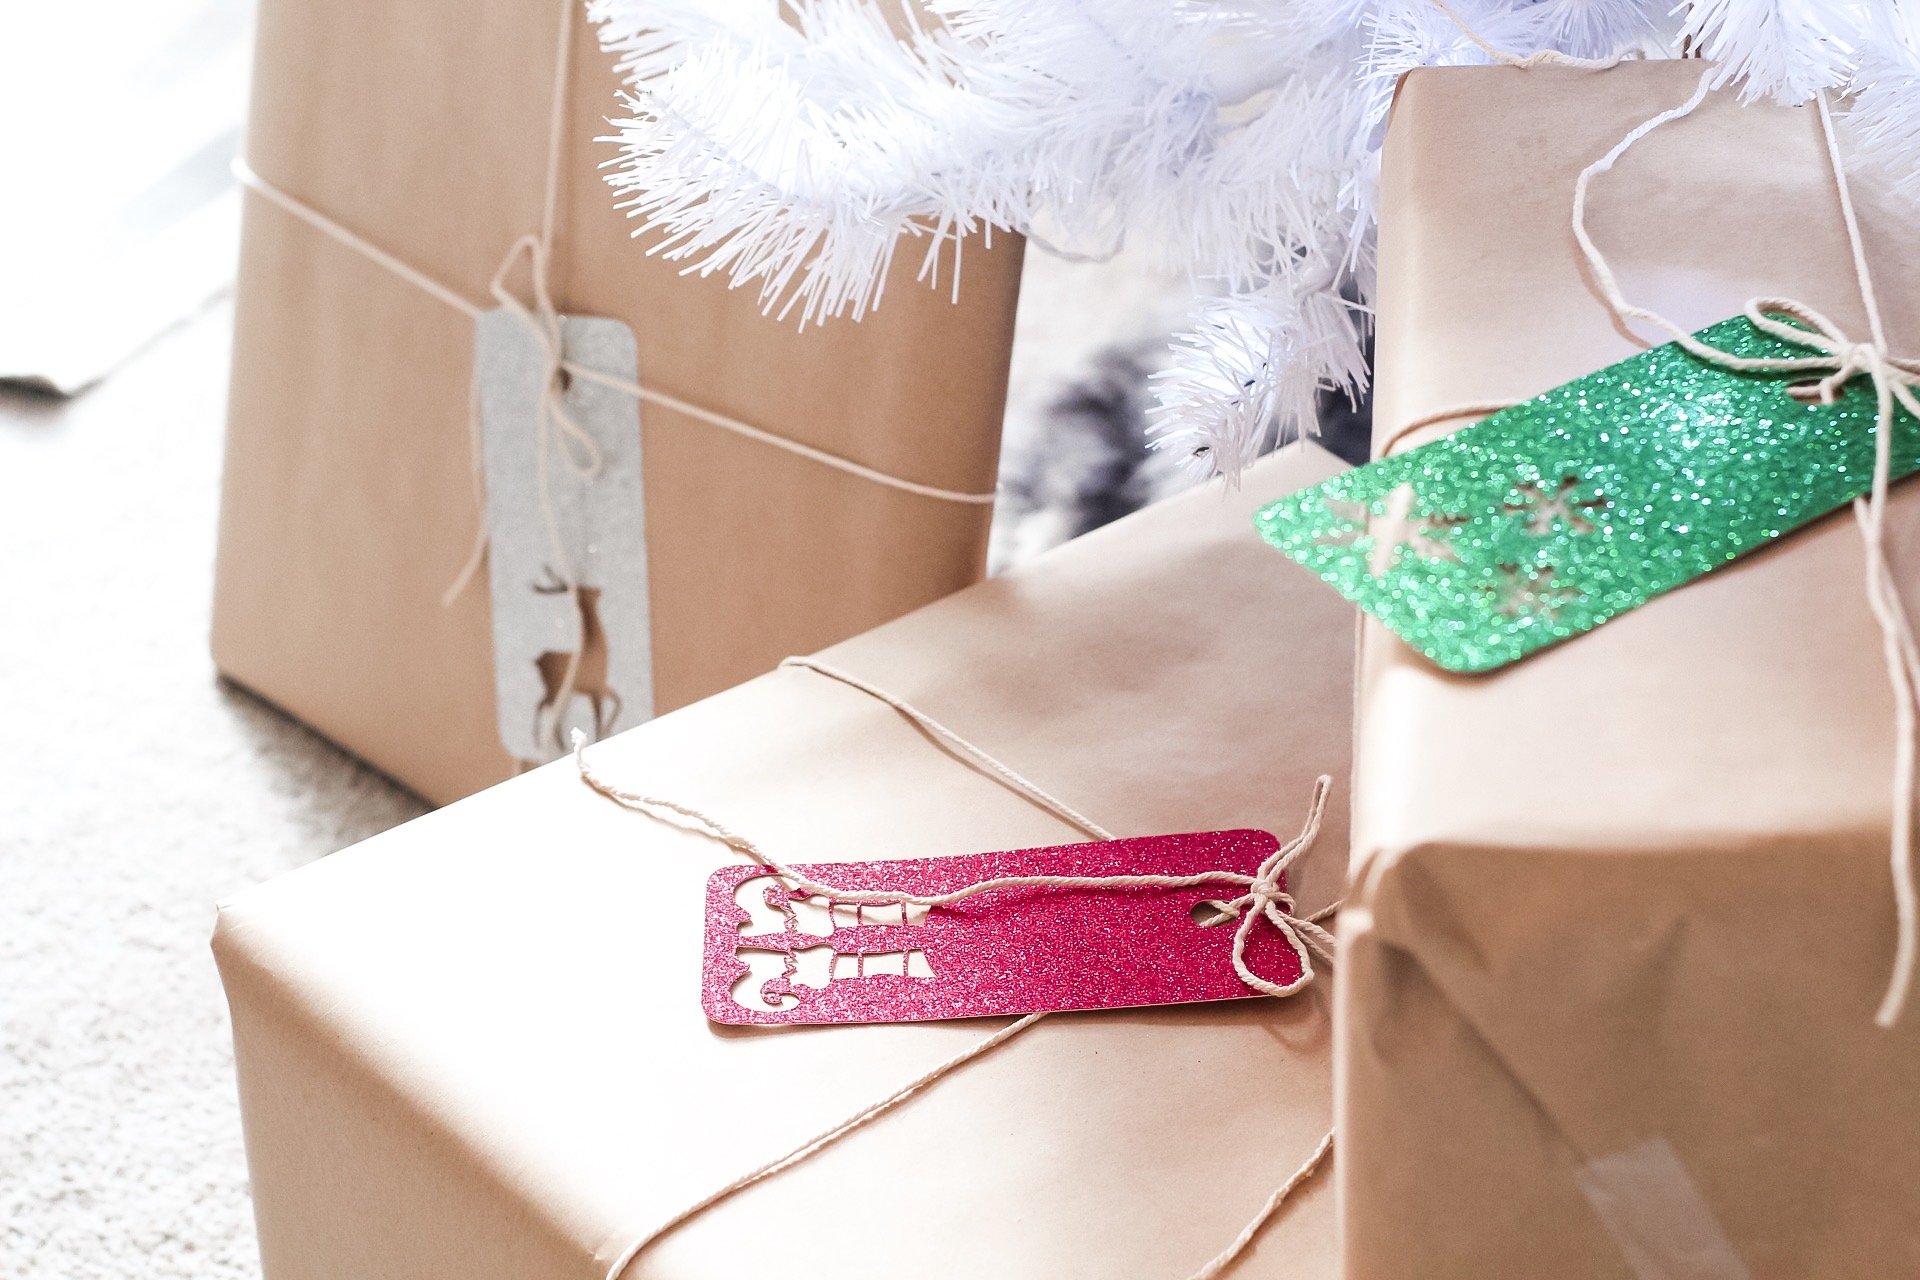
Now the time to admire your finished glitter gift tags!

Now you can attach these gift tags to your presents!
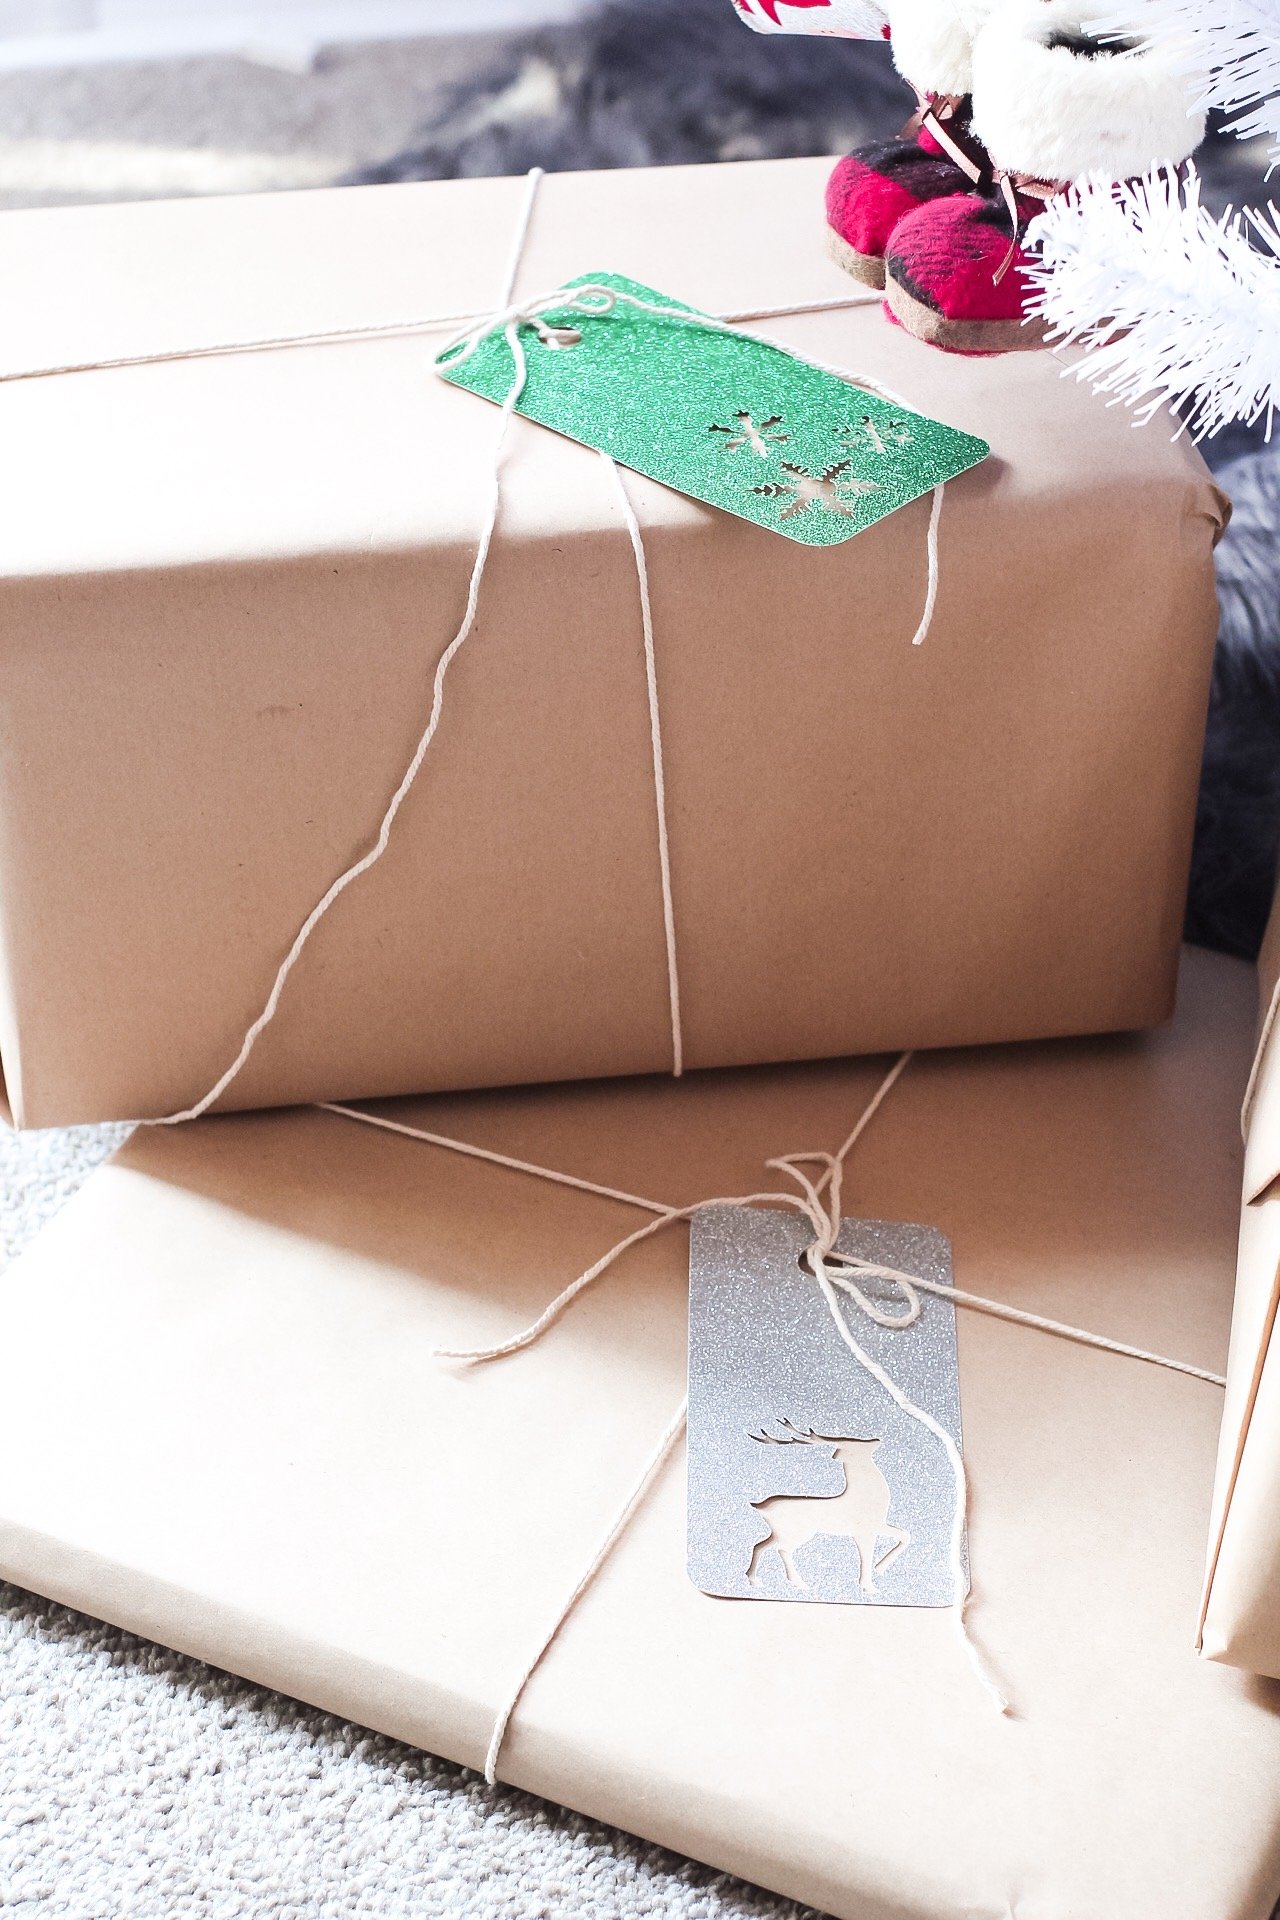
Weave a piece of string around a wrapped gift, slip the end of the string through the cut hole in the top of the gift tag, and tie a bow.
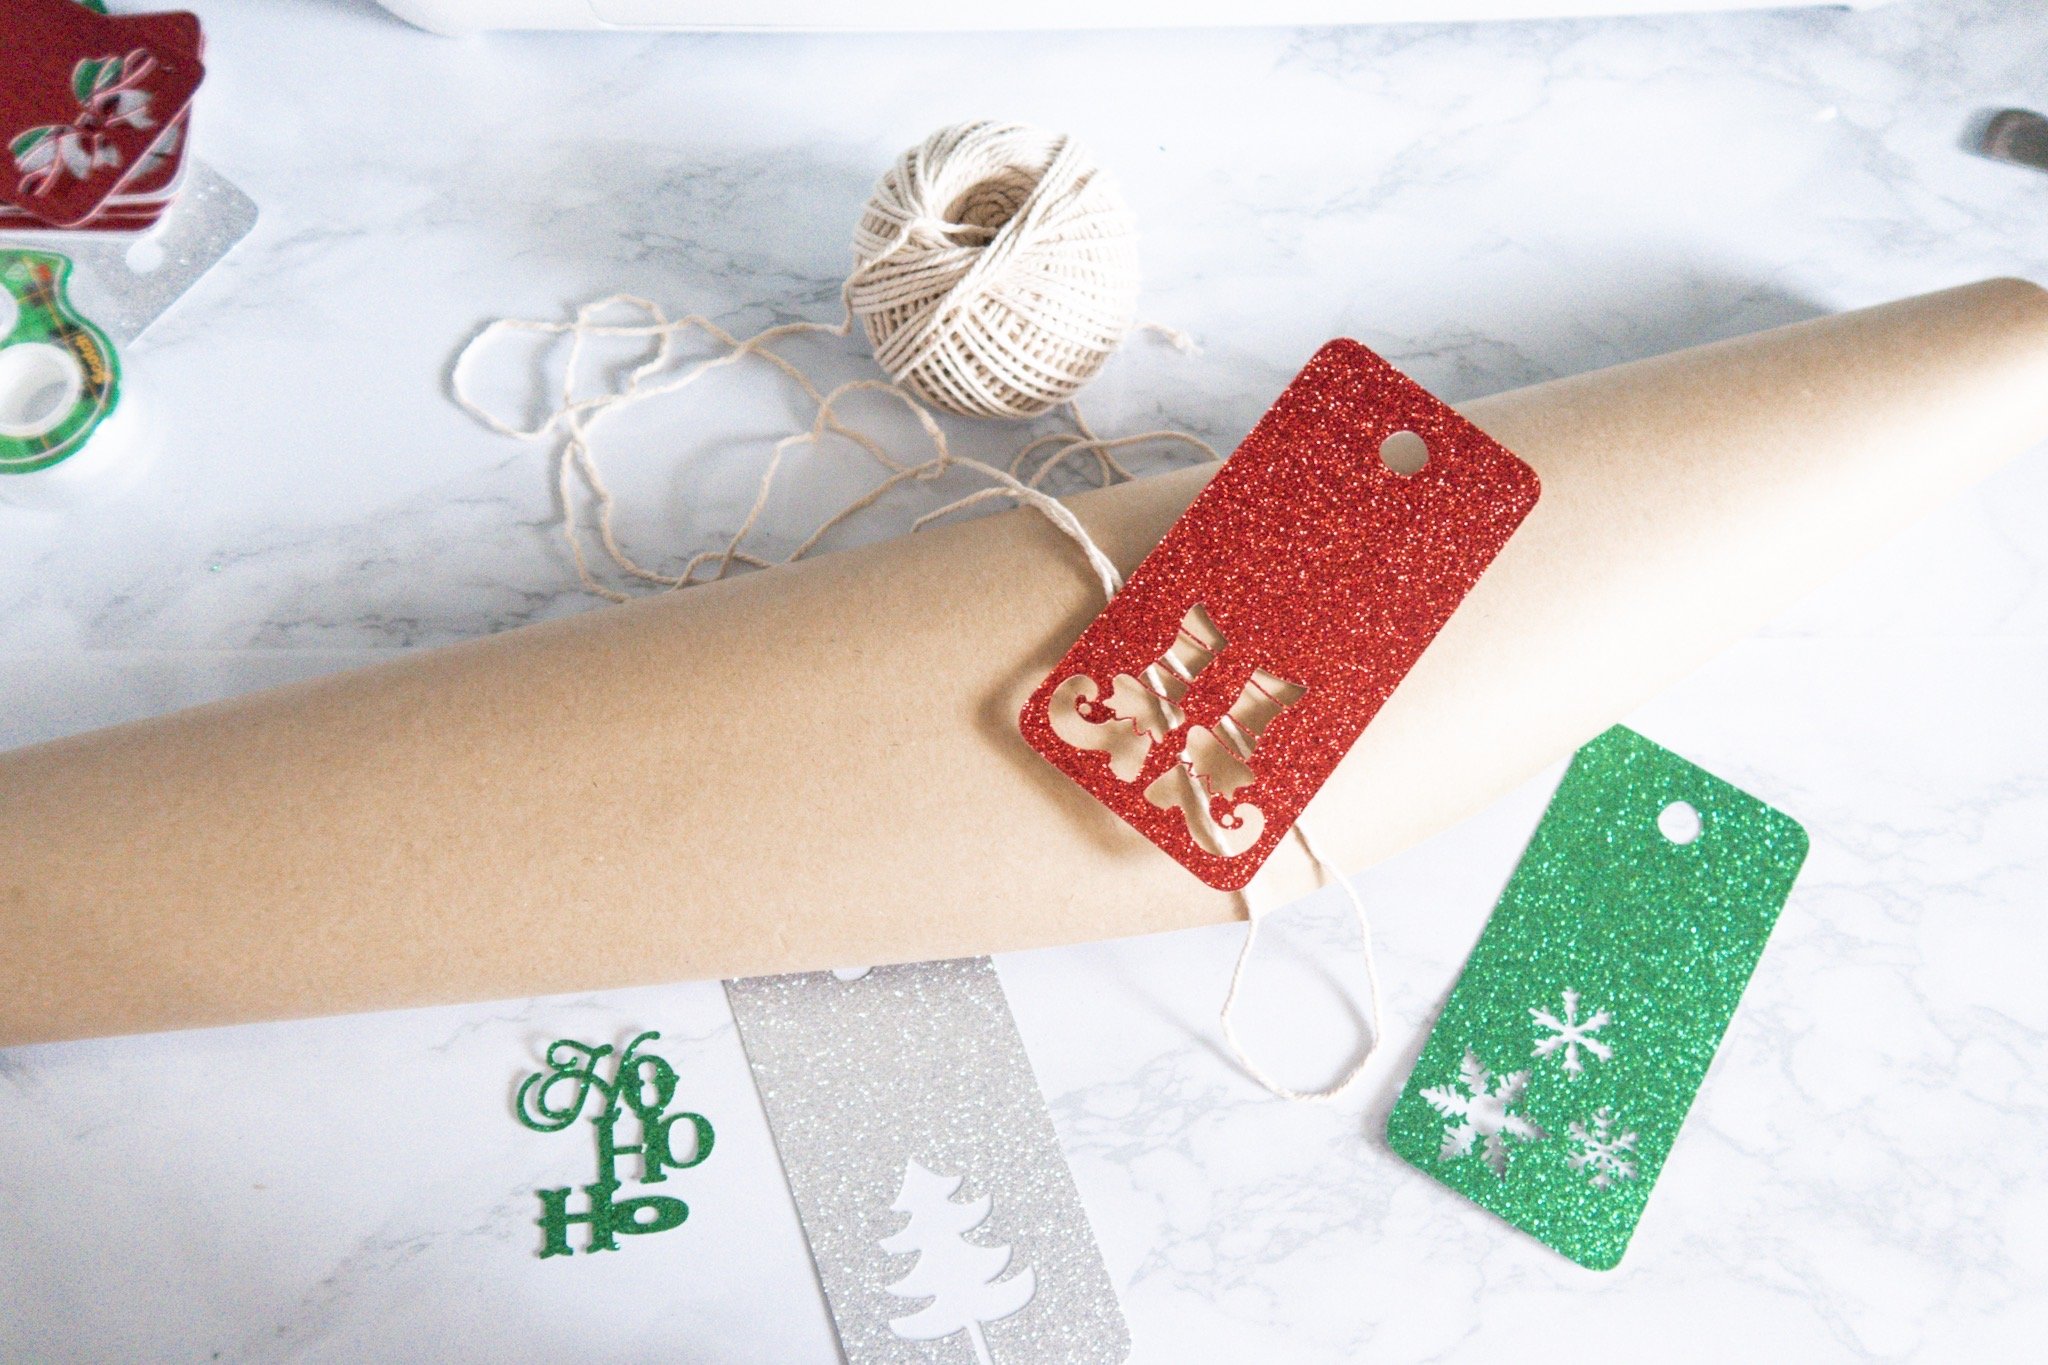
With glitter cardstock, you can write the to and from on the backside, or you can write on the front of plain, light-colored cardstock for easy gift-giving.
These gift tags are a beautiful way to personalize your gift-giving (or even to make as special gift tags that only come from the North Pole ;)), and are super easy to make!

If you loved this post, I invite you to check out my other crafting posts:
DIY FRONT DOOR ROUND WELCOME SIGN WITH THE CRICUT EXPLORE AIR 2
*Post originally published November 2019, last updated February 2023.