
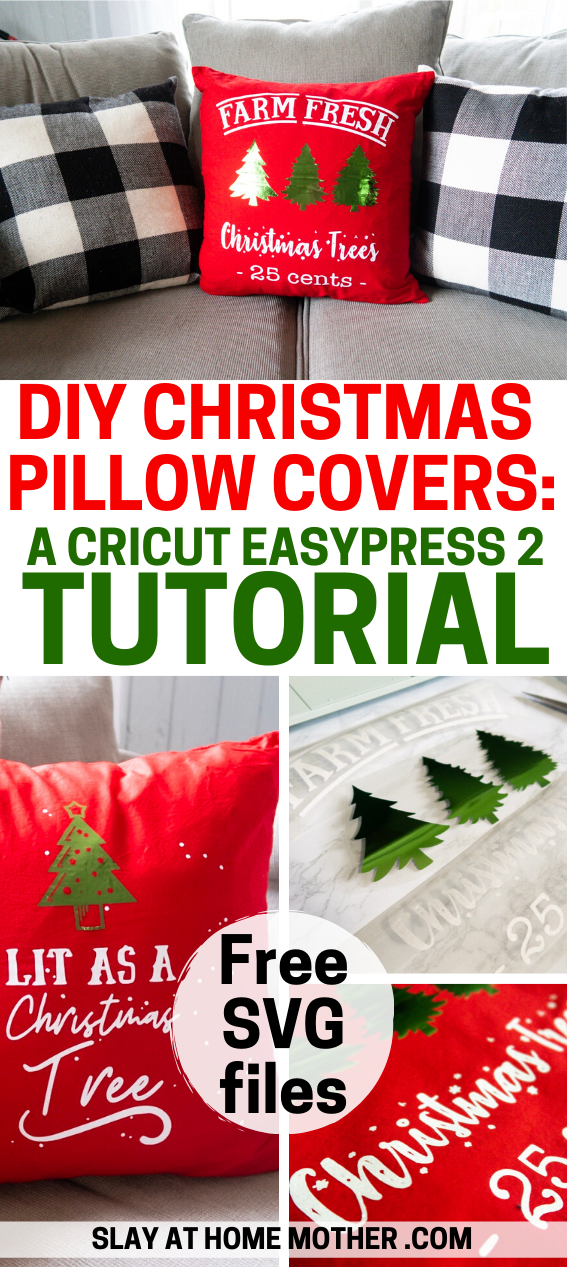
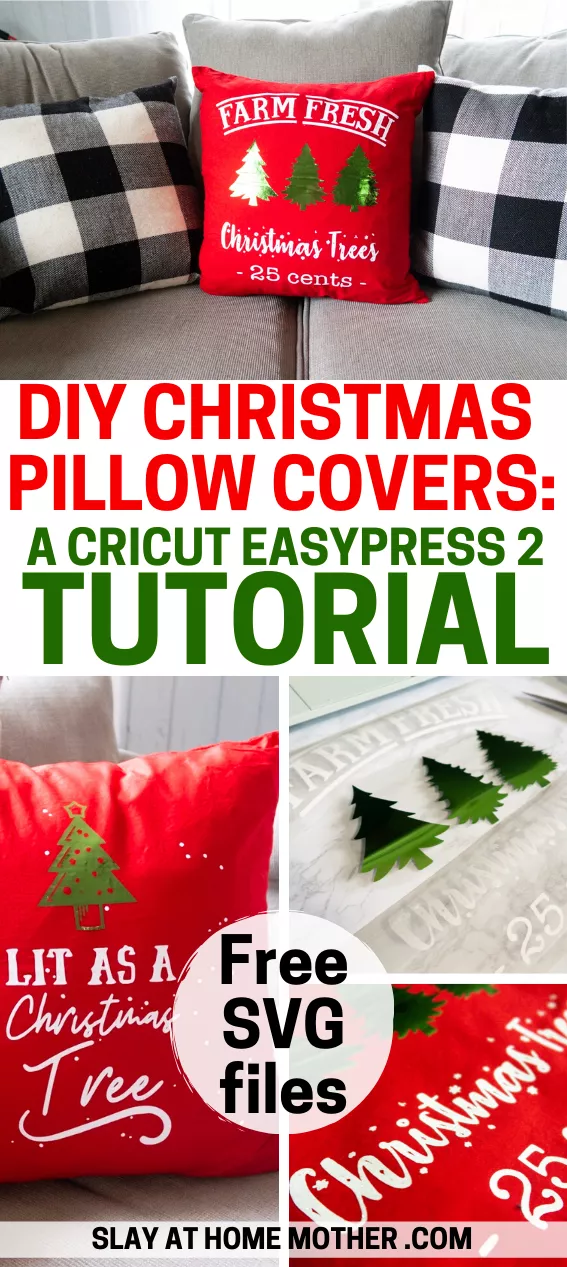
These Christmas pillow covers are the perfect beginner project, and so easy to make using the Cricut EasyPress 2 and Explore Air 2! Grab the FREE SVG files below…
Hi friends!
I’m back at it with my Cricut this holiday season, and super excited to share this latest craft/project with you all today.
If you’ve been following along on Instagram, then you’ve already seen a little of my Christmas decorations that went up last weekend. I usually wait until after Thanksgiving to decorate our home, but I’ve been so tired now growing this human in my third trimester that I don’t think I’ll have the energy or brainpower to get everything done in time ;).
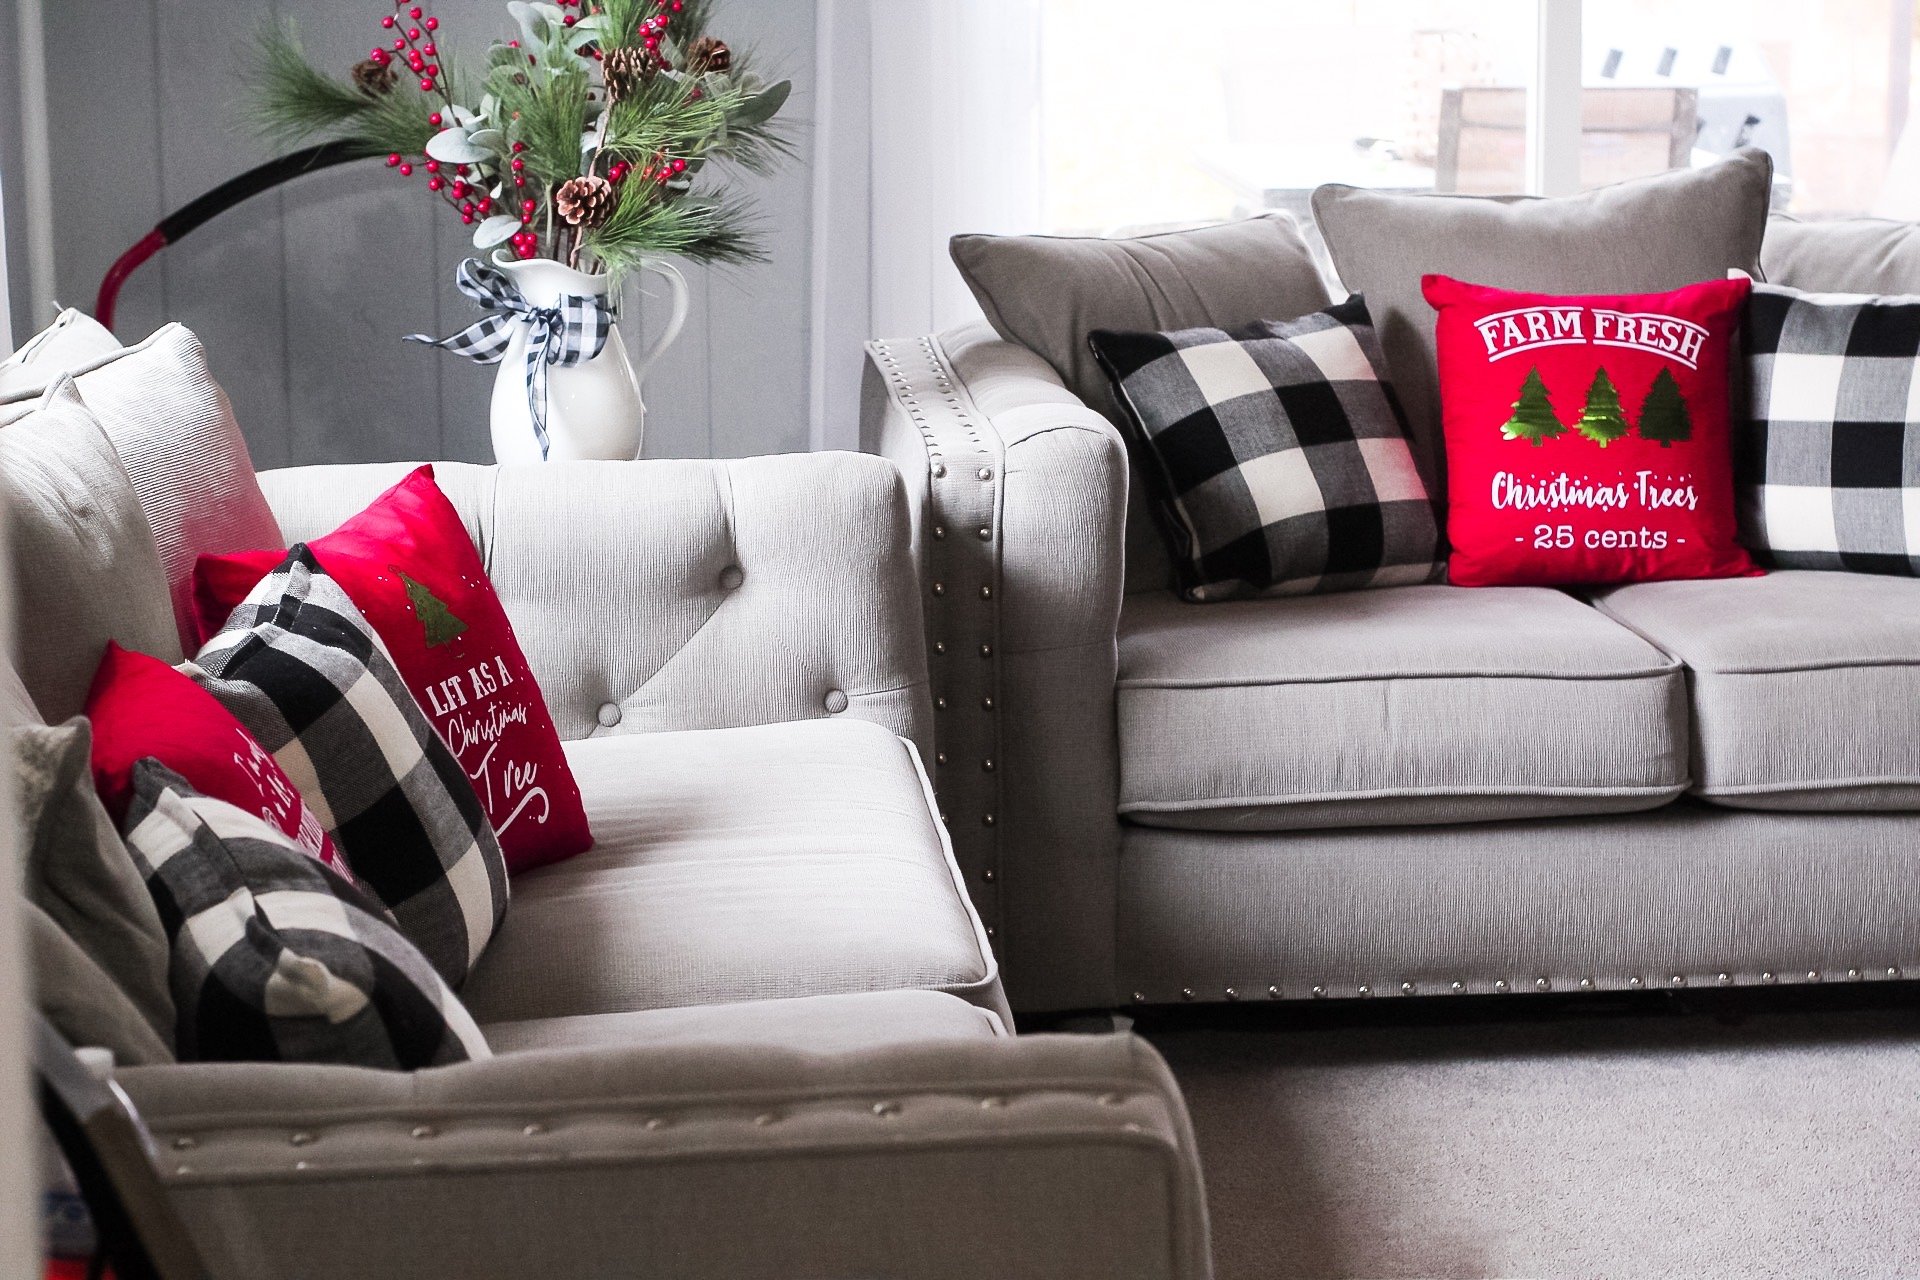
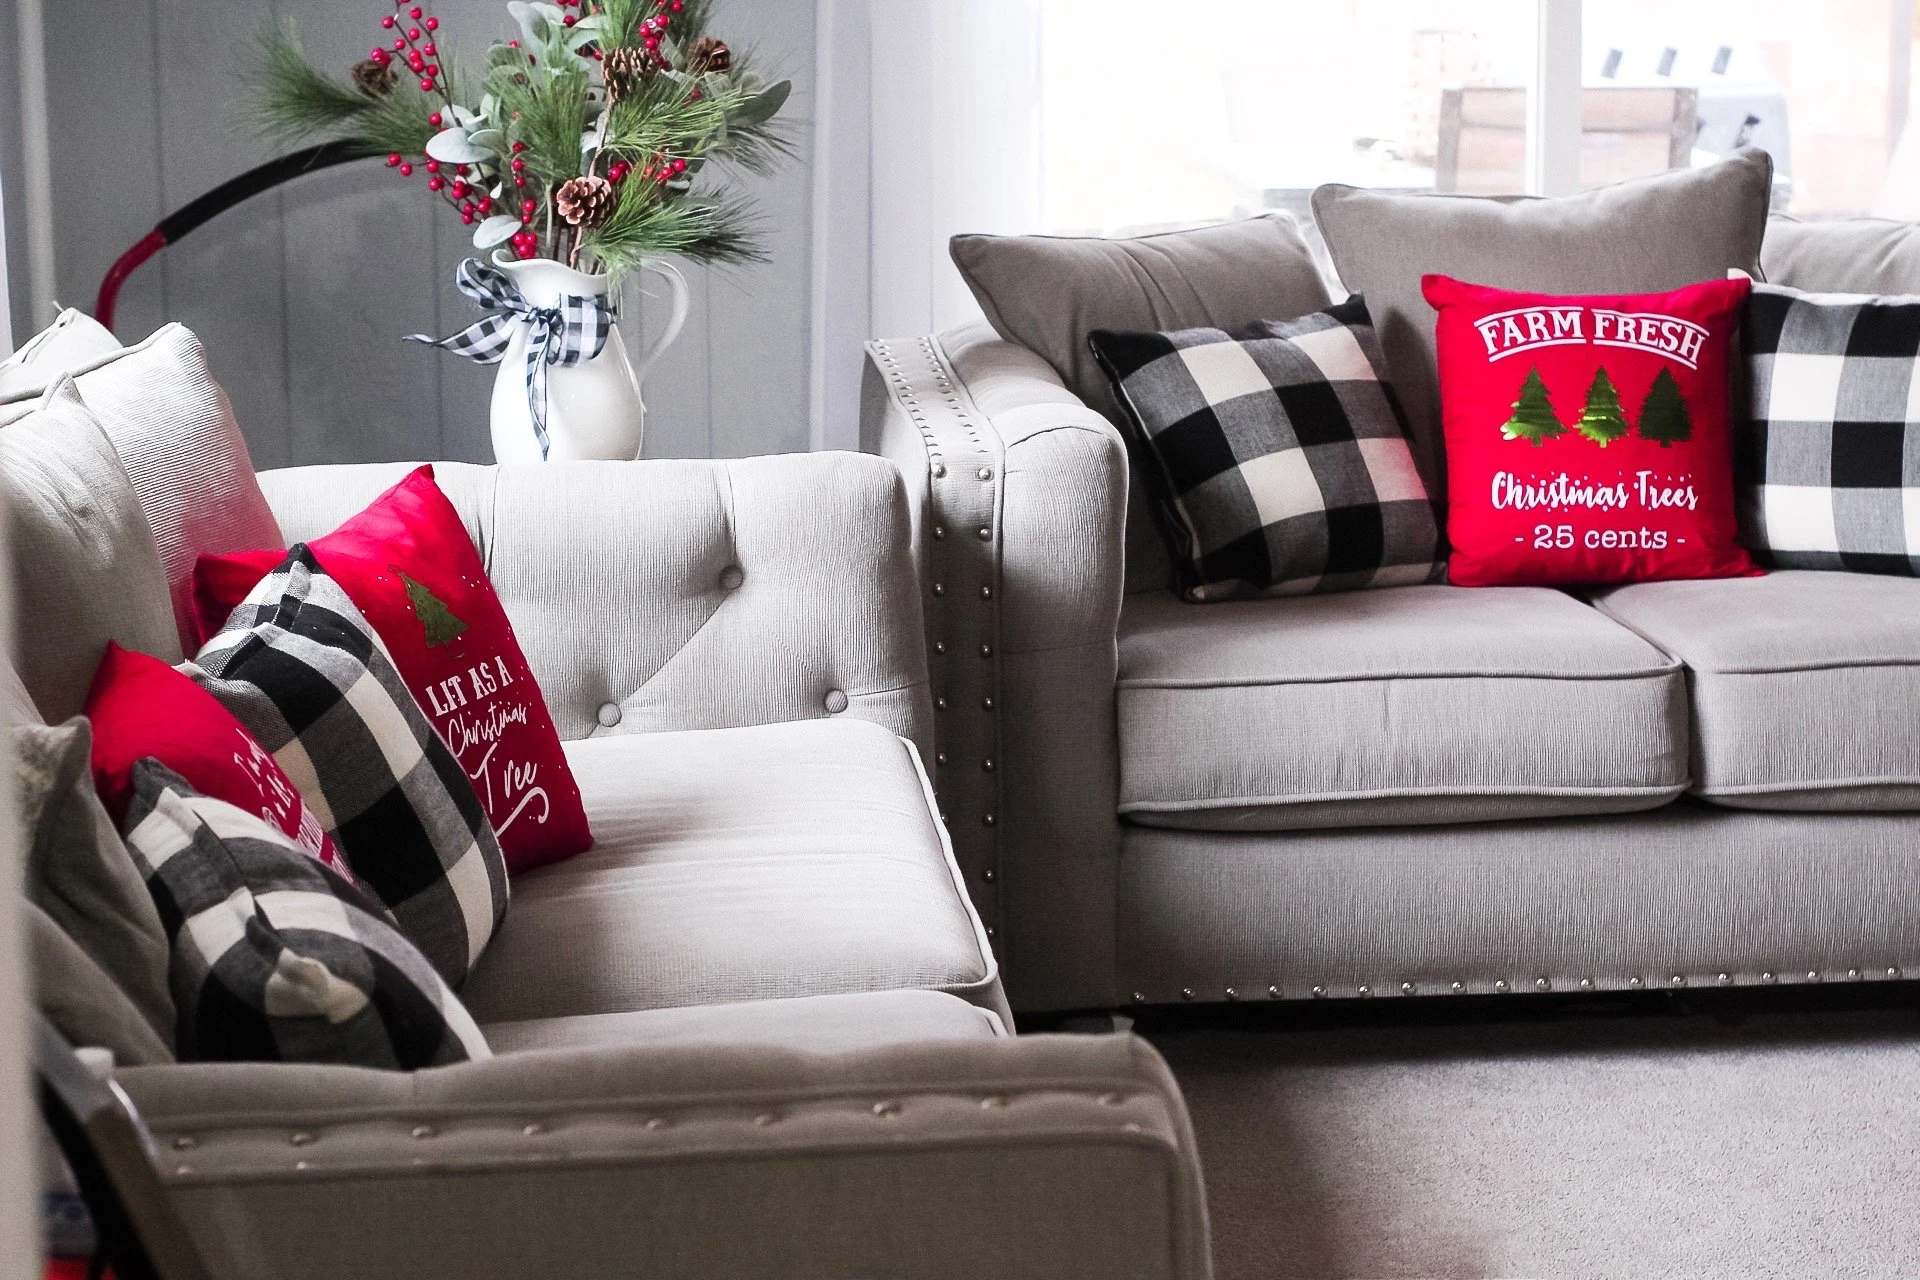
But even with all of our Christmas decor on display, I still felt like our couches were missing a little holiday cheer, so I decided to create a few designs for pillow covers.
Our couches are a neutral gray color, and we usually keep a mix of velvet ivory pillow covers with pom-poms and black and white buffalo check pillow covers on our couches year long.
I feel like Christmas calls for a bit of color, though, and decided to grab some plain red pillow covers to decorate this holiday season.
These Christmas pillow covers turned out so nice – I can’t stop gushing over them!
This is a sponsored conversation written by me on behalf of Cricut. The opinions and text are all mine.

I’m sharing the designs with you guys as well, so be sure to grab the FREE SVG files at the bottom of this post so you can make them yourself!
P.S. There’s also a video that goes along with this project for my visual learners (don’t worry, I’m a visual person, too!):
*This post contains affiliate links at no cost to my readers, however, all opinions are my own.
Materials Needed For DIY Christmas Pillow Covers

These Christmas pillow covers were so simple to make, here’s what you need:
The two machines I used for this project include:
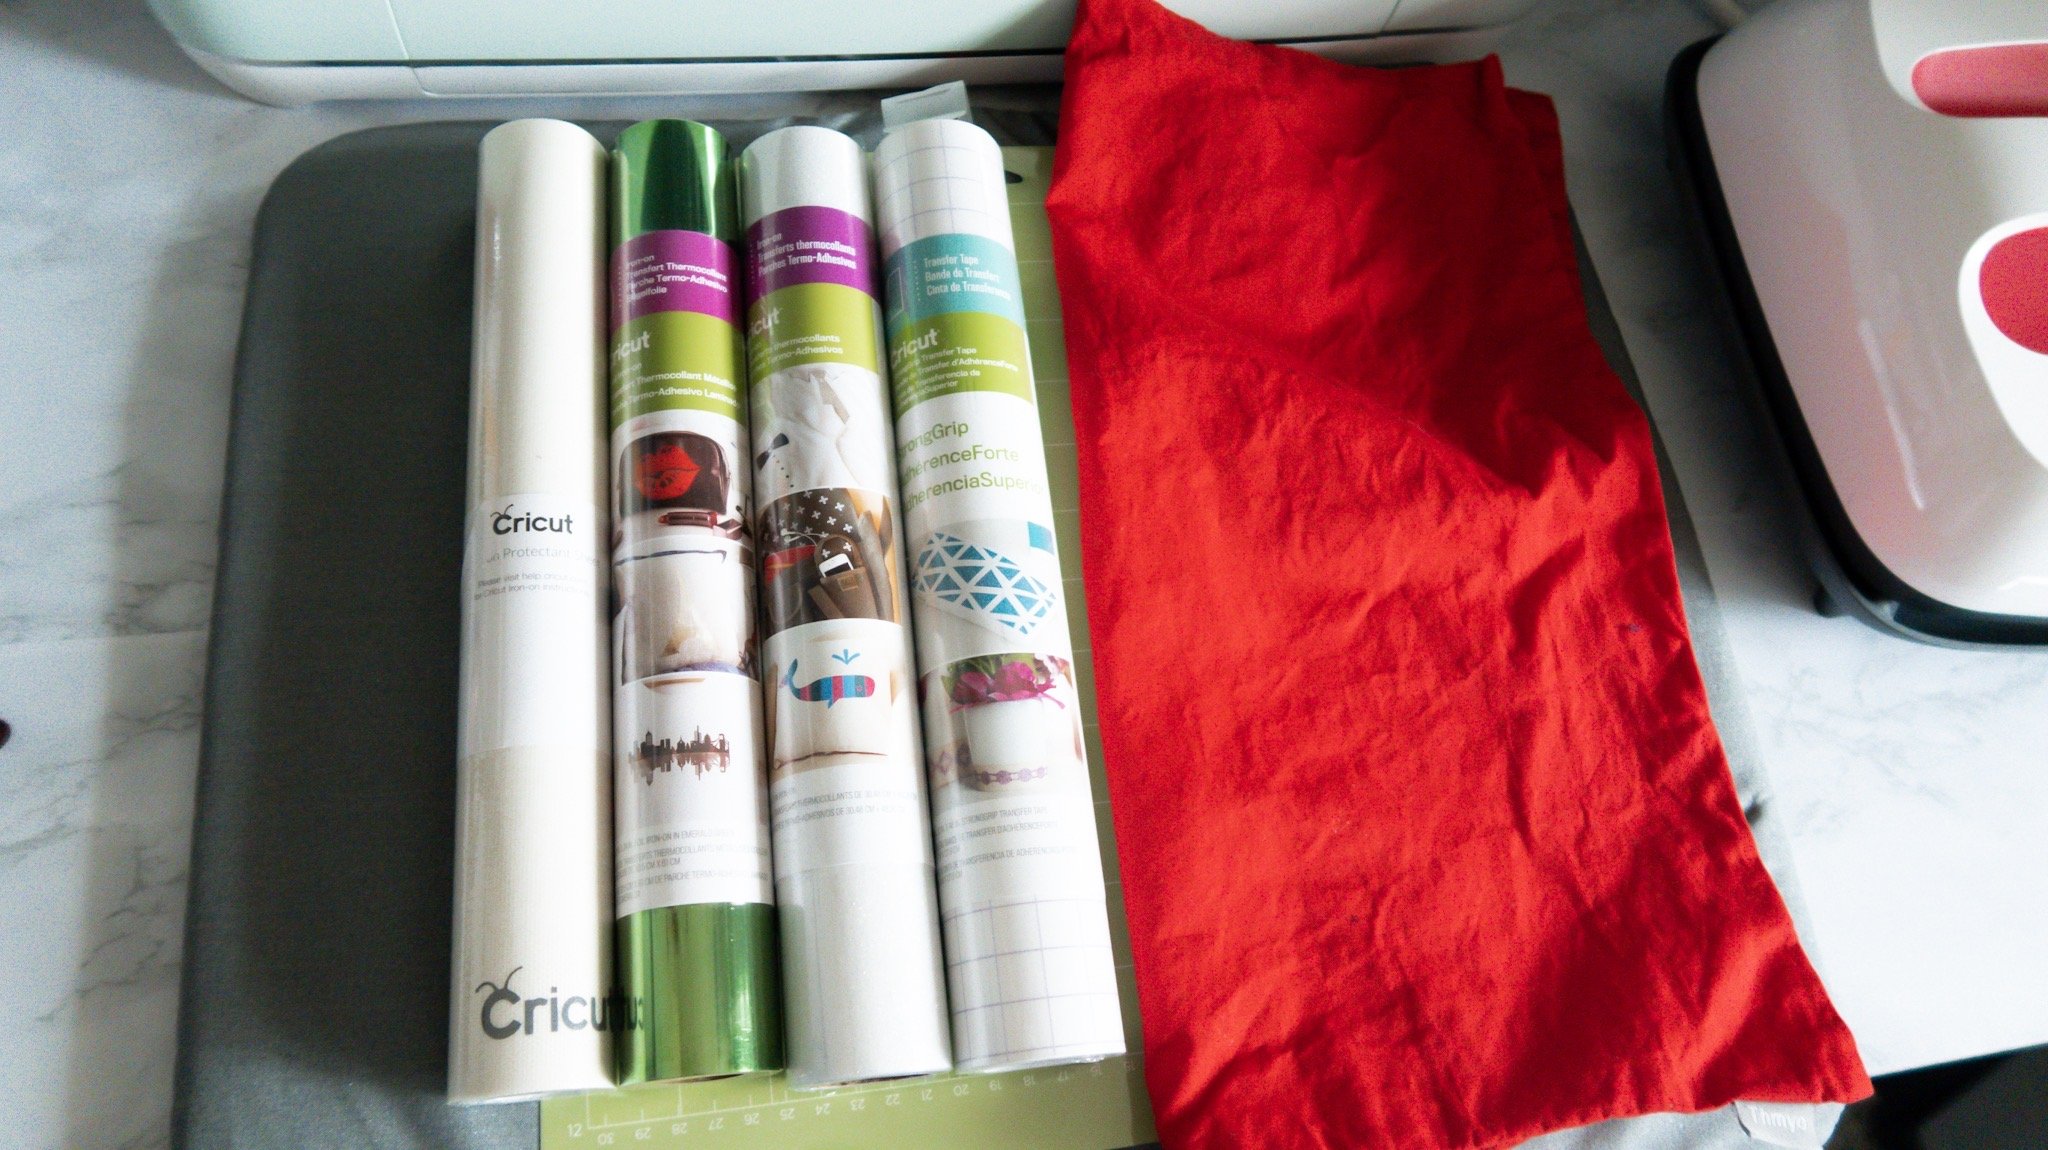
And the materials I used include:
- White glitter iron-on
- Green foil iron-on
- Heat Protective Sheet (you can also use a spare dish towel)
- EasyPress Mat 16″x20″
- StandardGrip Mat (green)
- Base material (my base materials are the red cotton pillow covers)
You’ll also need a design to cut, so feel free to get creative and start designing in Cricut Design Space (or grab my free SVG files in this post).
I mentioned this in the video above, but you don’t actually need the transfer paper pictured with the other materials. I have a serious case of pregnancy brain going on, and because I normally work with adhesive vinyl, transfer paper is pretty much a staple for projects.
But, when it comes to iron-on, you don’t need it!
Prewashing Fabric
Before applying your design to fabric, whether it be a shirt or a pillow cover, the material will need to be prewashed before application. This ensures the fabric will not shrink in the wash after the design has been applied, which results in a wonky or unattached design.
So needless to say, it’s very important to prewash/preshrink your fabric!
BTW, if you’re working with 100% cotton base material like I am for this project, Cricut recommends prewashing and drying without fabric softener.
Cricut Design Space and explore air 2 Iron-On Settings
Once your designs are uploaded into Cricut Design Space and are ready to go, you can go ahead and select ‘Make It‘ in bright green in the upper right-hand corner.
If you’re using one of my free SVG files, you can simply upload the file straight into Design Space and get to cutting!
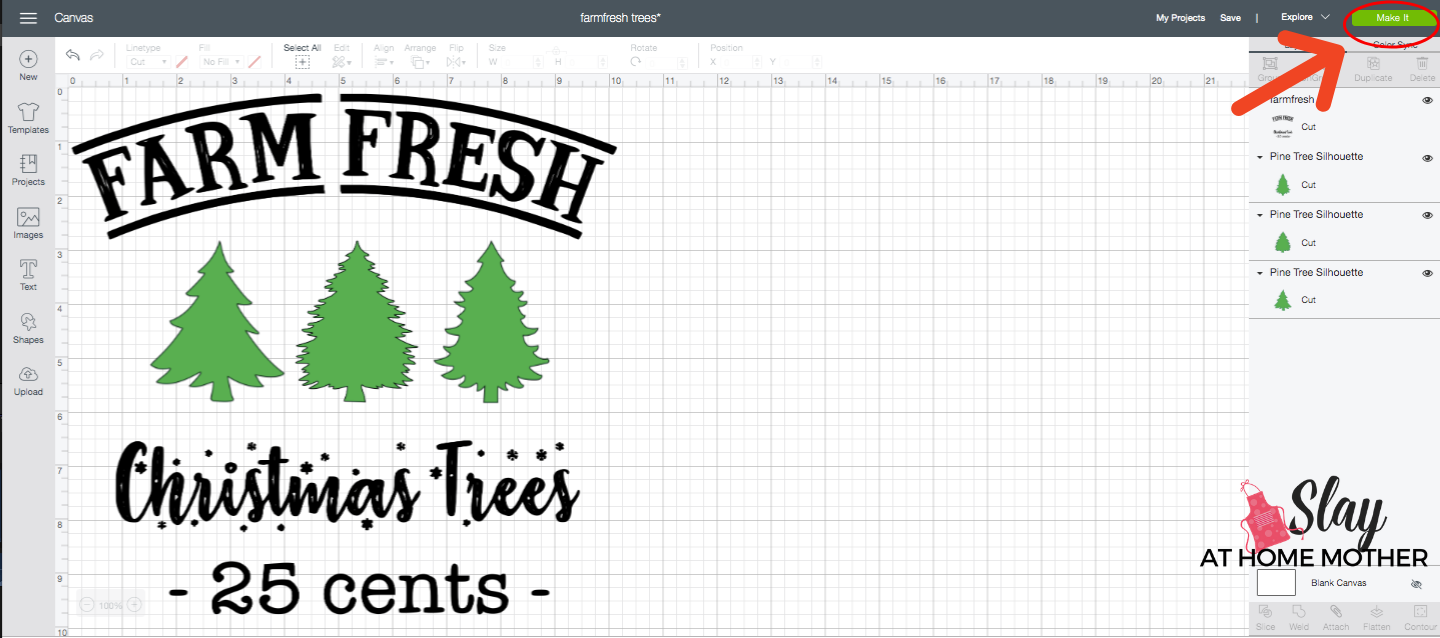
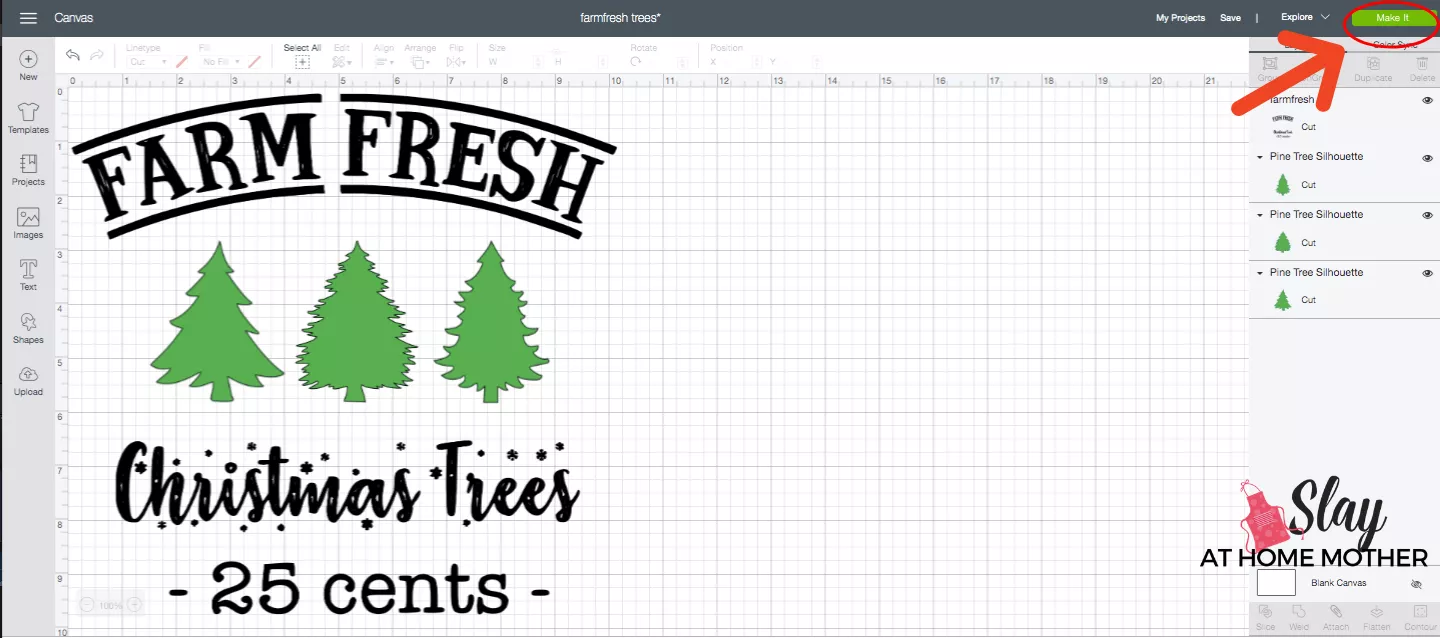
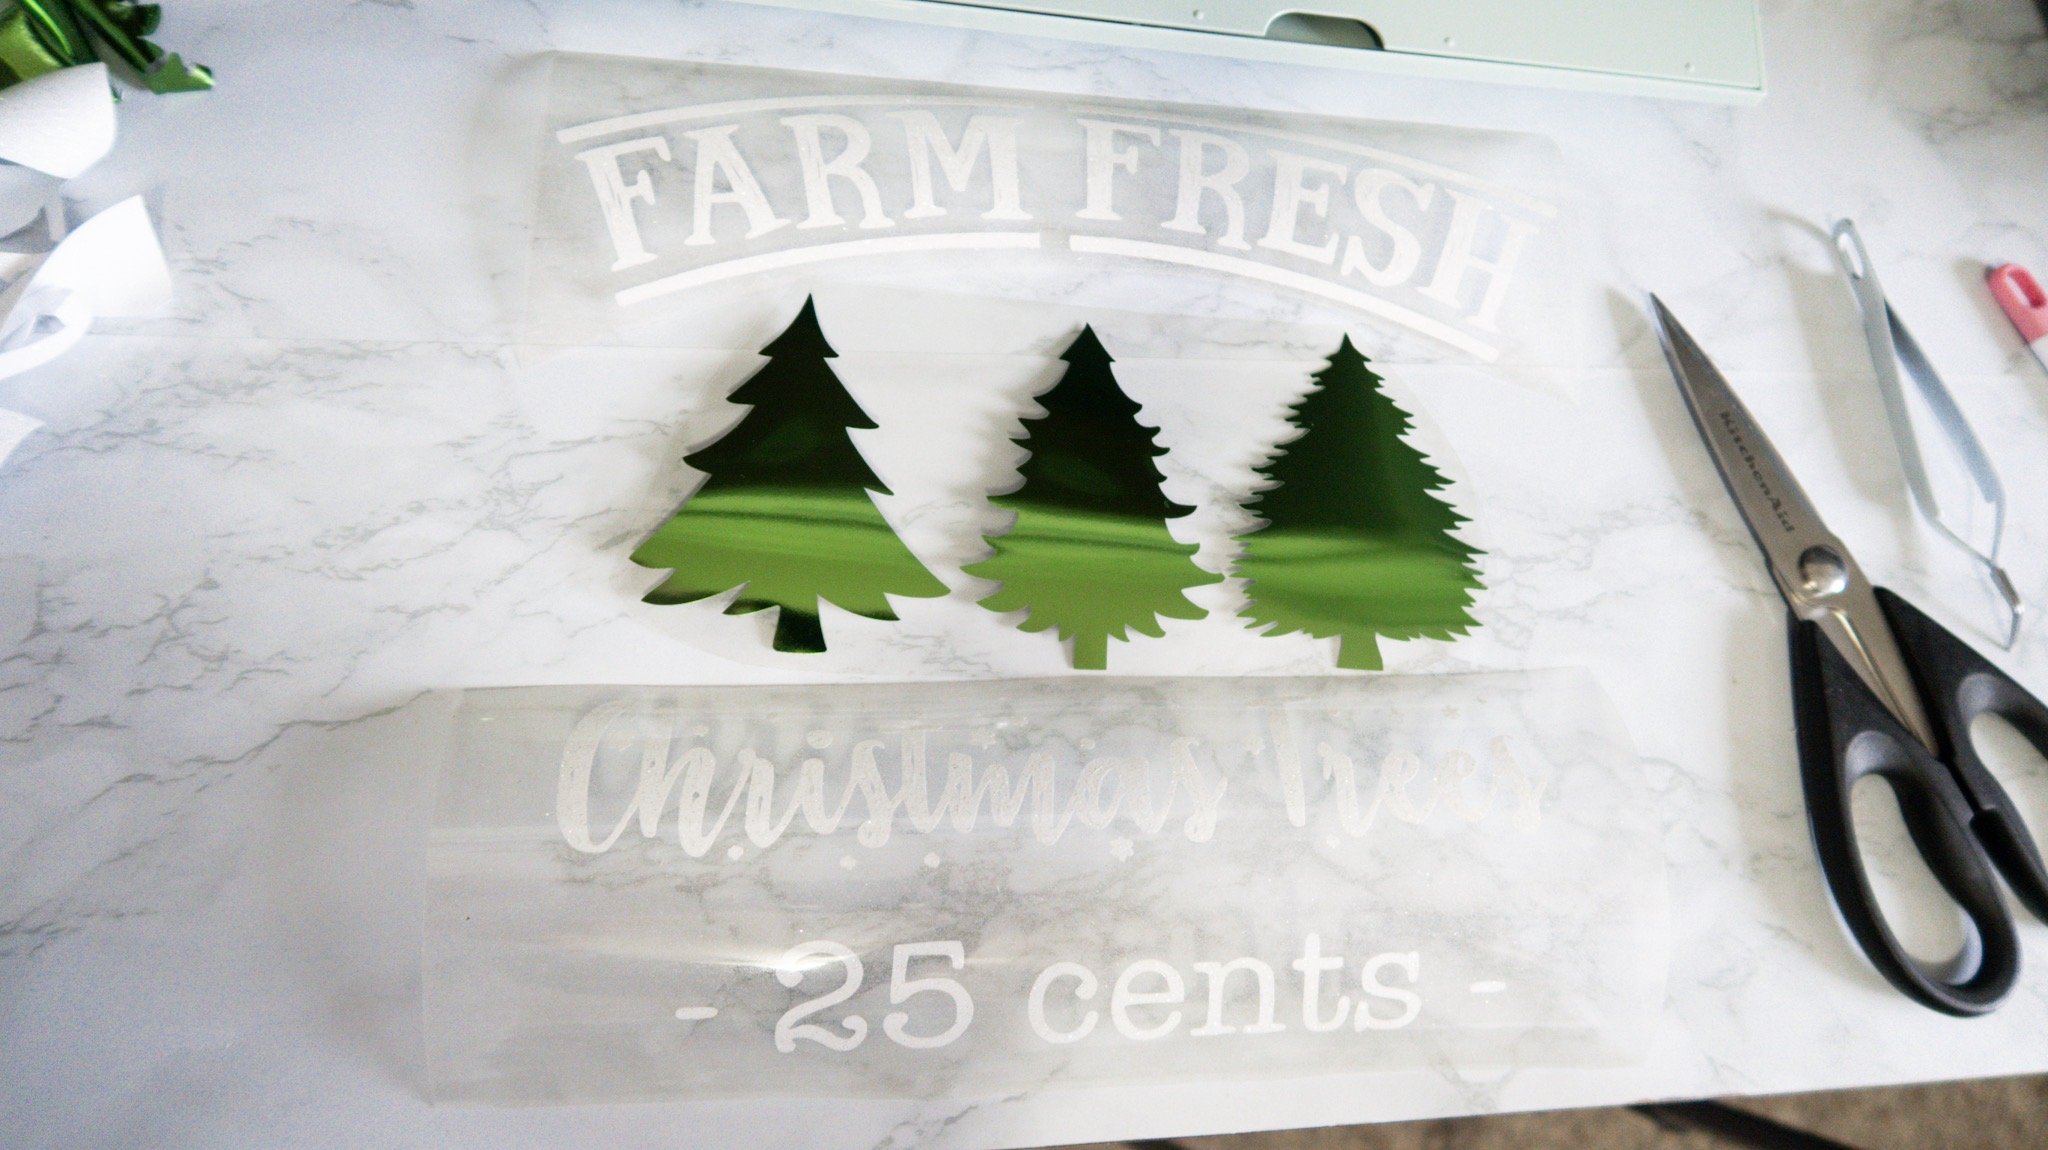
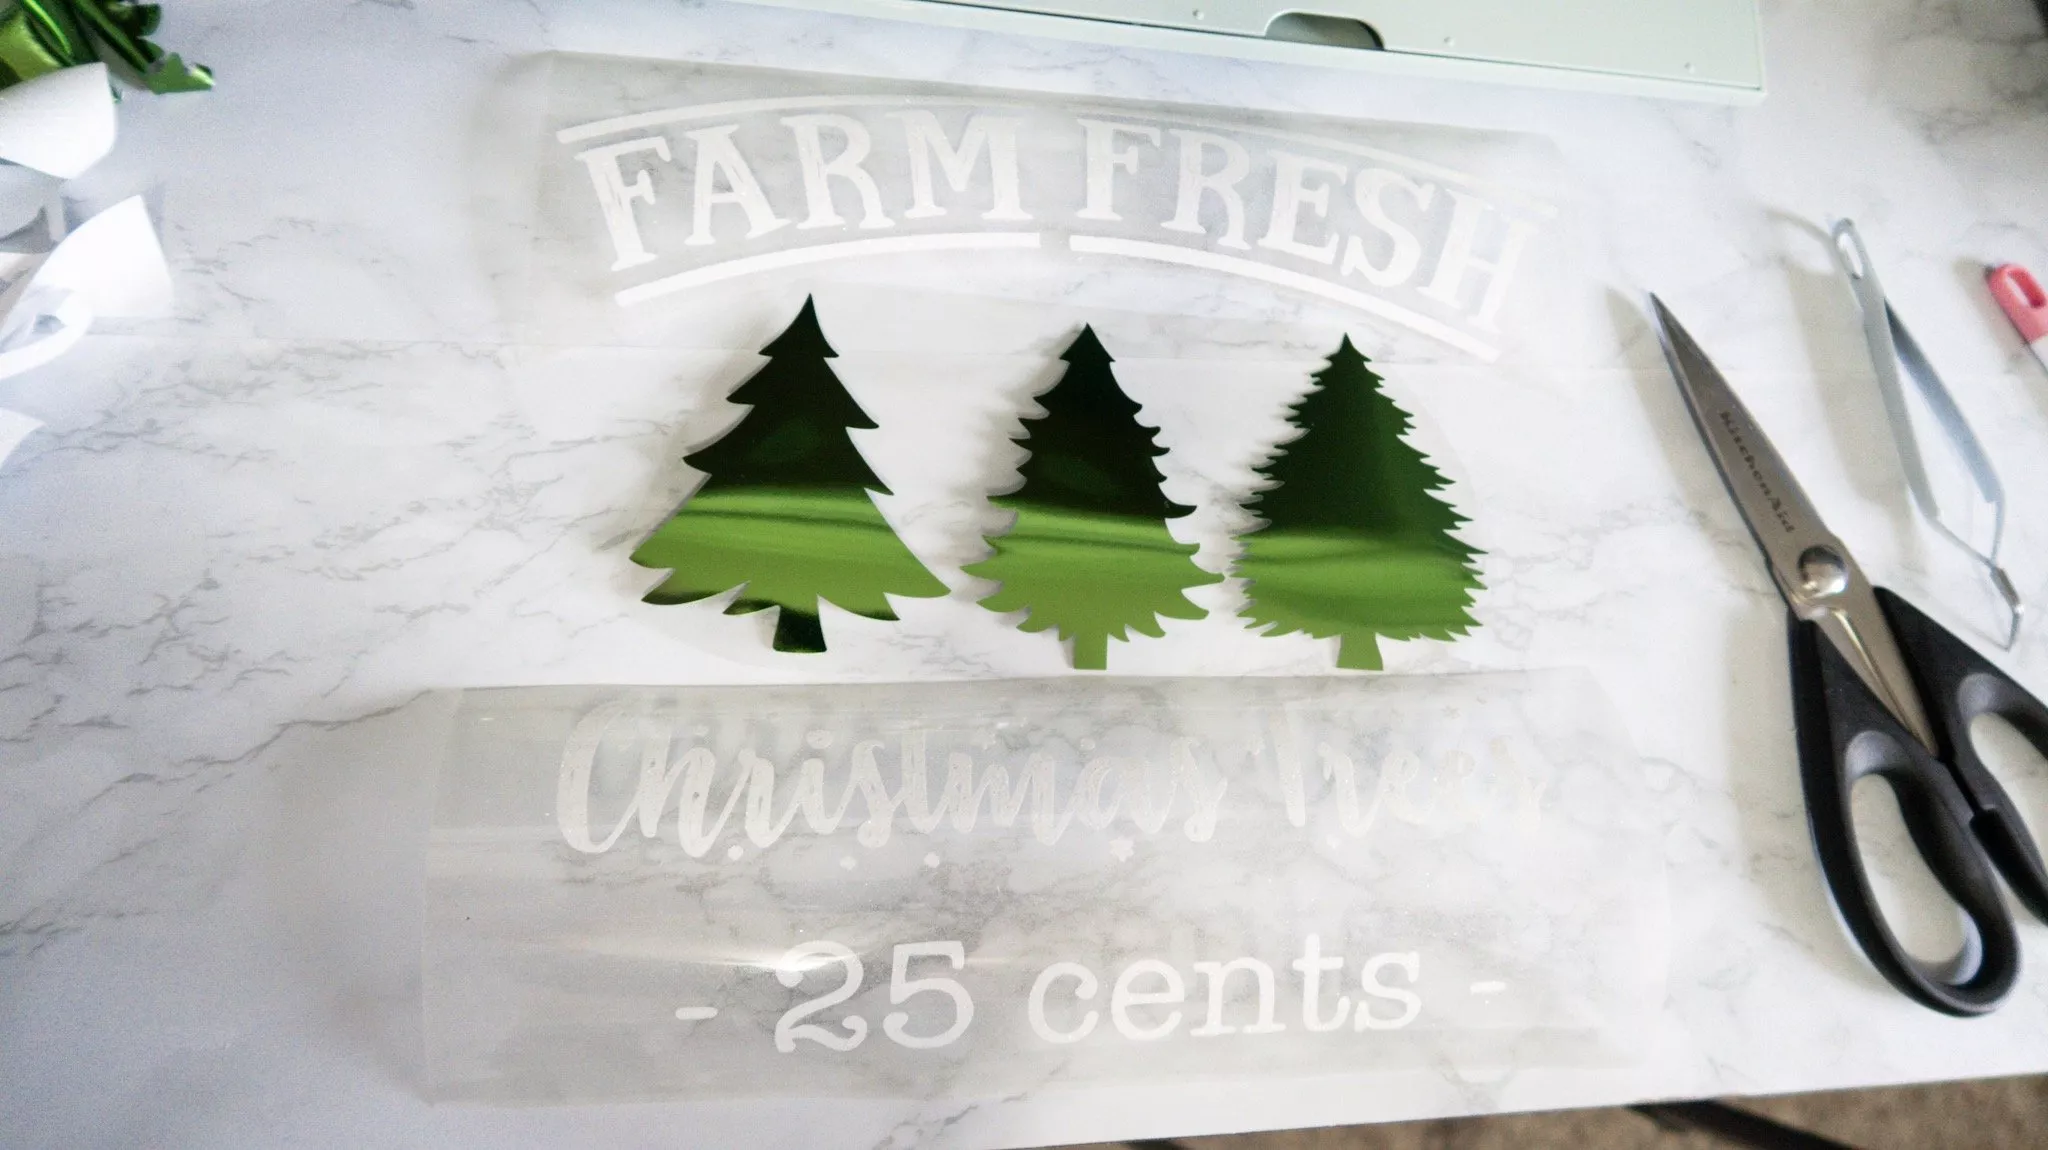
For this particular design, I am performing two different cuts – the text of my design will be cut out of Cricut white glitter iron-on, while the trees will be cut out of Cricut green foil iron-on.
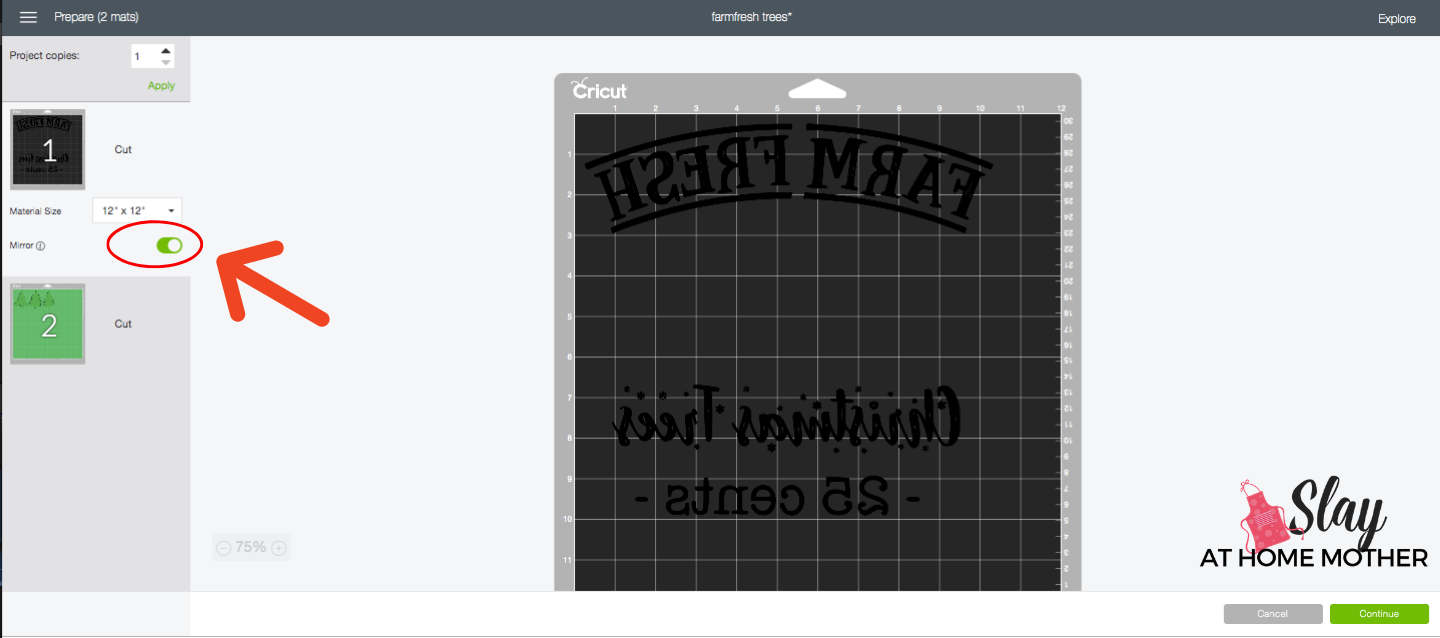
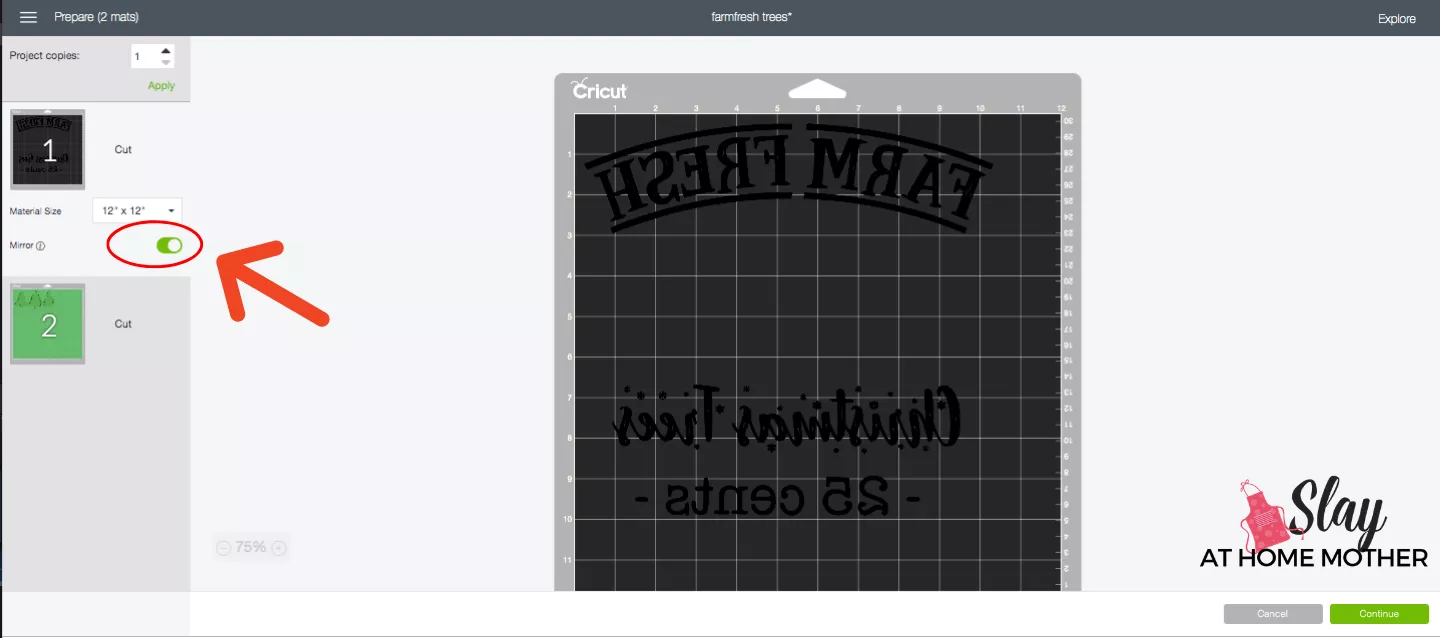
For both the first cut (the text), and the second cut (the trees) I need to select ‘Mirror On‘ before cutting.
This is because the material I’m using (glitter and foil iron-on) need to be placed glitter/foil side DOWN on the mat.
You’ll also need to set the dial on your Explore Air 2 to ‘Custom‘.


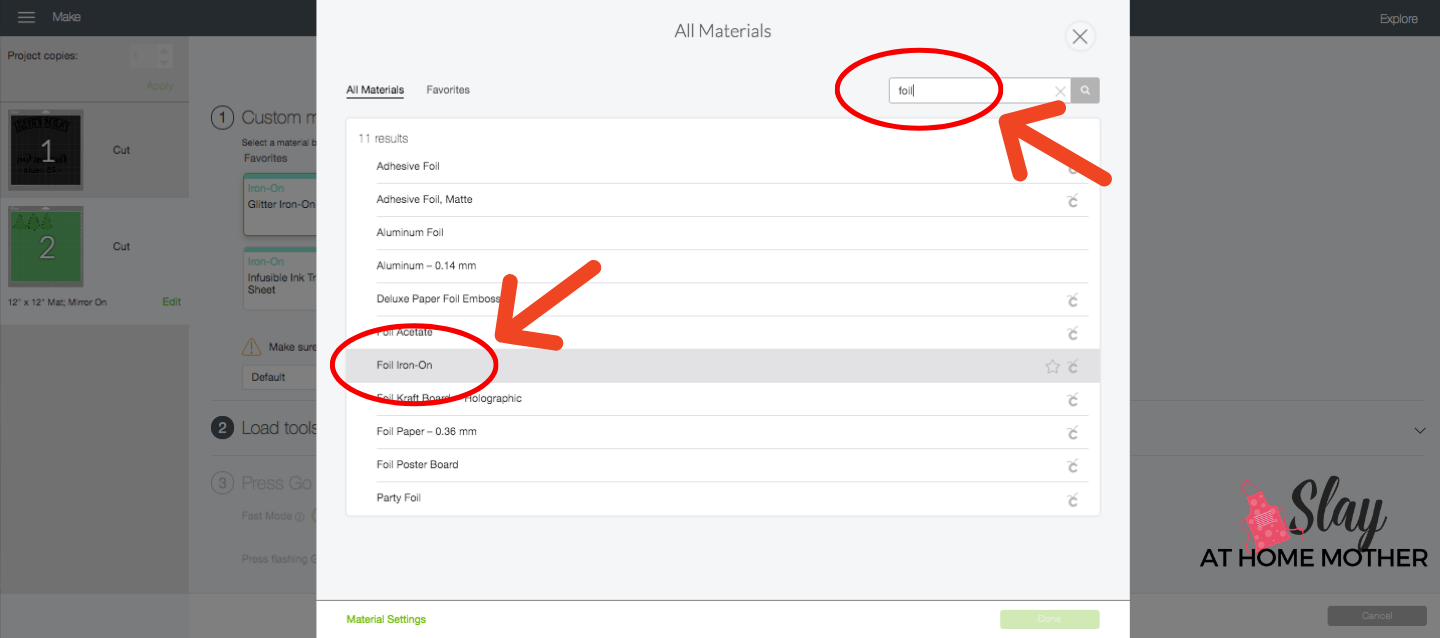
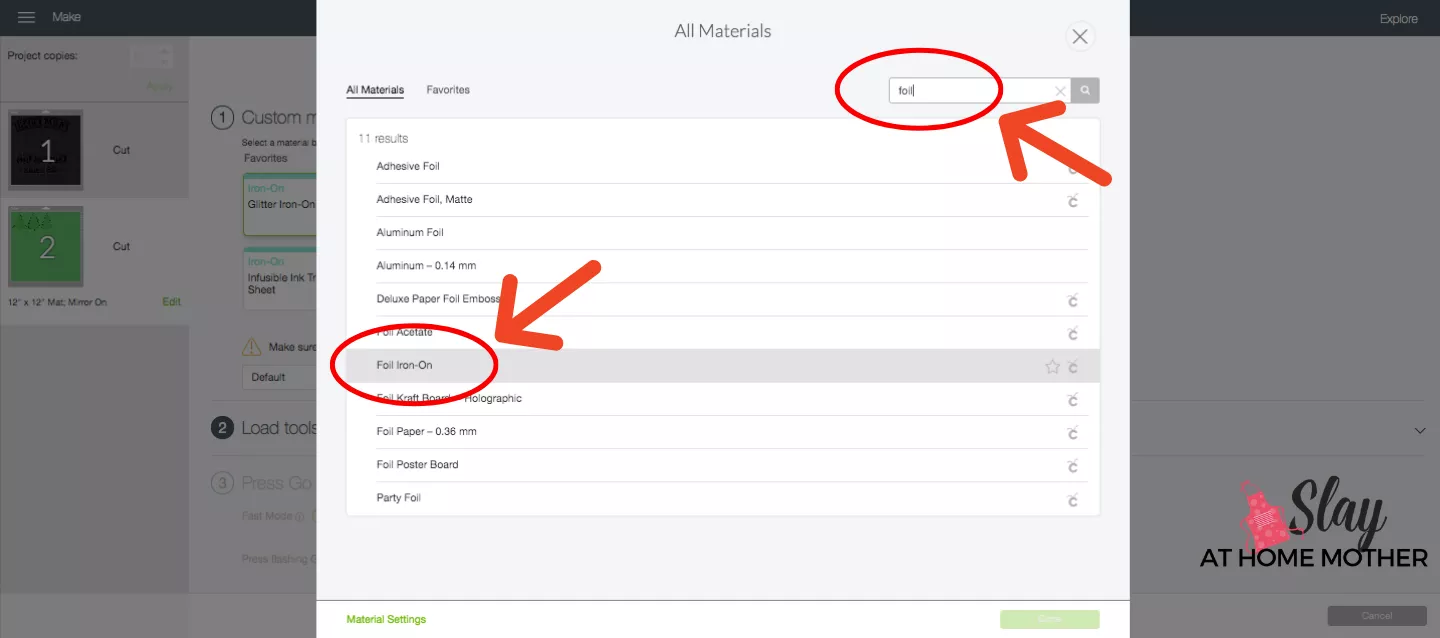
After selecting the Mirror option, and pressing ‘Continue’, you’ll get to select the custom material you’ll be using for each cut:
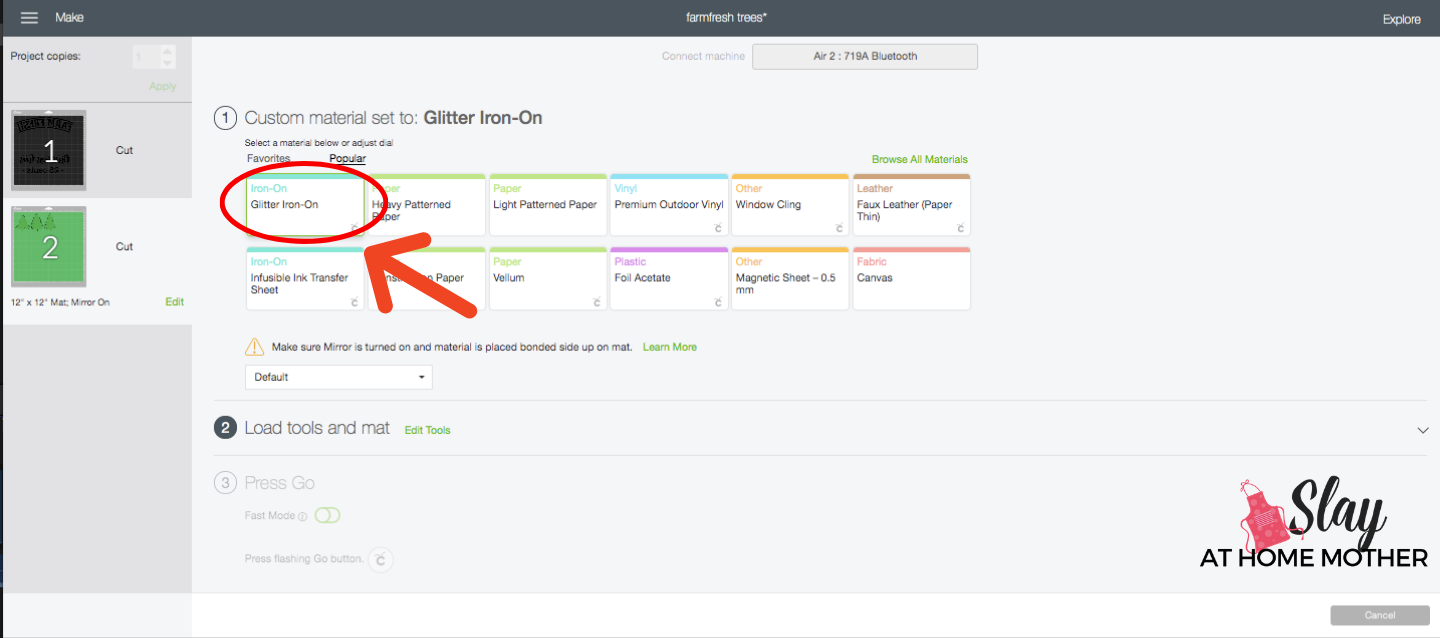
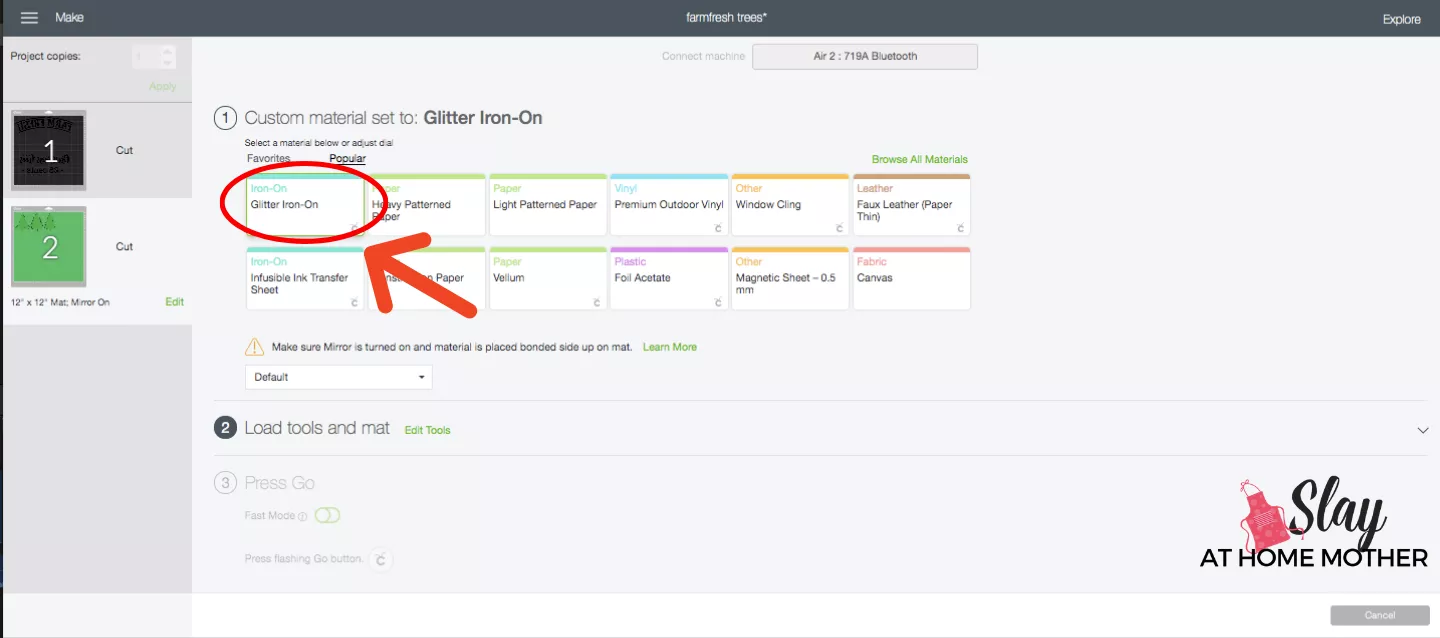
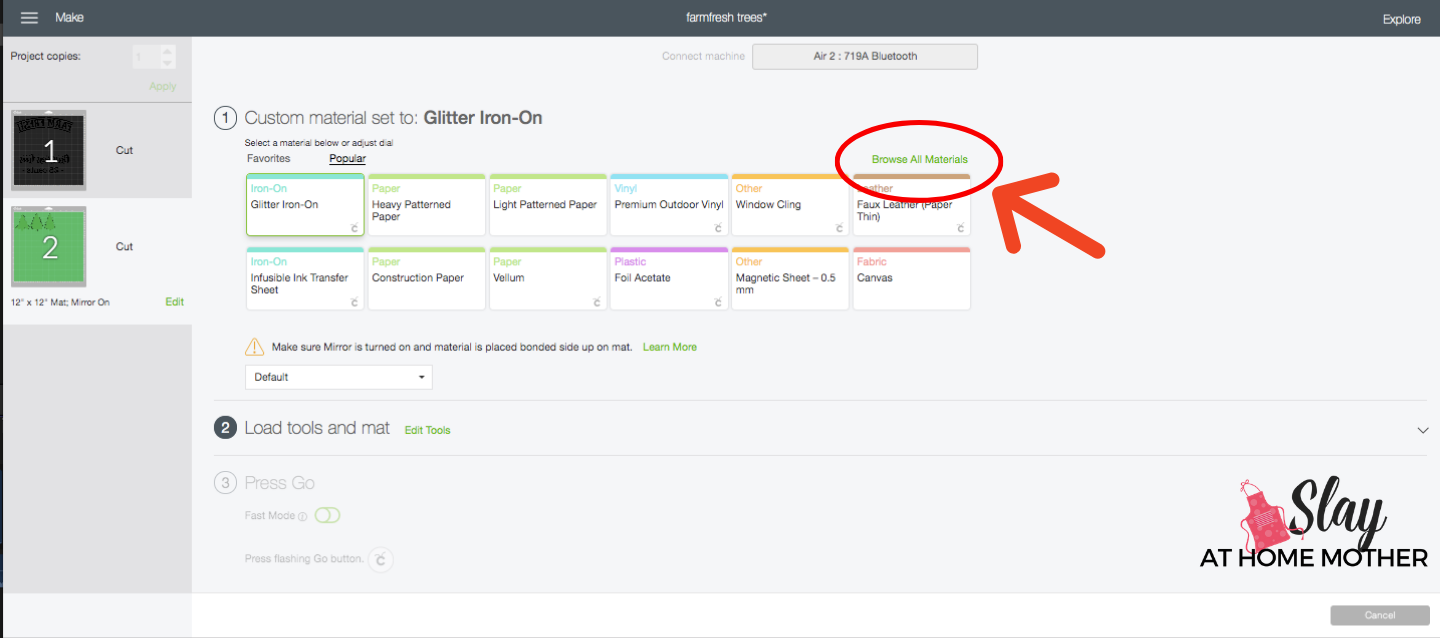
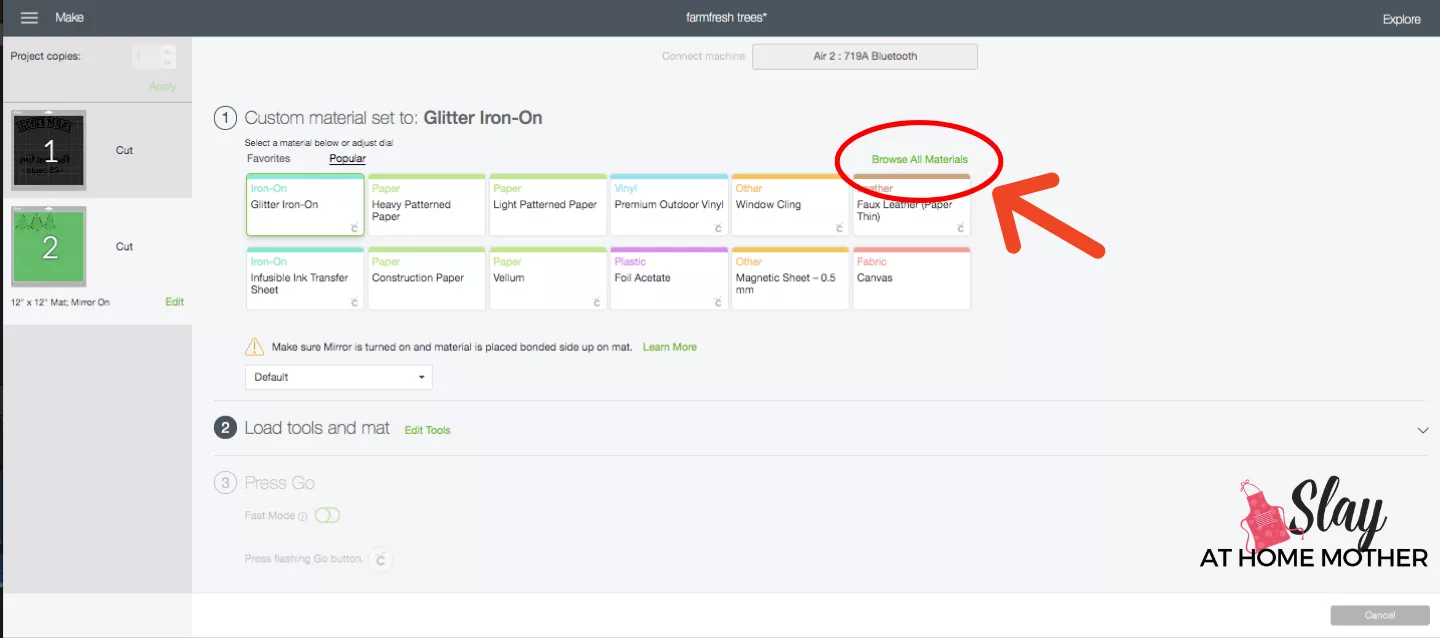
If you can’t find the material you’re trying to cut, simply select ‘Browse All Materials‘ (see below), and either scroll until you find what you’re looking for, or enter text into the search bar.
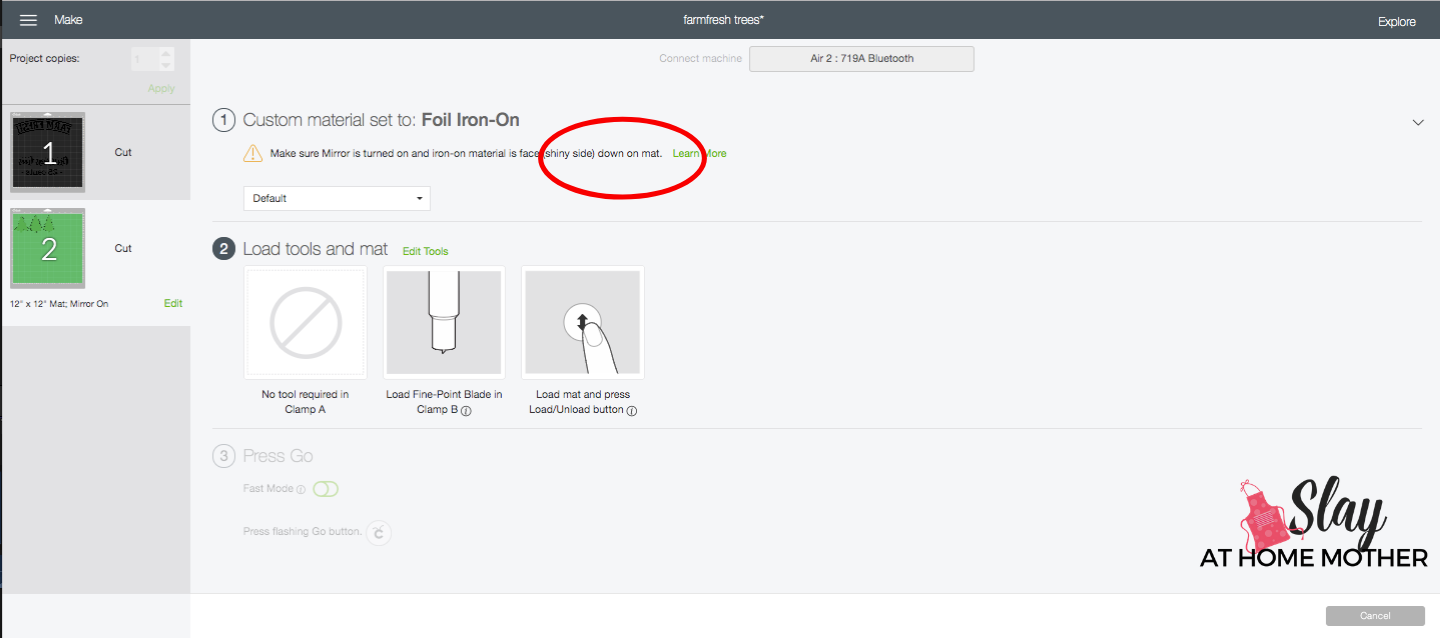
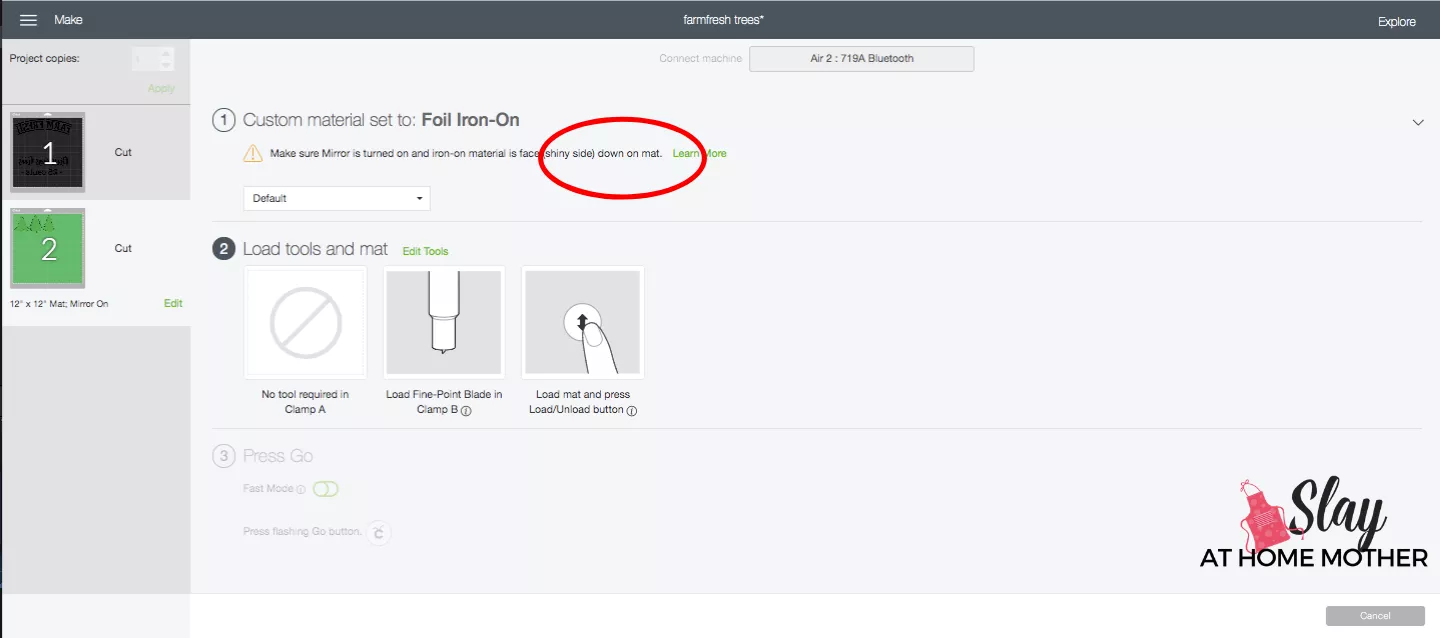
Now that your material is selected, you can load your StandardGrip mat with your chosen material into the machine.
Pay attention to the type of material you’re using and whether that material needs to be FACE UP or FACE DOWN before loading the mat. The Design Space screen will let you know either way so there’s no confusion.
In this case, both the foil and the glitter needs to be placed FACE DOWN, which means the glitter or foil is facing the mat.
Now you can execute the cuts you need, remove the material from the mat, and weed.
*Remember that with materials like glitter and foil iron-on, there is a clear liner on top of the design. This will need to stay on the design until after EasyPress application is complete, but should be removed according to Cricut instructions (either warm or cold peel).
Applying Your Design With The Cricut EasyPress 2
Now it’s time to adhere the iron-on material to your base material using the Cricut EasyPress 2.
I have the 12″x10″, which I find to be perfect for just about every project I create.
It’s important to note that different materials require different temperatures, application times, and peels.
The simplest way to find this out is through the Cricut Heat Guide (see screenshot below):
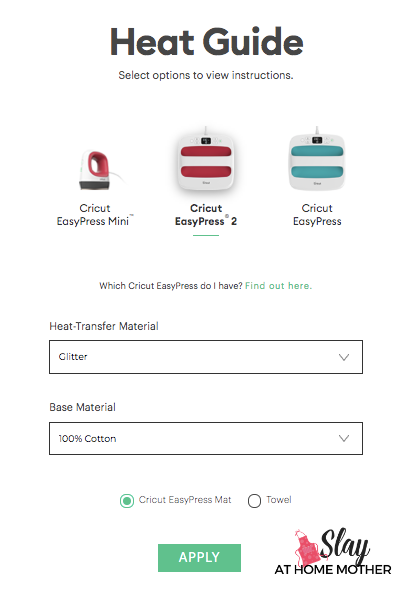
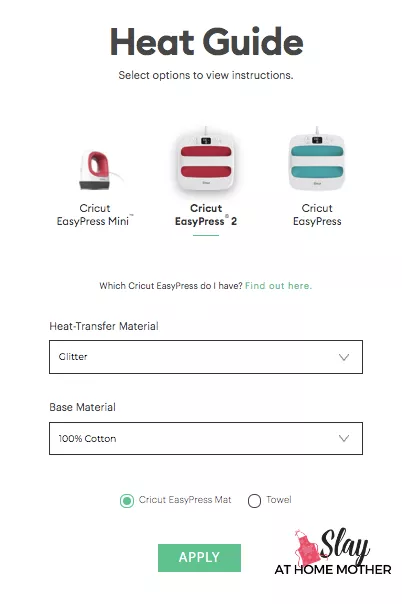
To use the heat guide, select the Cricut machine you have, the type of heat-transfer material you are working with, the base material you will be adhering your design to, and the surface protector you’re using (either the EasyPress mat or a towel).
Given the selections I made in the previous screenshot, these are the heating, application, timing, and peel recommendations for the best results when using glitter iron-on:

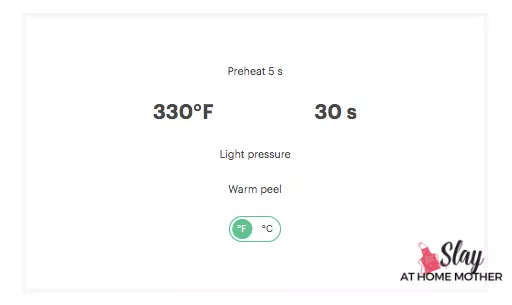
For this project, I am working with 100% cotton pillow covers, and using both glitter and foil iron-on with my EasyPress 2 machine.
Following the heat guide for my glitter iron-on design, I preheated my base material for 5 seconds at 330 degrees Fahrenheit, applied my glitter iron-on (liner still attached), placed a protective sheet over top, and applied my EasyPress 2 for 30 seconds with light pressure.
Then, I applied the EasyPress 2 again with light pressure to the back of the pillow cover for 15 seconds per the instructions.
The glitter iron-on requires a warm peel (indicated in the screenshot above), so I removed the clear liner while I preheated my EasyPress 2 to the recommended temperature and time for my foil trees (see those recommended settings below).
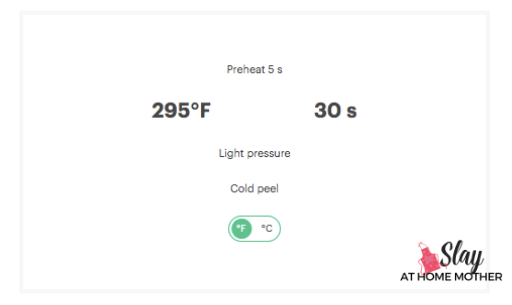
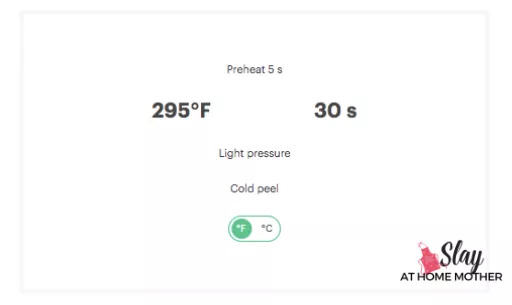
For the foil trees, I preheated the base material for 5 seconds, then applied the foil to the pillow covers and covered them with the protective sheet.
I then applied the EasyPress 2 at 295 degrees Fahrenheit for 30 seconds using light pressure, and then for 15 seconds on the back of the pillow cover per the instructions.
Foil iron-on requires a cold peel, so I waited until it felt cold to the touch and removed the overlying liner.
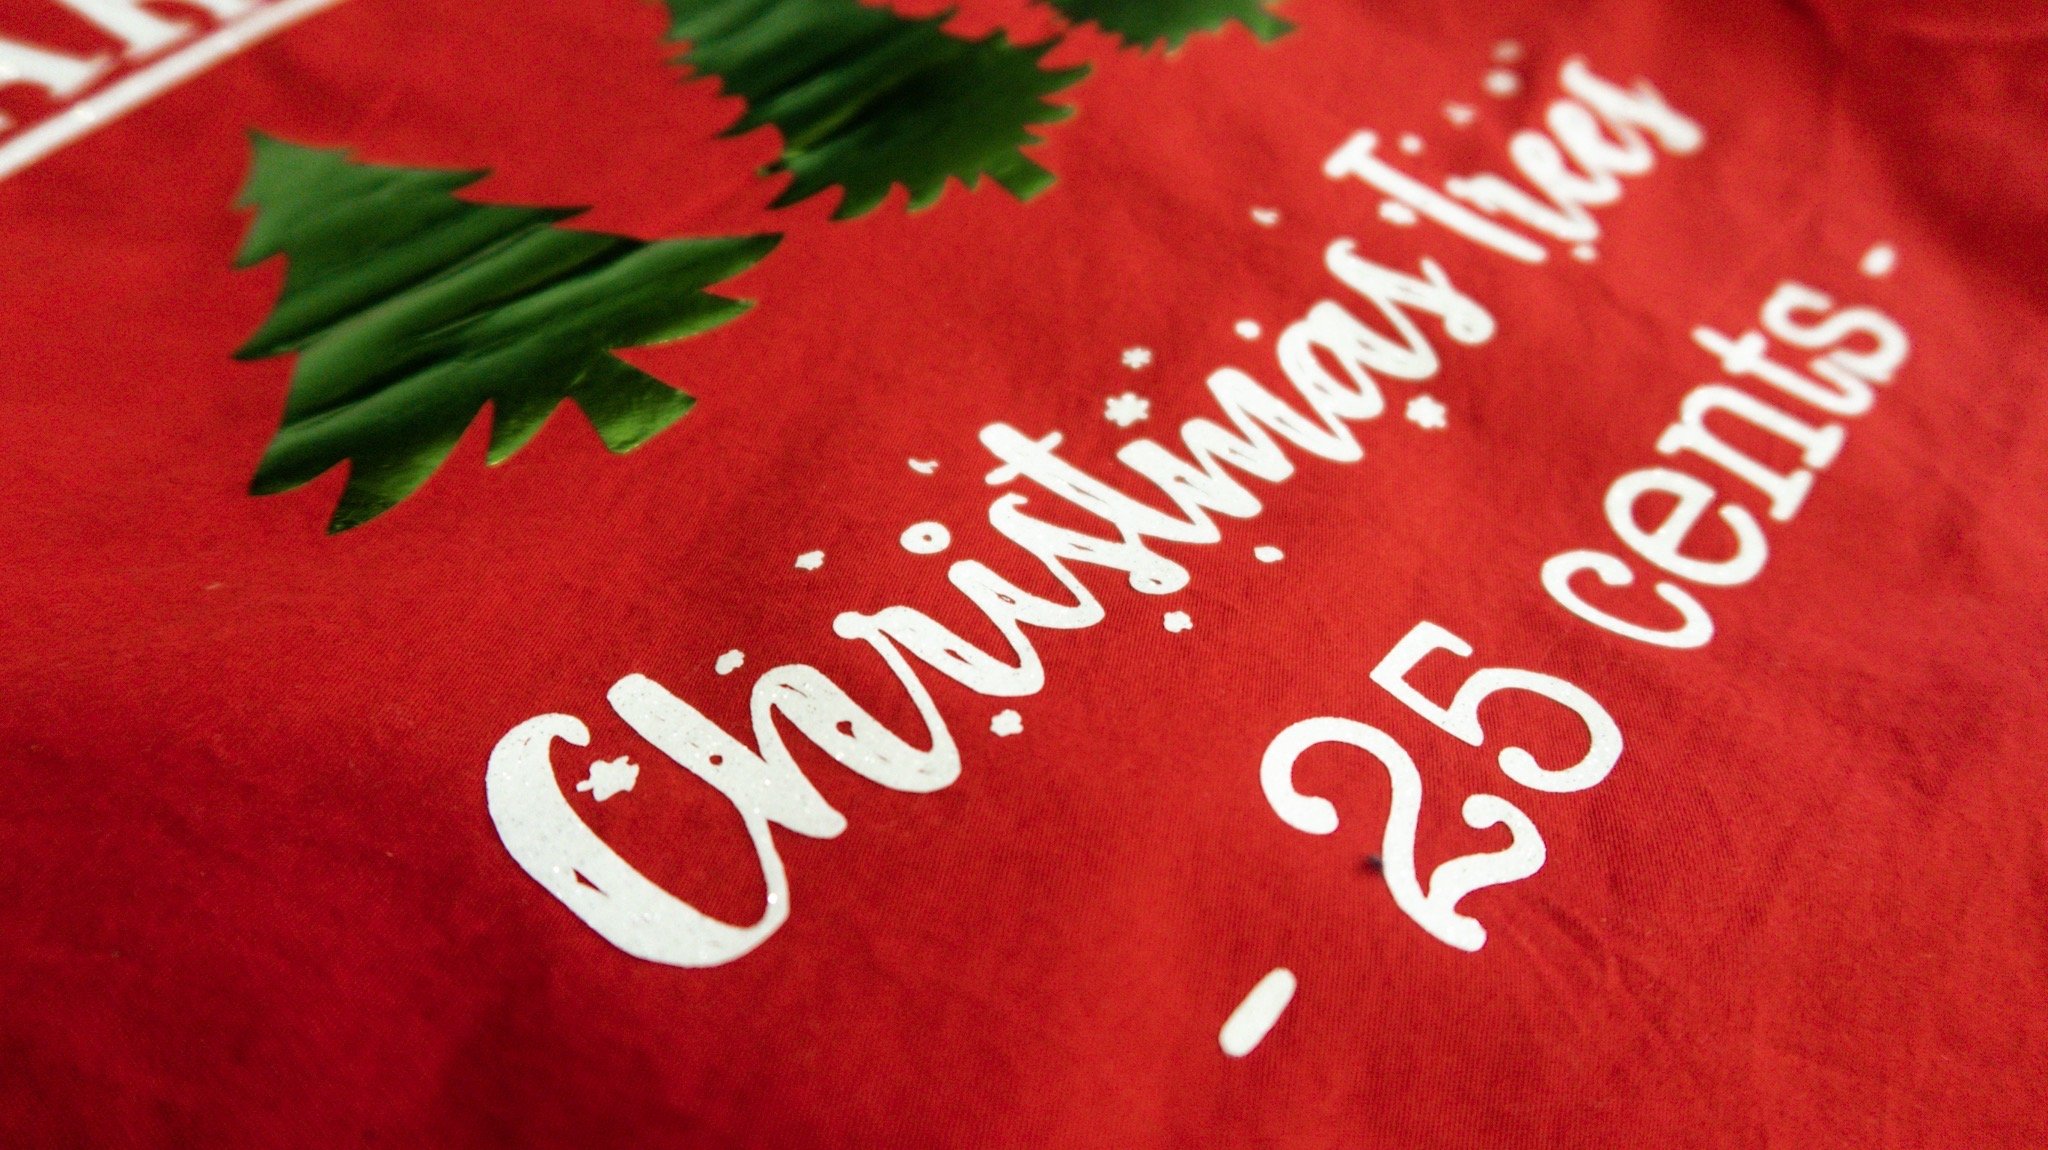

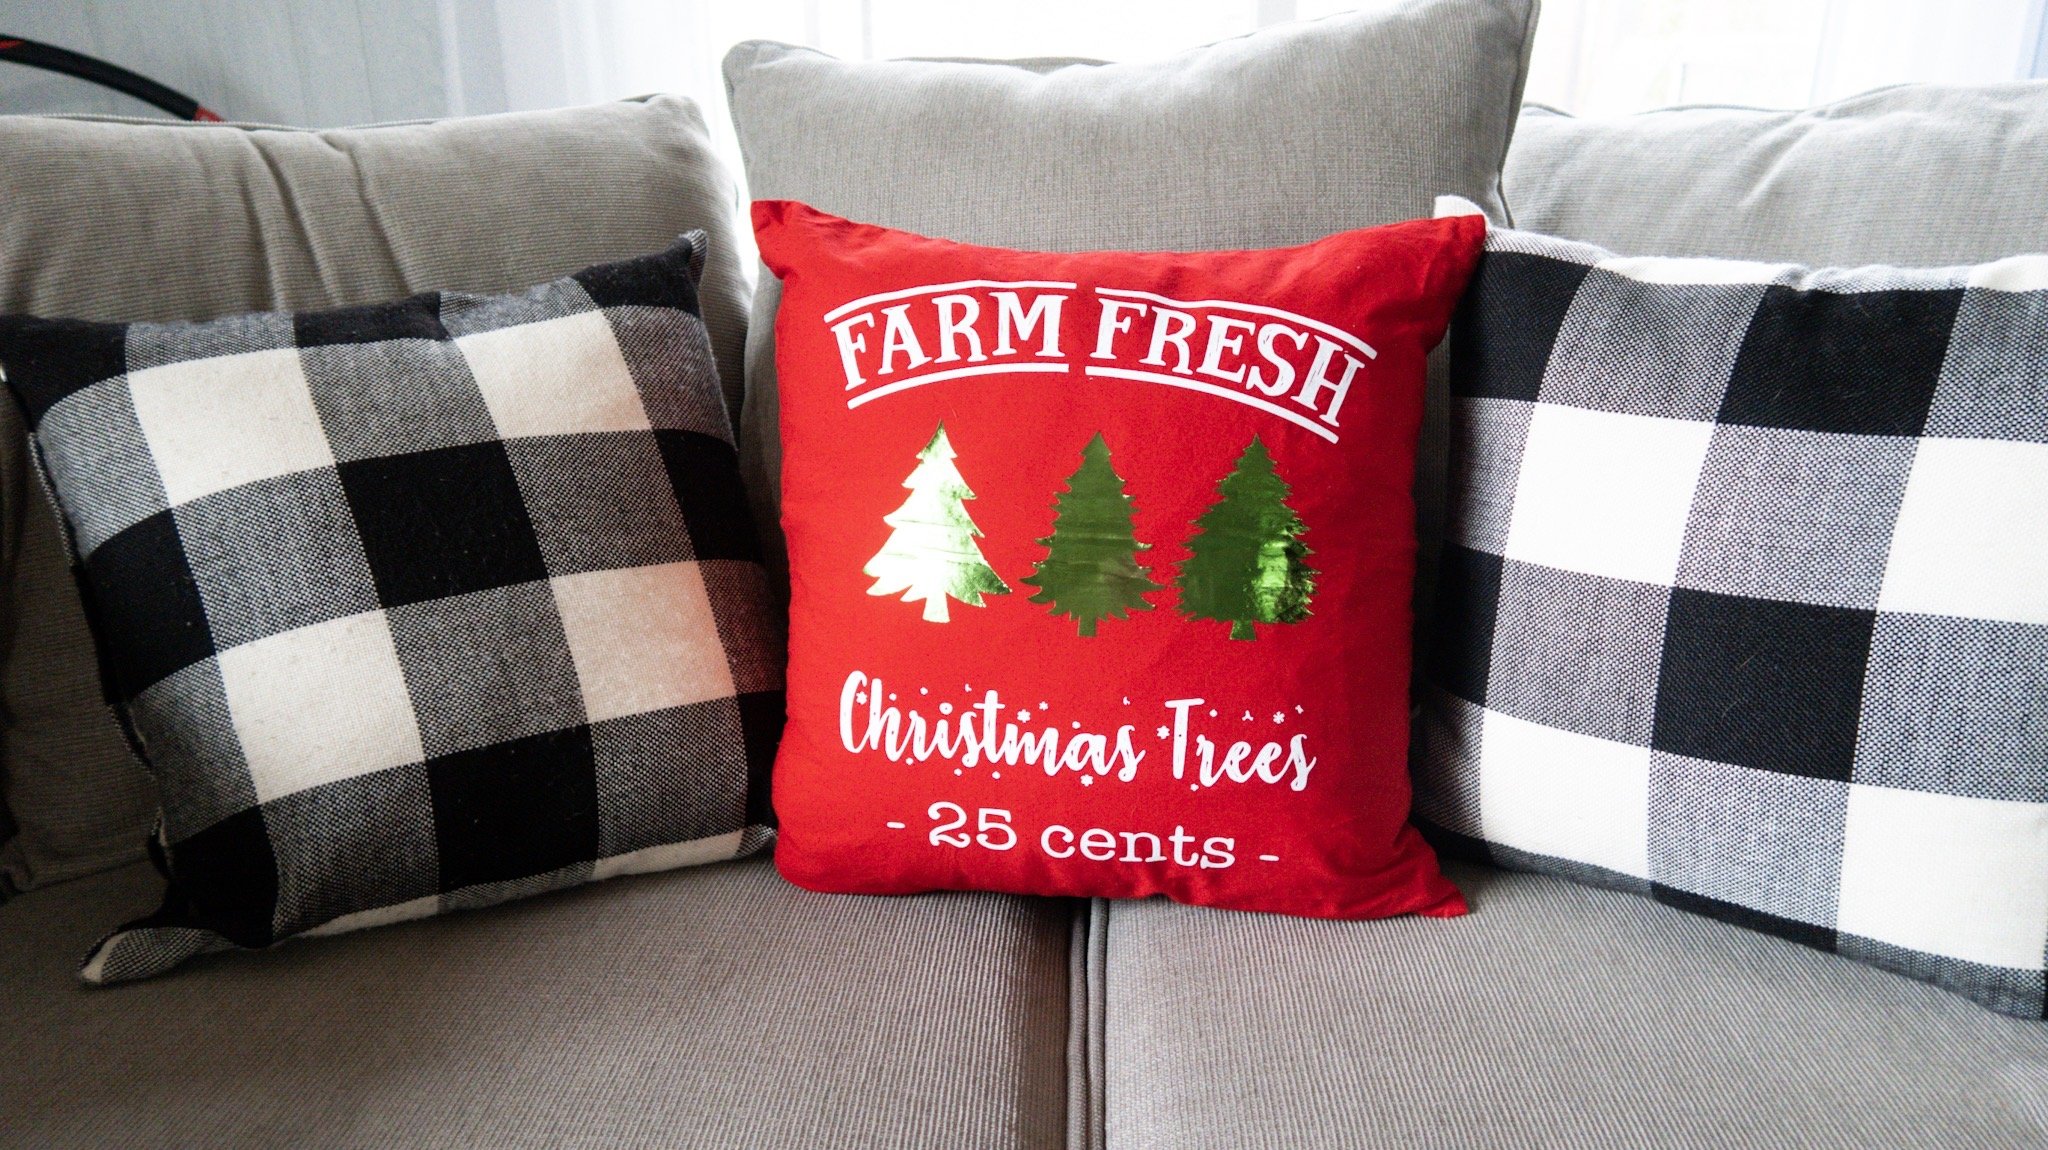
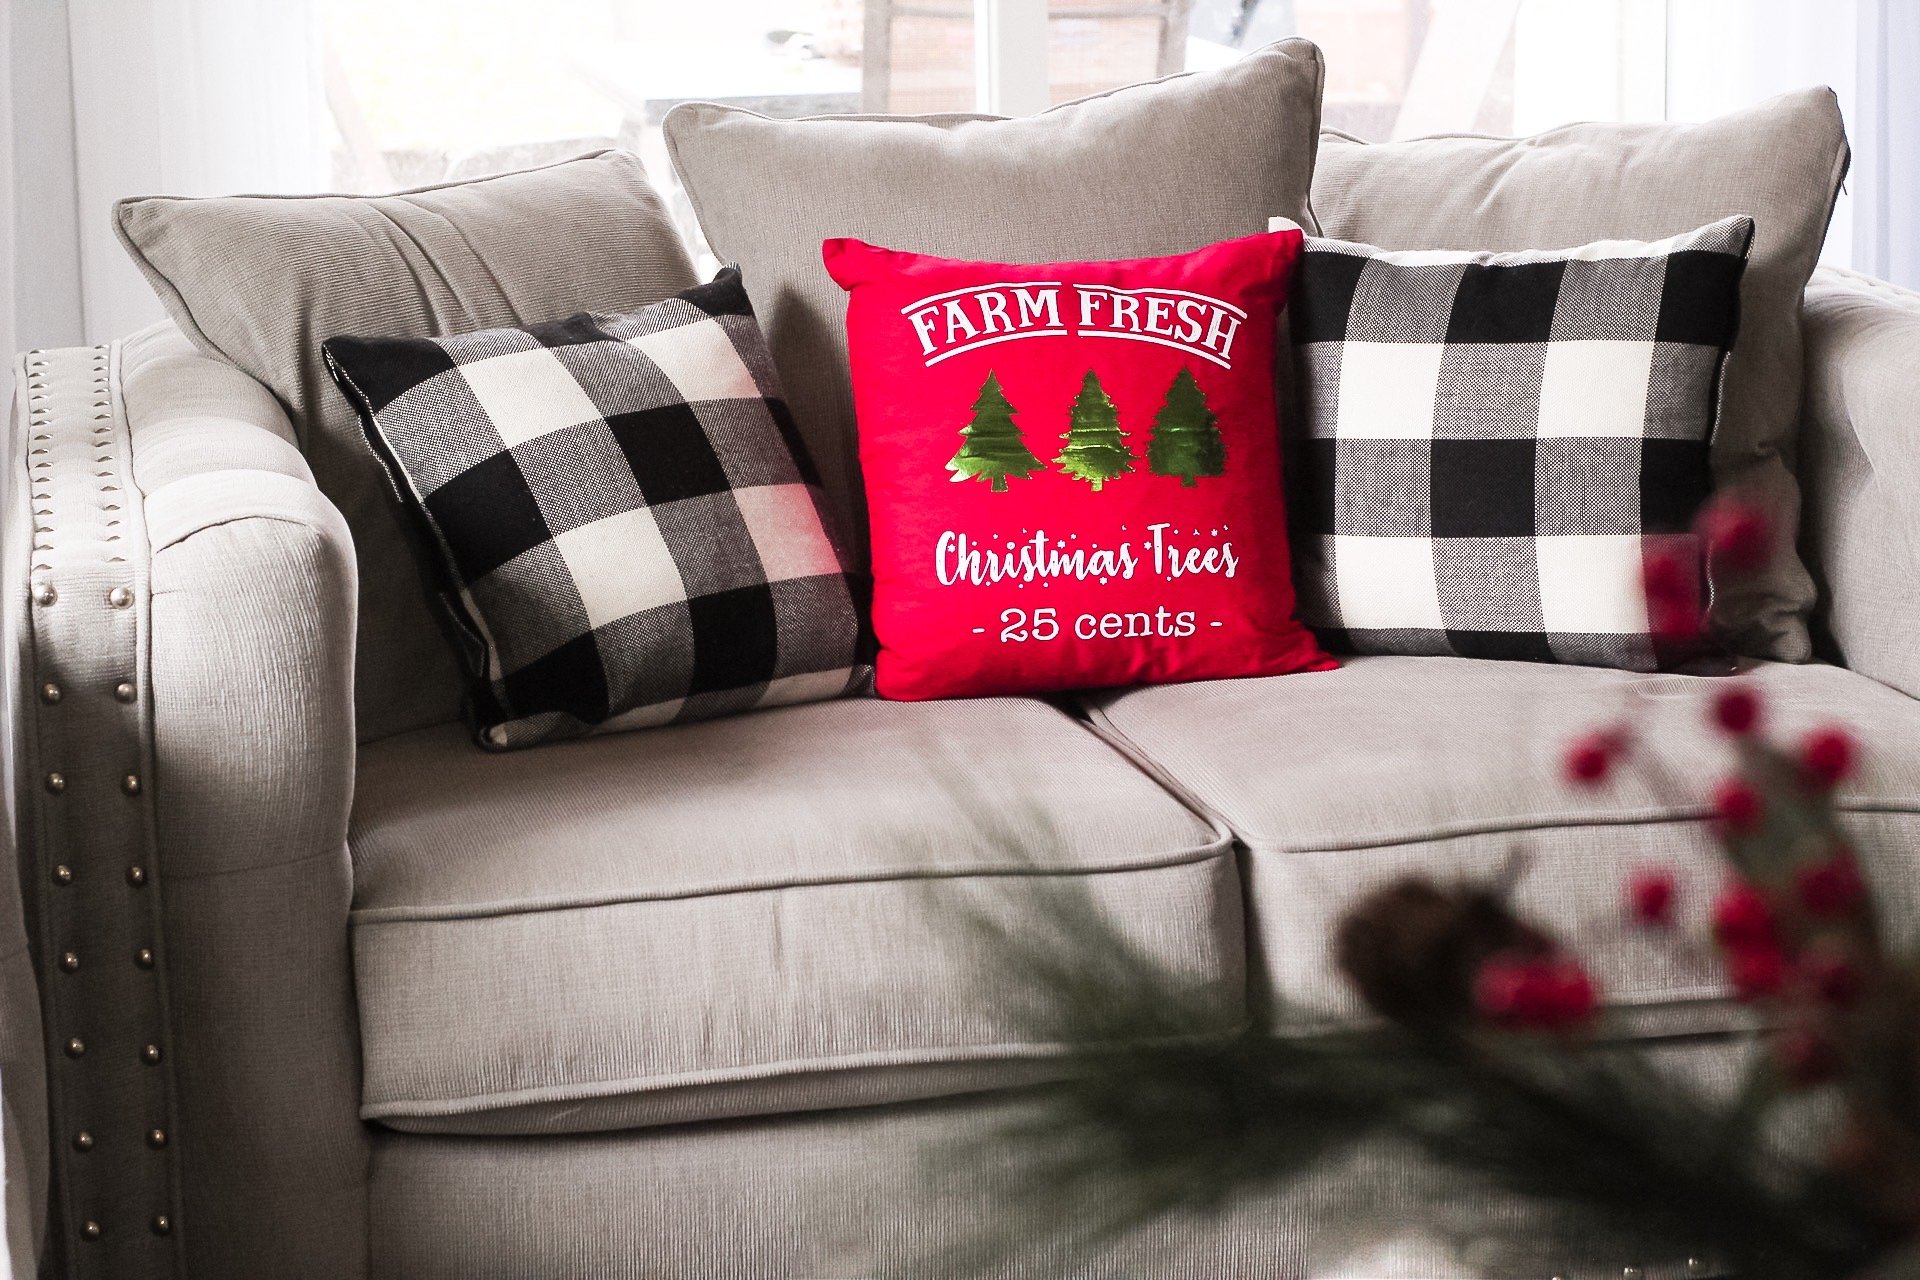
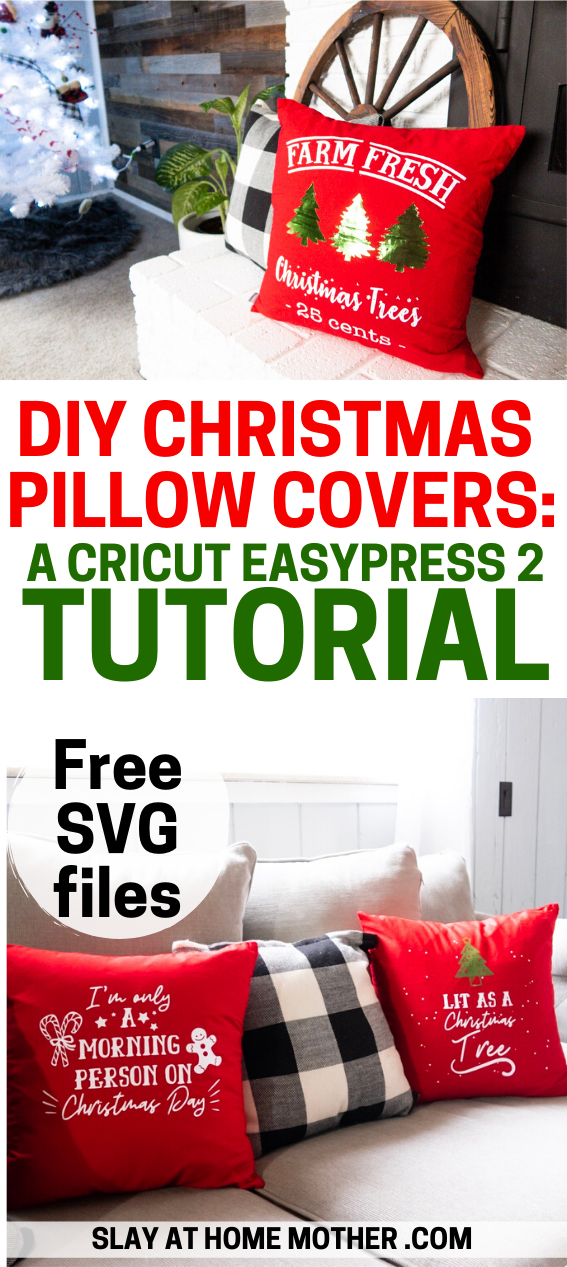
And here is the pillow cover stuffed with a pillow insert and sitting lovely as ever on our loveseat next to two complimentary buffalo check pillows!

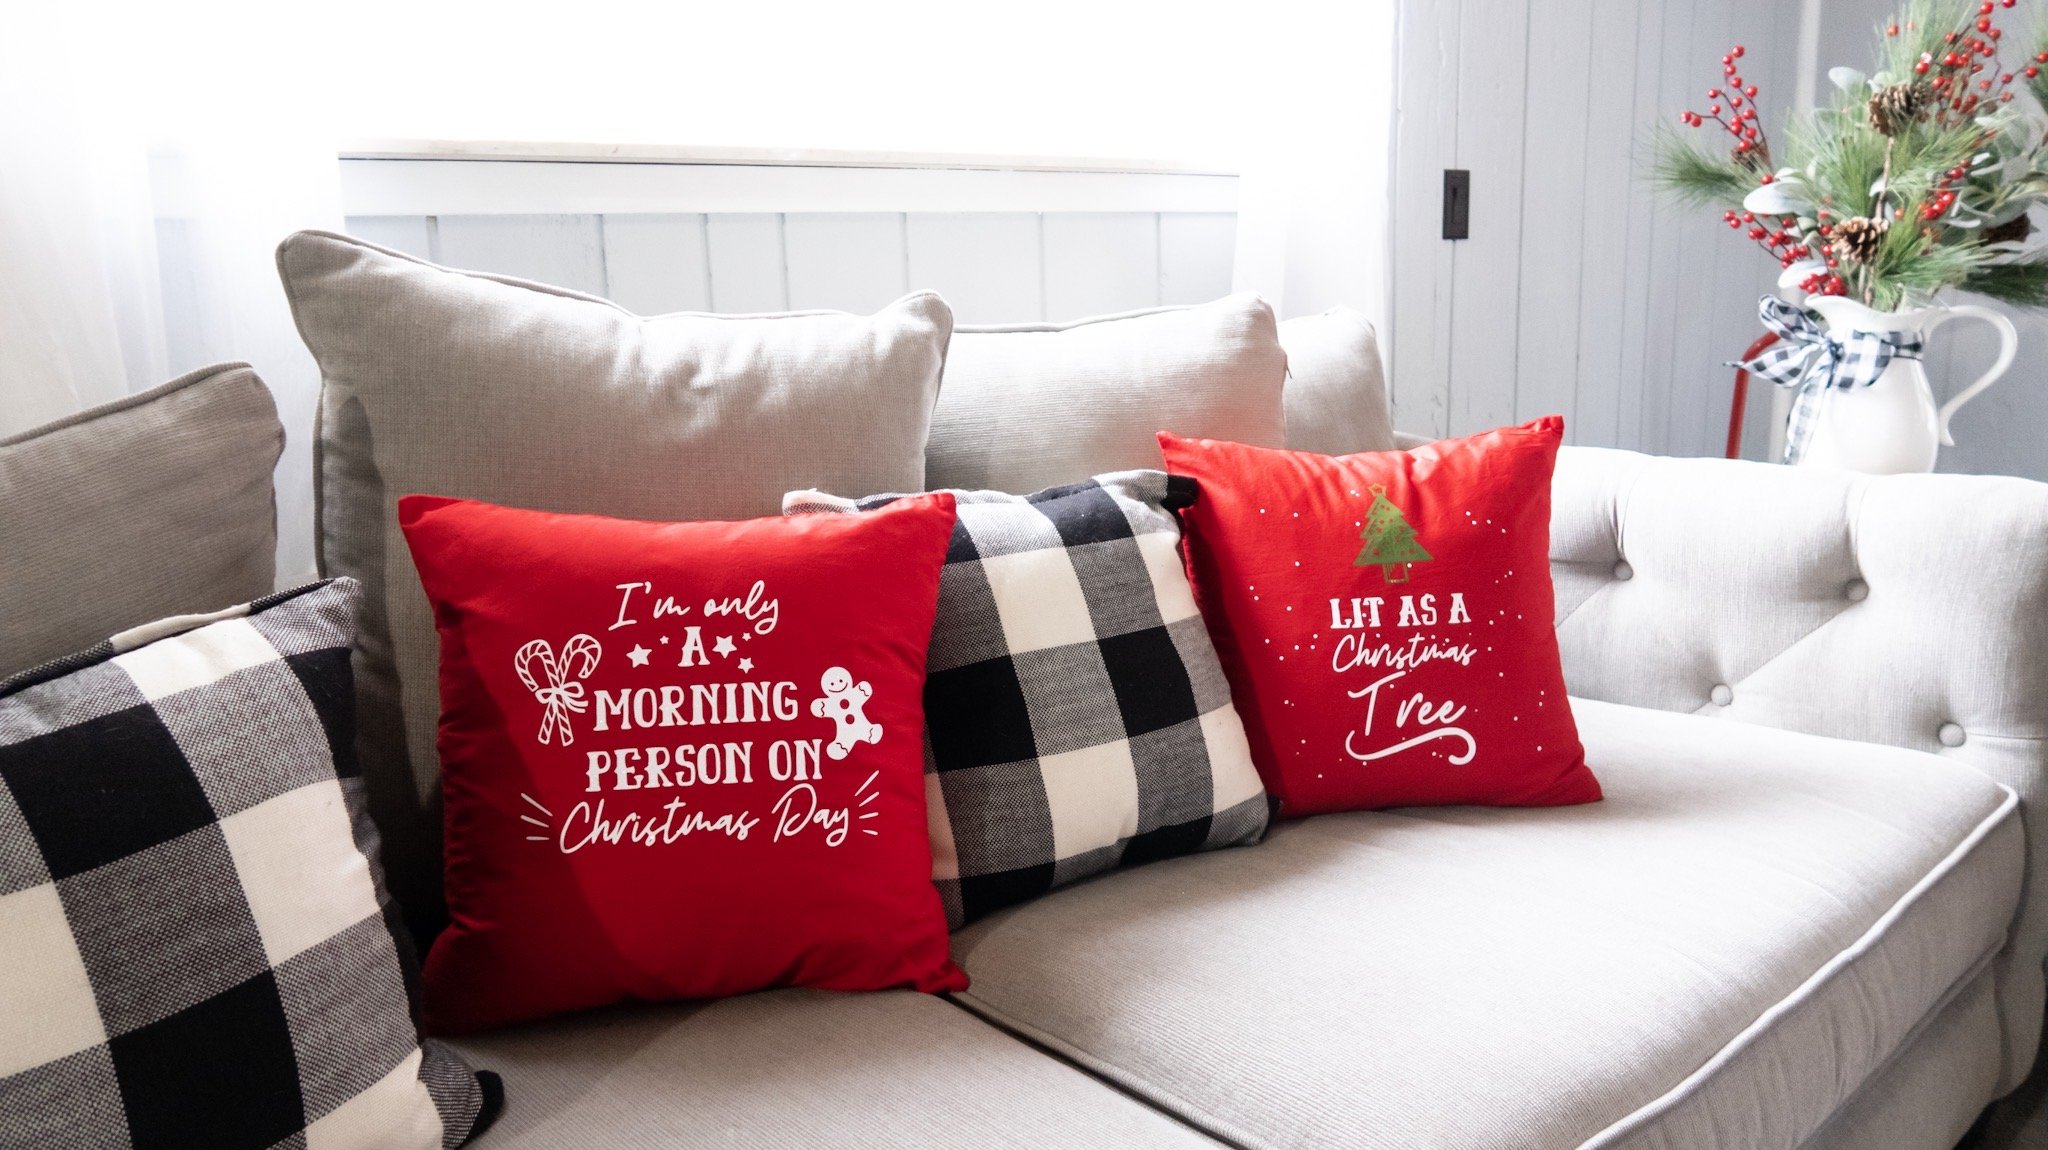
As well as some other pillow covers I made using the Cricut EasyPress 2…

Aftercare instructions
Give your pillow covers 24 hours before washing.
Wash and dry your finished pillow covers inside out, tumble dry low.
Be sure not to bleach.
Download Free SVG Files
I’ve included these free SVG design files for you to make your own pillow covers this holiday season – feel free to use them and get crafty!
I’ll send you four SVG files:
- Farm Fresh Christmas Trees
- Warm Winter Wishes
- Lit As A Christmas Tree
- I’m Only A Morning Person On Christmas Day
With my pillow covers, there are a few minor adjustments you’ll need to make to make the project your own…
For these designs, I used the trees, gingerbread man, and candy cane graphics from Cricut Design Space. Just search for them in ‘Images’ within Design Space to insert and size them as you wish!
The two designs that do not need any additional graphics are the ‘Warm Winter Wishes’ file with snowflakes and mittens, and the ‘Lit As A Christmas Tree’ SVG with speckled dots and a Christmas Tree.

Do you have an EasyPress 2? Tell me your favorite Easypress 2 project in the comments below!