
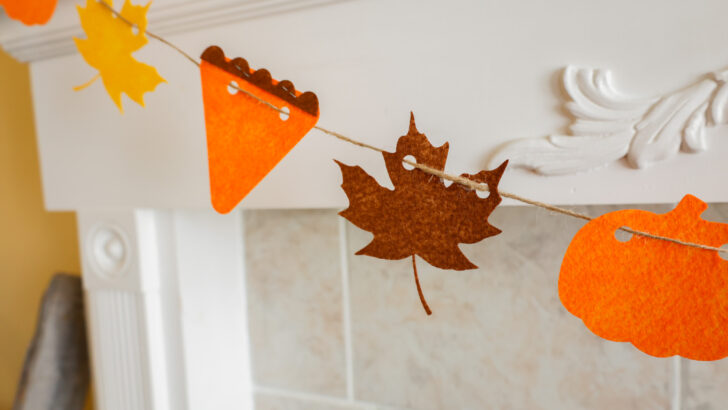

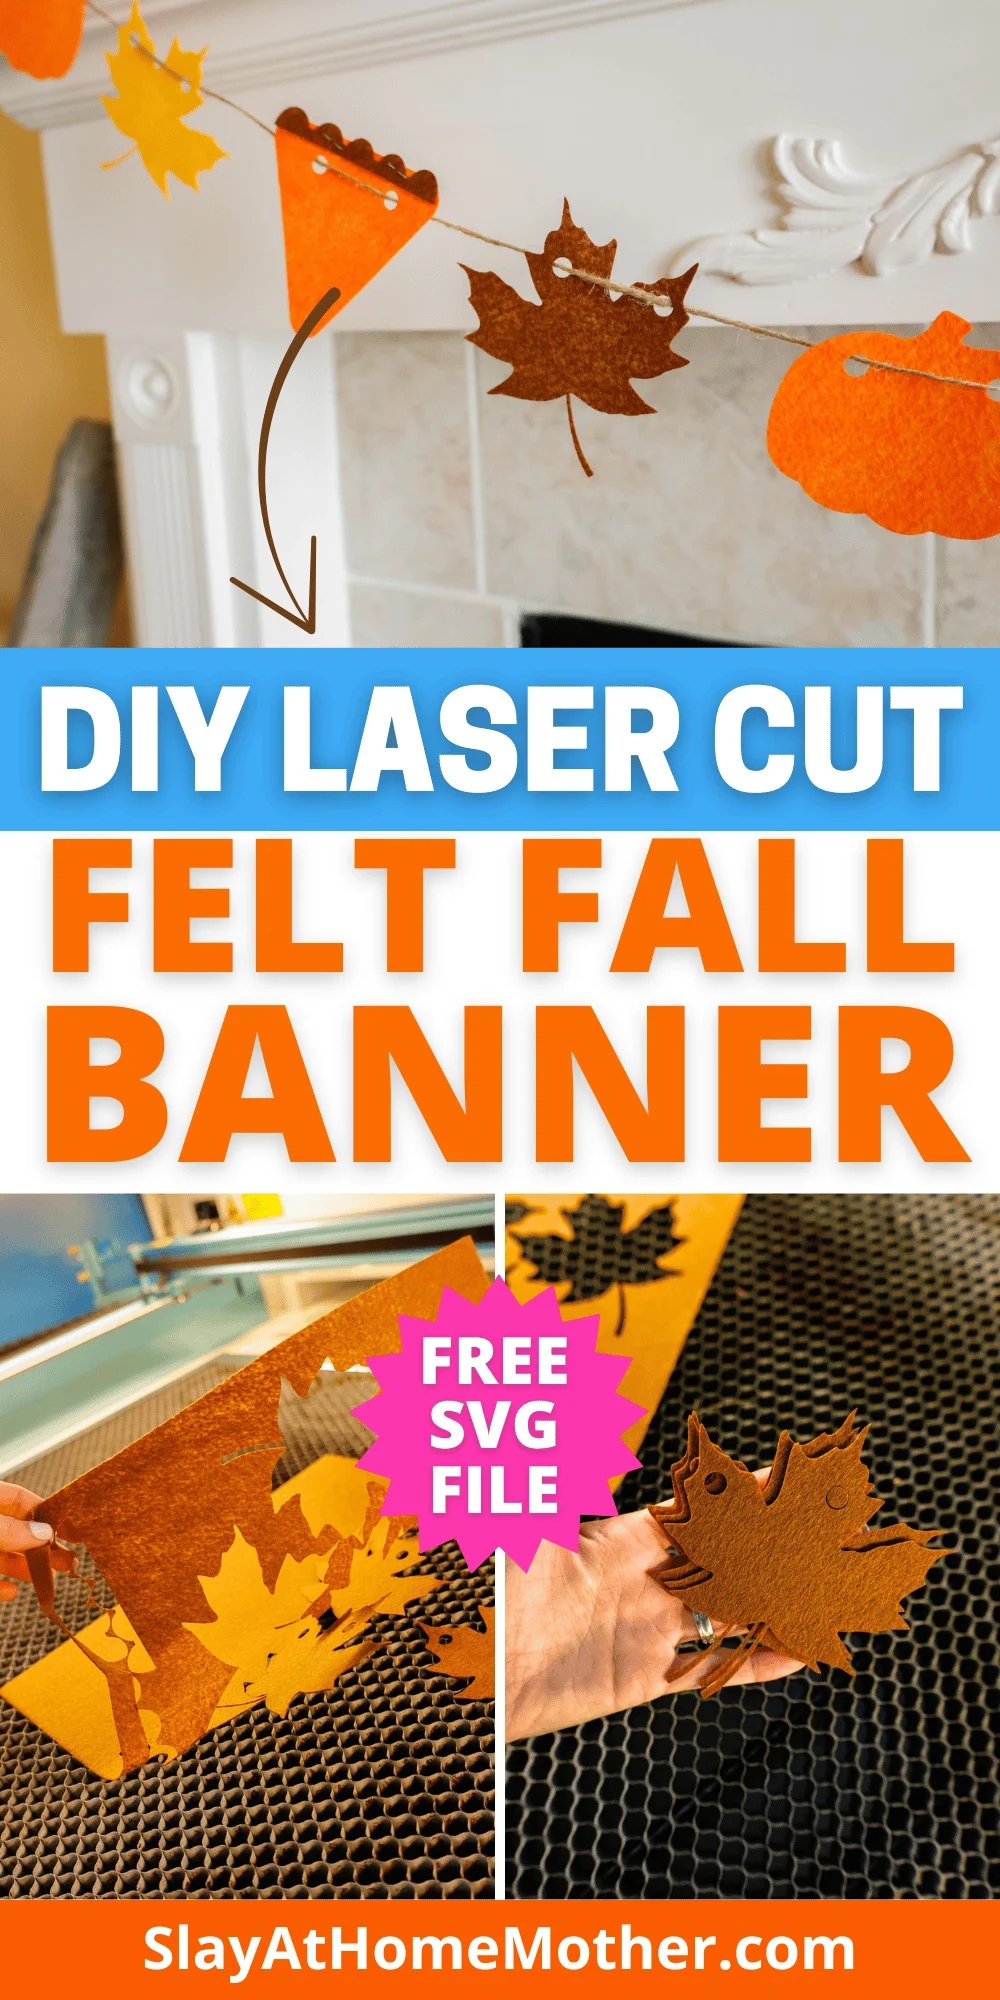
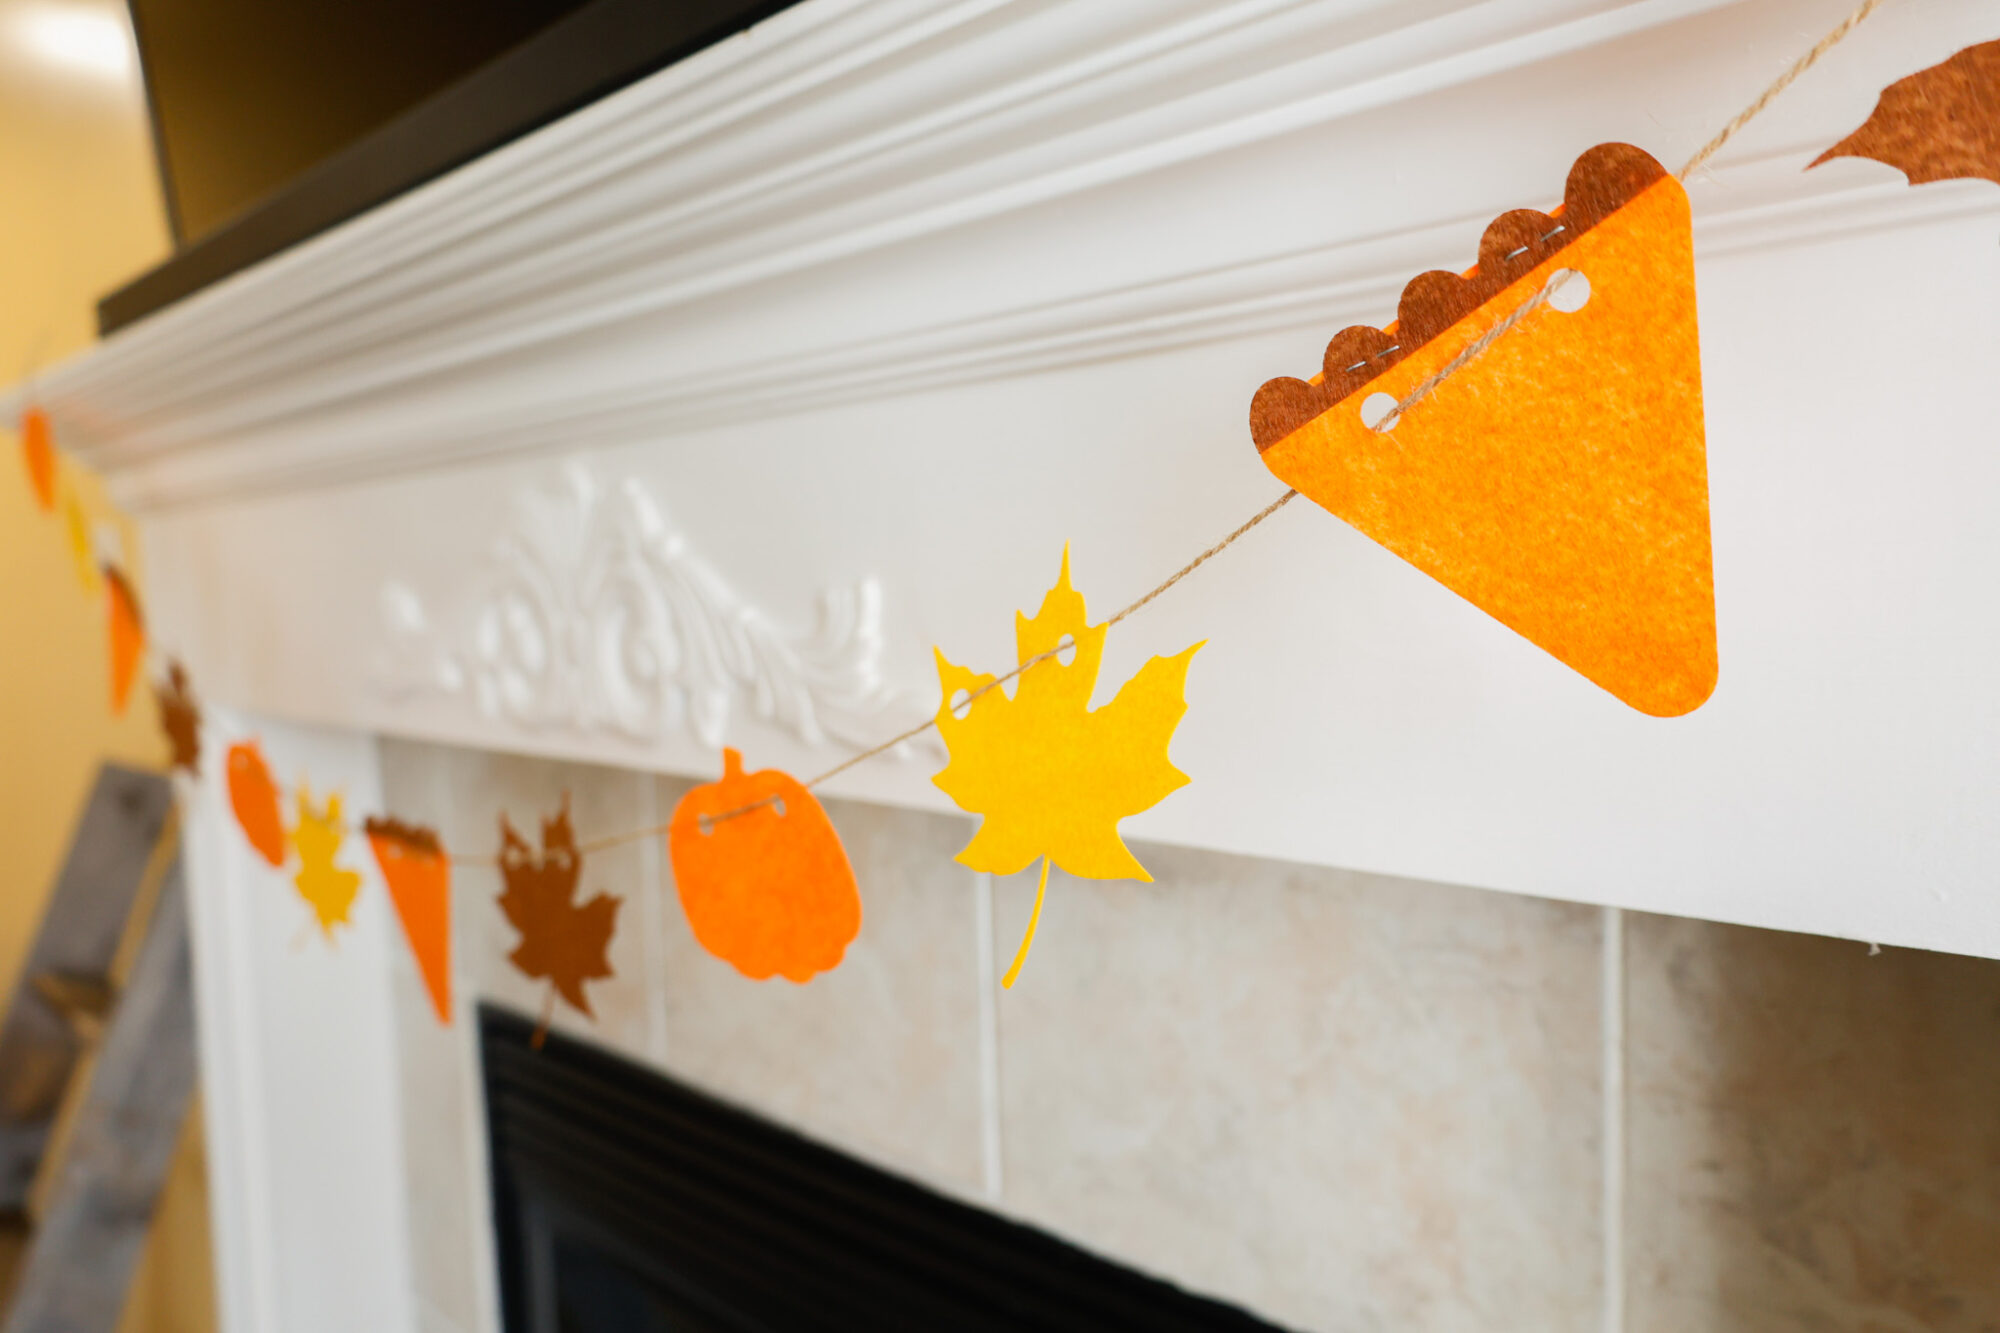
Learn how to create this easy beginner-friendly banner with laser cut felt, and download the free SVG in the post at the bottom.

I thought this might end up a total disaster…
Not how I want to start the blog post here, but it’s true.
I wasn’t sure this was even possible, but I wanted to give it a try, and I’m so glad that I did!
This fall felt banner is such an easy way to use your Thunder Laser, and is VERY beginner-friendly!
I’ll be honest, I have a background in mostly Cricut crafts, so if you’re in the same boat, welcome.
I’m still pretty new to laser machines, but every project I make with my machine instills this new wave of confidence and pride.
It’s easy to design, create, and cut out pretty much anything with my laser machine, and what used to take ages with my Cricut machine now takes seconds.
I’m excited to share this project with you if you’re a beginner too, so be sure to signup for the download to be delivered right to your inbox!
This post may contain affiliate links, however, all opinions are my own, as always.
What You’ll Need For This Laser Cut Felt Fall Banner


For this banner, I utilized what I already had on hand and pulled just three colors to work with (orange, yellow, and brown).
Feel free to change the colors up to what you’d like to use.
FYI: If you have a CO2 laser, the settings will differ for you as well as my settings shown in this post are for my RF laser. It’s recommended that you run a test sheet for scoring/engraving/cutting for your laser so you have some go-to settings for the different materials.
Here is what I used to create this banner:
- felt (I’m using this felt I had on hand, feel free to order a but more than you need to test your cut settings and have some freedom for mistakes if this is your first time!)
- orange felt
- yellow felt
- brow felt
- laser machine
- SVG file (grab my free SVG download at the bottom of this post!)
- twine (or string)
- Scissors
- staples (or glue – I ran out right before I needed this, but a stapler came in handy!)
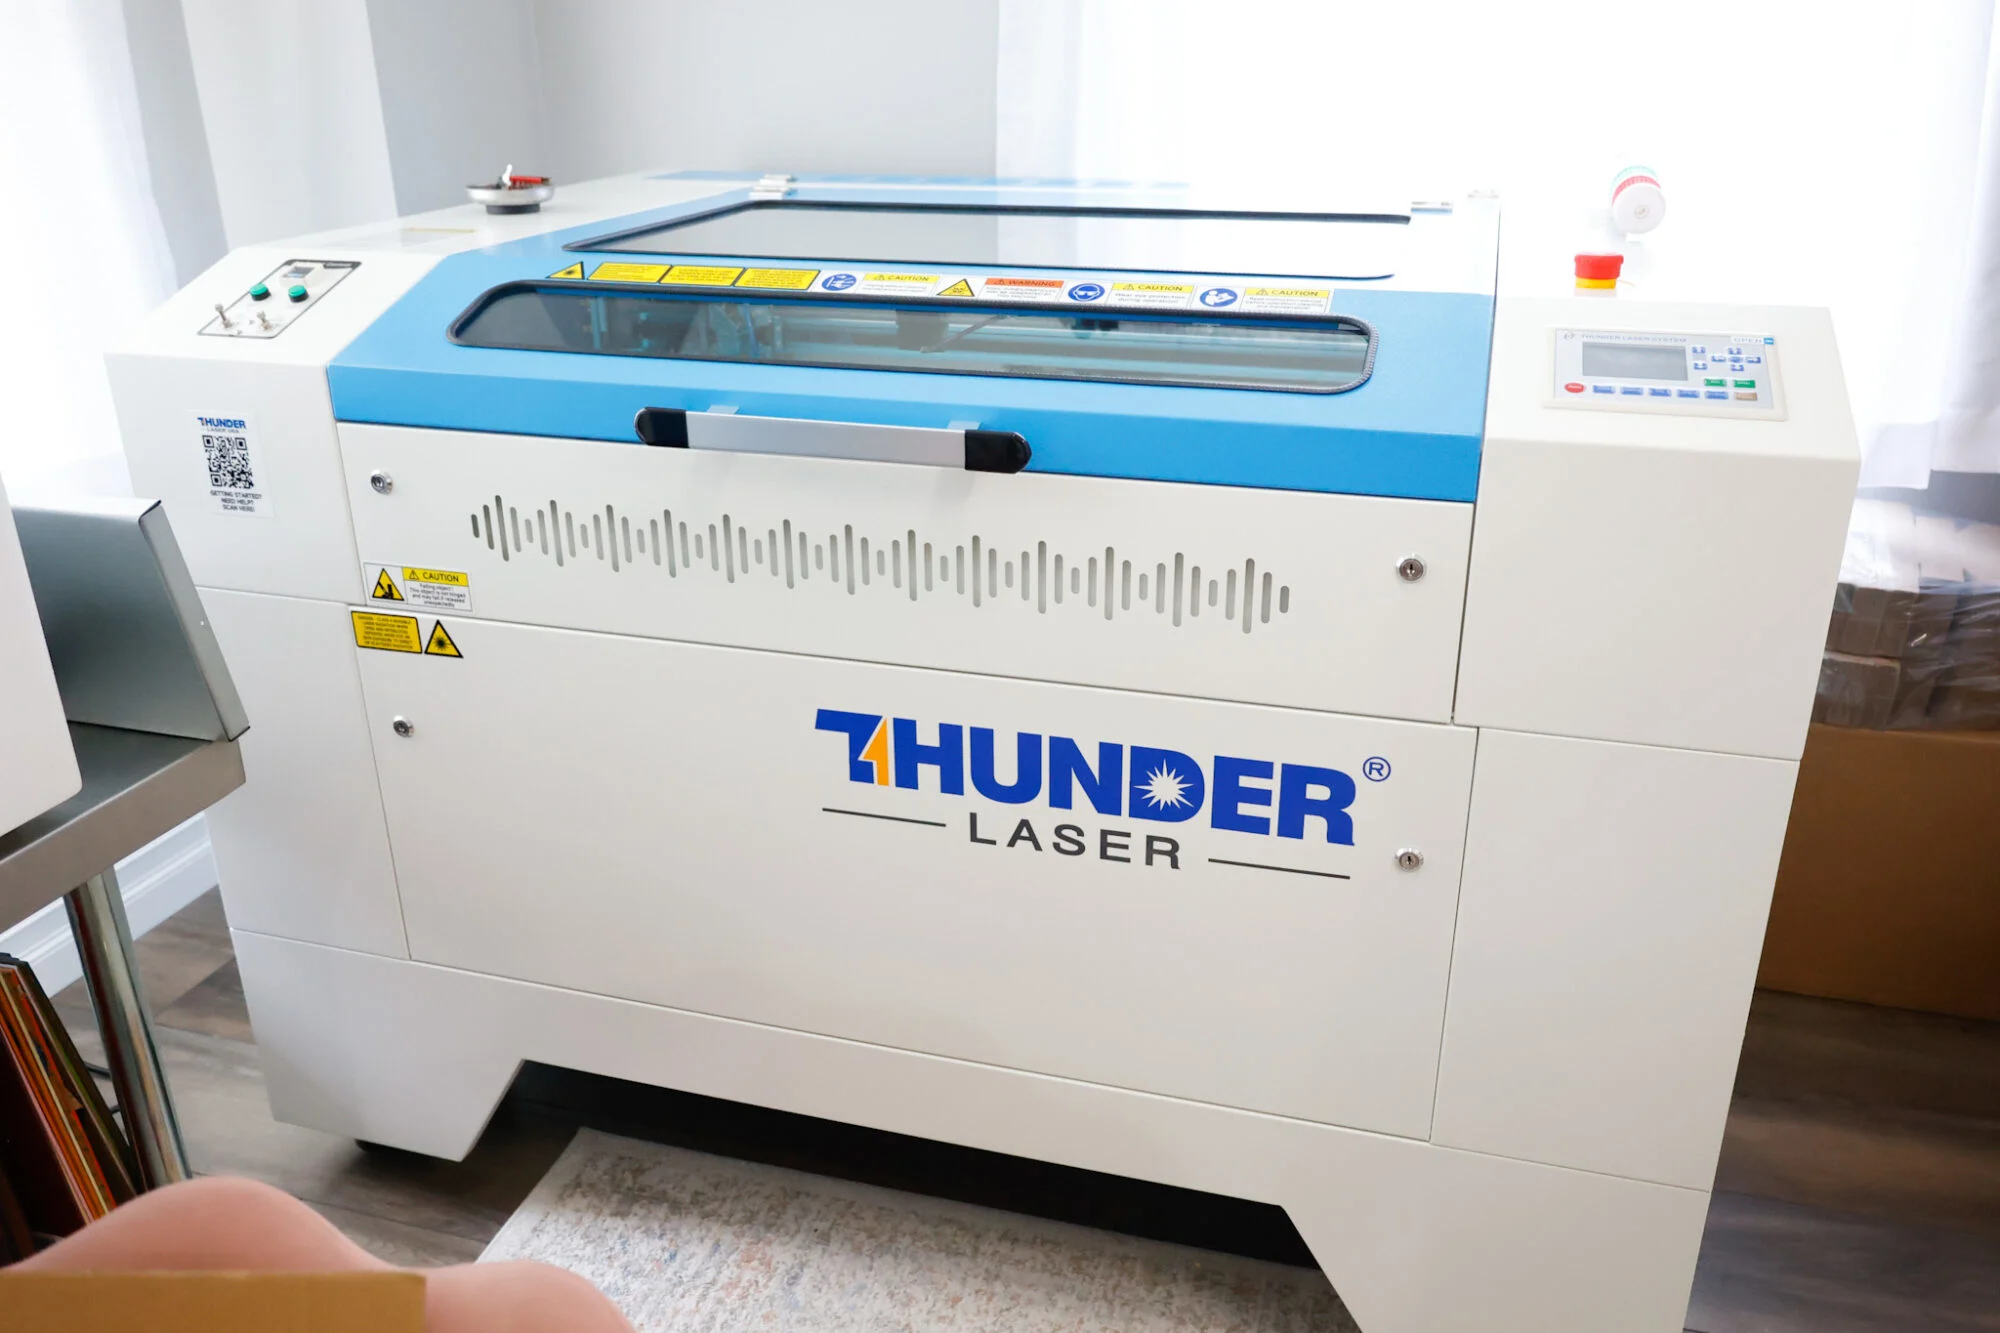
My Laser Machine
In this project, I’m utilizing the Nova Plus 35 60W, which is a workhorse laser machine – read the specs here.

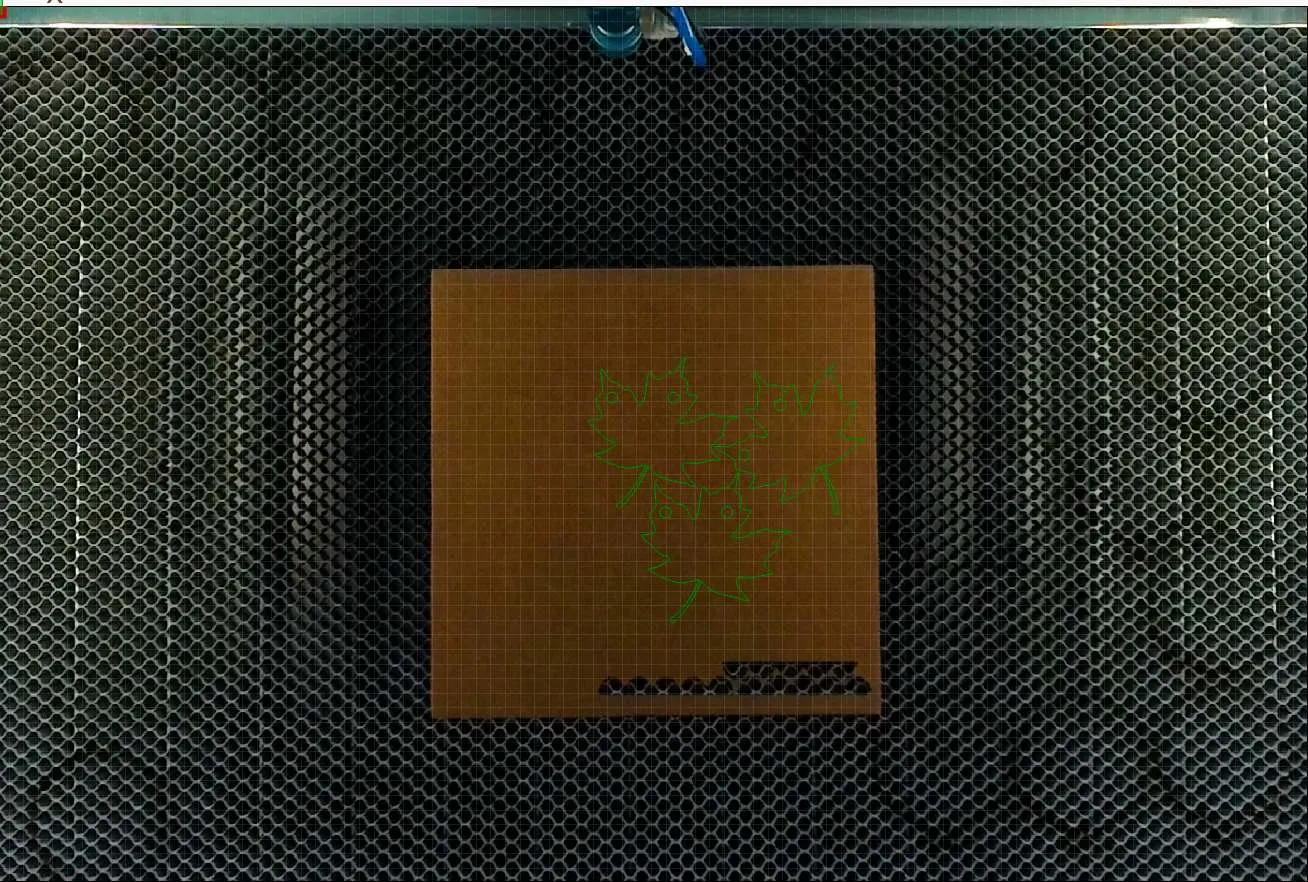
You can design these banner shapes yourself in Lightburn or Canva if you choose, or you can download my free SVG file for this project at the bottom of this post.
In the file download, I’ve included a 1″x1″ square for sizing accuracy. Feel free to skip cutting/engraving that square.
Laser Cut Felt Sign Settings
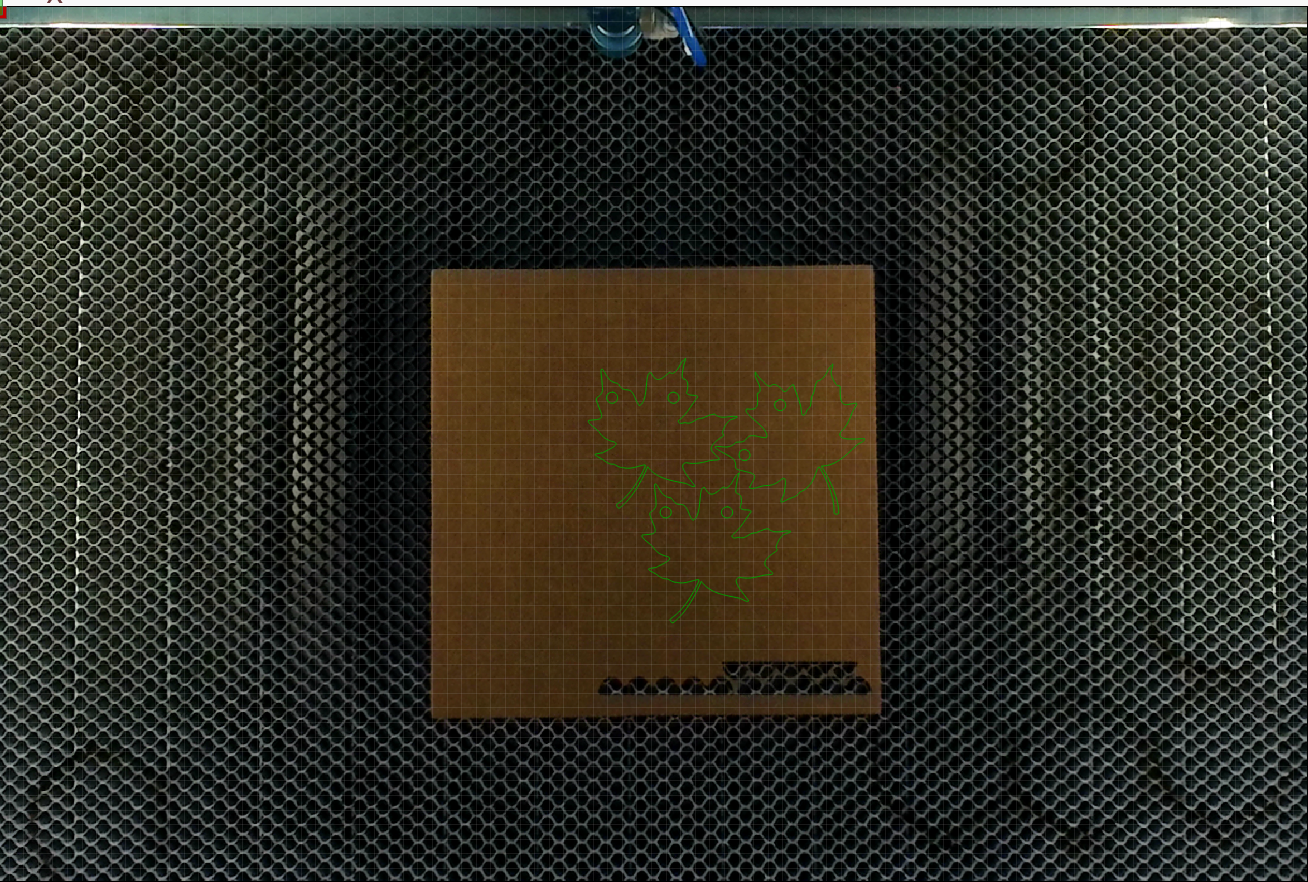
To cut these shapes out cleanly, I used these settings with my laser machine:
100 mm/s at 30% Max power, 10% min power (1 pass)
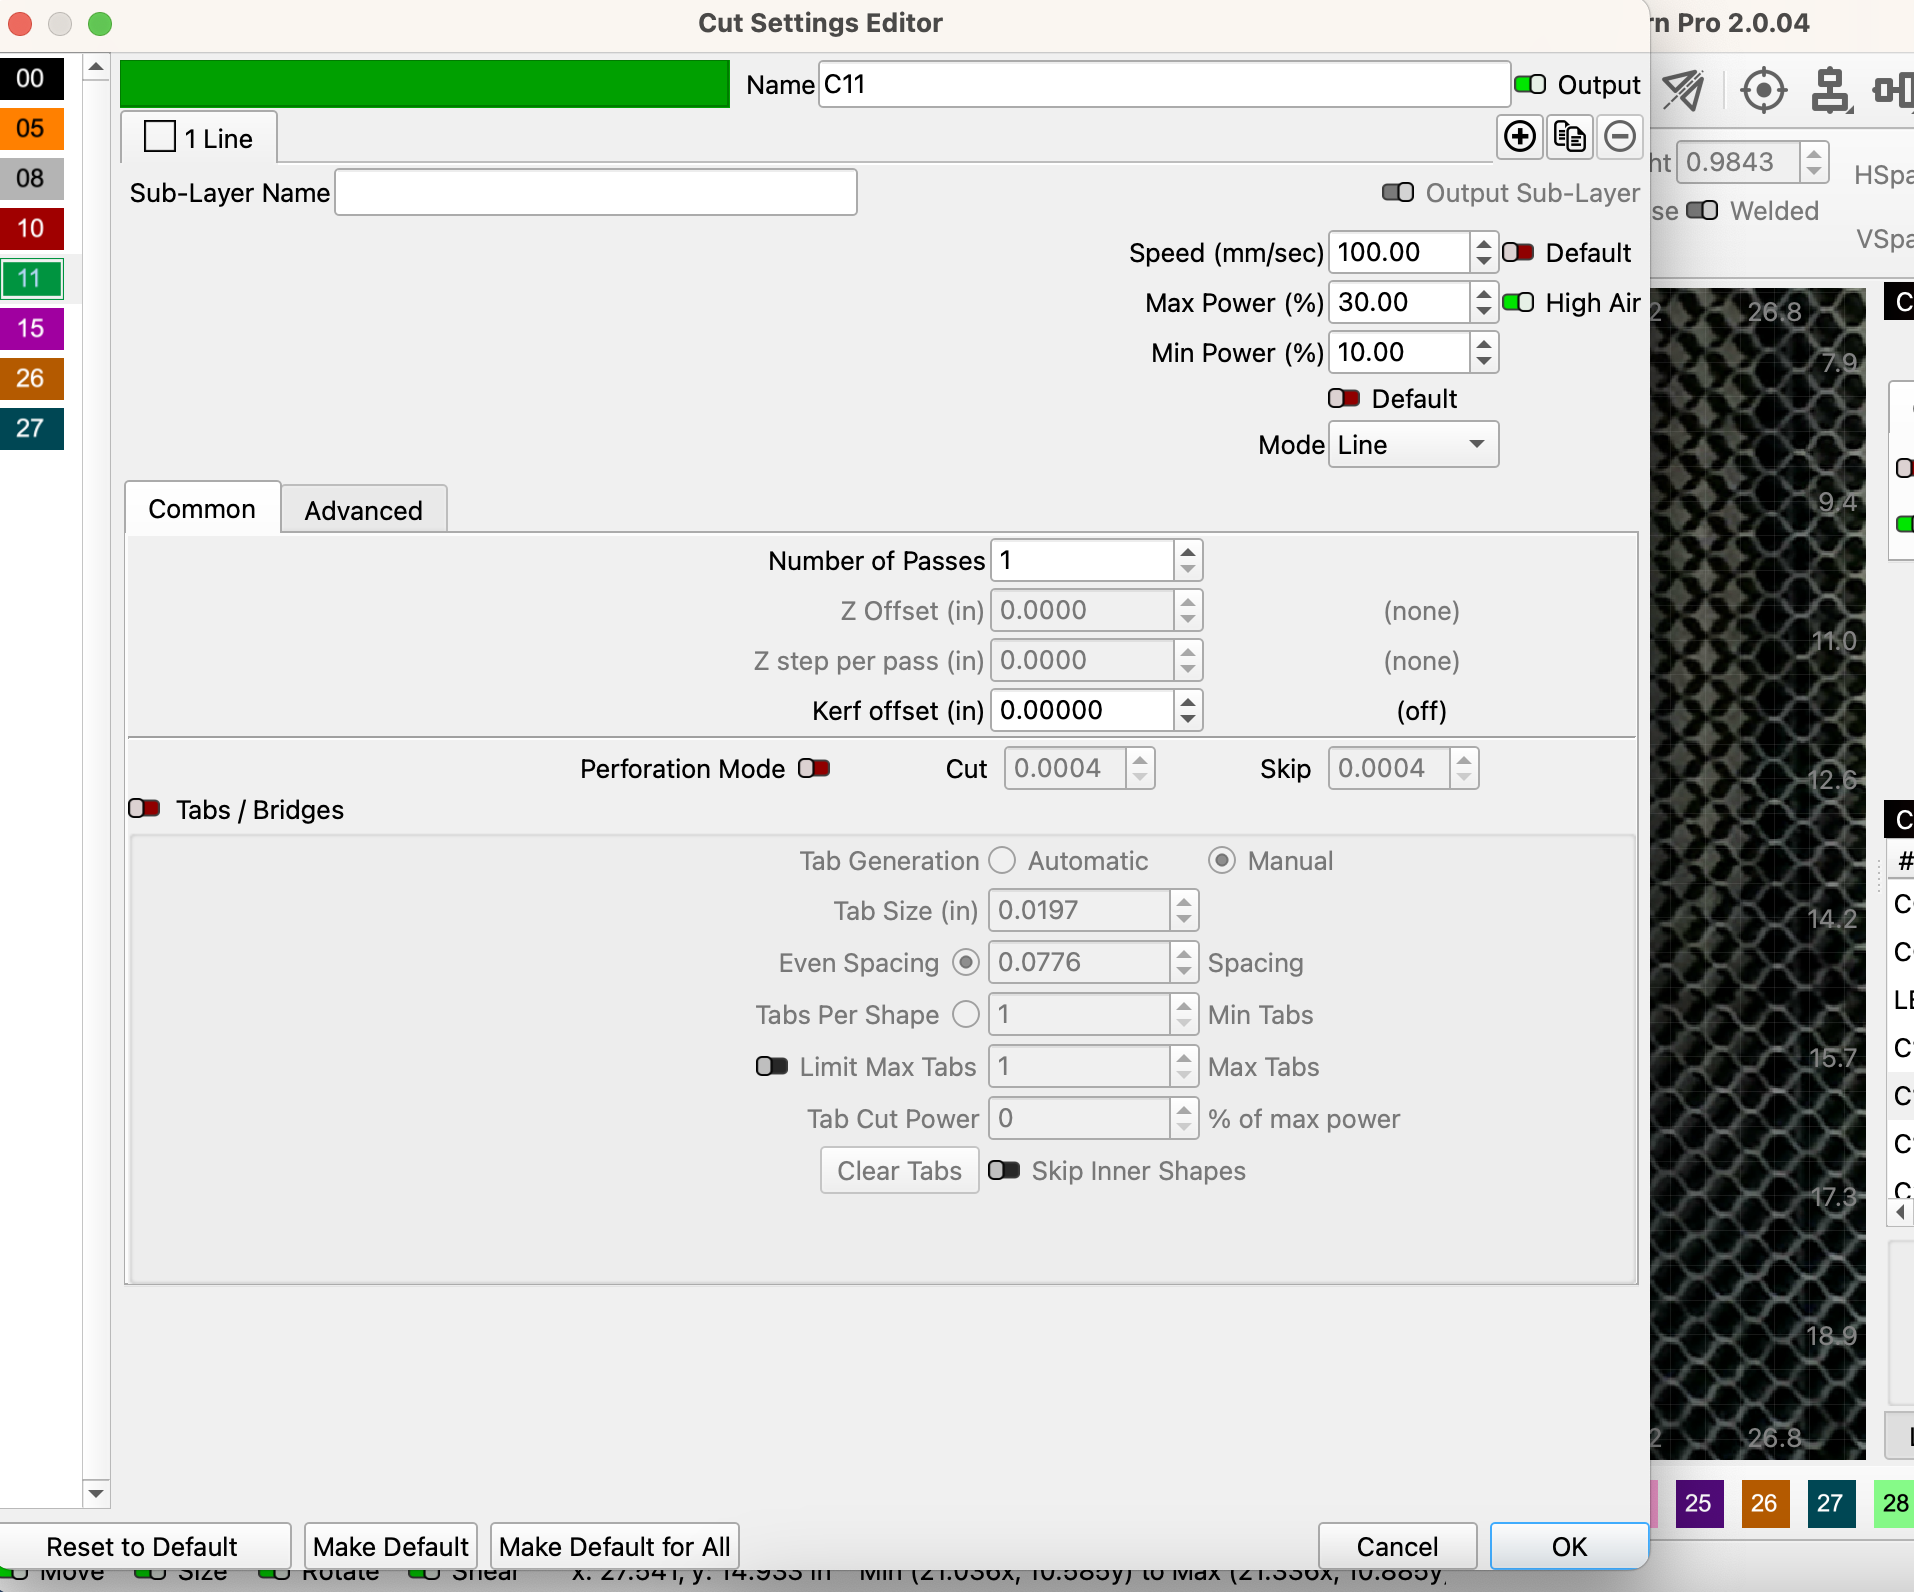

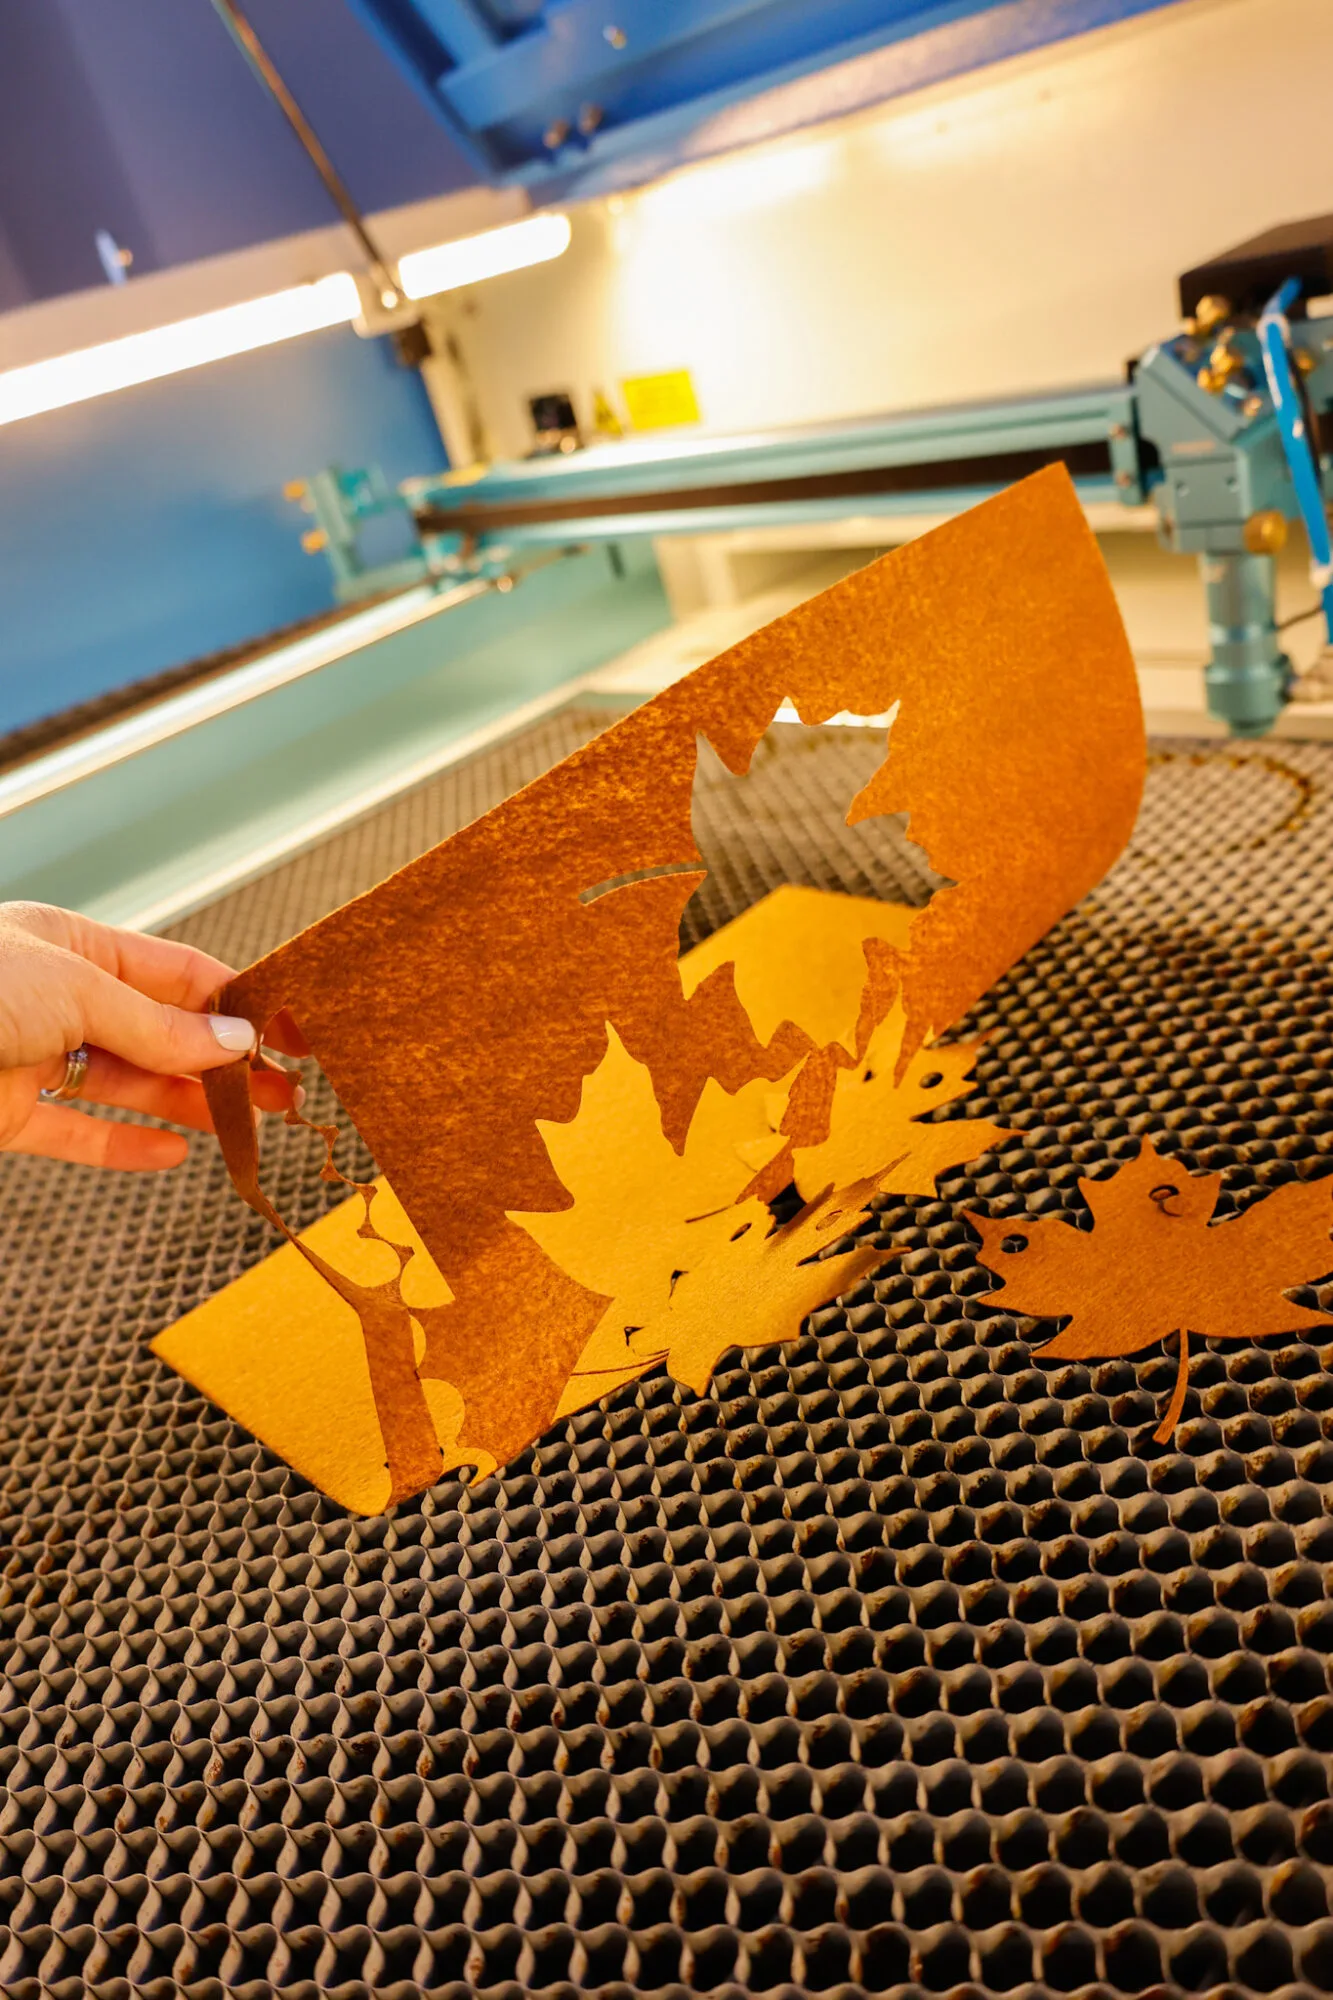
I found this to be the most precise, and the shapes cut out fairly quickly.
And when I say quickly, I mean it took 20 seconds to cut out 3 shapes – FAST!

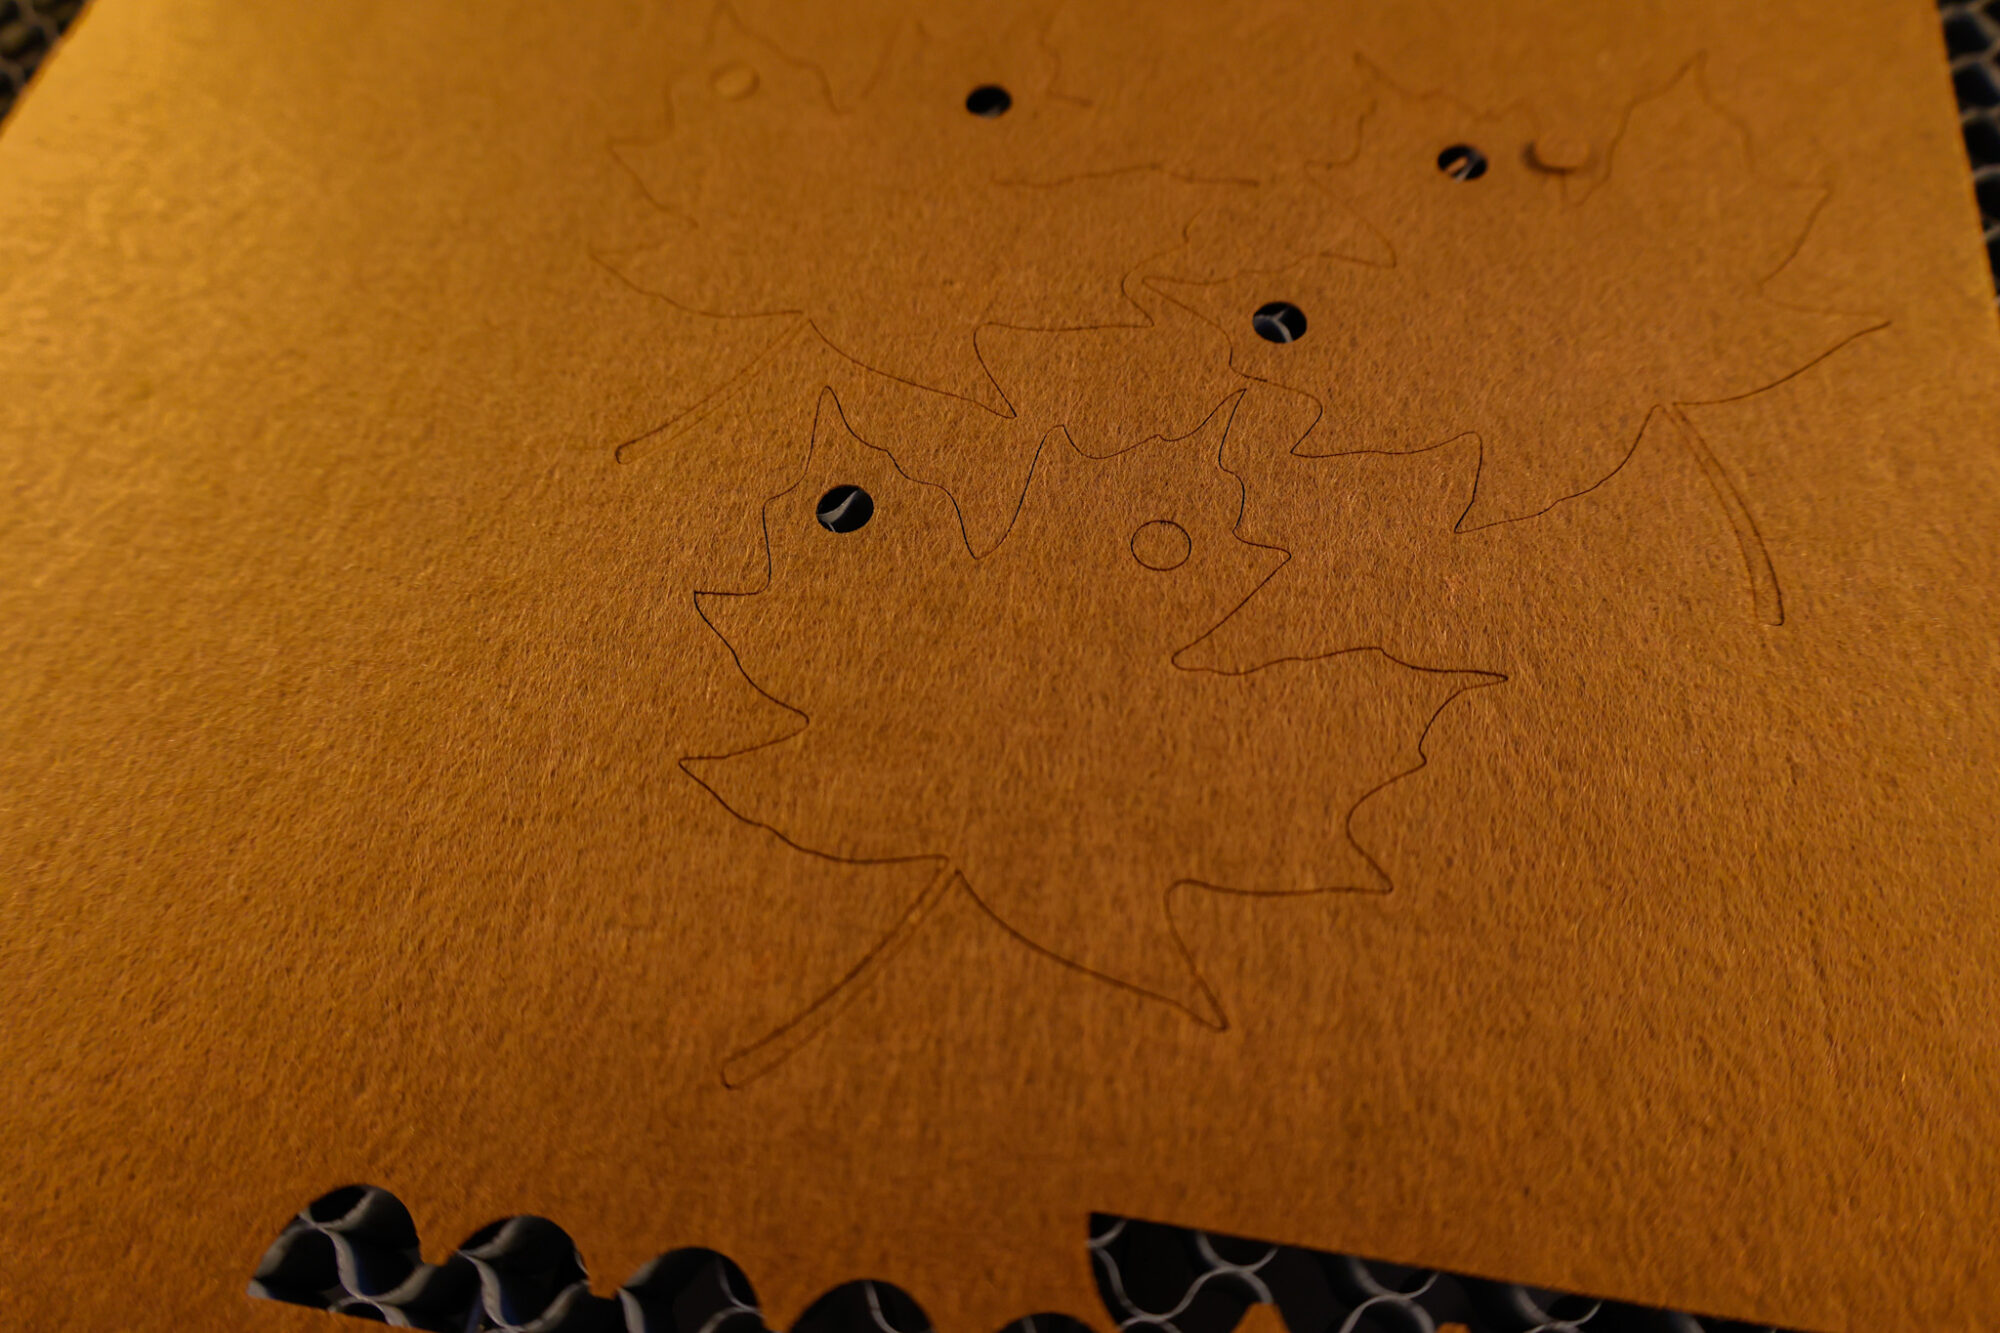
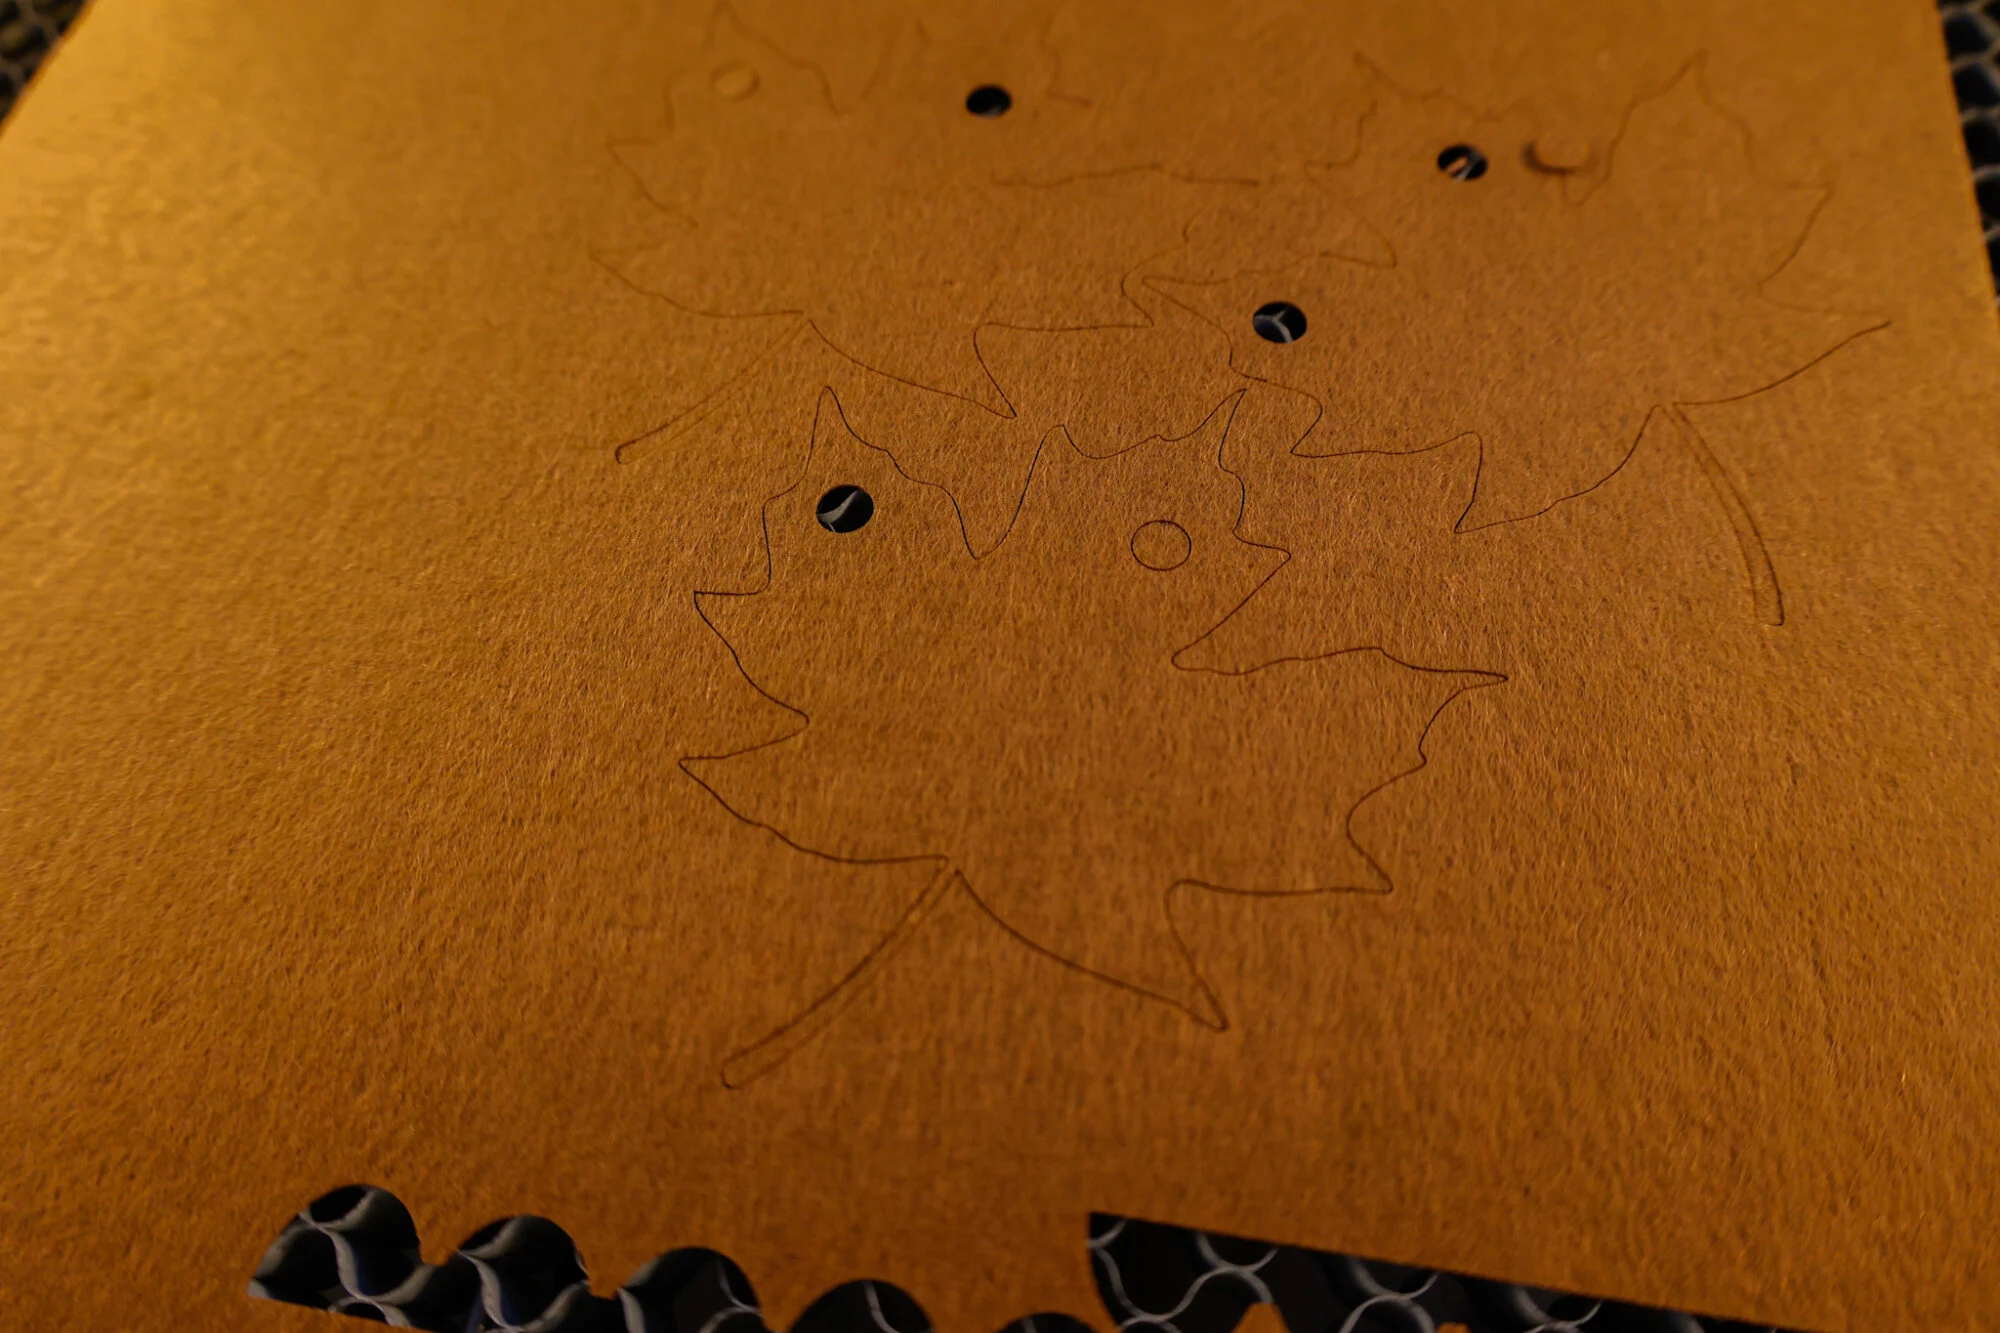
I loved watching the cuts being made as the laser processed the design, cutting the holes first. The holes spun out of the way as the laser head moved, confirming my cut settings were good!

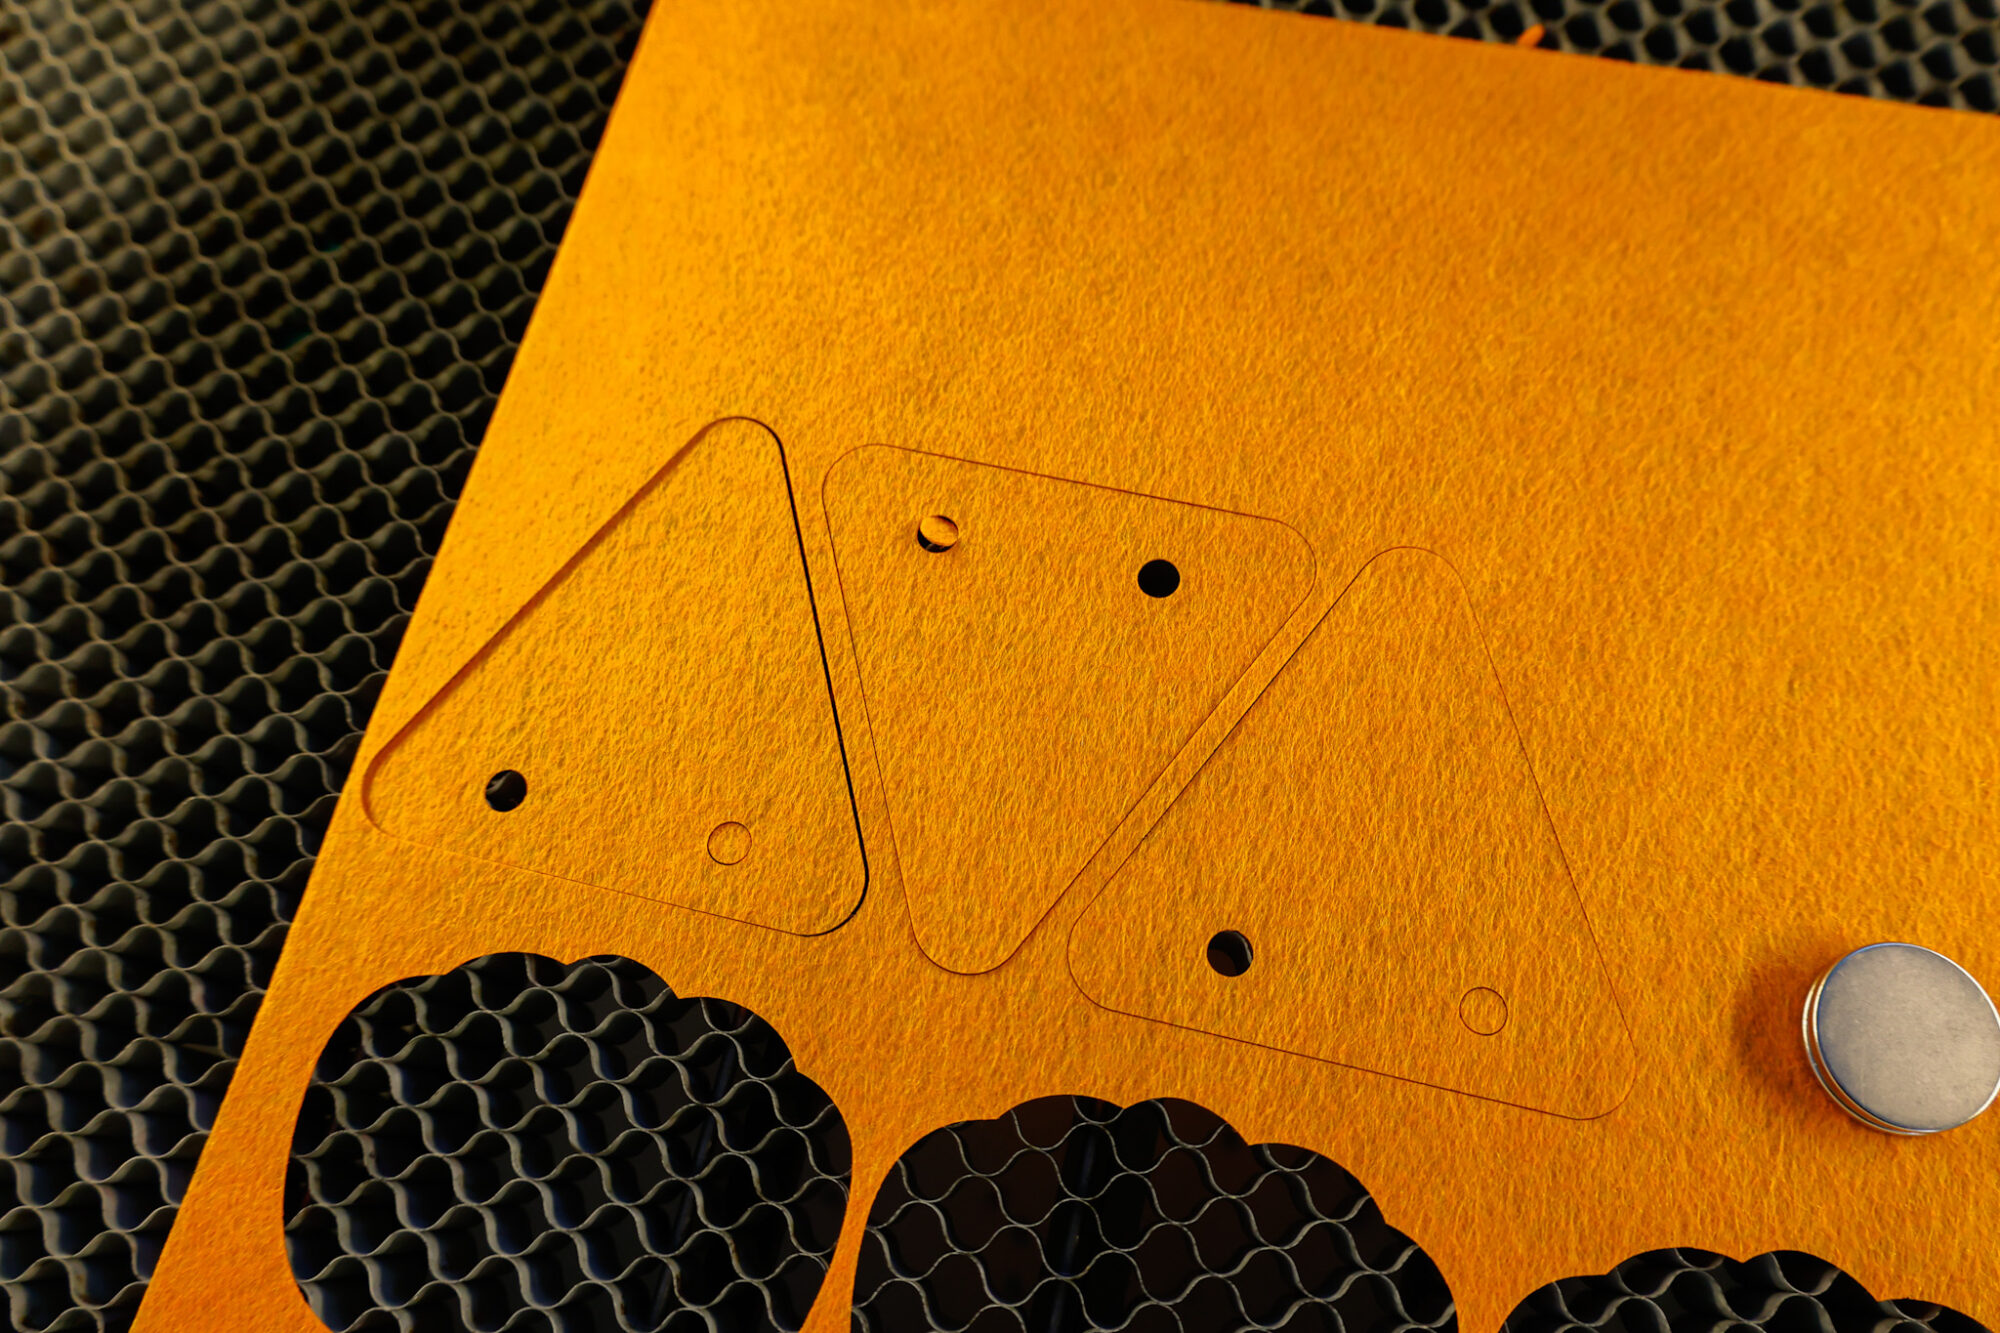
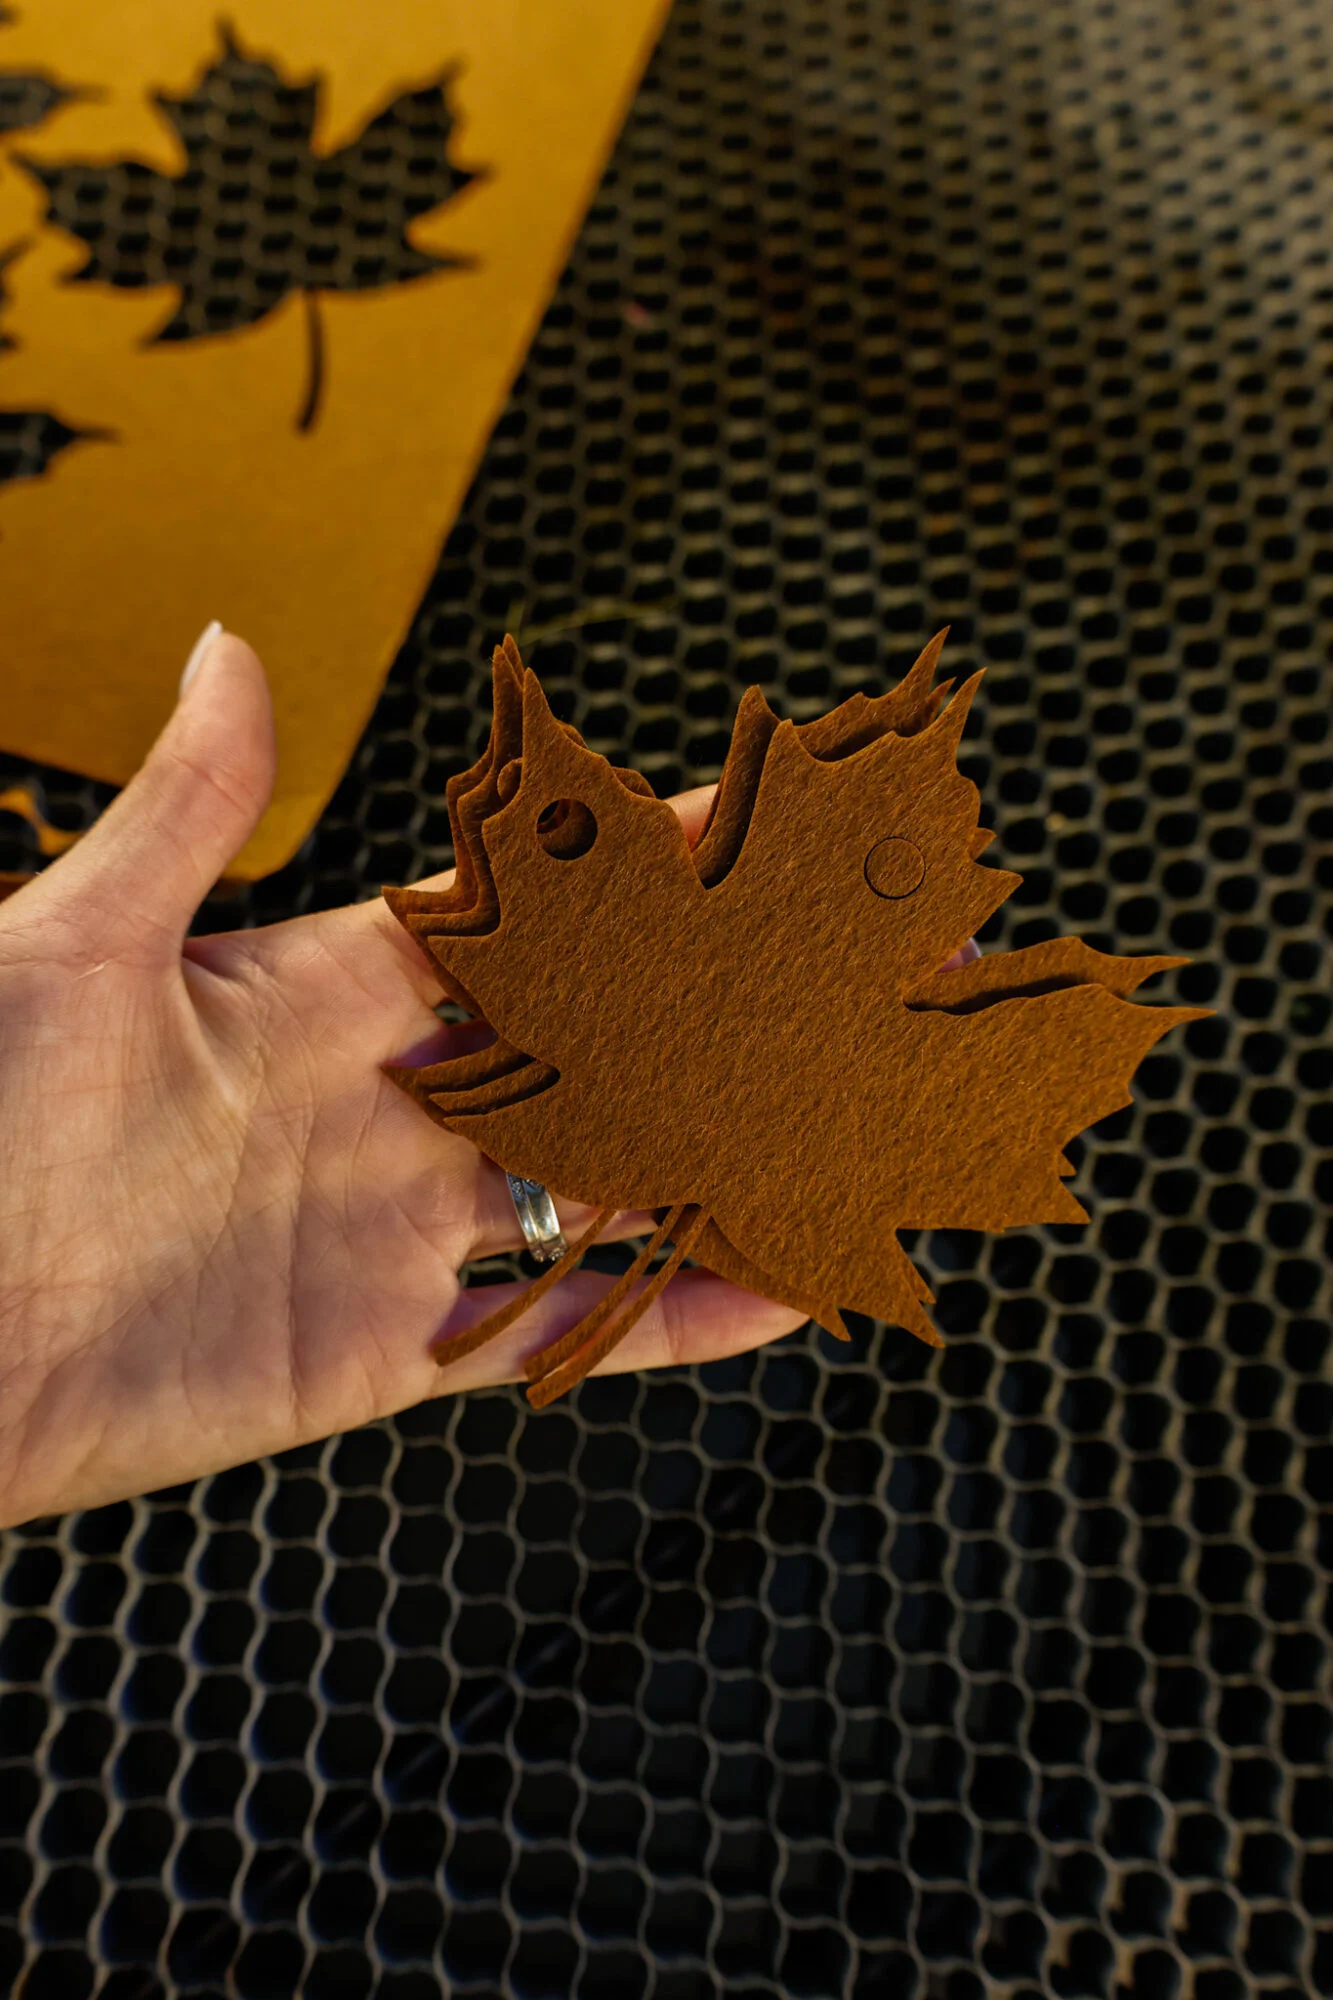
For the first cut, I placed a magnet down on the piece of felt before lifting it away from the honeycomb to be sure that the cut went successfully through the piece of felt.
When cutting a banner like this, whether you’re using a Cricut or laser machine (or cutting them out yourself with scissors), I learned the hard way years ago to be sure to put two holes in each shape. This helps keep the shape facing forward and not angled so that the side is facing forward. This sideways position happens when twine is threaded through just one hole in a shape.

I love how quick and easy the cuts were. This makes me want to venture into cutting our daughter a felt busy book next!
You may also like: DIY Laser Cut Countdown Sign

Free SVG Download: Laser Cut Felt for banner
Sign up below to gain instant access to my free SVG file for this project:
Please remember that all free files are for personal use only, and cannot be sold, copied, or distributed. Thank you!