
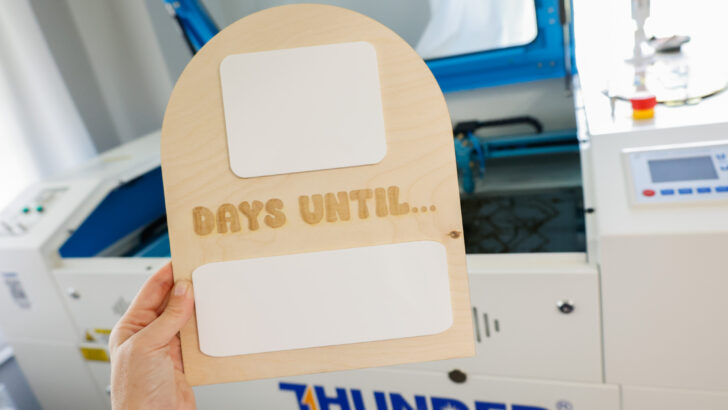

Recreate this DIY Countdown sign for your kids with my free SVG file download!

As a new homeschool mom (and really, just a mom in general – this isn’t homeschool specific), I find myself answering the question 1700+ times a day of…
“How many days until __________?”
The blank is always something different – Christmas, Thanksgiving, Halloween, so-and-so’s birthday, our next library trip…
And while crafting a sign will not cure me of being asked the question, I love the idea of involving the kids in counting down to exciting things like trips, birthday parties, and holidays!
While I may flinch at the question after the fifteenth time, I also know how thrilling it can be for children to look forward to that next new thing – seeing people they know and love, exploring new things and places, unwrapping gifts under the tree, trick-or-treating and getting all dressed up…
So I decided to create a sign that would allow us to countdown to the next BIG event or thing we have going on.
If you’d like to create a sign like this, be sure to sign up at the bottom of this post for this file design and I’ll send it right to your inbox (yep, for free)!
With my Thunder Laser, this project took a small sliver of my afternoon (and by small sliver, I mean less than 30 minutes total from powering on the laser to setting it down on my kitchen counter).
I hope your kids/family/partner love this sign in your home as much as we do!
In this post, I’ll take you through how I made this sign, what settings I used, and share the file with you so you can countdown with your family as well.
This post may contain affiliate links, however, all opinions are my own, as always.
Materials Needed for this DIY Countdown Sign

Here’s what I used to make this signs…
FYI: If you have a CO2 laser, the settings will differ for you as well as my settings shown in this post are for my RF laser. It’s recommended that you run a test sheet for scoring/engraving/cutting for your laser so you have some go-to settings for the different materials.
- 3mm baltic birch (this sign is sized approx. 10’x8″)
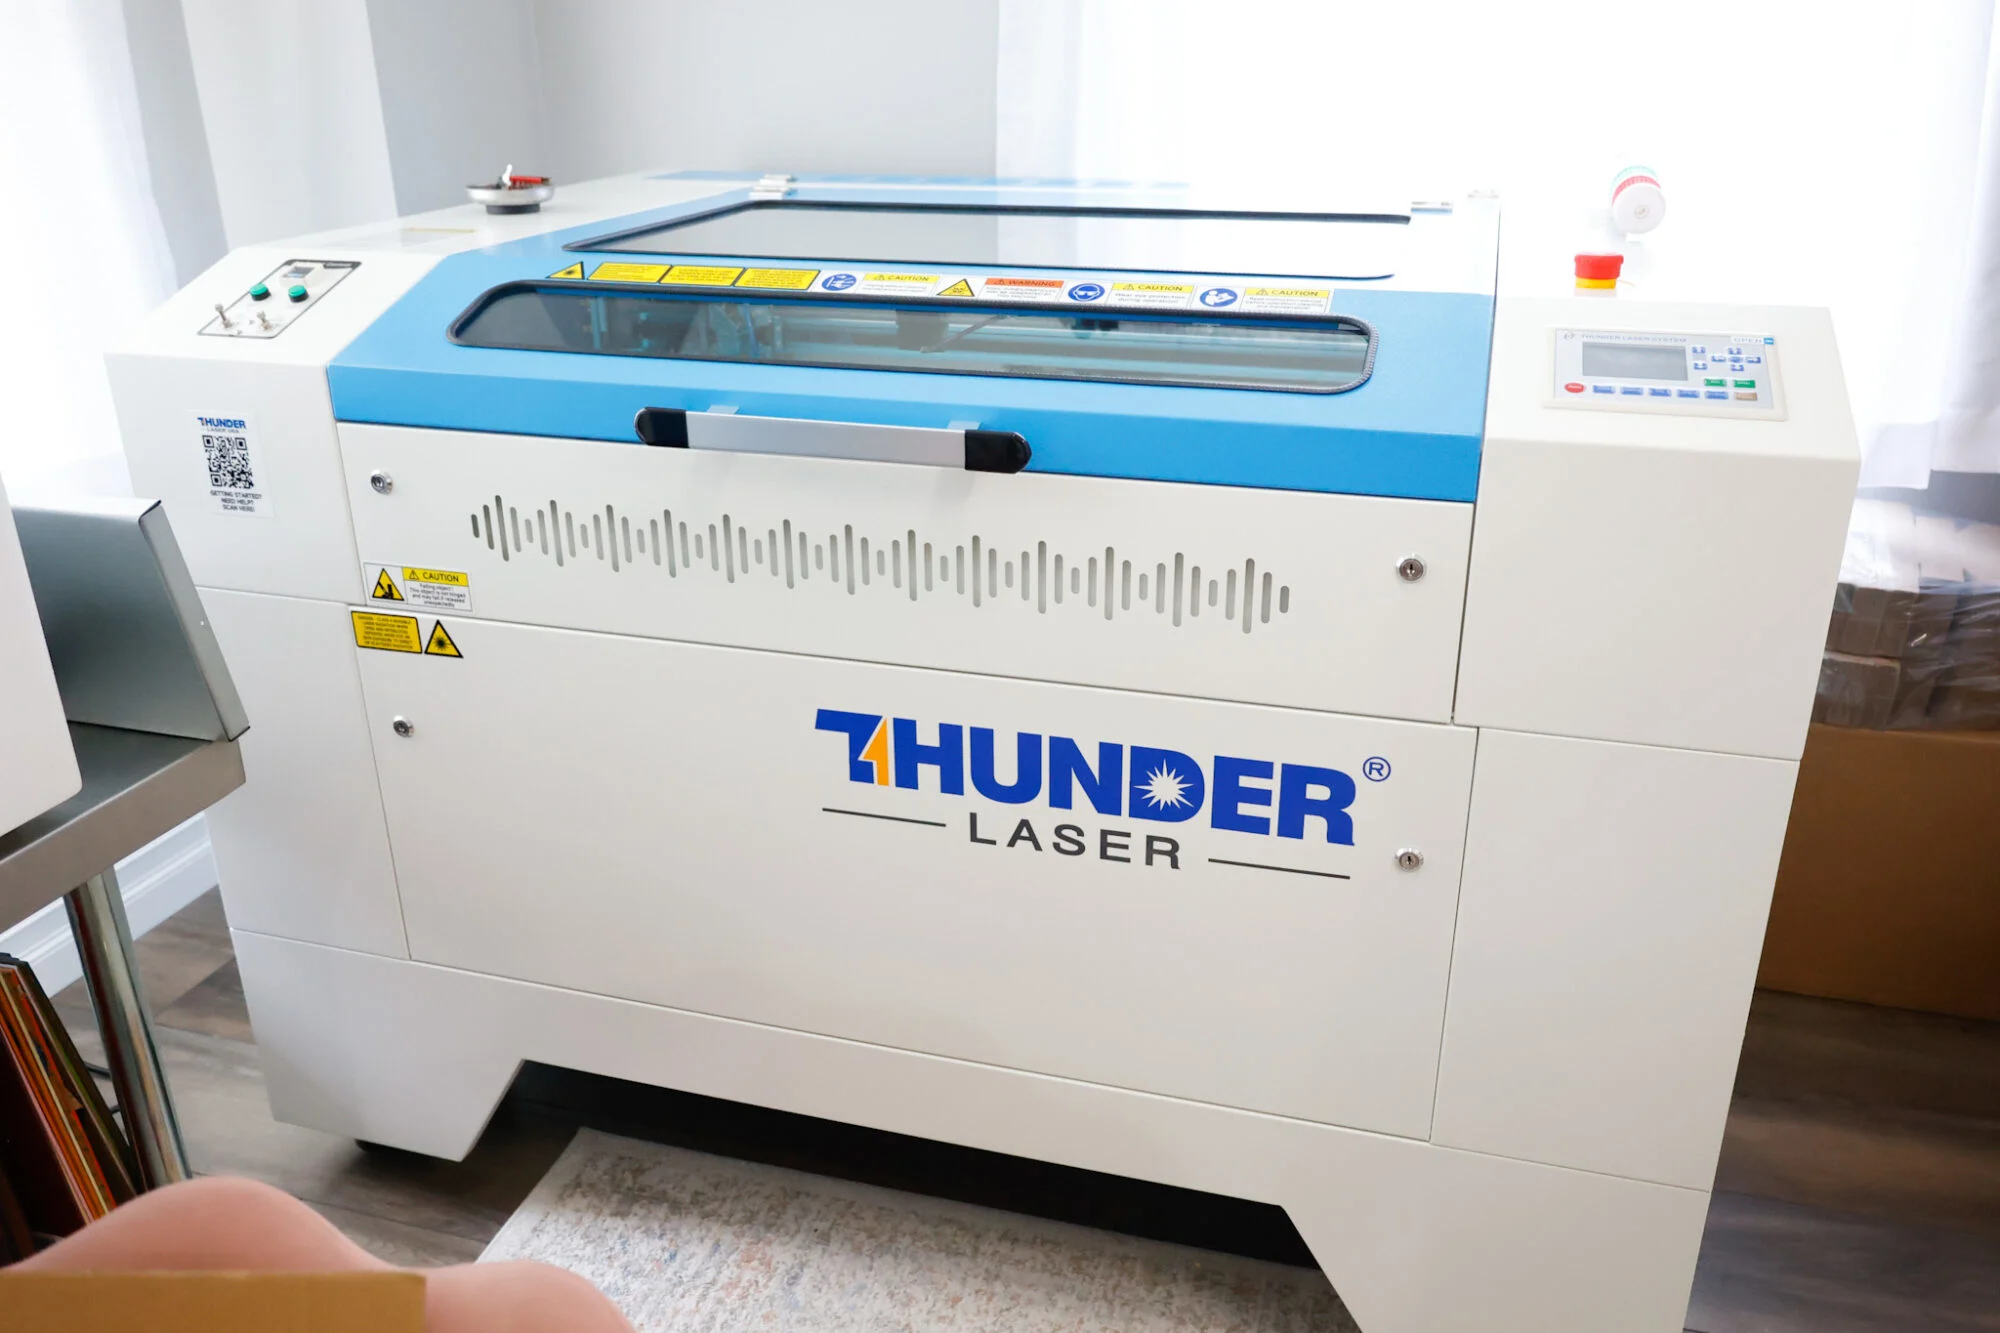
- Thunder Nova Plus 60W laser cutting and engraving machine (or like machine)
- 1/8″ gloss white acrylic (can also use whiteboard)
- sanding block
- dry erase markers
- Starbond med glue
Matte white acrylic is not recommended as a gloss finish helps with ease of writing and wiping away, but matte acrylic can hold onto the pigment and increase the chances of marker smearing on the acrylic.
My Laser Machine
In this project, I’m utilizing the Nova Plus 60W, which is a workhorse laser machine – read the specs here.

You can design one of these signs yourself in Lightburn if you choose, or you can download my free SVG file for this project at the bottom of this post.
In the file download, I’ve included a 1″x1″ square for sizing accuracy. Feel free to skip cutting/engraving that square.
Countdown Sign Laser Cutting and Engraving Settings

Here are the settings I used for this project:
Scoring: 40 speed / 25% Power Max, 5% Power Min, 0.085 Interval, 1 Pass
Wood Cutting: 8 speed / 65% Power Max, 65% Power Min, 0.085 Interval, 1 Pass
Acrylic Cutting: 8 speed / 35% Power Max, 22.5% Power Min, 1 Pass
Engraving: 250 speed / 20% Power Max, 1% Power Min, 0.100 Interval, 1 Pass
How To Design This Laser Cut Countdown Sign

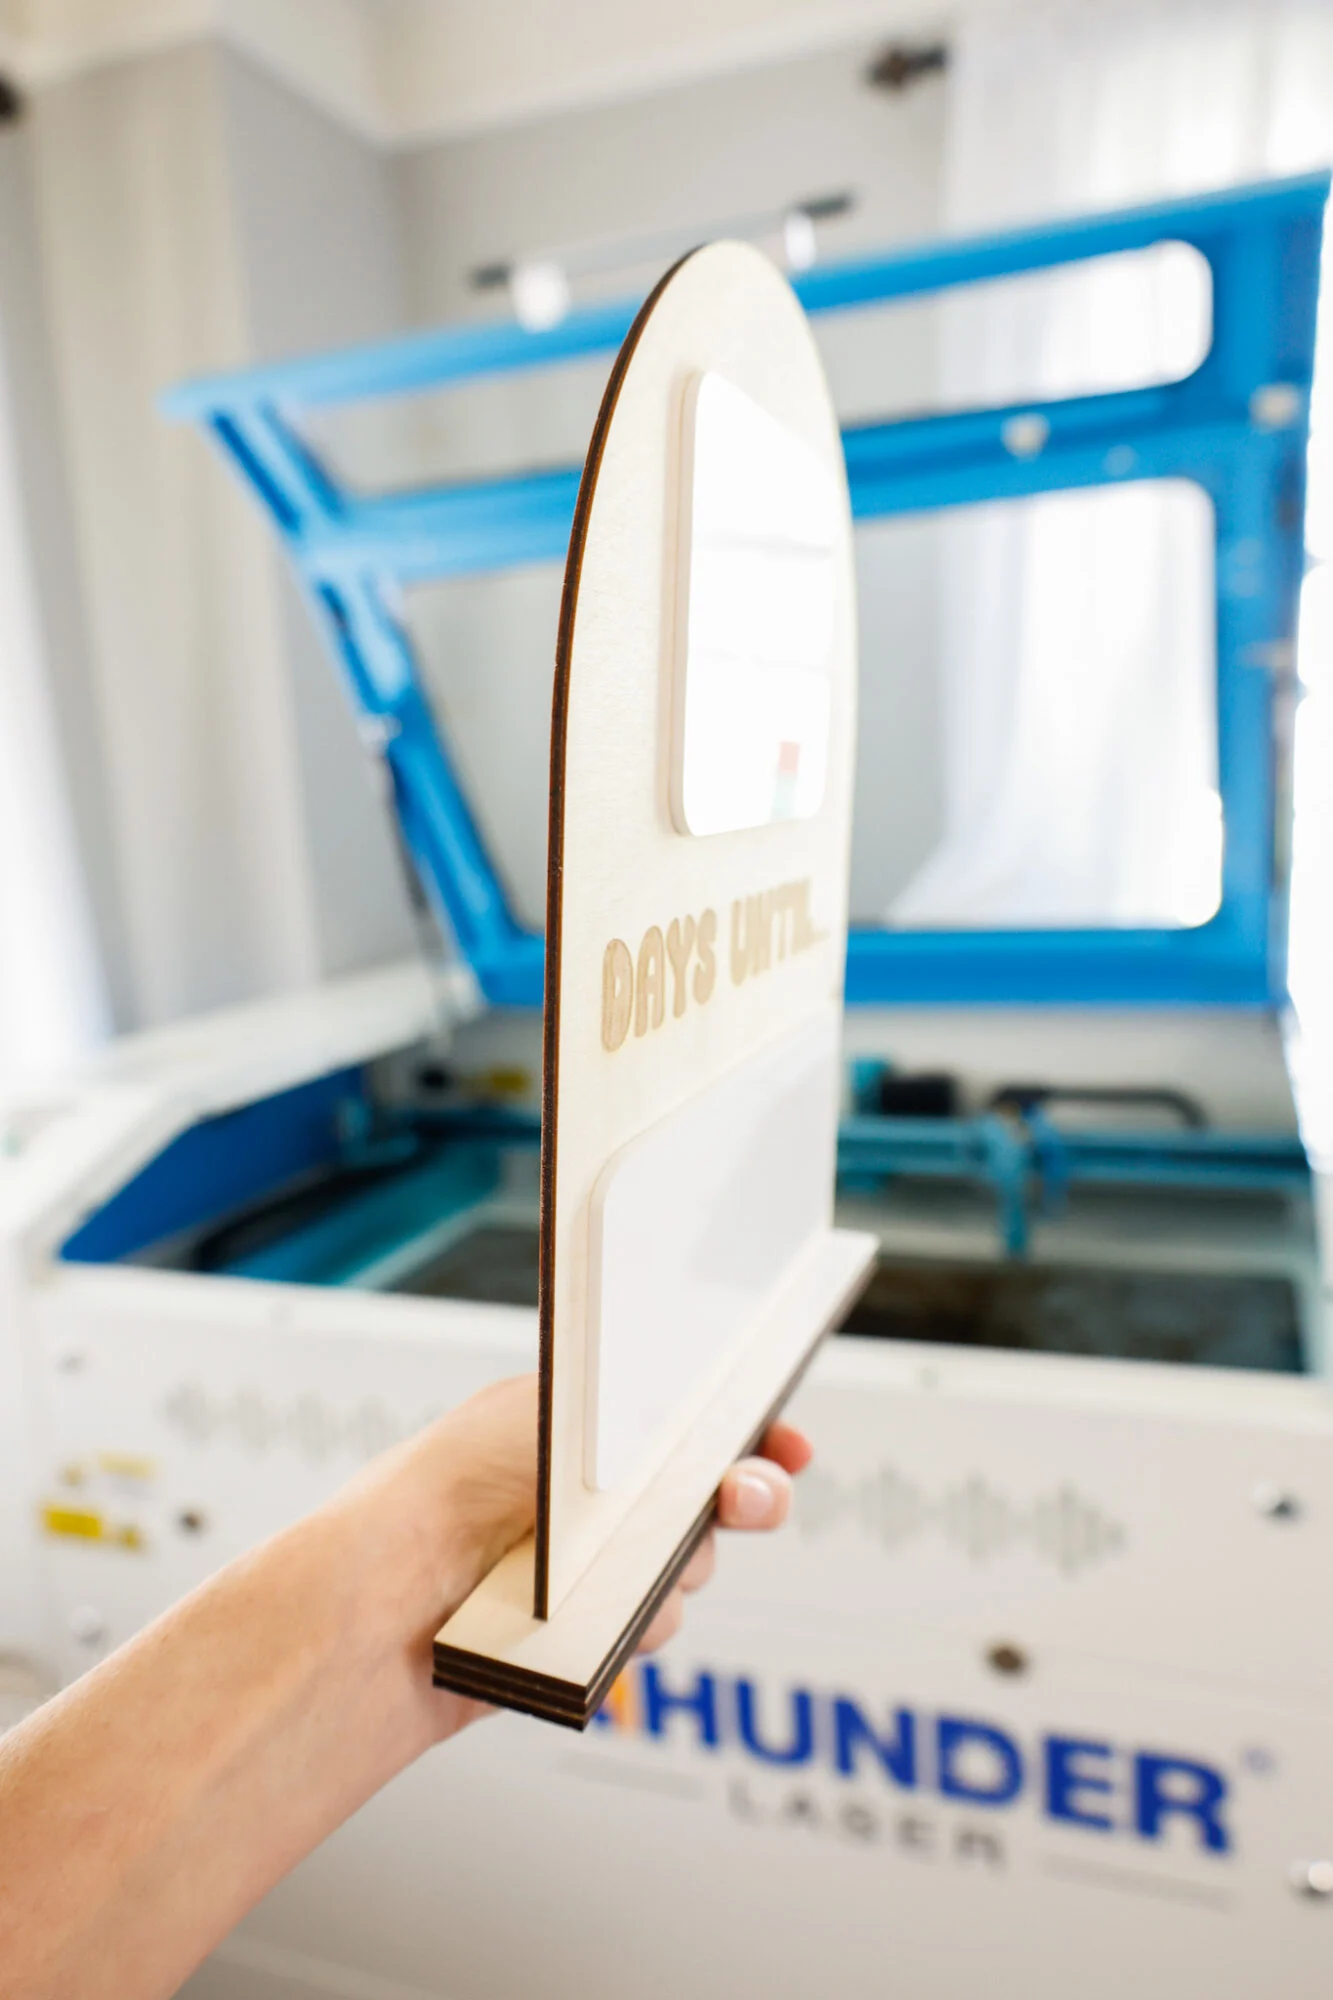
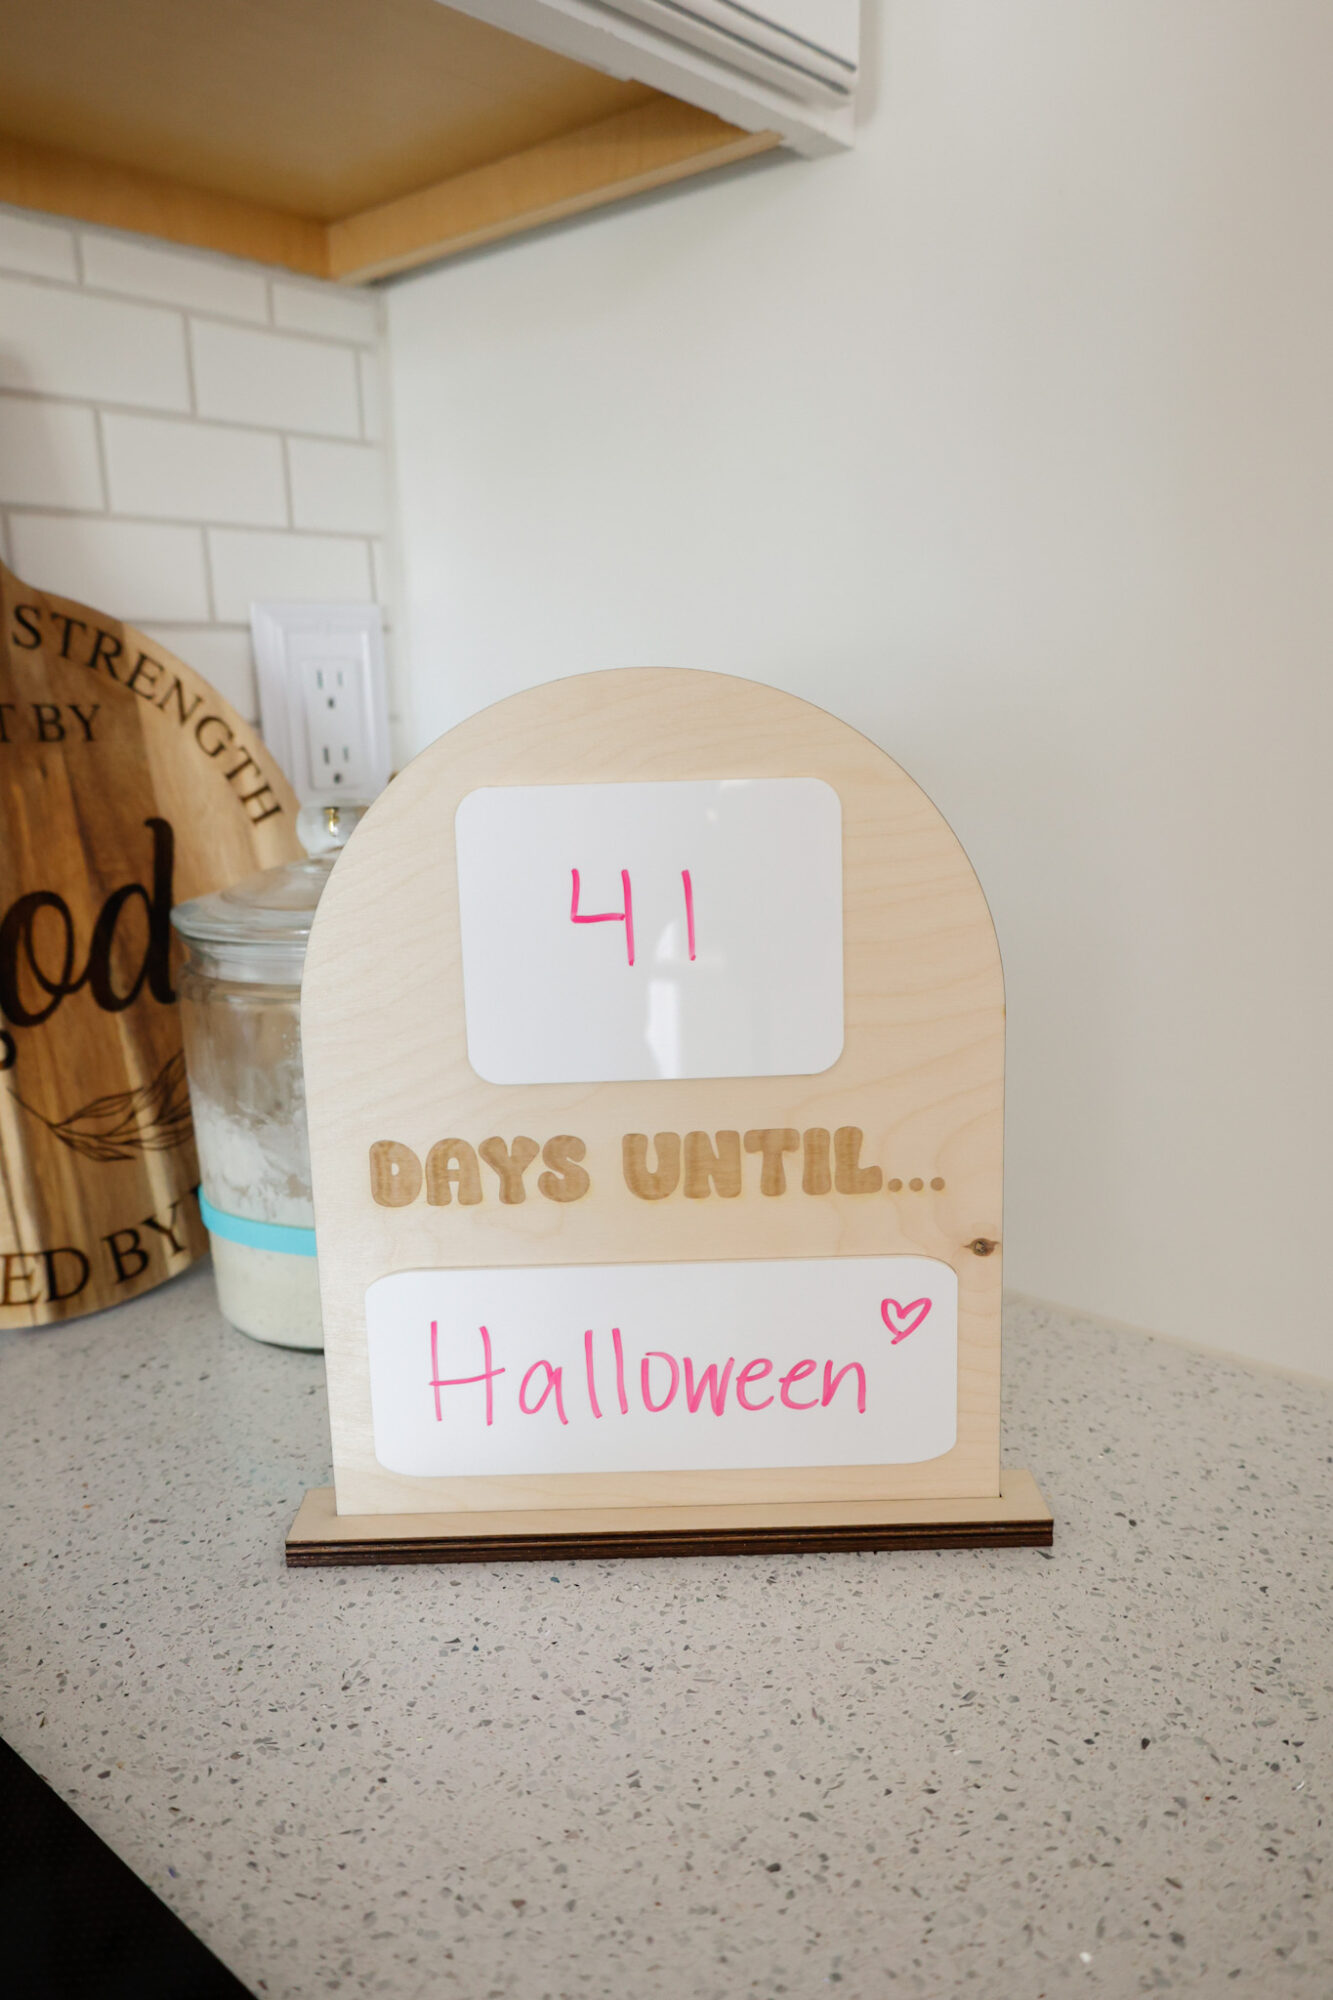
My finished sign, as a reference, is approximately 10″H x 8″W.
It’s fairly noticeable and easy for my kids to be able to write on without the dry erase marker finding it’s way onto the wood (which cannot be erased like the gloss acrylic). but you can definitely size this down if counter space is a concern.
I used a semi circle type shape I’ve had already designed for the actual sign, and rectangles for the base (3 layers).
The three layers of the base consist of:
Most bottom layer: solid wood with not slot cut out
Middle layer: same size cut out as the most-bottom layer, but with a slot cut into it
Top layer: same cut out as the middle layer, with slot cut out
I tested out 2 layers but I felt it needed some more stability, so I added a second slot cut-out layer of 3mm Baltic birch.
The ‘slot’ for the base where the sign slides in is sized to 3mm tall by the same width as my sign as that is the size thickness of wood I’m using.
For other sizes or thicknesses, you may need to test out the slot fitting first!
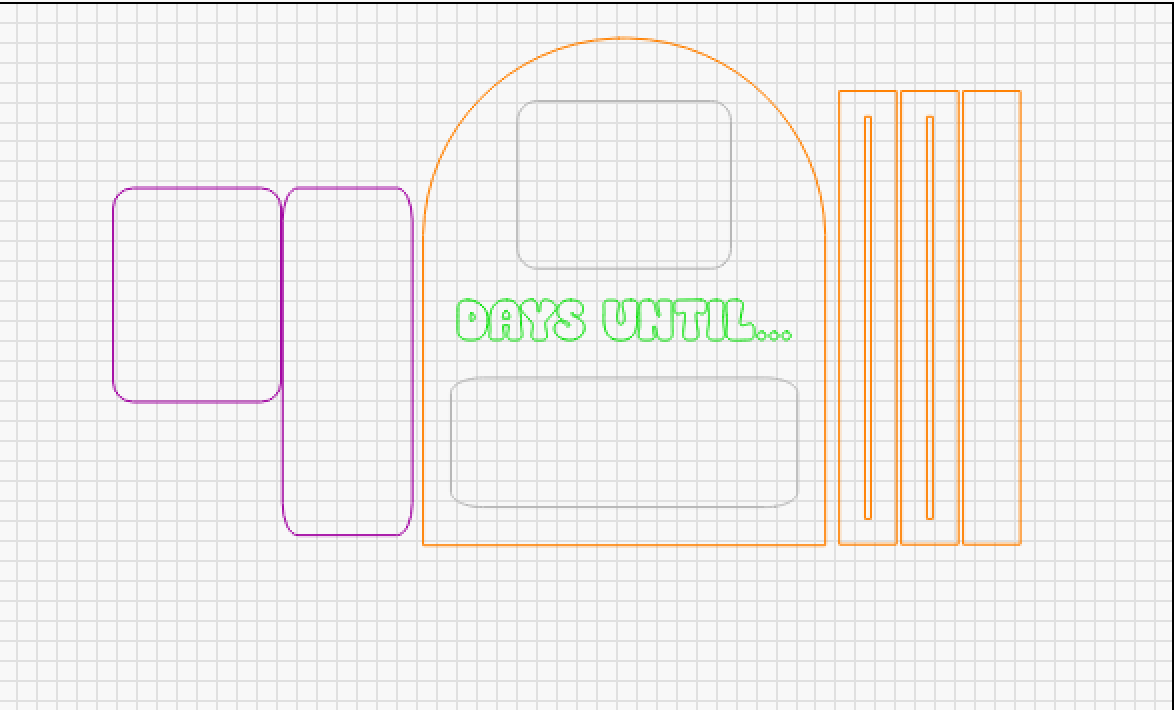
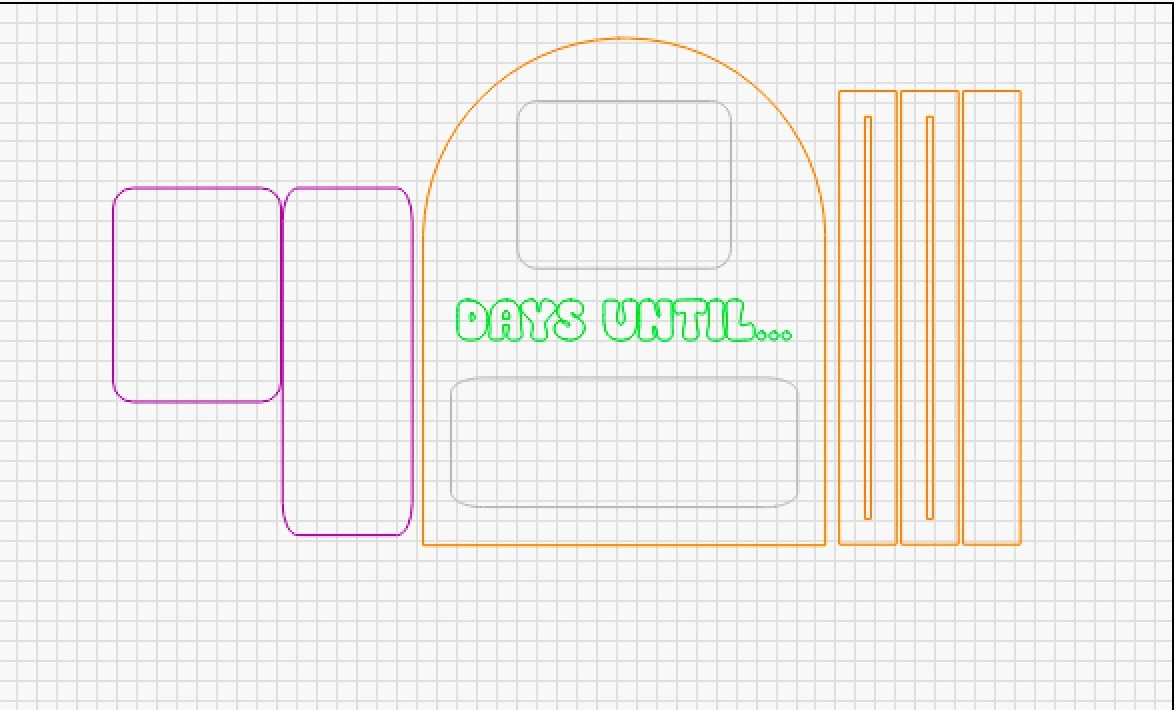
In the screenshot below, I have everything color coded.
The only thing not included in this screenshot is the 1×1″ square for size referencing.
Orange = cut wood
Green = engrave
Gray = score
Purple = cut acrylic (this is a different setting than the one I use for cutting wood)
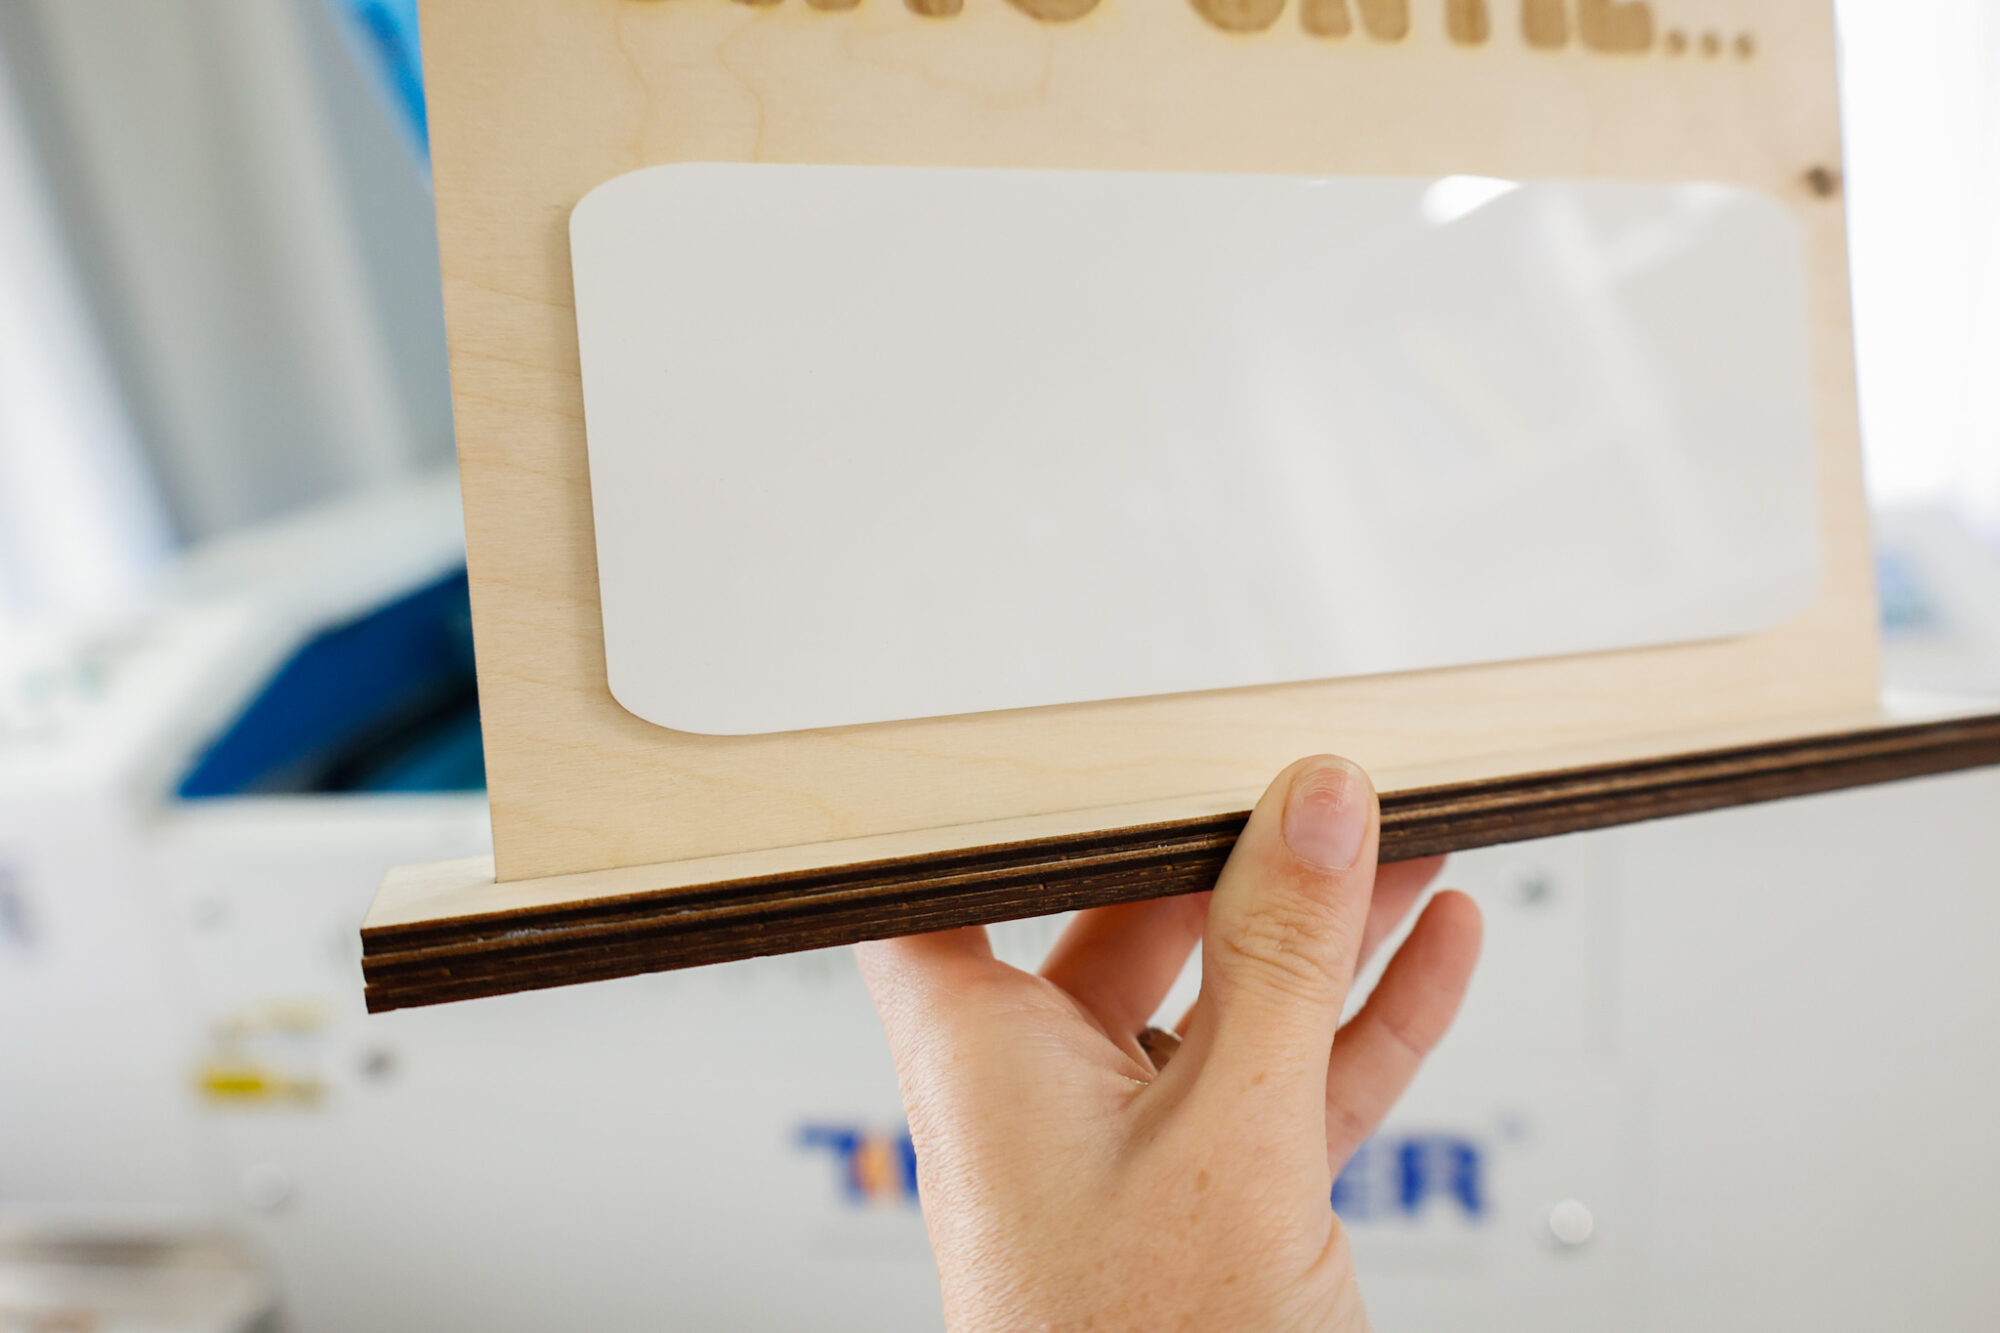
After designing the squares for the acrylic we would write on, I generated a .0050 inward offset to create a stencil of sorts for easy placement for my acrylic to ensure I was lined up and level when gluing the layers together.
You can see I did this again in this recent Back To School Signs project I created for our homeschooled kids.
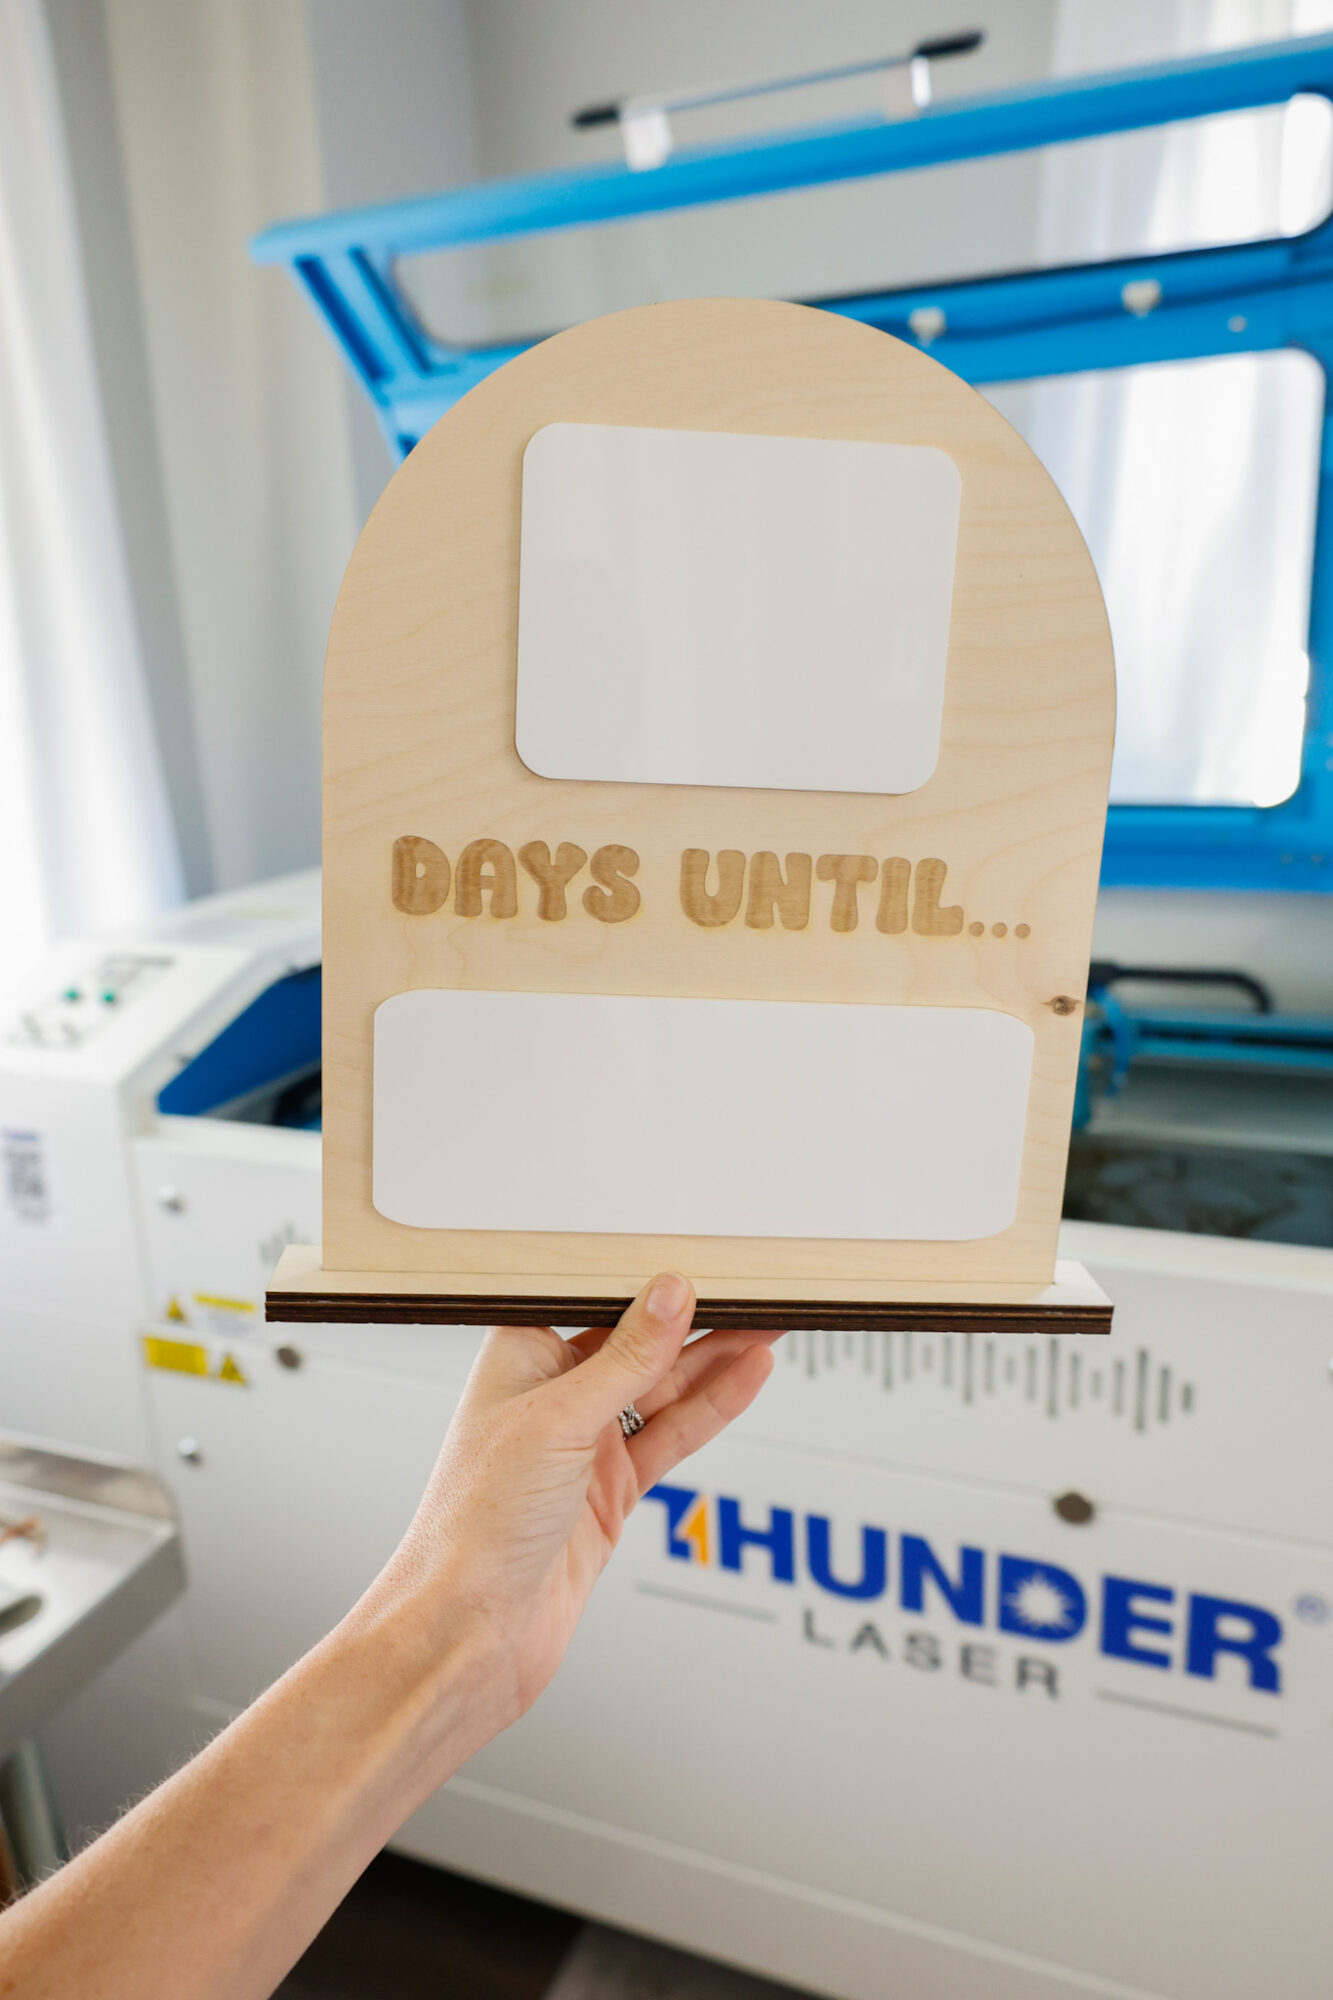
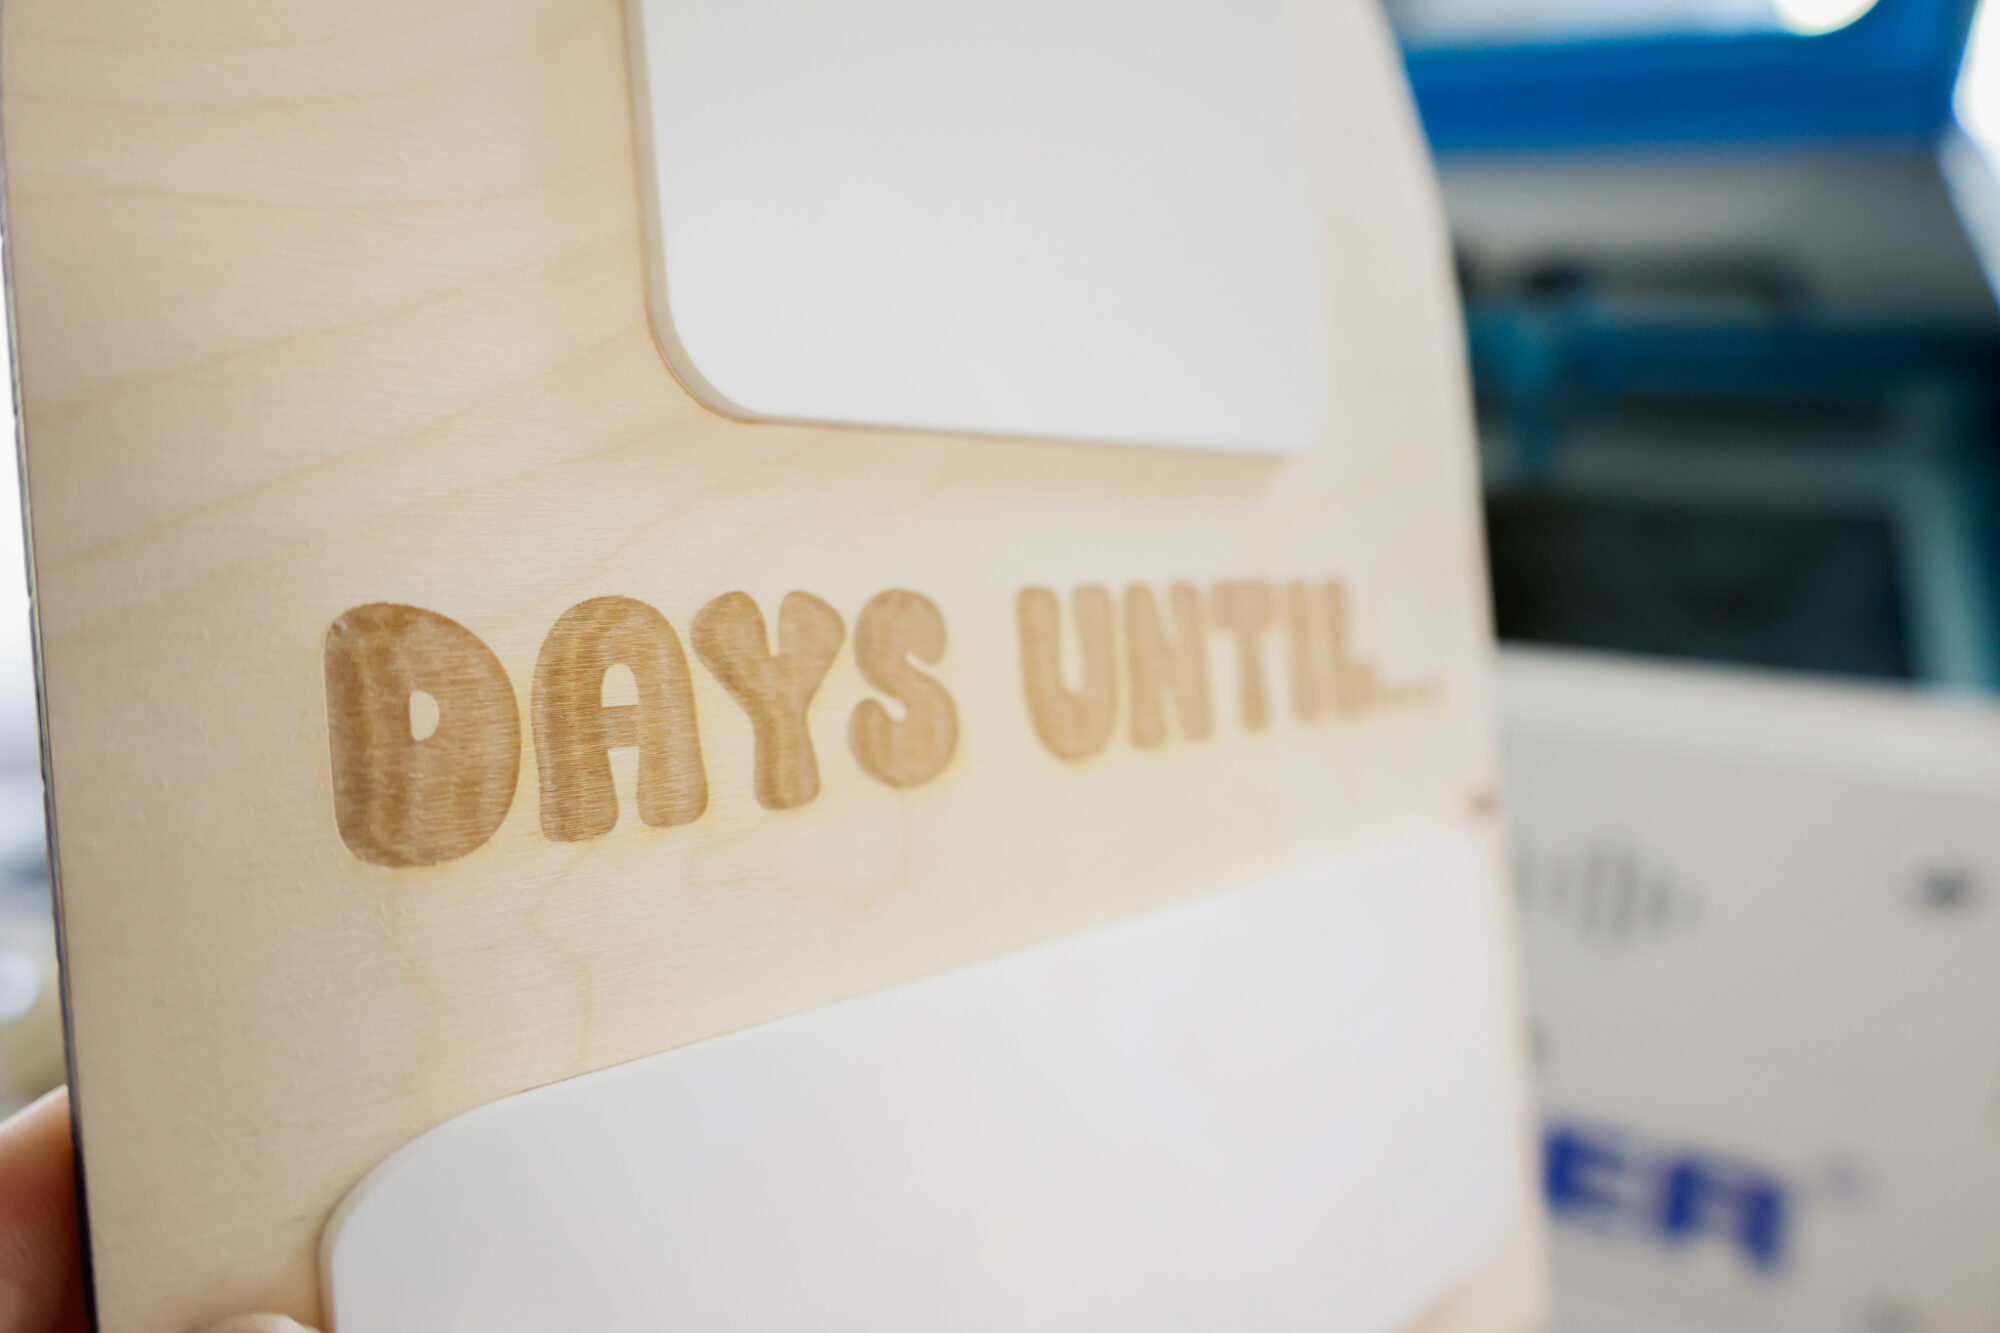
I used a bubble font I really like called Social Club for the engraving (watch my laser machine engrave in my Instagram reel here).

This project took me a total of 15 minutes from designing (this comes with experience – when you mess around with Lightburn enough, tweaking comes easy) to cutting completion, with another 5 minutes for gluing the layers together. About 10 minutes of this project time is attributed to just the cutting process.
Other machines may take more time, just FYI, depending on your laser type, materials, etc.
After engraving, I used a sanding block (I think it was about 80 grit?) to polish up the engraving afterwards.
To adhere the acrylic to the wood sign, I use this glue – it great for sticking acrylic to wood with ease, and sets up in about a minute.

The white gloss acrylic makes it so that we can write with dry erase markers and just wipe off the writing after we use it so it’s ready for the next milestone photo.
Love how this countdown sign turned out, and how easy it was to make our own on our Thunder laser.
Sign up for my newsletter and gain access to my free laser project SVGs: