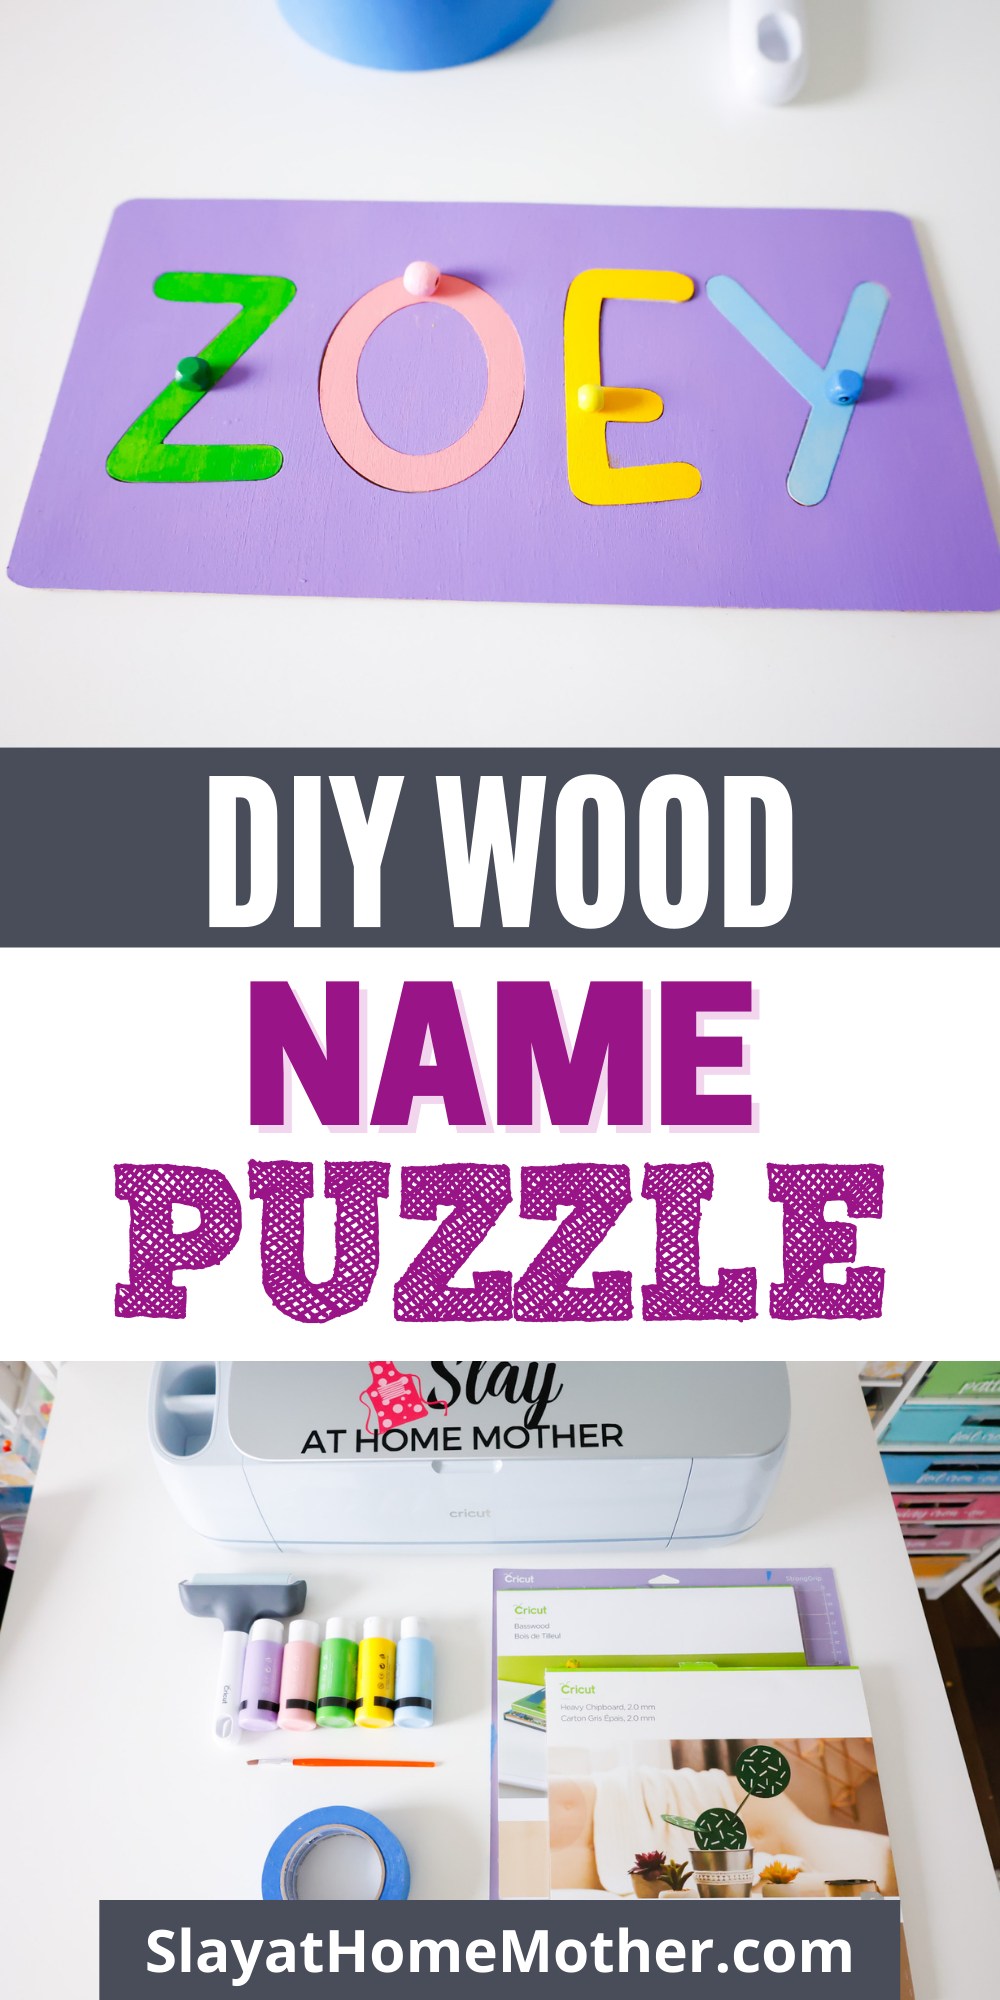
Make your own personalized wood name puzzle with your Cricut machine (screenshots included!)…
Hi friends!
In today’s post, I’ll be showing you step-by-step how to make your own personalized wood name puzzle – for your children or to give as a gift.
This puzzle is an easy beginner Cricut craft – I hope you enjoy!
*This post contains affiliate links, however, all opinions are my own, as always.
What You’ll Need To Make A DIY Wood Name Puzzle
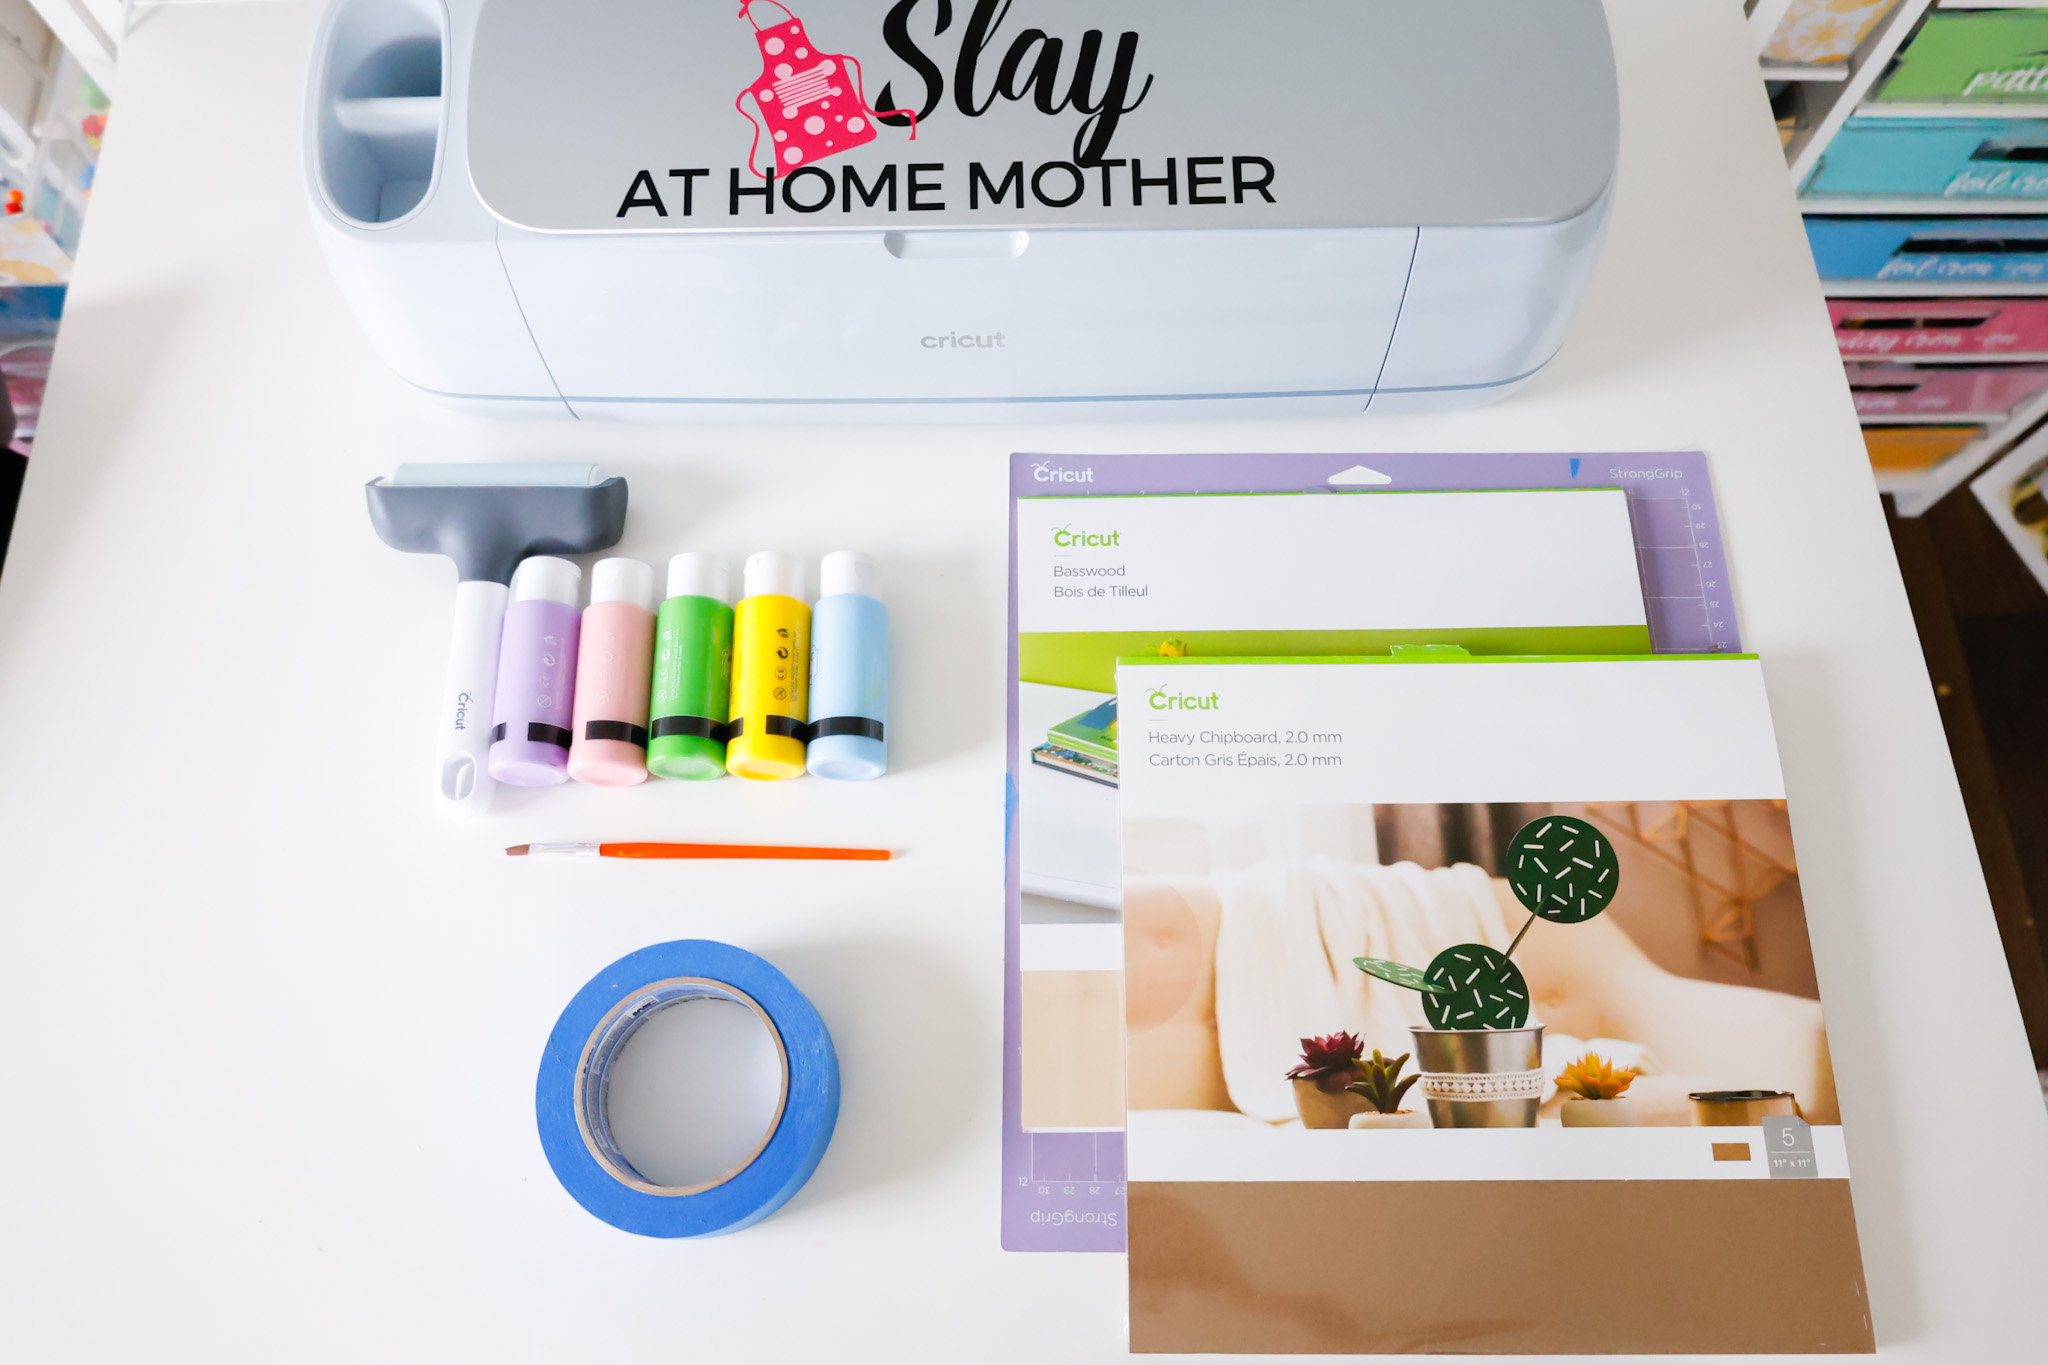
You’ll need…
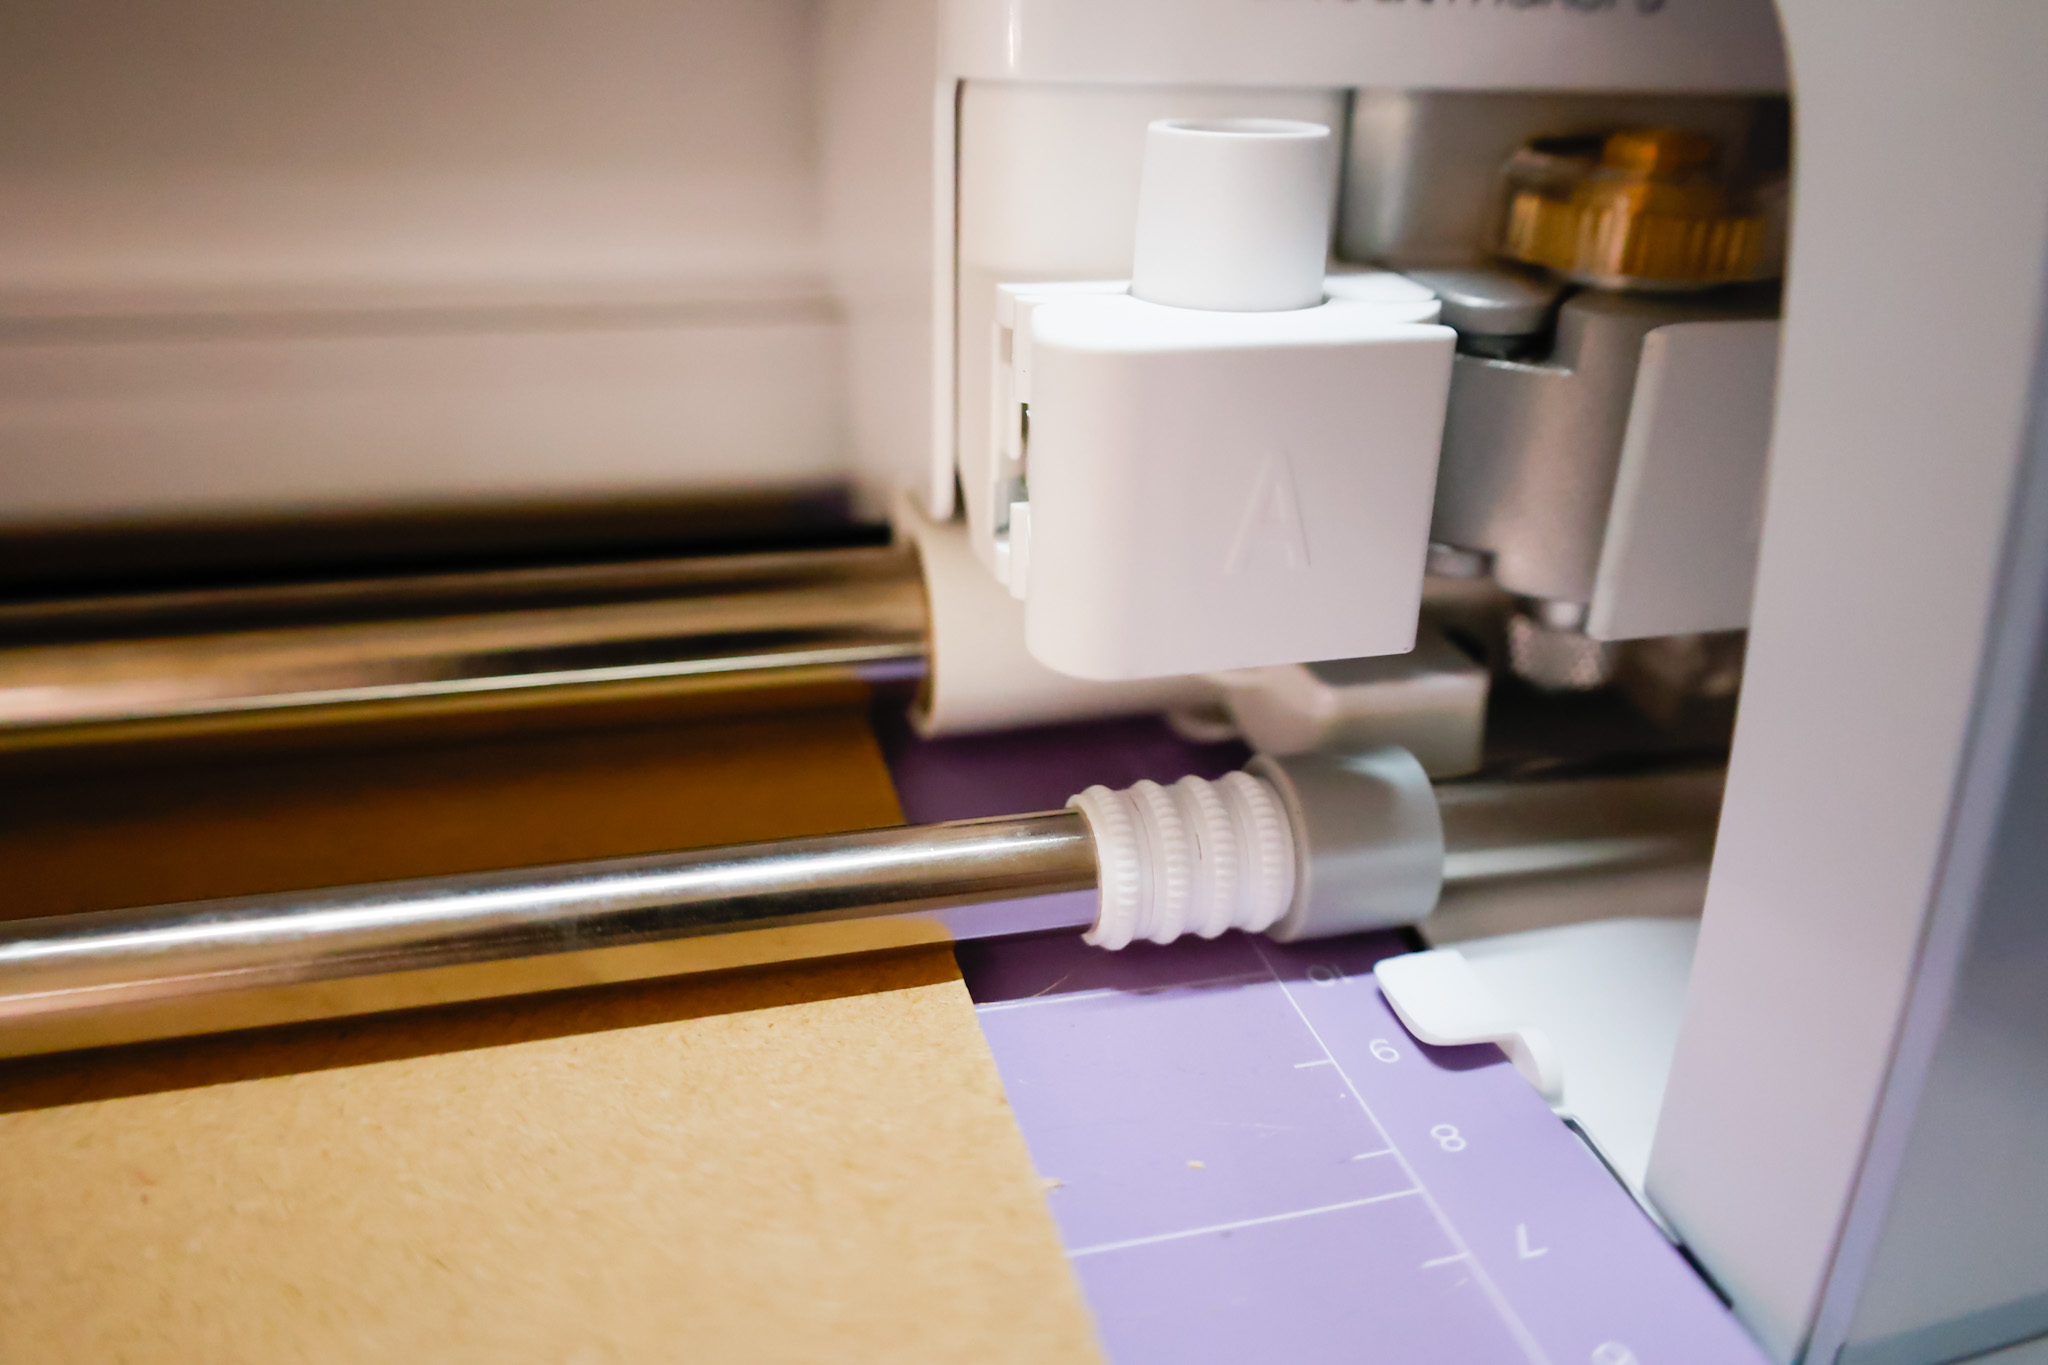
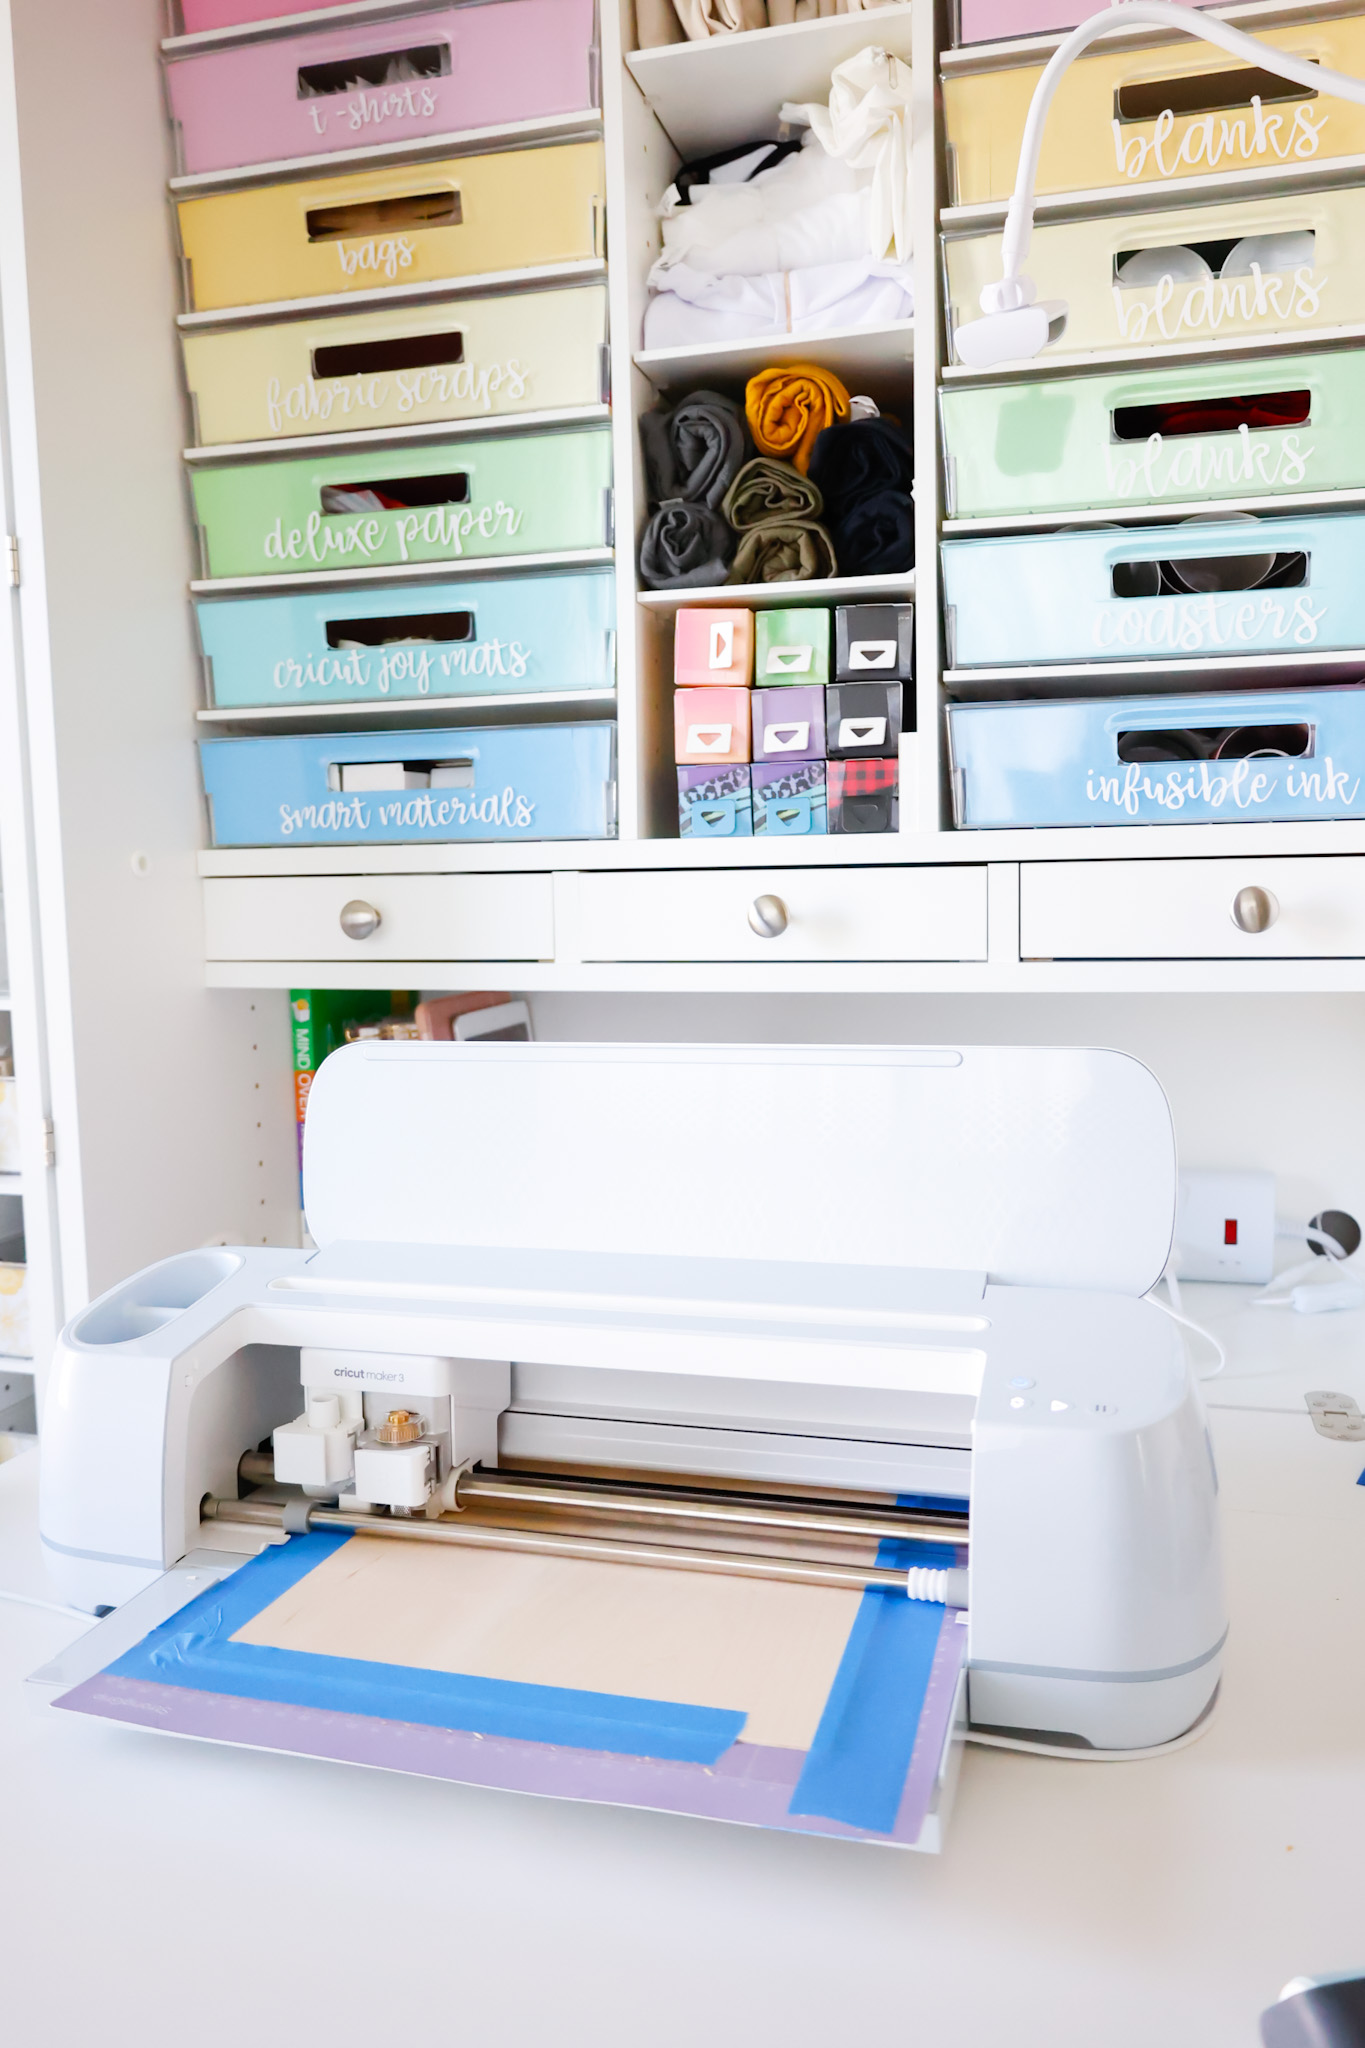
- Cricut Maker (I recently got the Maker 3 – it cuts 2x as fast as its predecessor and is super quiet!)
- knife blade
- StrongGrip mat (purple)
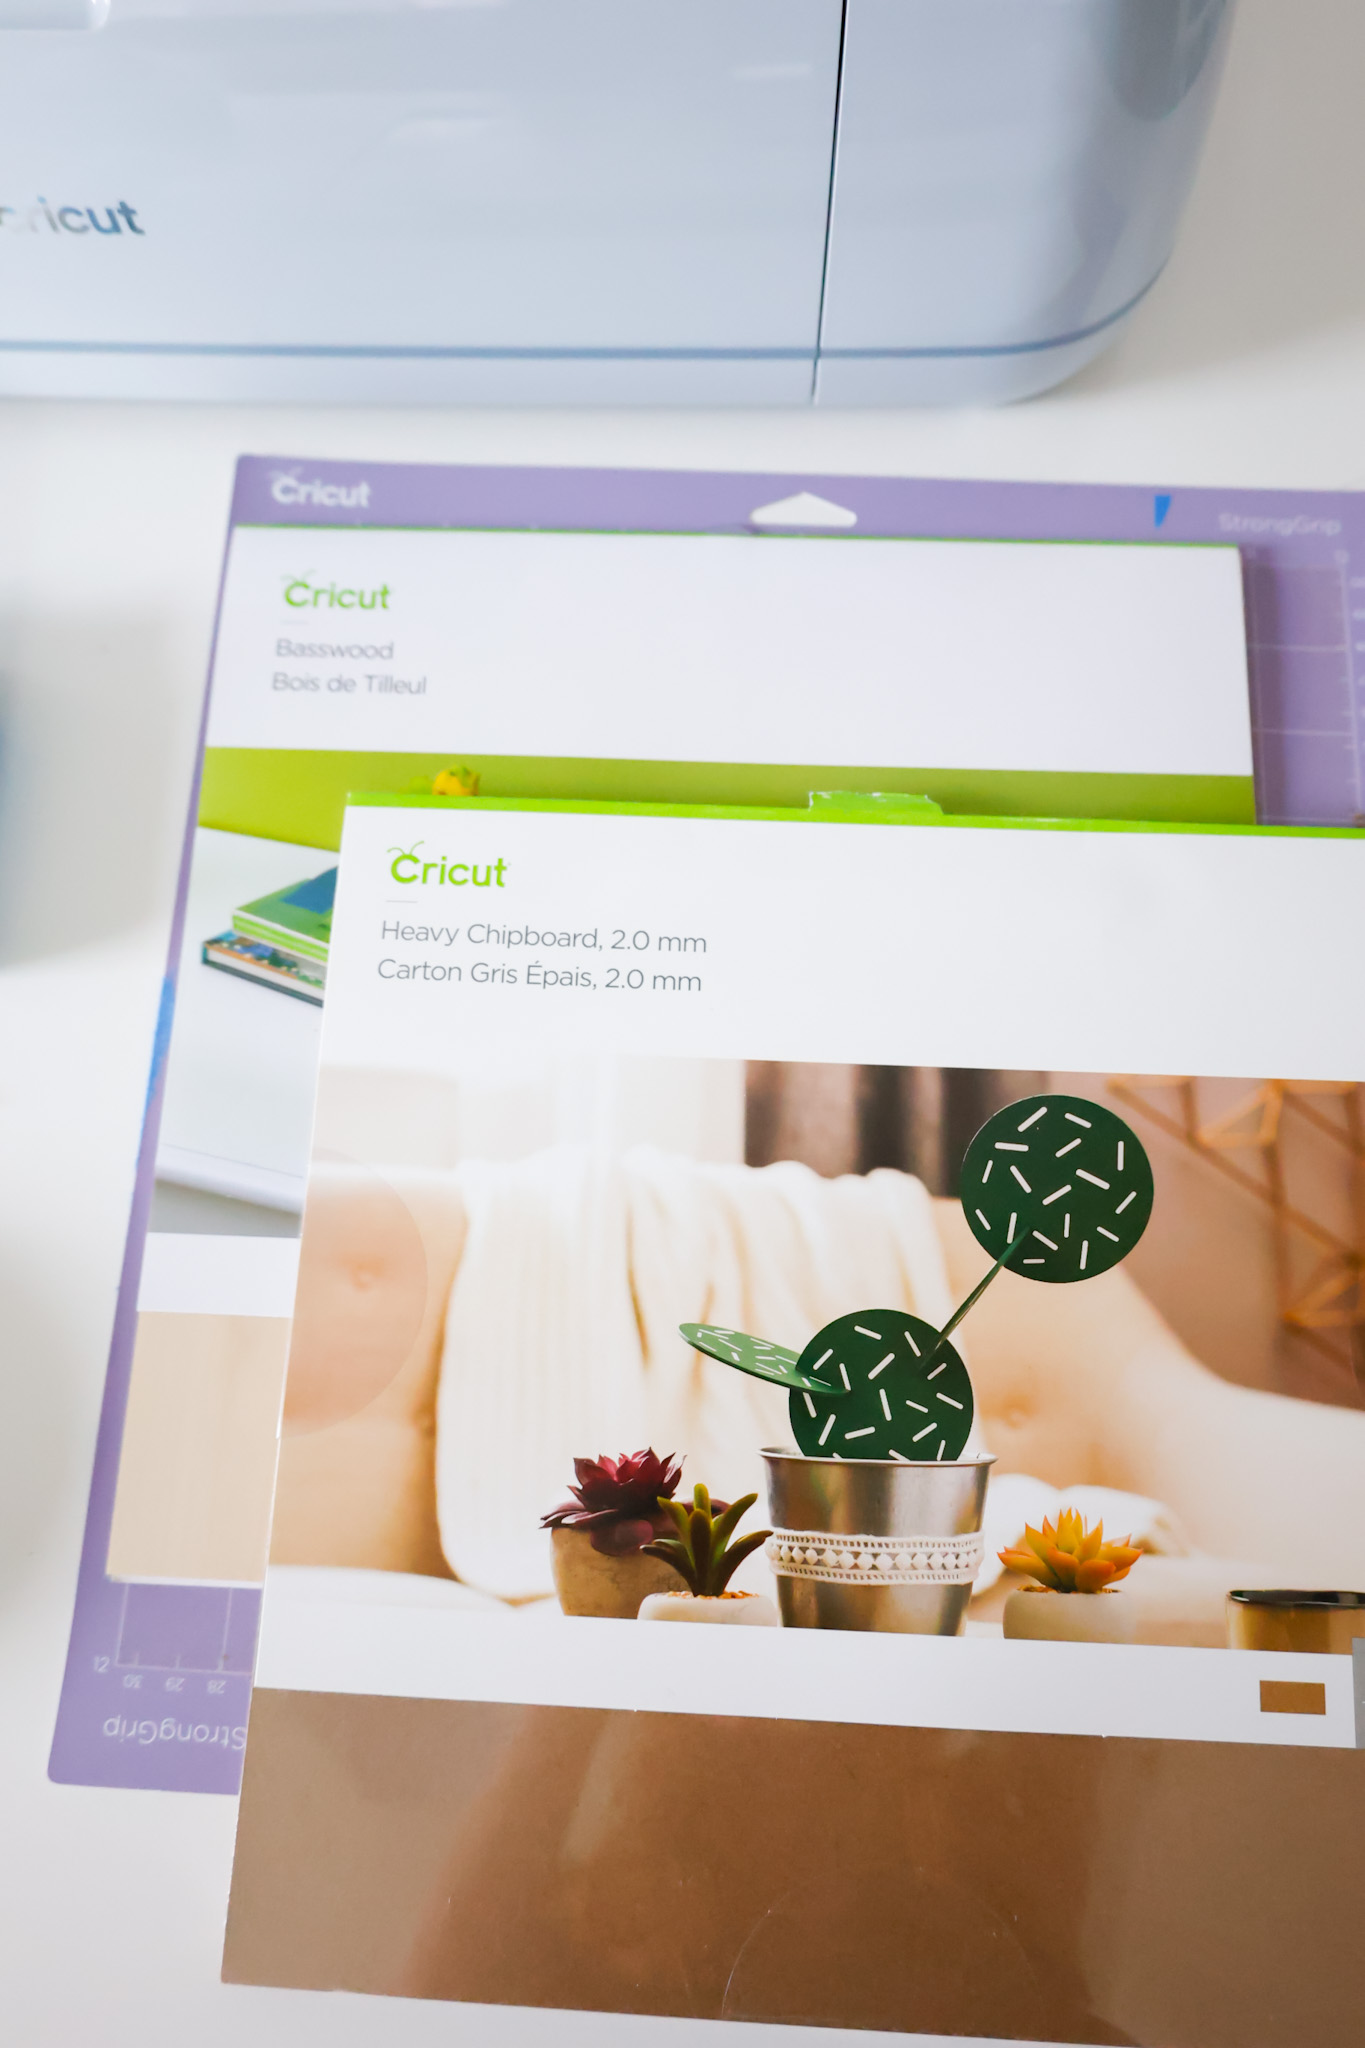
- heavy chipboard
- basswood
- masking tape
- paint in assorted colors
- paintbrush
- brayer (optional)
- beads (optional)
- instant bonding wood adhesive (this is the one I used – has a 5 second working time and 3 second seal time!)
The chipboard will serve as the backing of the puzzle, and the basswood will serve as the decorative top of the puzzle and letters.
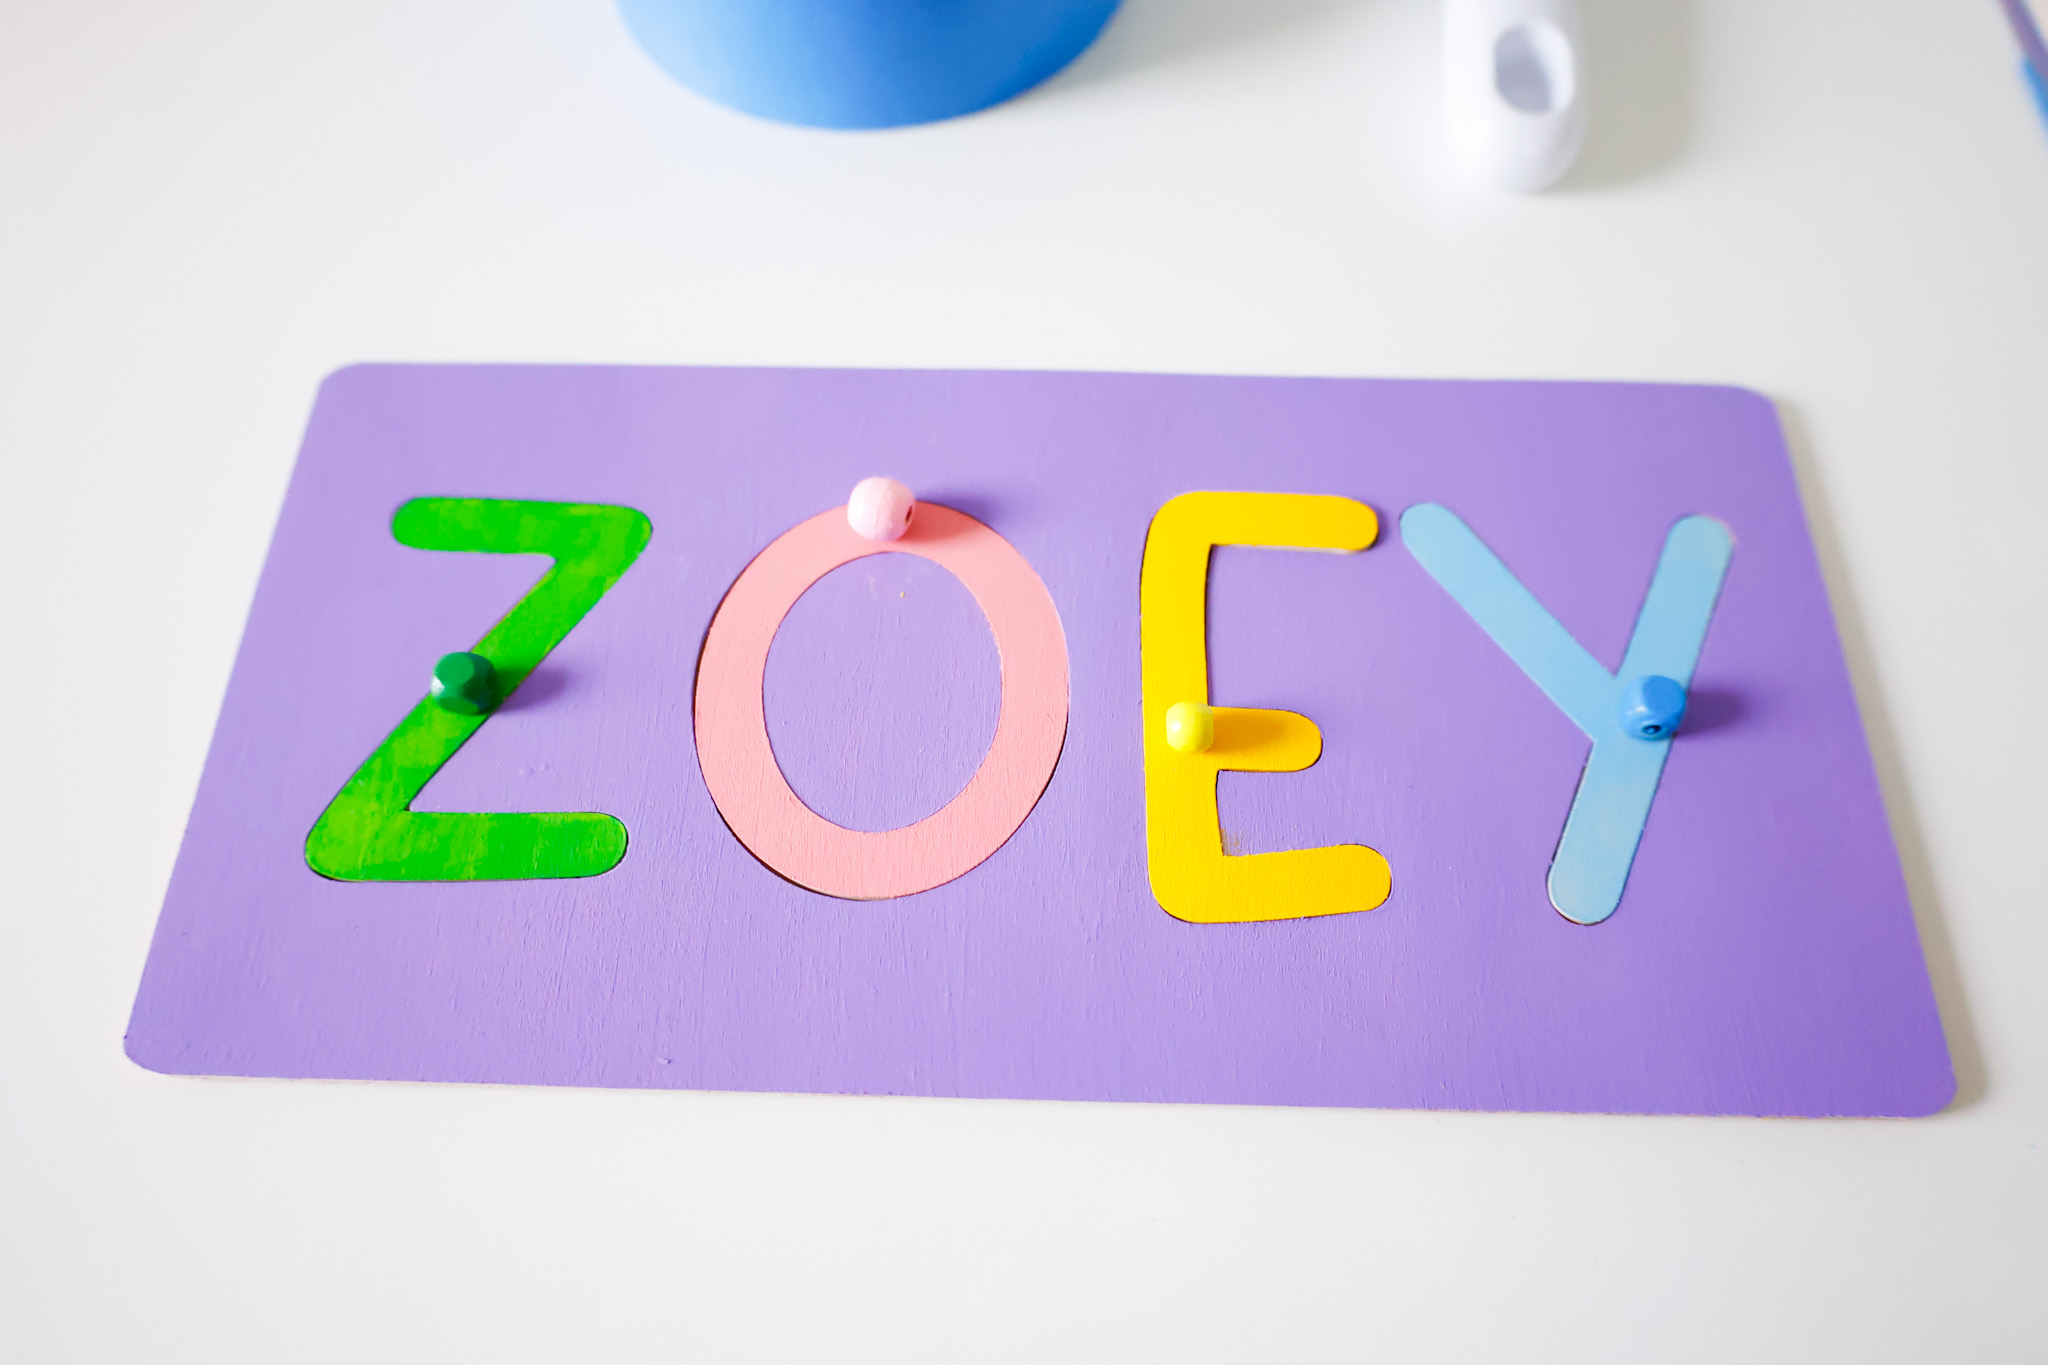
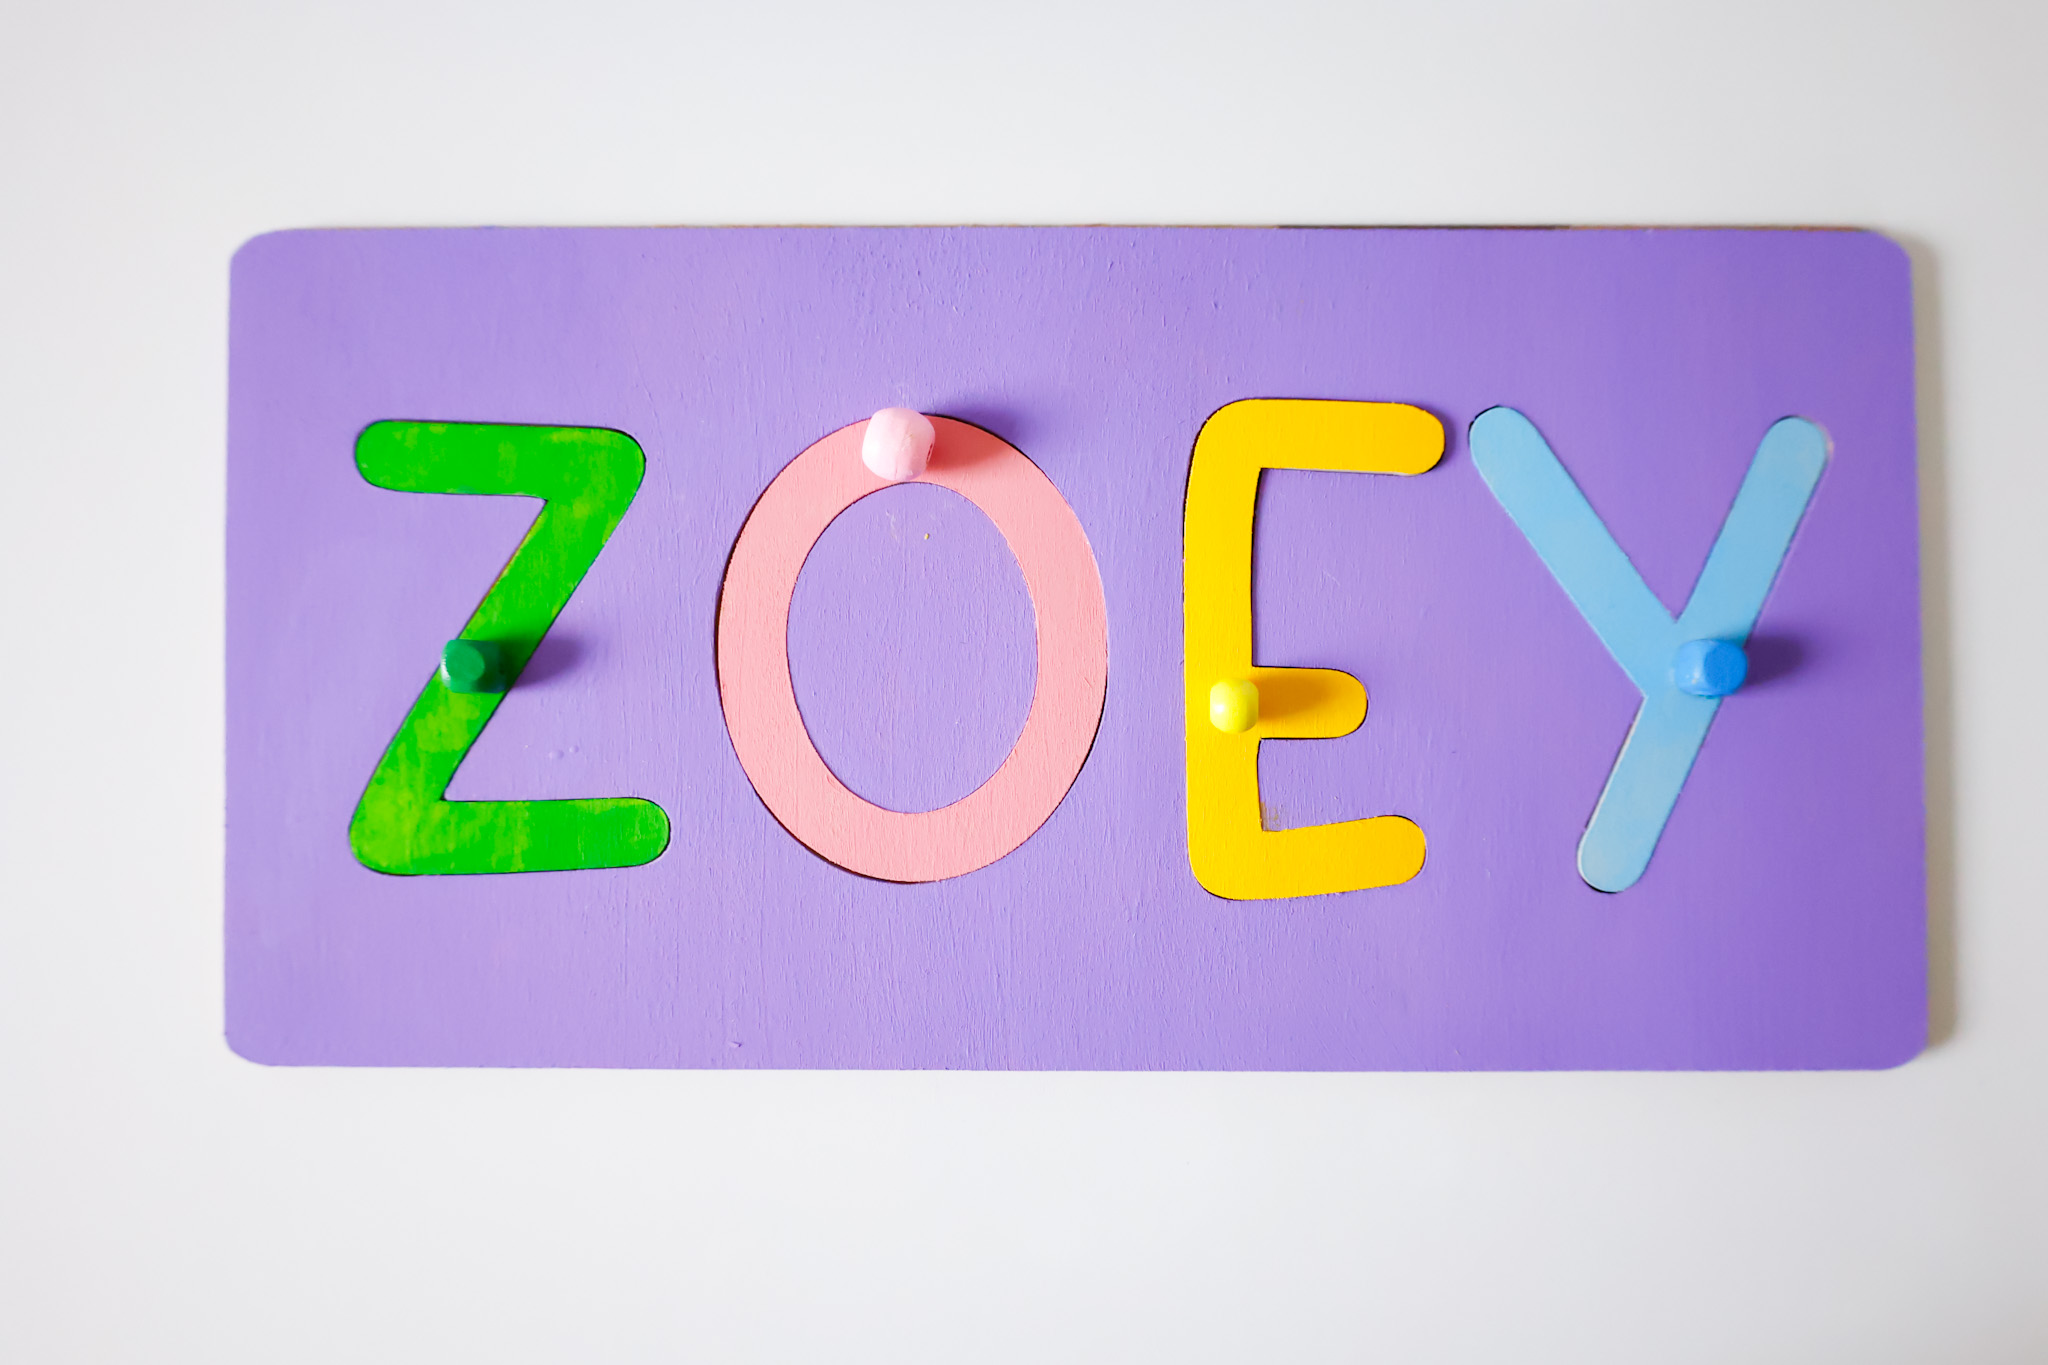
P.S. I highly recommend the beads – they provide a pickup point for young hands to grab onto – great for practicing the pincer grasp!
How To Make A Wooden Name Puzzle
In Design Space, open a new project.
Click on the Images tab on the left (see screenshot below) and search for a rectangle shape.
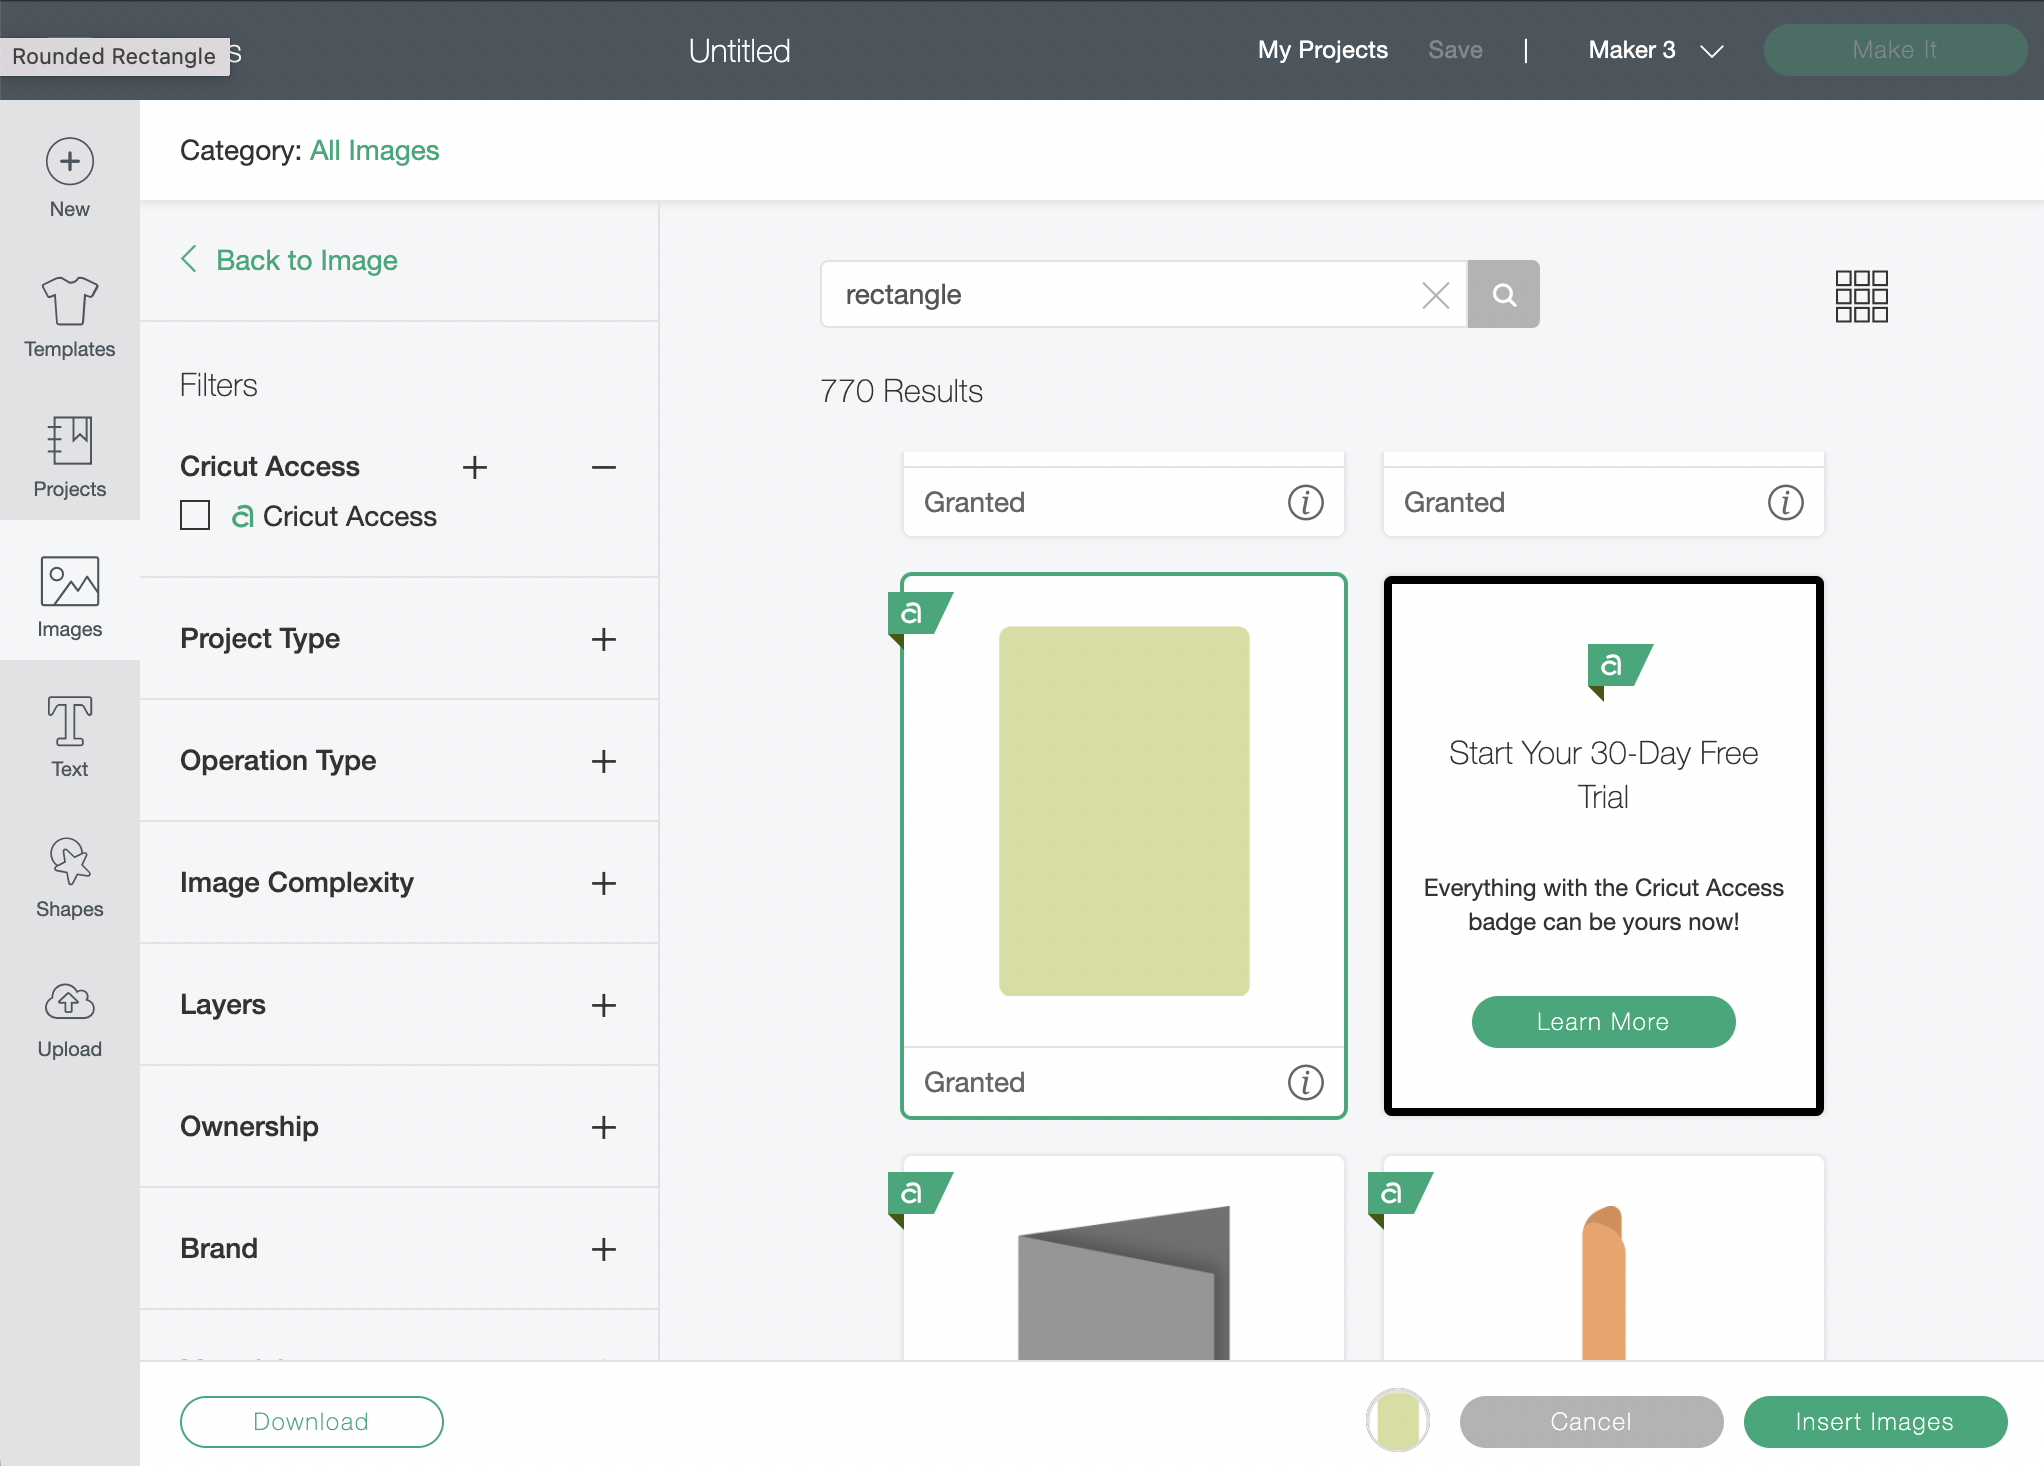
I have Cricut Access, and love it! Highly recommend for the avid crafter – it helps save you time finding images and fonts to upload by providing access to over 150,000 images and over 500+ fonts!
Size your rectangle to under 10″, and add the text for the name you want on your puzzle.
I chose this adorable DTC Natural Sands font in Design Space…
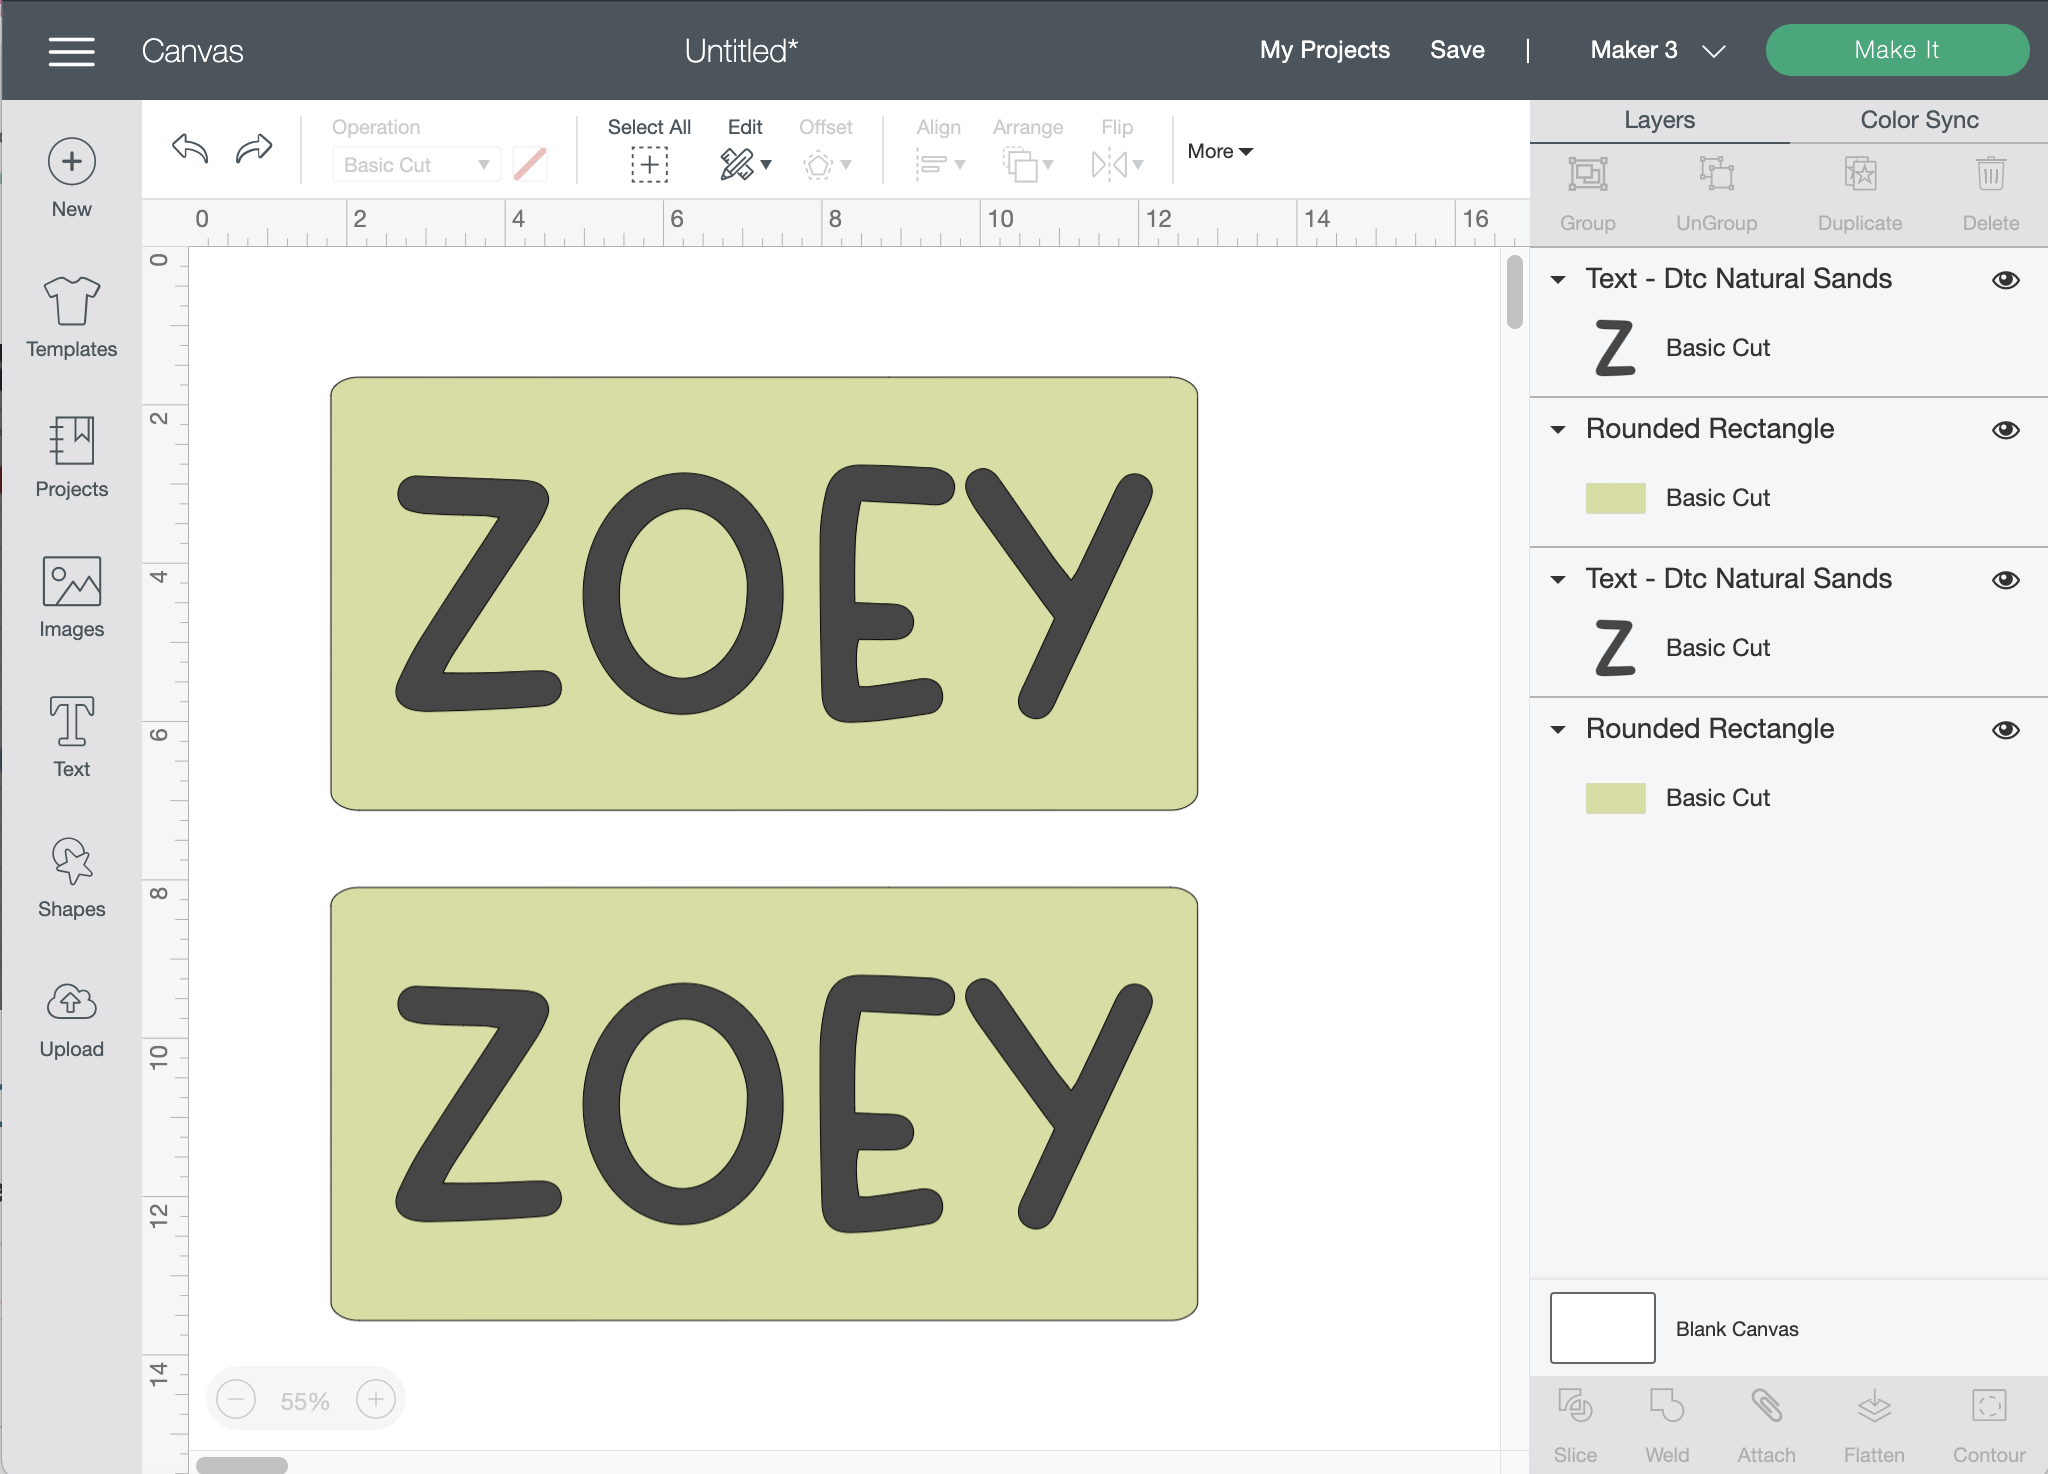
Duplicate your rectangle, eliminate the text on the second rectangle.
Size the text to fit in your rectangle, select both the text and the rectangle, and click on Slice on the bottom right of the screen.
Move the slice result away from the rectangle, and make the text a smidge smaller.
This helps ensure the letters will easily fit in the puzzle.
Make the plain rectangle a different color.
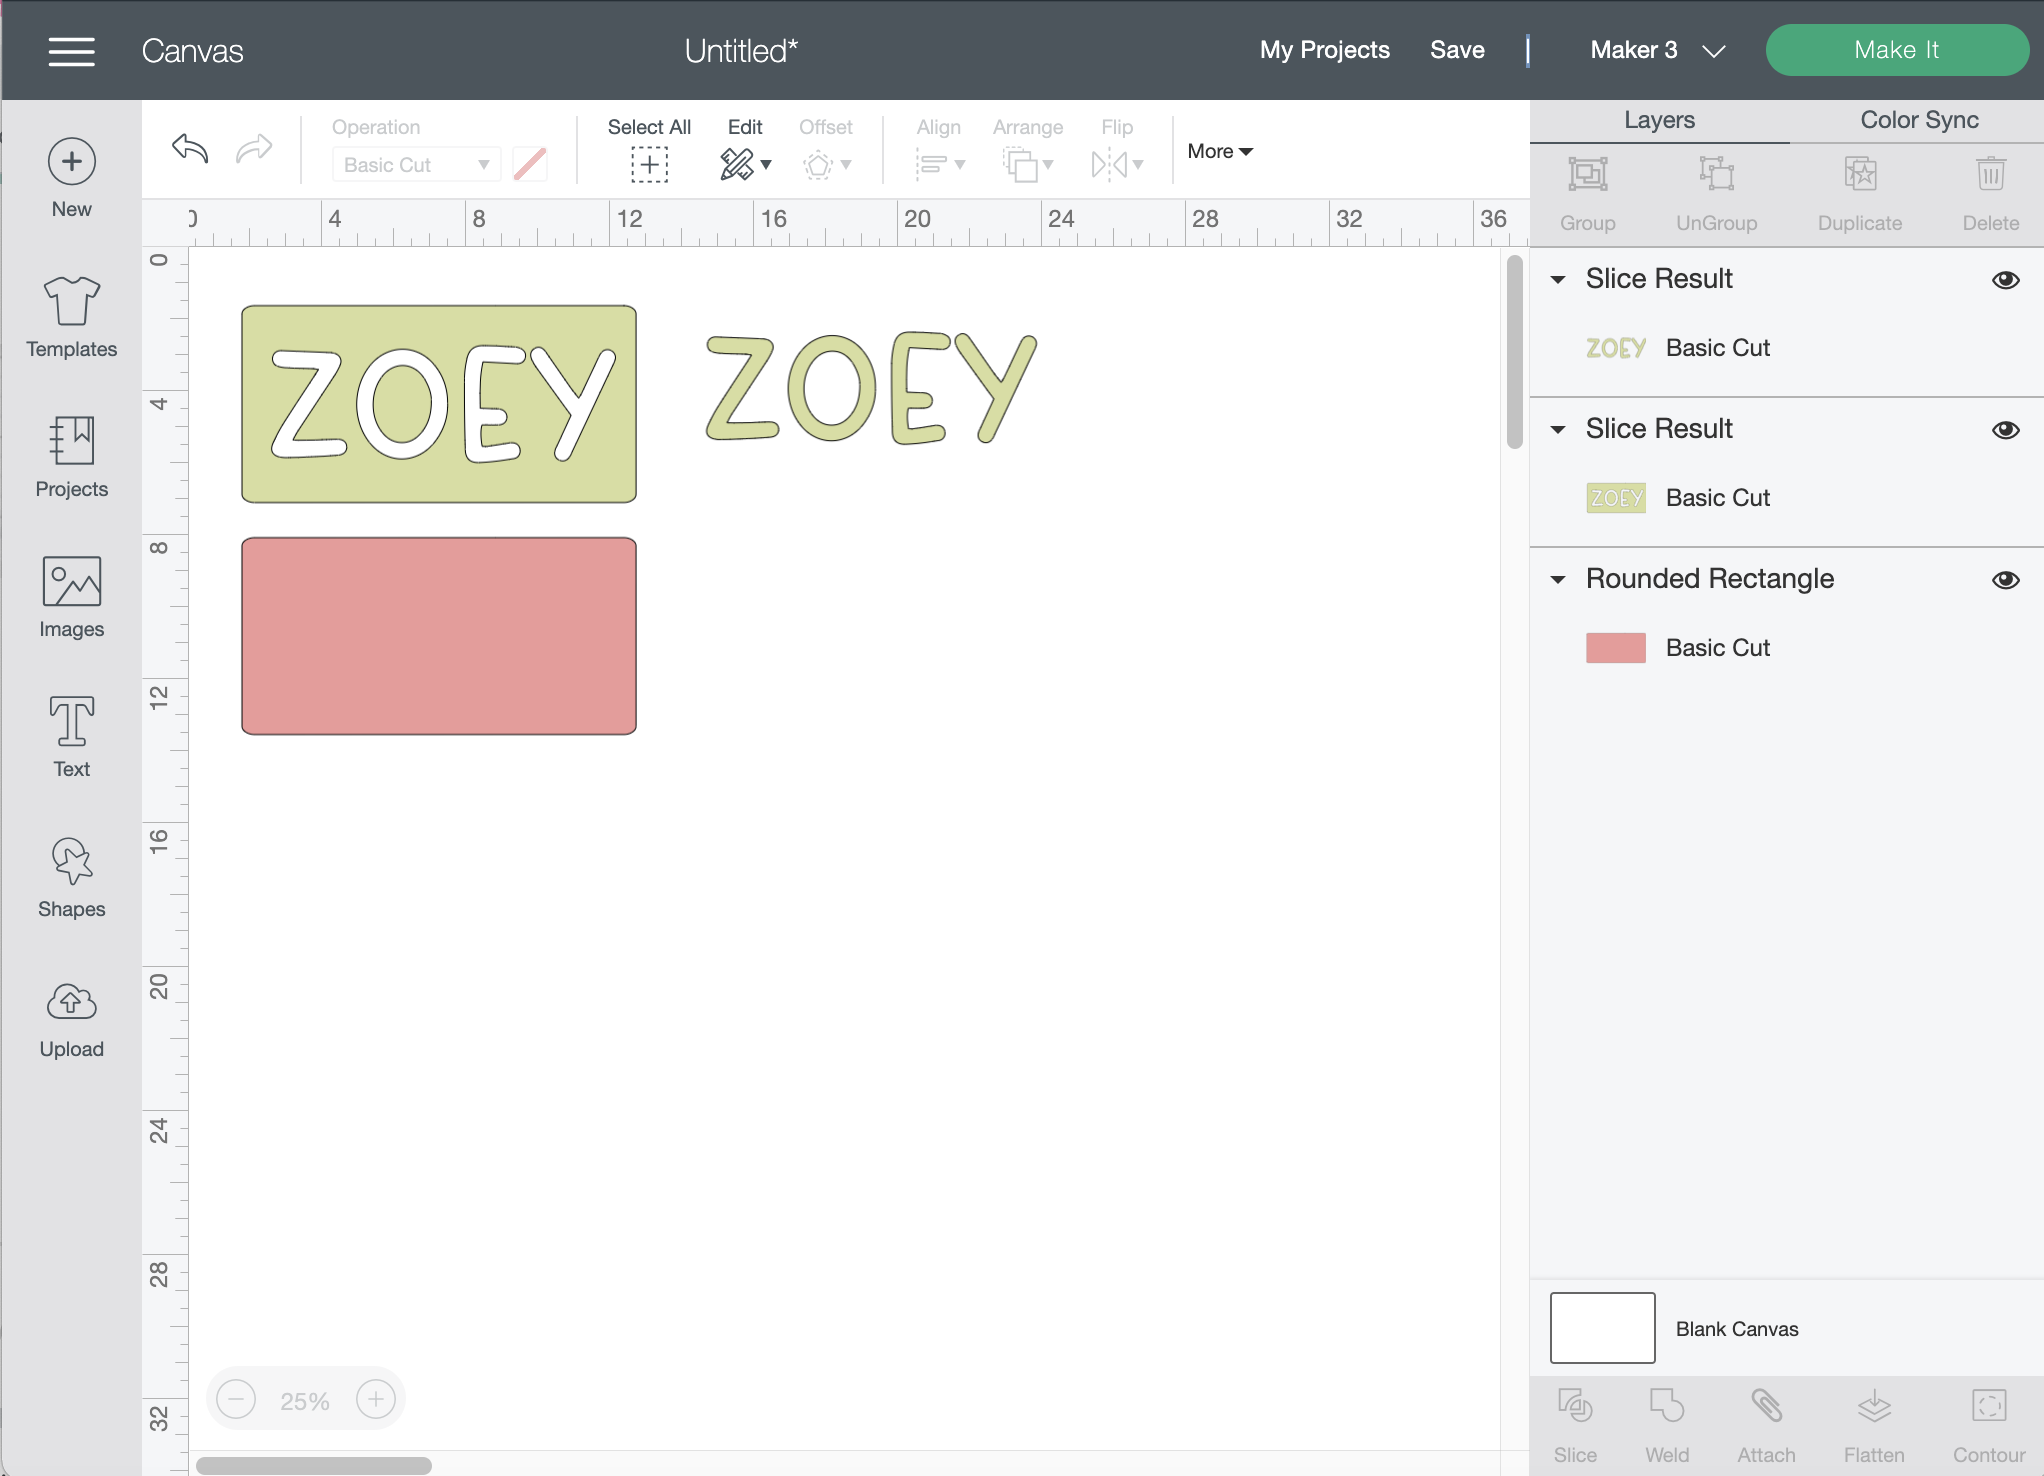
My green rectangle and letters will be the basswood material, whereas the pink rectangle represents the heavy chipboard that will go underneath.
No mirroring is necessary.
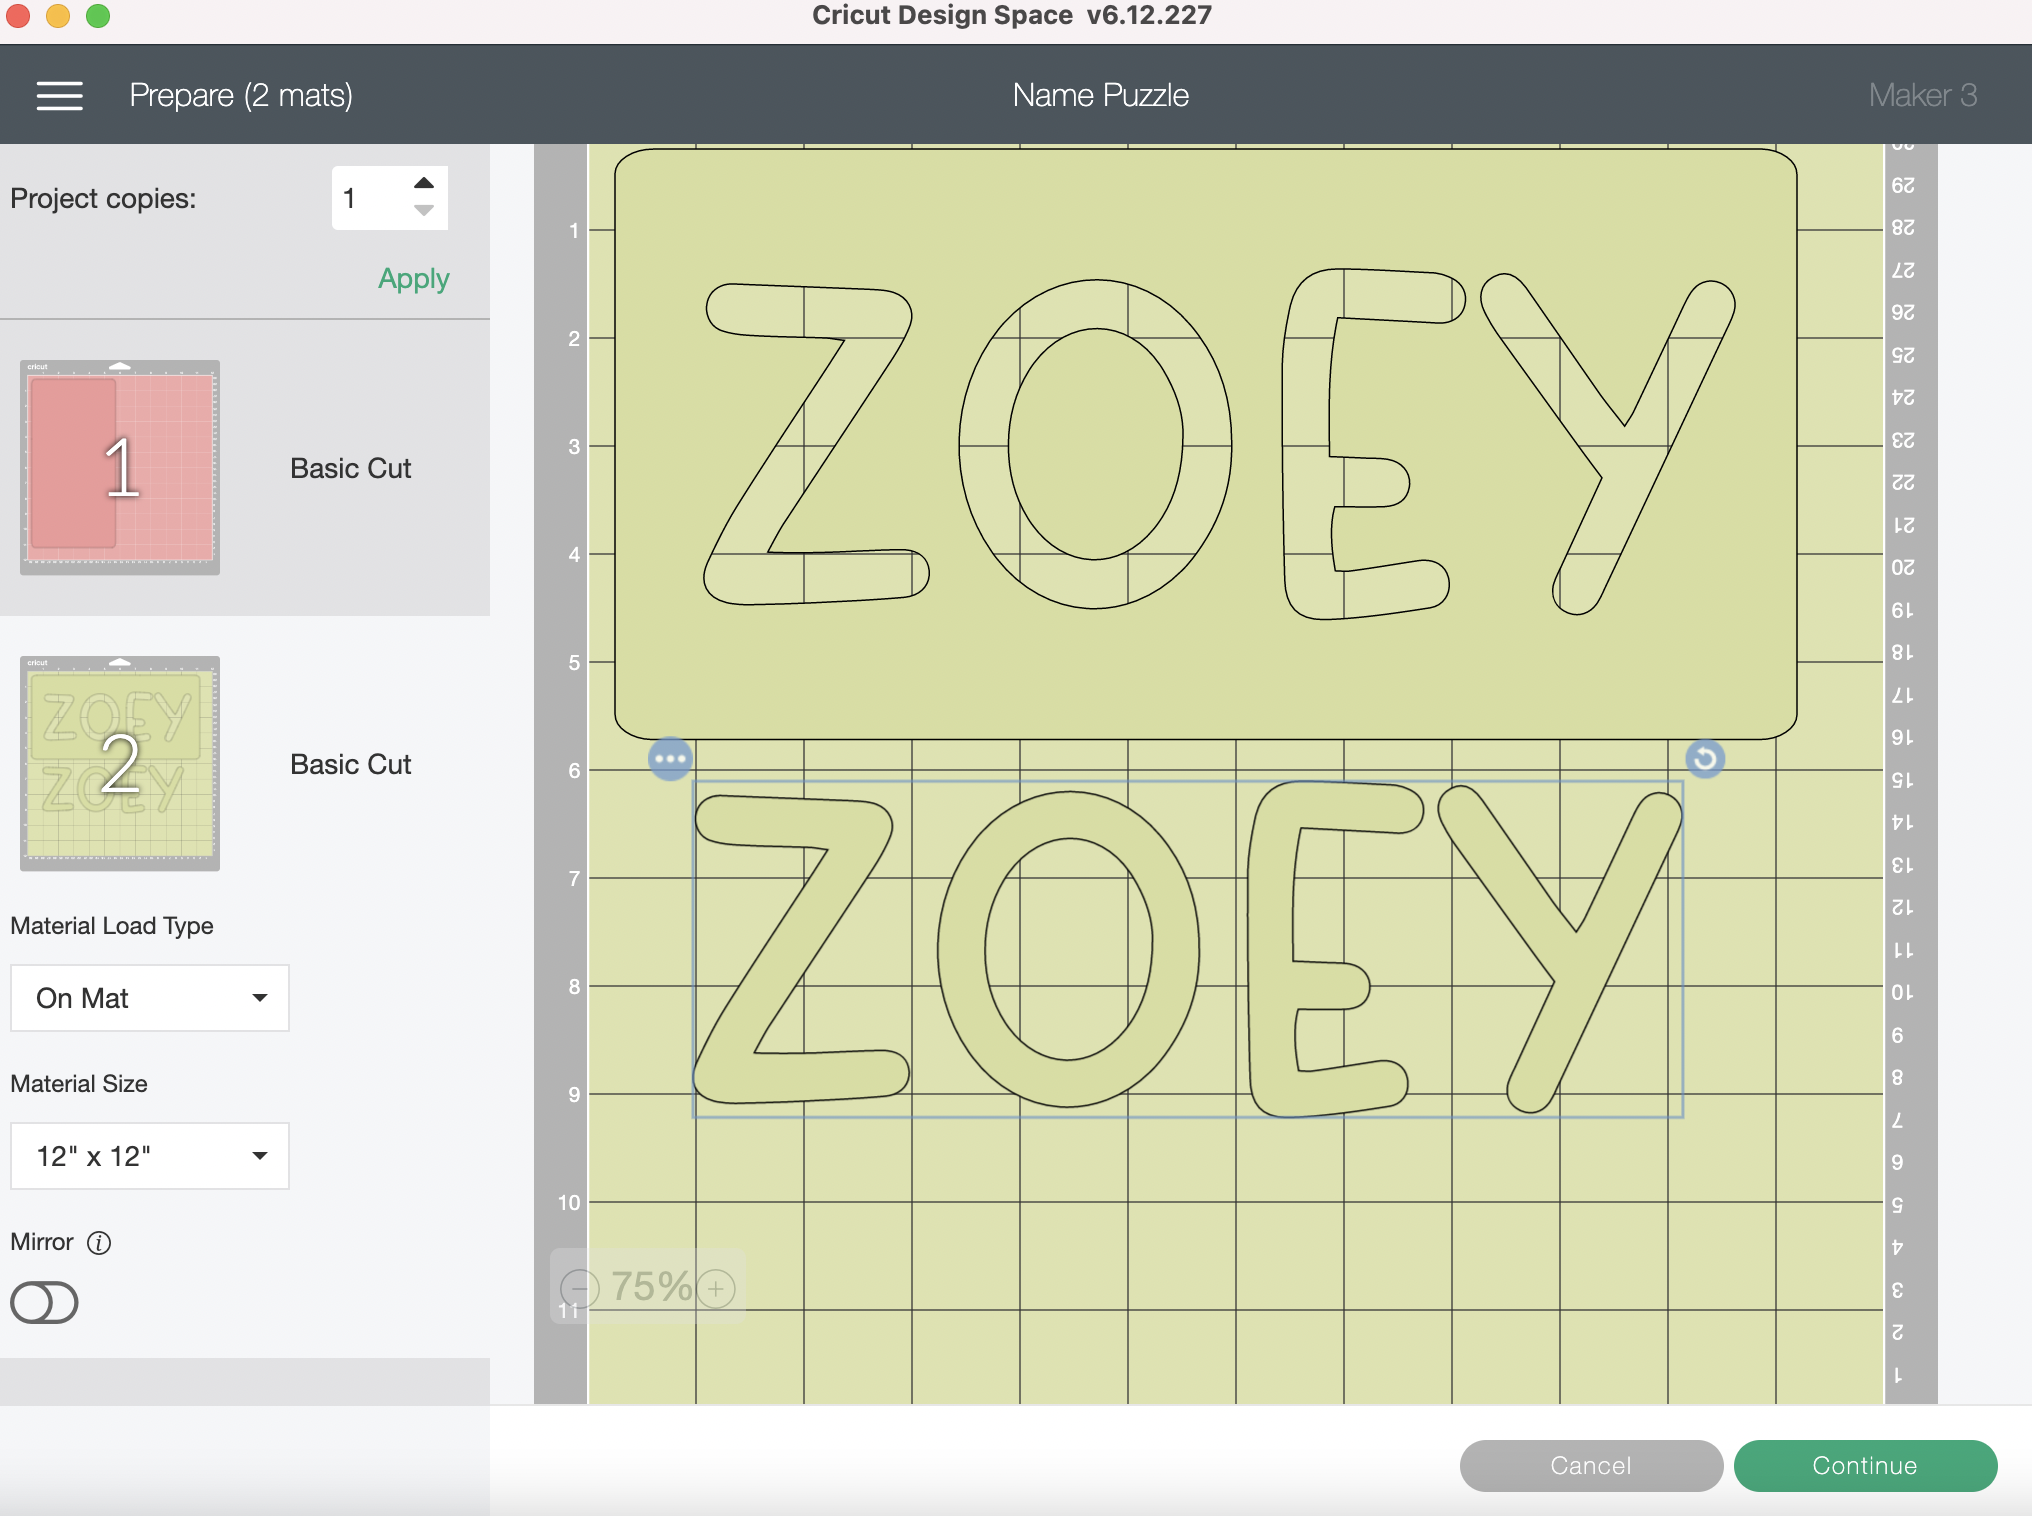
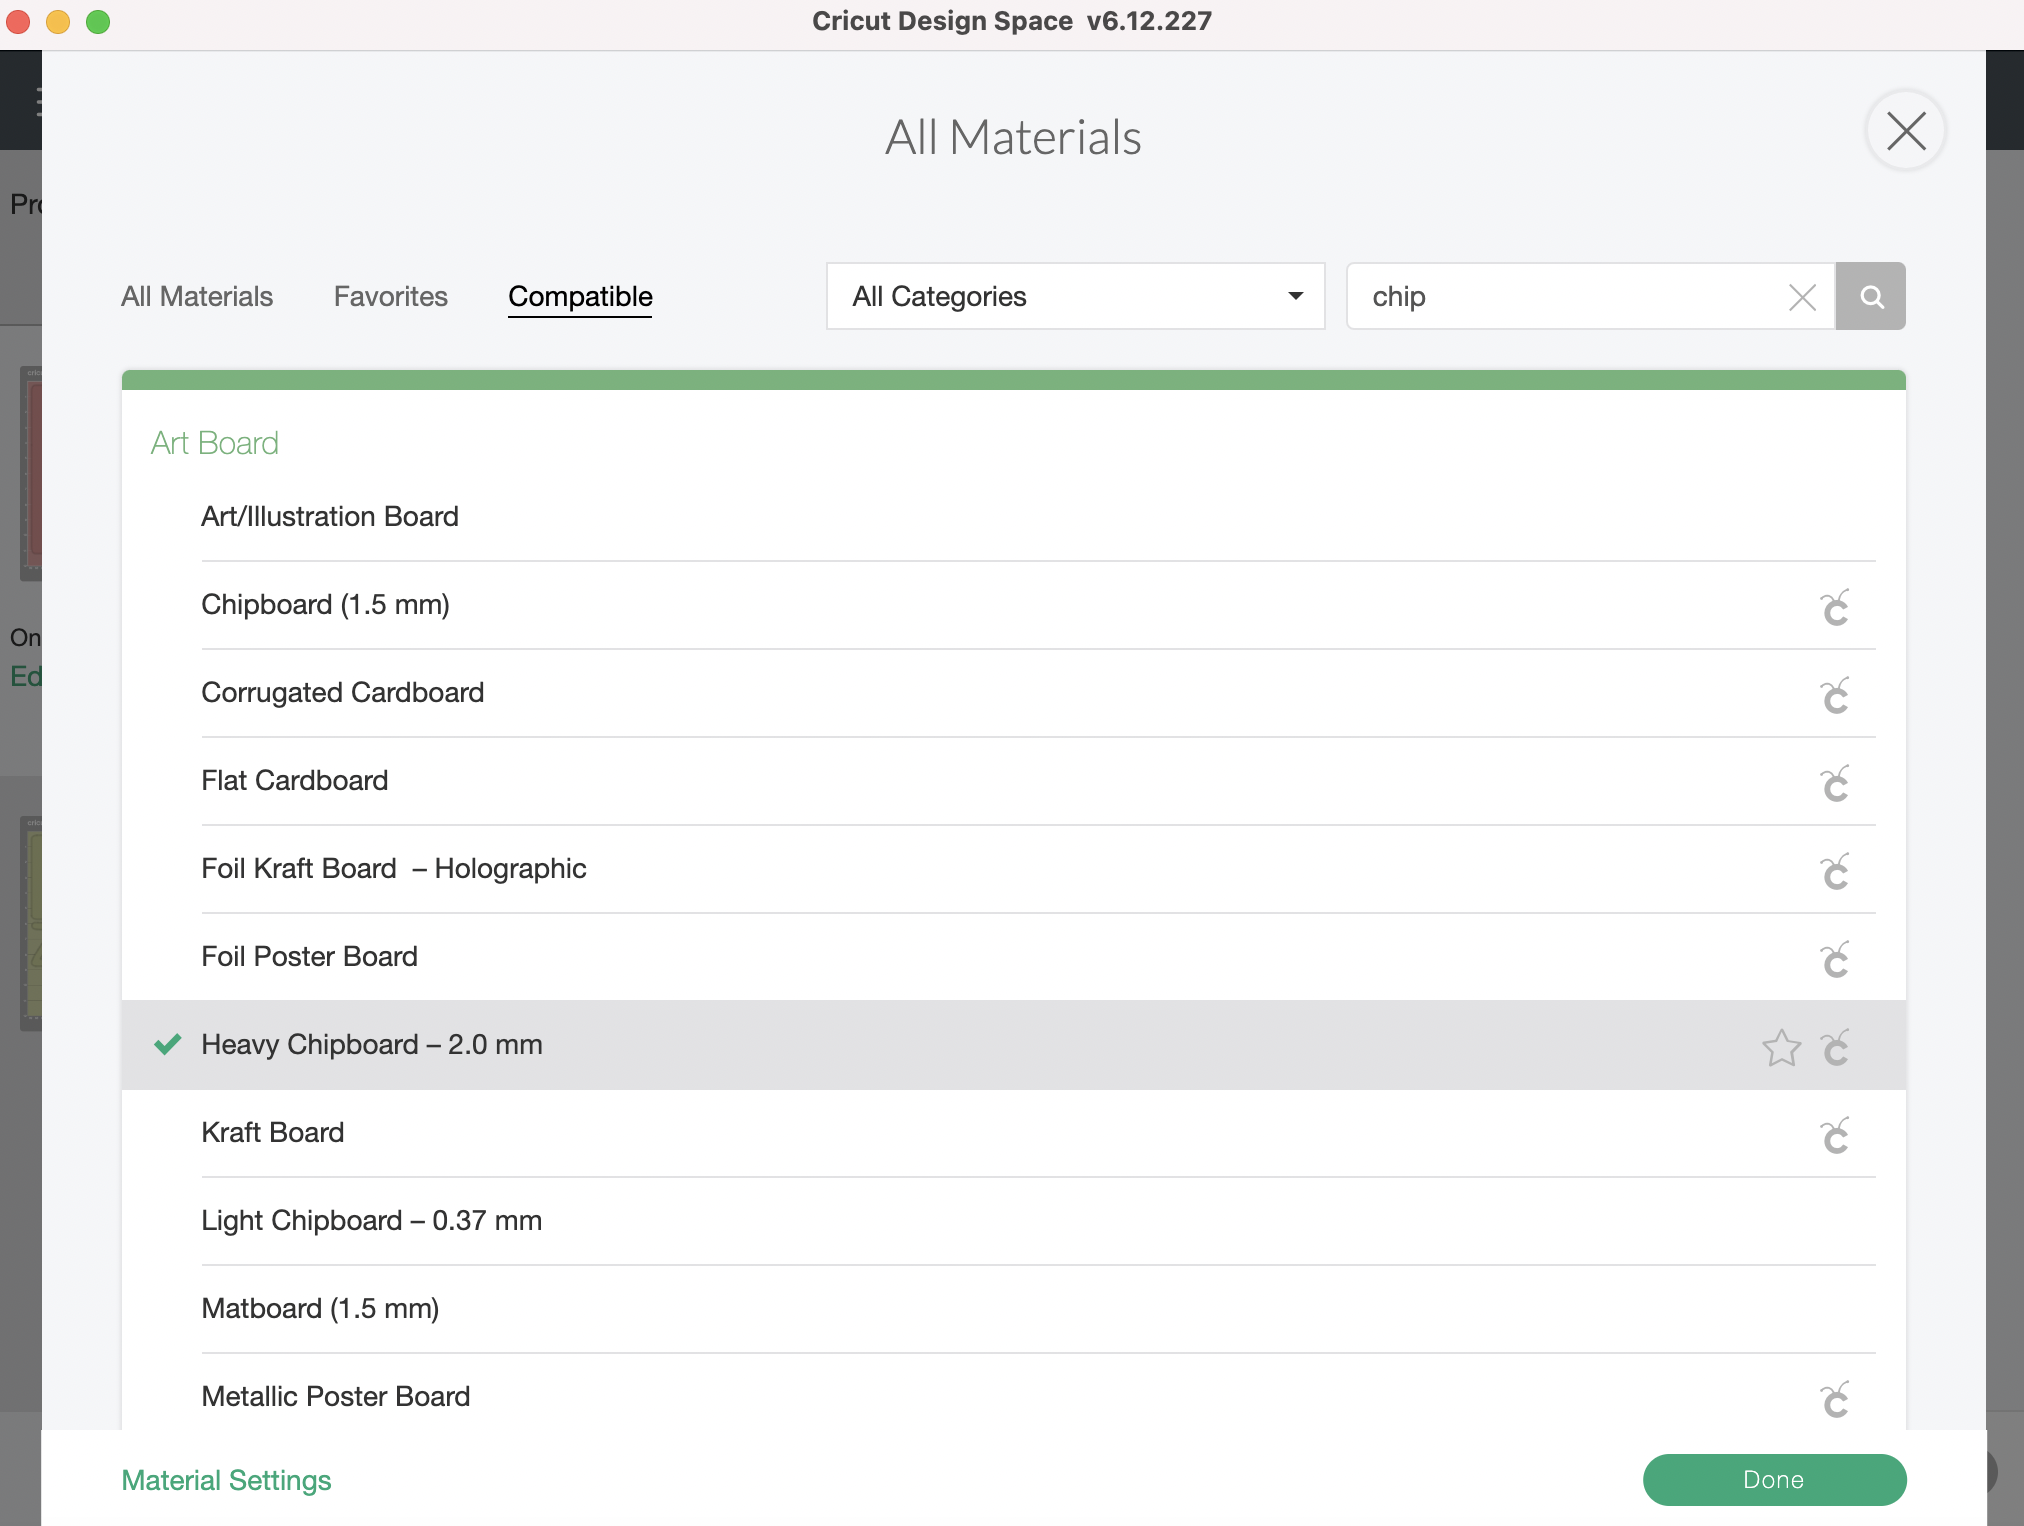
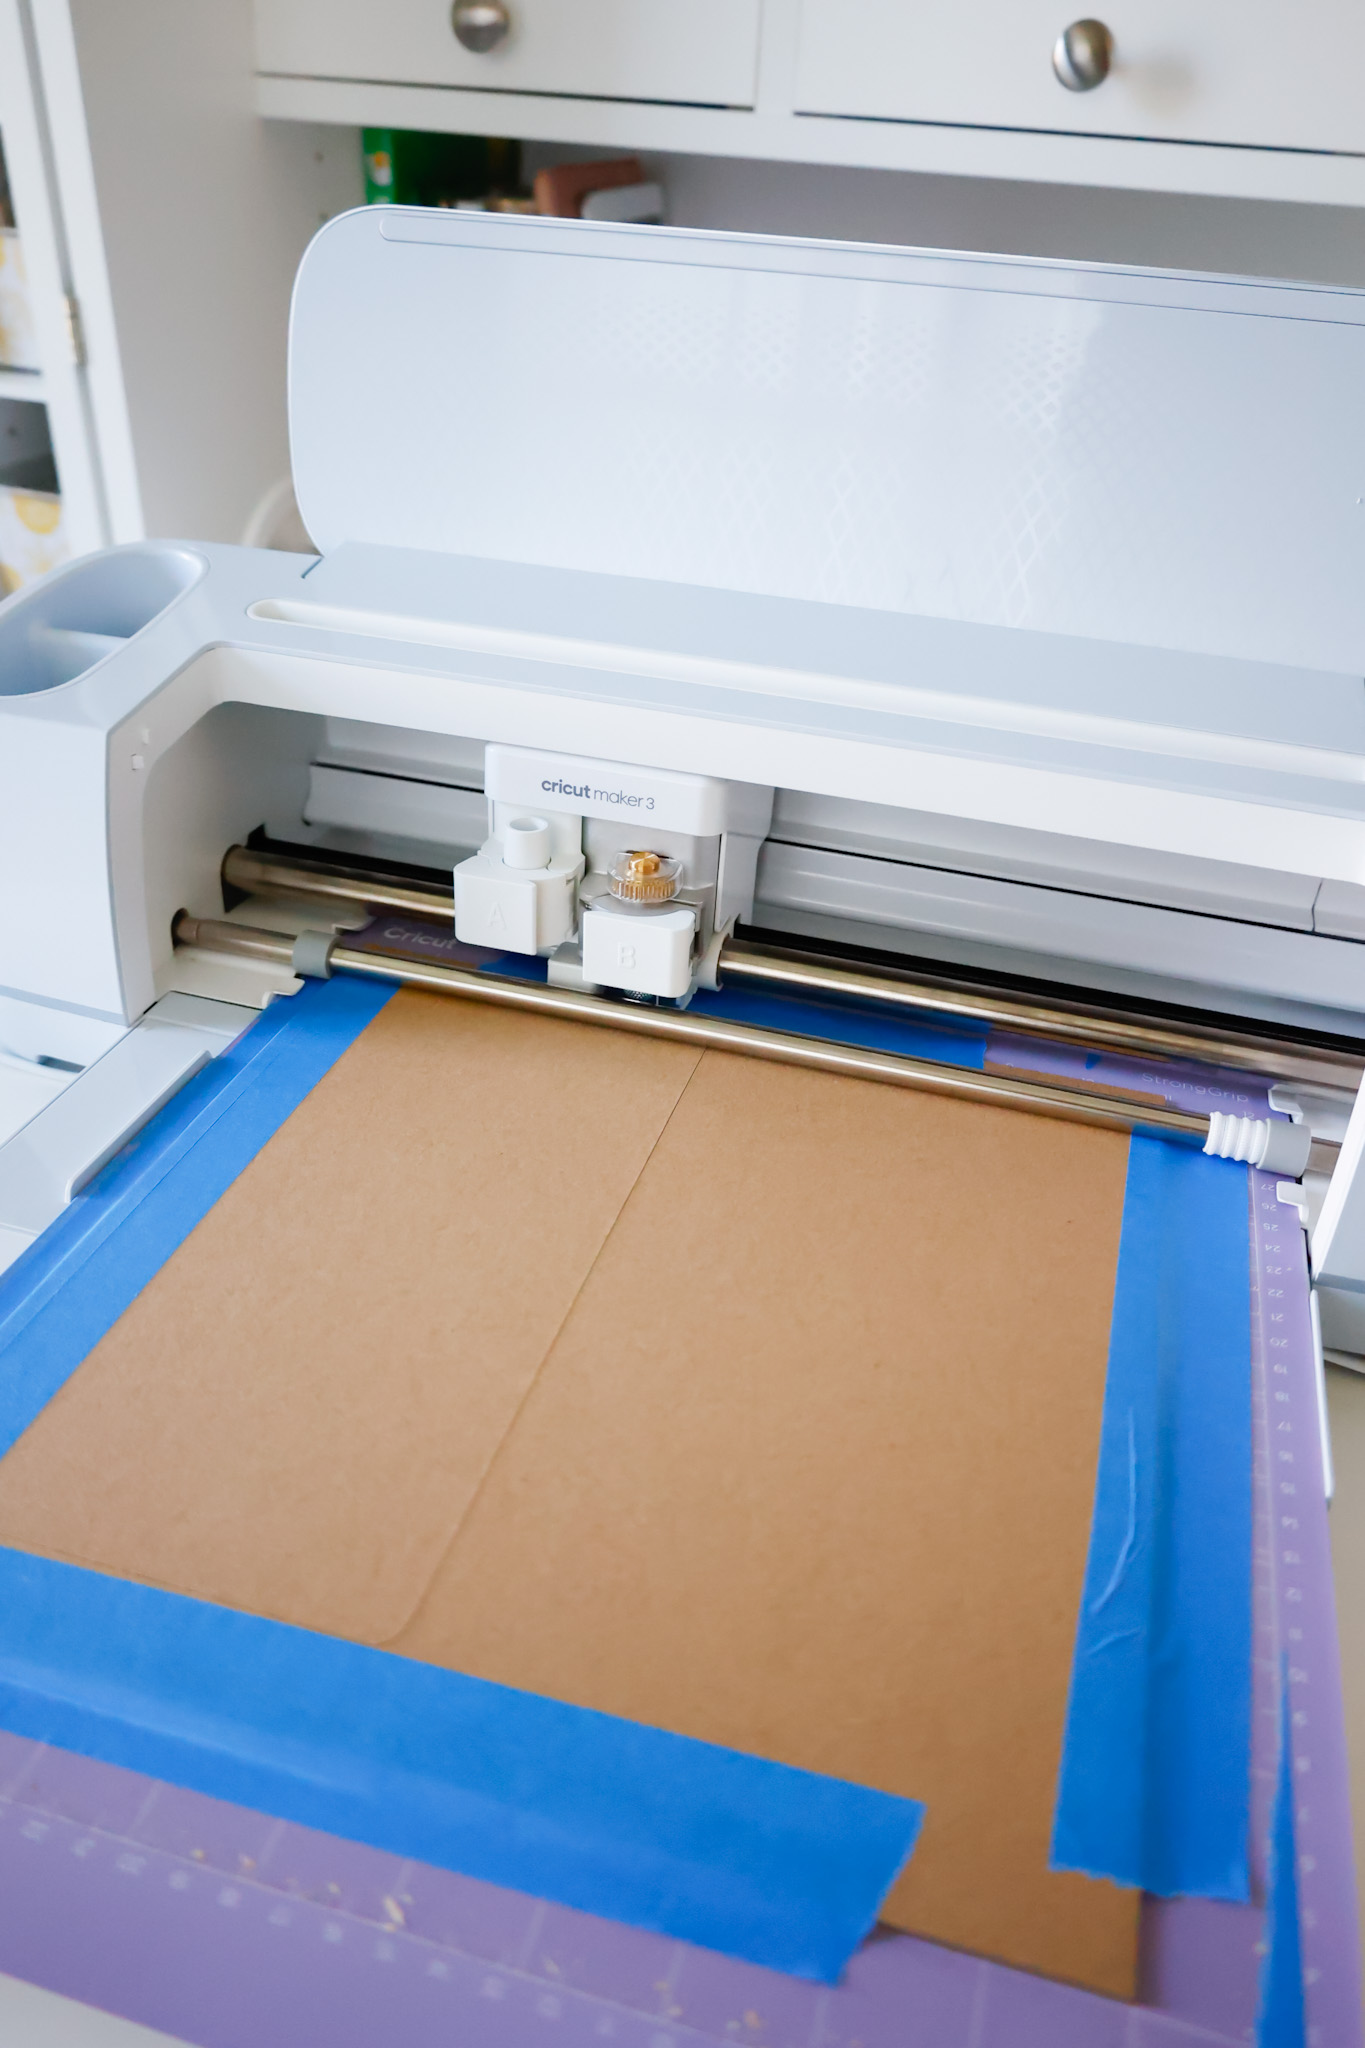
On the Make It screen, search through your custom materials to find the basswood and heavy chipboard materials and cut accordingly.
Make sure these white star wheels are pushed all the way to the right before putting your mat in the machine, however!
Cricut also recommends securing your chipboard and basswood to your mat on all four sides with masking tape – this helps prevent any sliding during the cuts, which is especially important considering how many times the material needs to be cut!
You can also use a brayer to help secure your materials to the StrongGrip mat.
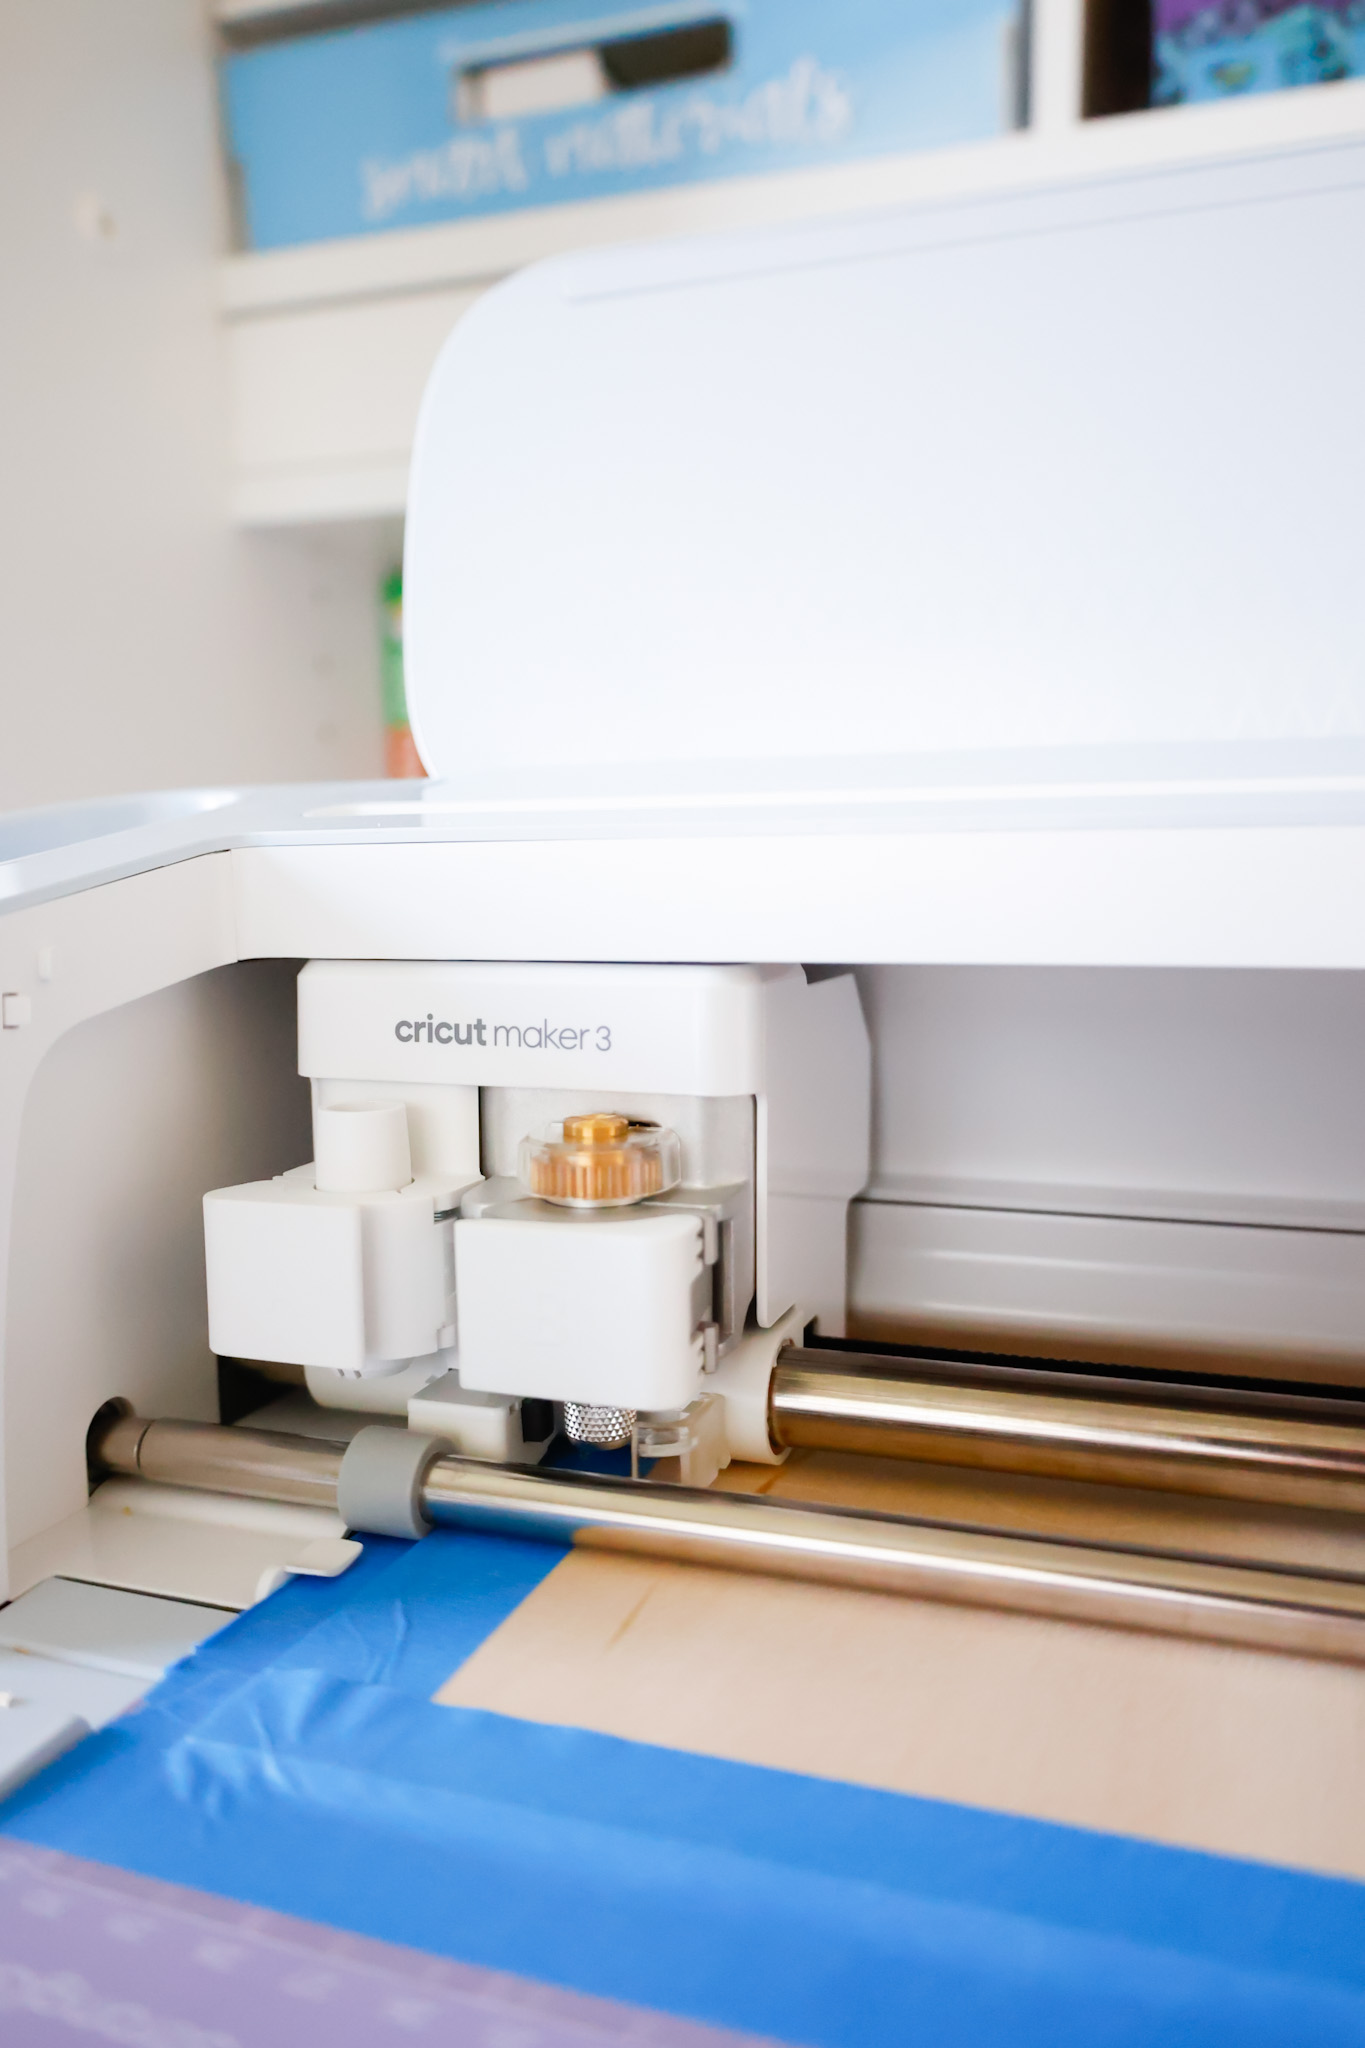
As your machine cuts, the knife blade will rotate as necessary.
Related: DIY Print Then Cut Baby Closet Dividers
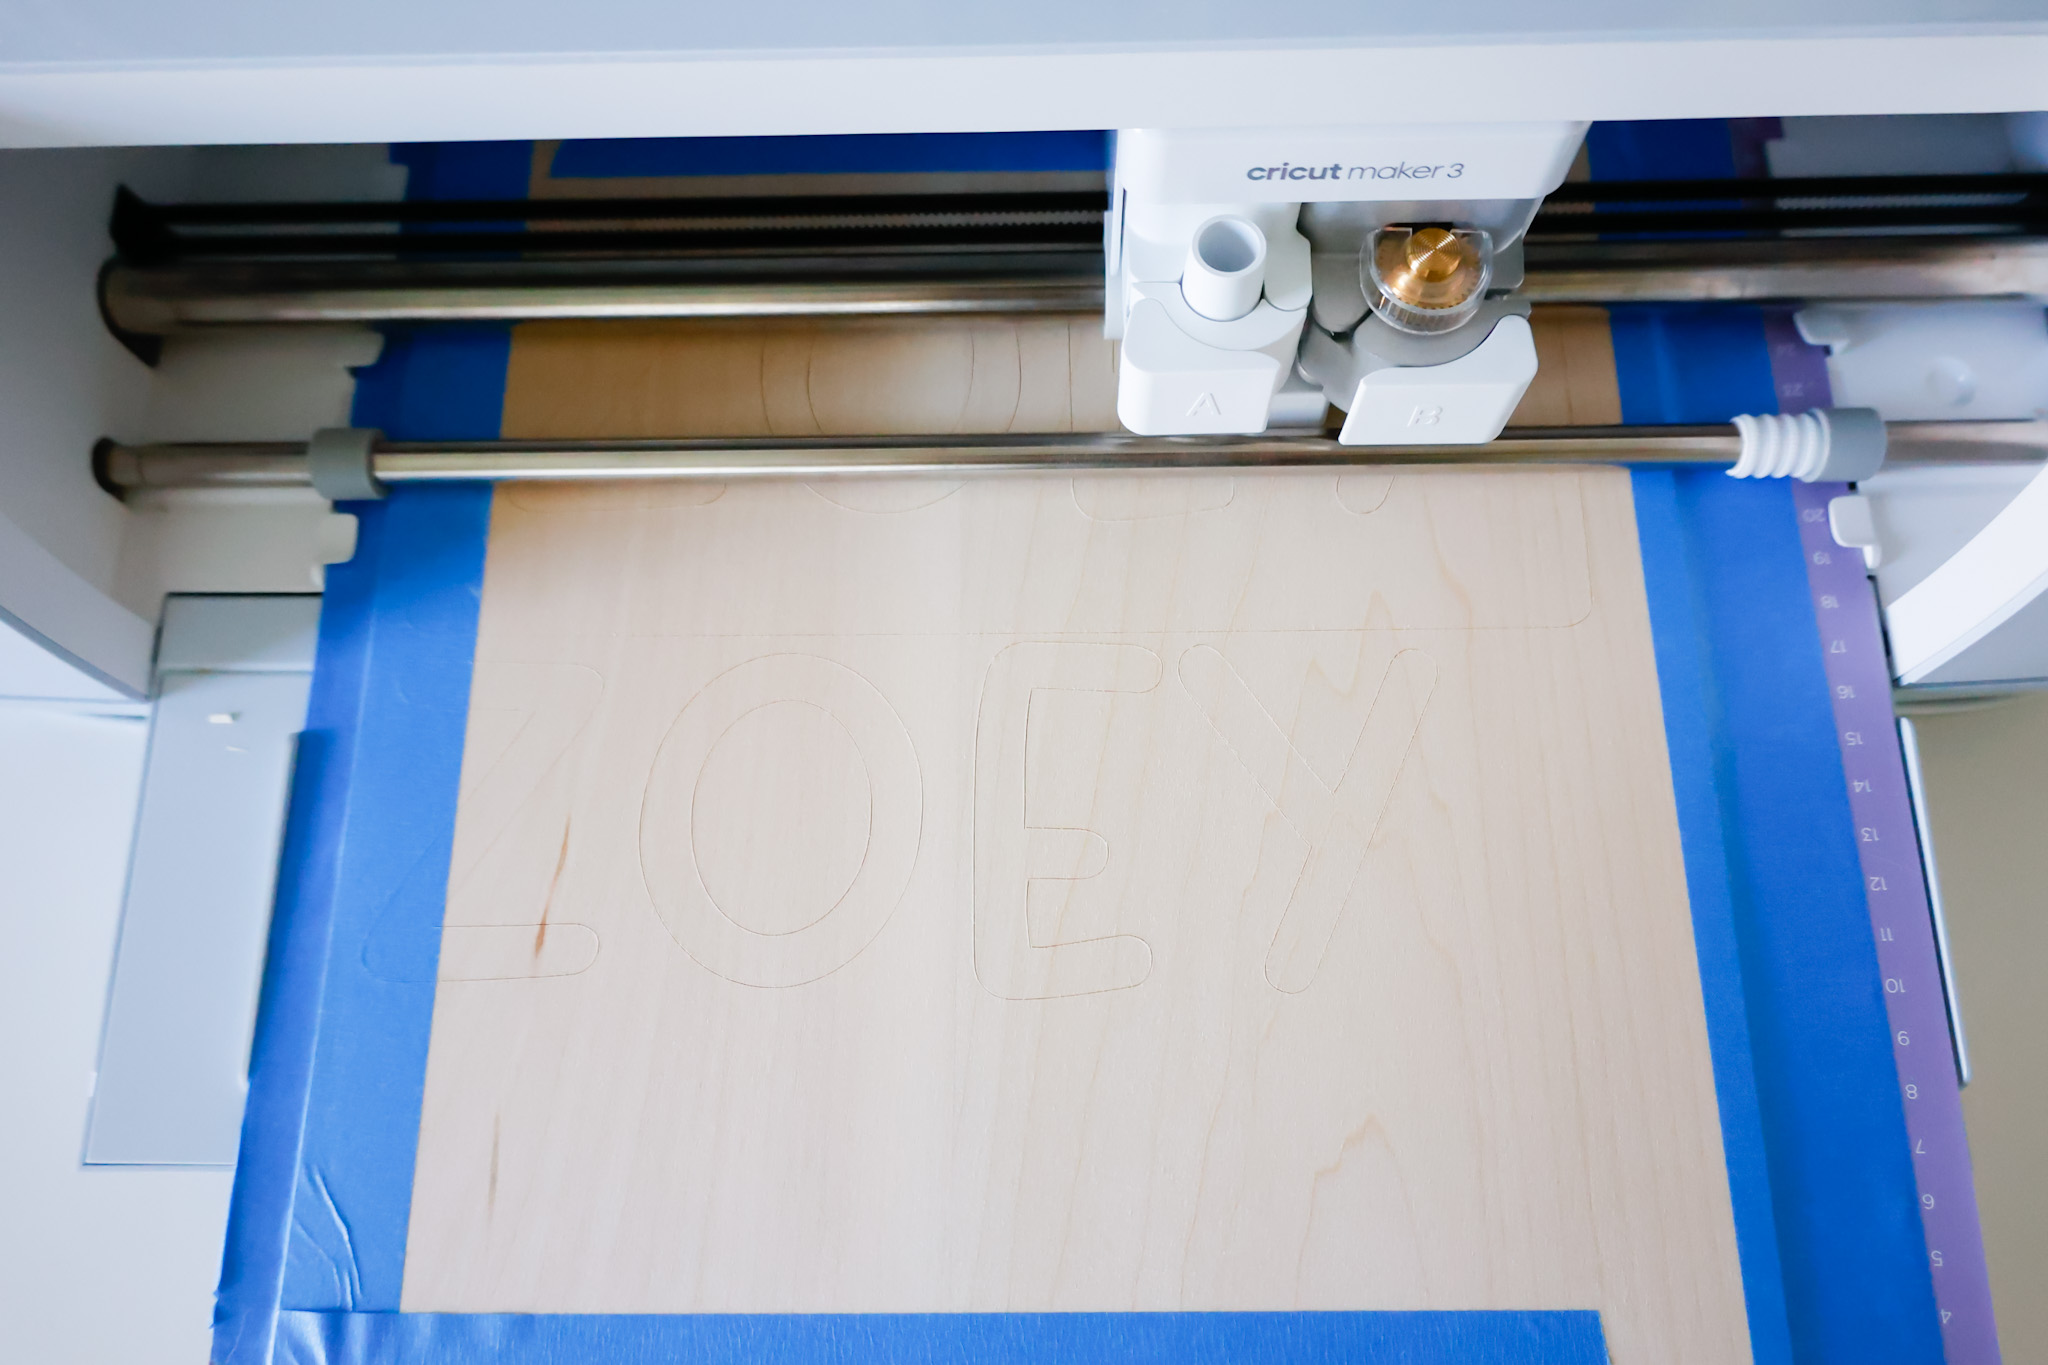
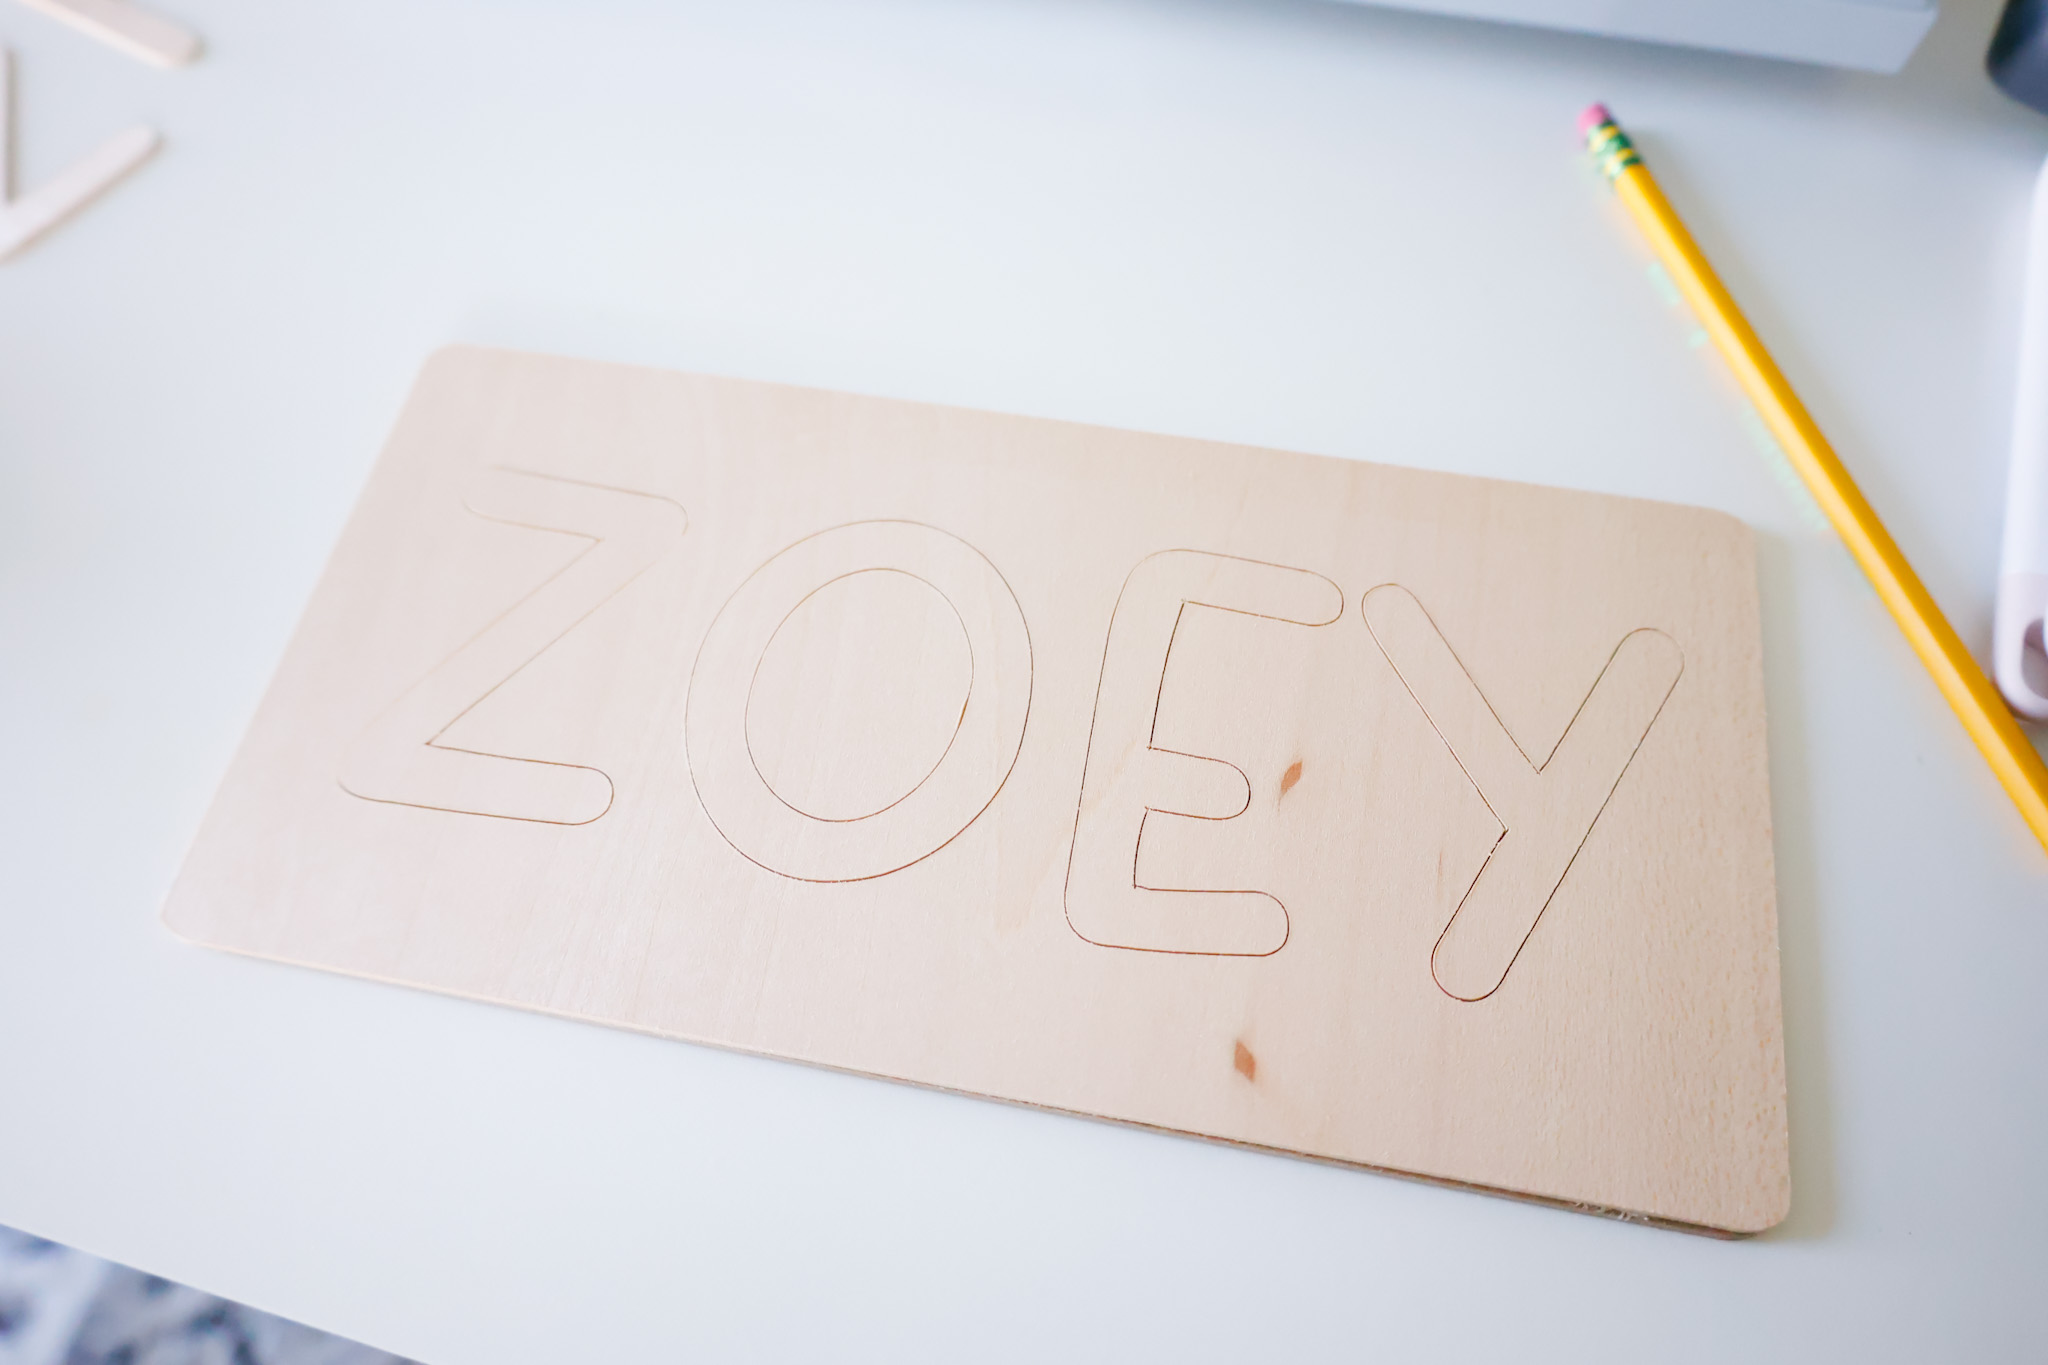
Here is my finished cut basswood and smaller letters, ready to be decorated…
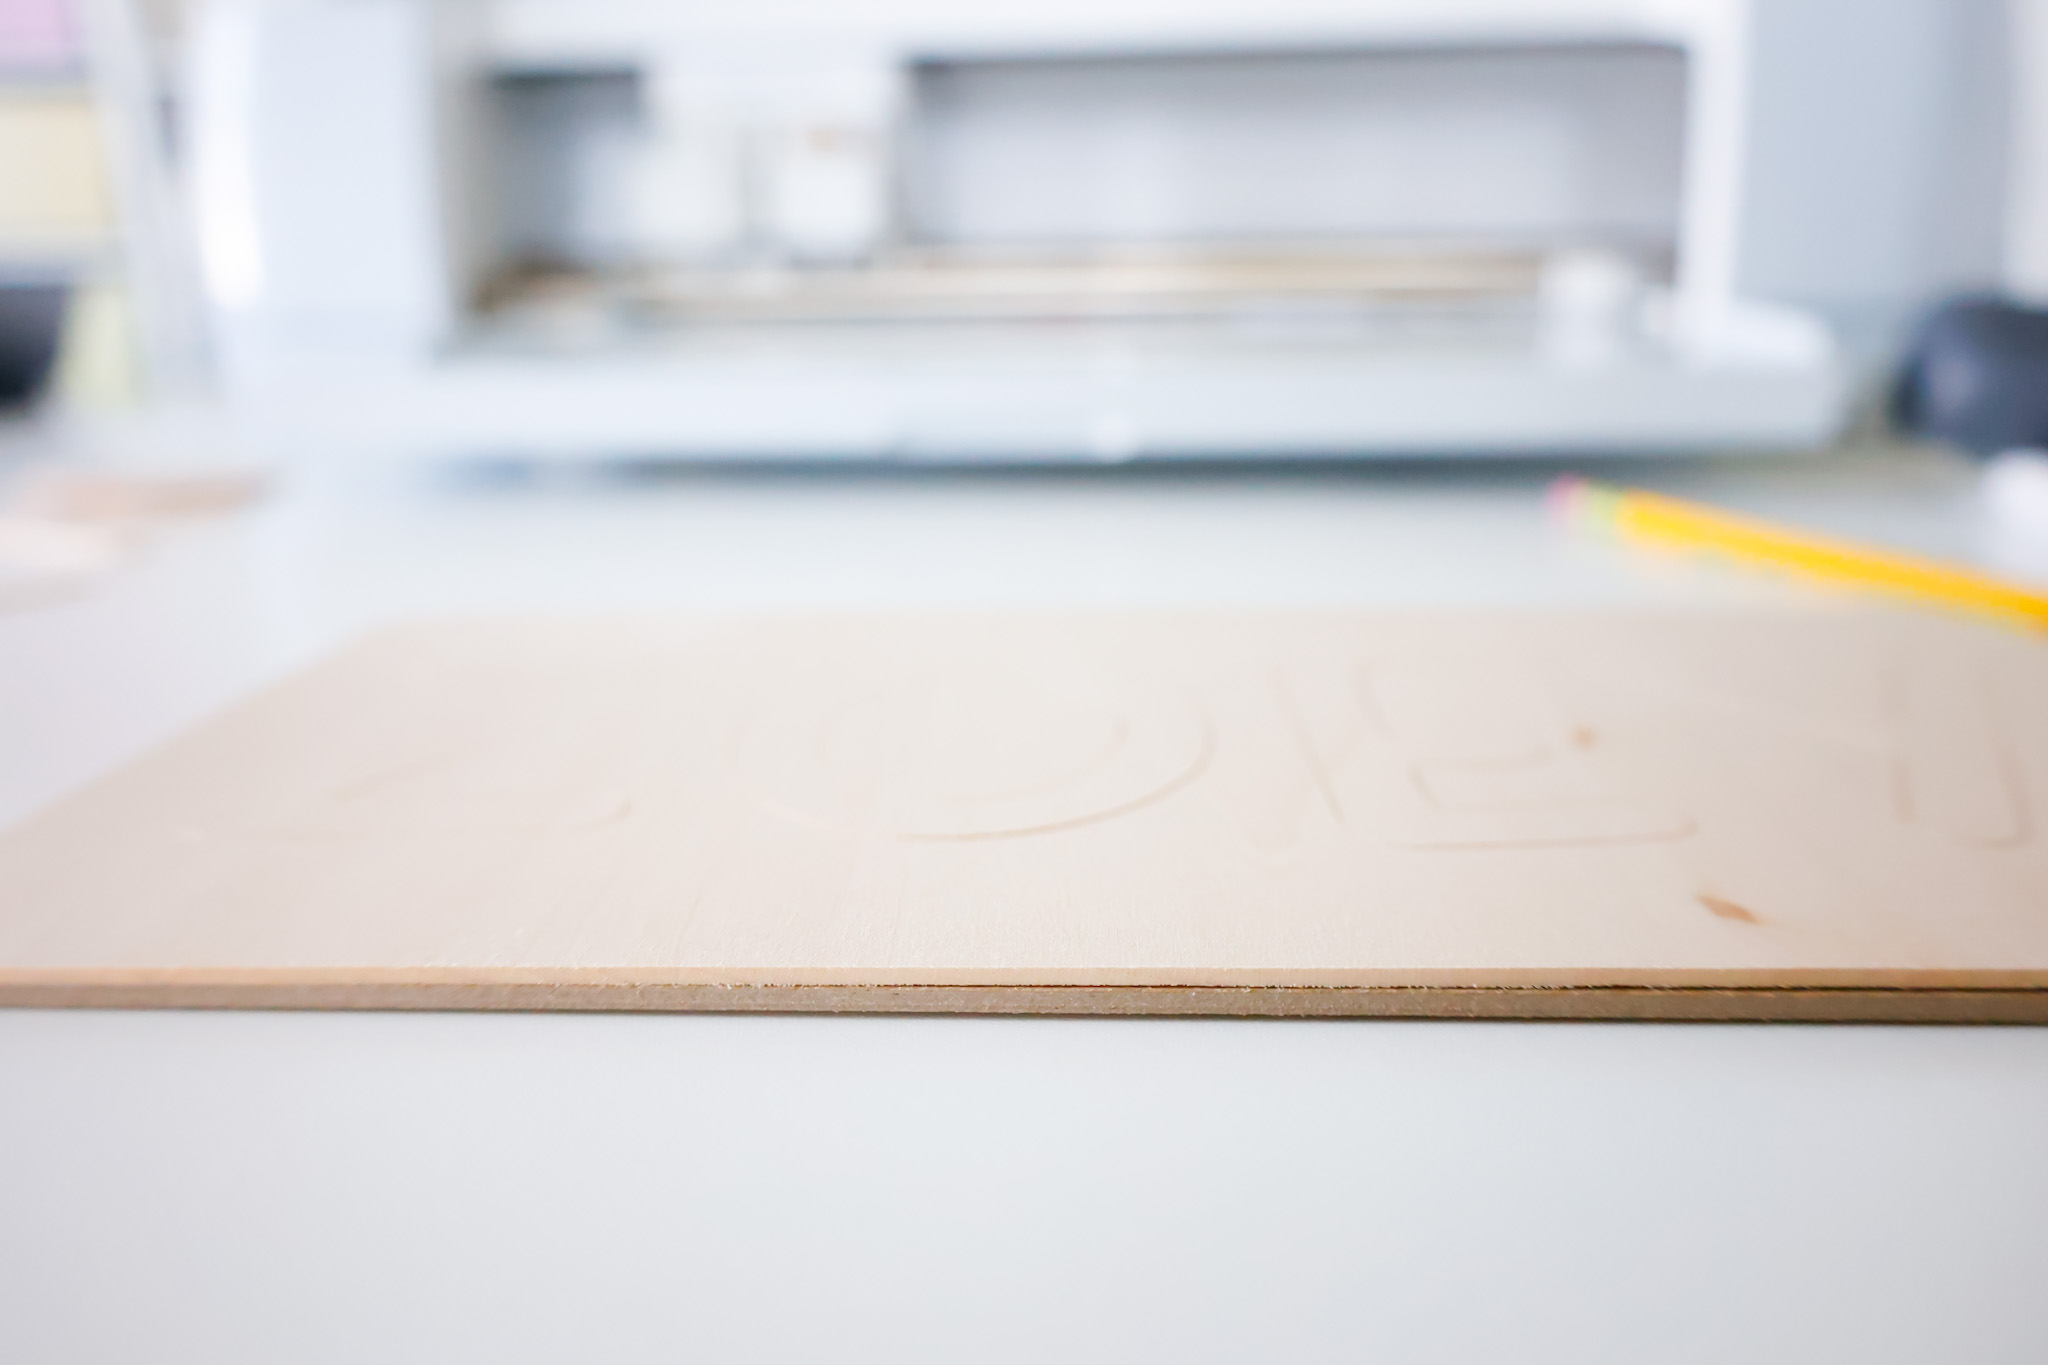
And here is the basswood layered overtop of my heavy chipboard…
To decorate my daughter’s wooden name puzzle, I used acrylic paint, but you can also use wood stain.
The wood bends a little when it gets wet from the paint (as you can see below), but once we put the instant bond wood adhesive on, it’ll take the shape of the stiff chipboard and be straight.
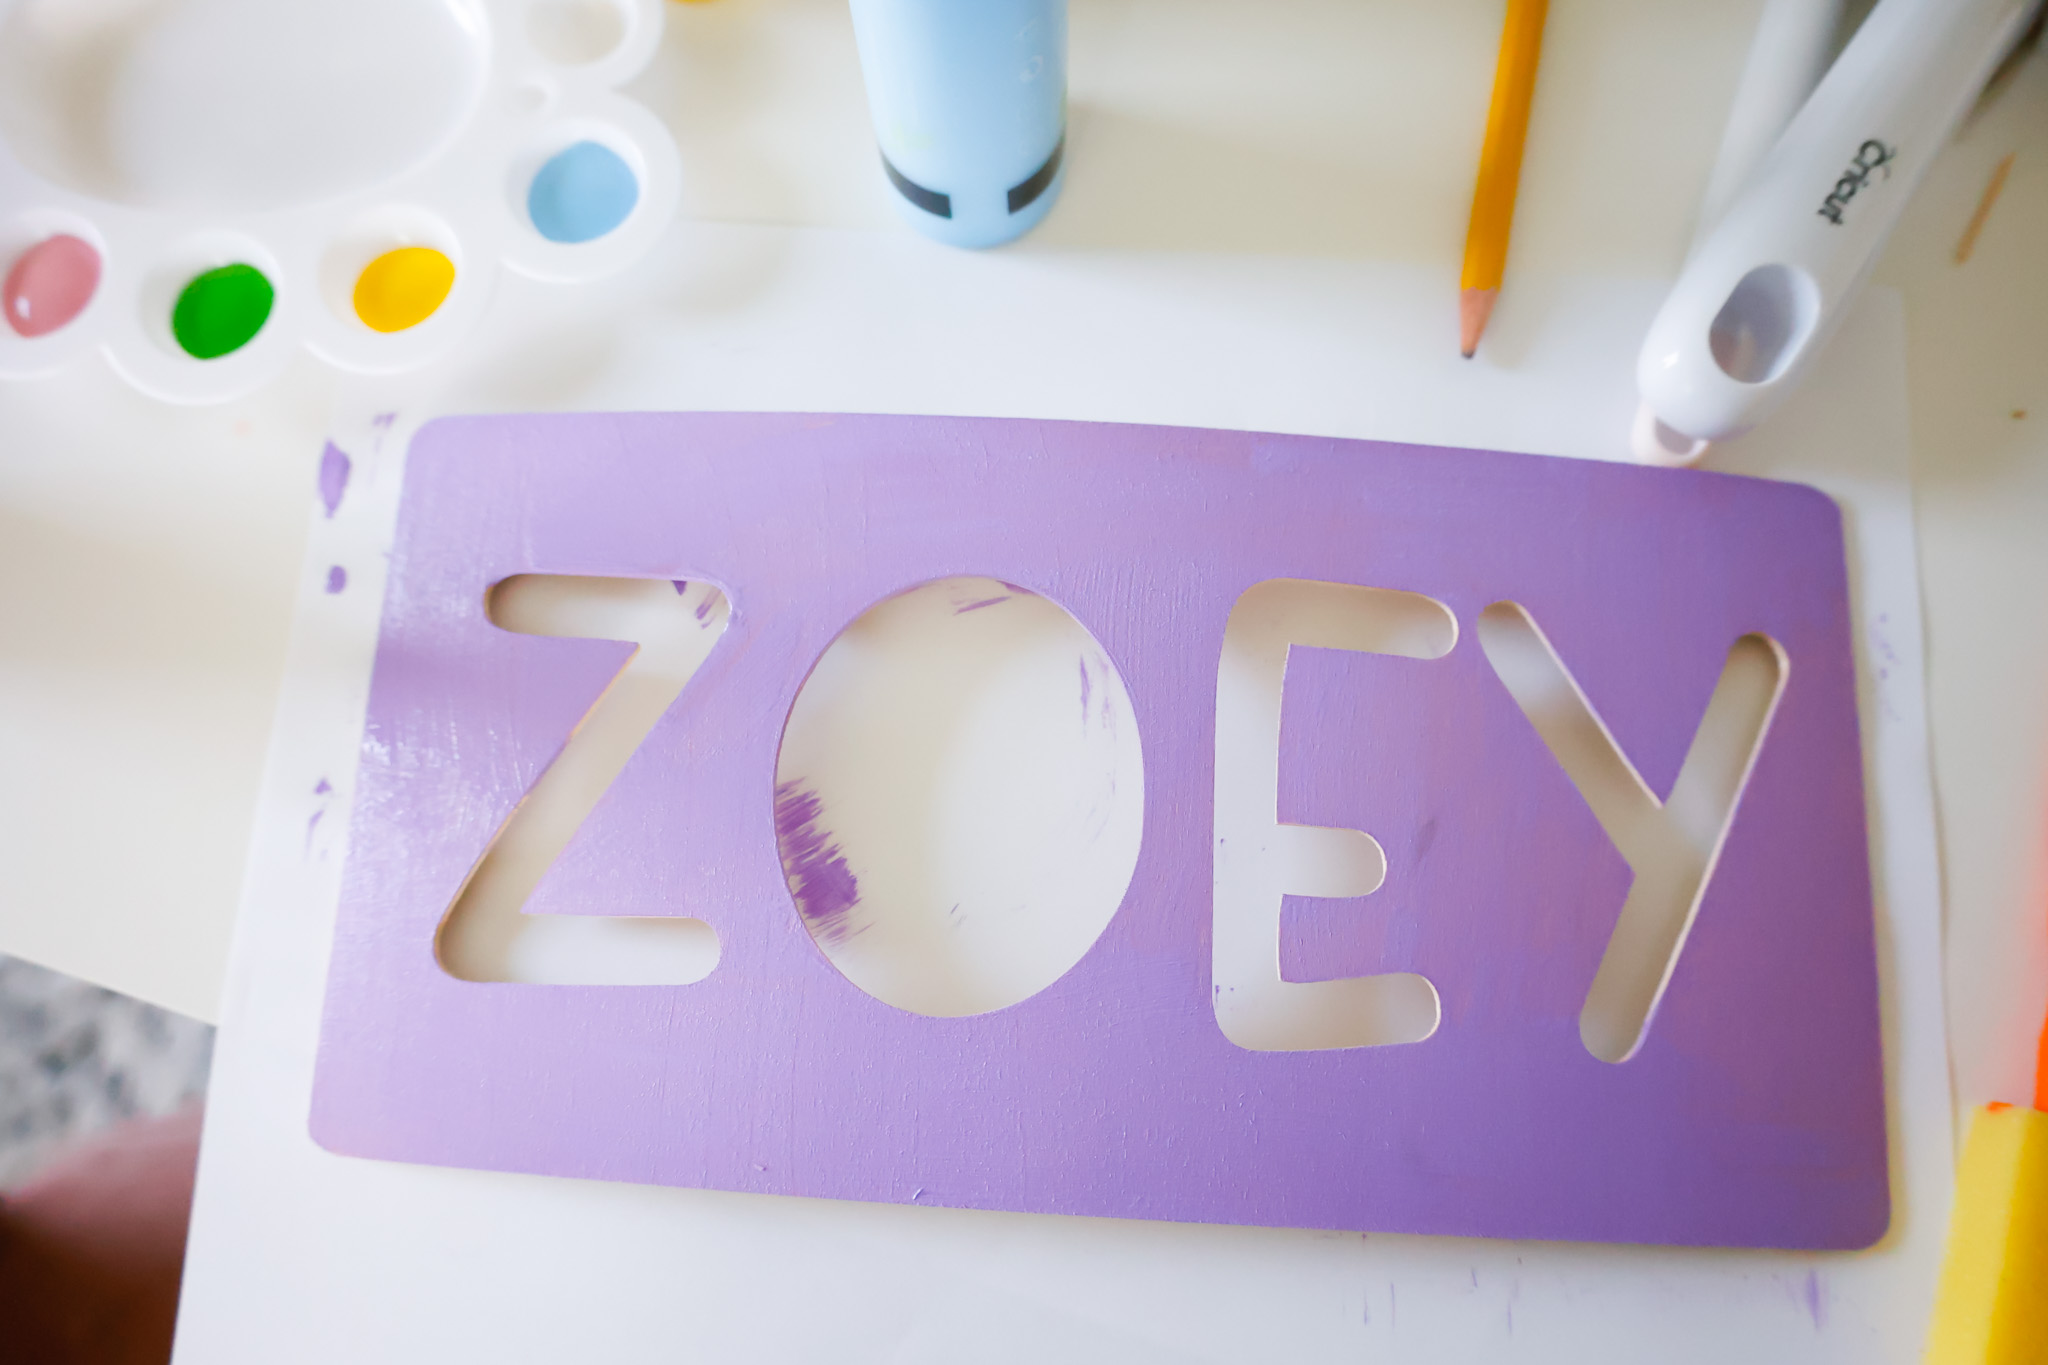
I used some instant bonding wood adhesive to adhere the basswood to the chipboard, and it worked famously!
Here is our finished puzzle…Zoey loves it!
This is such an easy and fun beginner Cricut Maker project – I hope you enjoy making your own!
These wood name puzzles make great baby shower gifts, 1st or 2nd birthday gifts, and crafts to make with your child (supervised, of course).
if you make this project, be sure to share it on social media and tag me (@slayathomemother) so I can see your creation.
You May Also Like:
DIY Nursery Closet Dividers (A Print Then Cut Tutorial)
Easy DIY Acrylic Calendar for $25
Cricut DIY Keychains – These Make Great Personalized Gifts!
DIY Mermaid Monogram Tumbler
*Post originally published August 2021, last updated August 2025.

Leave a Reply