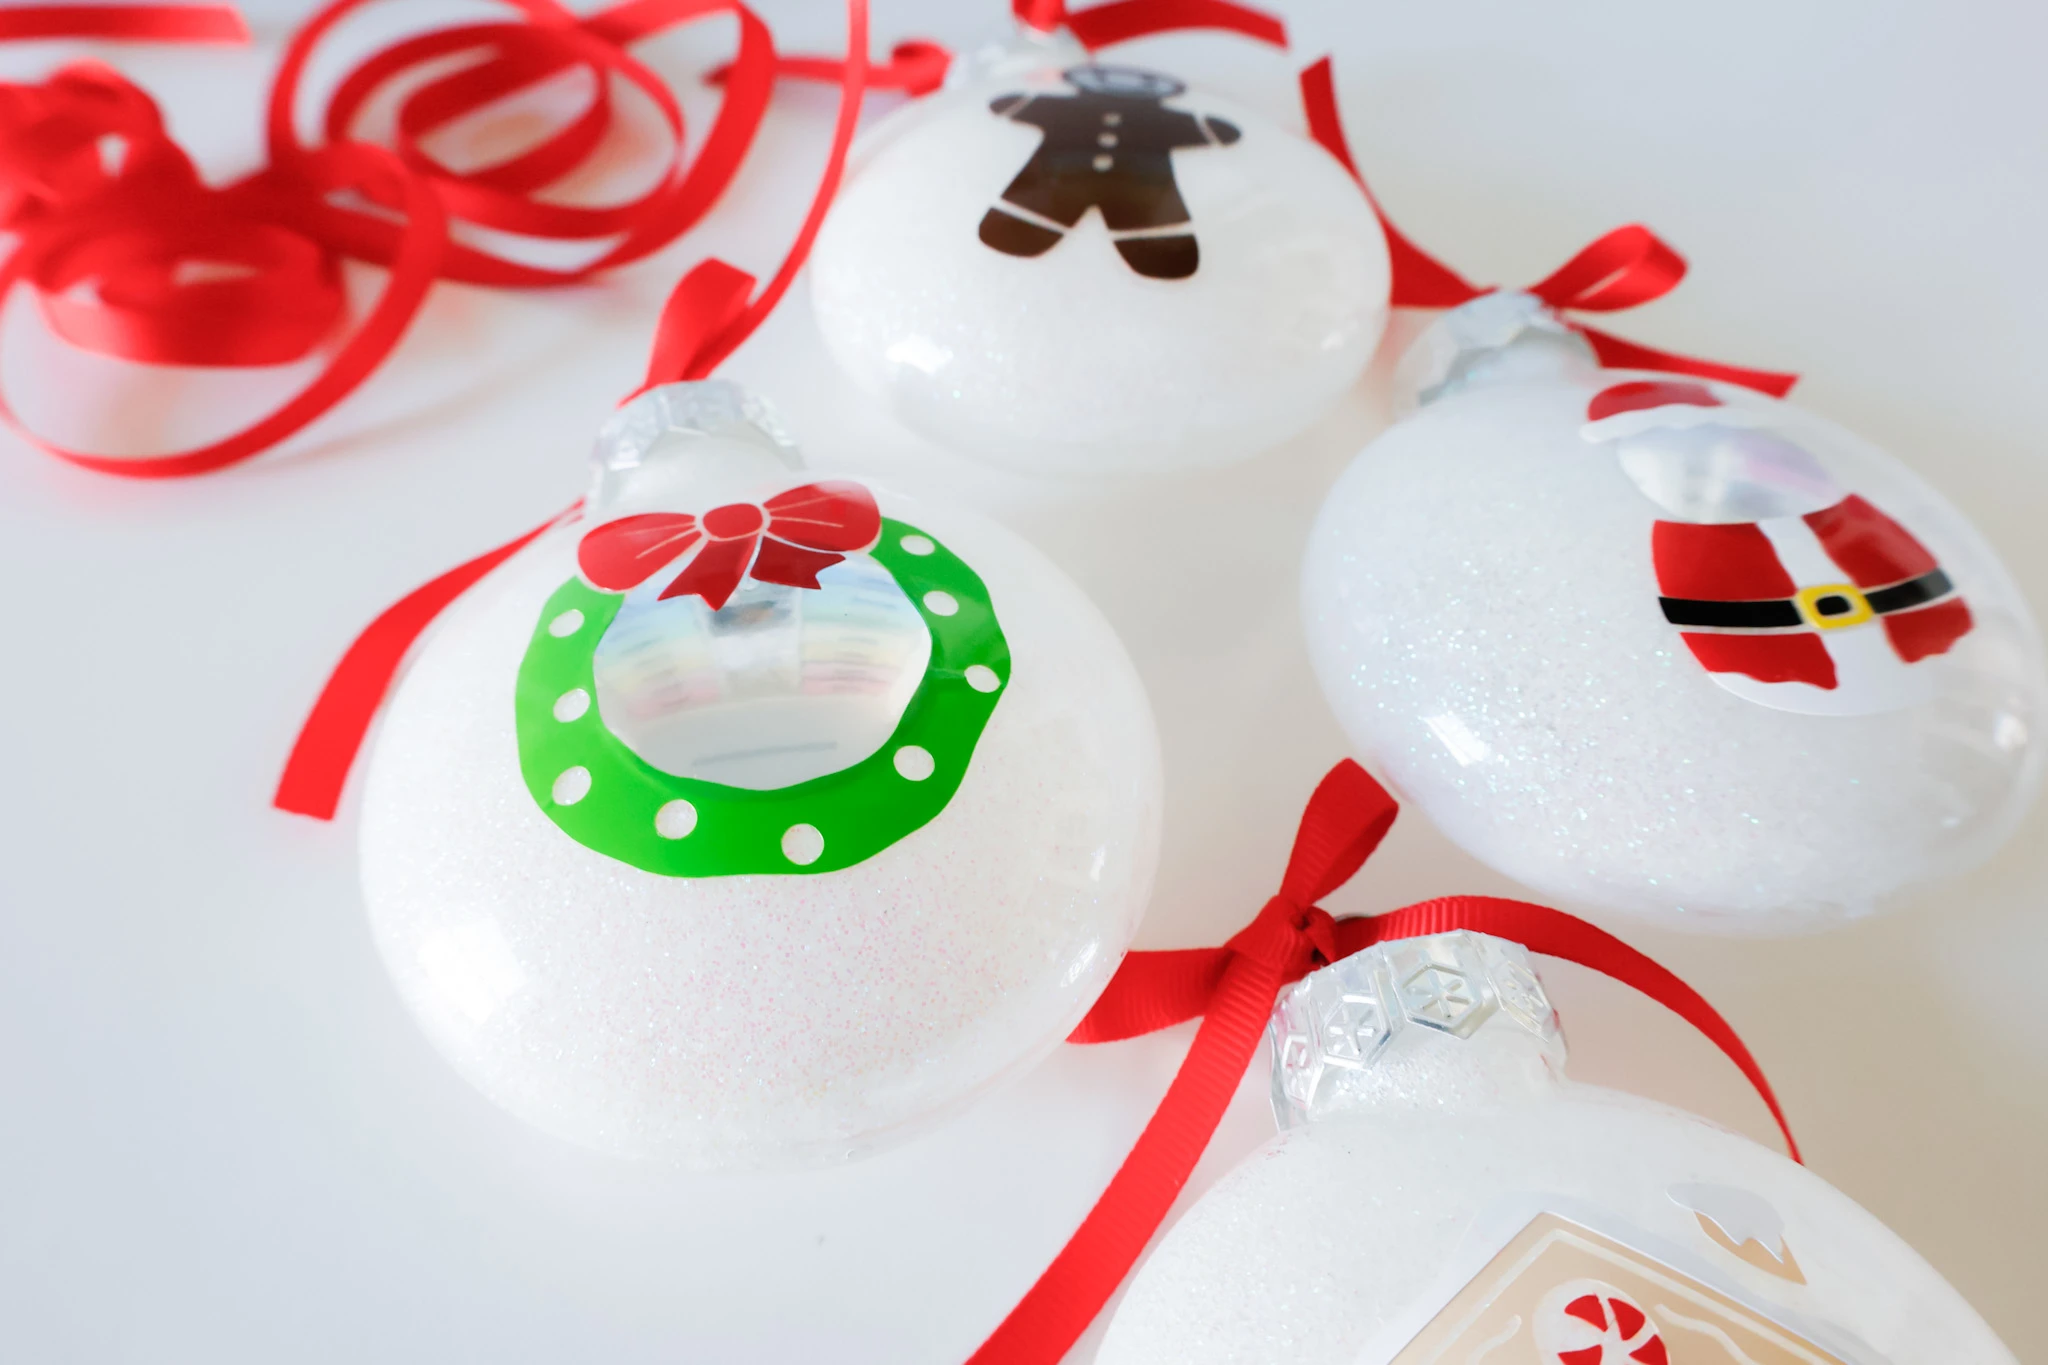
See how to make glitter ornaments with this easy tutorial…
It’s officially Holiday Season…
This is my favorite time of the year – tons of food, crafts, and family!
In today’s post, I’ll be sharing one of my latest Christmas crafts – DIY Glitter Ornaments!
Glitter ornaments can be a little tricky to figure out, especially when you’re just starting out.
Getting an even coat, trying to use paint, and even application methods can be hard to figure out.
I’ll be sharing what I use to get PERFECT glittered ornaments at home.
These ornaments make great custom (budget-friendly) homemade Christmas gifts, neighbor gifts, or DIY ornaments for your very own Christmas tree!
*This post contains affiliate links, however, all opinions are my own, as always.
What You Need To Make DIY Glitter Ornaments
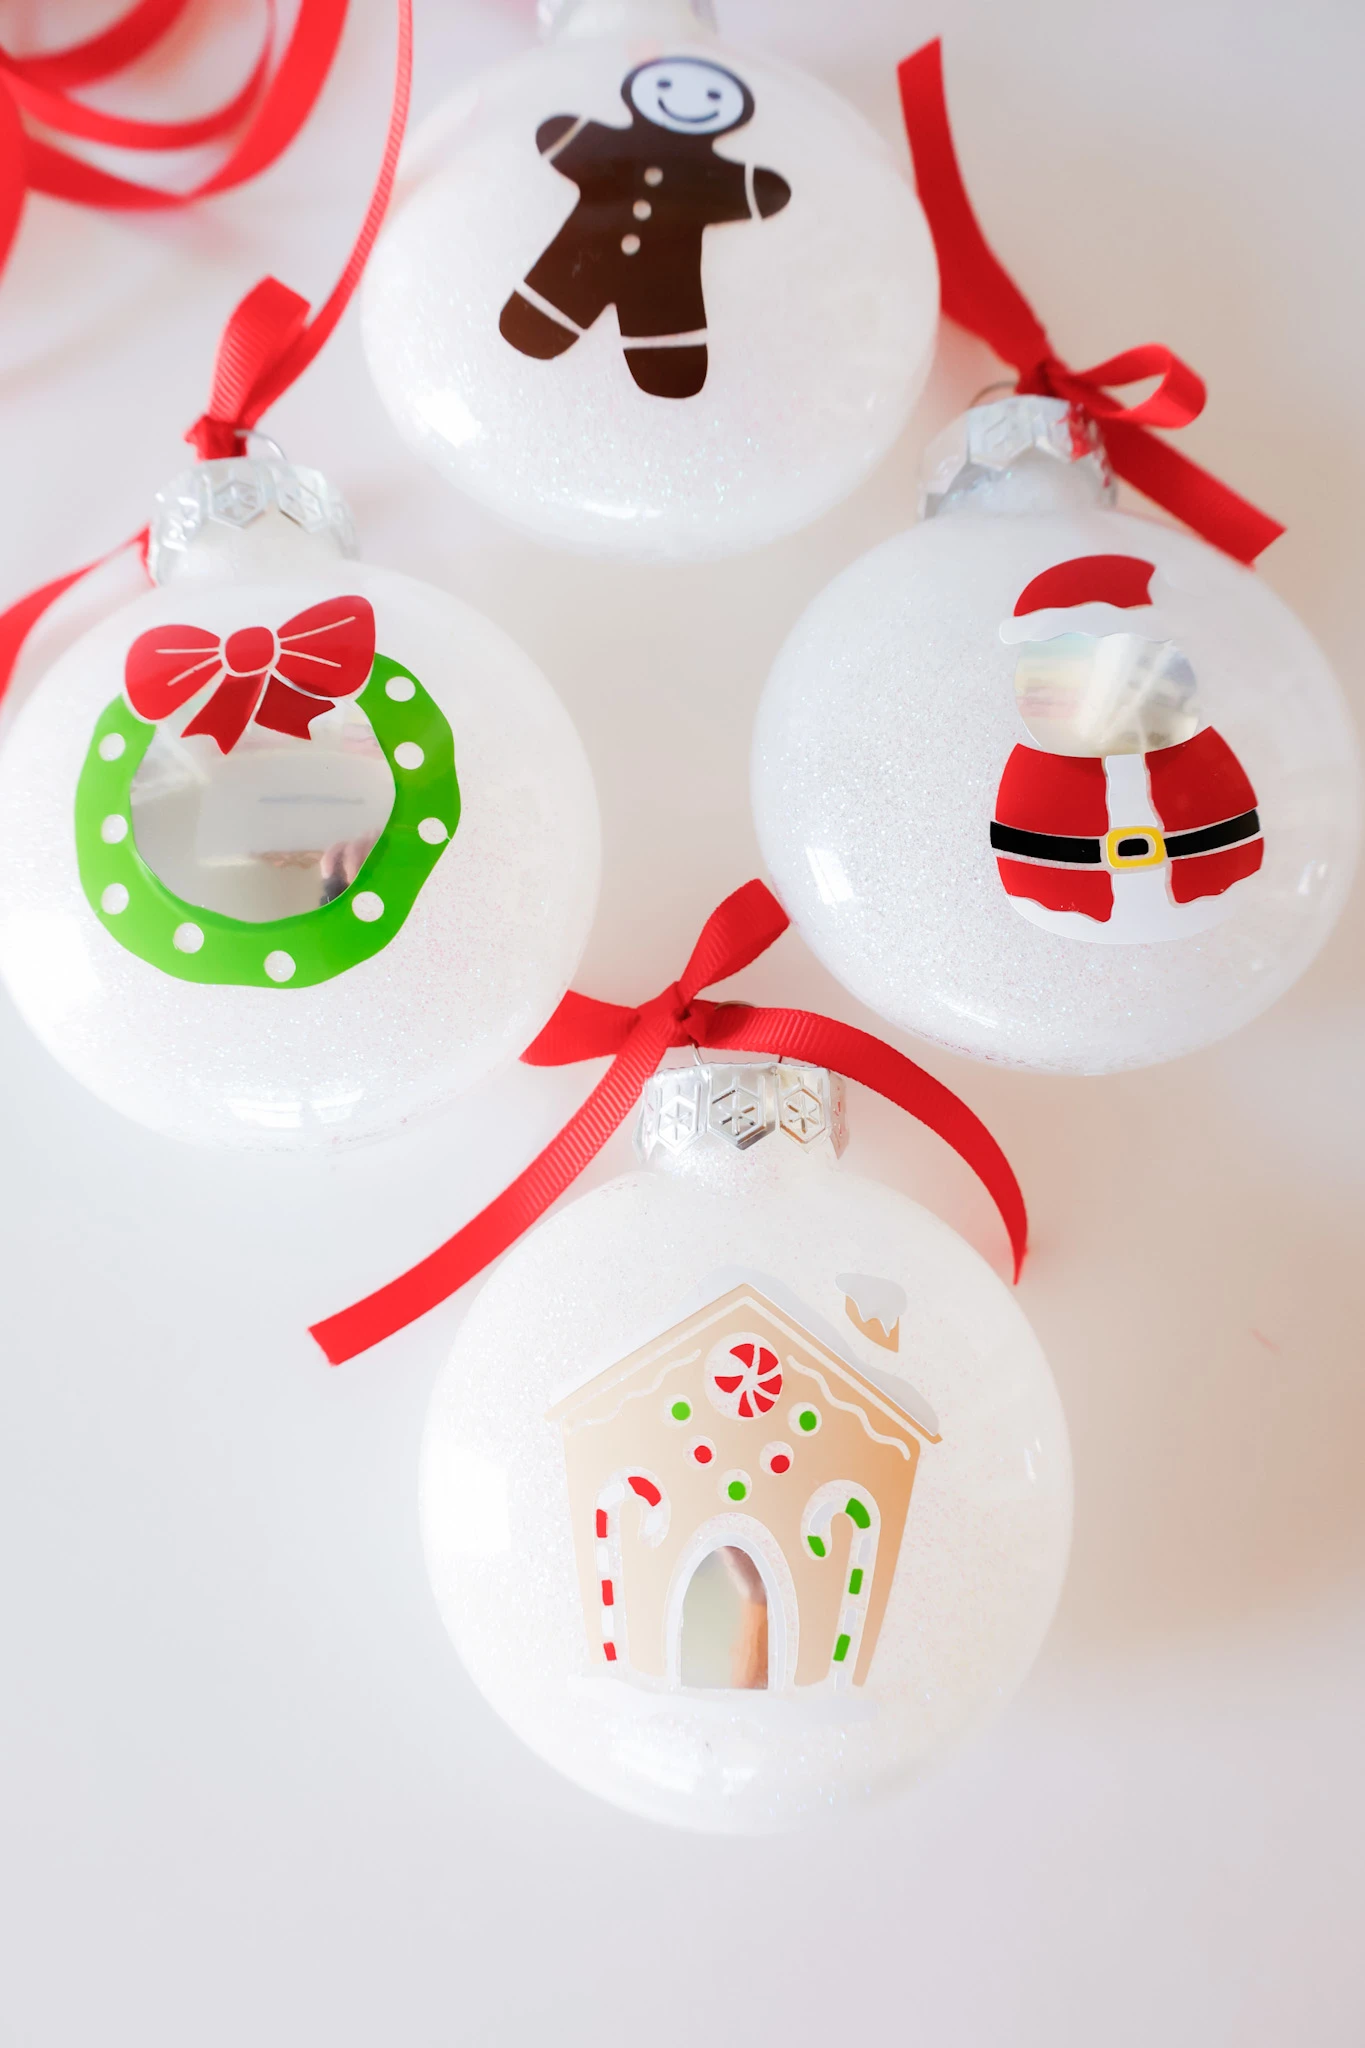
Here’s what I use to make my glitter ornaments…
- polycrylic
- ornaments
- fine glitter
- cups
- ribbon
- vinyl (optional – for decoration)
- condiment squirt bottle or dropper
How To Make Glitter Ornaments
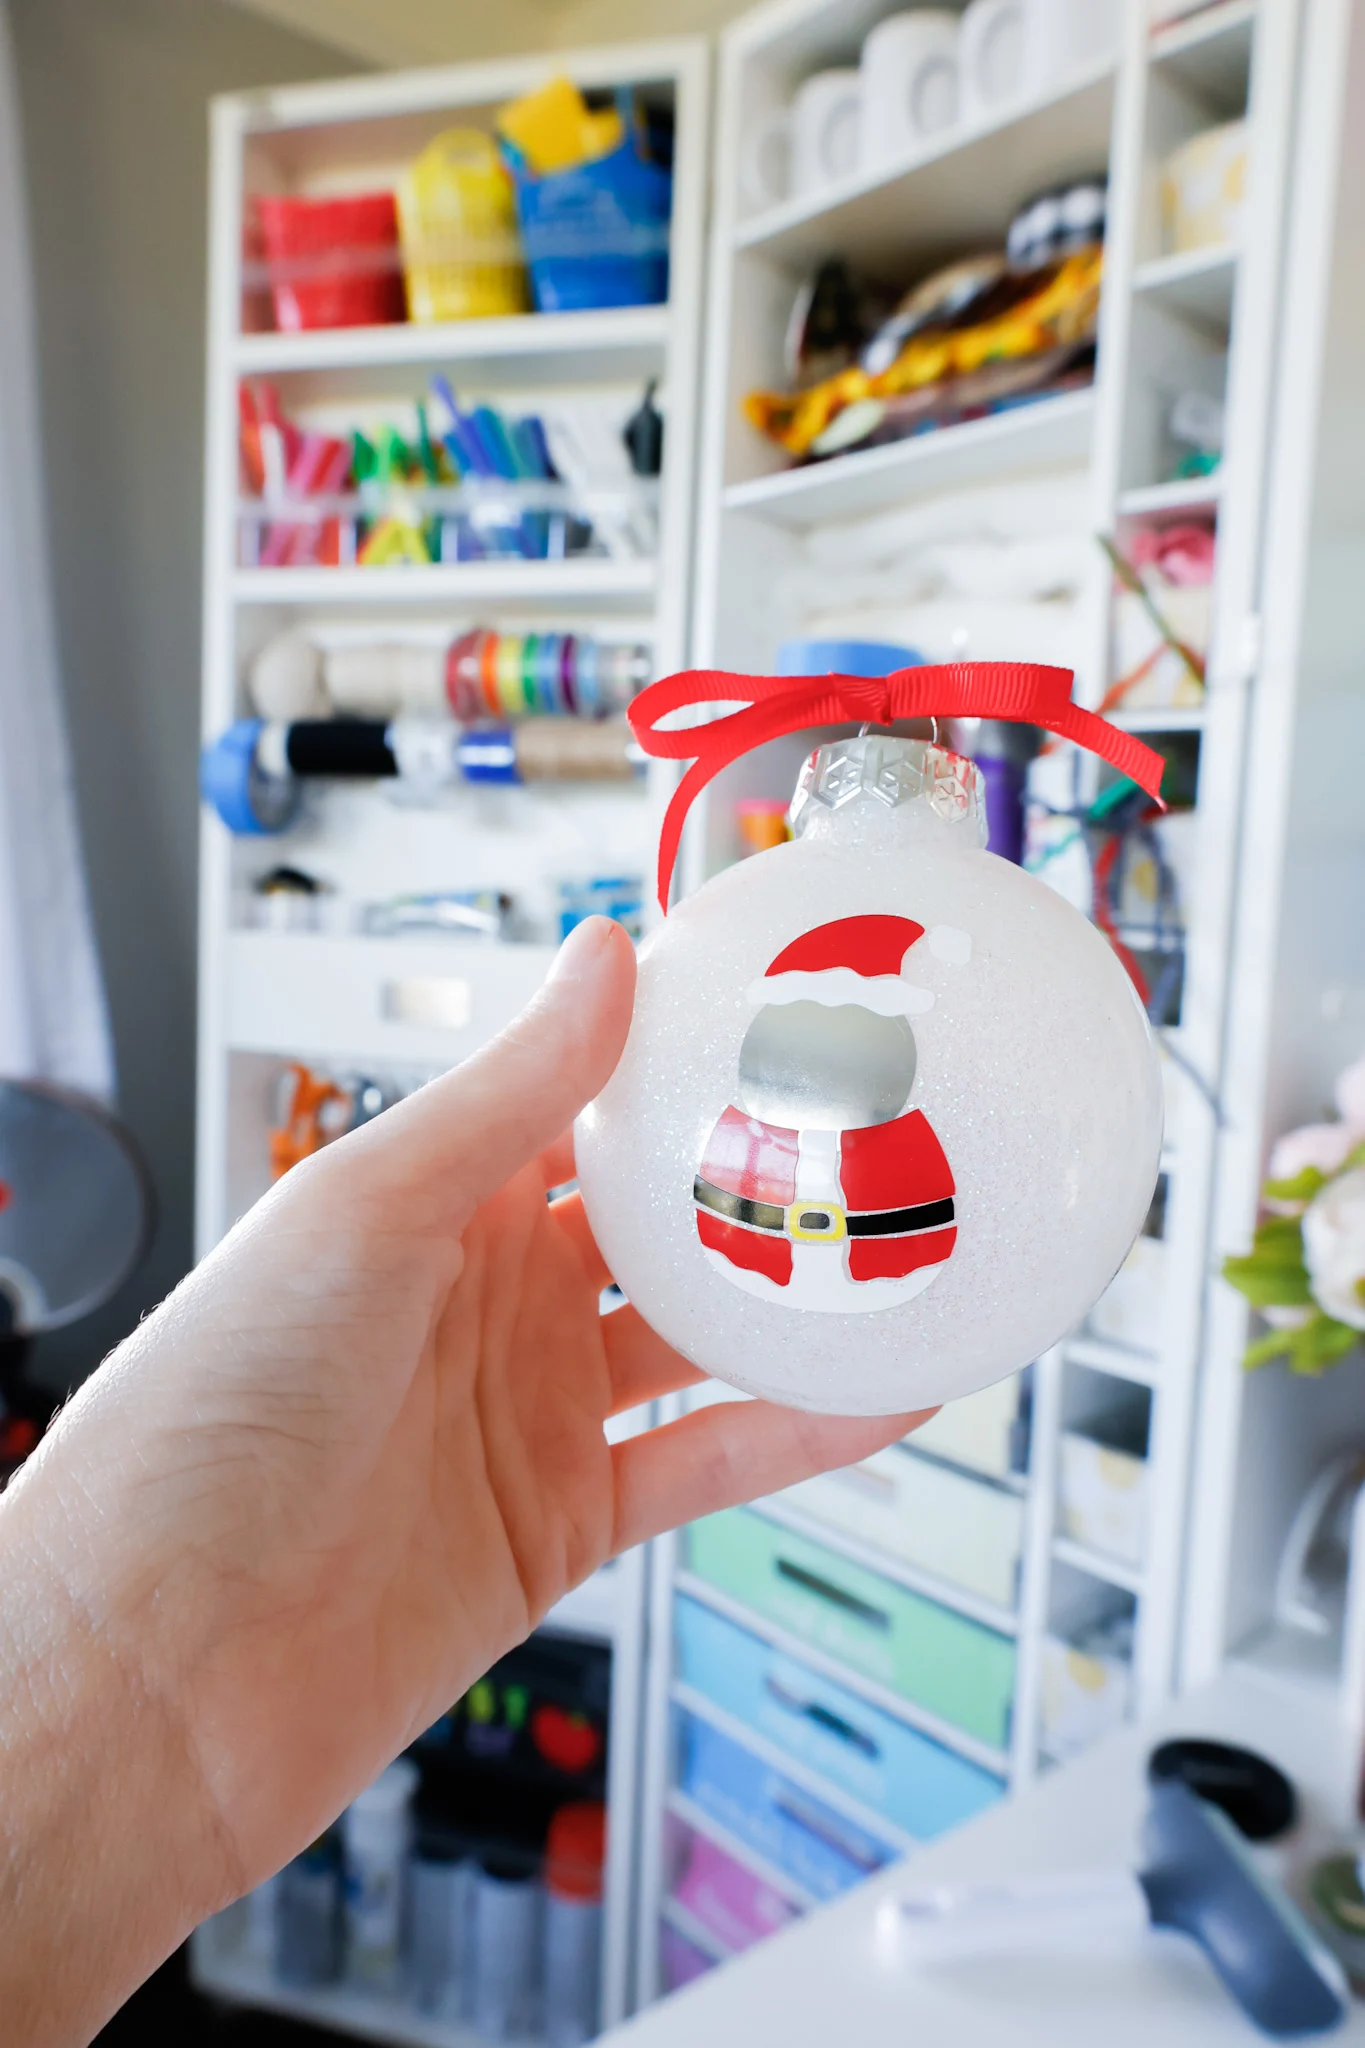
The secret to making perfect glitter ornaments is applying the glitter to the inside!
To make your glitter Christmas ornaments, remove the tops to expose the opening at the top.
Mix your polycrylic well (I always have my husband shake the can really good for me and give it a quick swirl with a painter’s stick).
I like to pour some into a squirt bottle for a project like this, but you can use an old medicine dropper or another kind of dropper.
Squirt some polycrylic into the ornament (I do about a tbsp.), and slowly roll the ornament around so that the polycrylic evenly coats the inside.
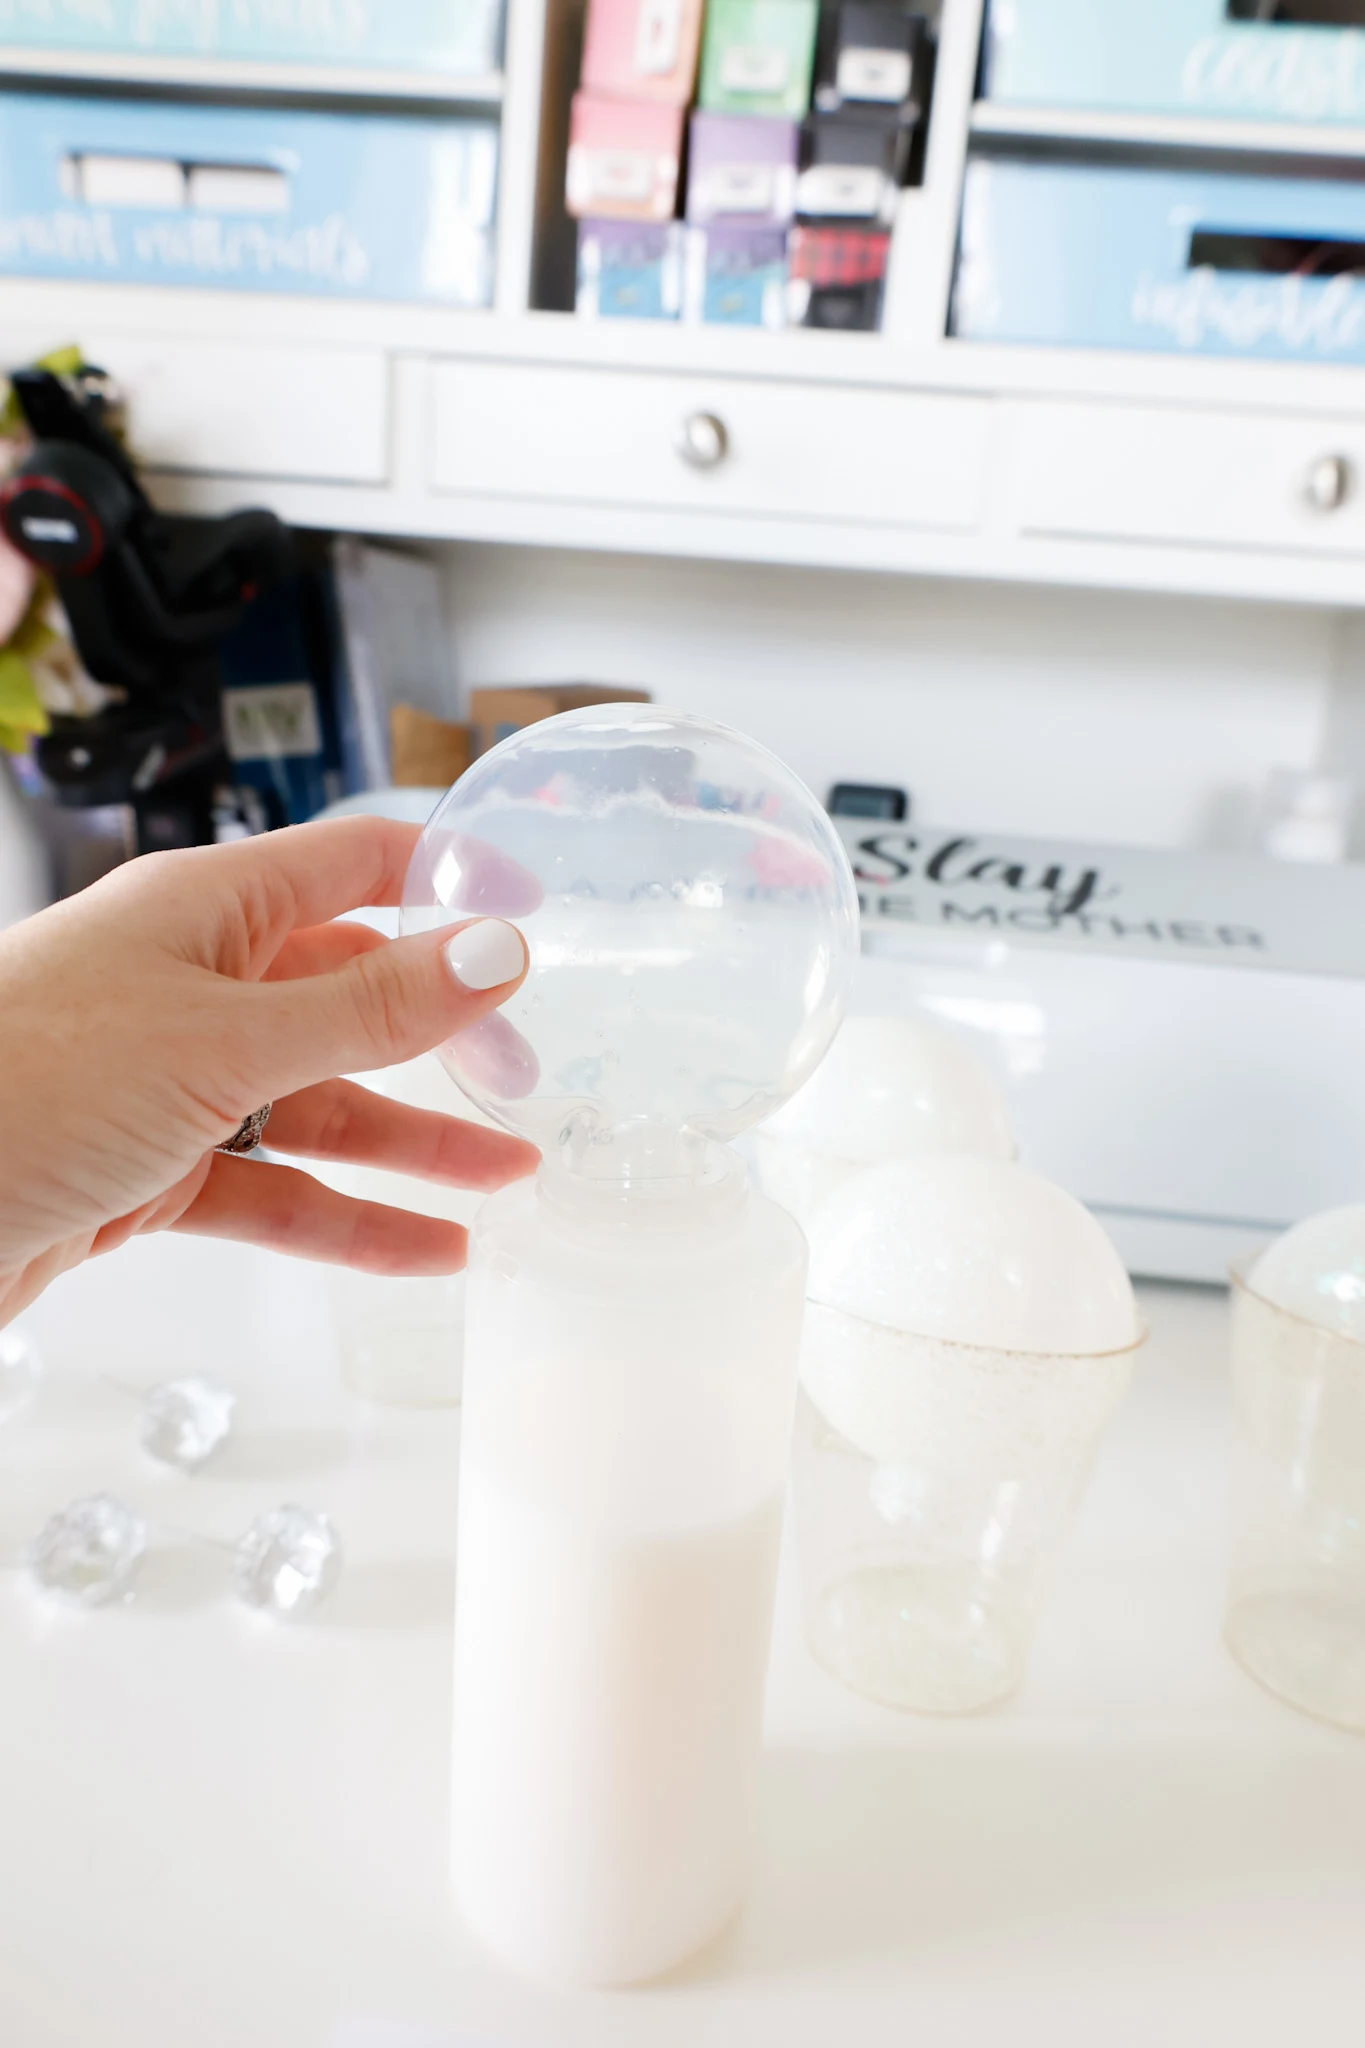
I spend a couple of minutes on each ornament letting the polycrylic slowly flow across all surfaces inside the ornament.
Rushing this step can cause blotching in the coat, which will impact how the glitter sticks to the inside of the ornament!
Allow the remaining liquid to drip back into the polycrylic container (or squirt bottle).
Take some fine glitter in the color of your choice and pour about 2 tbsp. on a piece of paper.
Curl the paper lengthwise in half and gently pour your glitter into the ornament.
Here’s the glitter I used – it was very well packaged for shipping!
Gently roll your ornament around slowly to allow the glitter to stick to the polycrylic coat.
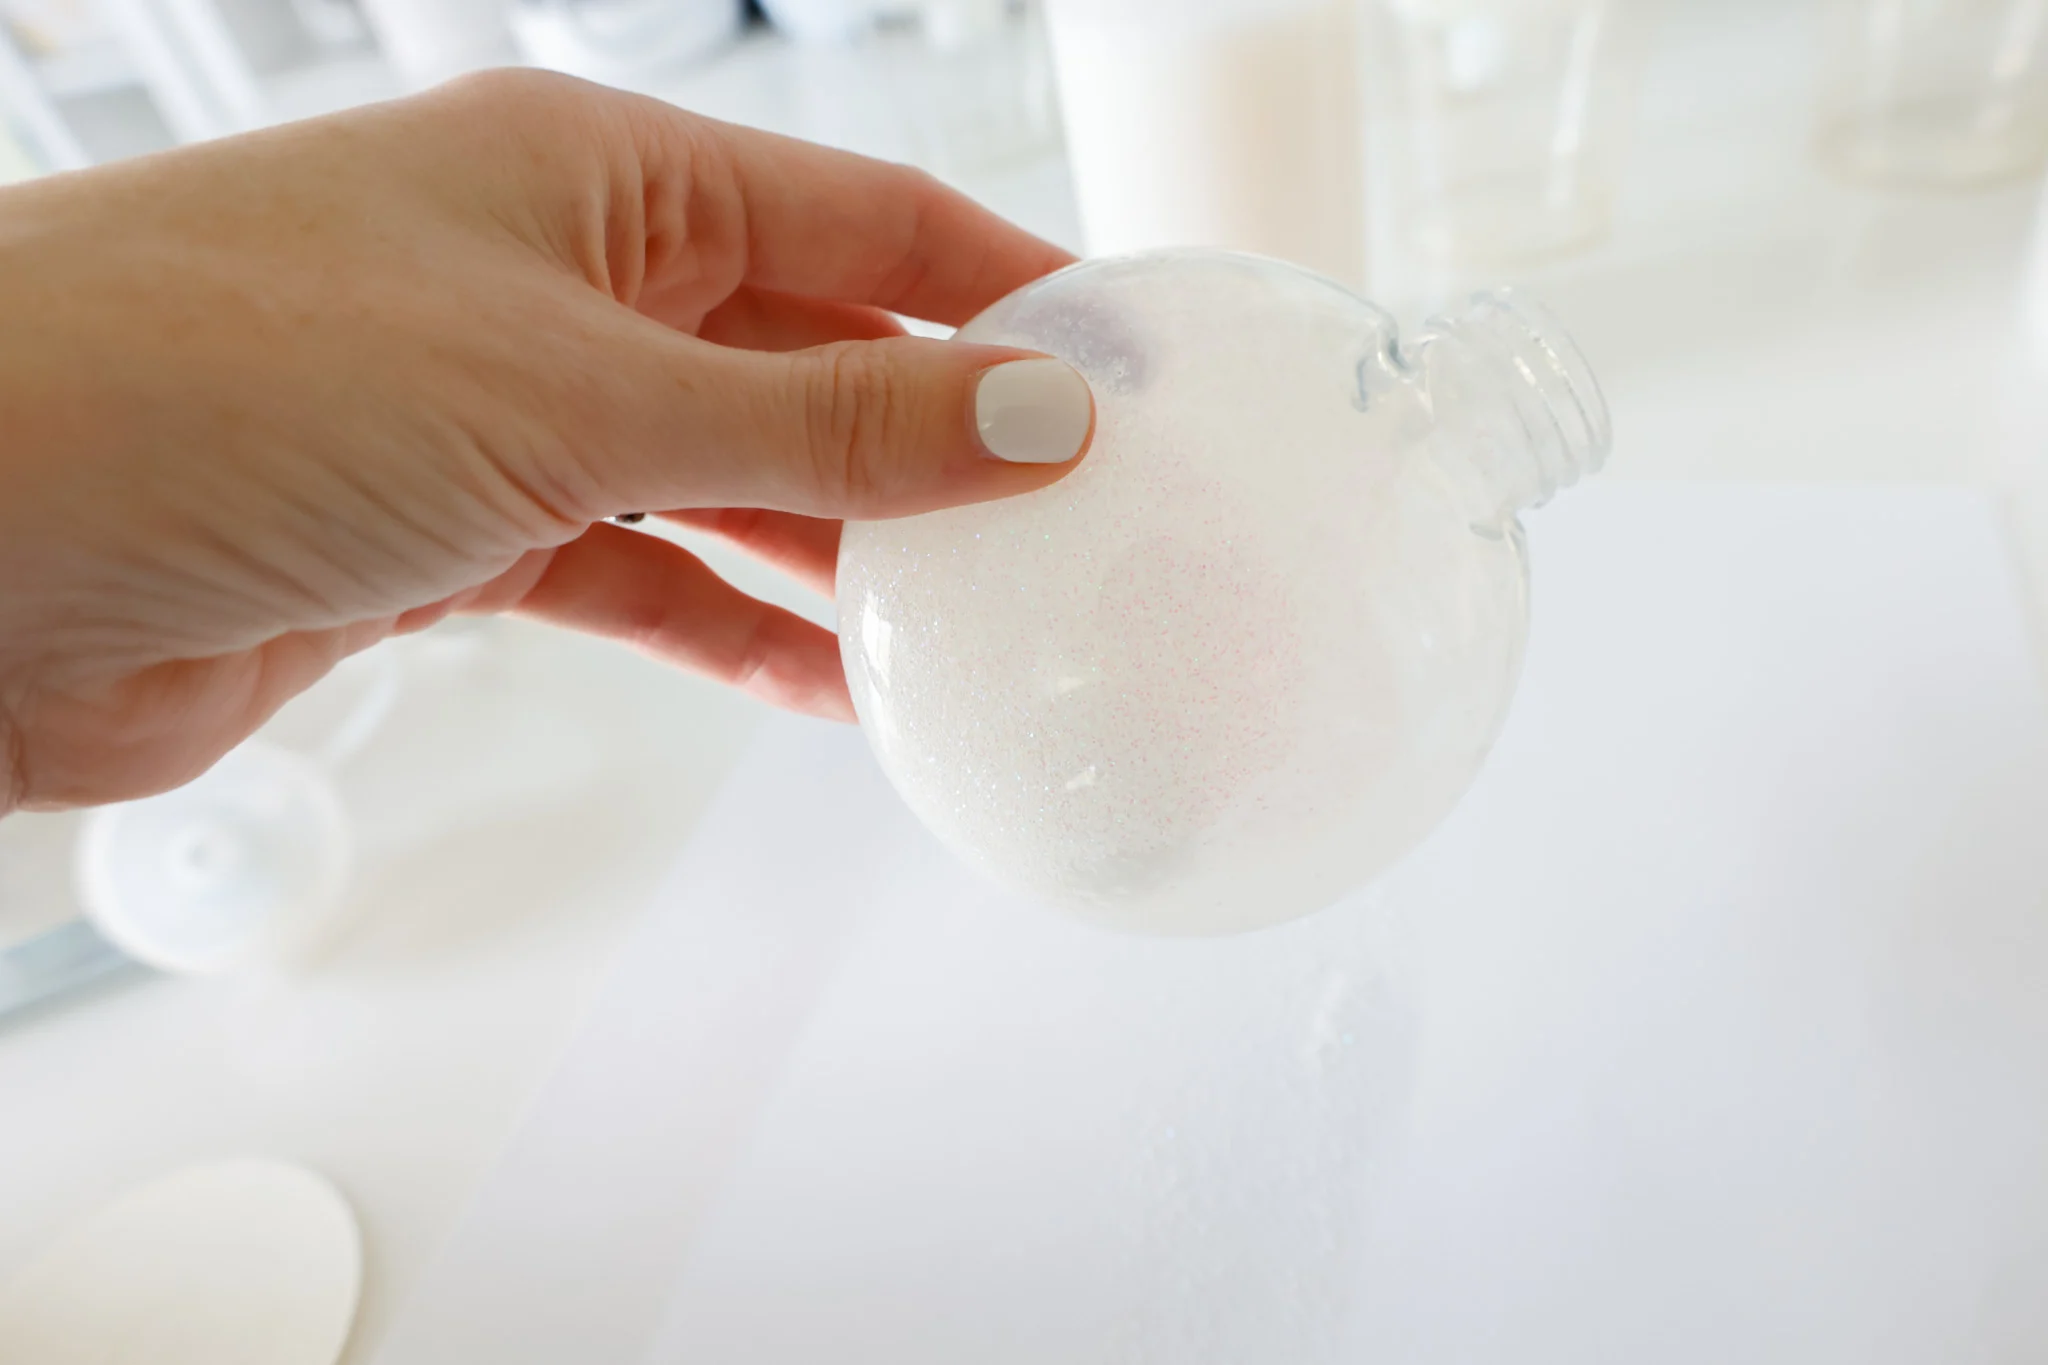
If you notice any bare spots inside the ornament, you may need additional glitter – pour more into your ornament and slowly roll it again to coat these spots.
After rolling the ornament around with glitter inside, I like to take a piece of thick cardstock or even the inside seal for the glitter container (just something stiff and sturdy) and place it over the ornament hole.
With a finger held on top, I shake the ornament side to side, back and forth, and top to bottom.
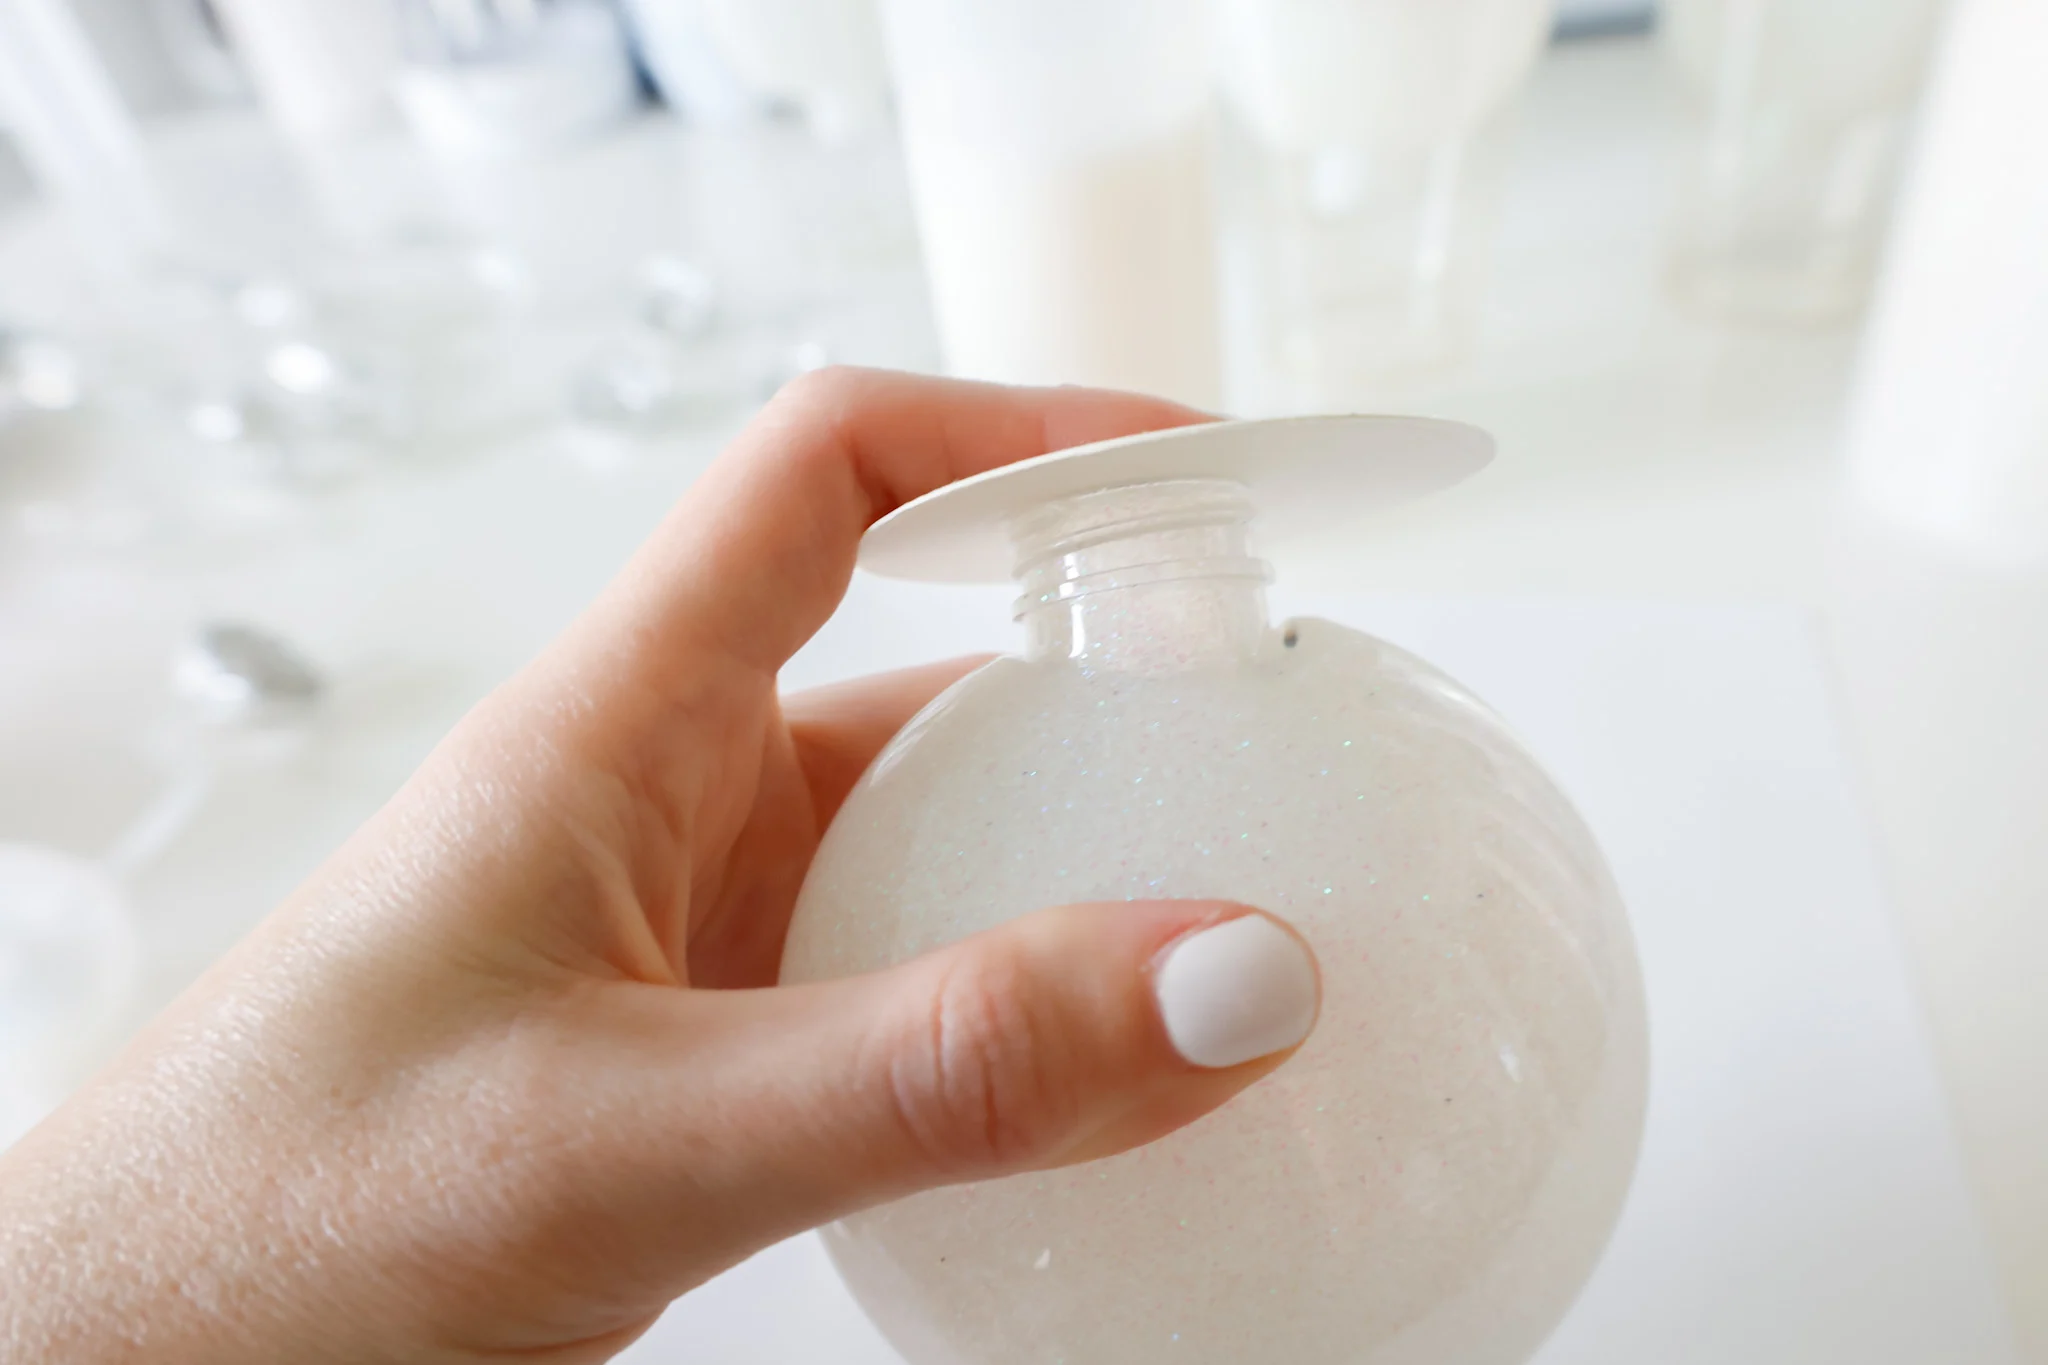
This helps push glitter to any microscopic areas that might not be covered that I might have missed.
This is especially important when working with white glitter on a white table surface.
Pour your excess glitter back out onto your piece of paper.
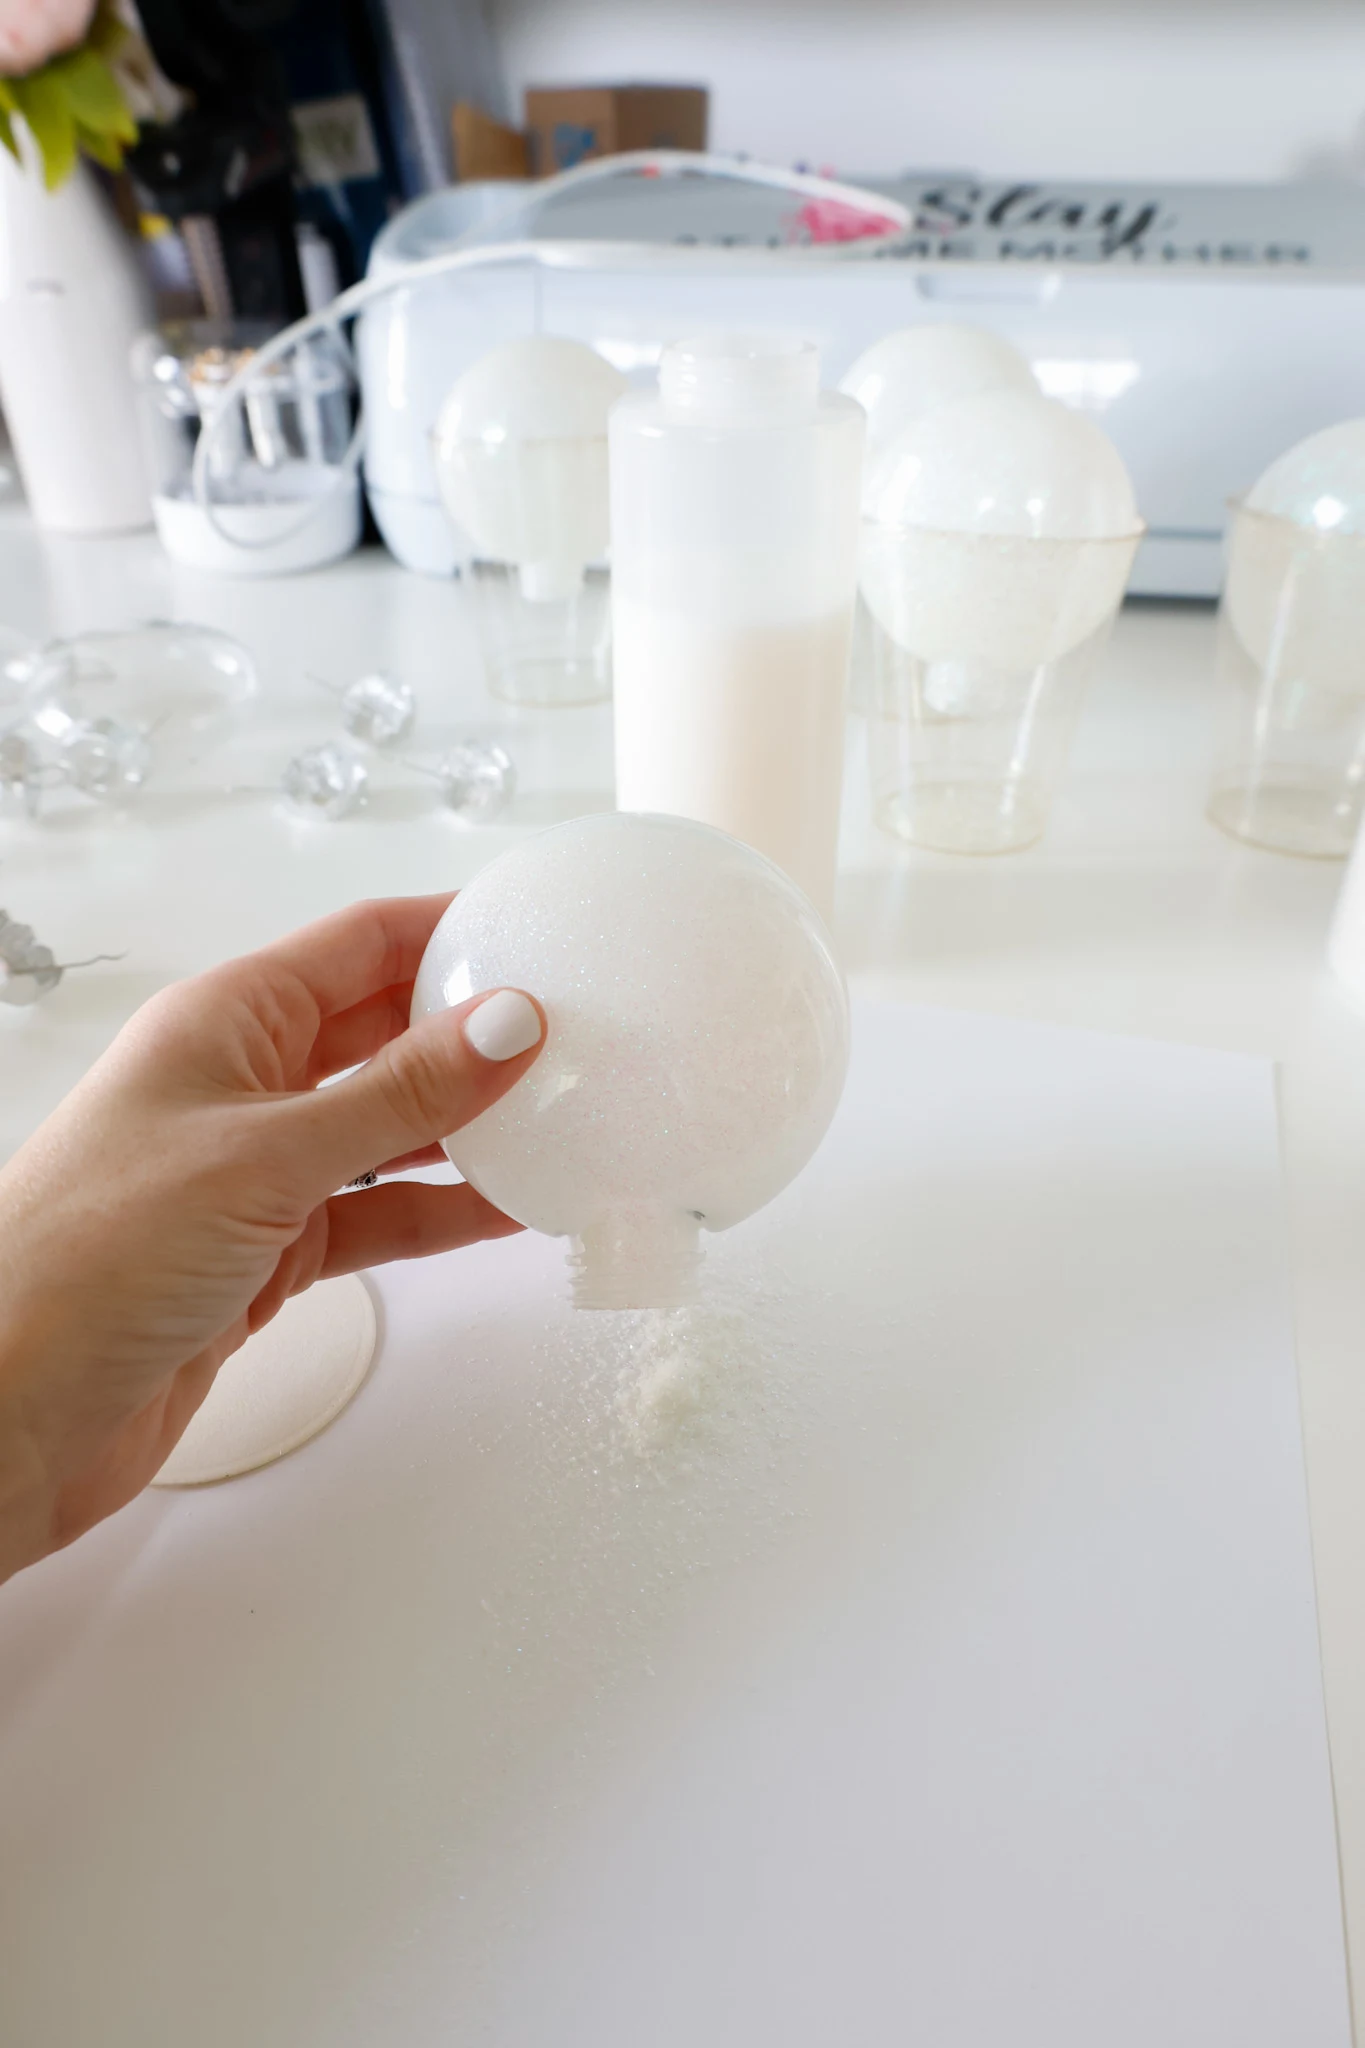
And repeat with however many ornaments you wish to make!
Once I’m finished with coating my ornaments, I like to suspend them upside down in cups.
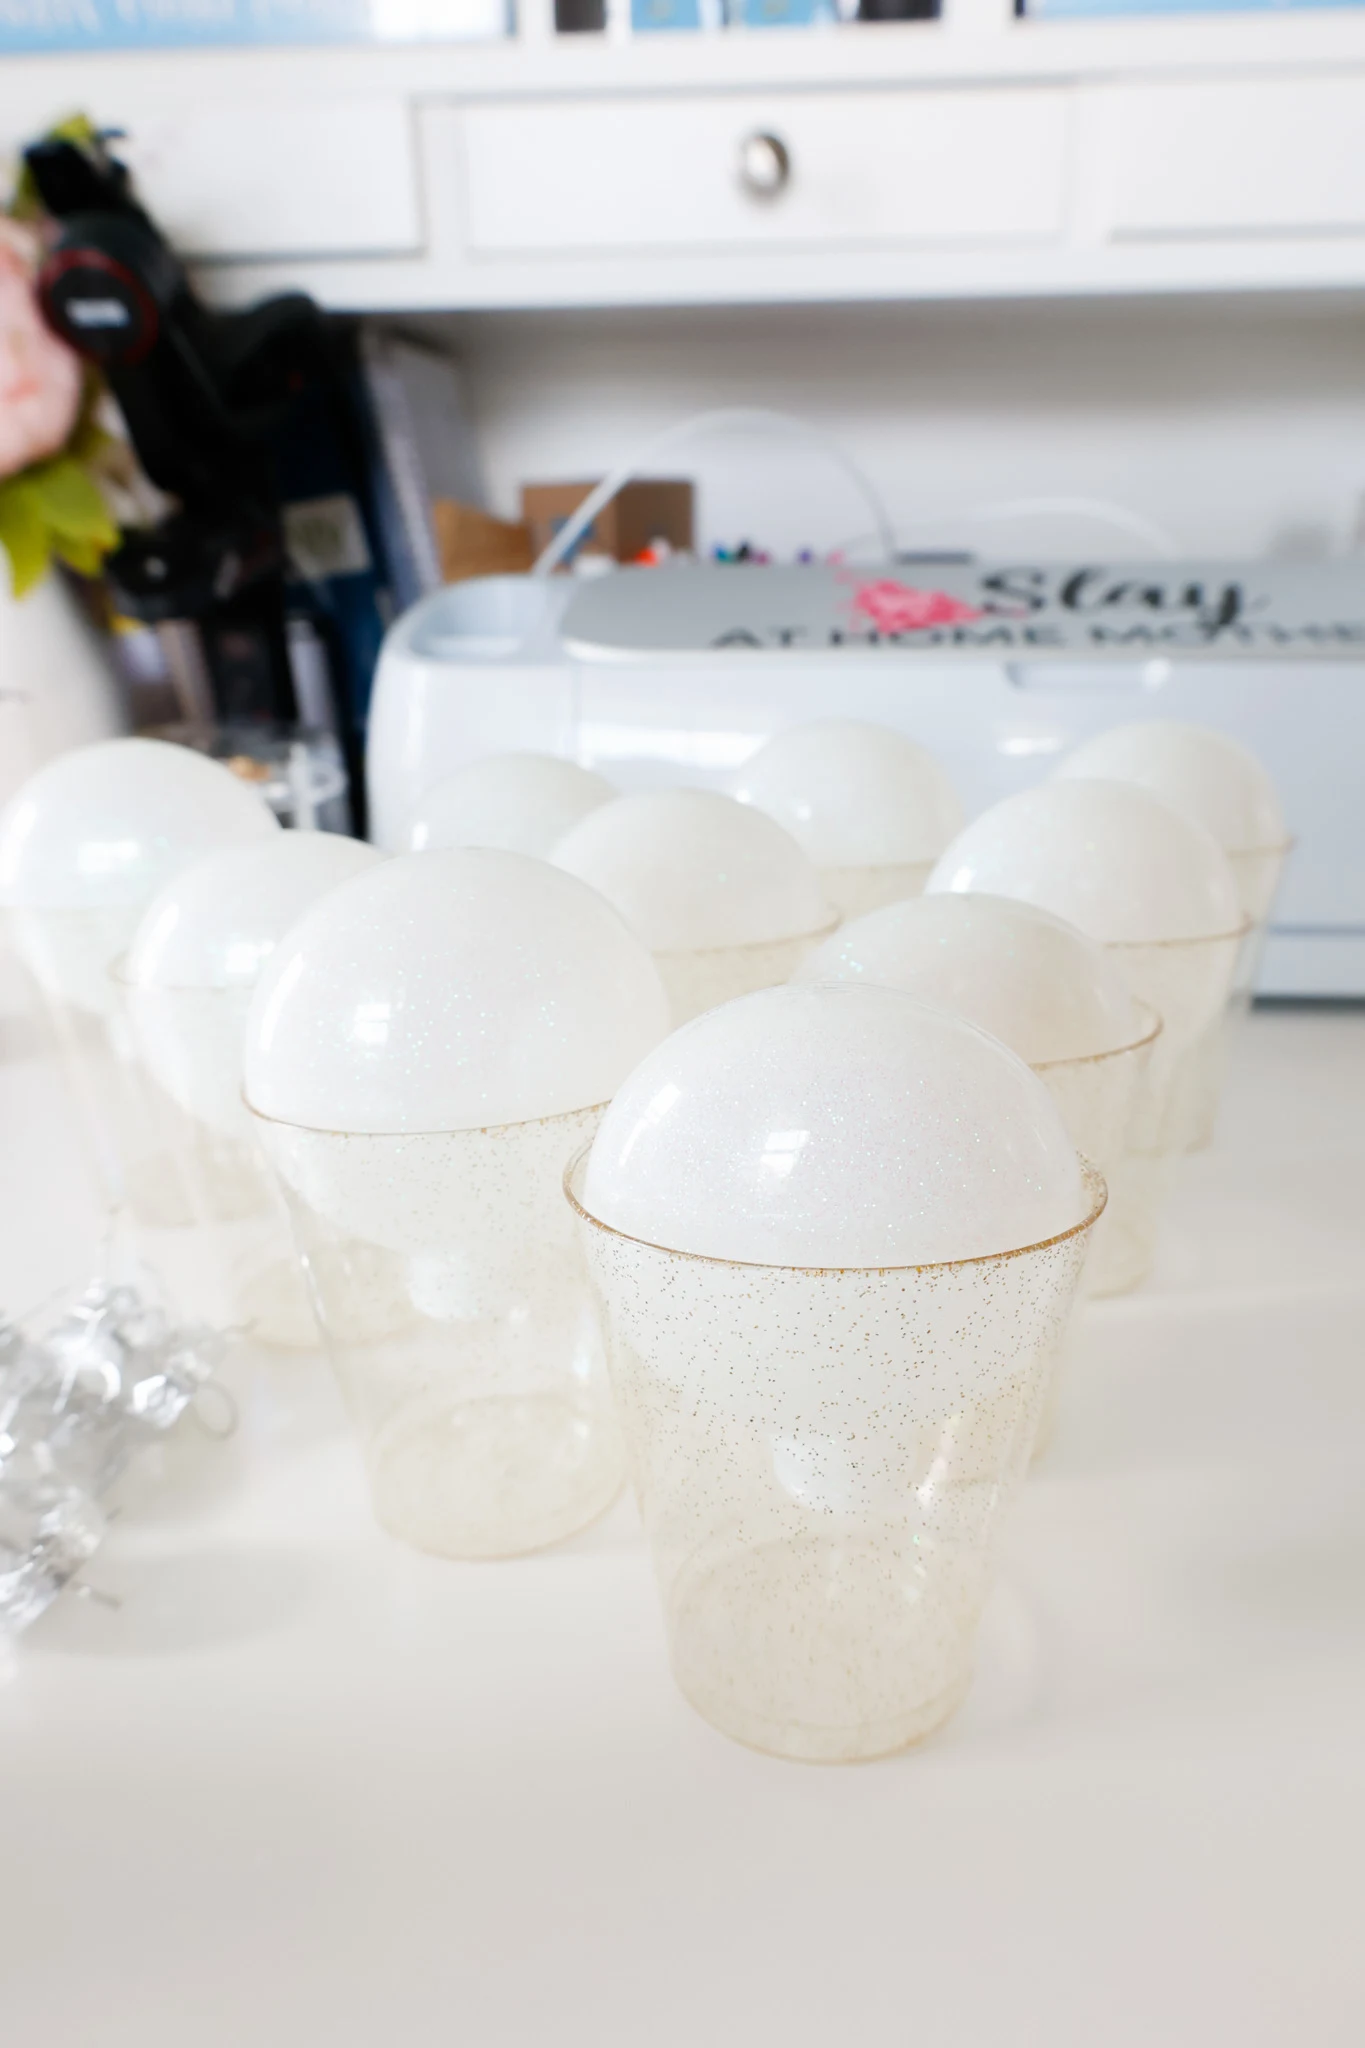
This is useful to prevent any stray glitter or mess from pooling inside the ornament.
There really shouldn’t be any dripping or draining going on since the thin layer of polycrylic is coated with glitter – but I like to stay on the safe side. 😉
This easy glitter method ensures your DIY glitter ornaments turn out flawless every time and are evenly coated with glitter.
If you want to decorate your ornaments with some vinyl, be sure to check out this recent post I wrote on reflection Christmas ornaments!
