

Learn how to cut felt with your laser and make this festive DIY felt banner with my free SVG download and instructions!

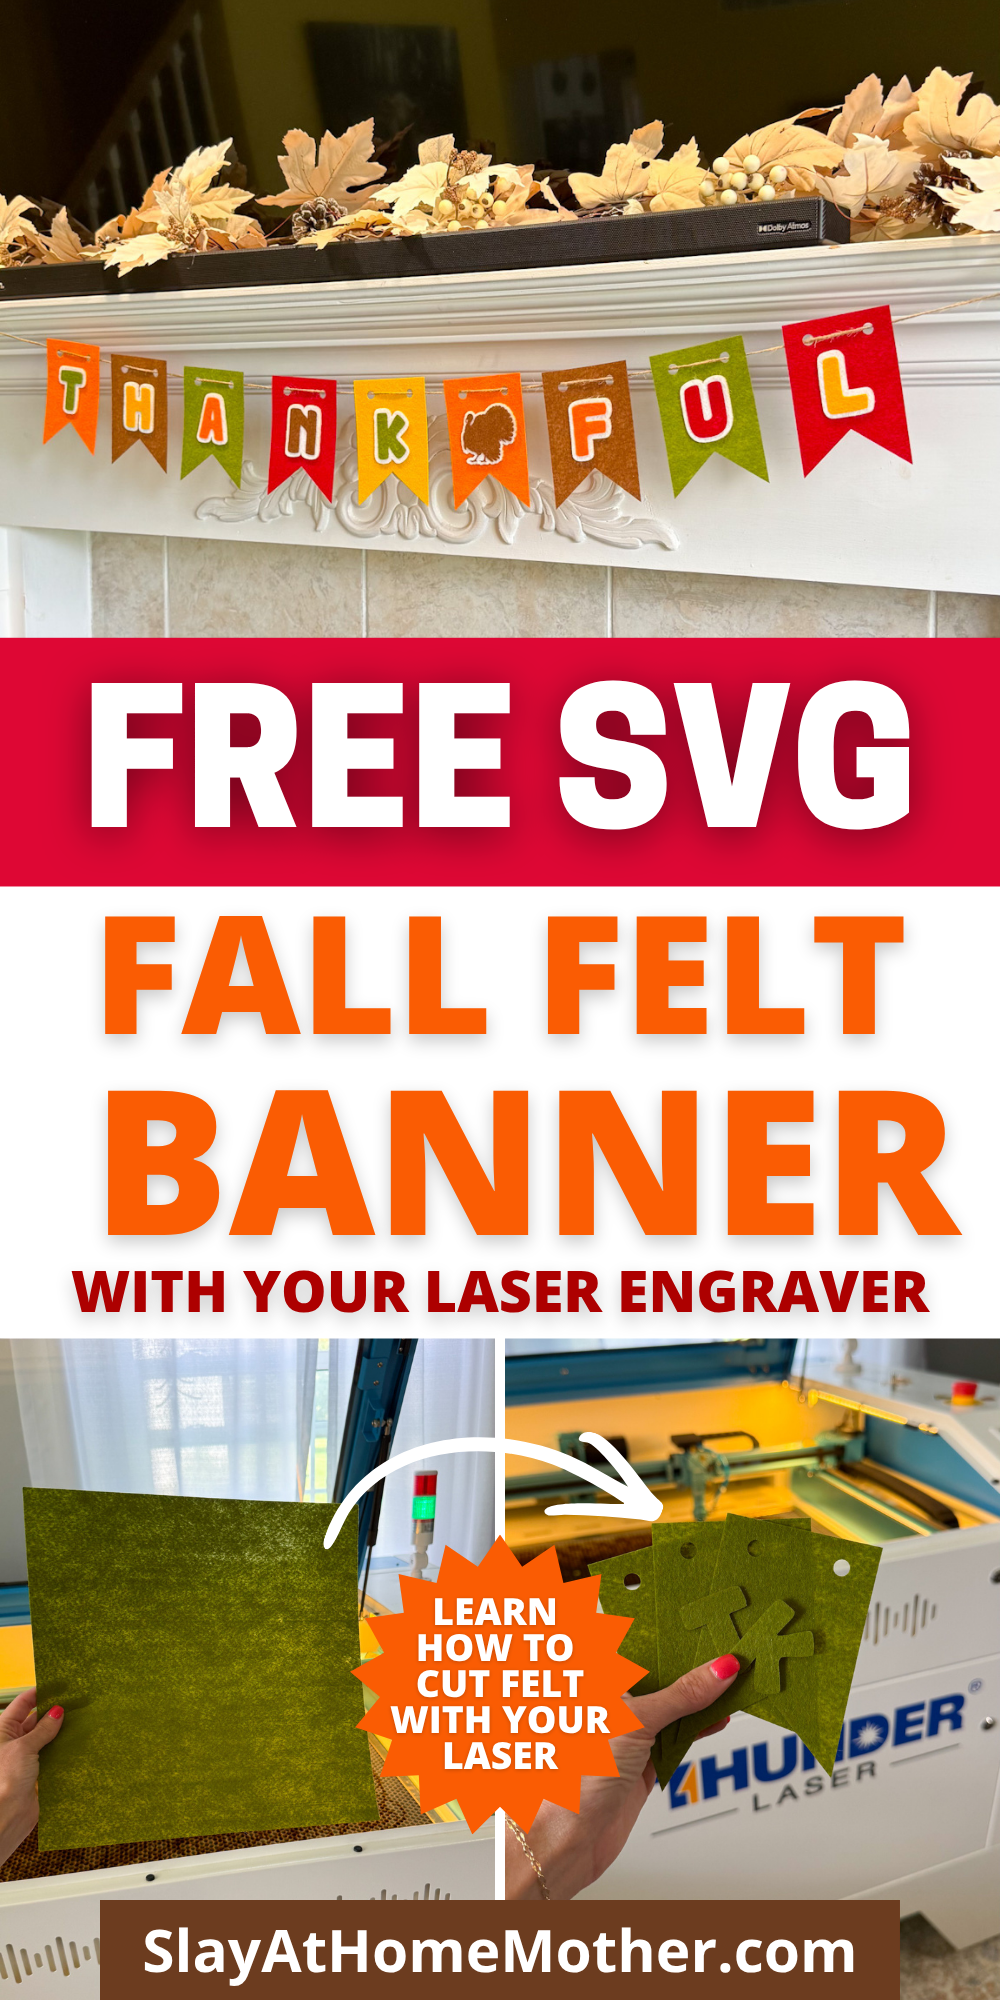
One of my favorite materials to cut with my laser machine is felt.
With the right settings, you can get a crisp cut with clean edges and create so many incredible projects.
Even though I’ve cut felt with my laser so many times now, I’m still just amazed at the precise edges I get when I cut with my Thunder laser.
While I’ve made a different fall felt banner with my machine before, I wanted to try layering the felt to make a more colorful banner with more dimension, and this one came out even cuter I think!
In this post, I’ll be sharing my laser cut settings and how I adhered the layers together, as well as sharing my SVG file download for you to make this for yourself.
I hope you love and enjoy creating this project as much as I did. Be sure to download your file below, and share it with me when you make it (@slayathomemother)!
This post may contain affiliate links, however, all opinions are my own, as always.
What You’ll Need to Cut Felt with your Laser
Here is what I used to create this DIY felt banner for fall:
- fall colored felt
- laser machine
- DIY felt banner SVG file (download your copy at the bottom of this post!)
- felt glue (this is the one I use)
- paintbrush (optional – I like to brush the glue onto the felt)
- twine for hanging
I used about 5 or 6 colors to make this banner, but feel free to use as many or few colors as you like to match your home decor, paint colors, fireplace, etc.
My Laser Machine
In this project, I’m utilizing the Nova Plus 35 60W, which is a workhorse laser machine.
I graduated from the Thunder Bolt, which was an incredible starter desktop laser, to this one so I could expand my crafting library for you (and me!).

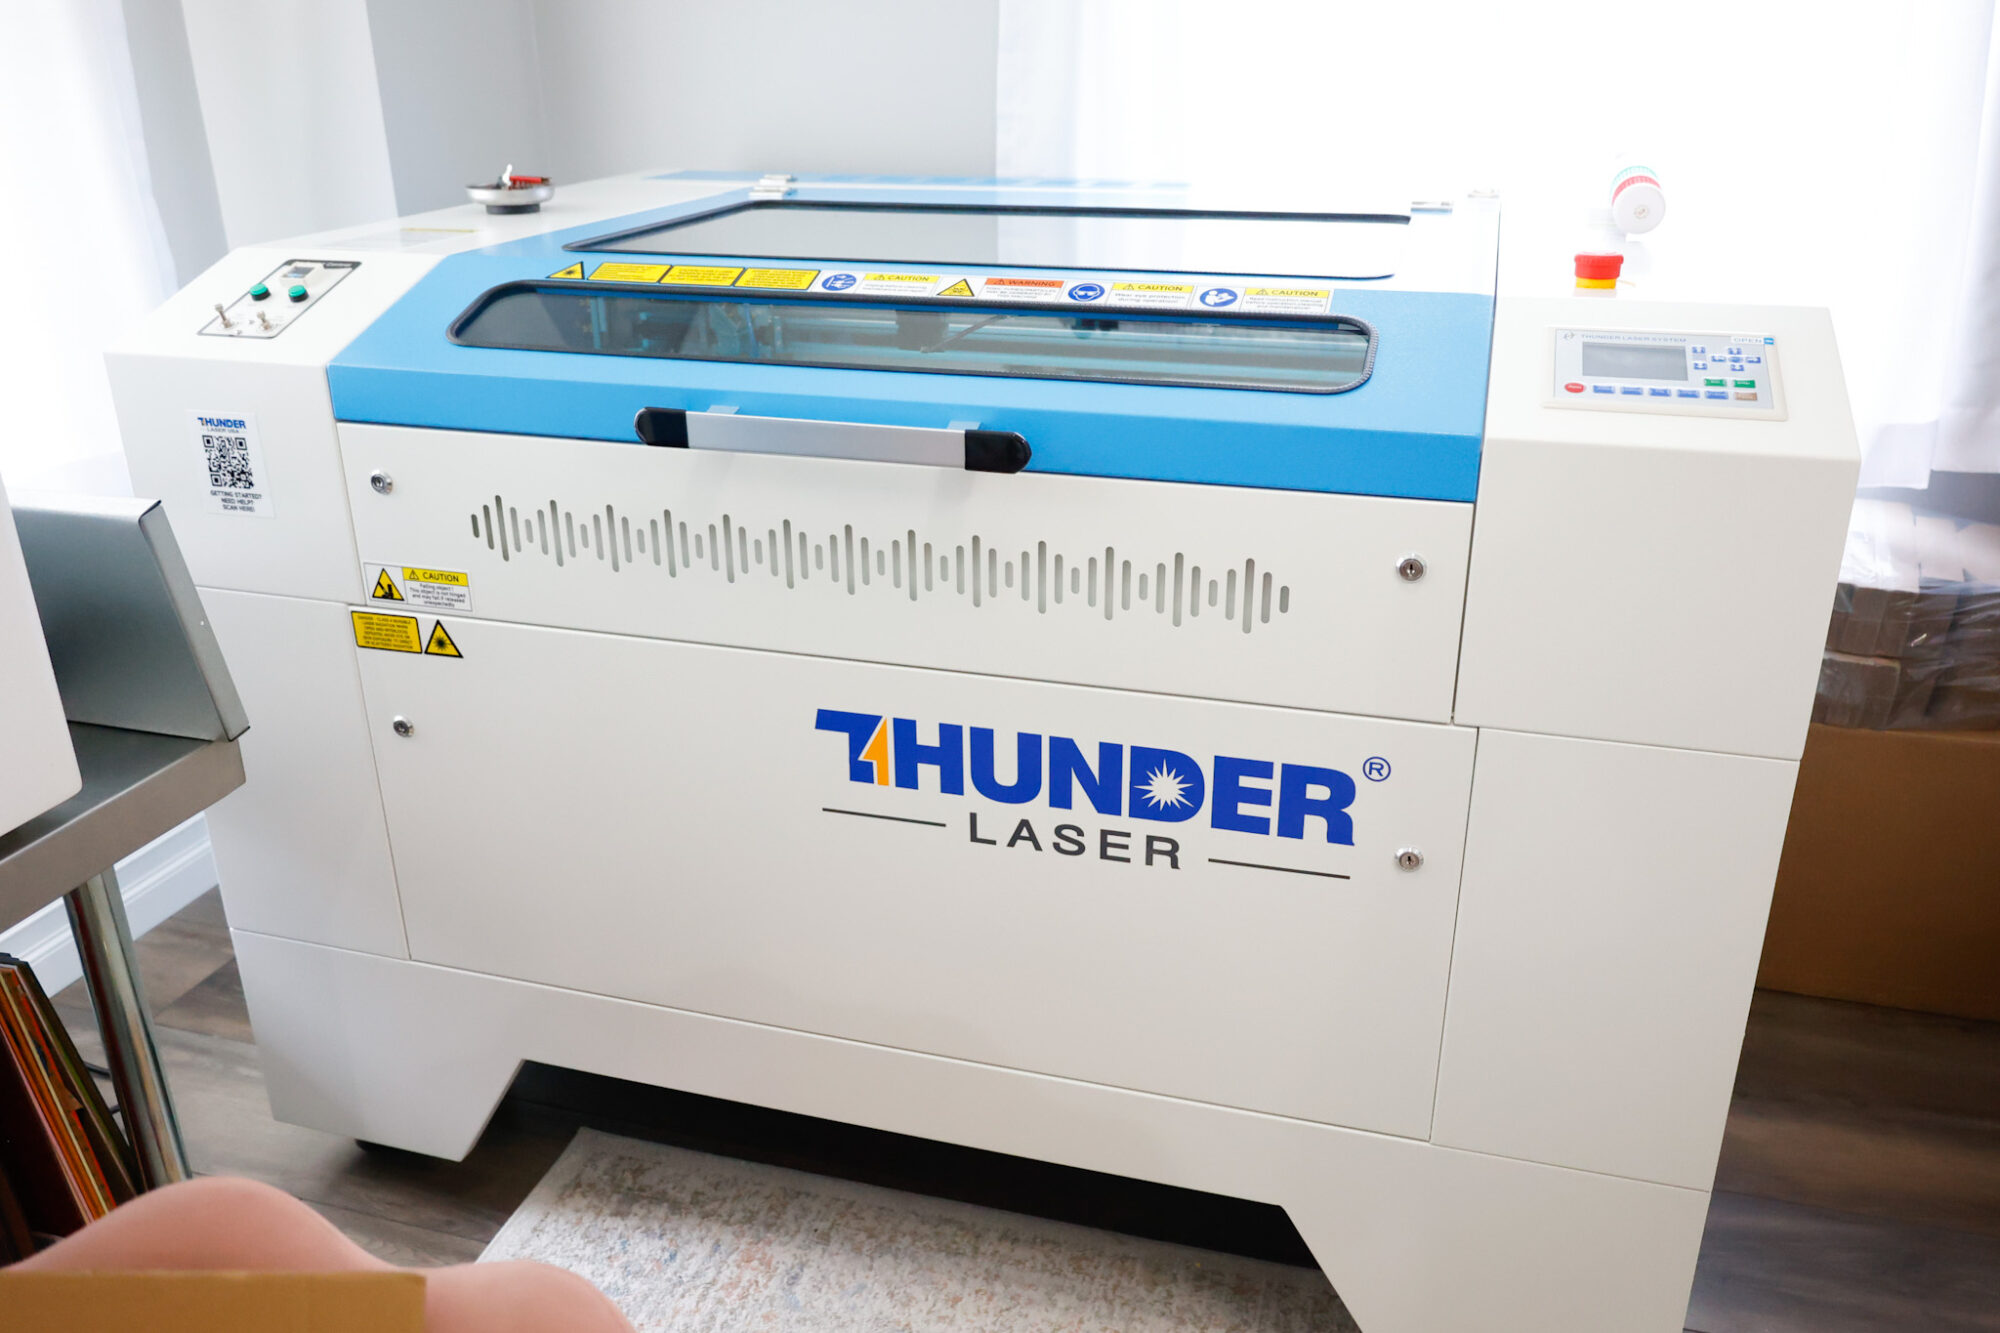
This machine has been incredible for crafting nursery signs, ornaments, door signs, tiered tray decor, and so much more!
The honeycomb on this laser bed is perfect for making larger items like nursery signs, door signs, etc.
The laser bed measures approximately 24″ x 36″, which is a generous work space for cutting multiple shapes/designs out of each piece of wood.
You May Also Like: Christmas Tiered Tray Decor + Free SVG
Felt Cut Settings on my Laser

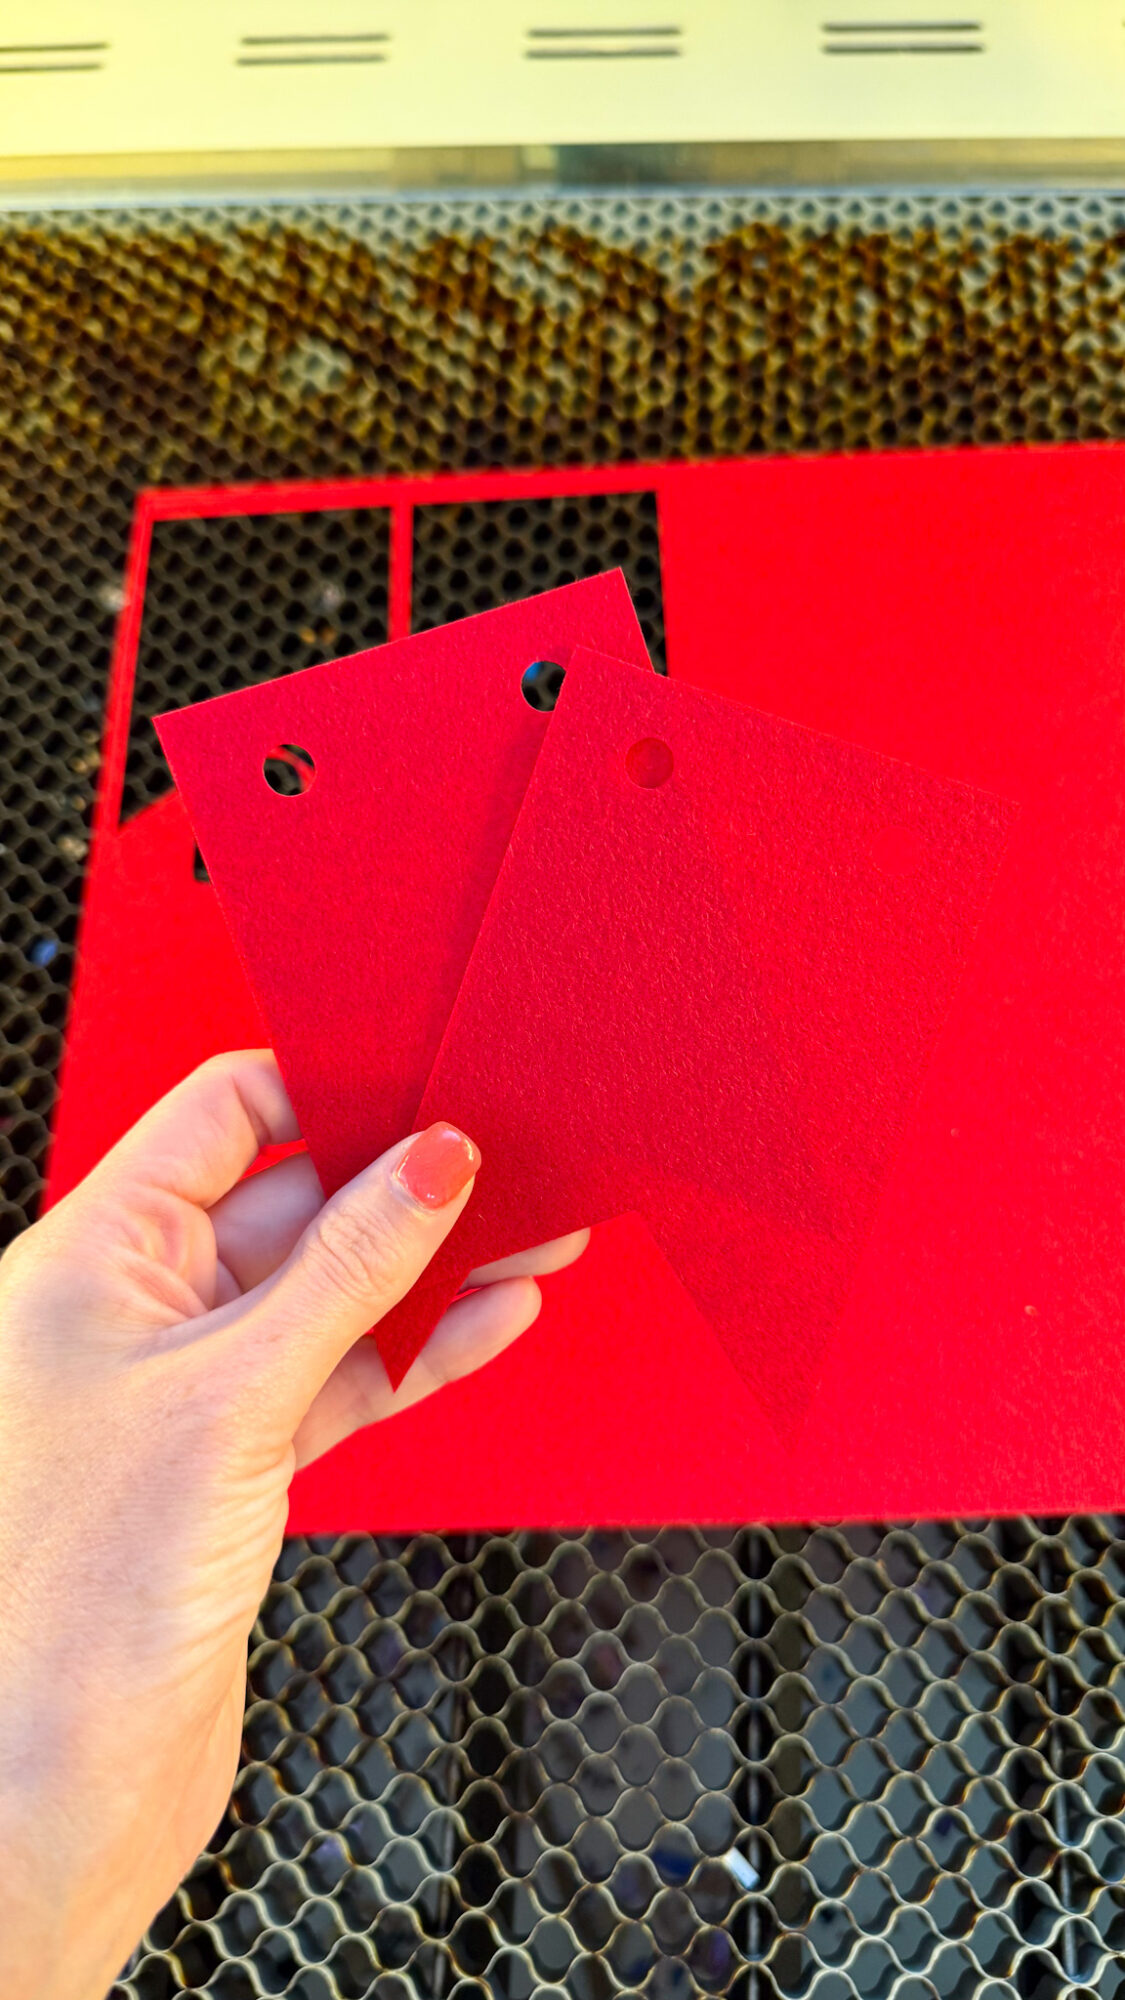
To cut these shapes out cleanly, I used these settings with my laser machine:
Engrave: 100 mms/s, 30% power max, 20% power min, 2 passes
FYI: If you have a CO2 laser, the settings will differ for you as well as my settings shown in this post are for my RF laser. It’s recommended that you run a test sheet for scoring/engraving/cutting for your laser so you have some go-to settings for the different materials.
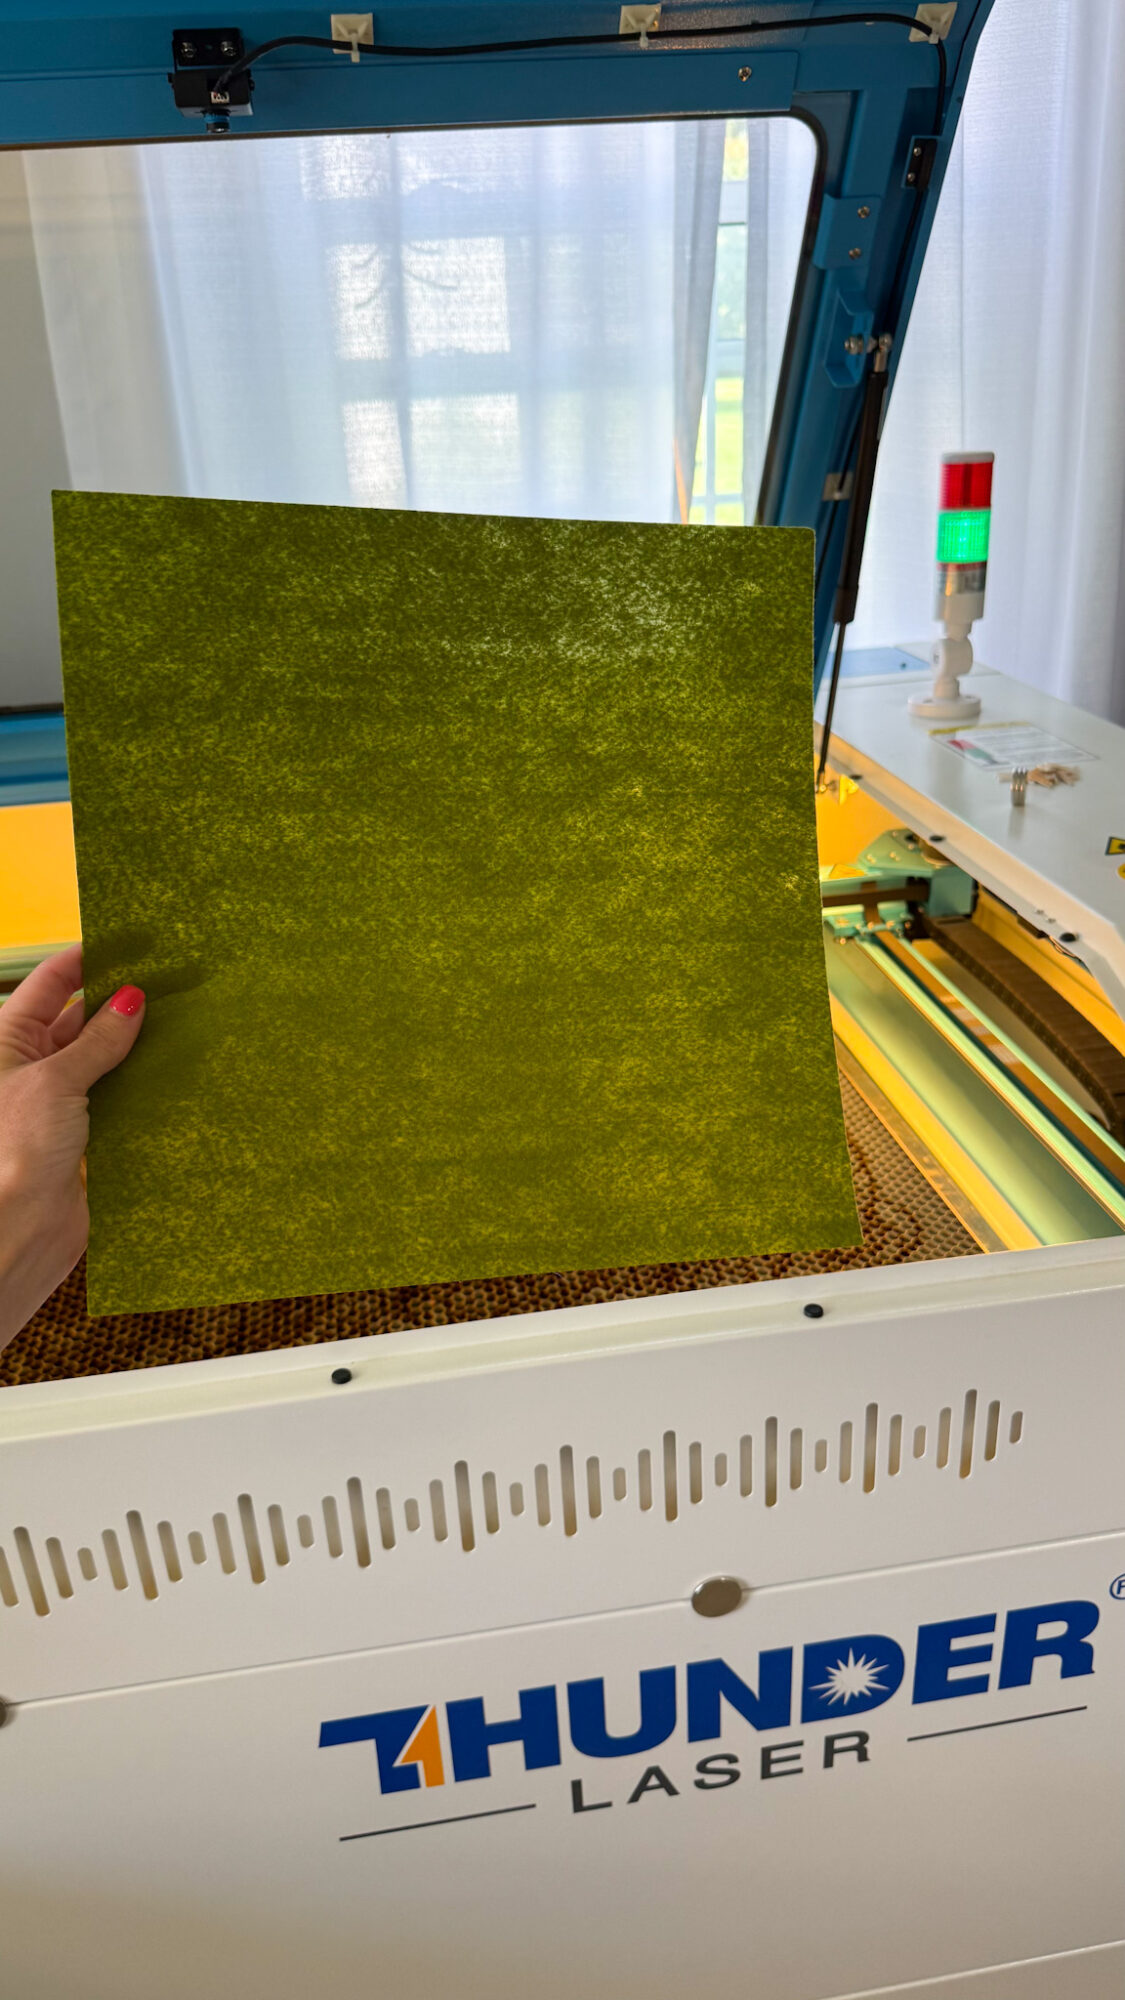
I used Cricut brand felt and one off-brand felt, and the Cricut brand was a stiff type of felt that really help it’s shape better for this type of project.
If you can find a stiff felt to work with, I would recommend that over a softer, fuzzy style felt.
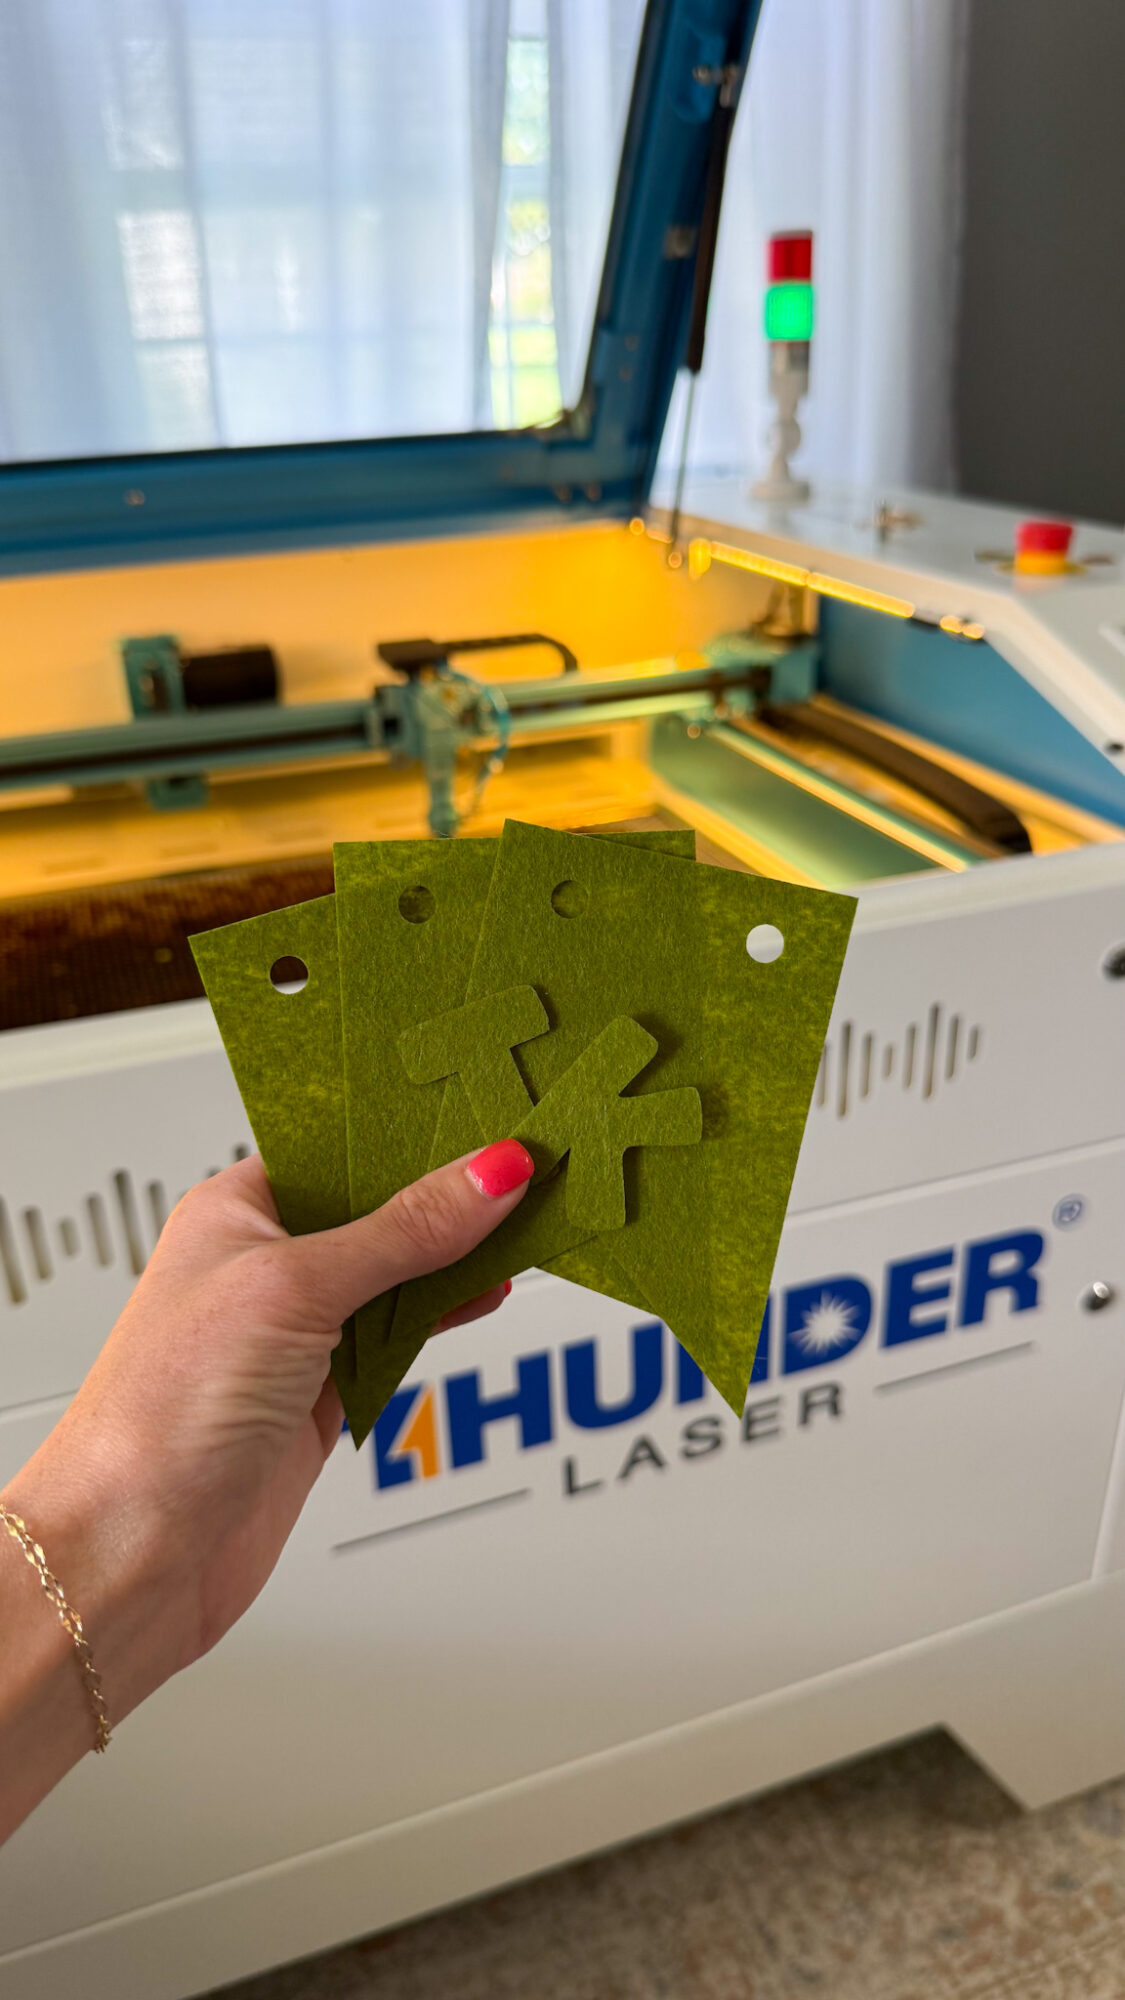
With these settings, I can see and feel a crisp cut edge!
You May Also Like: Valentine’s Day Door Sign + Free SVG
Gluing Felt Layers Together
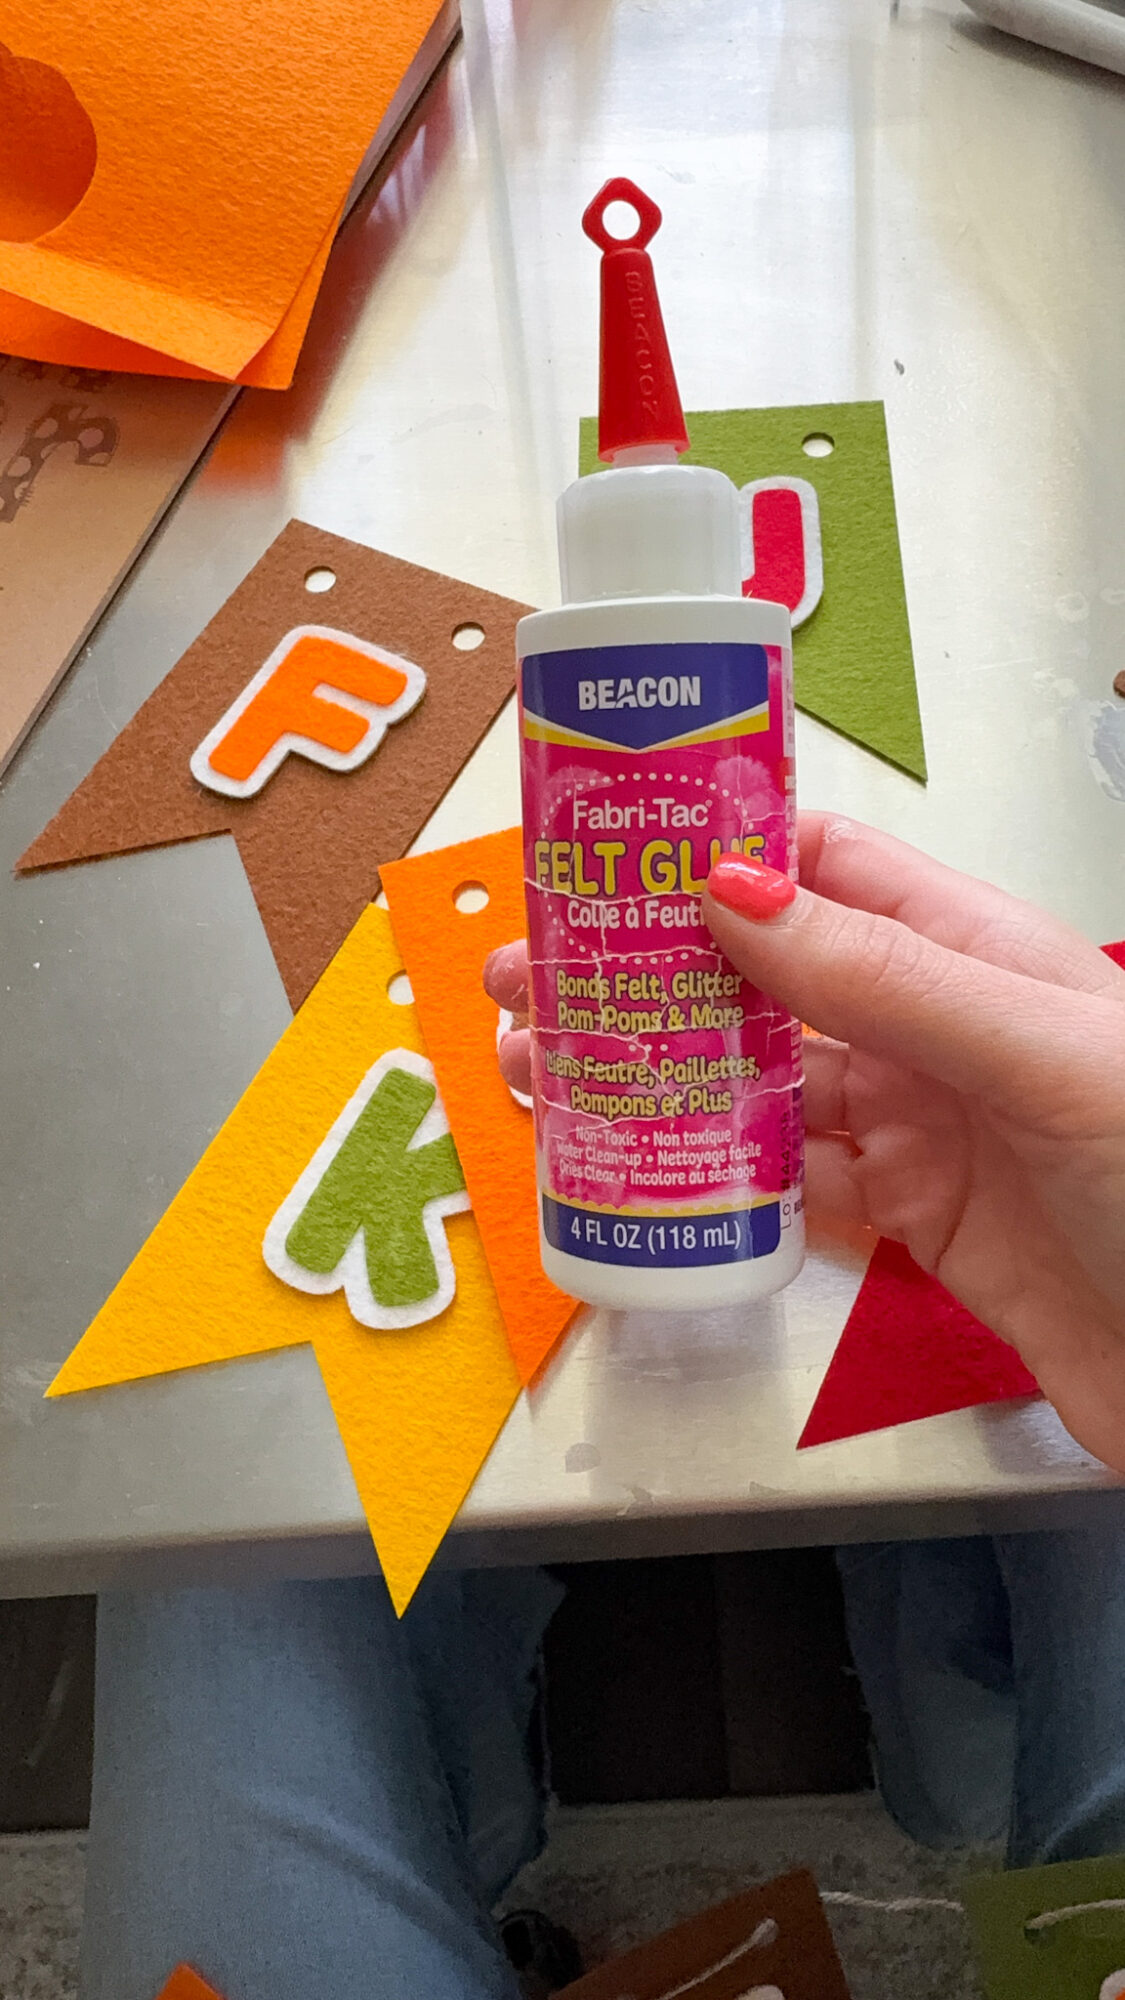
To glue my felt layers together, I used an old paintbrush and this felt glue.
It takes about an hour to dry fully, but I still hang my finished sign within 5 minutes of gluing and it doesn’t slip and slide down!
If you were to make this for a friend or family member and ship it, I would recommend letting it sit for a few hours to fully dry before handing it off to someone else or packing it up to ship.
Finished DIY Felt Banner
Here is my finished DIY felt banner…
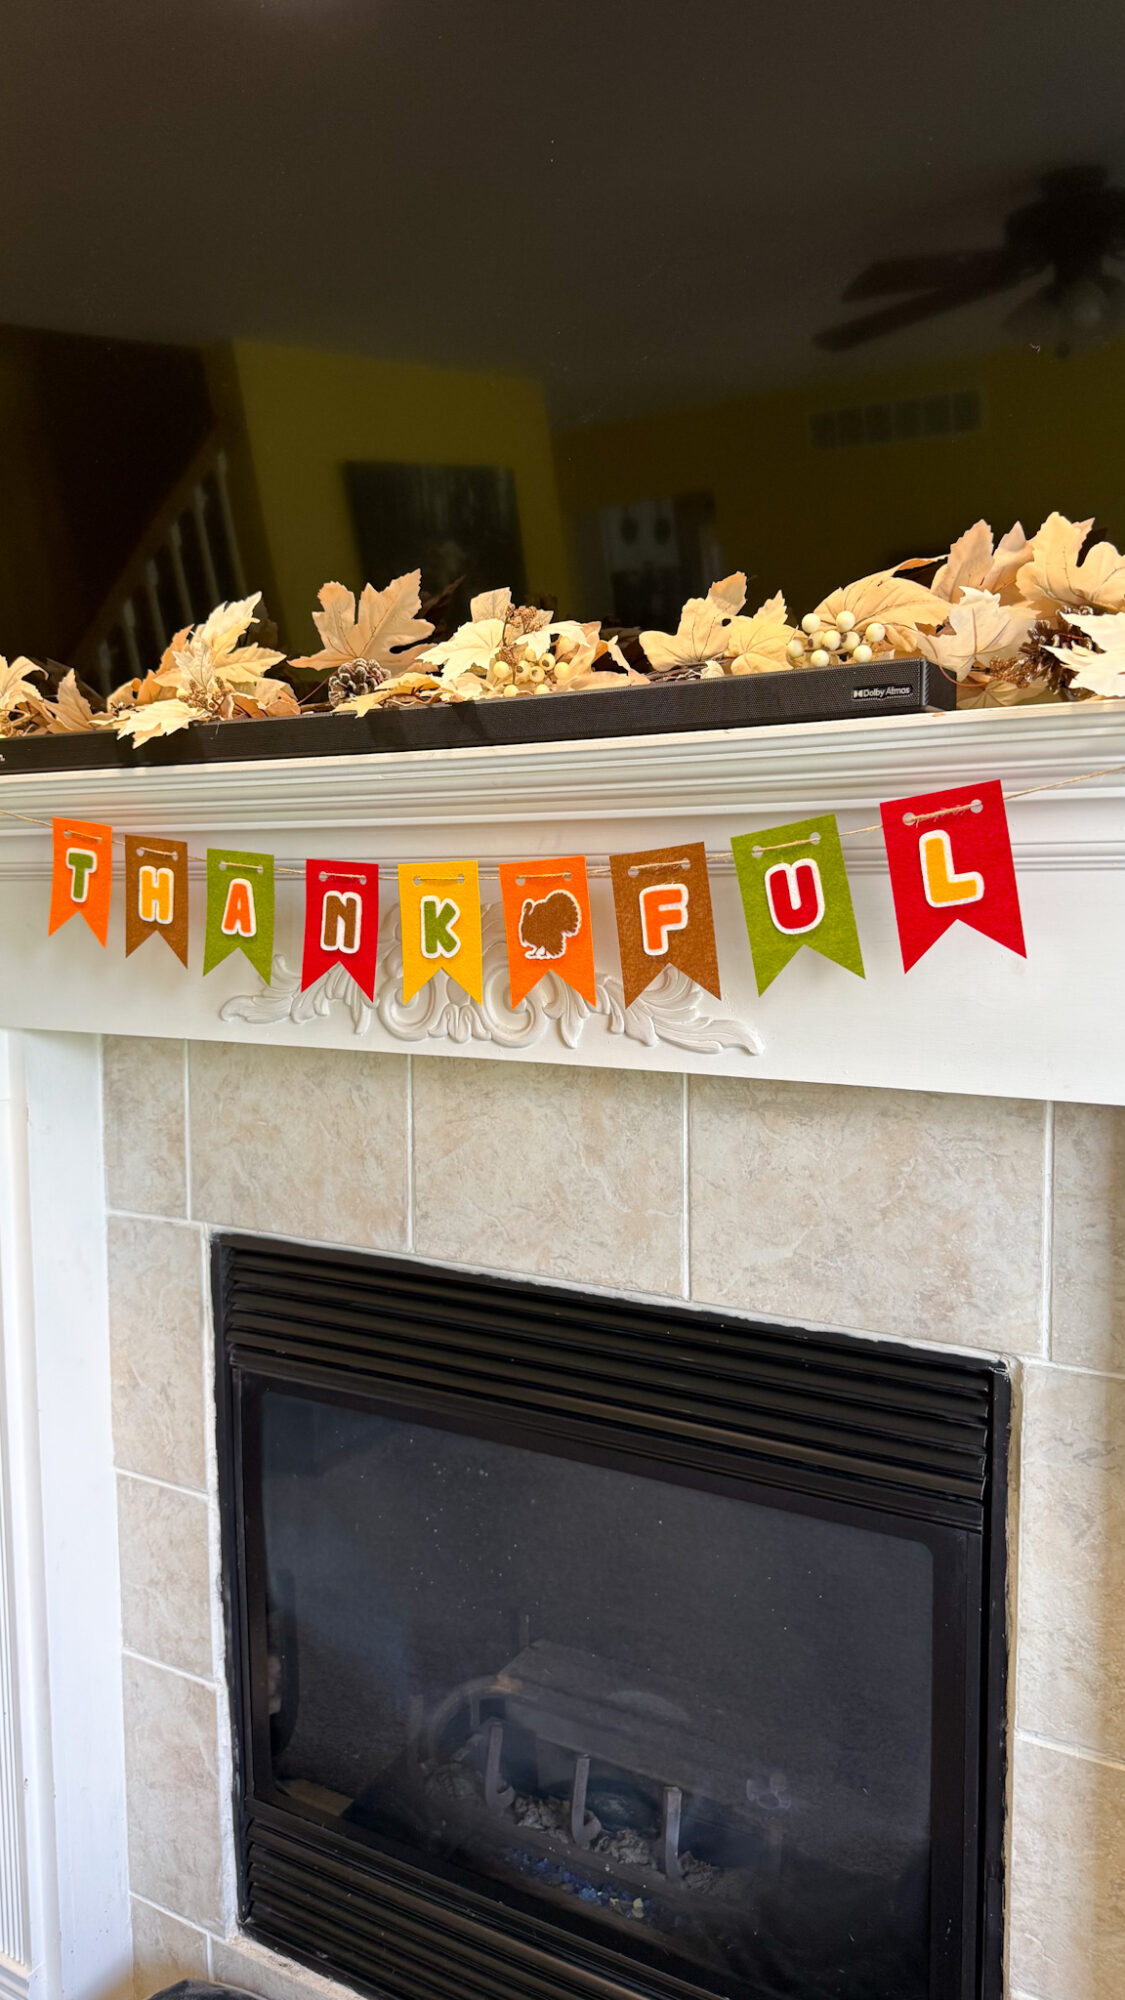
I love how it turned out, especially with the three layers (pendant shape, letter/turkey shape outline, letter/turkey).
Free SVG Download: DIY Felt Banner
Sign up below to gain instant access to my free SVG file for this project:
Please remember that all free files are for personal use only, and cannot be sold, copied, or distributed.
Thank you!