Okay, friends!
Today I’m turning our nursery into an office again – just until I get pregnant and get started nesting!
I need a space to work, and the couch (as comfortable as it is) just doesn’t do much for creativity or inspiration ;).
For my Office Refresh, I’m still waiting on a few office supplies to be delivered from The Container Store.
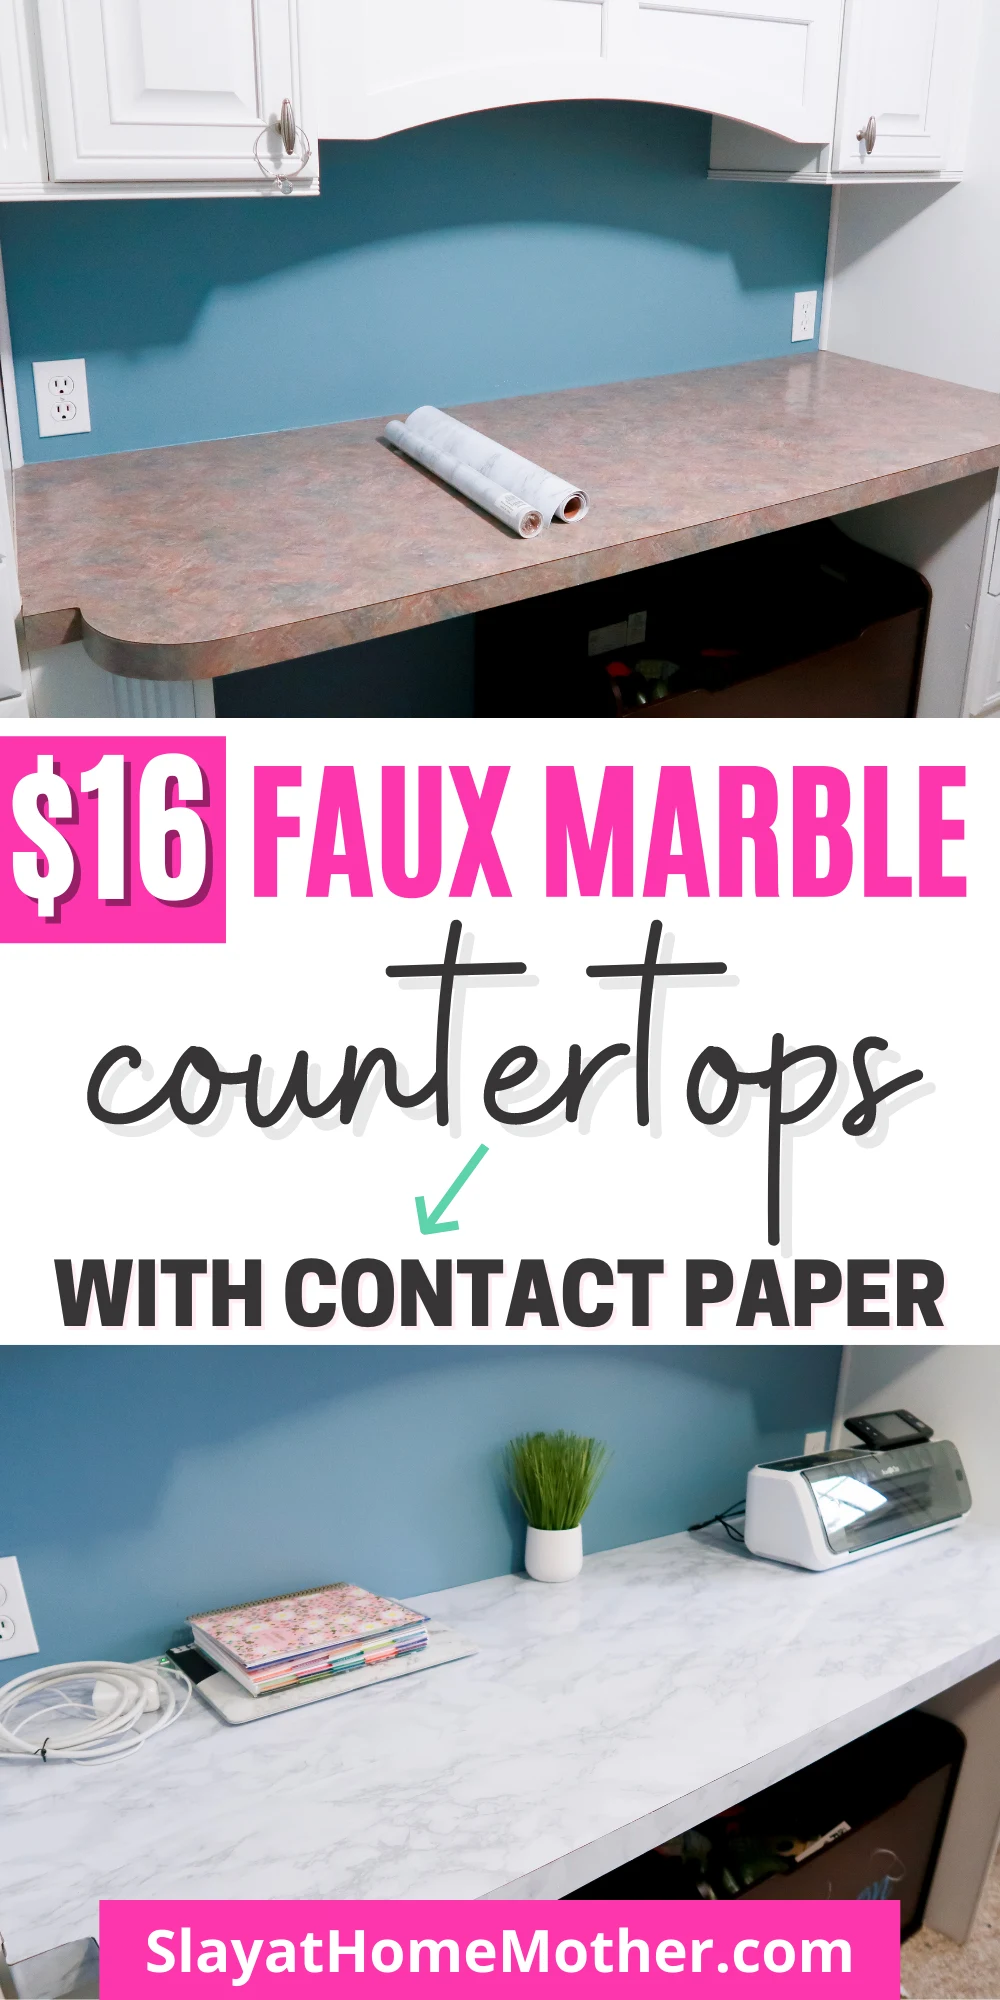
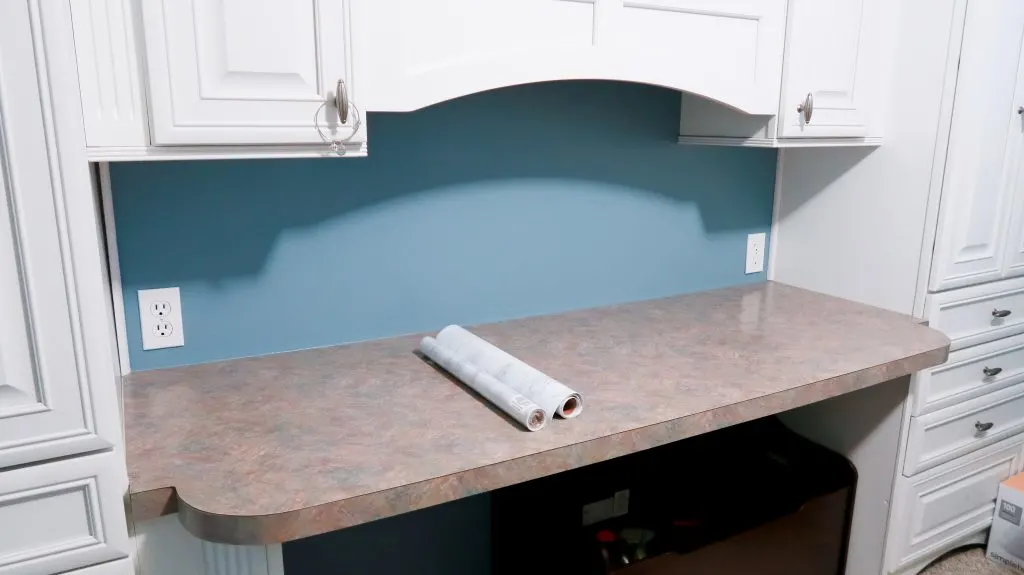
But for now, I can work on the part of the office that kills me every time I see it – the counters.
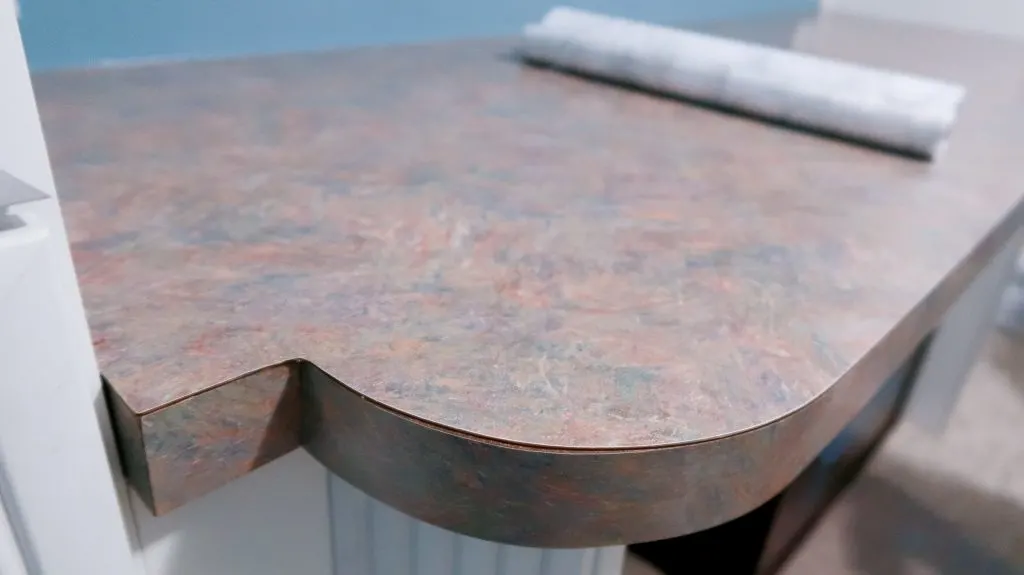
Hello roller skate carpet counters, what did I do to deserve you?
These were probably really cute back in the 90s, and I’m all for the recent 90s comeback, but not when it comes to my workspace.
Luckily, I have just the DIY in mind to refresh this space and give it life!
When we first moved into this house, I was working as a dental assistant and supporting the family while Chris looked for a job.
He quickly found one, and we discussed having another baby.
After a solid 6 months of trying to conceive, I decided to turn the extra bedroom/office into my craft room.
I kept what must have been hundreds of balls of yarn in the cabinet space, and stored my sewing machine and cutting mat on the counters.
The built-in cabinets in this room were actually pink/peach colored, but were painted white, so it makes sense that the counters in this room have pink (and every other color) in them.
The walls of this room also used to be pink, but we opted to paint them a blue color once we discovered that Jax was a boy at our 20-week ultrasound.
We transformed the room once again into a nursery, and once Jax was born the counters served as a changing area while the cabinets served as built-in dressers.
Now, we’re turning it once again back into a workspace!
I know, I know, it sounds bonkers.
But it’s honestly space that is wasting away while we are waiting to conceive, and then once we do get pregnant it will take another 9 months for the baby to even arrive!
So, in my mind, it makes sense to convert the space once more so we can actually utilize it.
I’m hoping our next house has four bedrooms so I can have a permanent office ;).
*This post contains affiliate links, however, all opinions are my own, as always.
Before You Get Started: Things To Know About Contact Paper
My plans to change up the counters is one of the easiest DIYs you’ll come across, and can be done in any print or pattern your heart desires (that is sold in stores/online)!
For this DIY, I am going to be using contact paper with adhesive backing.
Contact paper is renter-friendly because it can be easily removed from just about any smooth surface it is applied to.
Contact paper can even be removed and immediately reapplied as you’re working should you apply it incorrectly, at an angle, or on the wrong surface.
If you have a favorite wrapping paper that you think would be great for your counters (like plaid, character-themed, etc.), you can also try this process.
I know there is such thing as ‘clear contact paper’ with adhesive.
I have no experience using the clear adhesive contact paper over wrapping paper, but I know it can be done – so don’t think you are JUST limited to what is sold online or in stores.
Contact paper can be picked up at Walmart, Target, the dollar store, and of course online.
When purchasing a contact paper that will be going over a darker colored surface (meaning the surface to be covered is darker than the color/print of contact paper you want to use), be sure to check out reviews of the paper you want to buy.
See if any other purchaser has used the paper you plan on buying in a similar situation so you’ll know for sure your counters will not show through the paper.
I know Amazon is a great resource for reviews!
My Plan To Refresh My Counters
Here are my countertops before…
You guys probably already know about my love for contact paper – I used it as wallpaper for the wall of my pantry (which you can read about HERE) and it looked fantastic.
Even more so than I originally thought it would!
I decided this would be another great space to use contact paper – marble contact paper!
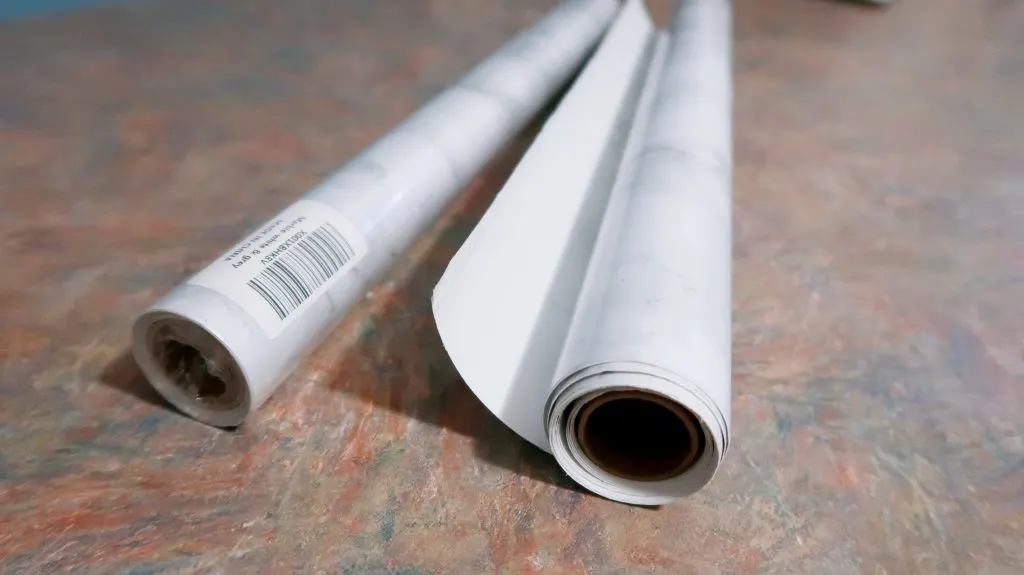
I selected a wonderfully reviewed contact paper in white and gray marble print from Amazon.
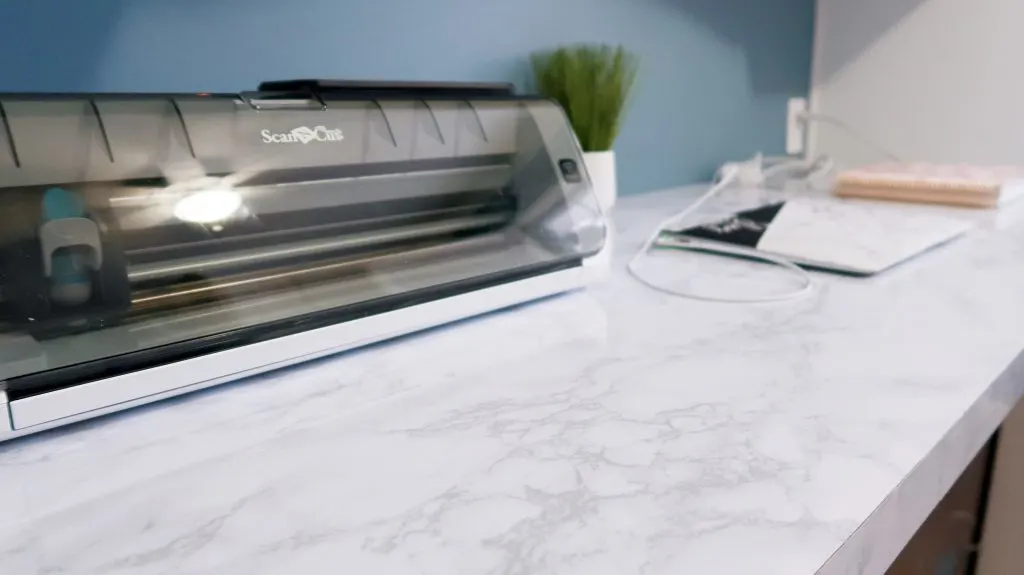
I’ll admit, I was nervous about the darker counters showing through the paper, but you can’t even tell what’s underneath – I’m truly impressed.
DIY Marble Contact Paper Countertop Application
Here’s what I used to achieve this DIY faux marble countertop look…
Supplies:
- Marble Contact Paper
- Razor(s)
- Scissors
- Gift card/credit card
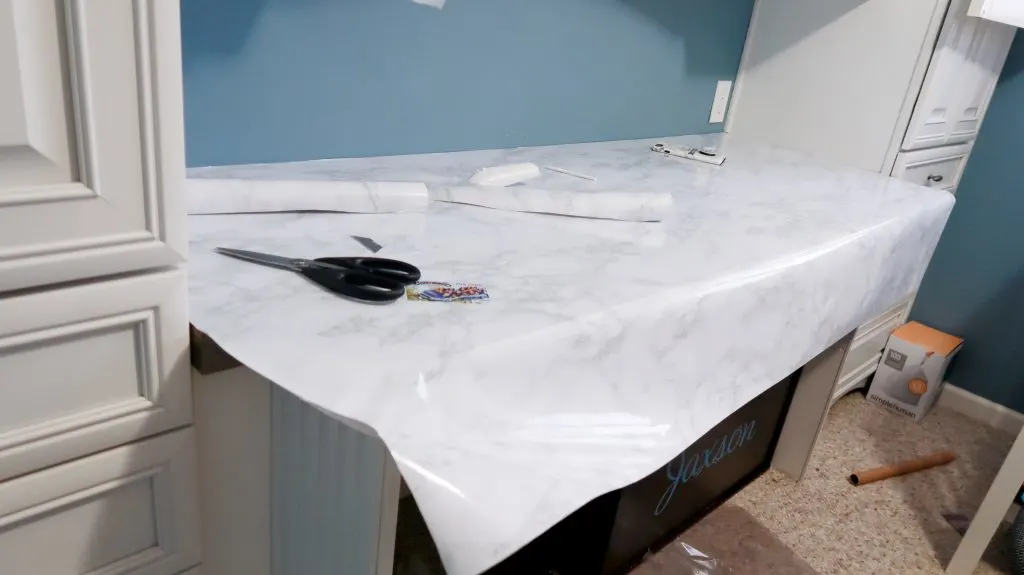
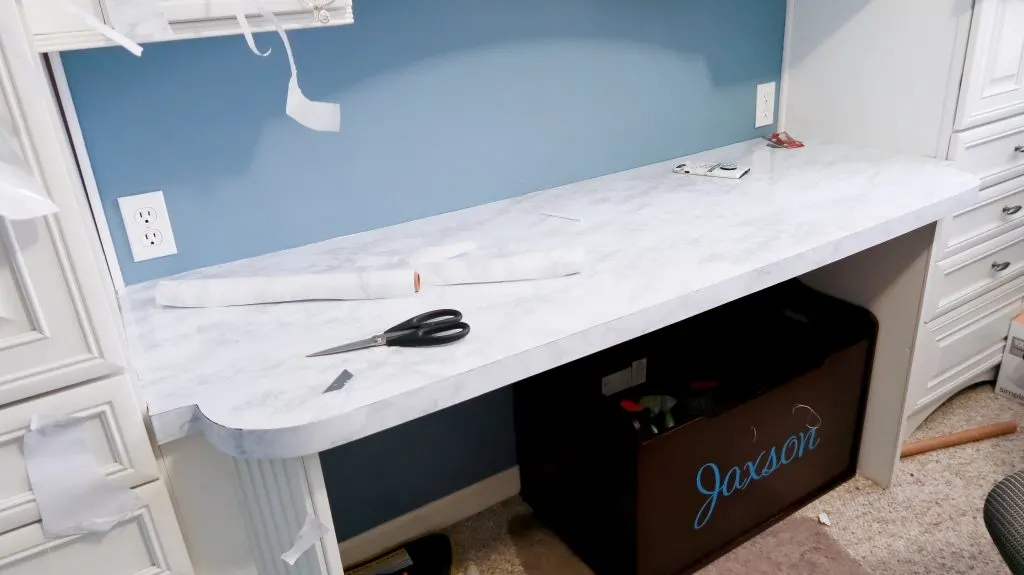
To apply the contact paper, I exposed the paper about an inch from the sticker paper and applied to one end of the counters.
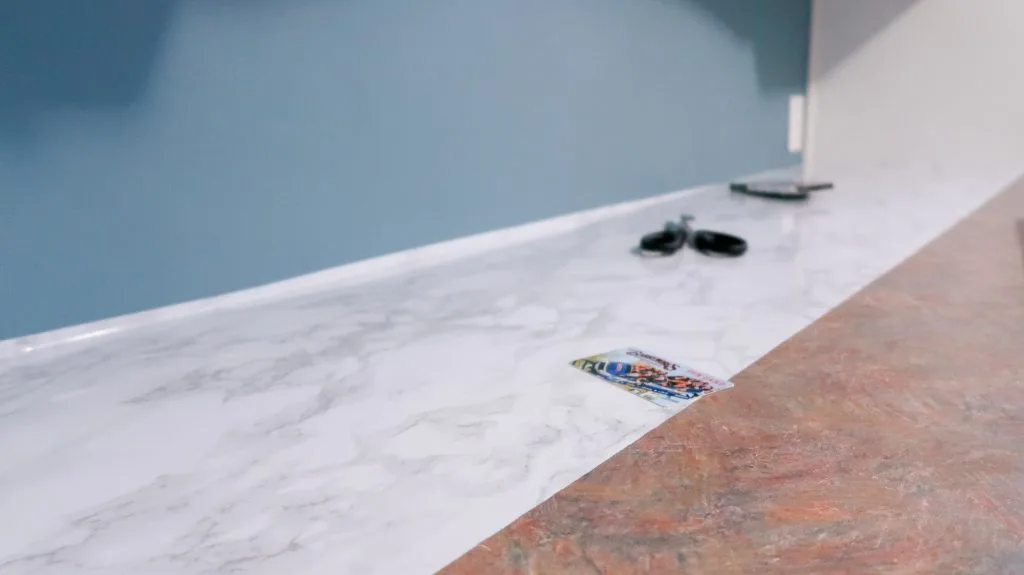
Slowly removing the sticker paper from the contact paper from underneath, I lightly pushed an old gift card across the surface to remove any air bubbles and create a smooth surface.
Once I had the first piece completely down on the counter, I cut the excess paper with my kitchen scissors (it cuts very easily), smoothed the edges with the card again, and trimmed with a razor. 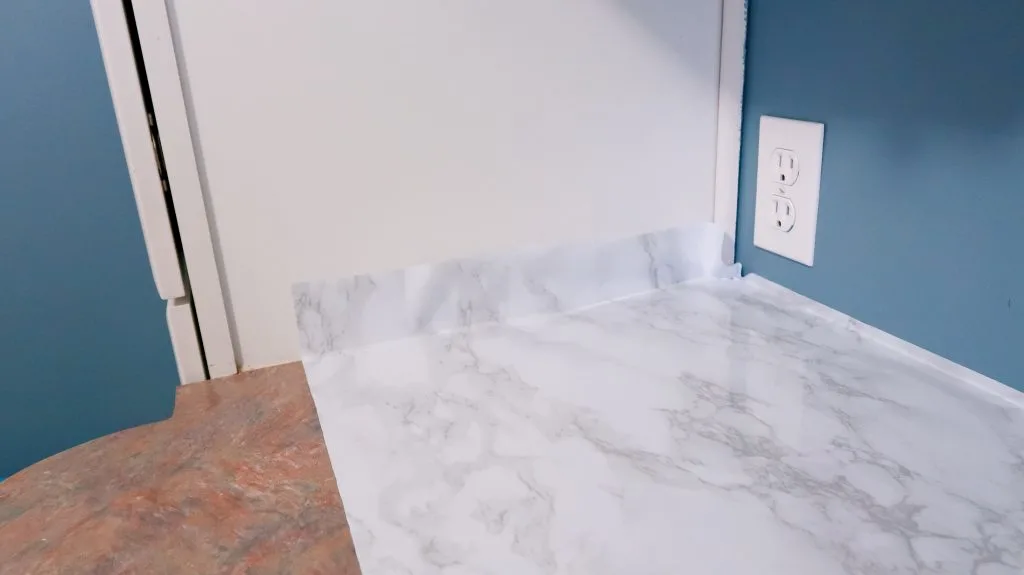
For the second sheet, I repeated the same process, lining up the paper edge-to-edge but overlapping but 1-2 cm.
If I had overlapped the paper any further, it would have been noticeable!
If you want to get crazy, and you have a counter that is less wide than the two rolls of paper you have like mine is, you could line up the patterns of the marble (or whatever print you plan on using) and have an even better matchup, meaning the difference between the two pieces of paper will be harder to pick out.
Although I have to say, as far as my visitors go, no one picks up on the fact that they are two separate pieces of paper because no one looks that closely.
Once the paper was smoothed down completely, I used a razor to trim across the edges.
I then laid a fresh piece of contact paper against the front of the counters and trimmed above and below.
DIY Marble Countertops With Contact paper Success!
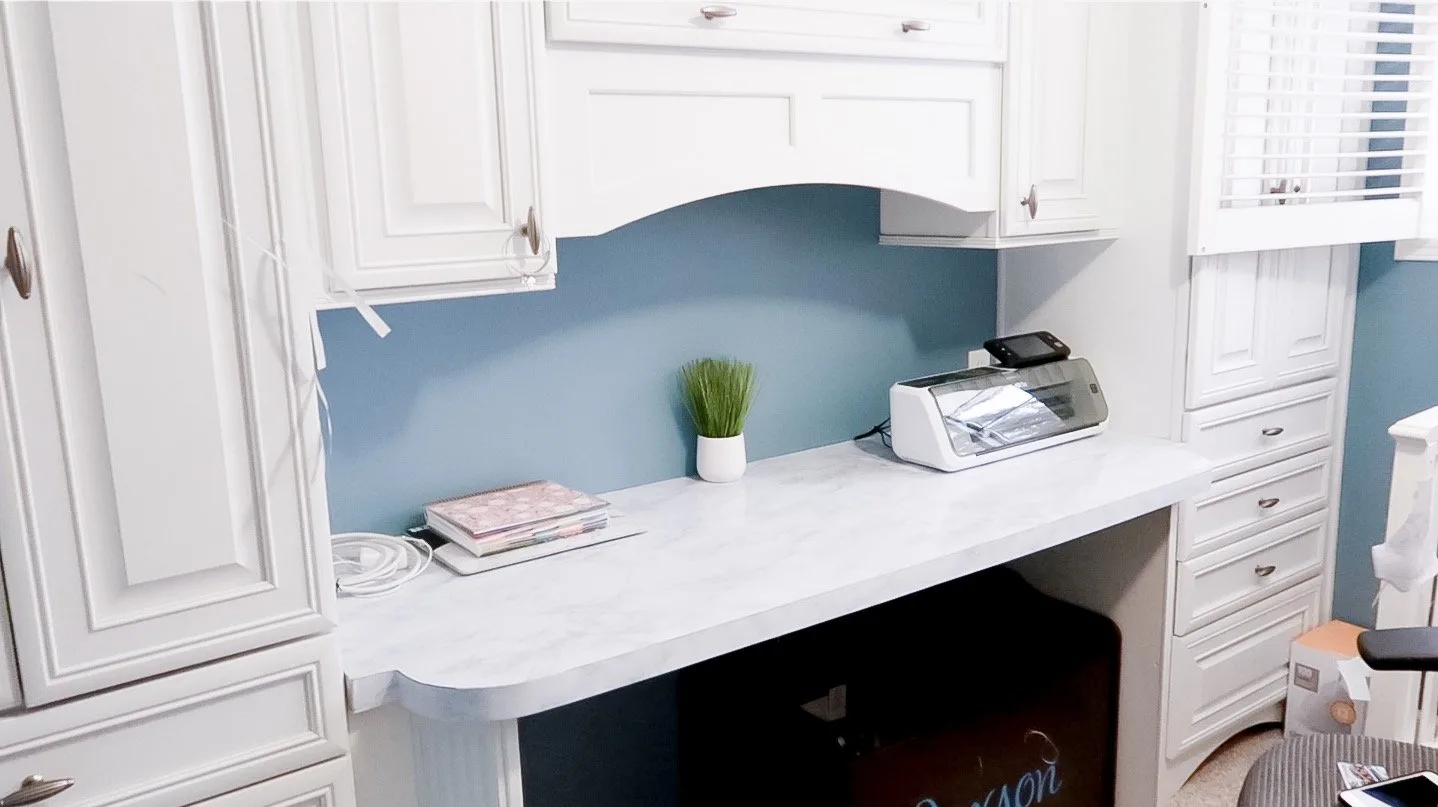
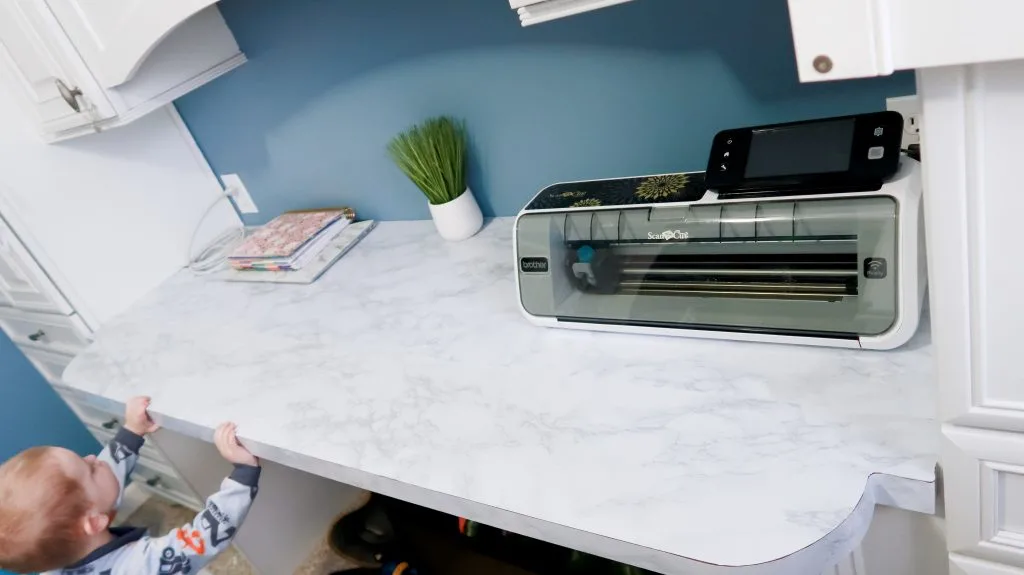
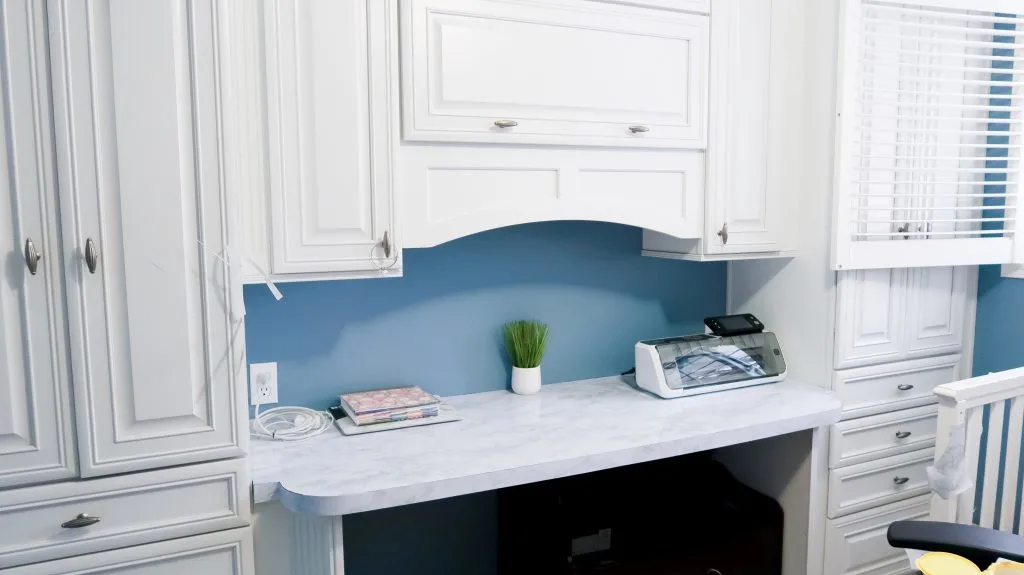
Here’s the final reveal…
I had so much fun completing this easy DIY!
The marble contact paper makes so much more sense than those ugly pink/purple/blue counters that came with the house.
Now, my countertop desk is gorgeous without taking away any functionality.
If I spill any coffee on these counters, I can easily wipe them clean.
I hope you guys enjoyed this easy DIY, and feel inspired to do a contact paper project of your own!
I’d love to hear about some of your DIYs in the comments below.
*Post originally published January 2019, last updated October 2021.

Melissa M Sanchez
Sunday 3rd of February 2019
what a fantastic way to give an update to countertops. these looks great. OH my goodness this would be amazing for a craft room table. I love this!
Peachy @ The Peach Kitchen
Friday 1st of February 2019
Oh wow! Your countertop looks really good! Such a great way to upgrade.
Jenni LeBaron
Friday 1st of February 2019
Wow, this is such a great way to upgrade your countertops in an inexpensive way. The desk looks really nice!
Amber
Friday 1st of February 2019
Nice update! I used that paper to make a background for product photography and it has lasted years so I think it is a good, affordable fix for an area like this.
Megan
Friday 1st of February 2019
Oh my god! This is so smart and cost effective!