We’re finally revealing our floor to ceiling 2020 Kitchen Renovation….
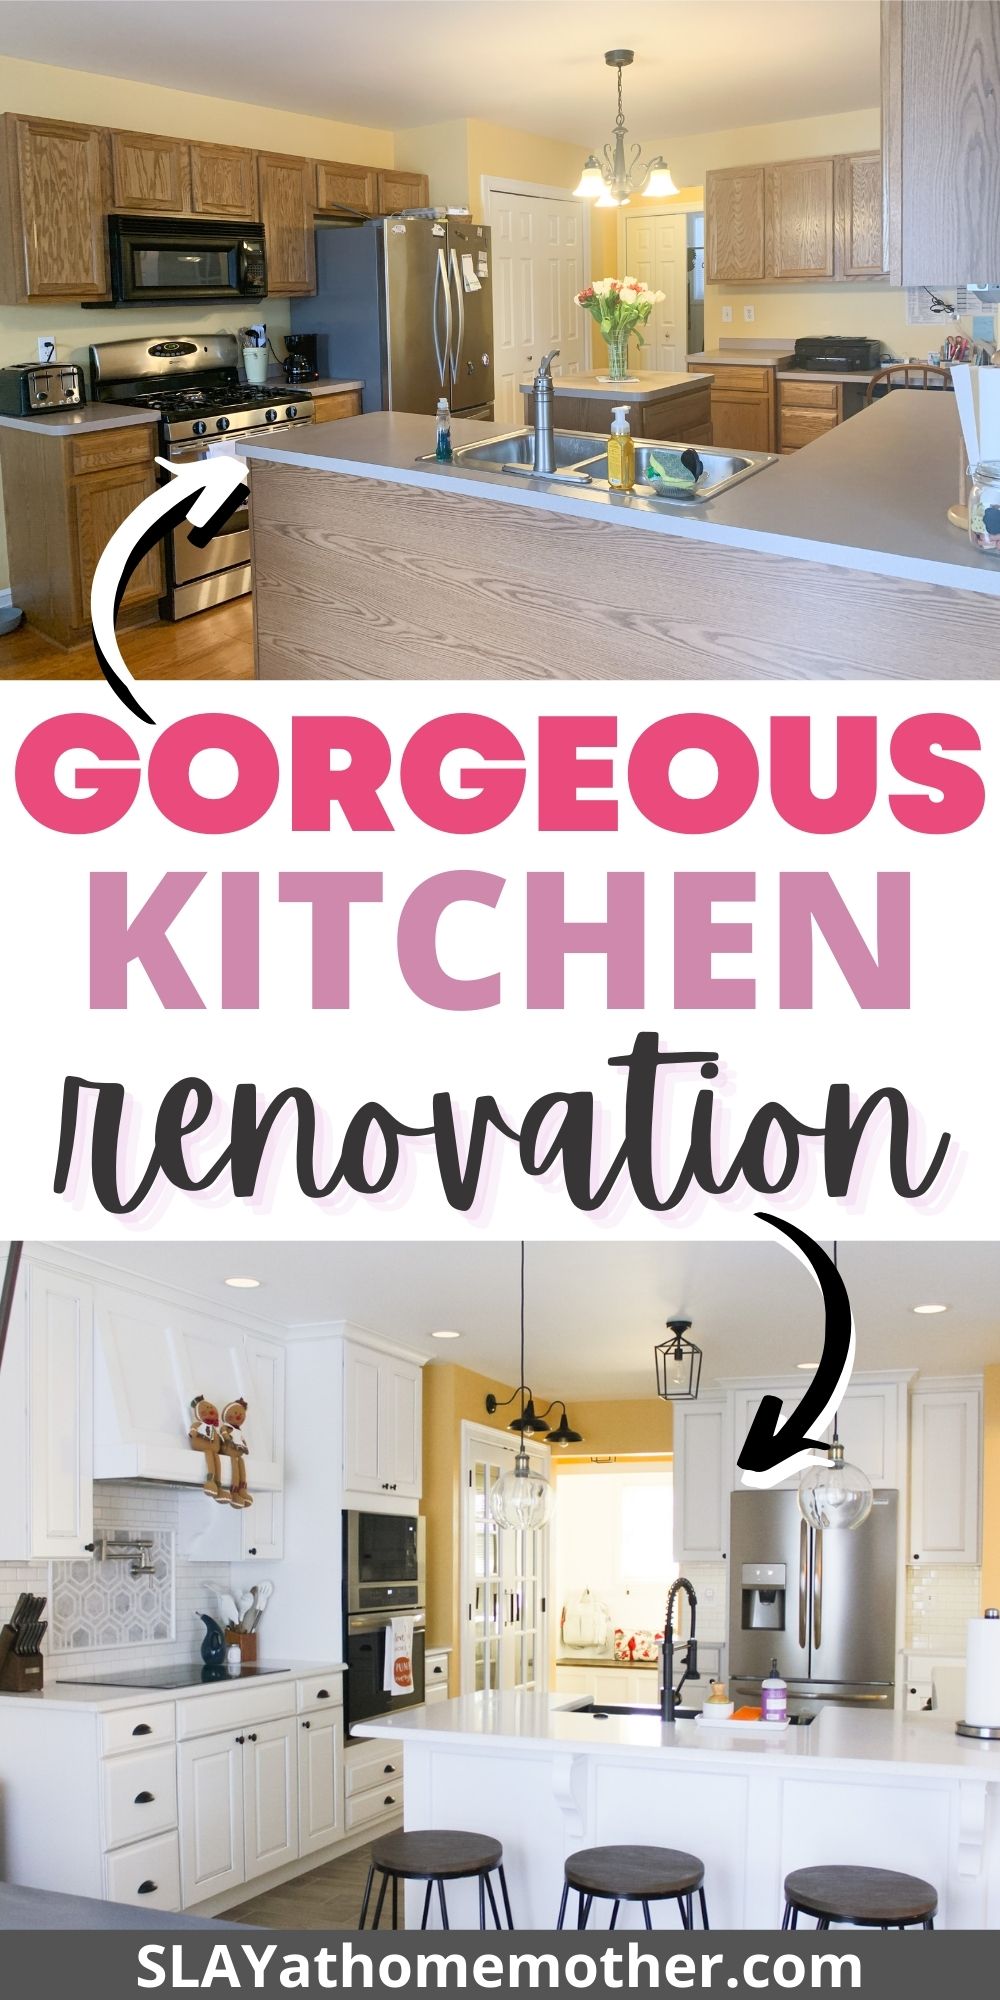
Hi friends! I am so excited to FINALLY share our kitchen renovation with you all!
We began this project in May of this year and have finally finished it this November 2020.
Yep, 6 months in the making.
Should it have taken that long?
Nope.
But, it did!
In the end, though, we’re happy with all of the customizations, additions, layout, and look of our kitchen.
We got our dream kitchen – that’s all we could ask for!
We’re choosing to focus on the amazing parts of the process, like the final result…
*This post contains affiliate links, however, all opinions are my own, as always.
Isn’t it just gorgeous?
Before I get into details, however, I need to rewind time and show you what our kitchen looked like before we started this renovation…
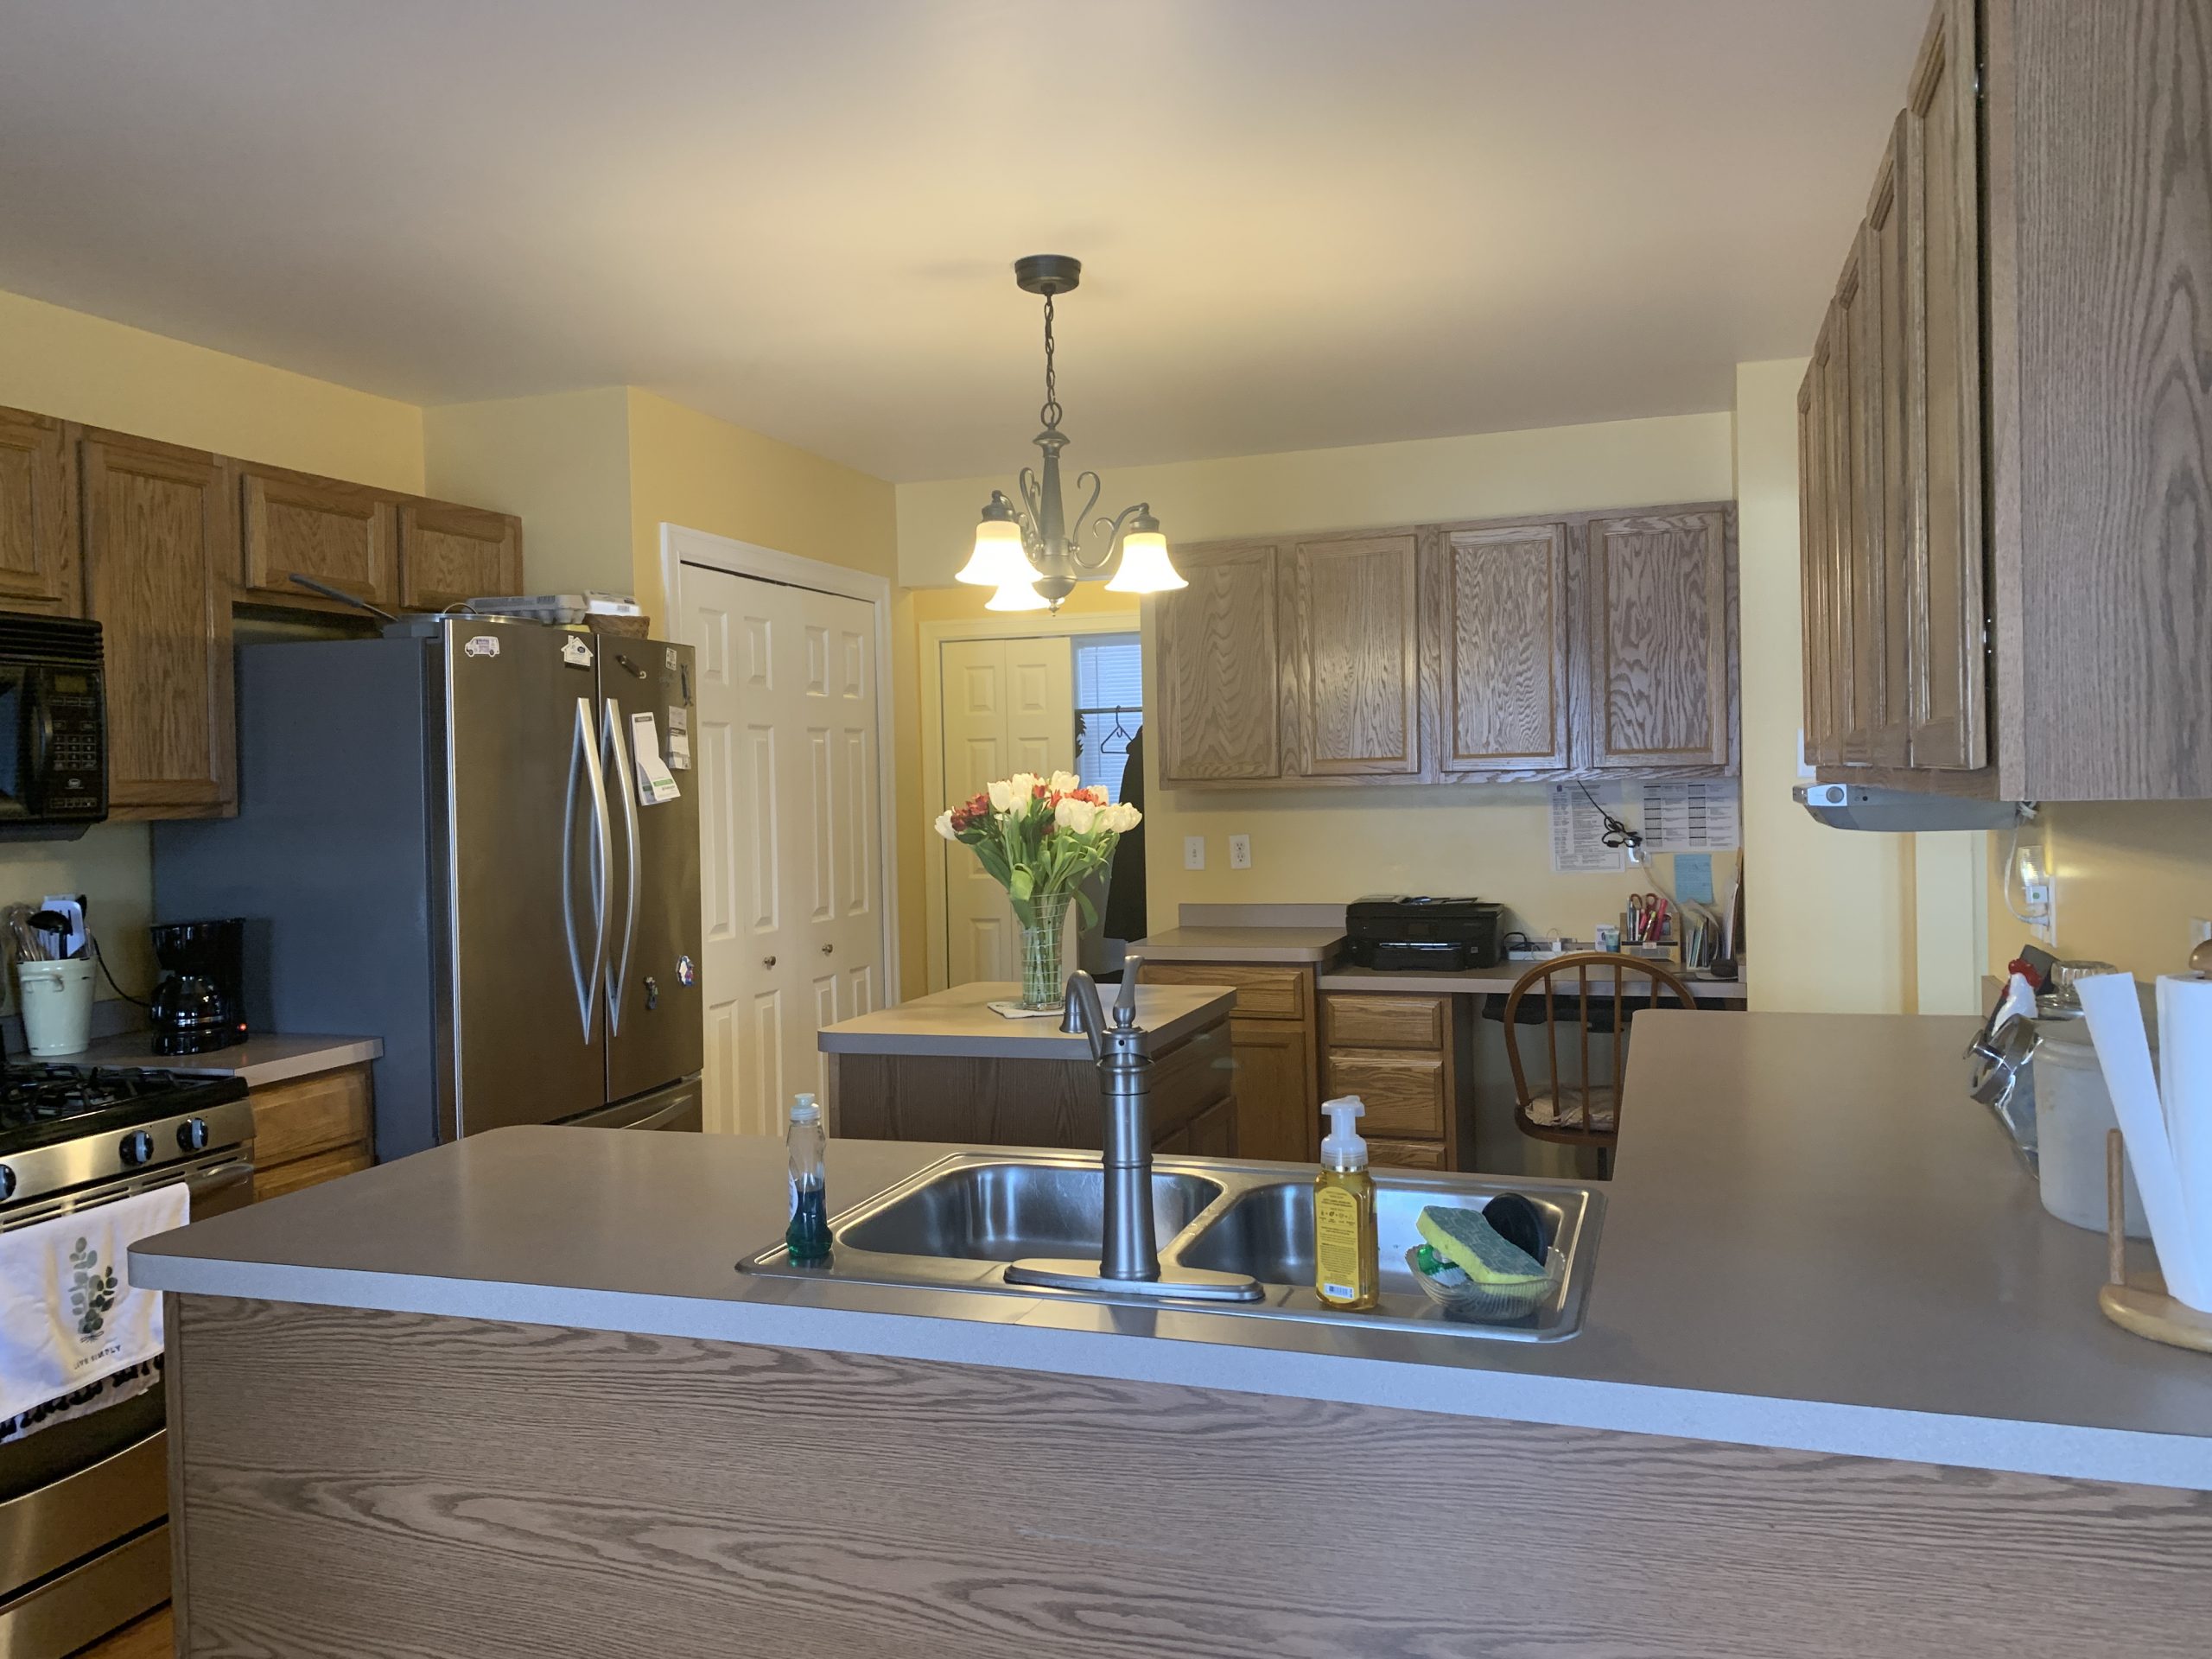
Before Our Renovation – Oak Cabinets
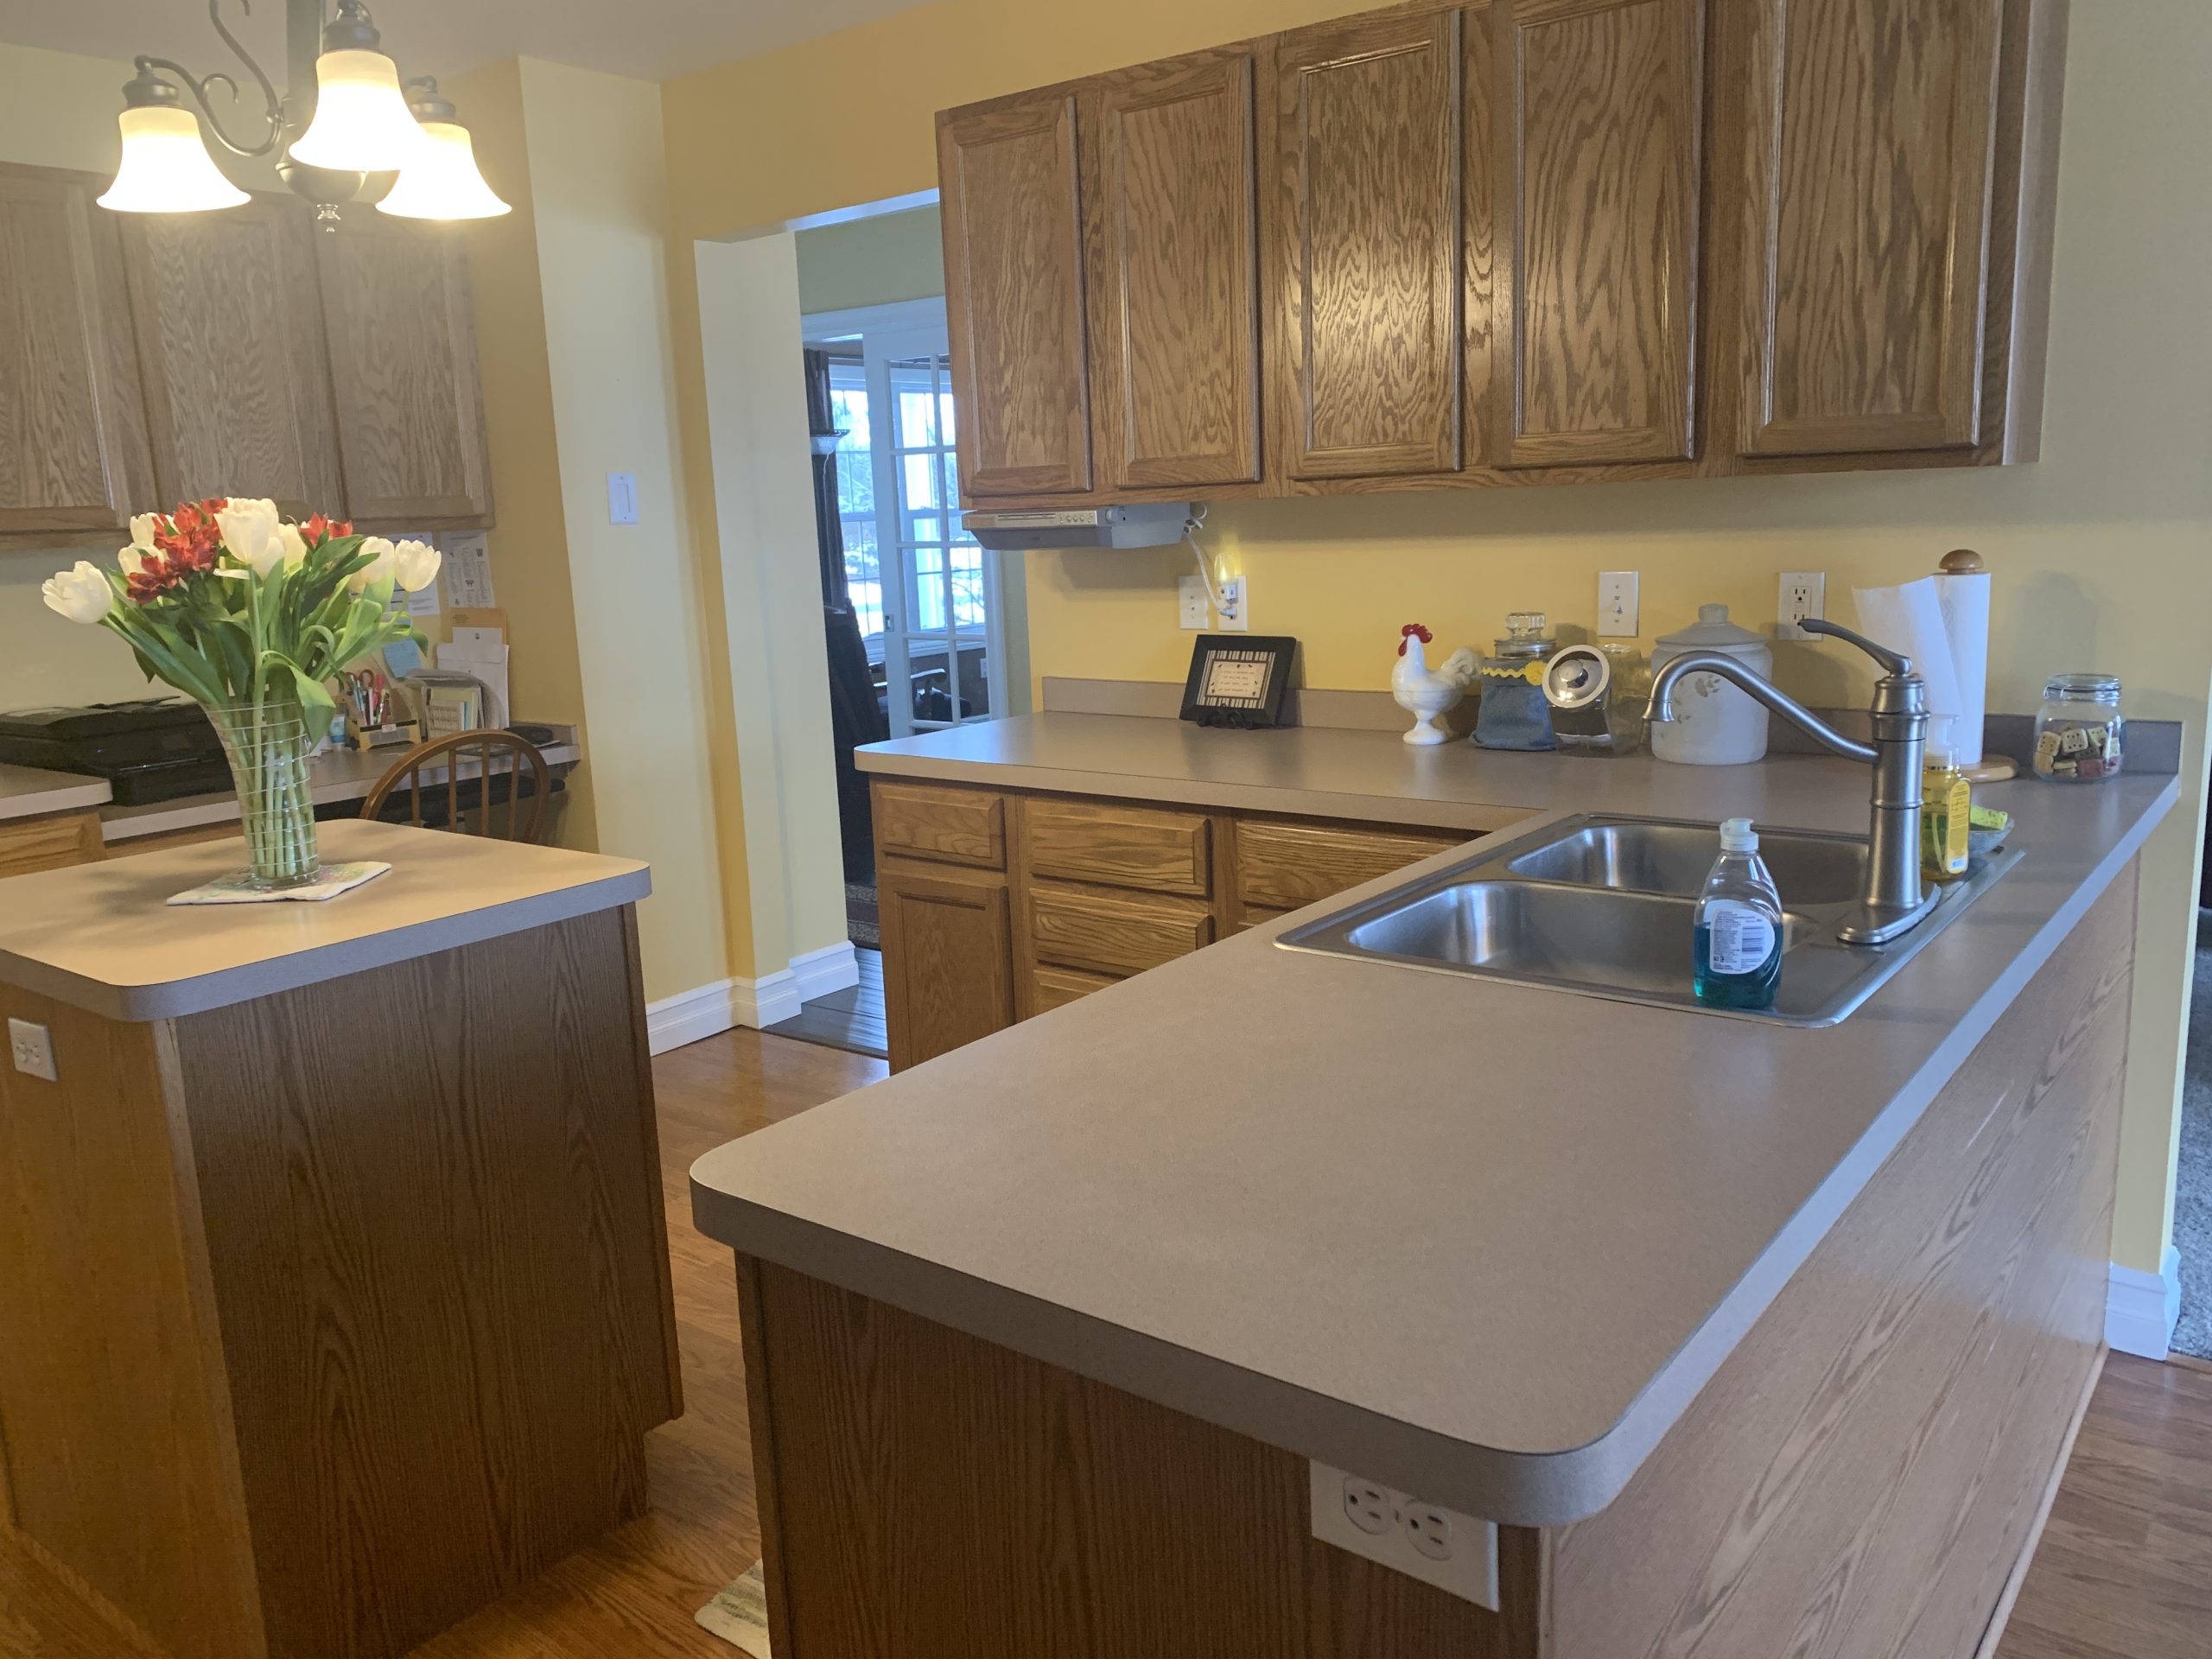
Here’s what our kitchen looked like before we began any of our renovations…
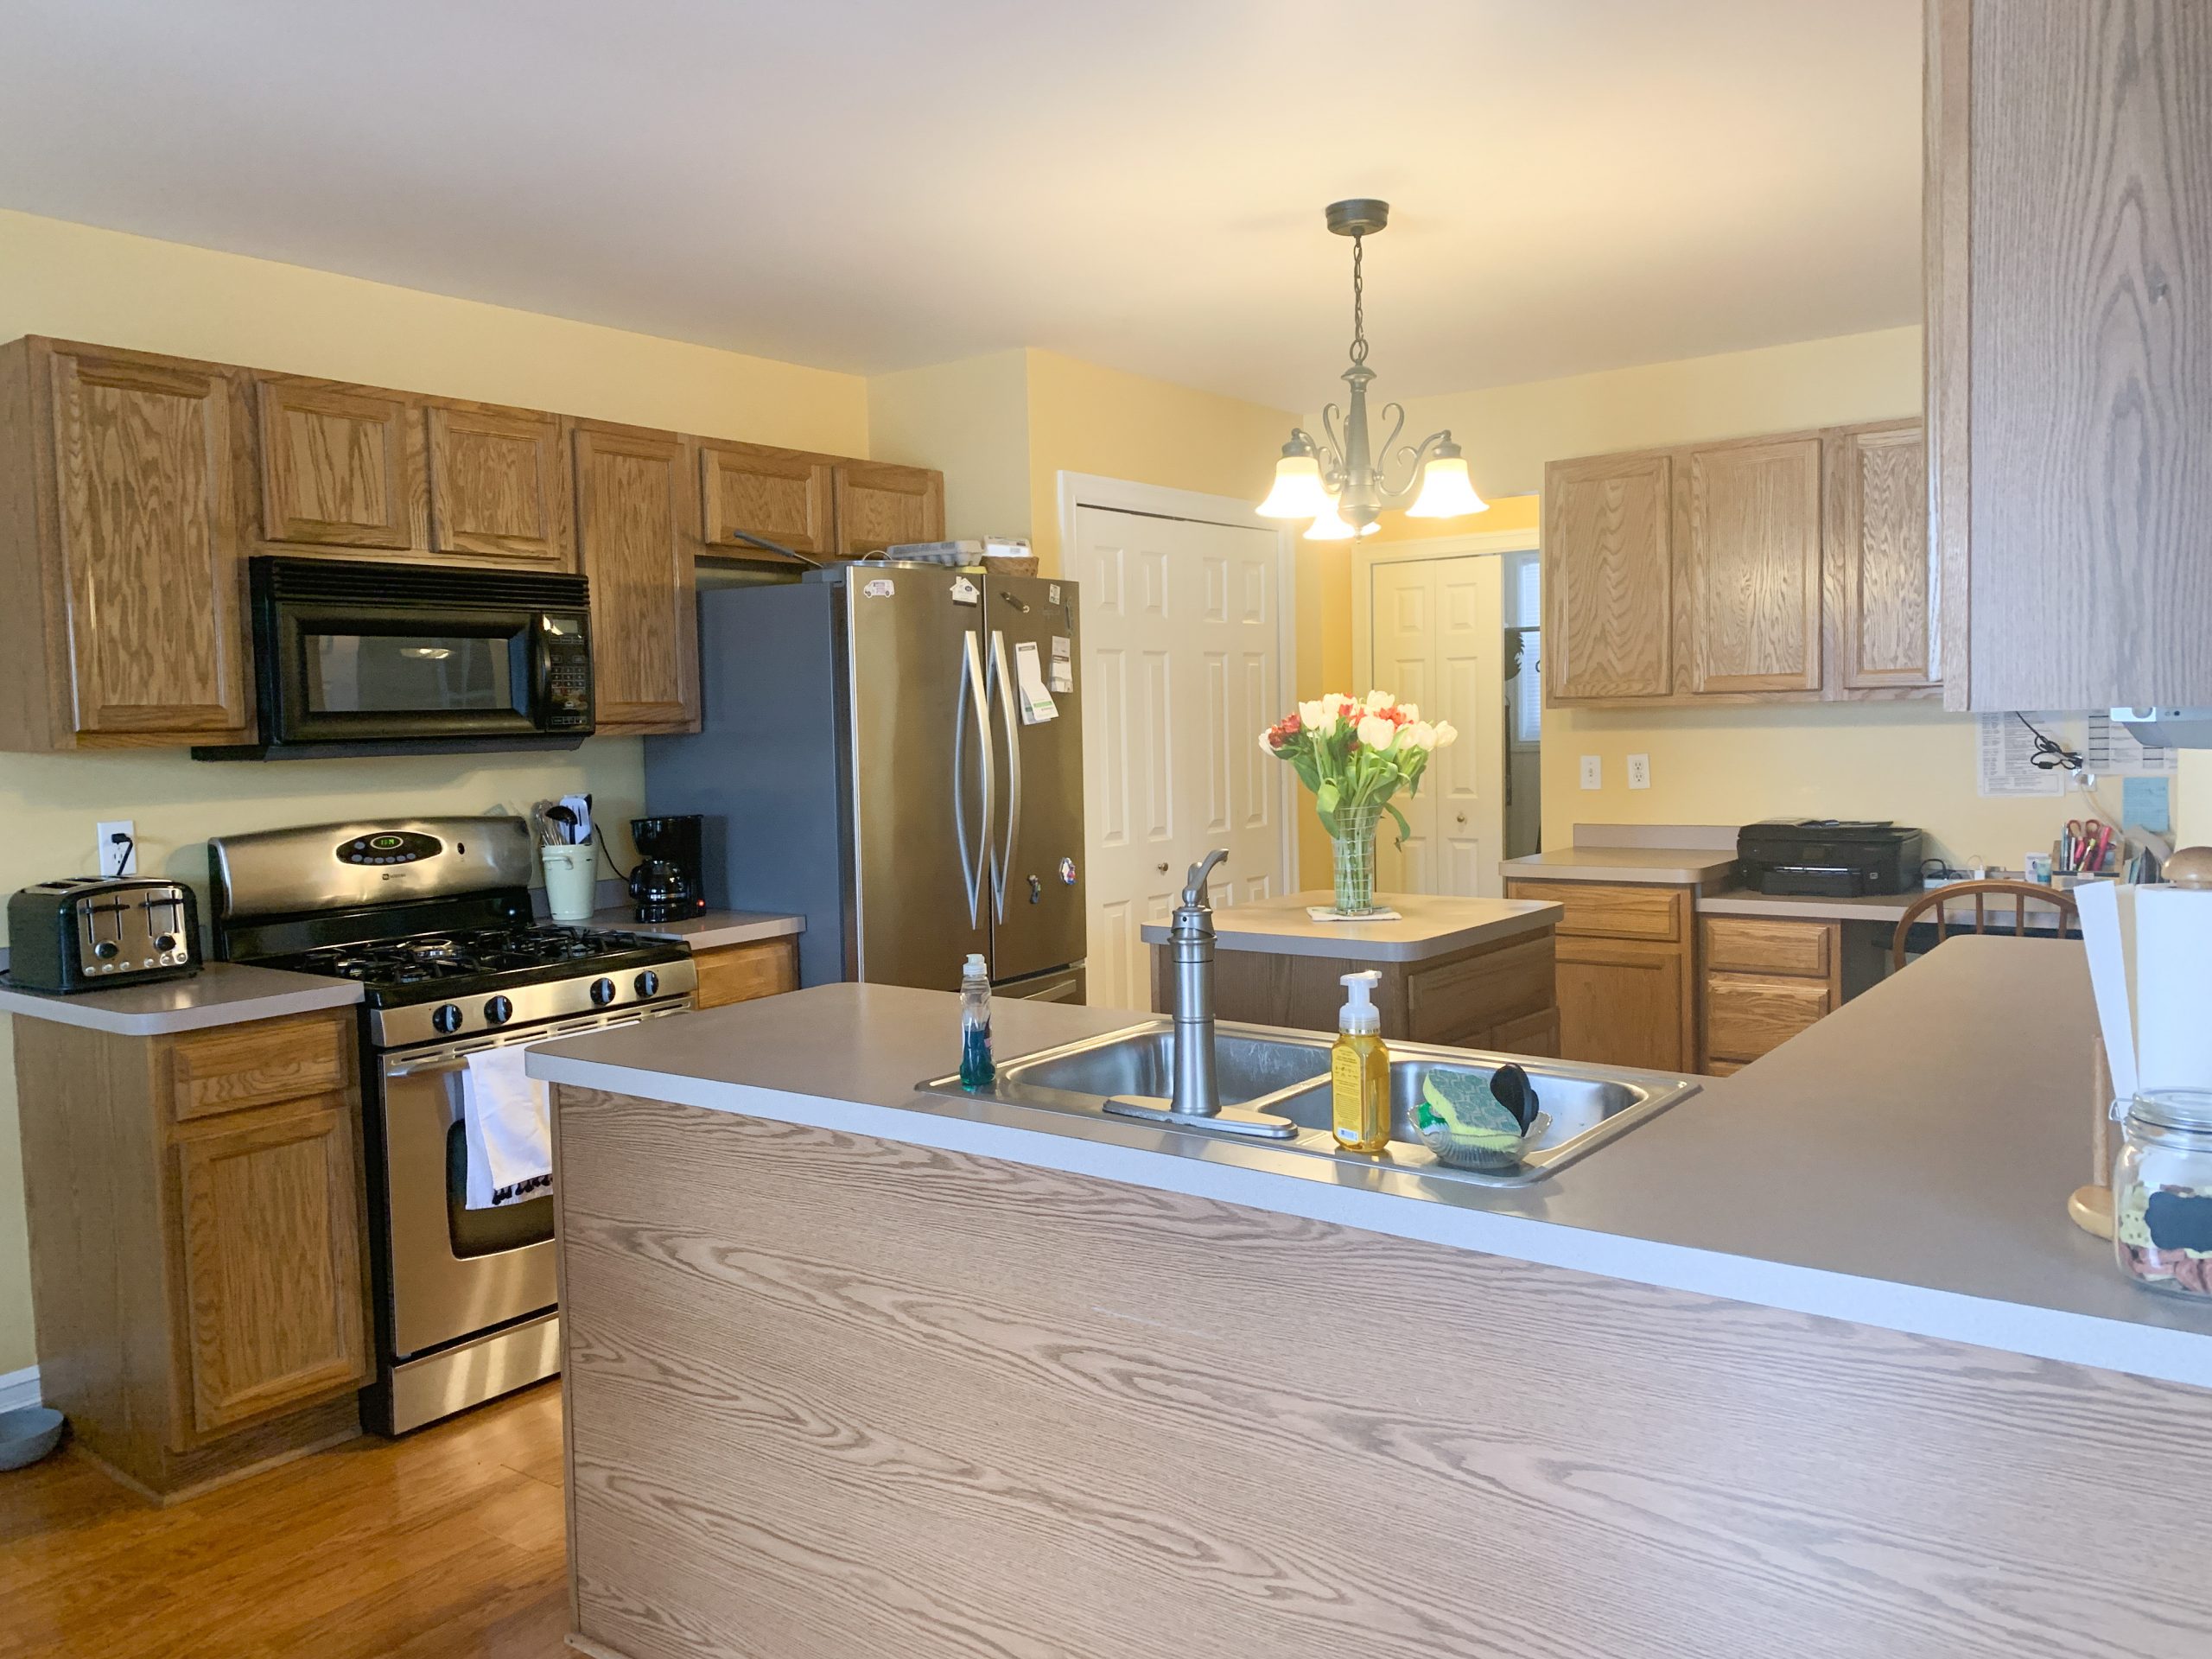
When we first did our walkthrough of our new house, I wasn’t very impressed by the kitchen.
These are pictures we took together on our walk through the house, so this isn’t my decor and these aren’t the greatest pictures…
We were coming from an outdated house with oak cabinets, and I wasn’t a fan of trying to buy another one with oak cabinets.
With my huge pregnant belly in tow at the time, I couldn’t see moving into our house with two boys, a newborn, and all of our boxes while going through a kitchen renovation.
And the oak…had to go!
But, my husband Christopher whispered sweet nothings and renovation plans in my ears as we walked through the outdated kitchen, and I agreed that we could muster up the time, money, and mental sanity to go forward with such a huge project.
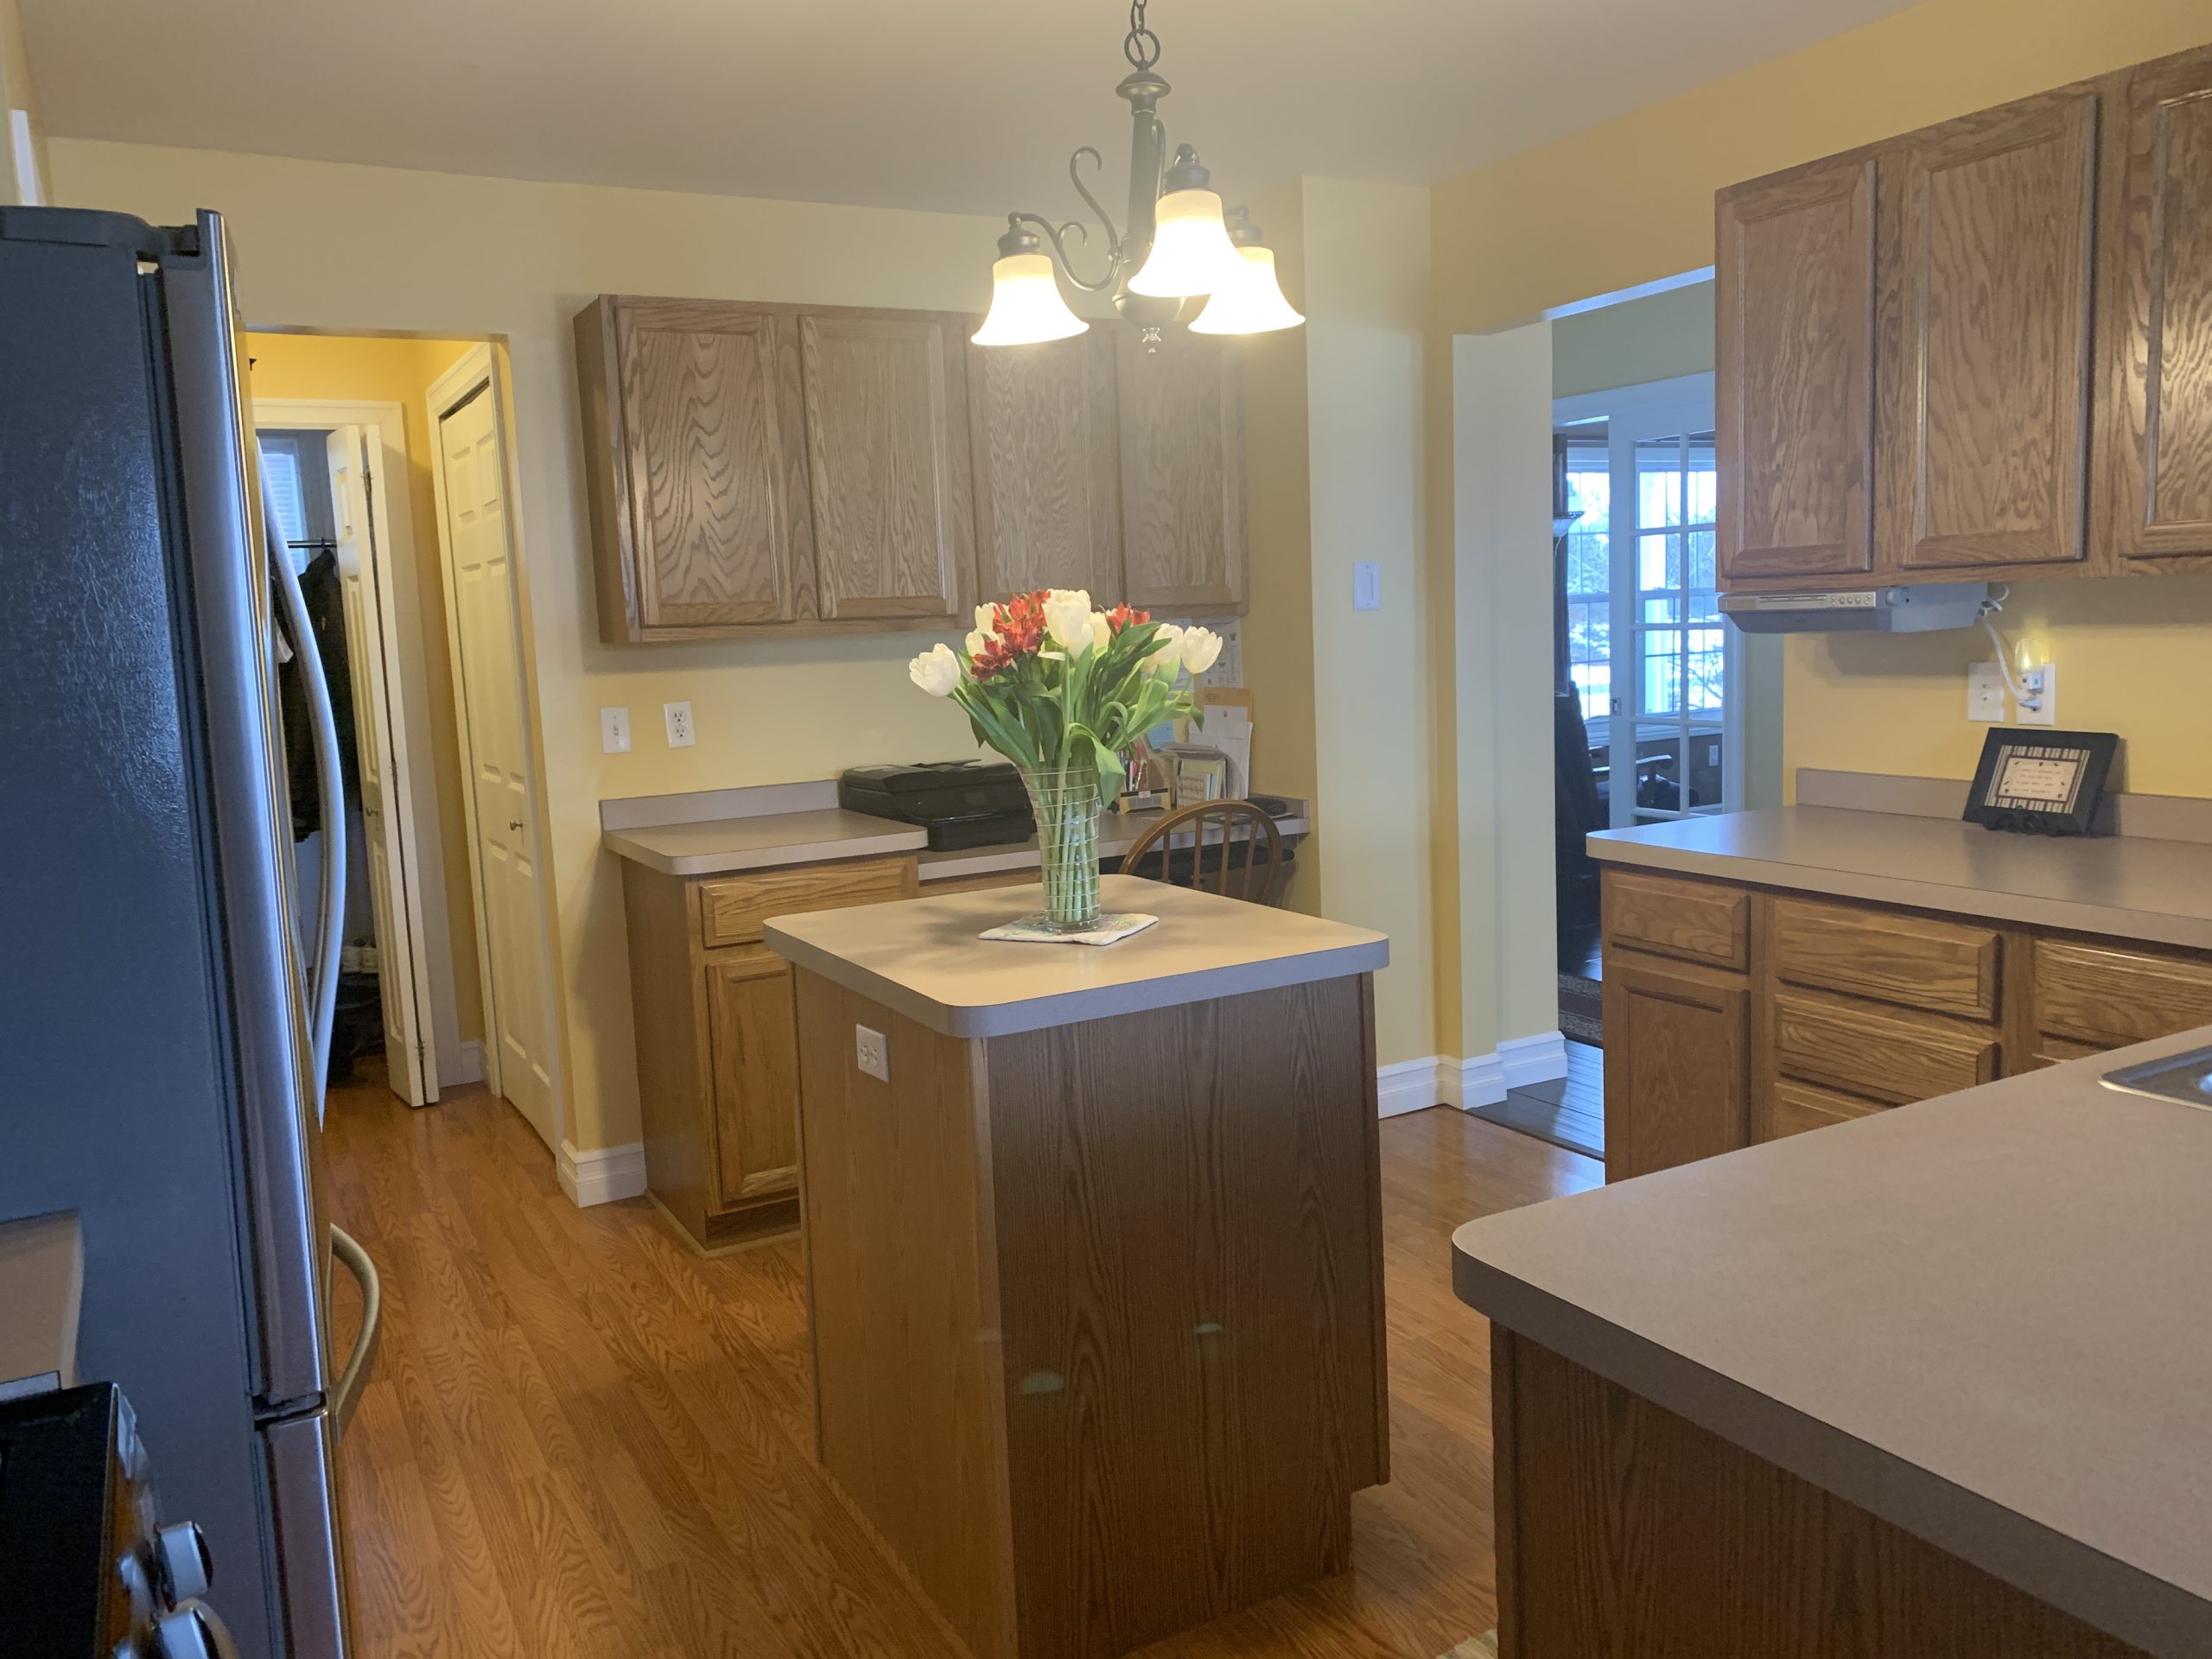
I think the island in the center was the most puzzling piece of cabinetry for us, because we ended up having to walk in circles around it multiple times a day!
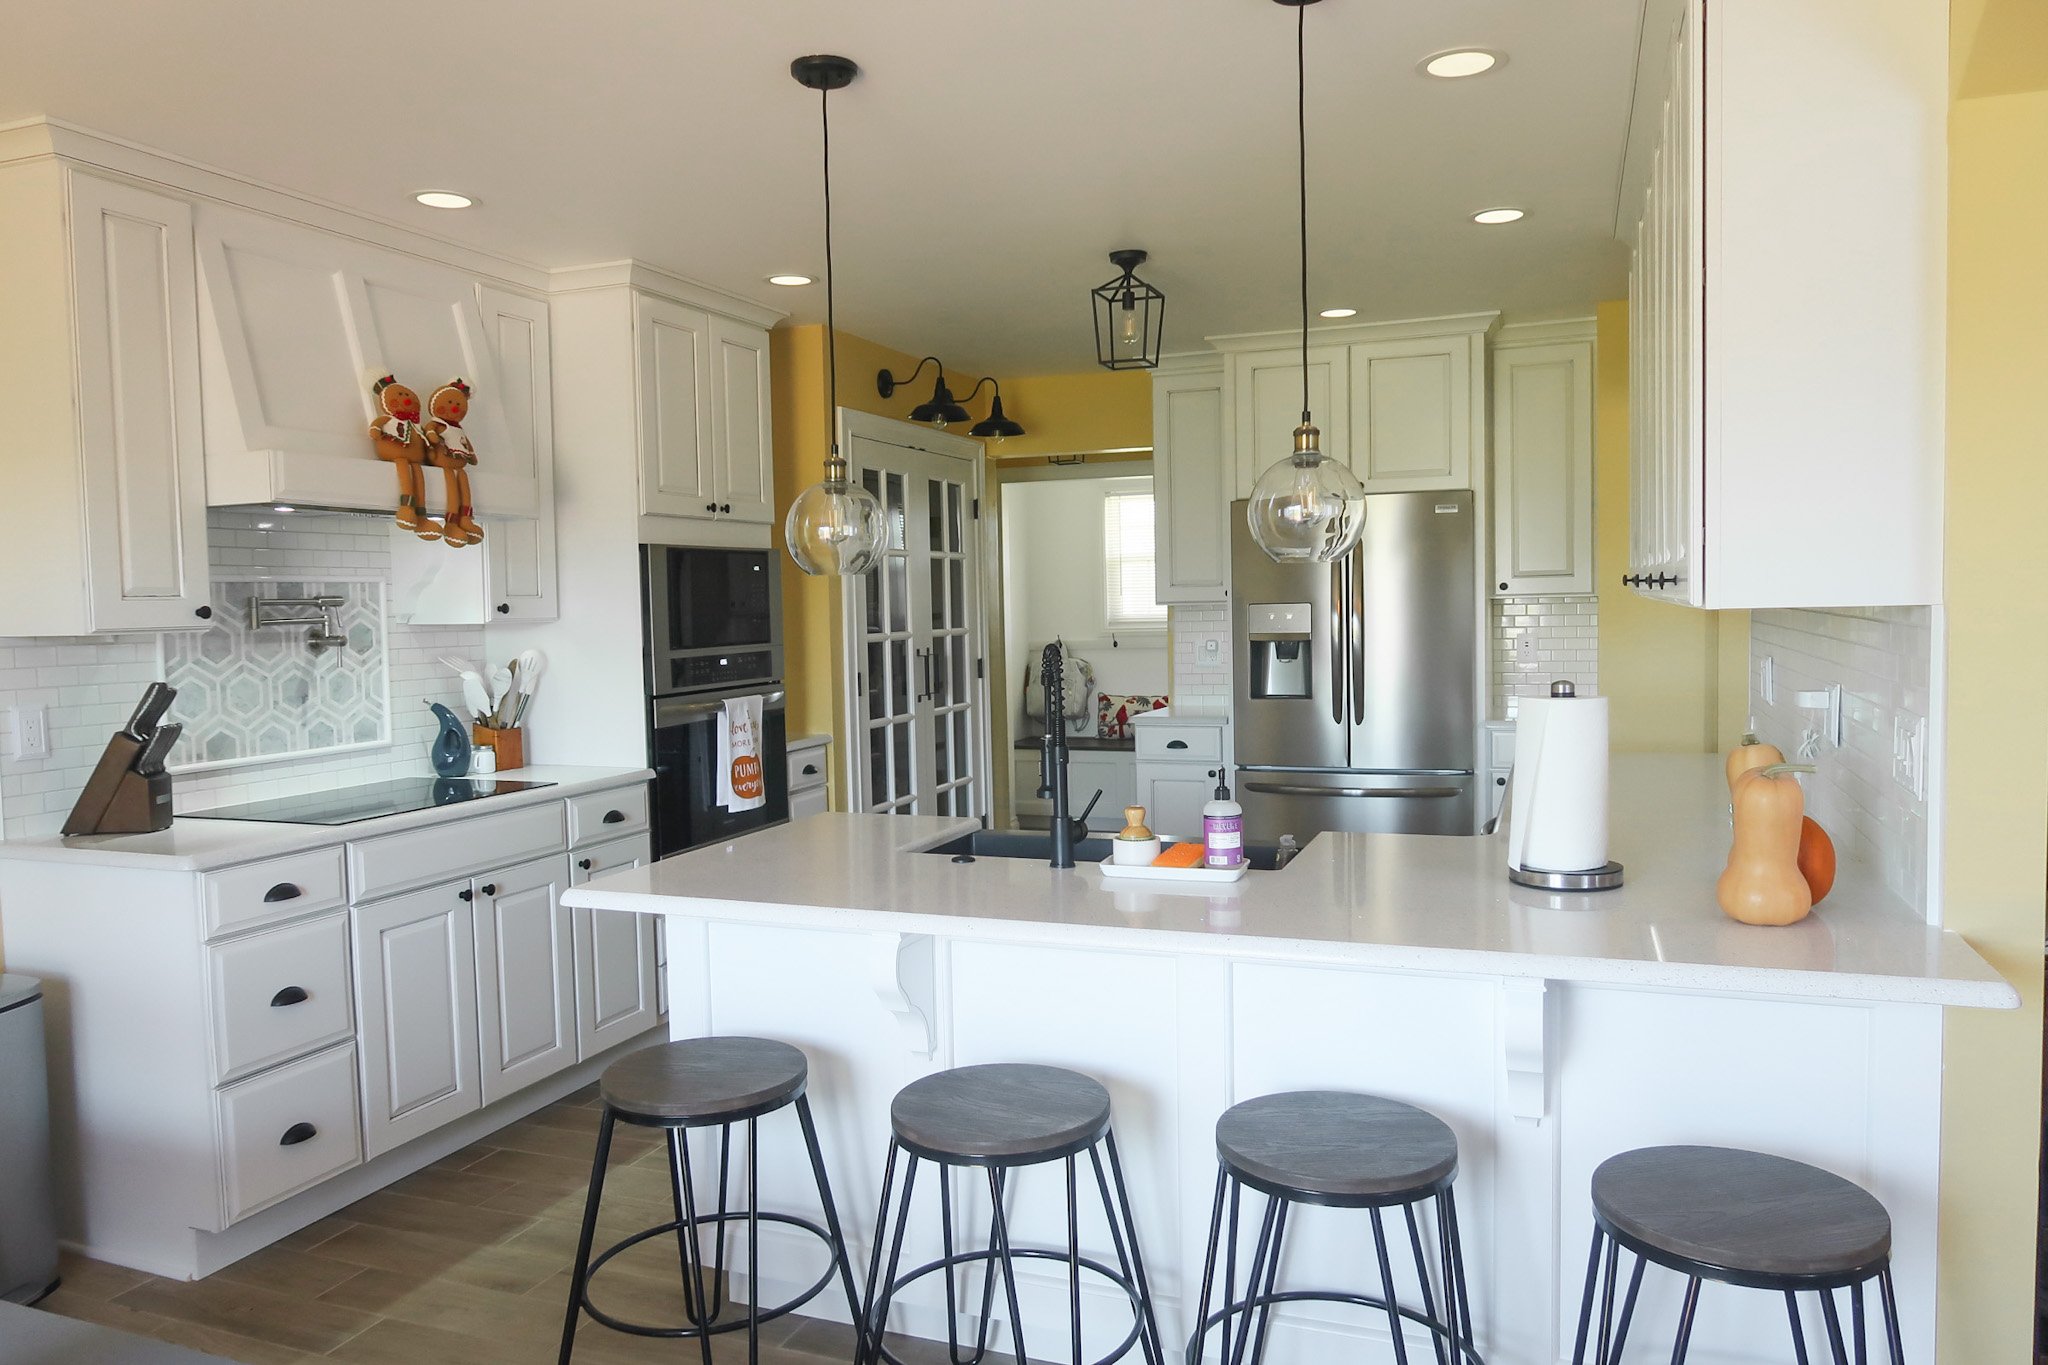
Our finished kitchen renovation
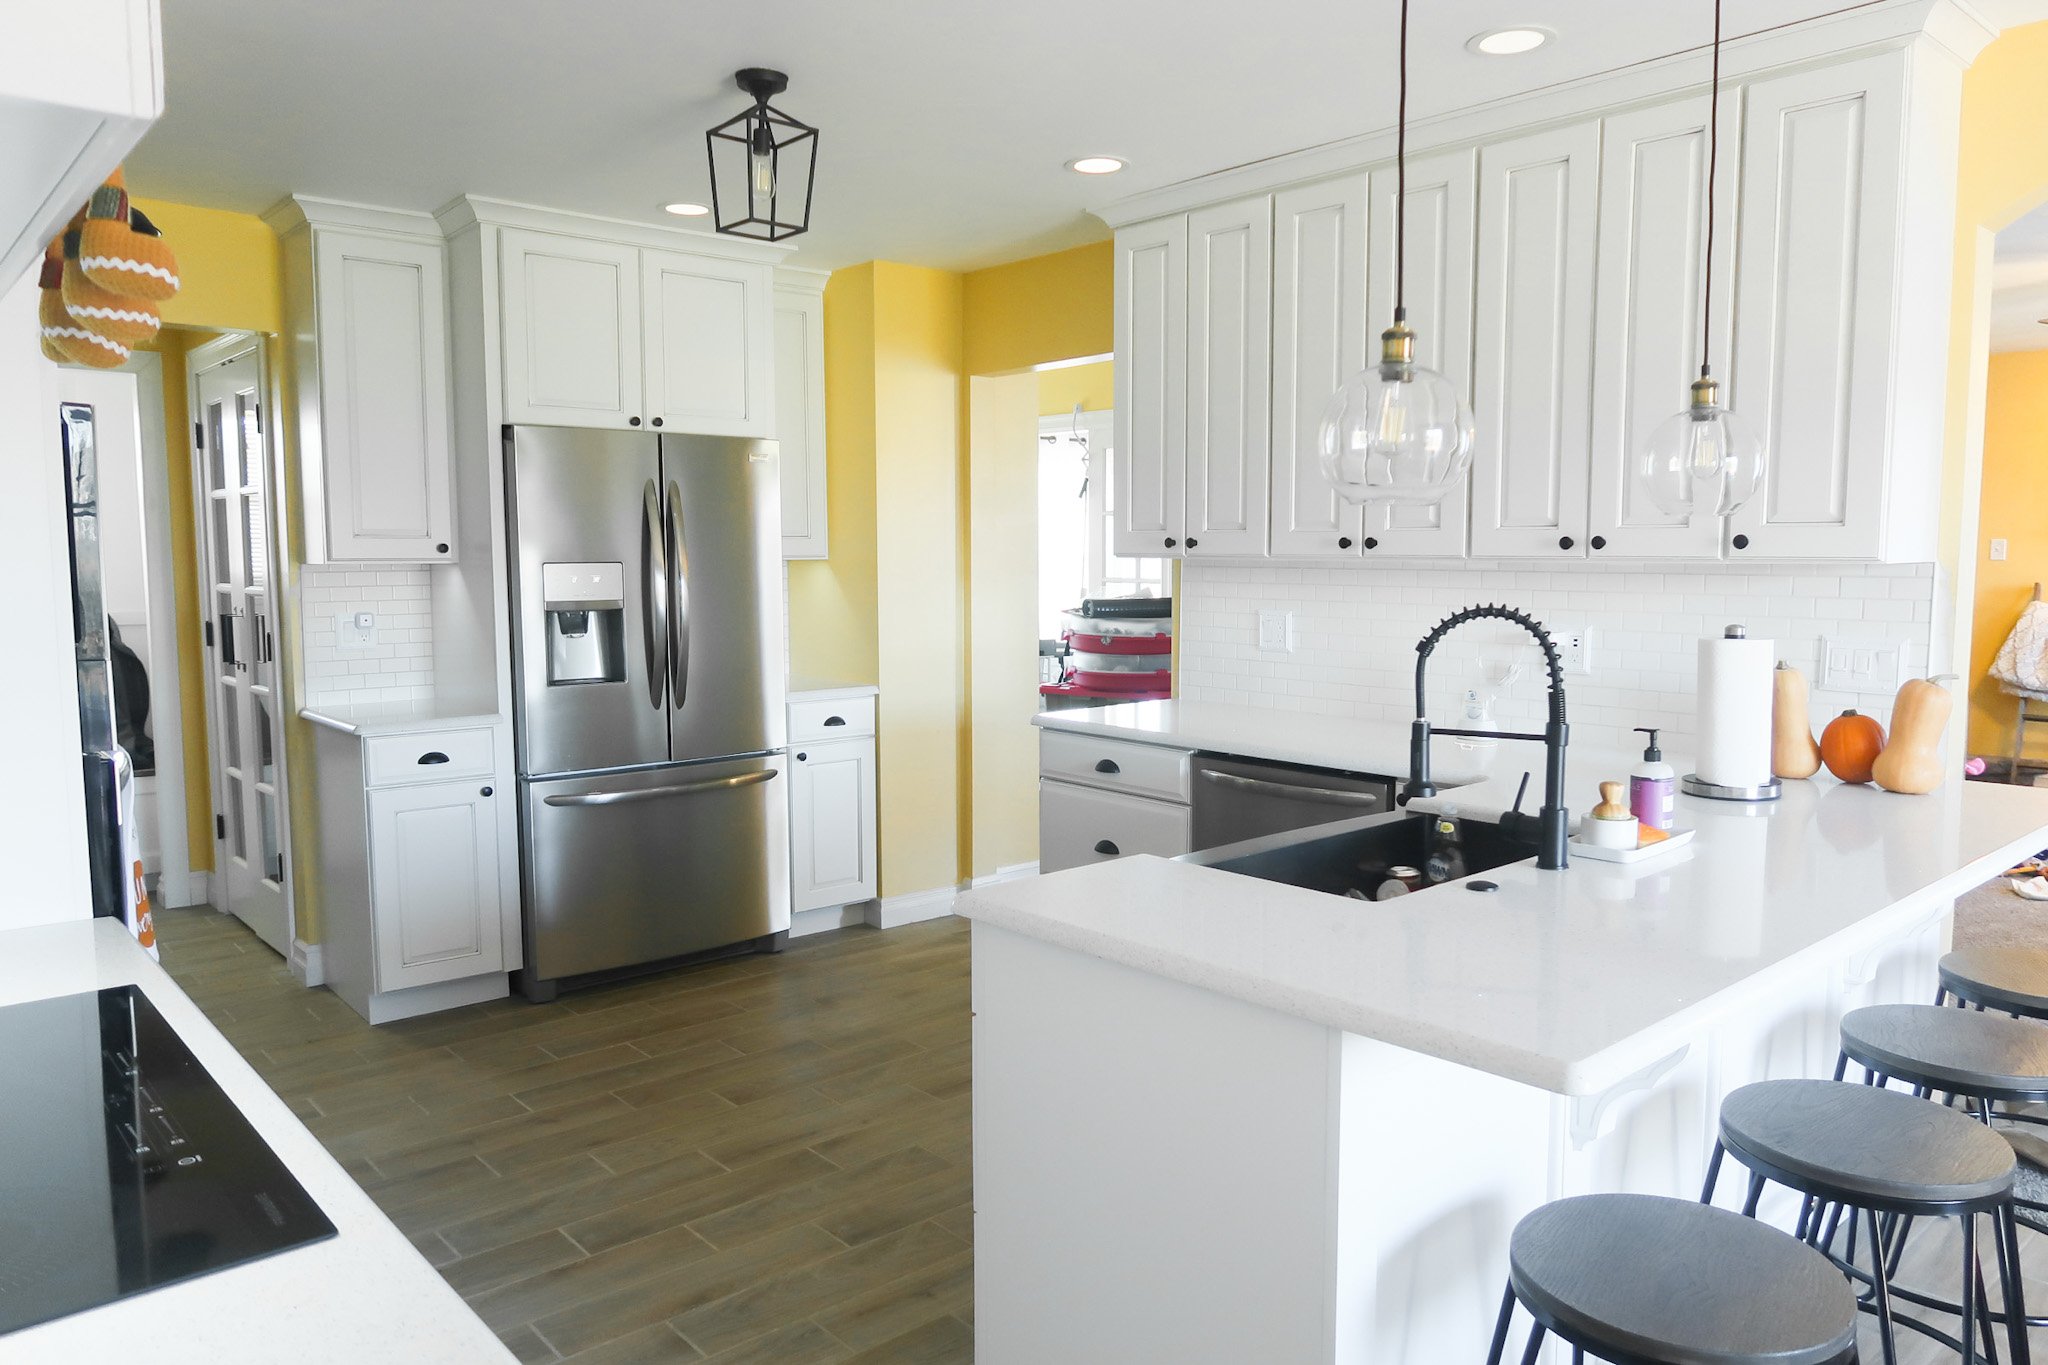
And here’s what our kitchen looks like now…
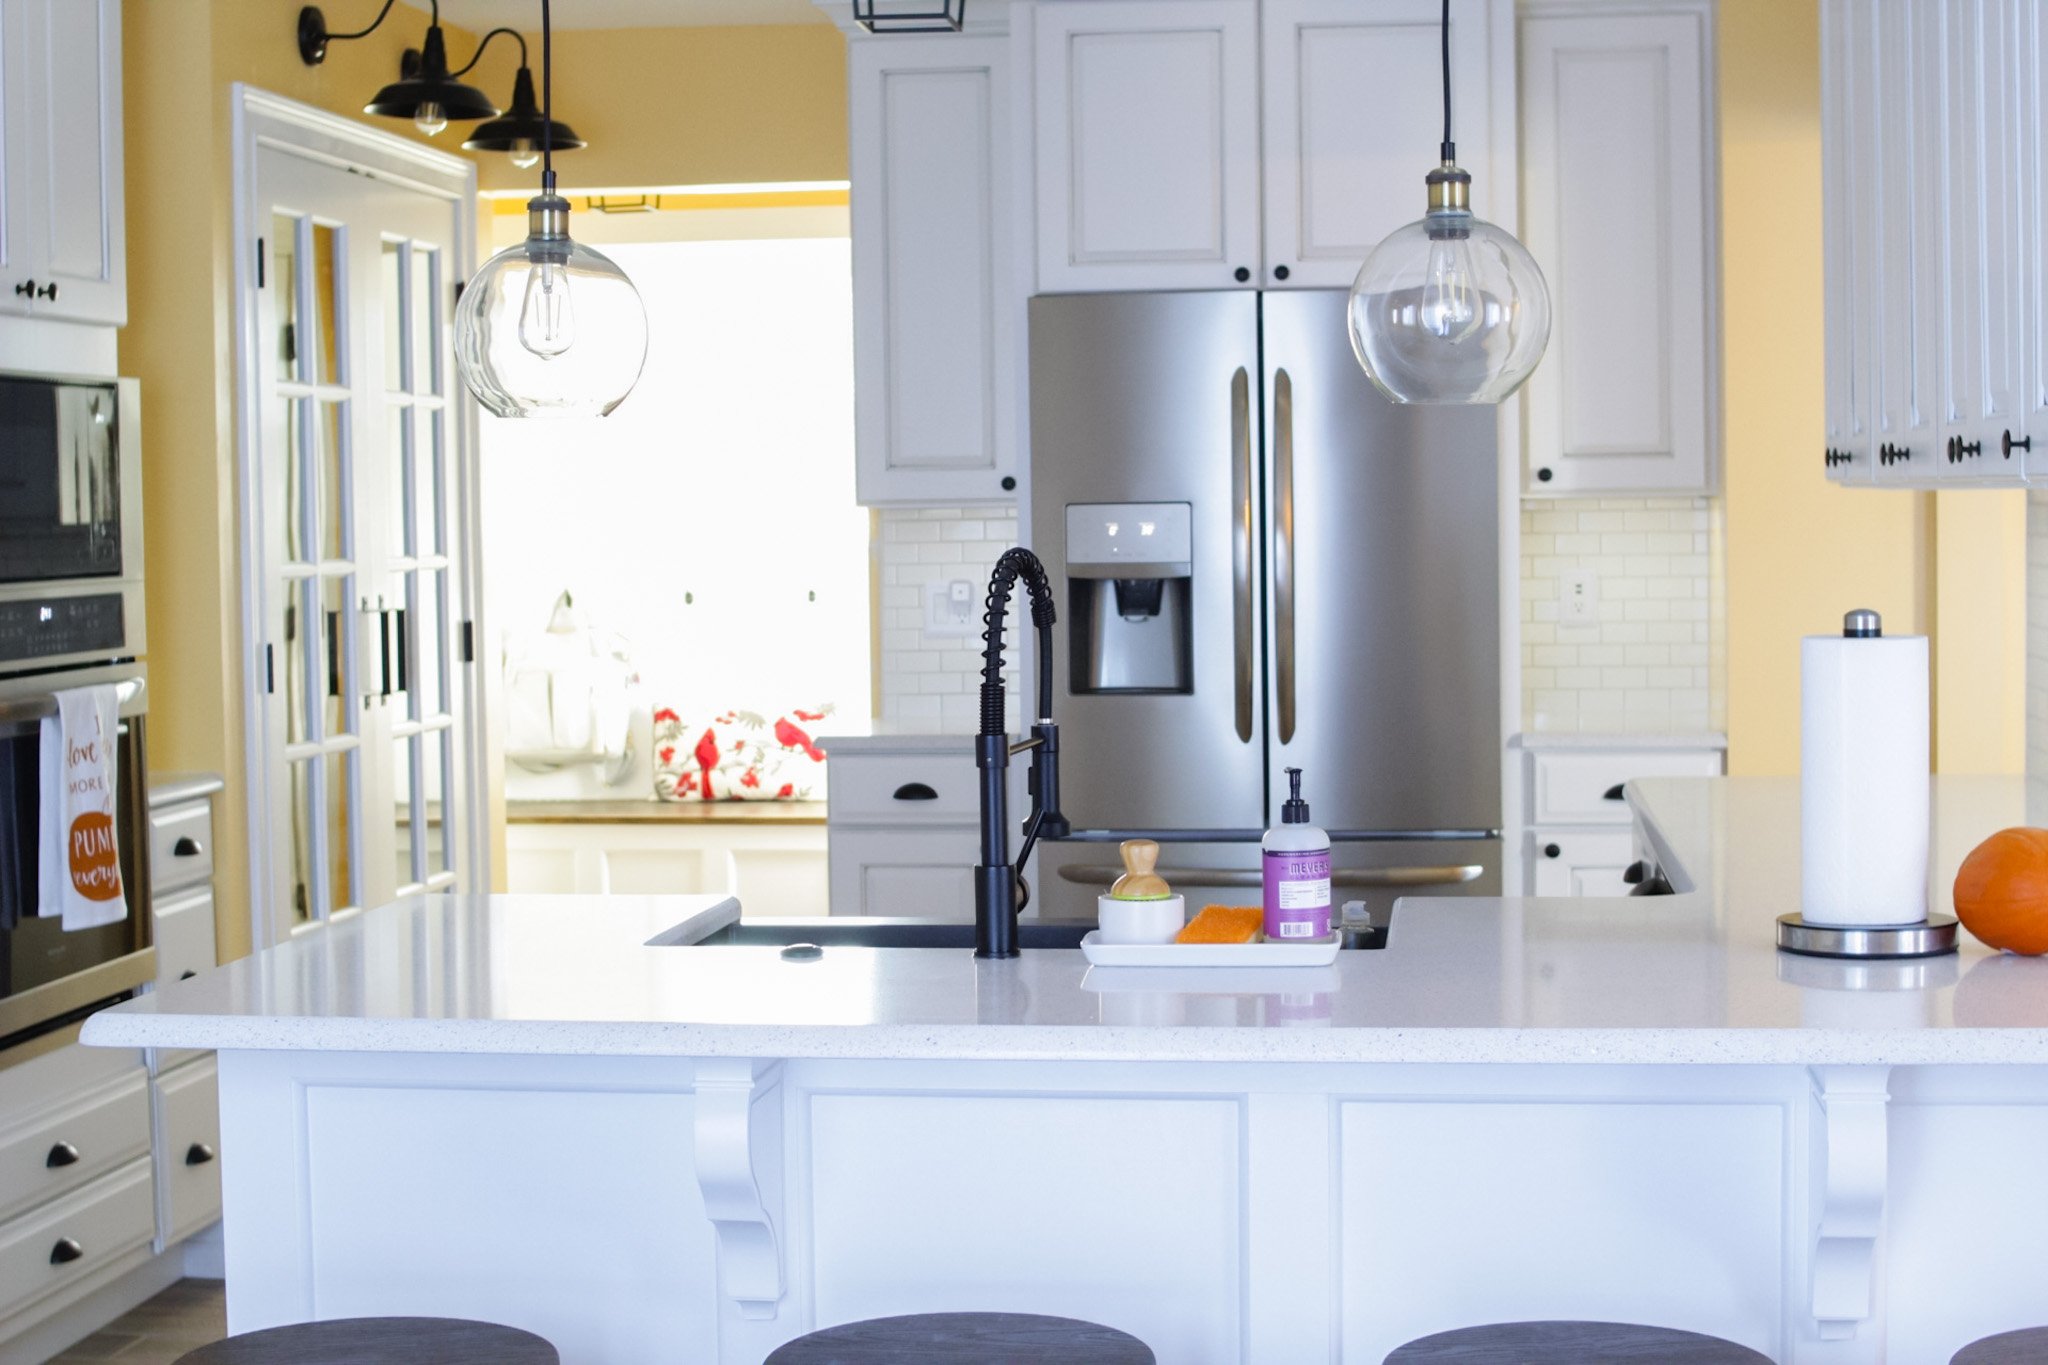
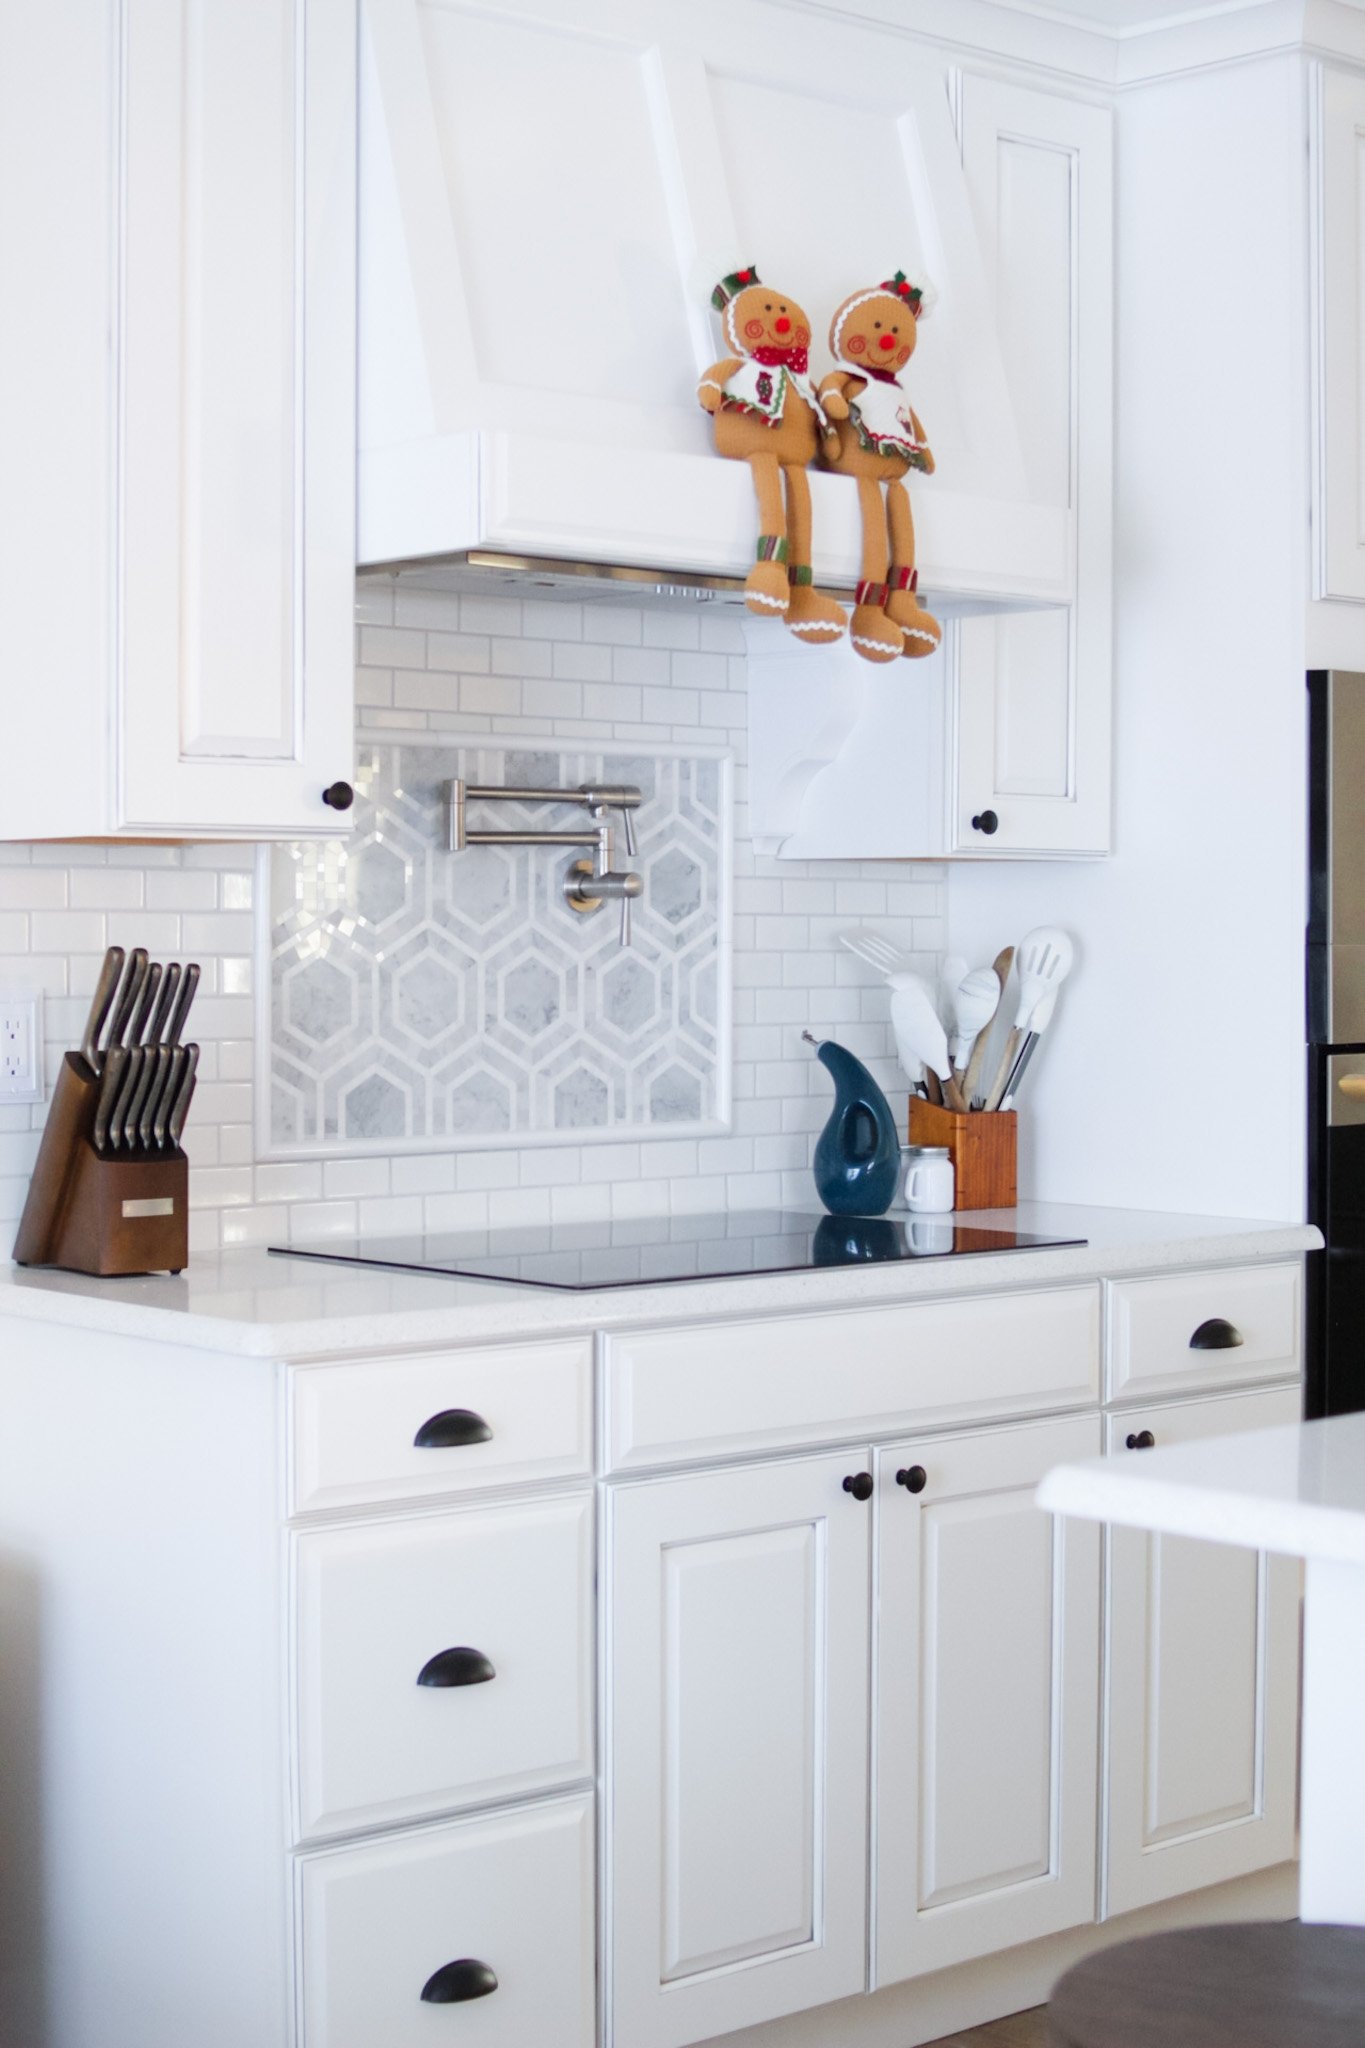
We went with an industrial farmhouse style for our new kitchen, with white cabinets and counters to brighten up the space.
Stainless steel and black appliances go well with the black hardware we chose for our cabinets, as well.
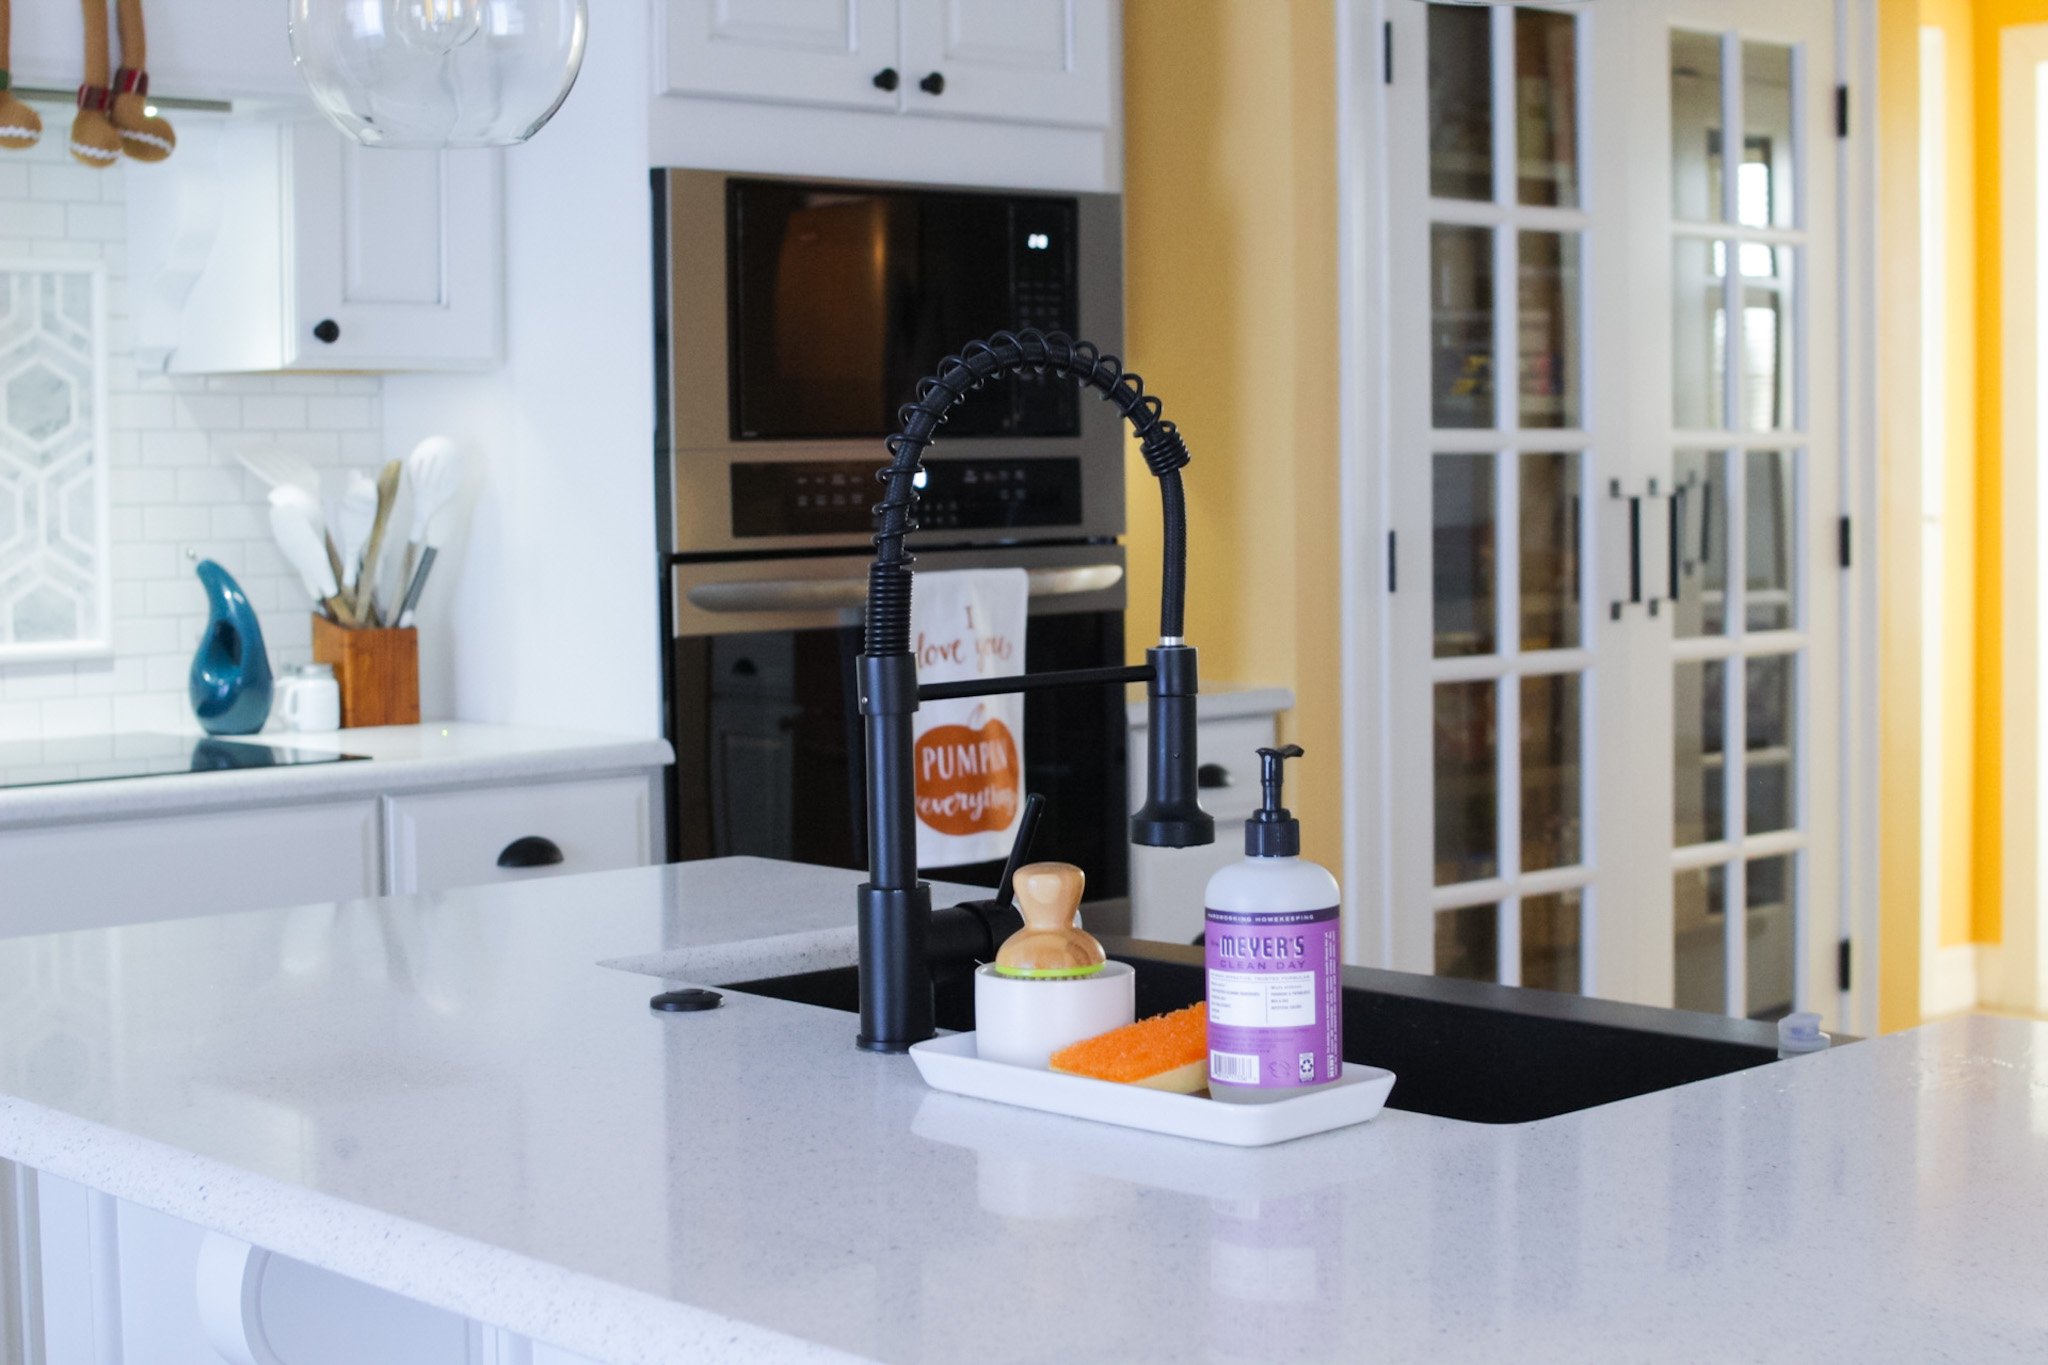
You mght not be able to tell from this picture below, but we included an air button for our garbage disposal vs. having a switch on the far wall. It’s the black button on the counter to the right of the faucet.
We extended the counter over the peninsula by about 12 inches to provide counter-height seating with bar stools.
We added decorative corbels to help support the weight of the quartz countertops, although they aren’t needed, they sure are pretty.
We also added under-counter lighting from eShine (these are 40-inch white finish LED panels) that we powered with a light switch.

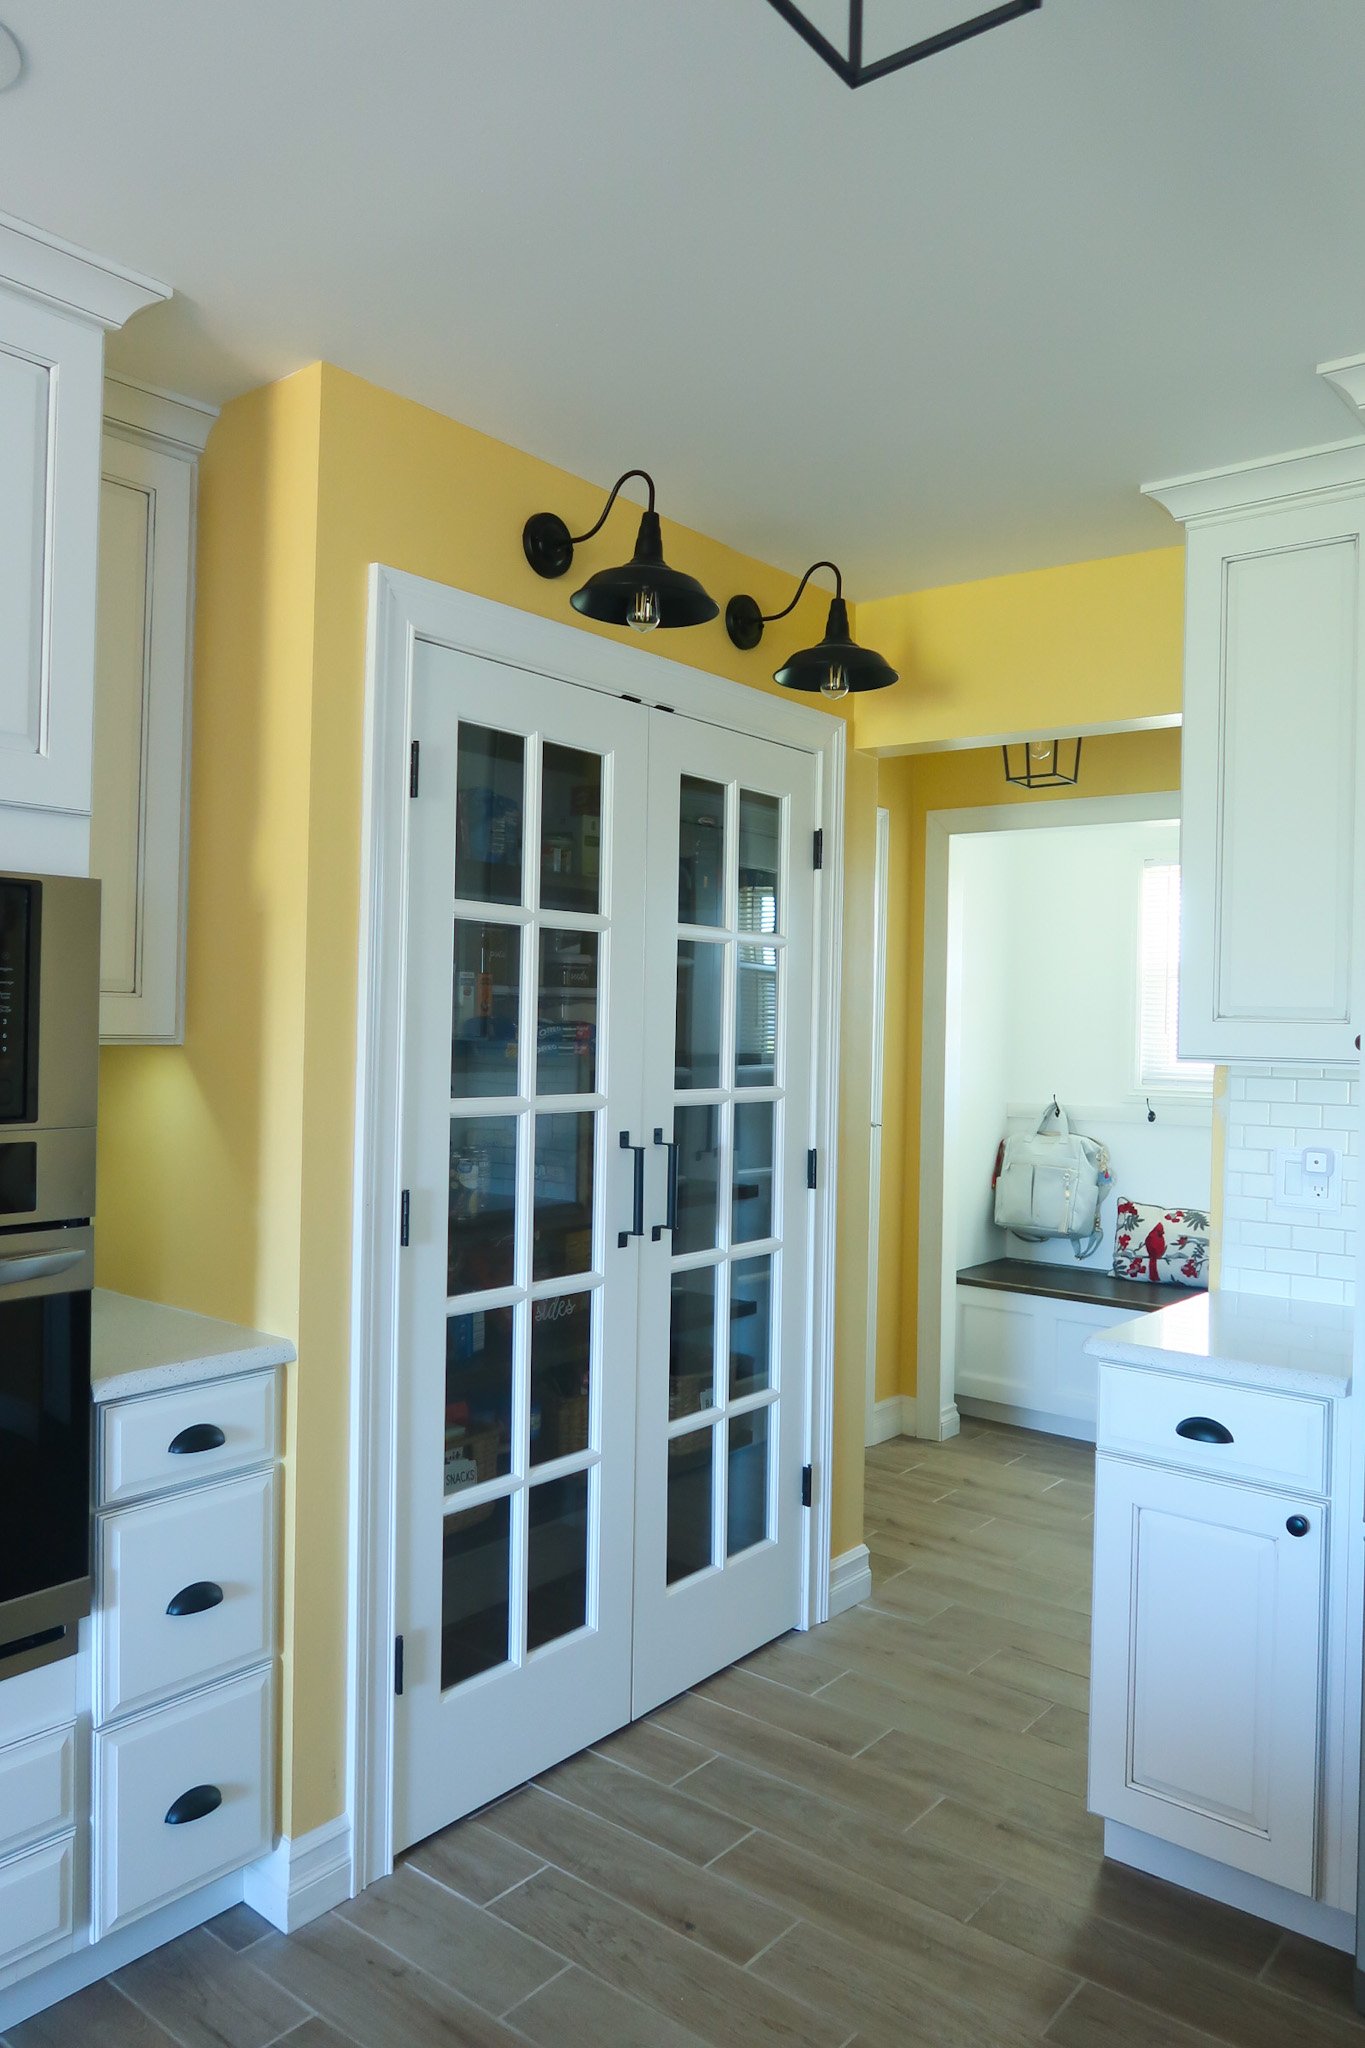
Besides the under-counter lighting panels, we also added in recessed lighting throughout the kitchen, two overhead barn lights for the pantry, and two hanging pendant lights above the peninsula.

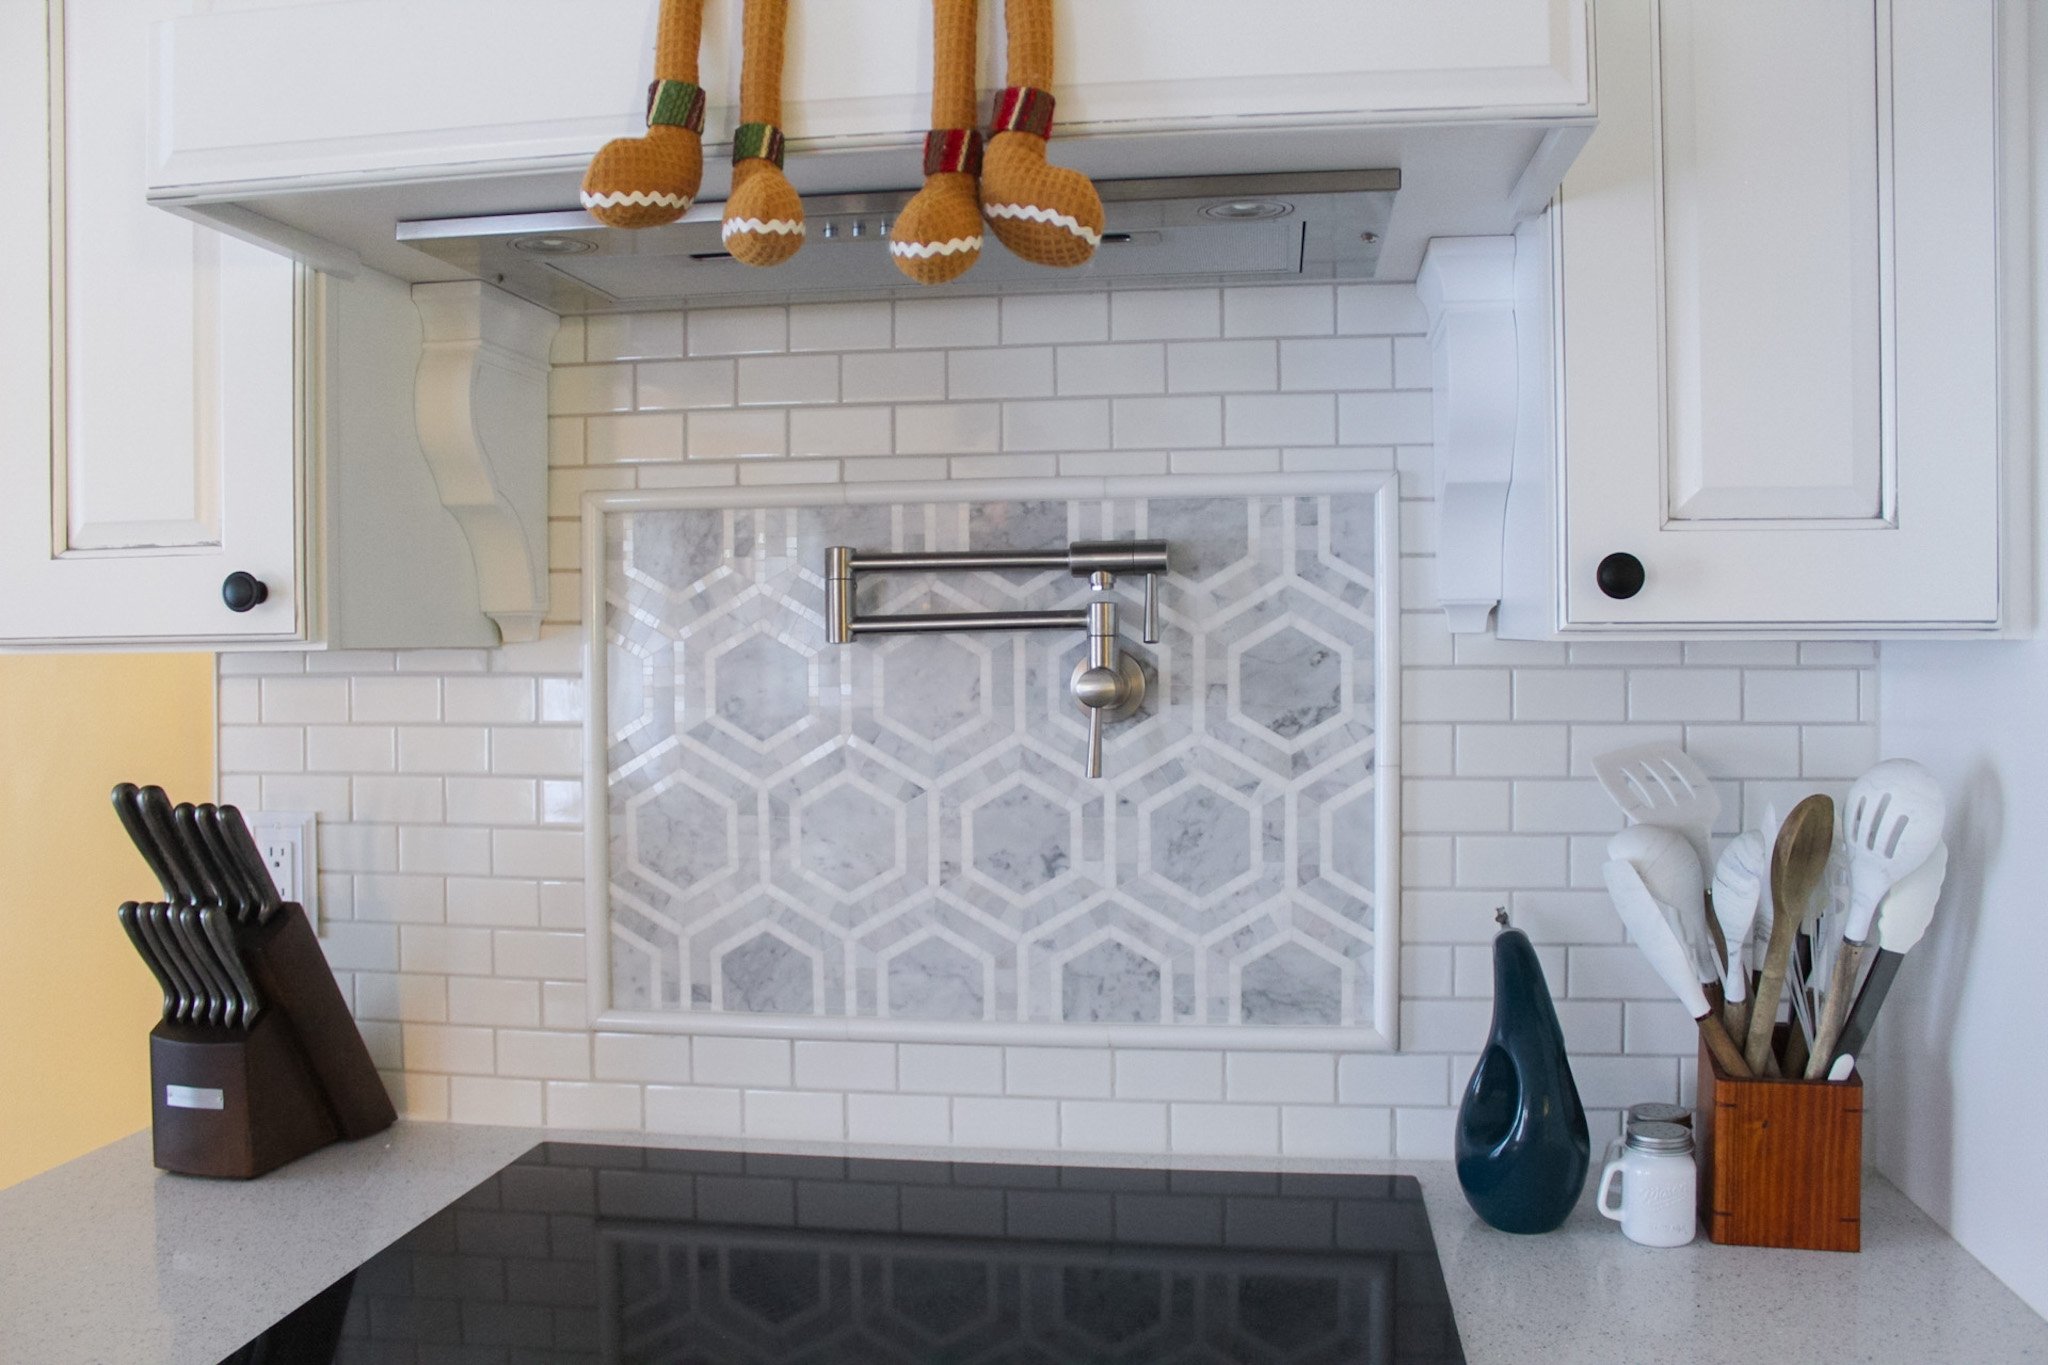
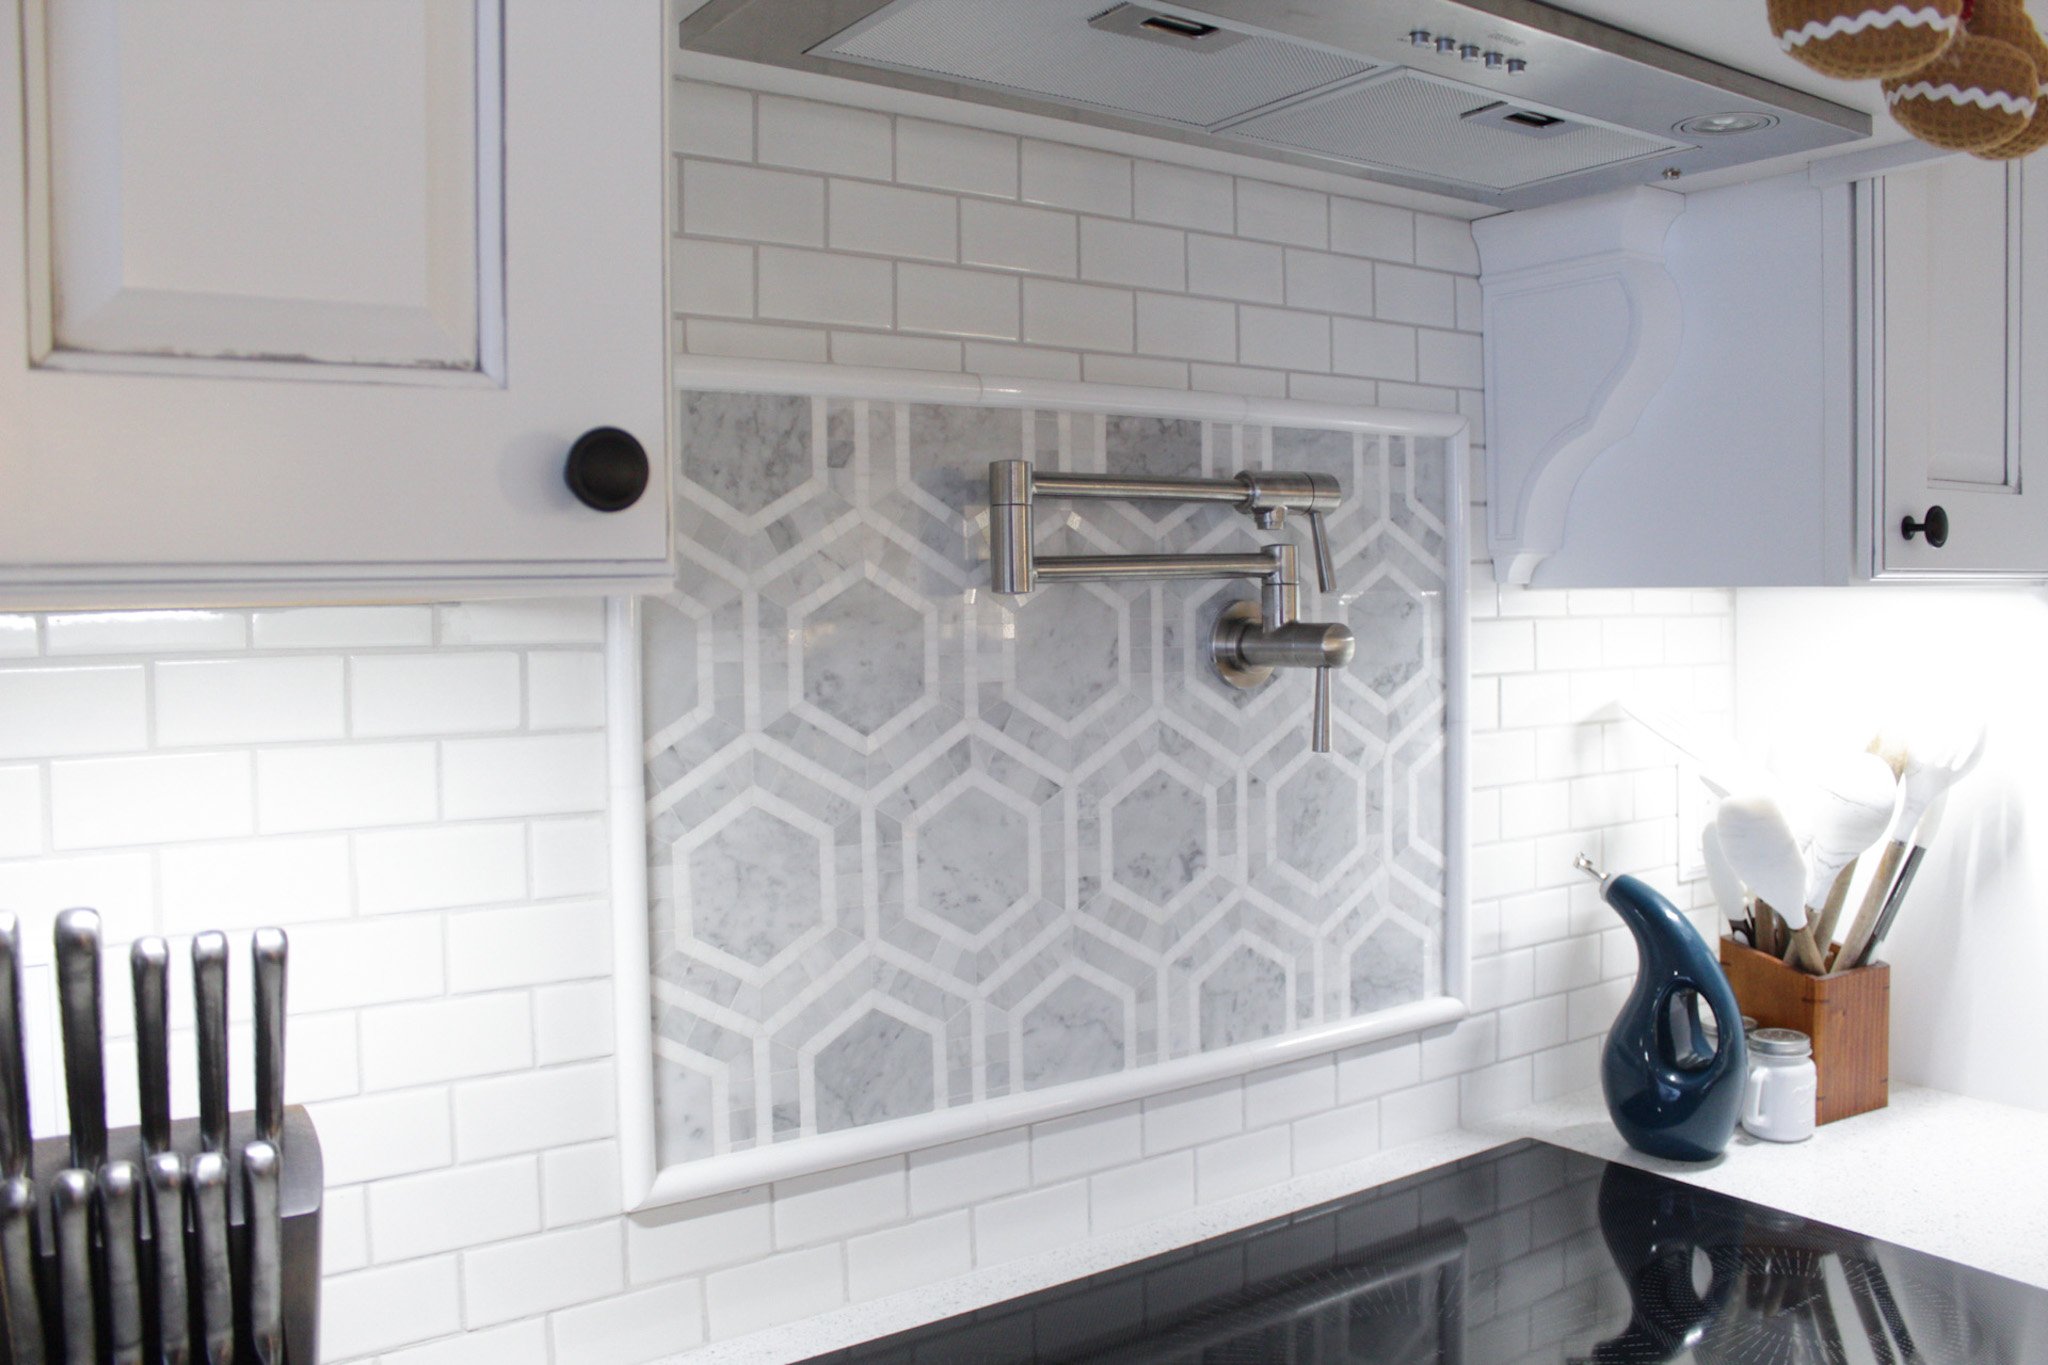
Above the cooktop, we installed a custom range hood that fits around the hood fan we bought.
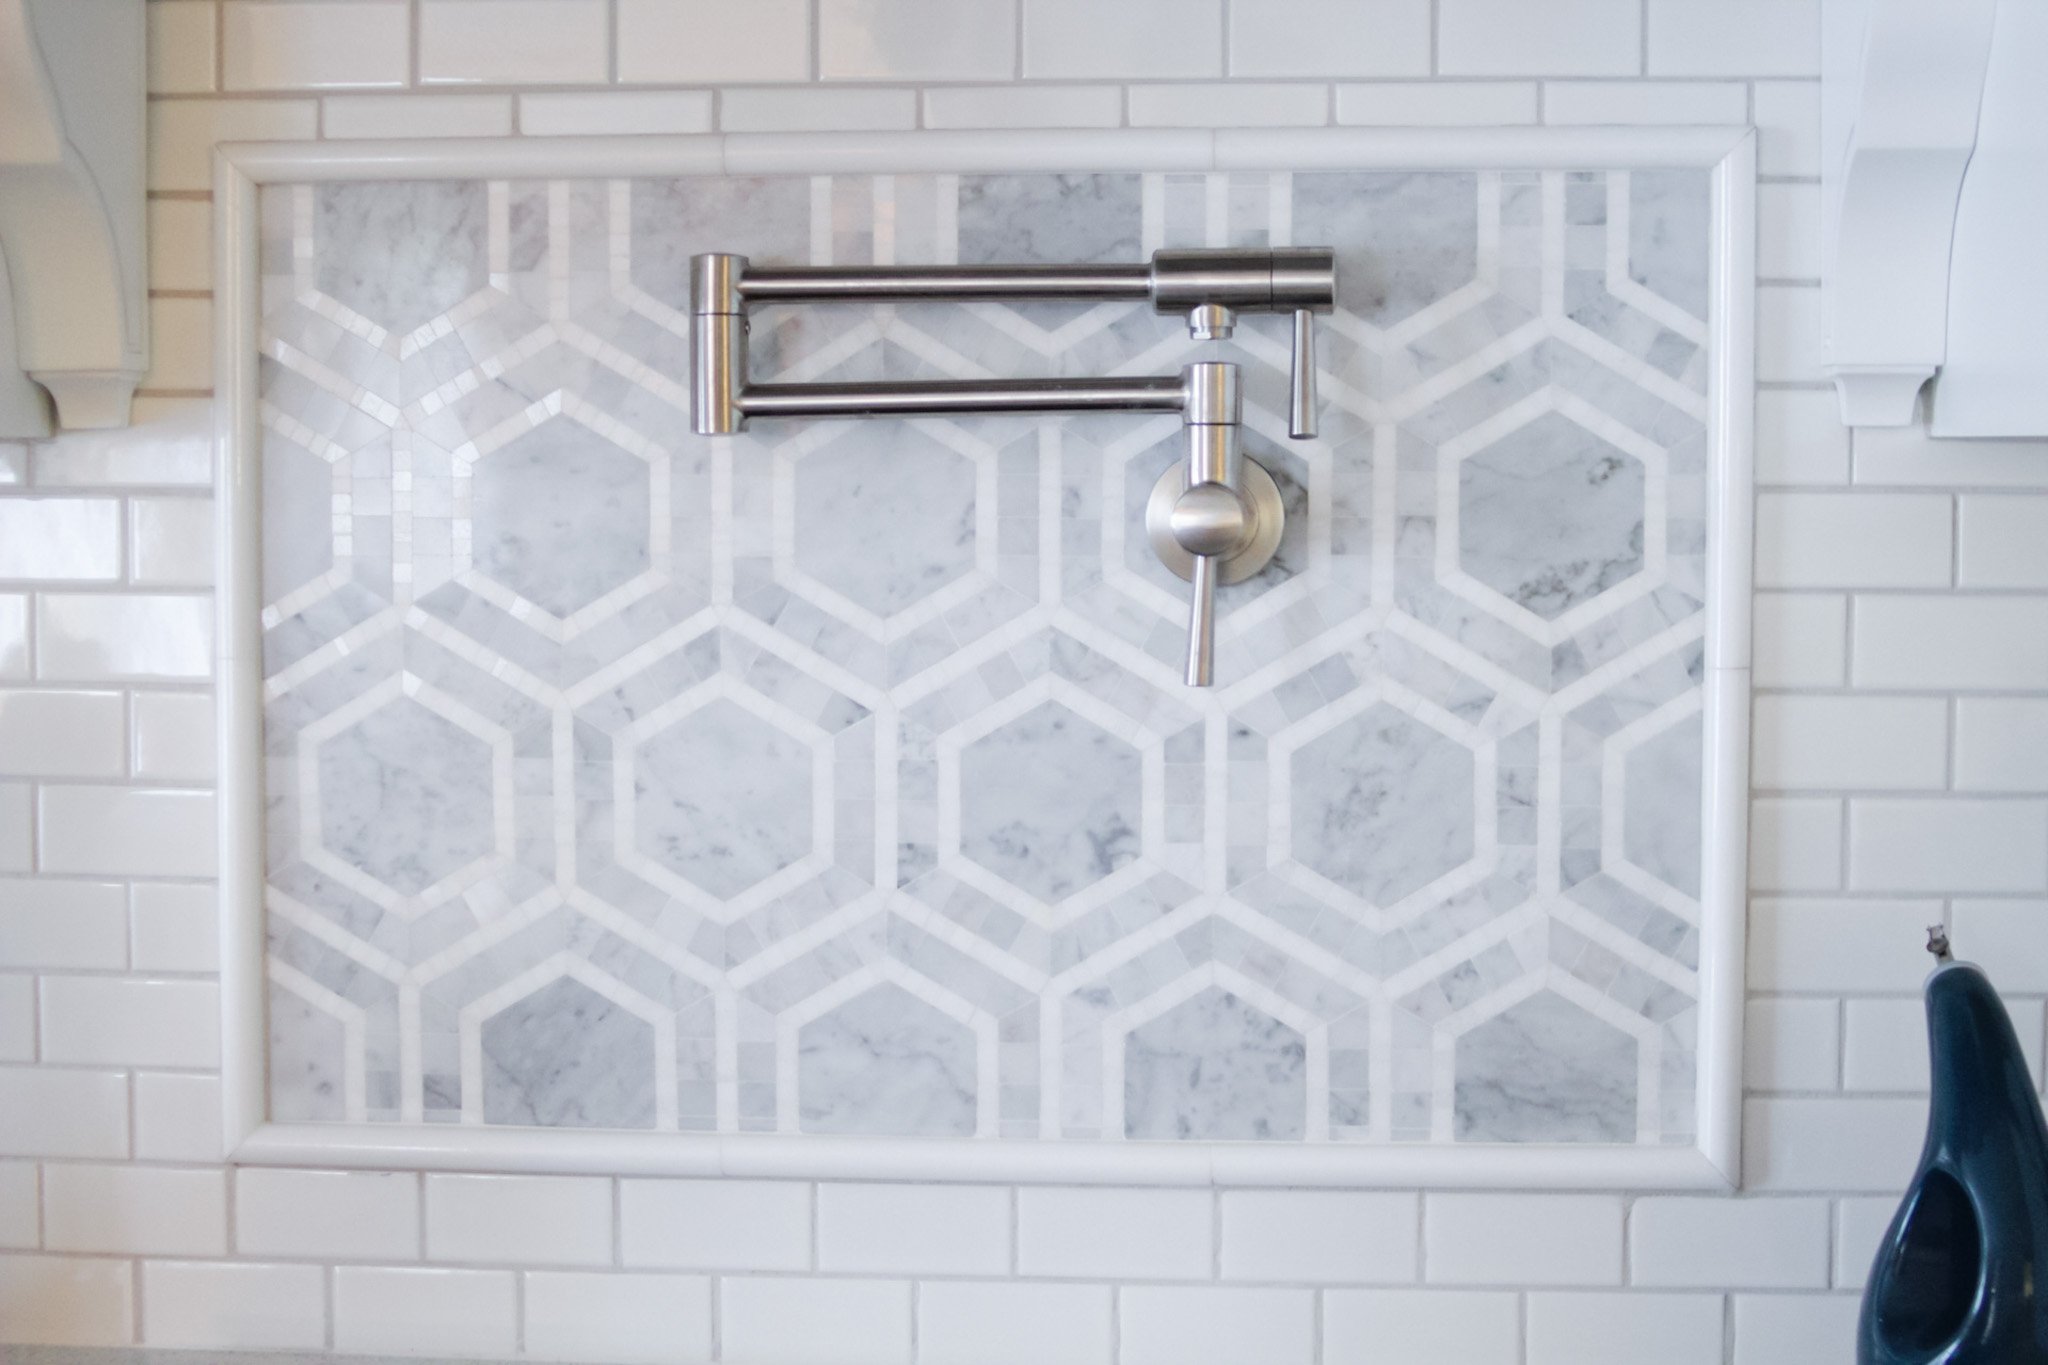
I’ve shared this hexagon marble on my Instagram months earlier, so if you’re a loyal follower on my Instagram account, you’ve already seen this tile!
We built up a gorgeous mosaic tile piece for our pot filler addition and added white subway tile around for the rest of our backsplash.
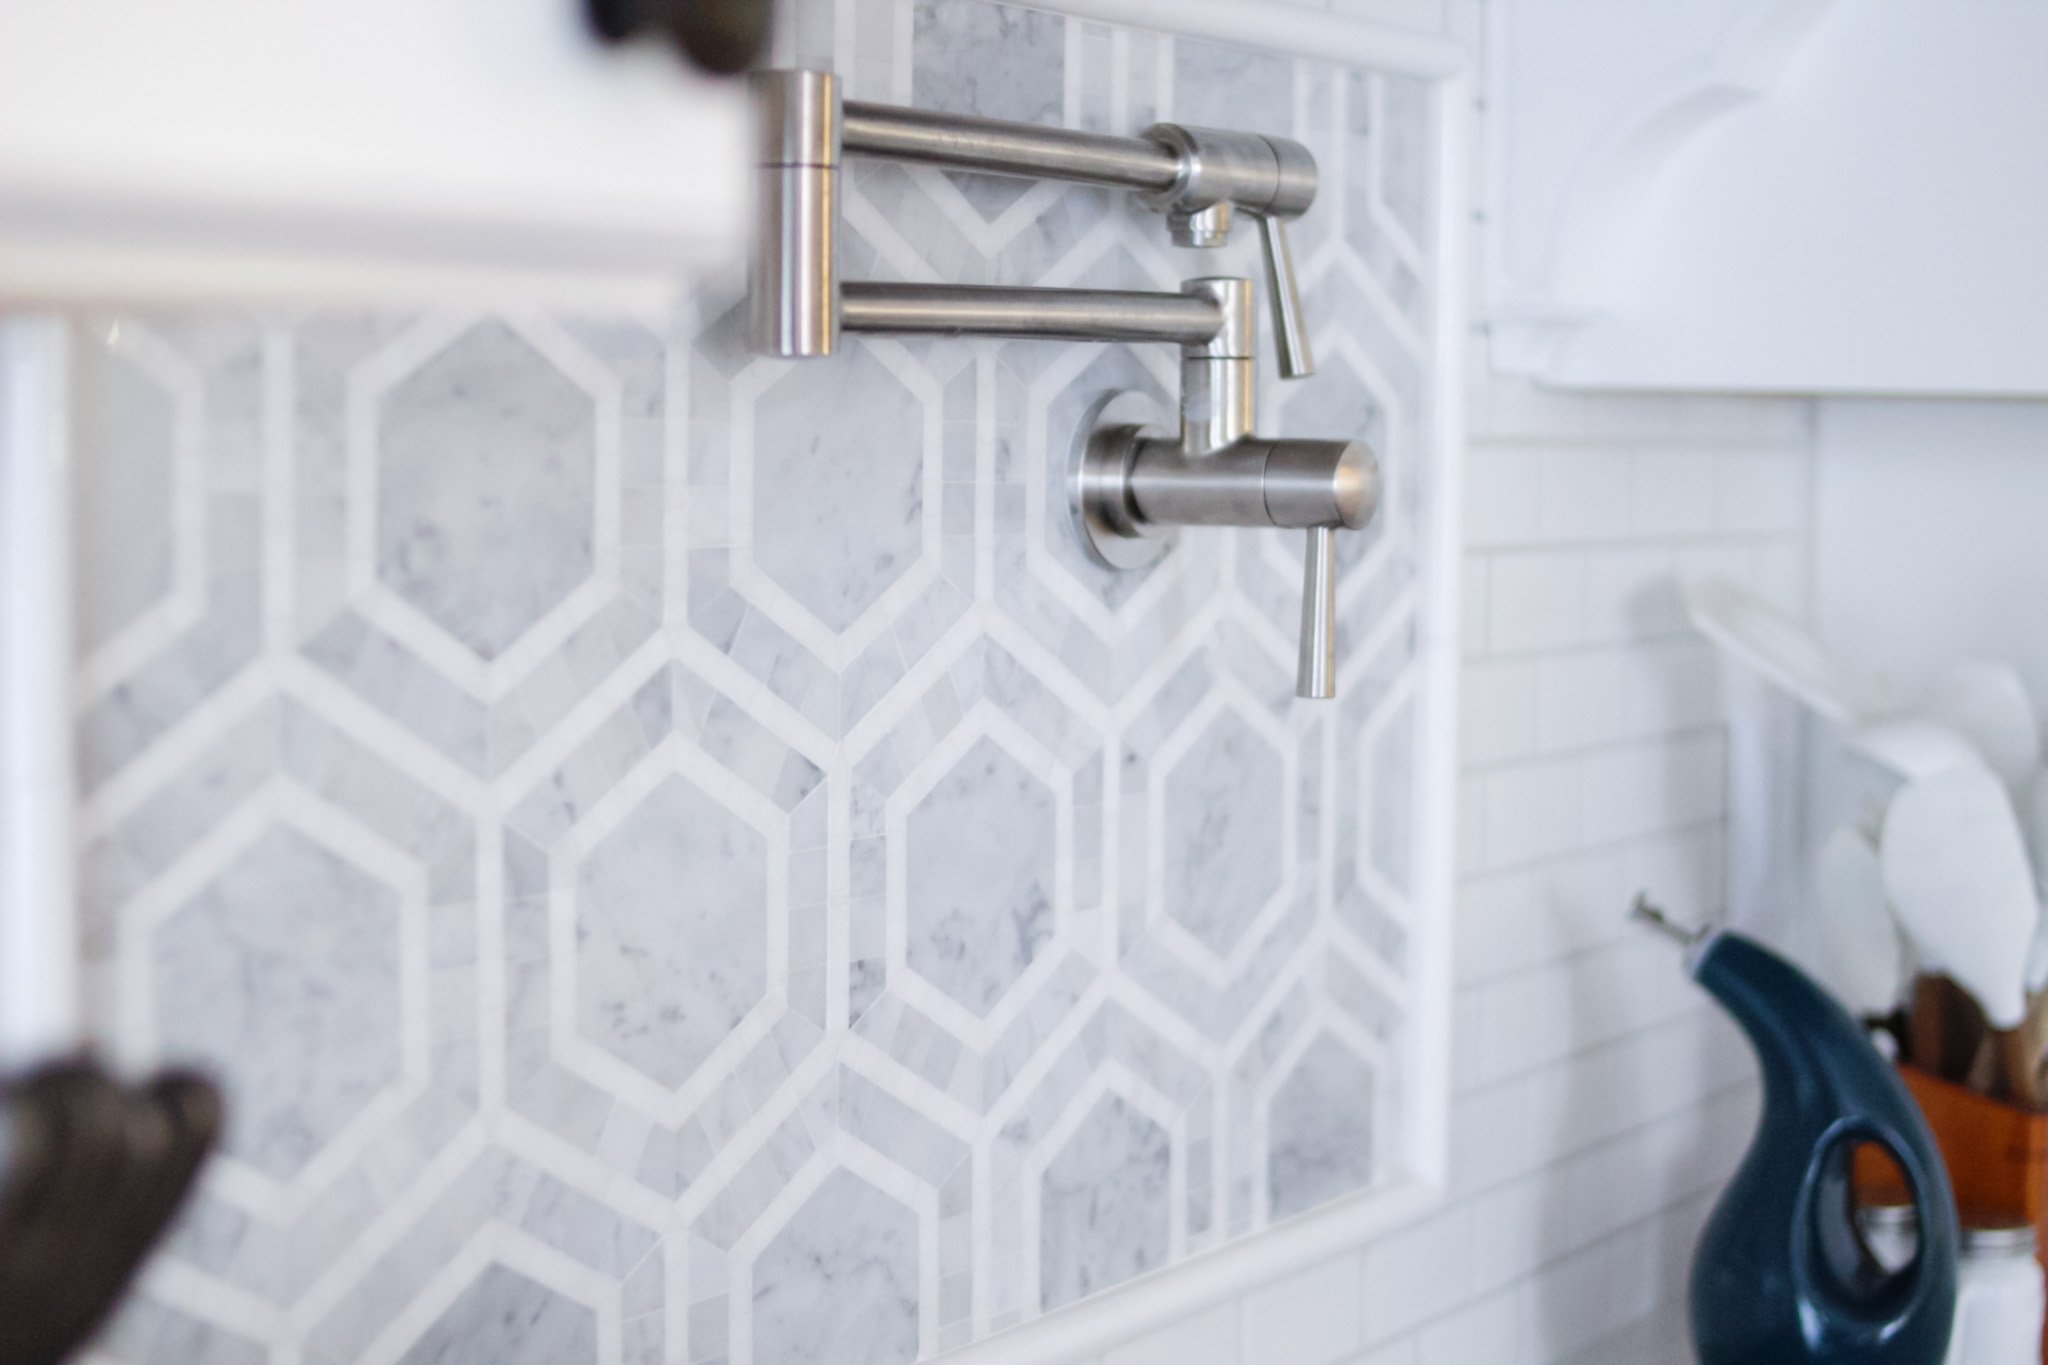
I’m still getting used to using a pot filler while cooking, and have to stop myself from walking back and forth to the sink now!
If you can find a way to incorporate one of these bad boys, I can’t recommend it enough!
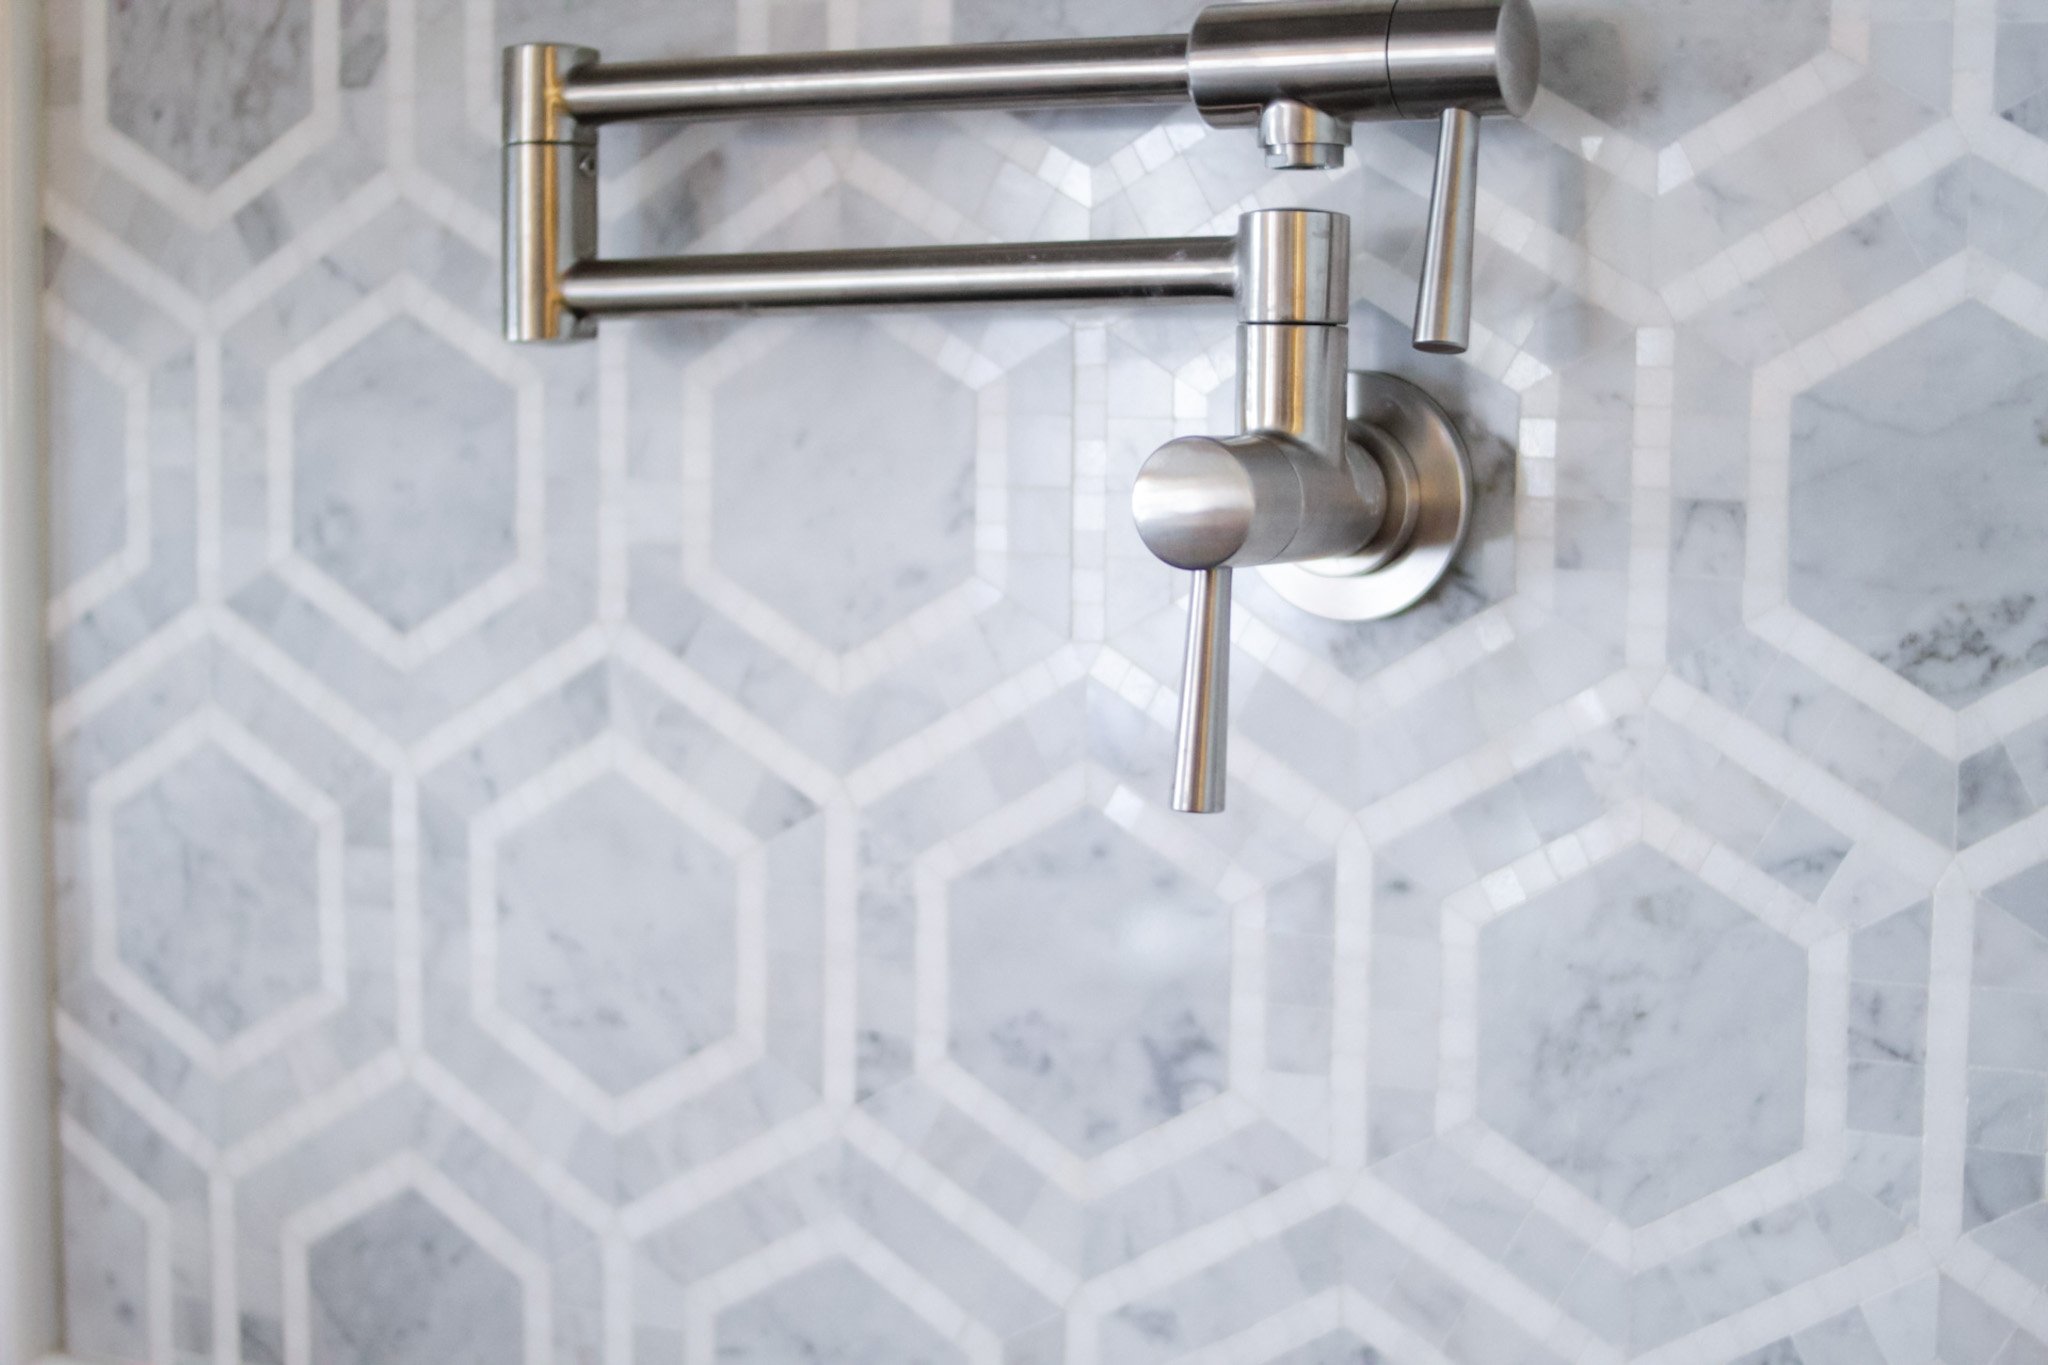
For our backsplash, we went with white subway tile and a light gray grout but opted to use white grout for our marble hexagon mosaic and marble border.
Related: How To Clean Your Microwave (The No-Scrub Cleaning Hack)
Getting rid of the island in the middle of the kitchen really helped open up our kitchen.
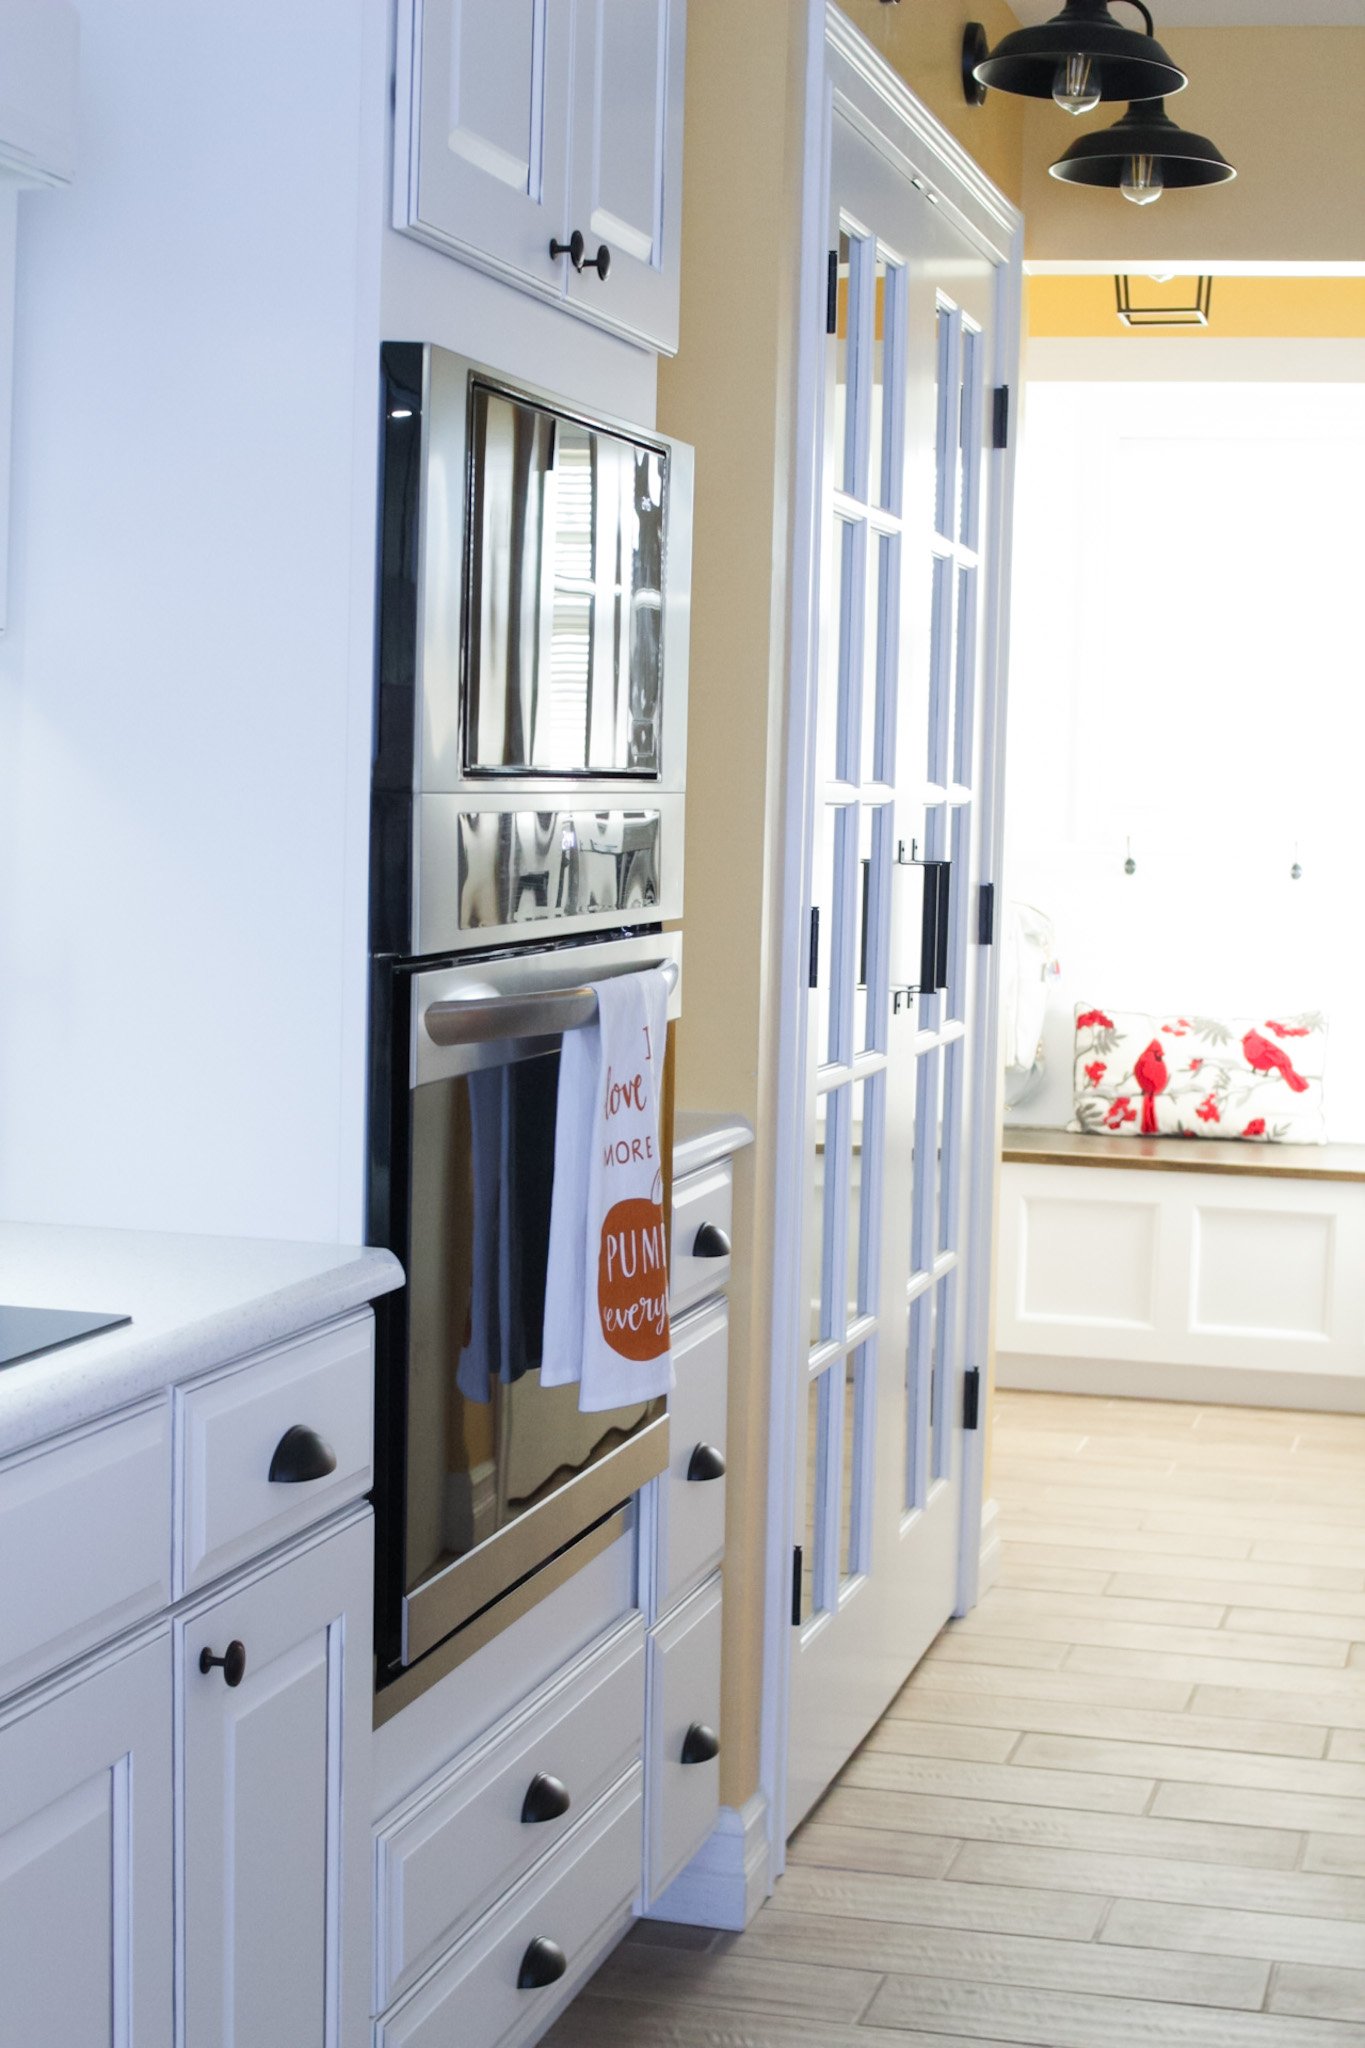
For our oven, we loved the look of a double oven but couldn’t see giving up on the microwave as it gets a ton of use in our home. It wasn’t an appliance we wanted to set on the counter, though, or have to pull in and out of cabinets.
We found a microwave and oven combo unit, however, that was perfect for what we needed while still looking high end and fit in with our kitchen!
The pantry doors we bought fit perfectly with our new cabinets and the barn lights really seal the farmhouse look in for us.
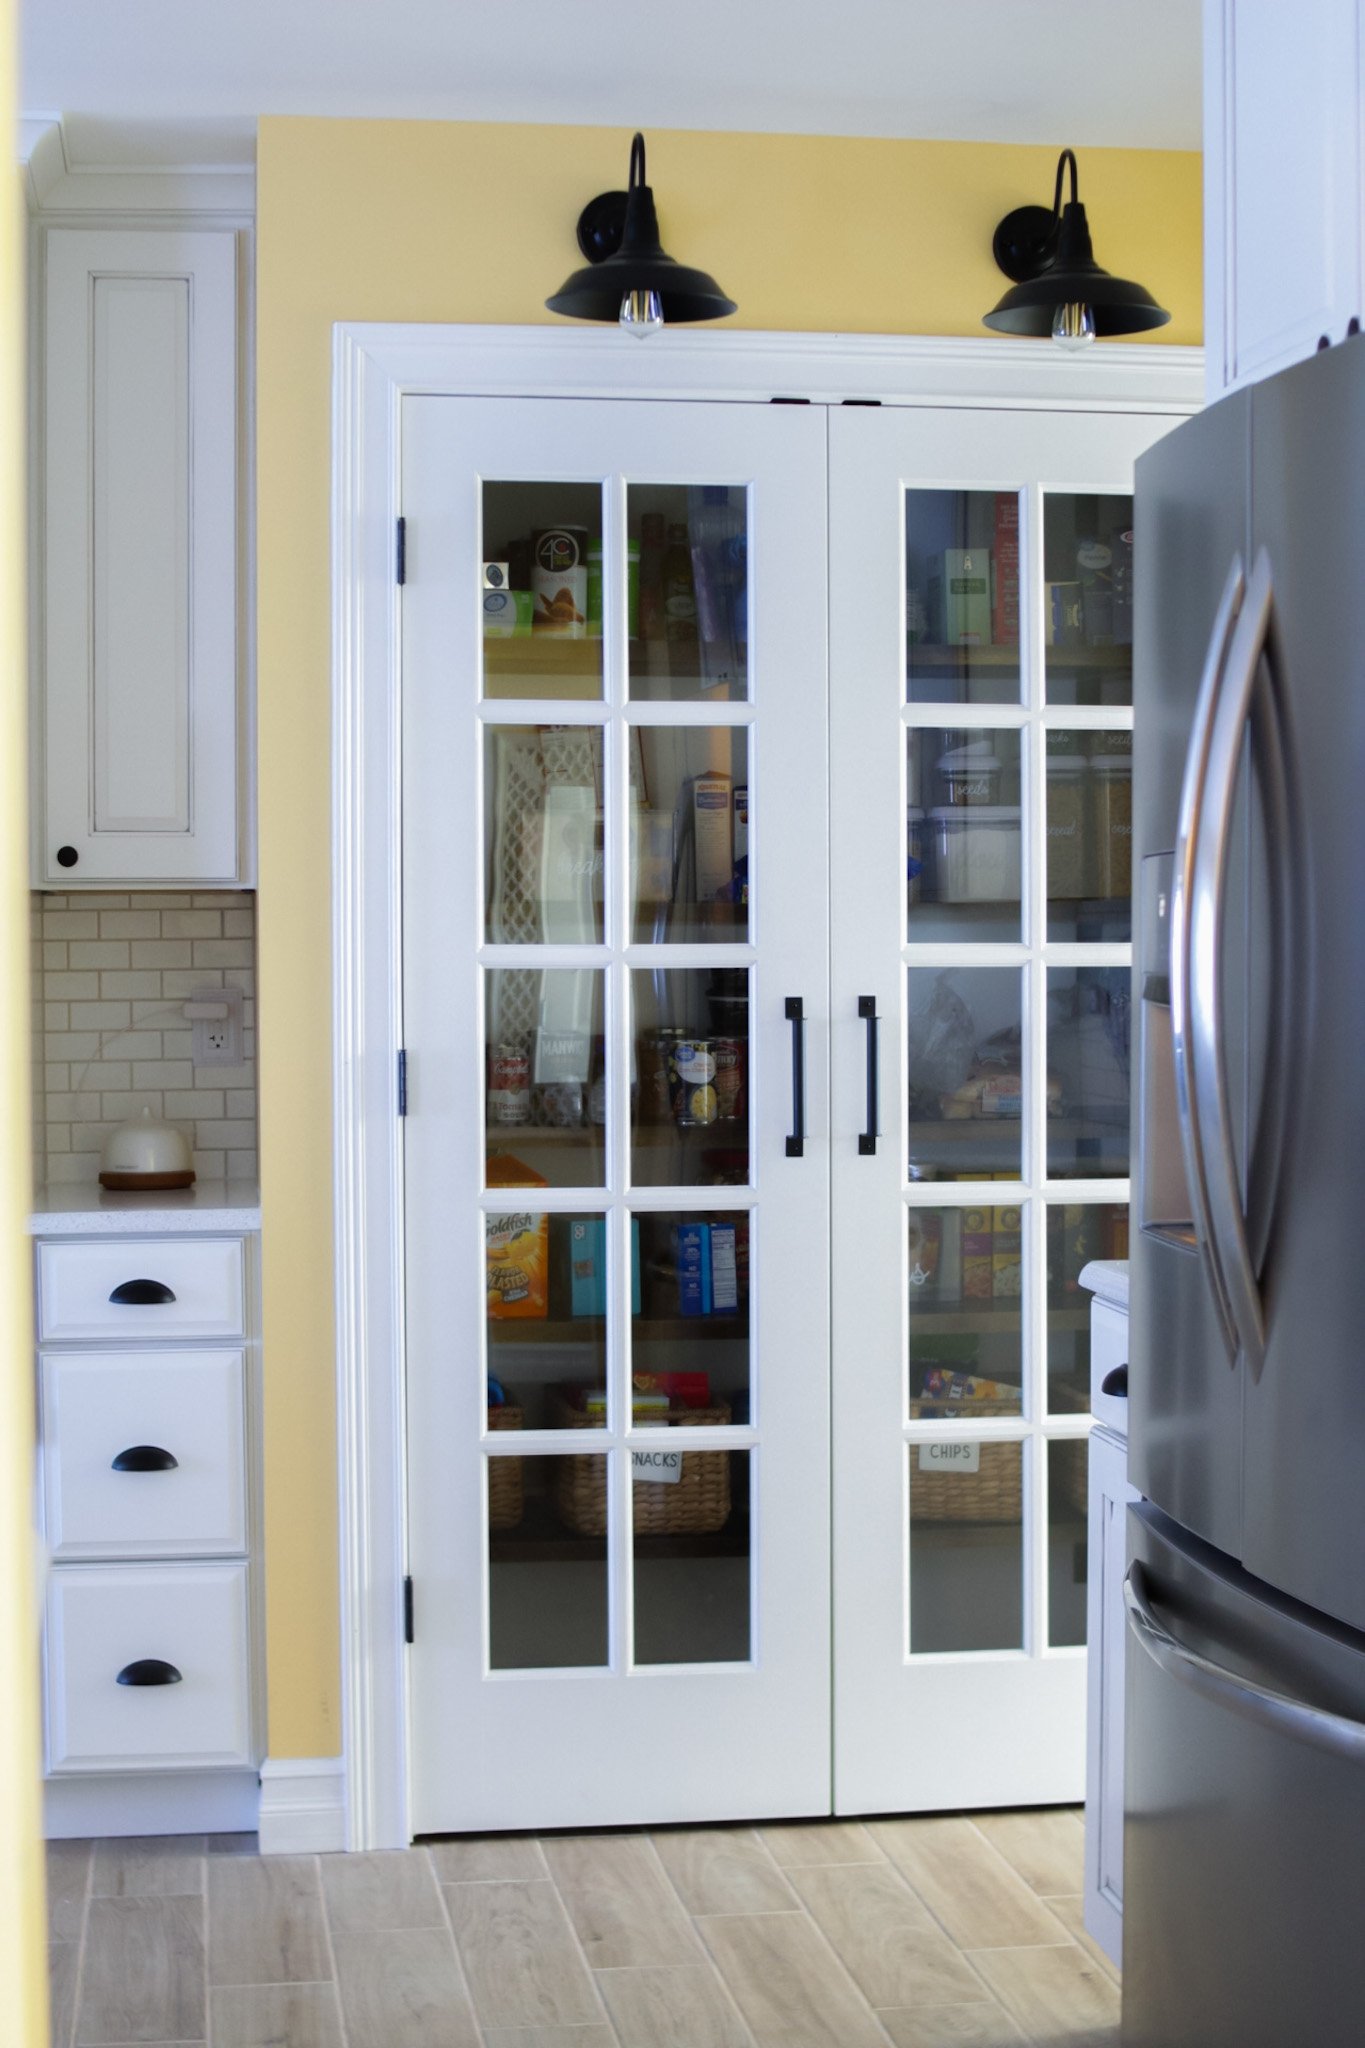
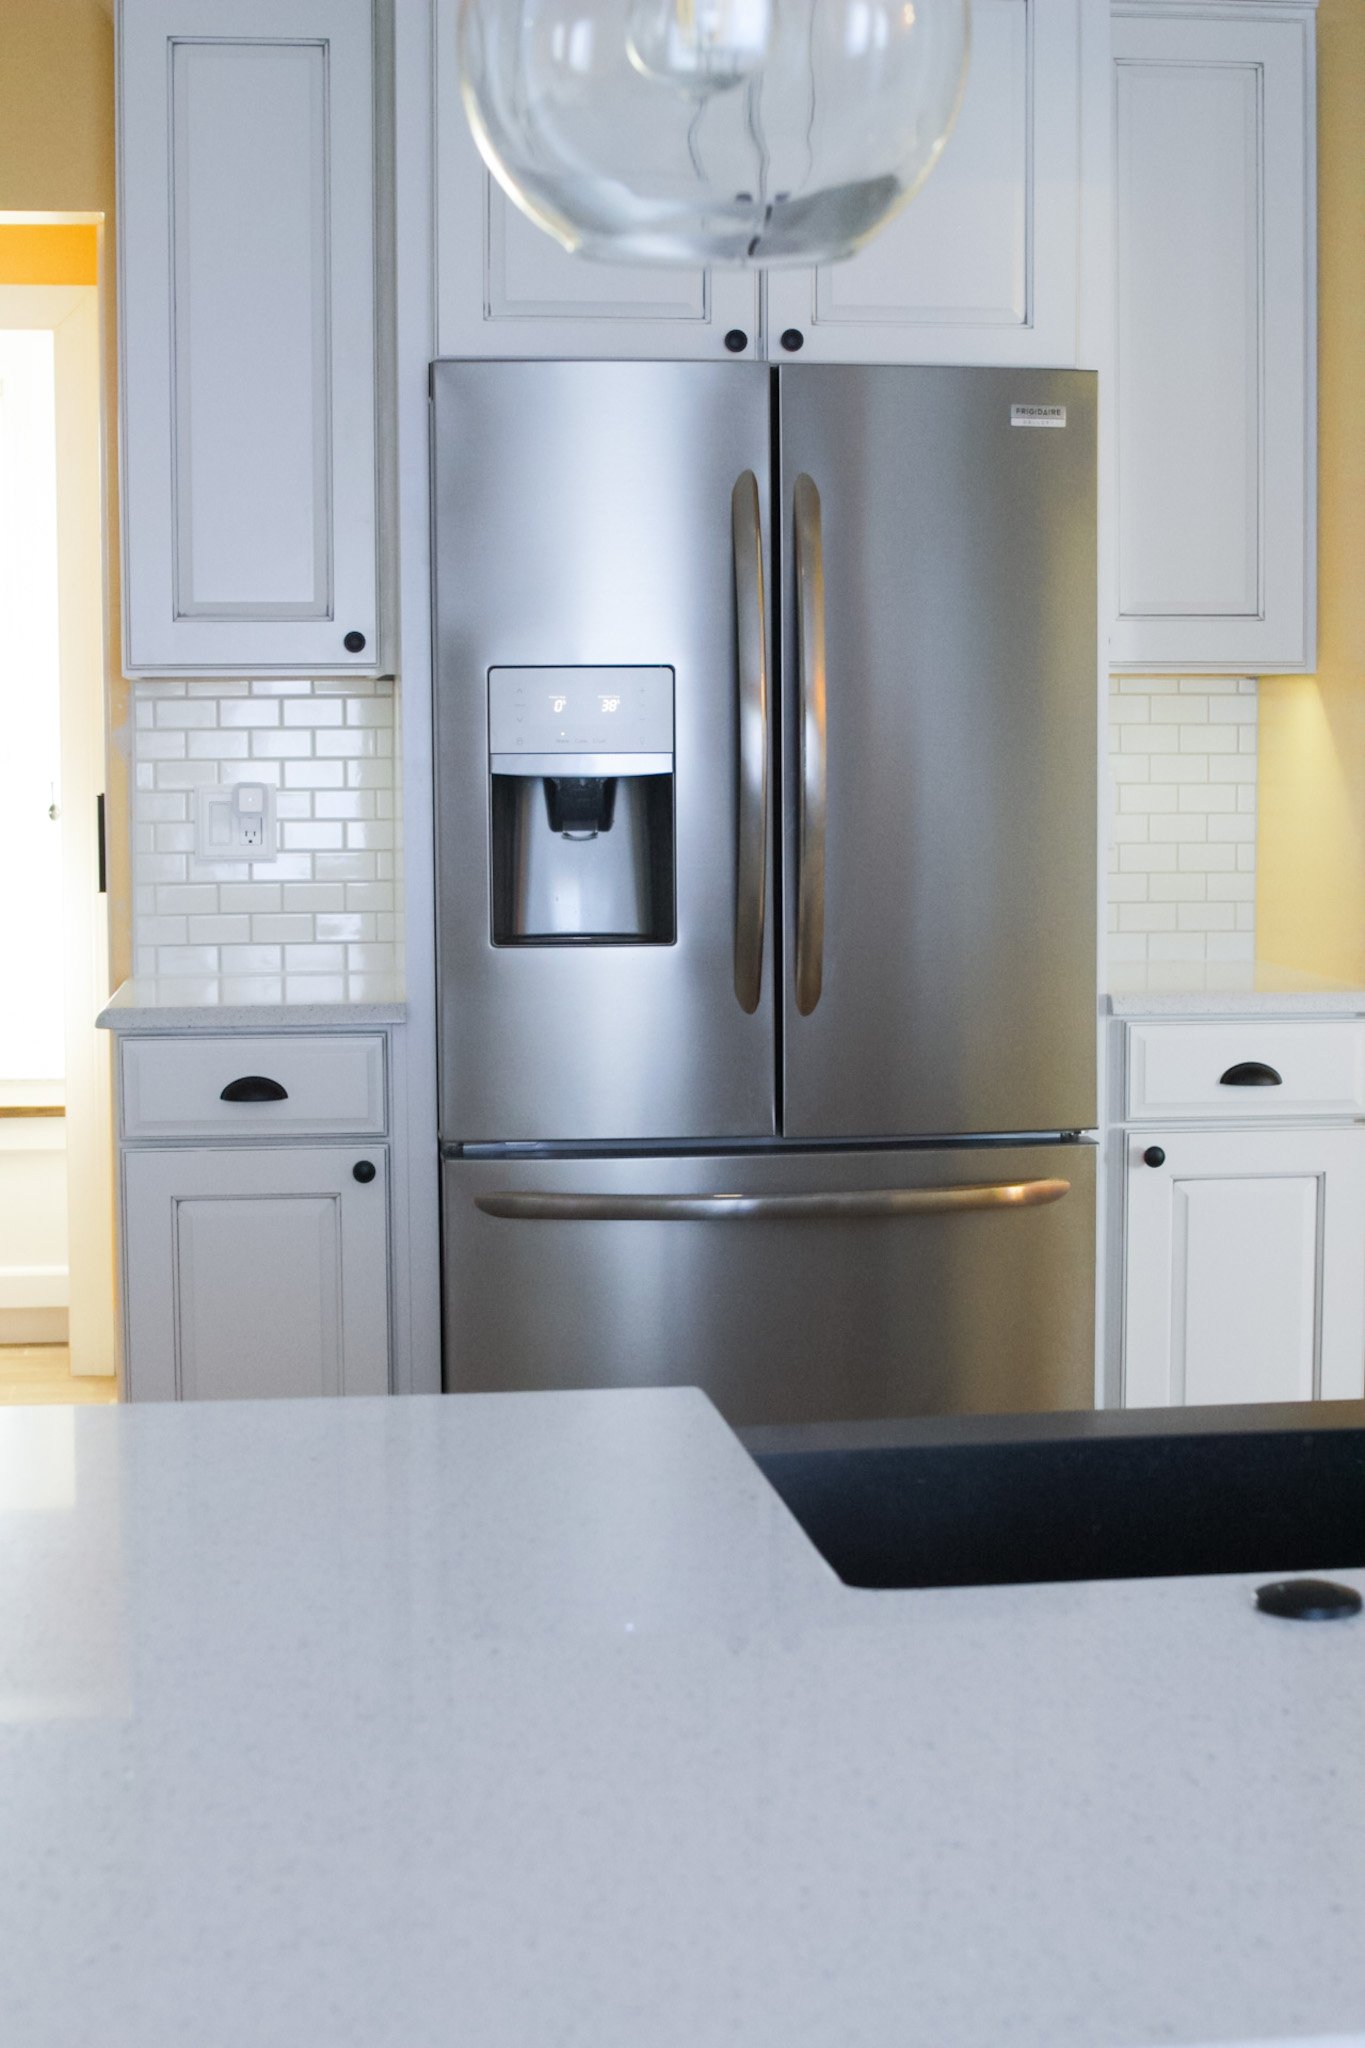
For our fridge, we moved this appliance over from next to the cooktop (which wasn’t very energy-efficient) over to the far wall and built cabinets around it to help frame it out and maximize cabinet space.
This space was originally used by the previous owner of our home as a small home office area.
You May Also Like: How To Clean And Organize Your Fridge + Free Printable Fridge Labels
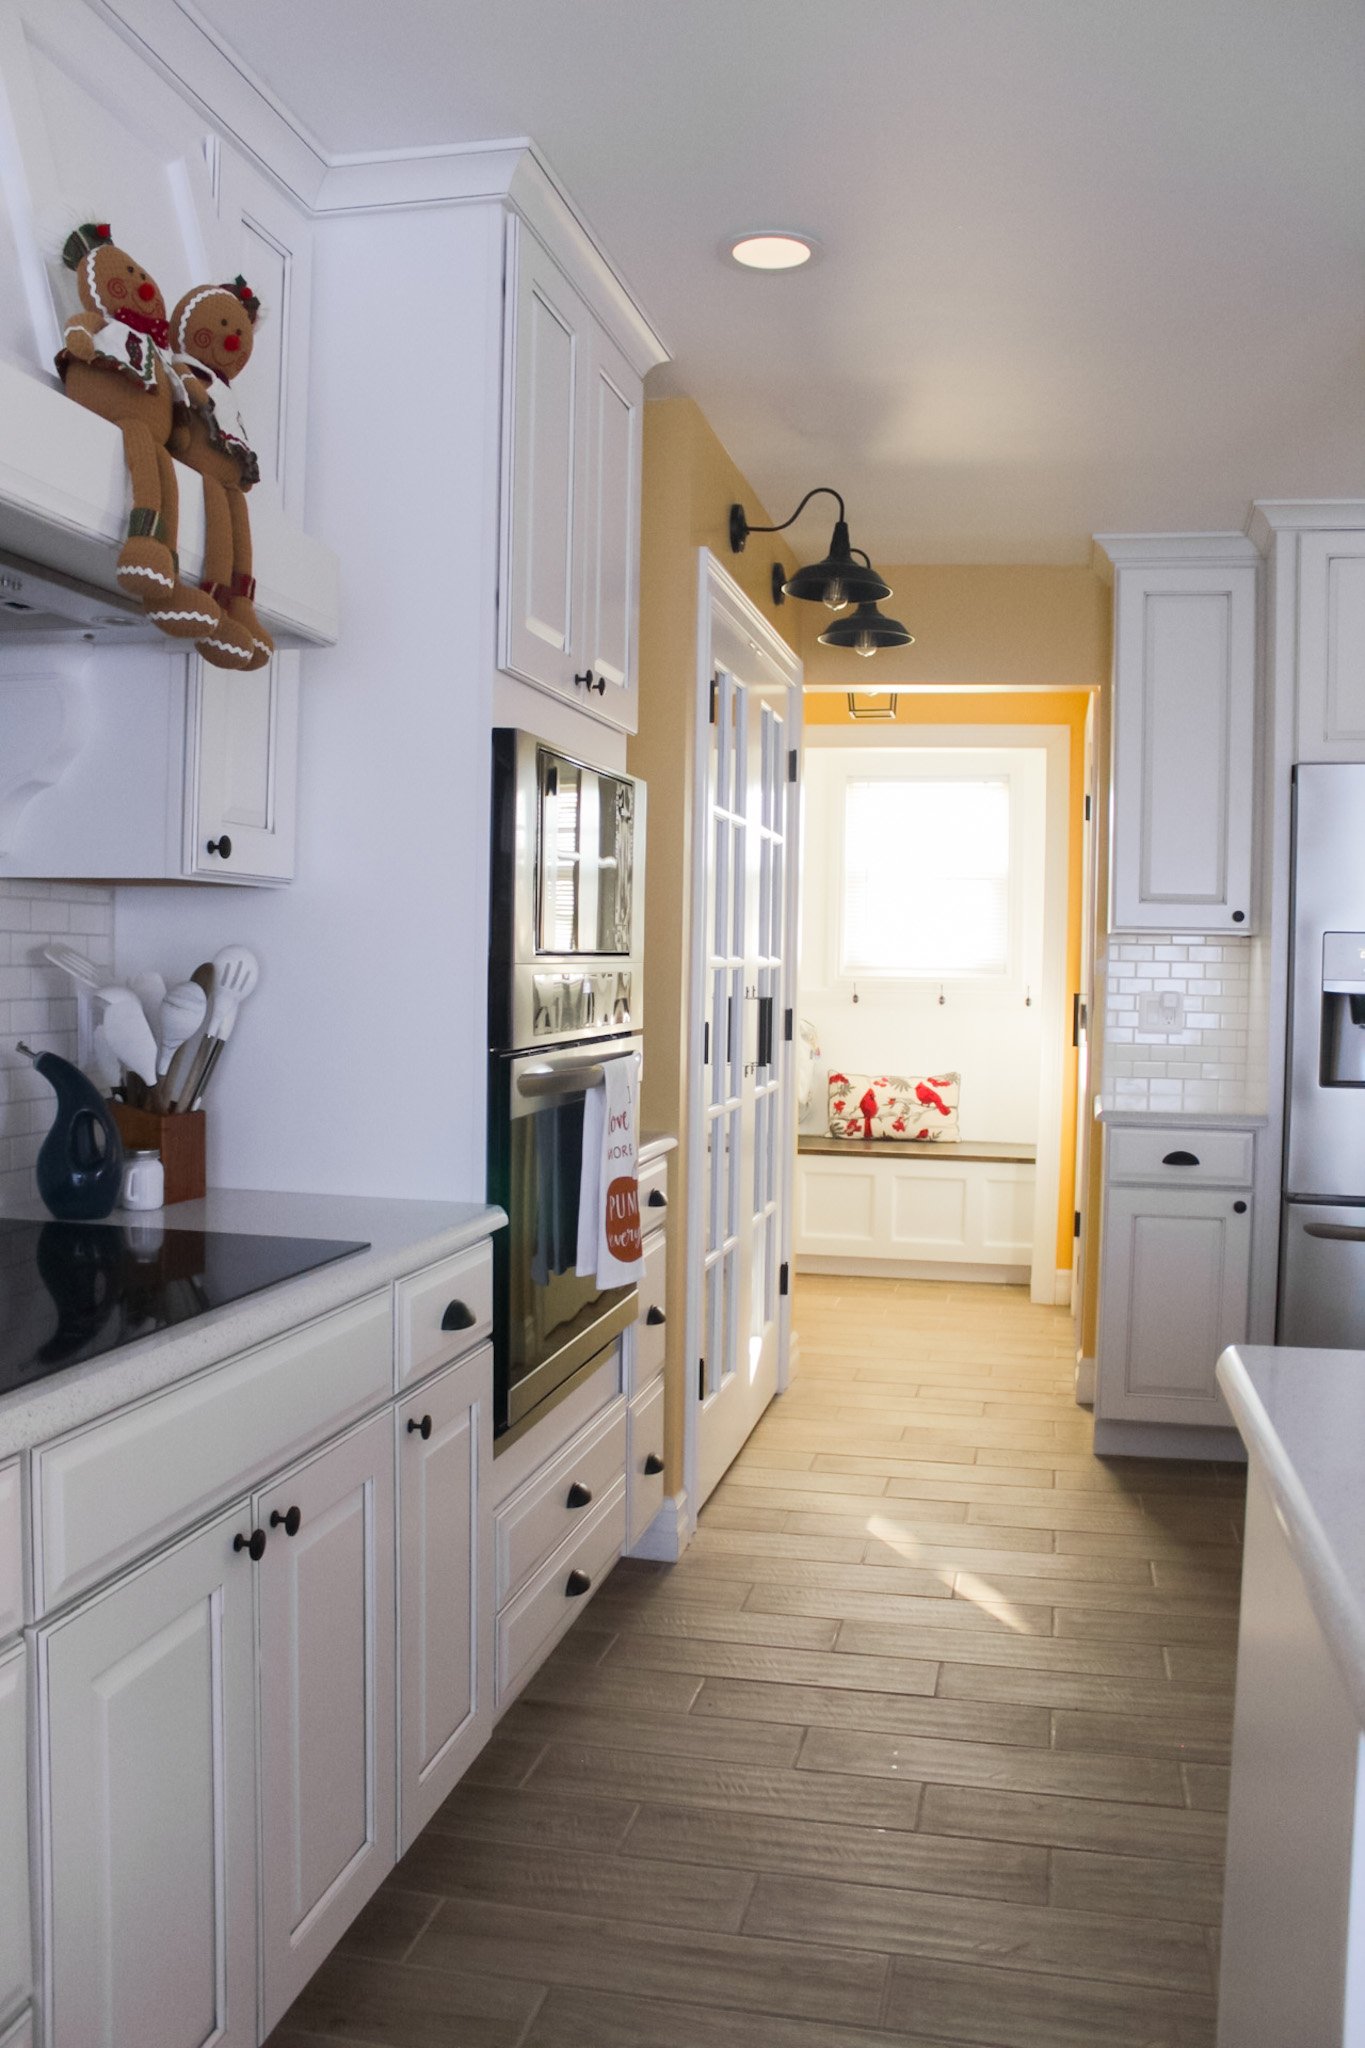
I love the new layout of our kitchen, and how open and airy everything looks and feels!
Our flooring is a textured tile that is made to look like wood and has since been discontinued.
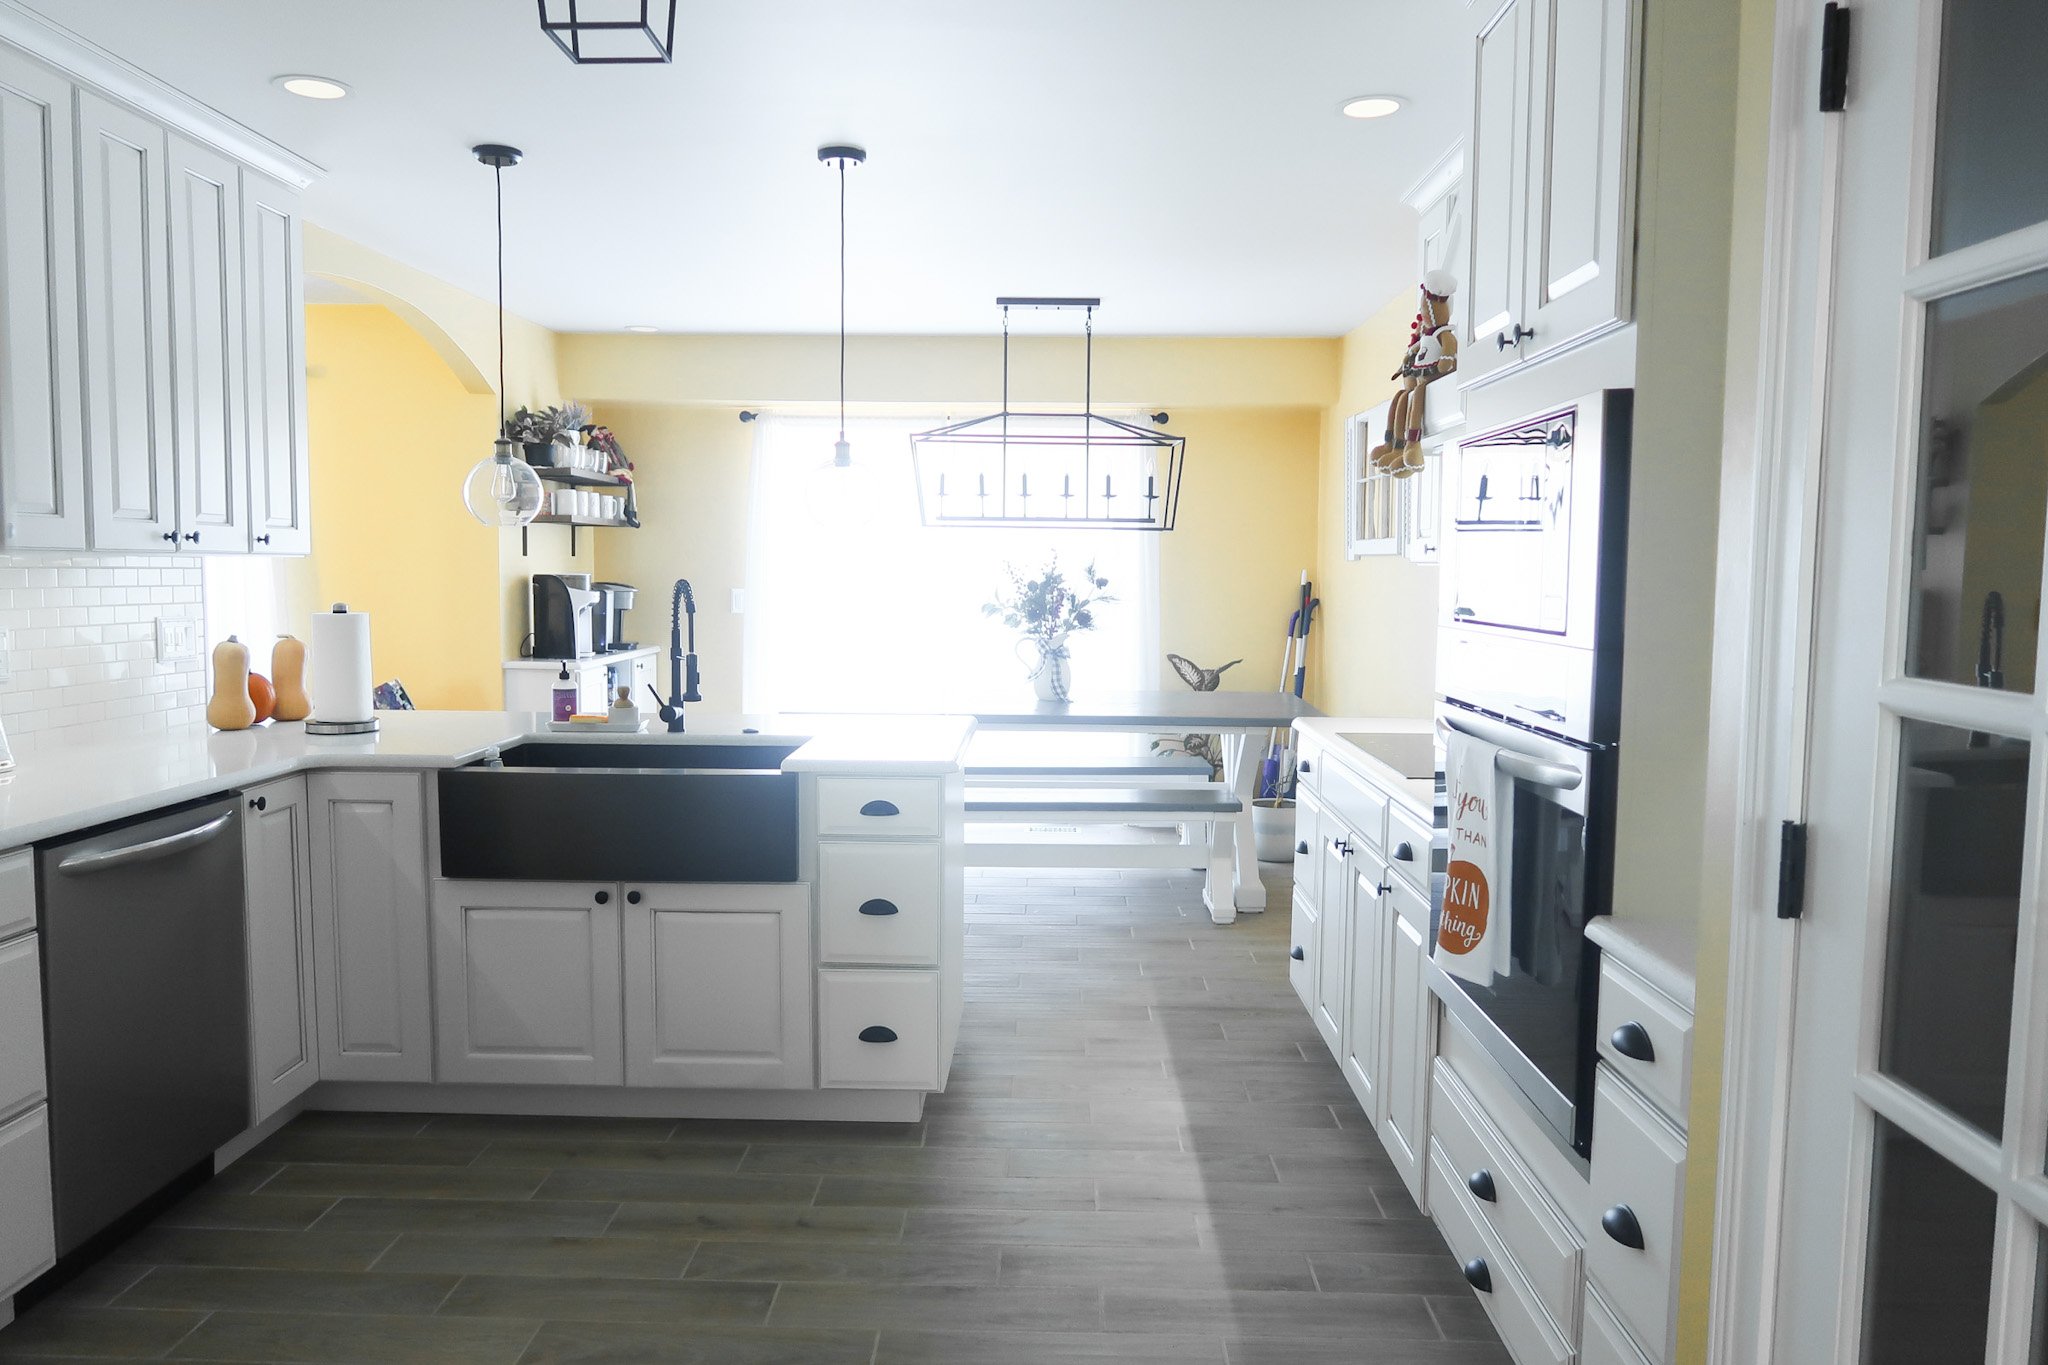
Here’s a look at our kitchen from the other side…
Our farmhouse sink is deep and large which is great for our family of five.

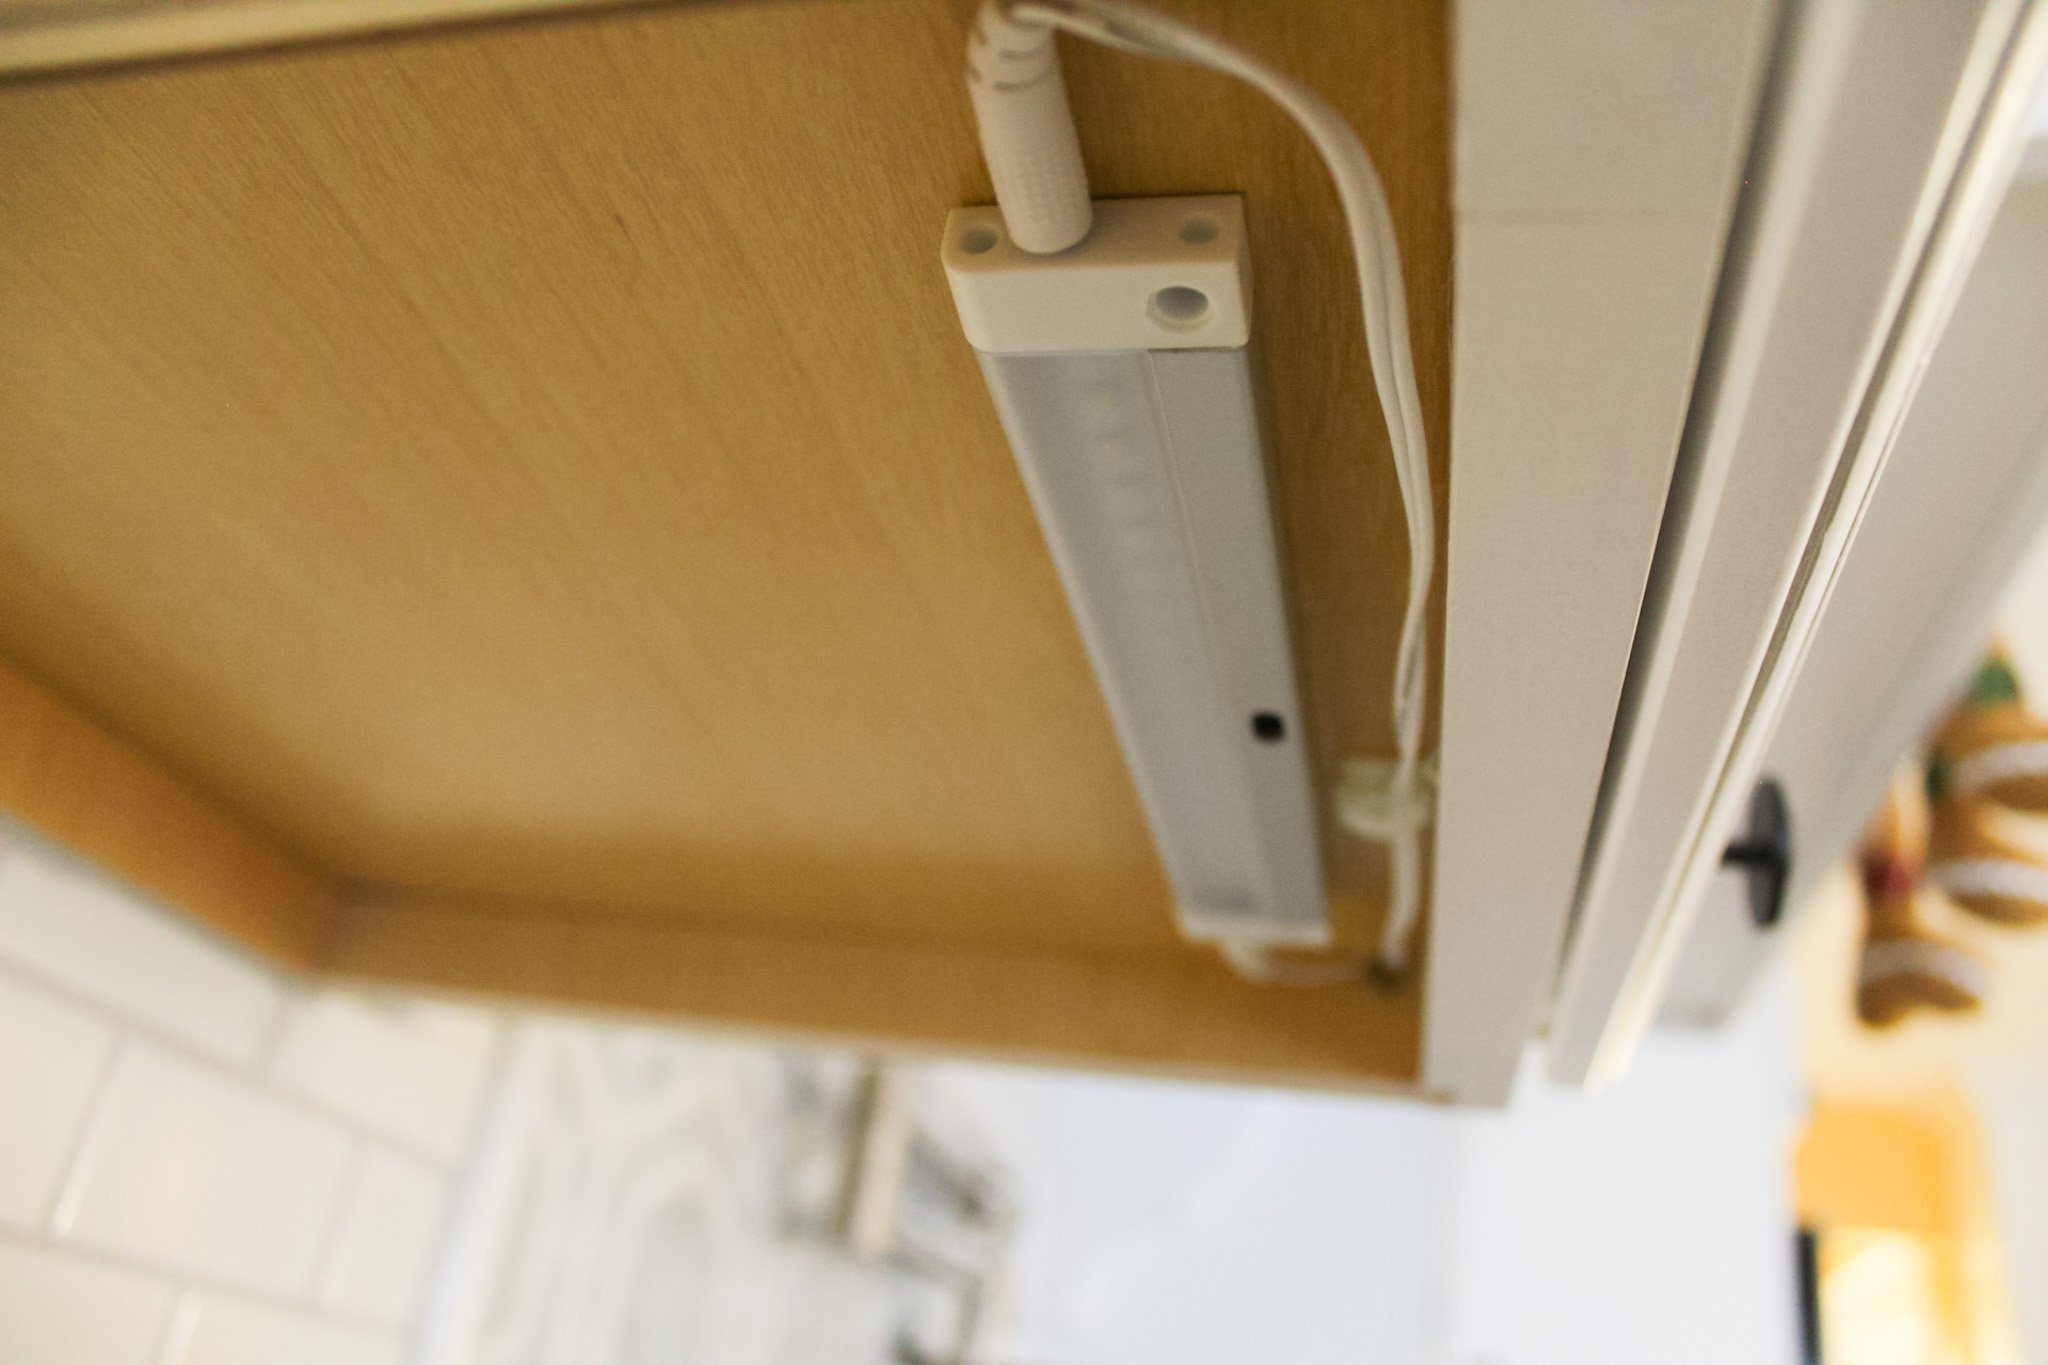
Our under cabinet lighting is our favorite addition – we chose to implement LED panels everywhere we could.
This is what the underside of our peninsula cabinets look like with our lighting from eShine…
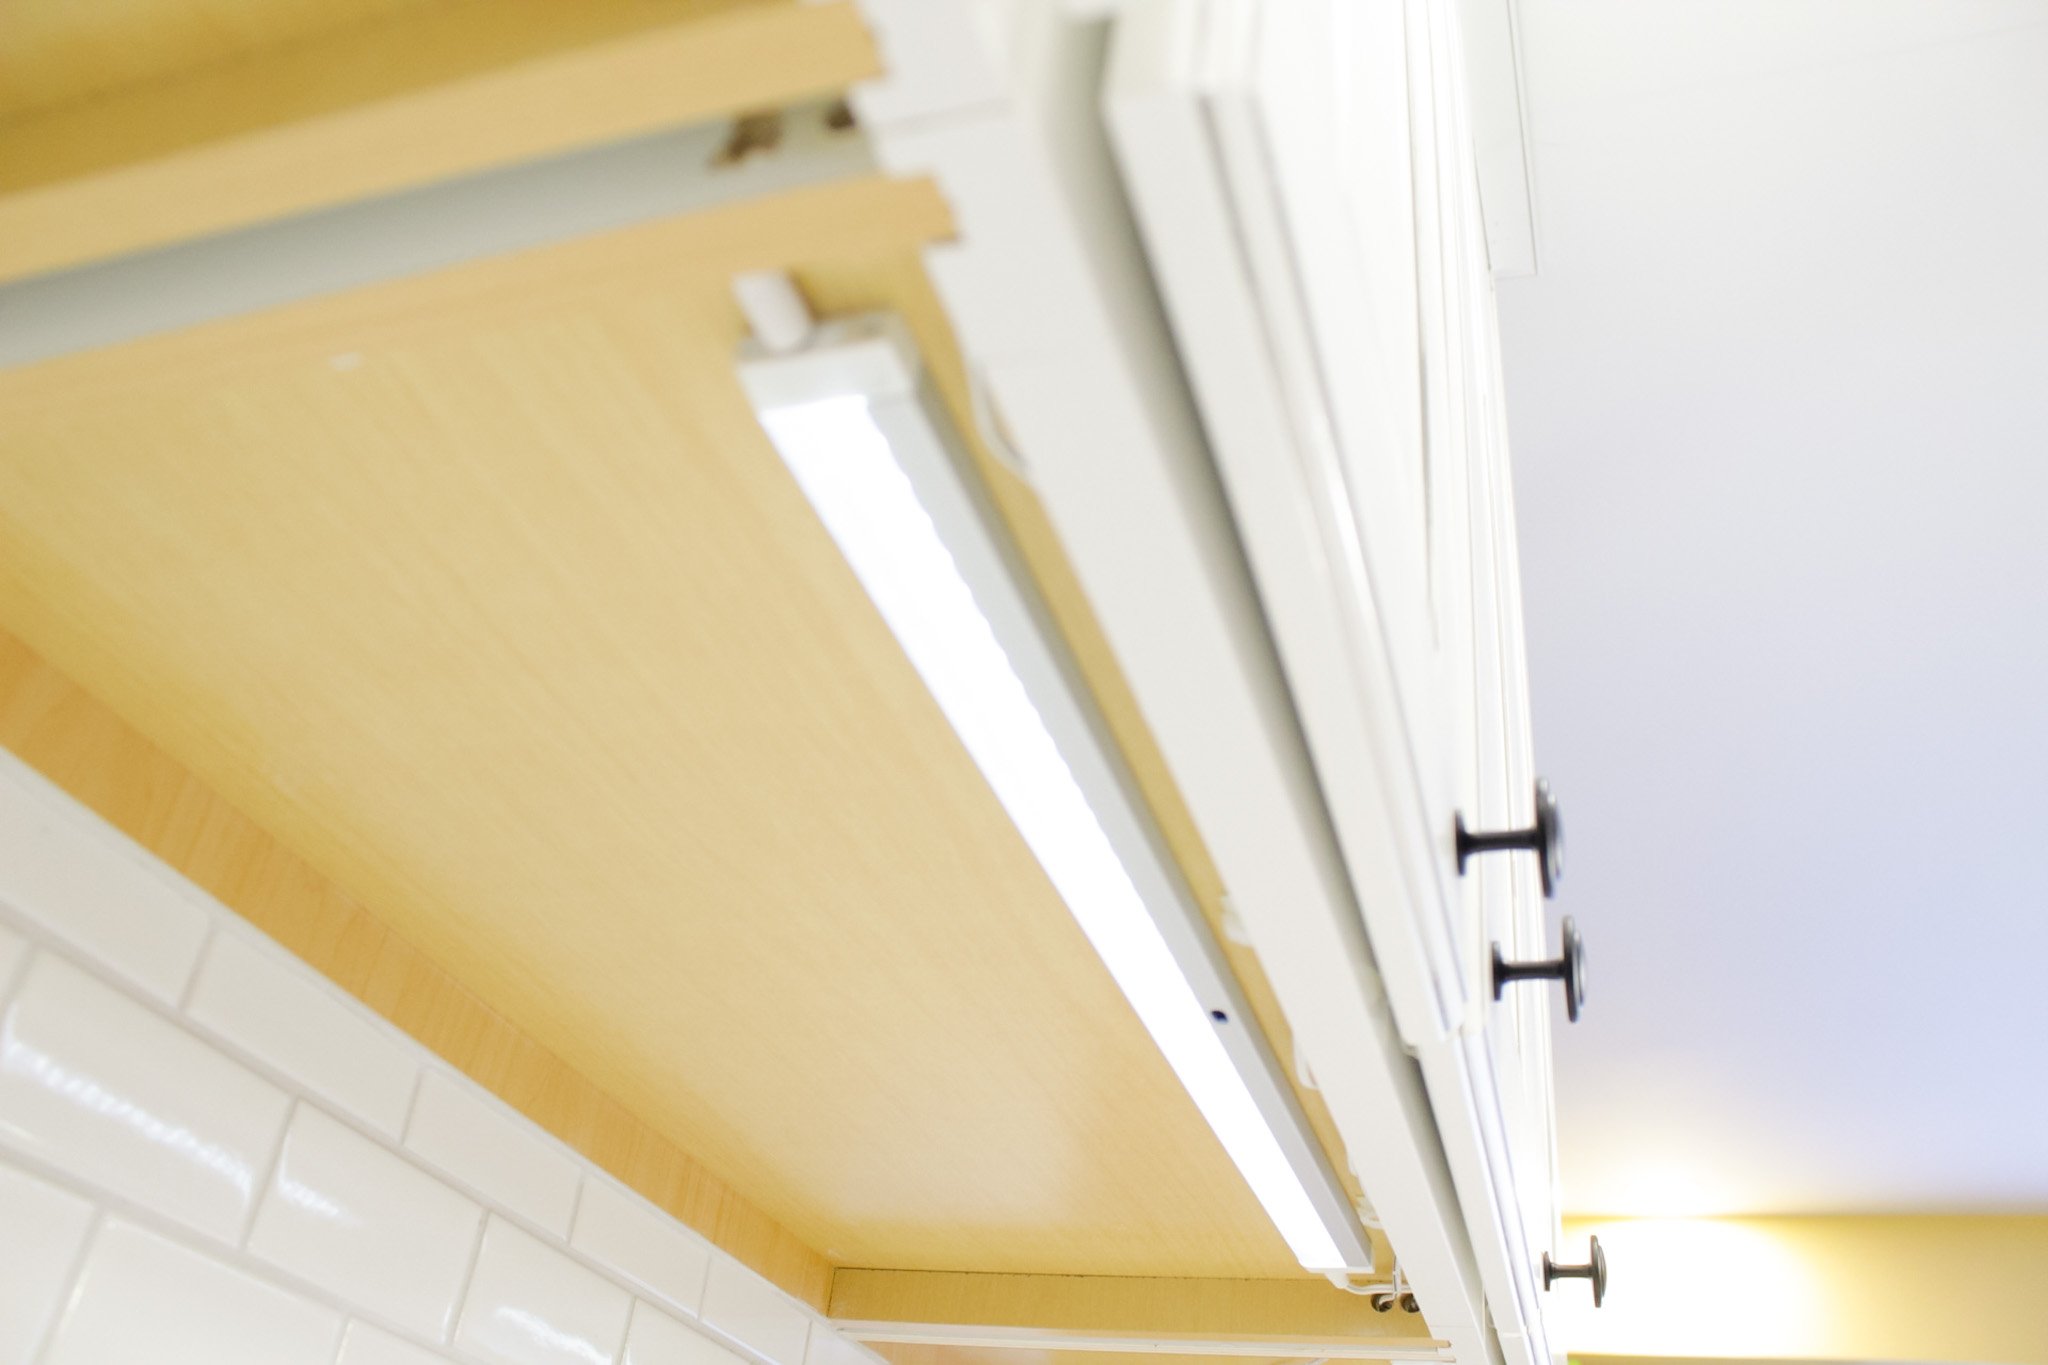
We used a combination of sizes, depending on the size of the underside of the cabinets…
20-inch white-finish LED panel
12-inch white-finish LED panel
7-inch white finished LED panel
Here’s what they look like powered on:
These LED panels are simply amazing!
I love how they are powered on and off, and how they are hand wave adjustable.
This means that Chris and I can power them on/off with a quick wave of our hand under the sensor, and adjust the lighting to be more bright or less bright by holding our hand under the sensor!
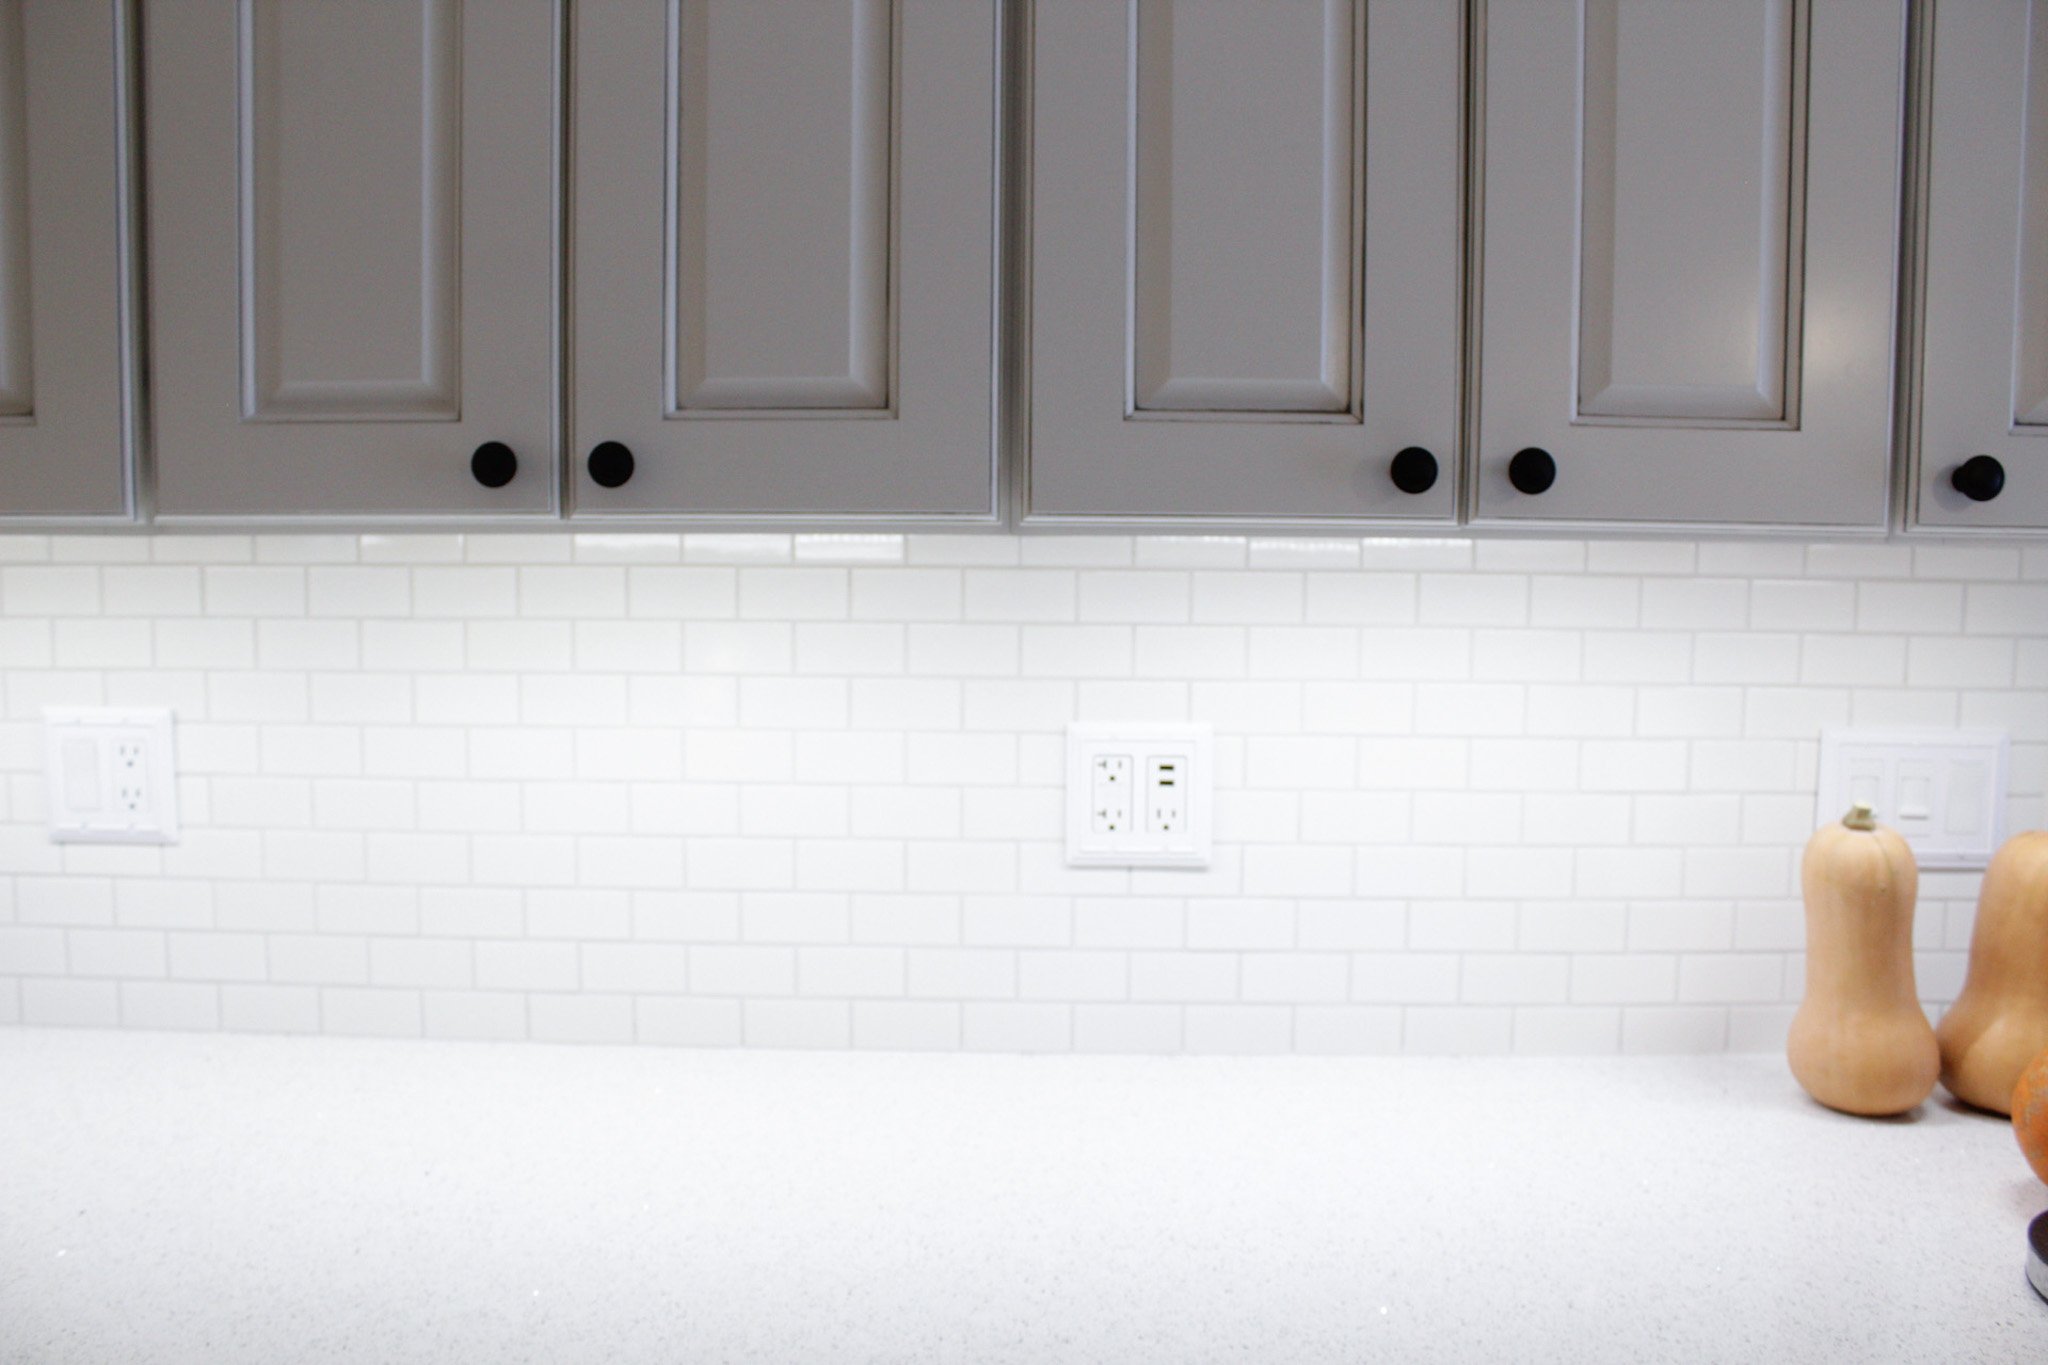
Under-cabinet lighting has also really helped our counters POP.
The quartz we chose has tiny pieces of reflective glass in it that looks like someone sprinkled glitter all over our counters (we love the look!) and having our eShine undercabinet lighting helps reflect all of those elements for a stunning result!
Here is what the LED panels look like when they are on by our cooktop (no center range hood light on)…
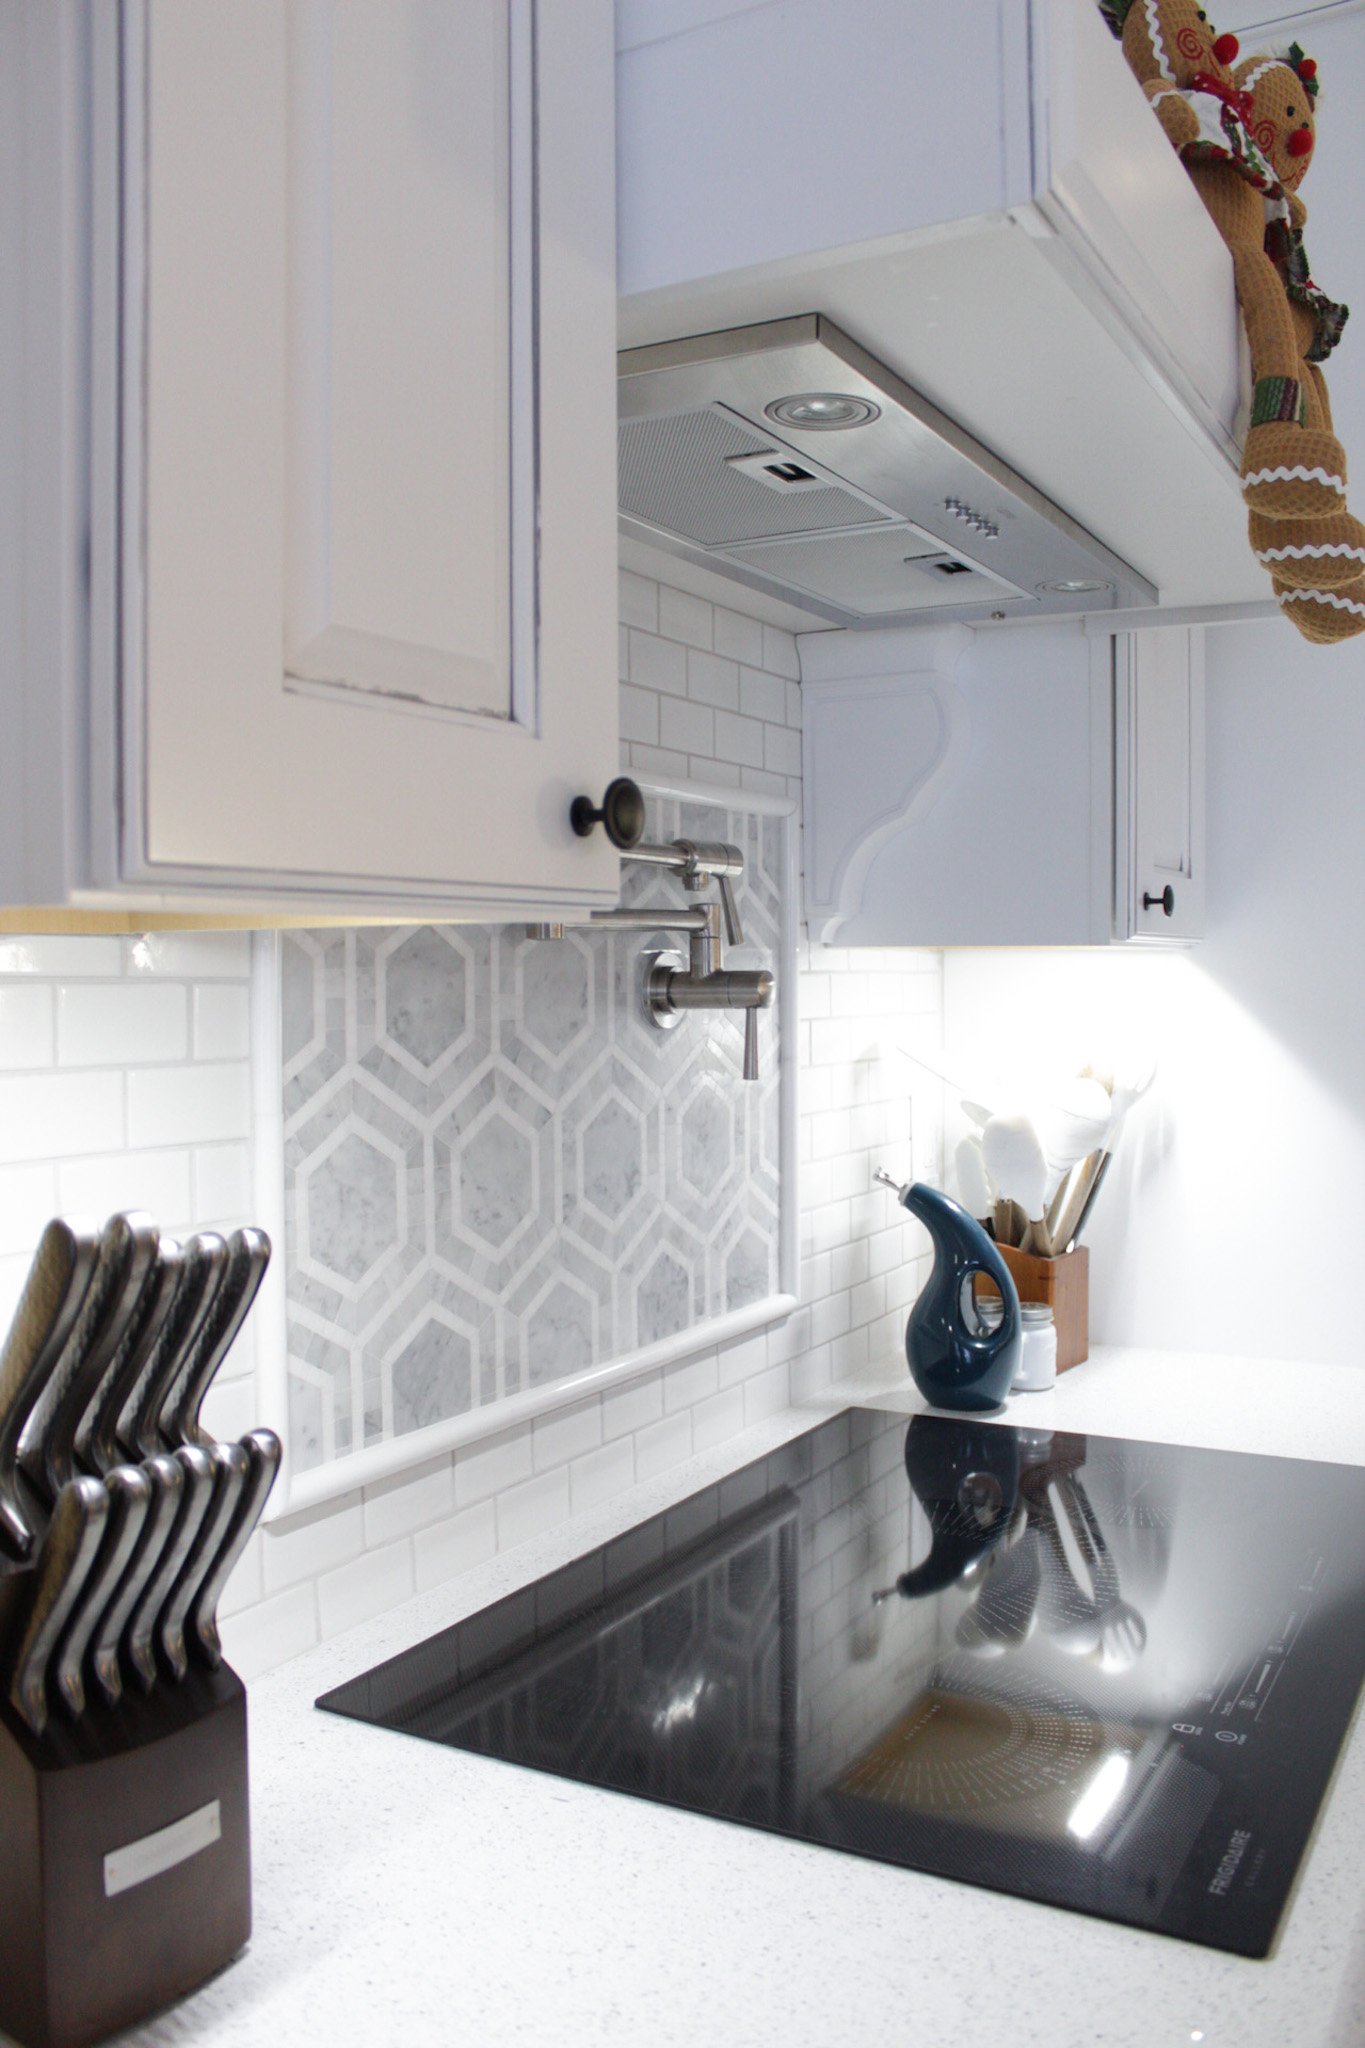
They do a great job lighting up our cooktop area!
We chose to go with an induction cooktop for our renovation, and it’s been a great investment.
It’s energy-efficient, and it also looks really cool ;).
And that’s our kitchen renovation!
I’m so thrilled with home everything has turned out, from the floor to the ceiling.
If there’s one thing I hope sticks out in your mind, it’s that you can never go wrong with ‘too much’ lighting, especially in the wintertime.
Be sure to use code Corinne12 at checkout to save 12% on your lighting at eShine!
If you’ve completed a kitchen renovation like we have, what were your favorite parts or elements? Did you incorporate a lot of lighting or undercabinet lighting? Tell me in the comments below!

Leave a Reply