Eager to try out engraving on your Cricut, but don’t have the Maker? I’ll show you how to engrave acrylic without the Cricut engraving tool or Maker…
Who’s homeschooling this Fall?
*Raises hand slowly*.
We’re not totally sure about how things are going to go this Fall with our school district and the health concerns our state is facing, but we are open to the idea of homeschooling the boys this year.
It saddens me because my kids really benefit from the social interaction they get at school, in different ways.
But that may not even be a thing when schools reopen.
Regardless of what happens this Fall, we’re already implementing some at-home learning techniques with the boys.
Max is loving working with workbooks, and Jax is loving anything with crayons or markers.
For Jax, I decided to create something just for him with some leftover pieces of acrylic I had from my DIY $25 Acrylic Calendar project I completed last week, and I came up with trying to engrave a writing worksheet of sorts for him.
I wanted to make something that he could easily write on with dry-erase markers and wipe off so we could practice writing.
And I came up with this engraved writing sheet, with some inspiration from existing writing sheets online.
Now, technically, you’re not supposed to be able to engrave with the Explore Air 2.
So this is a bit of a hack, and it’s honestly a project that needs babysitting.
You won’t be able to just put the acrylic on the mat to cut and leave the room.
Aaaaaand it takes a bit of time, depending on your design.
And finally, you’ll need to re-calibrate your machine once you’re done!
So if I haven’t scared you off with my honesty yet, I’ll be sharing with you how I made this DIY Engraved Preschool Worksheet!
*This post contains affiliate links, however, all opinions are my own, as always.
What You Need To Engrave Acrylic With Your Cricut Explore Air 2 or 3
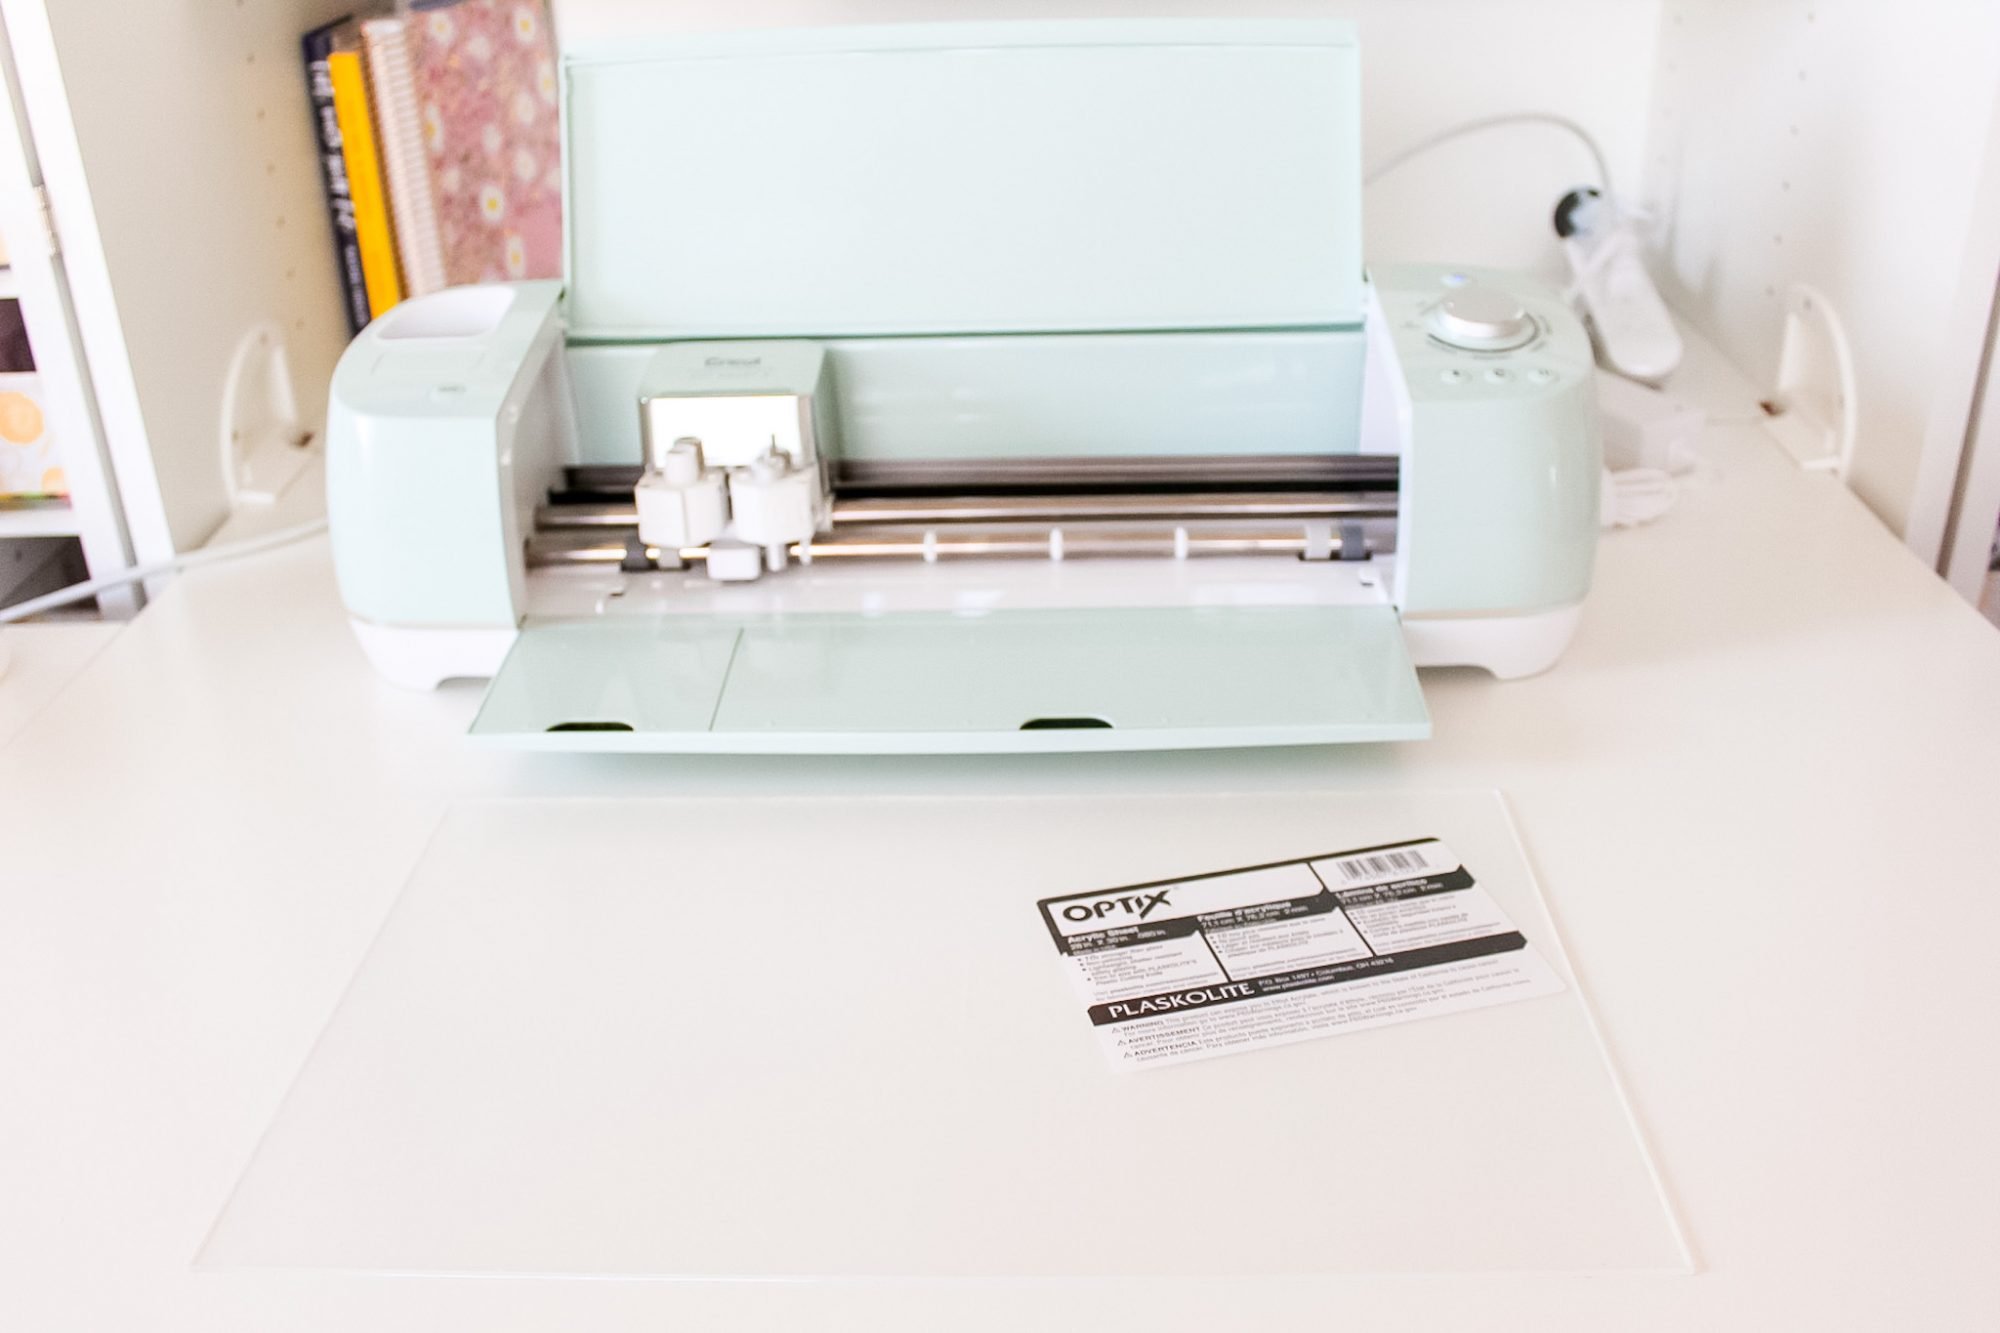
Here’s what you need to make this and engrave using your Cricut Explore Air 2…
- acrylic sheet (less than 0.080 inches thick) cut to the size you want
- Cricut Explore Air 2 or Maker with a fine-point blade
- 24″ StrongGrip mat
- painter’s tape *optional
- brayer *optional
- time to watch the cut
- time afterward to re-calibrate your machine
Design And Cut Your Preschool Worksheet in Design Space
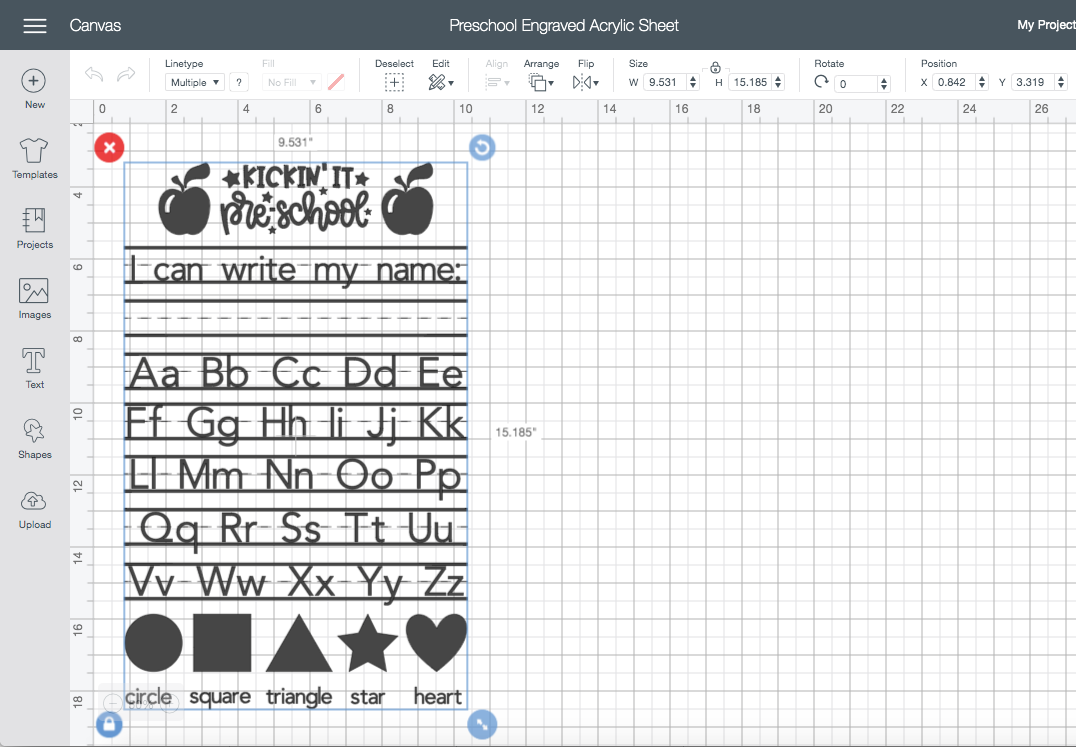
Create the design you want in Design Space within the measurements of your selected acrylic sheet.
You can create an outline of your acrylic sheet like I did in my DIY Acrylic Calendar post to ensure your design stays within the edges of the sheet.
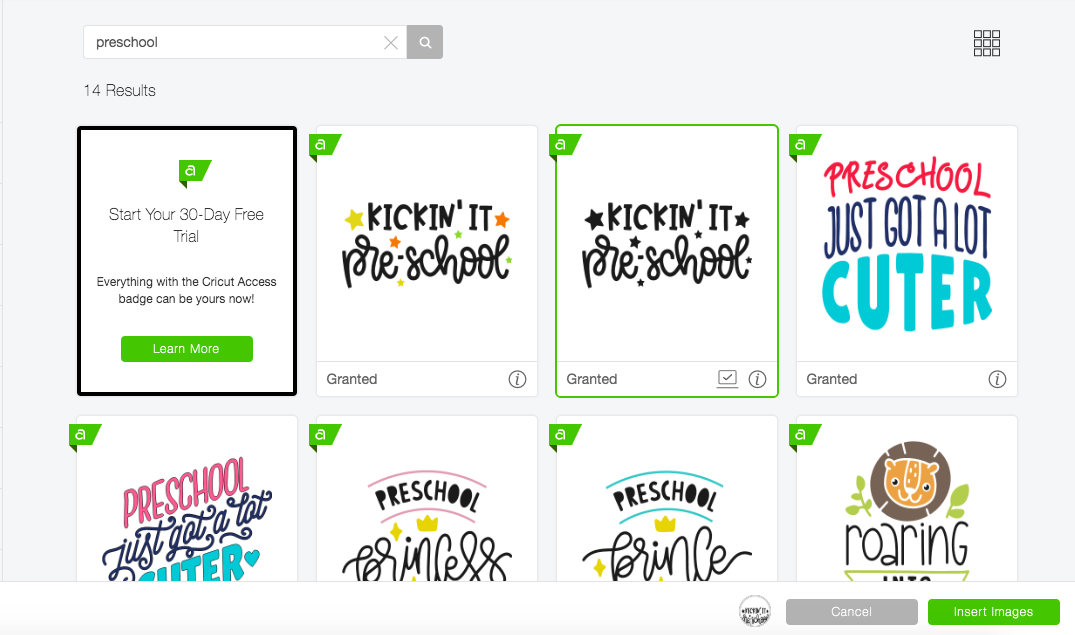
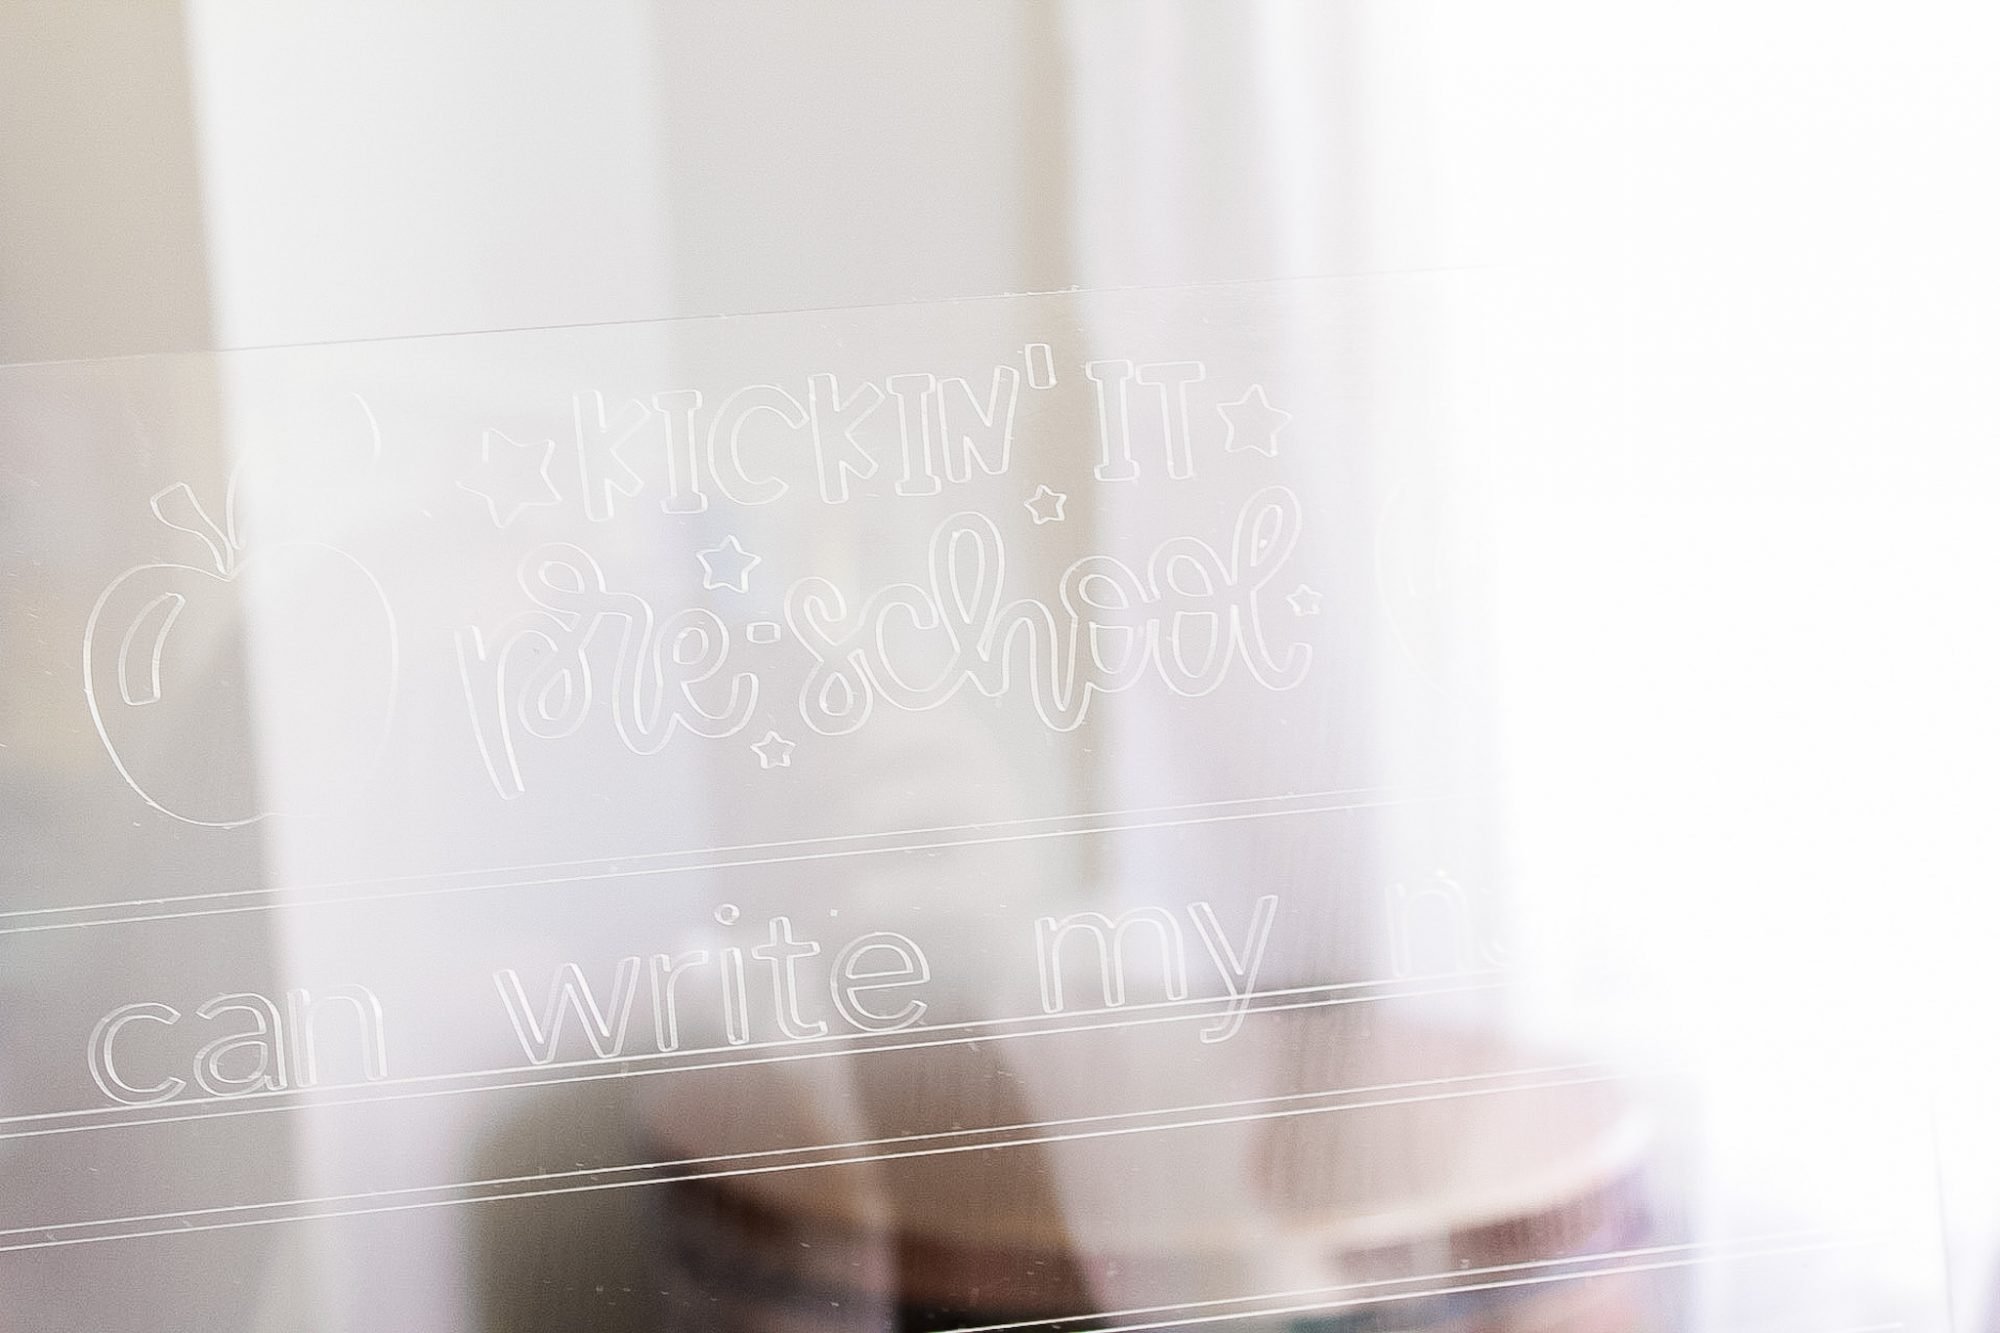
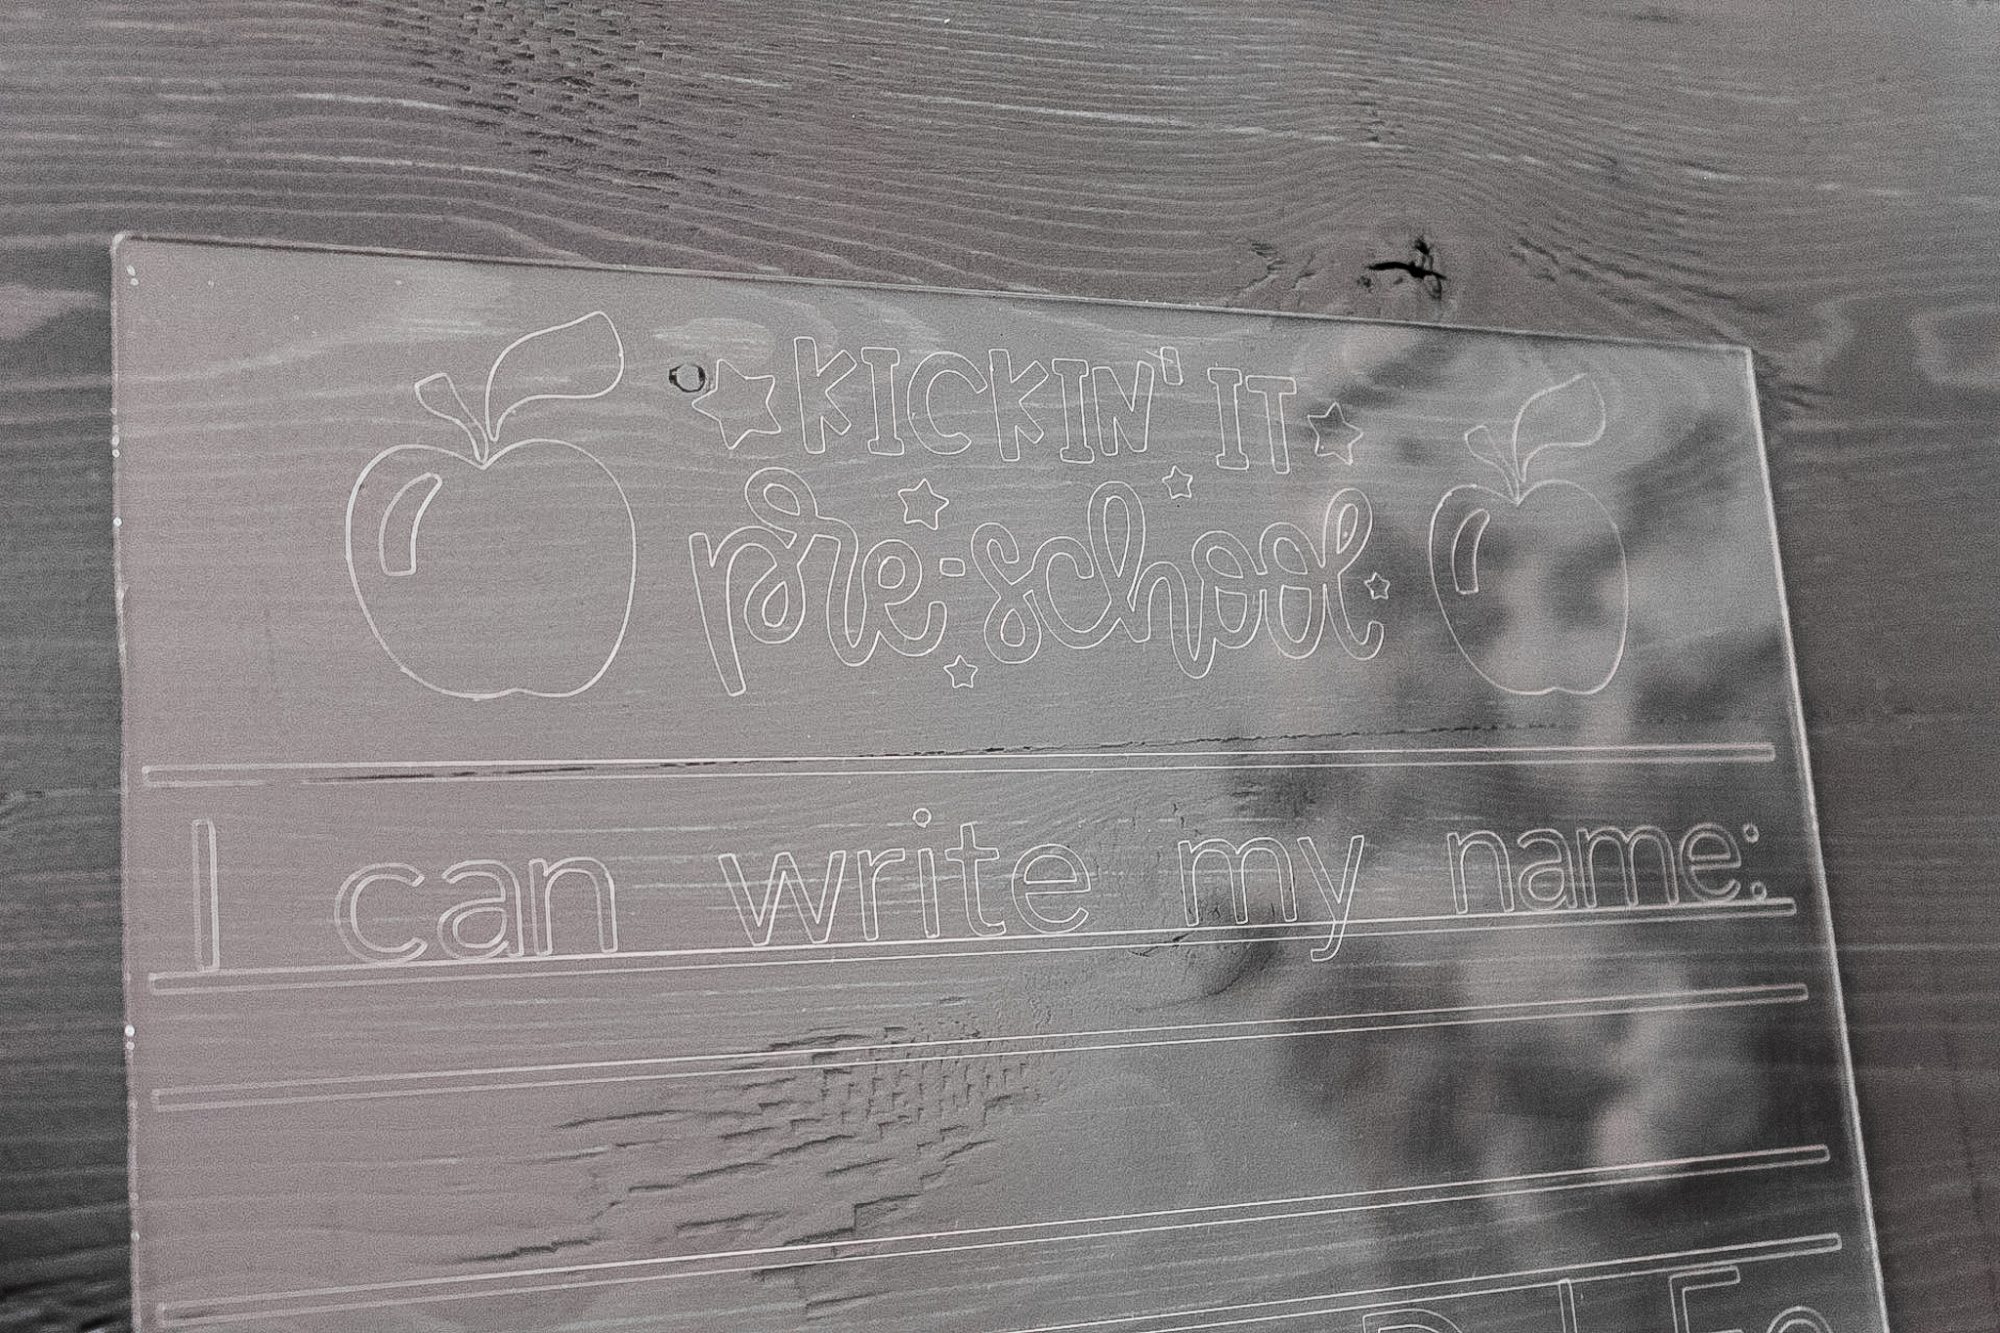
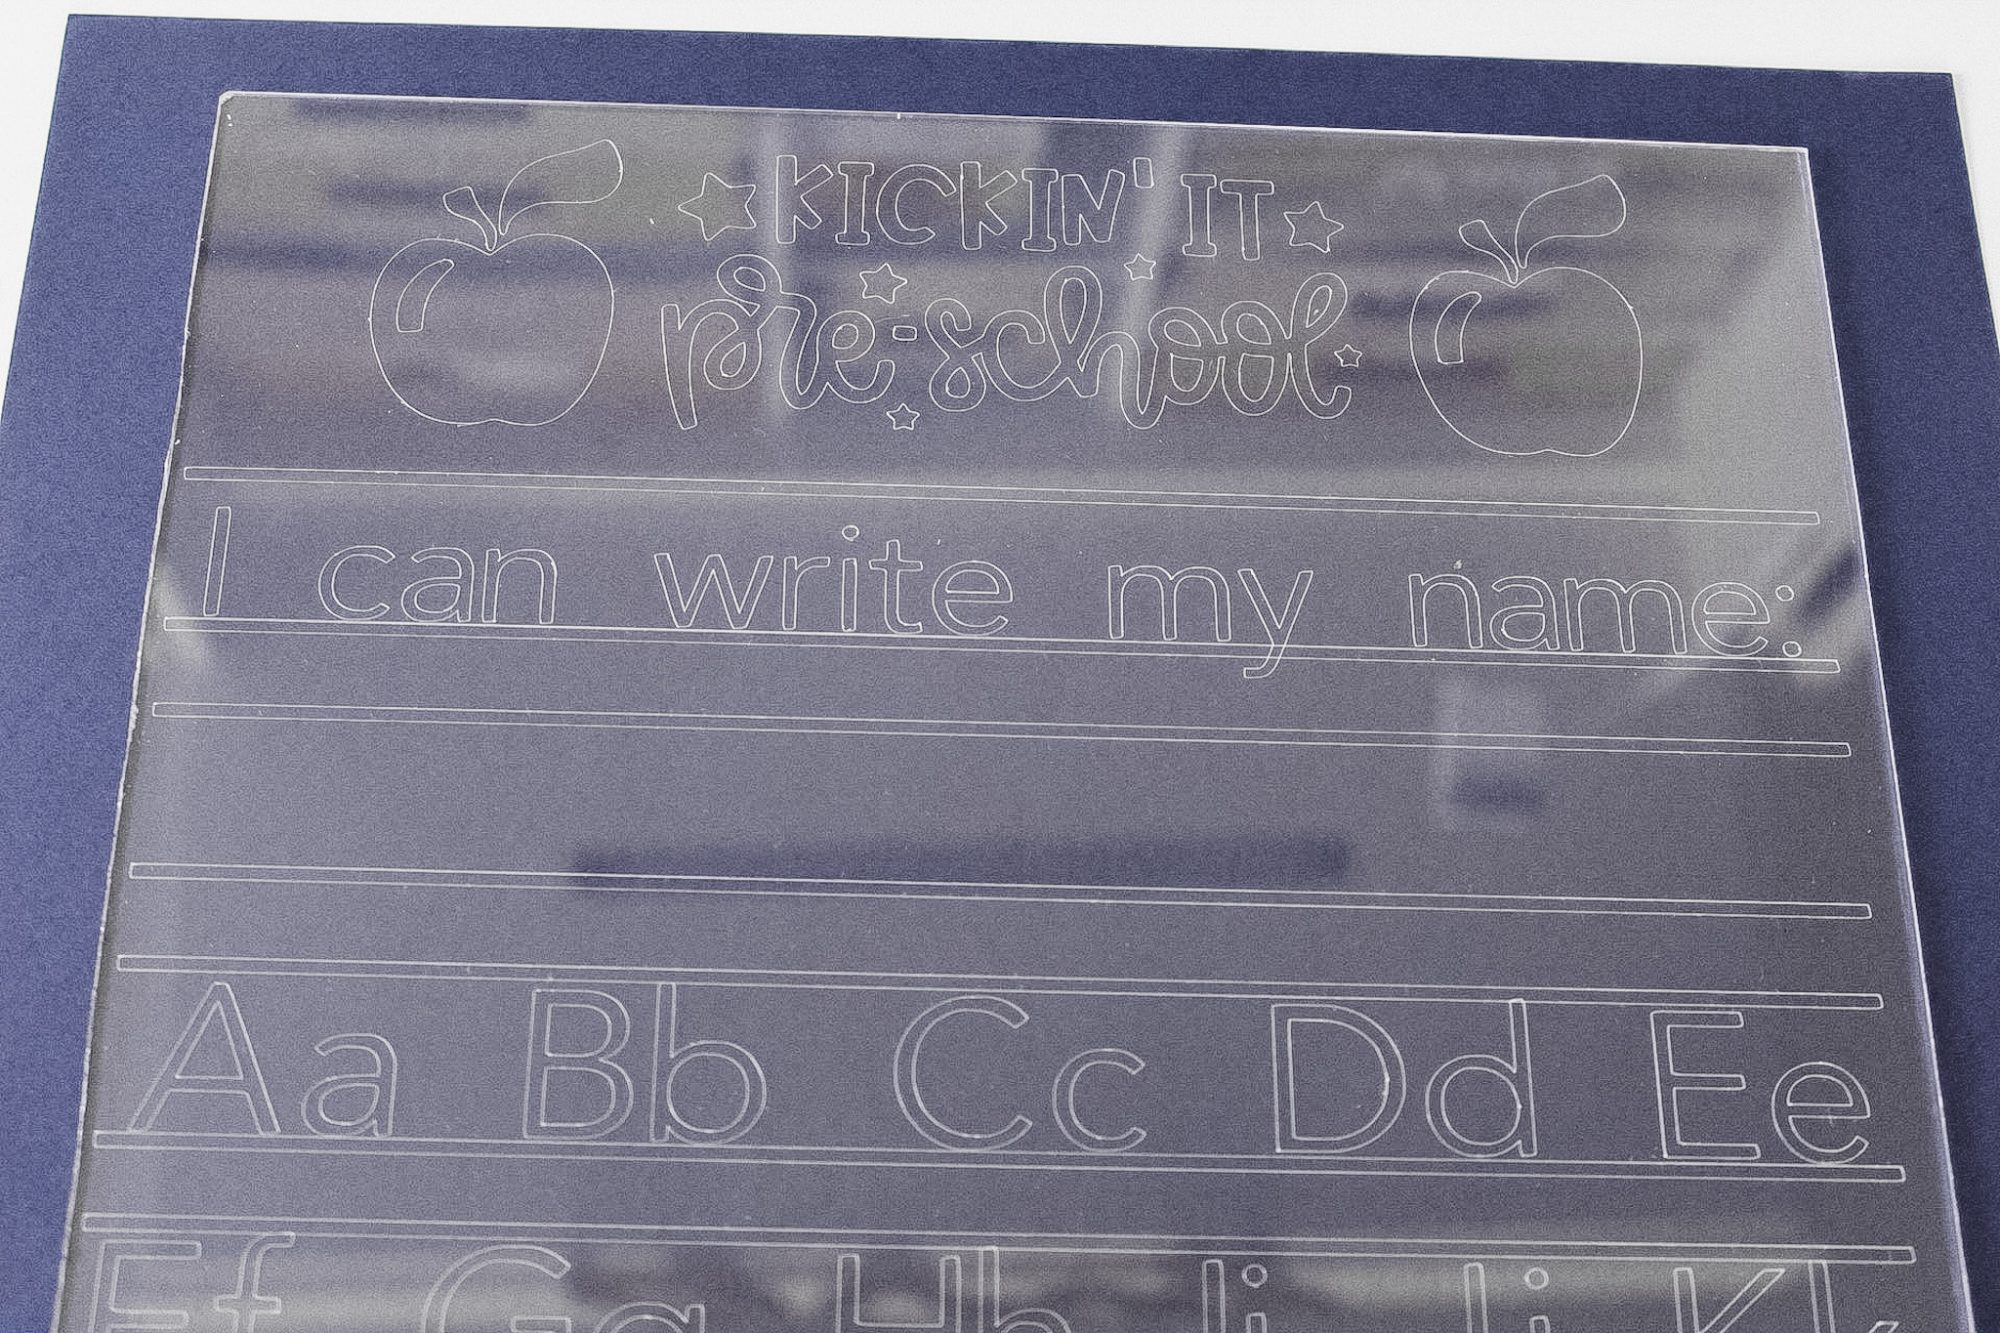
For Jaxson’s acrylic writing sheet, I chose to put a cute Preschool design at the top – Cricut access has a ton of designs you can use!
Engraving Settings on Acrylic For Cricut Explore Air 2
I tried a test cut on a piece of random acrylic to ensure my cutting settings were accurate – highly suggest you do a test cut as well!
I turned the dial on my Cricut machine to ‘Custom‘, and selected ‘Wood Veneer’ as the custom material setting, with ‘More Pressure‘ selected because I was working with a piece of acrylic that was 0.080″ thick.
Before cutting, I decided to Mirror my design so Jax could write and erase freely without worrying about the different grooves for the letters and shapes. This is a personal preference, so you can do this if it suits you.
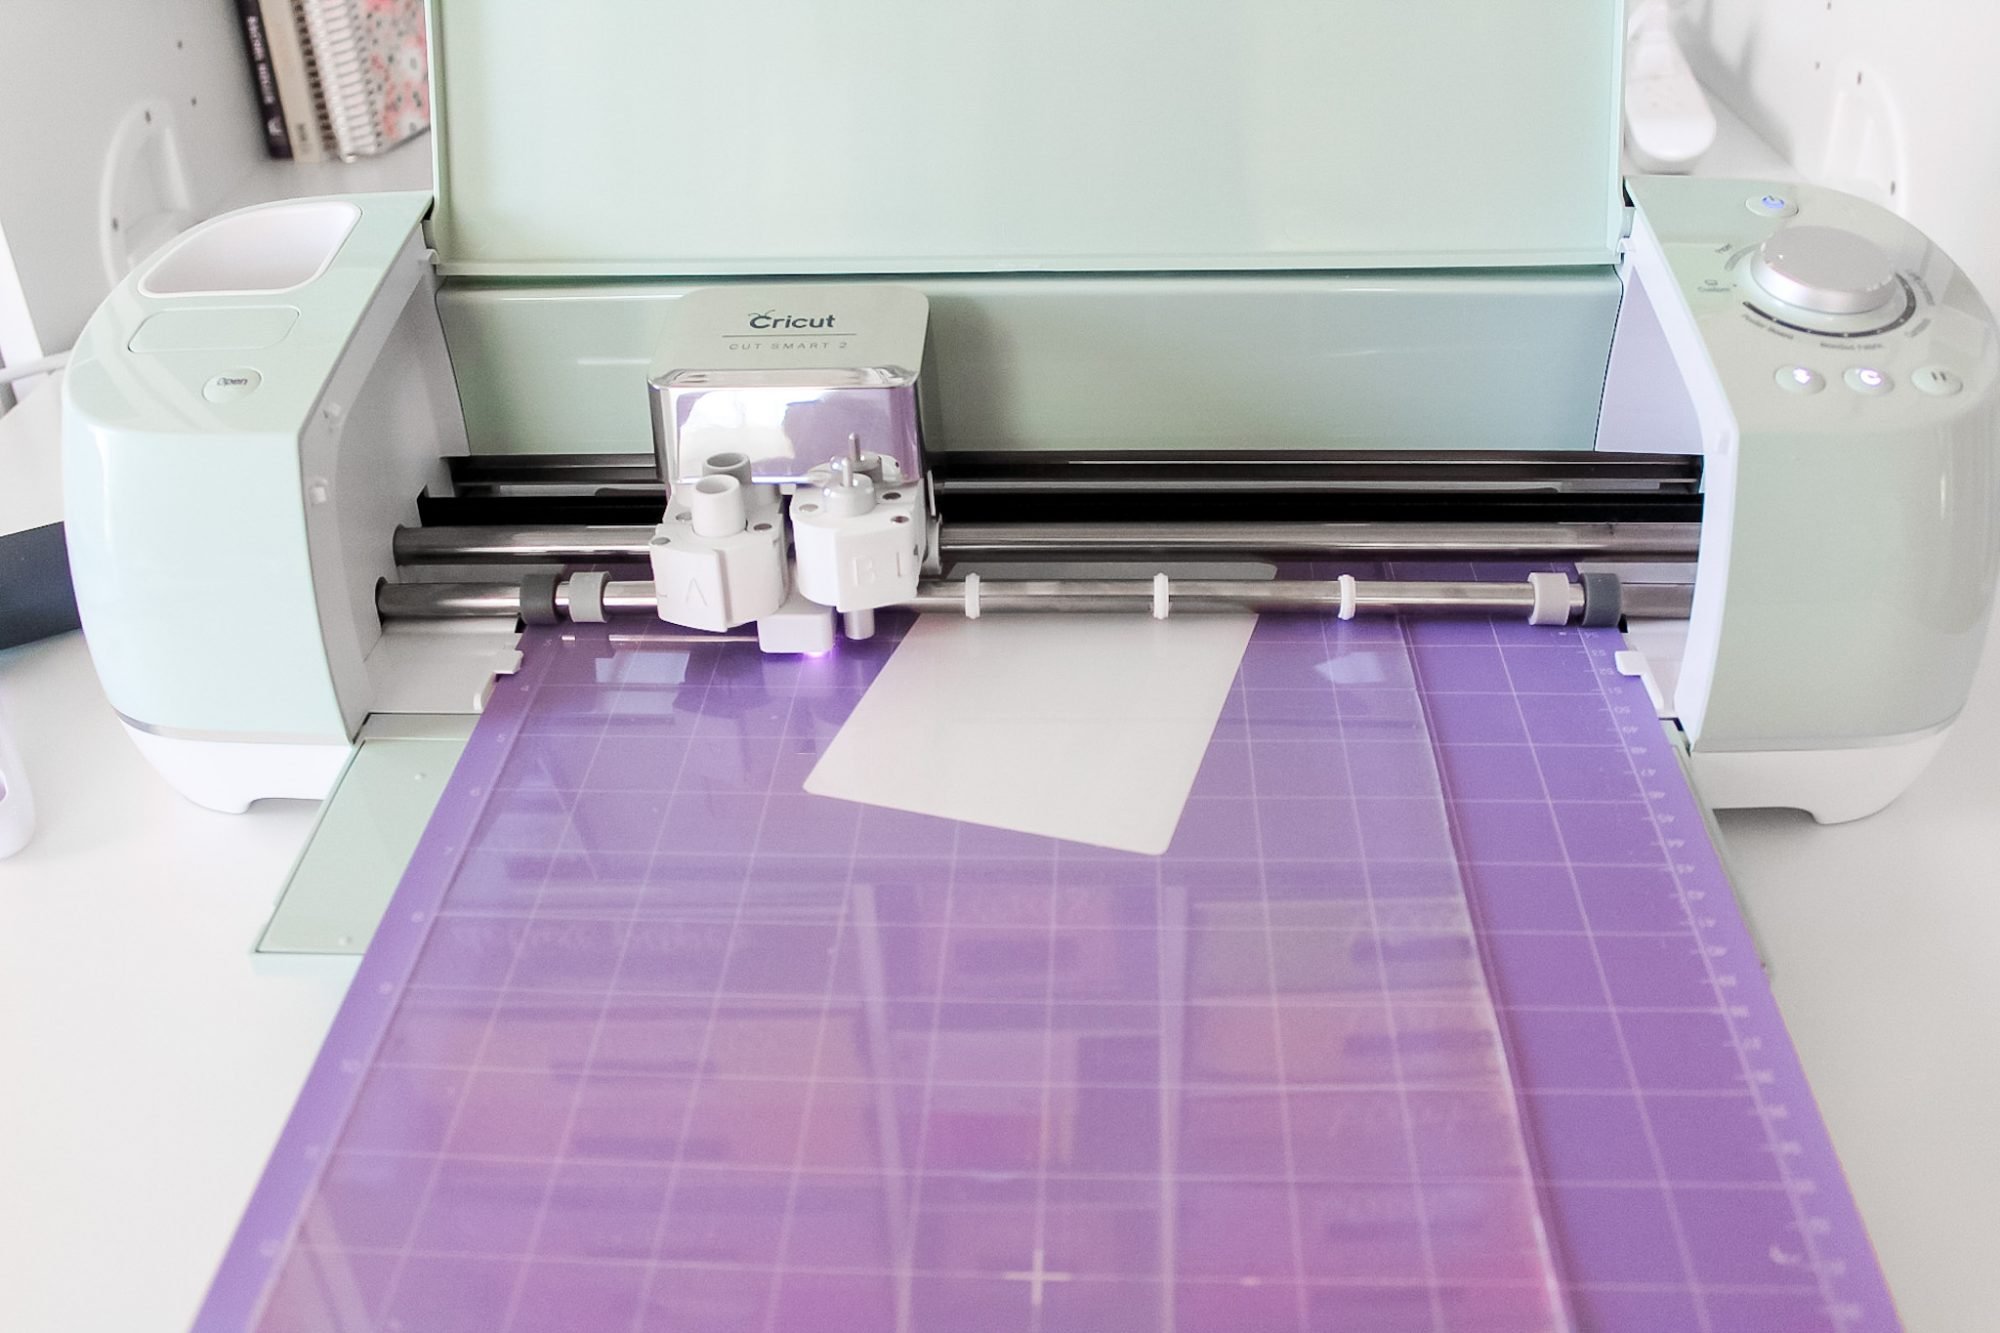
I laid the acrylic sheet on top of a StrongGrip mat with the ‘front’ facing down onto the mat and still protected by its plastic covering, and pressed it firmly to the mat with a brayer.
Leaving the protective plastic covering on the acrylic sheet before applying it to the mat will ensure you won’t have any sticky residue to clean off from the mat.
You can also secure the four edges to the mat using painter’s tape if you wish.
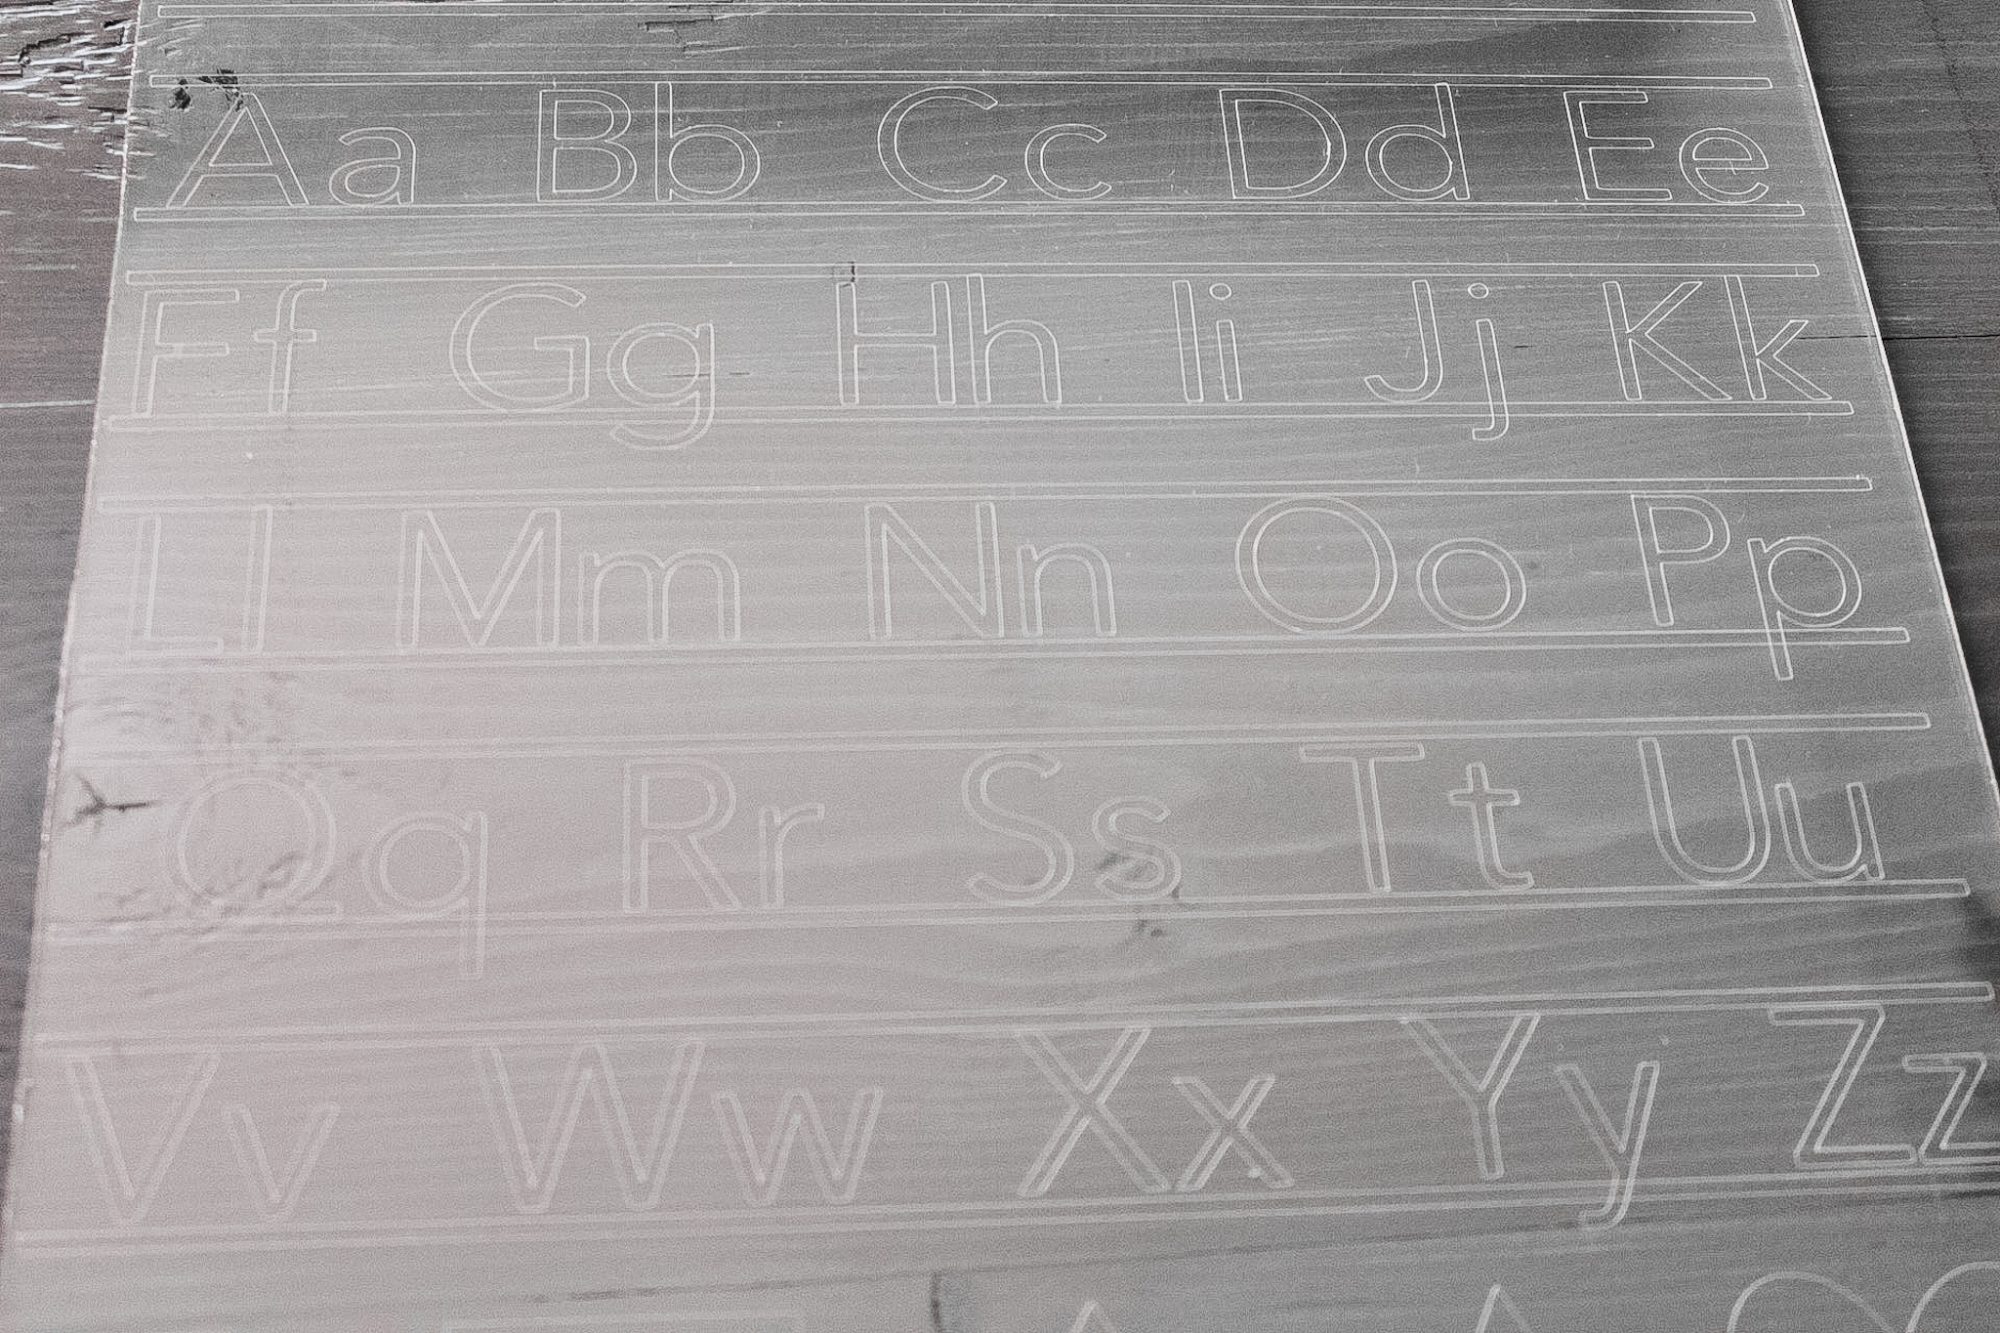
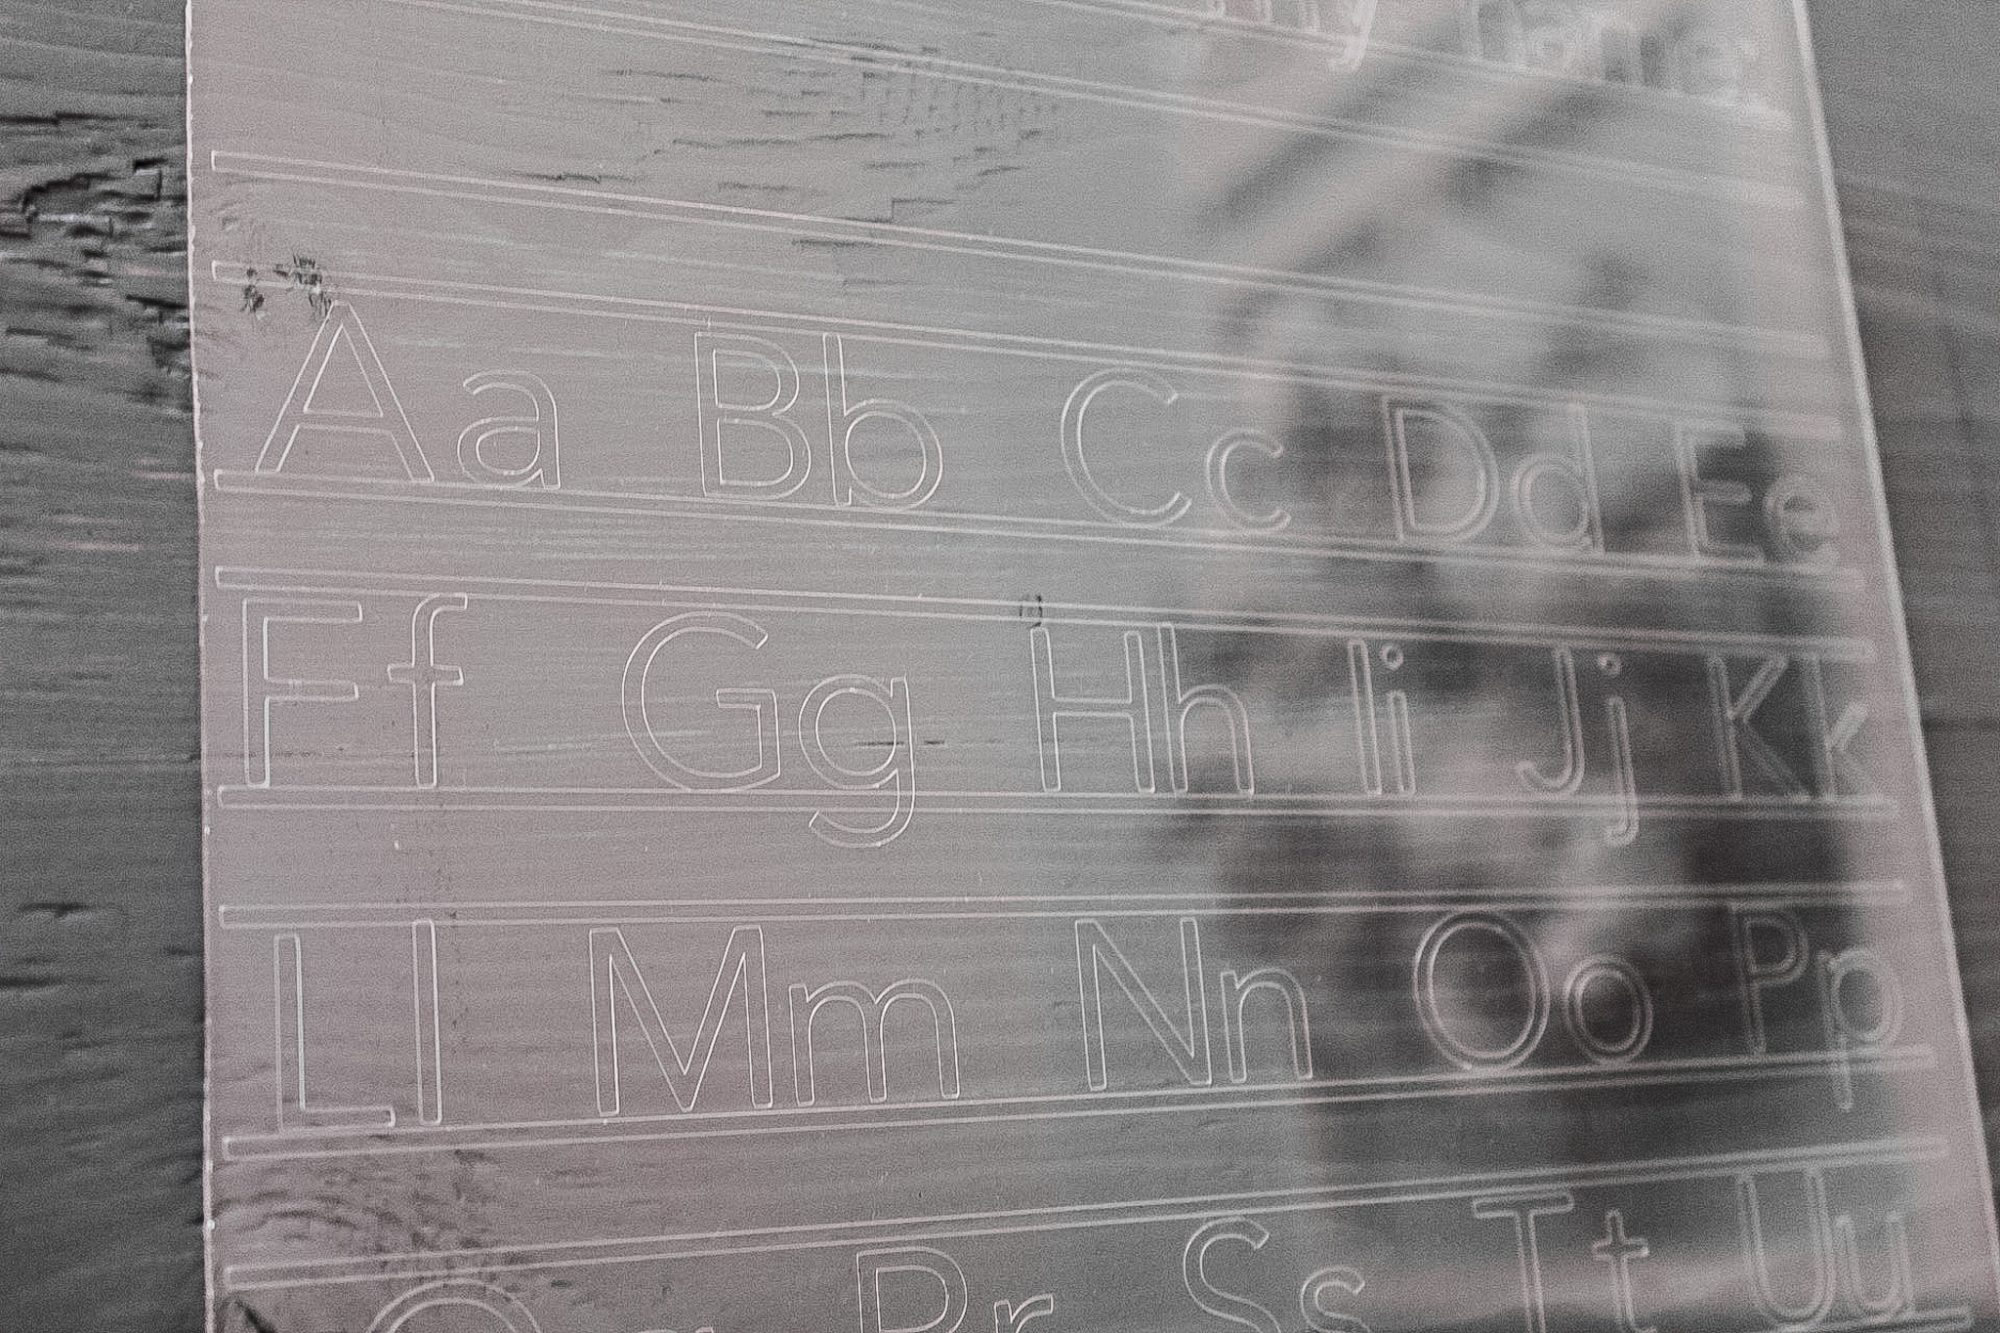
For each letter or shape, the Cricut will execute the cut FOUR TIMES.
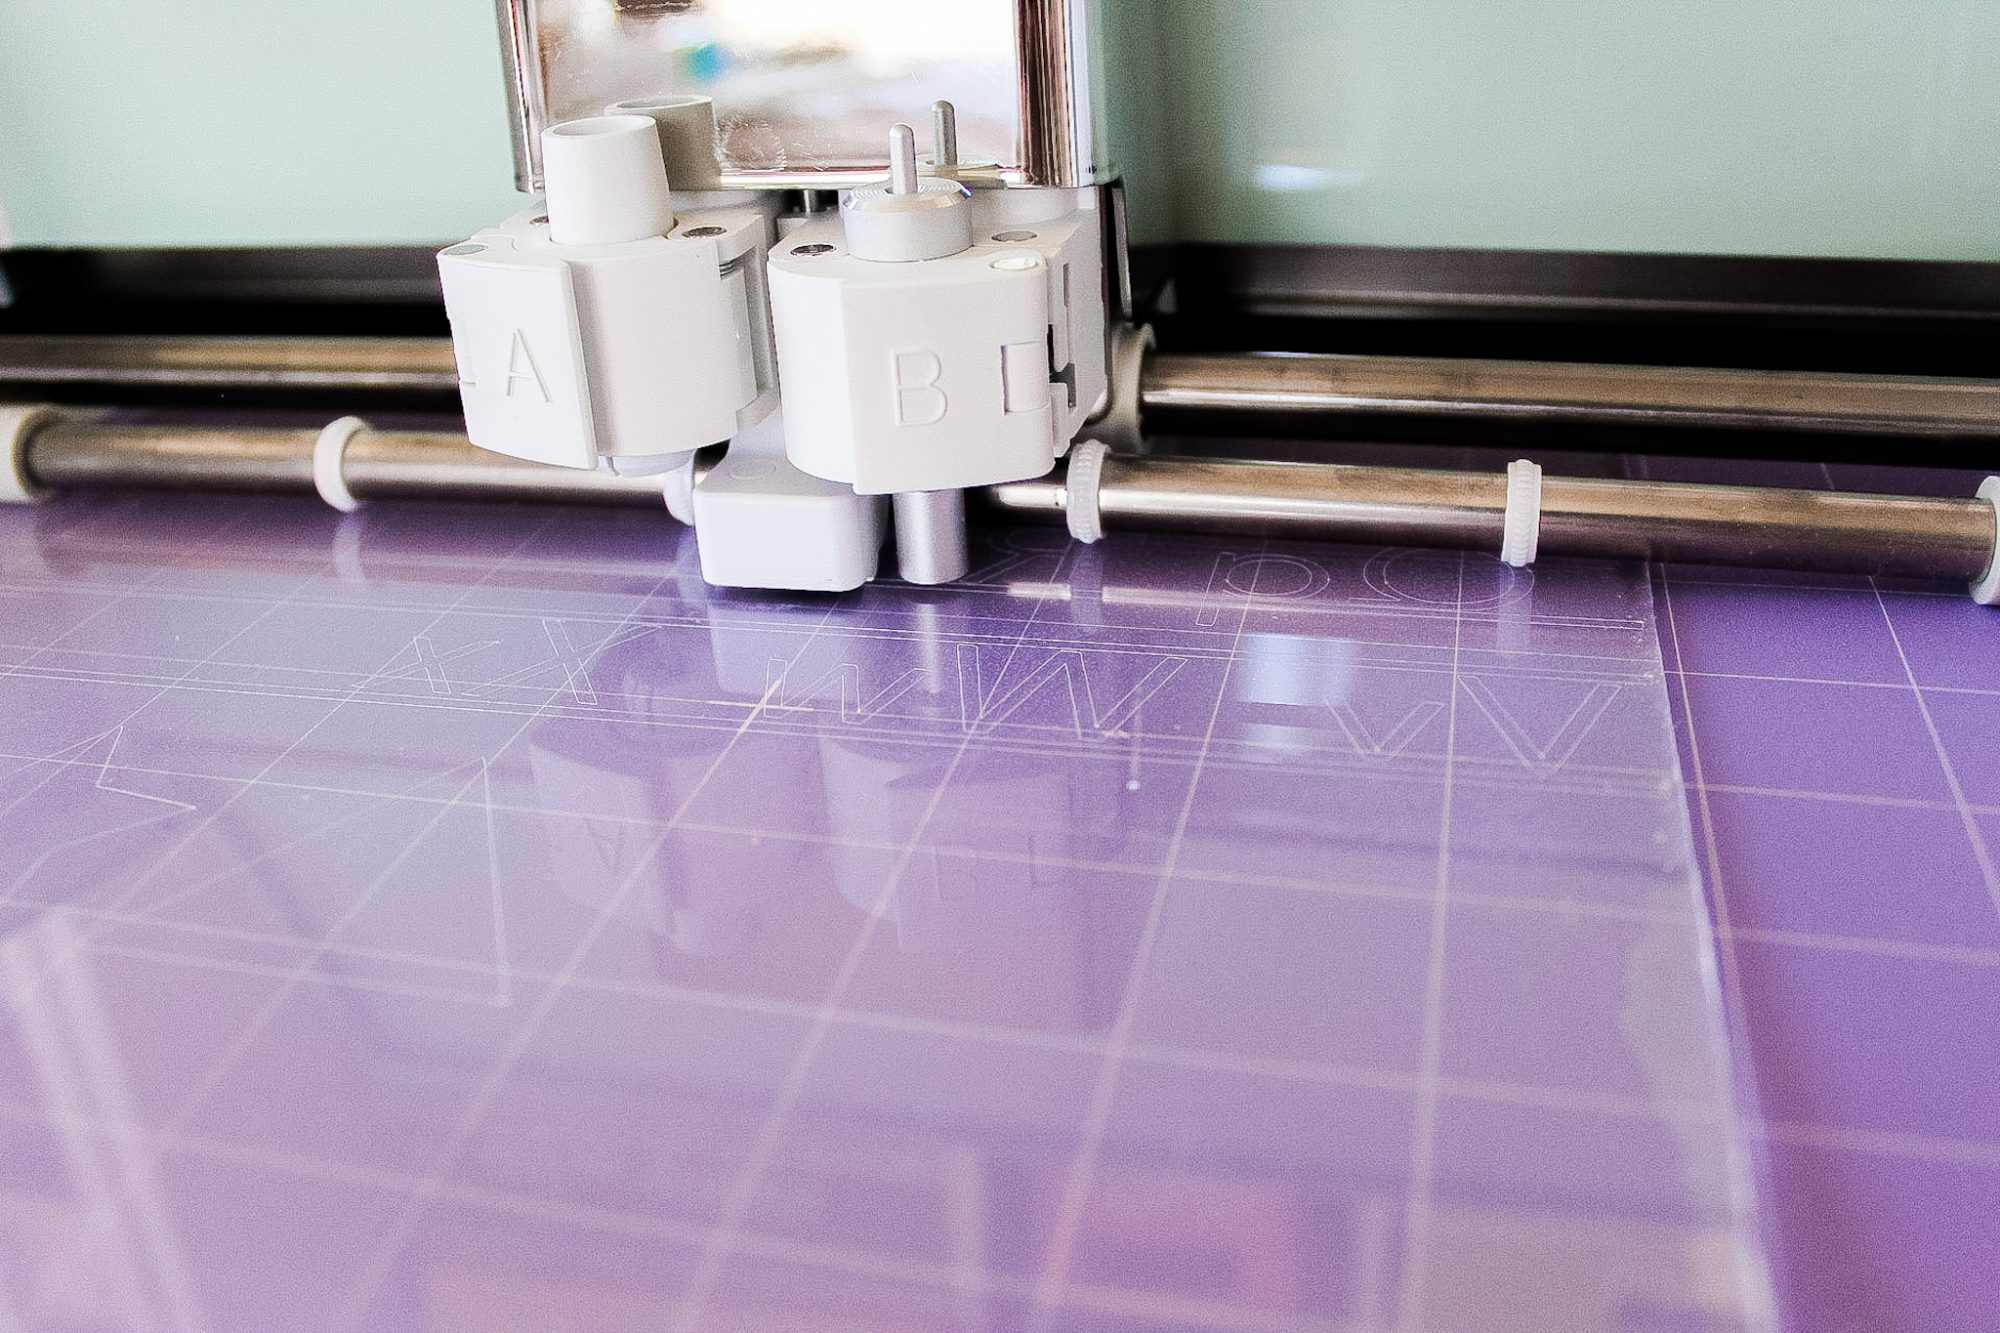
That means the Cricut will outline each letter four times.
As the machine is cutting (here is where the babysitting comes in), you’ll need to WATCH it cut and ensure that the front edge of the acrylic sheet doesn’t lift up off the mat and butt into the housings.
This will jam your Cricut machine.
You can simply lift the end of the Cricut mat closest to you UP to ensure the mat and acrylic sheet stays under the housing.
Painter’s tape may help secure the edges more, but babysitting the cut is the best method to ensure a safe and accurate cut.
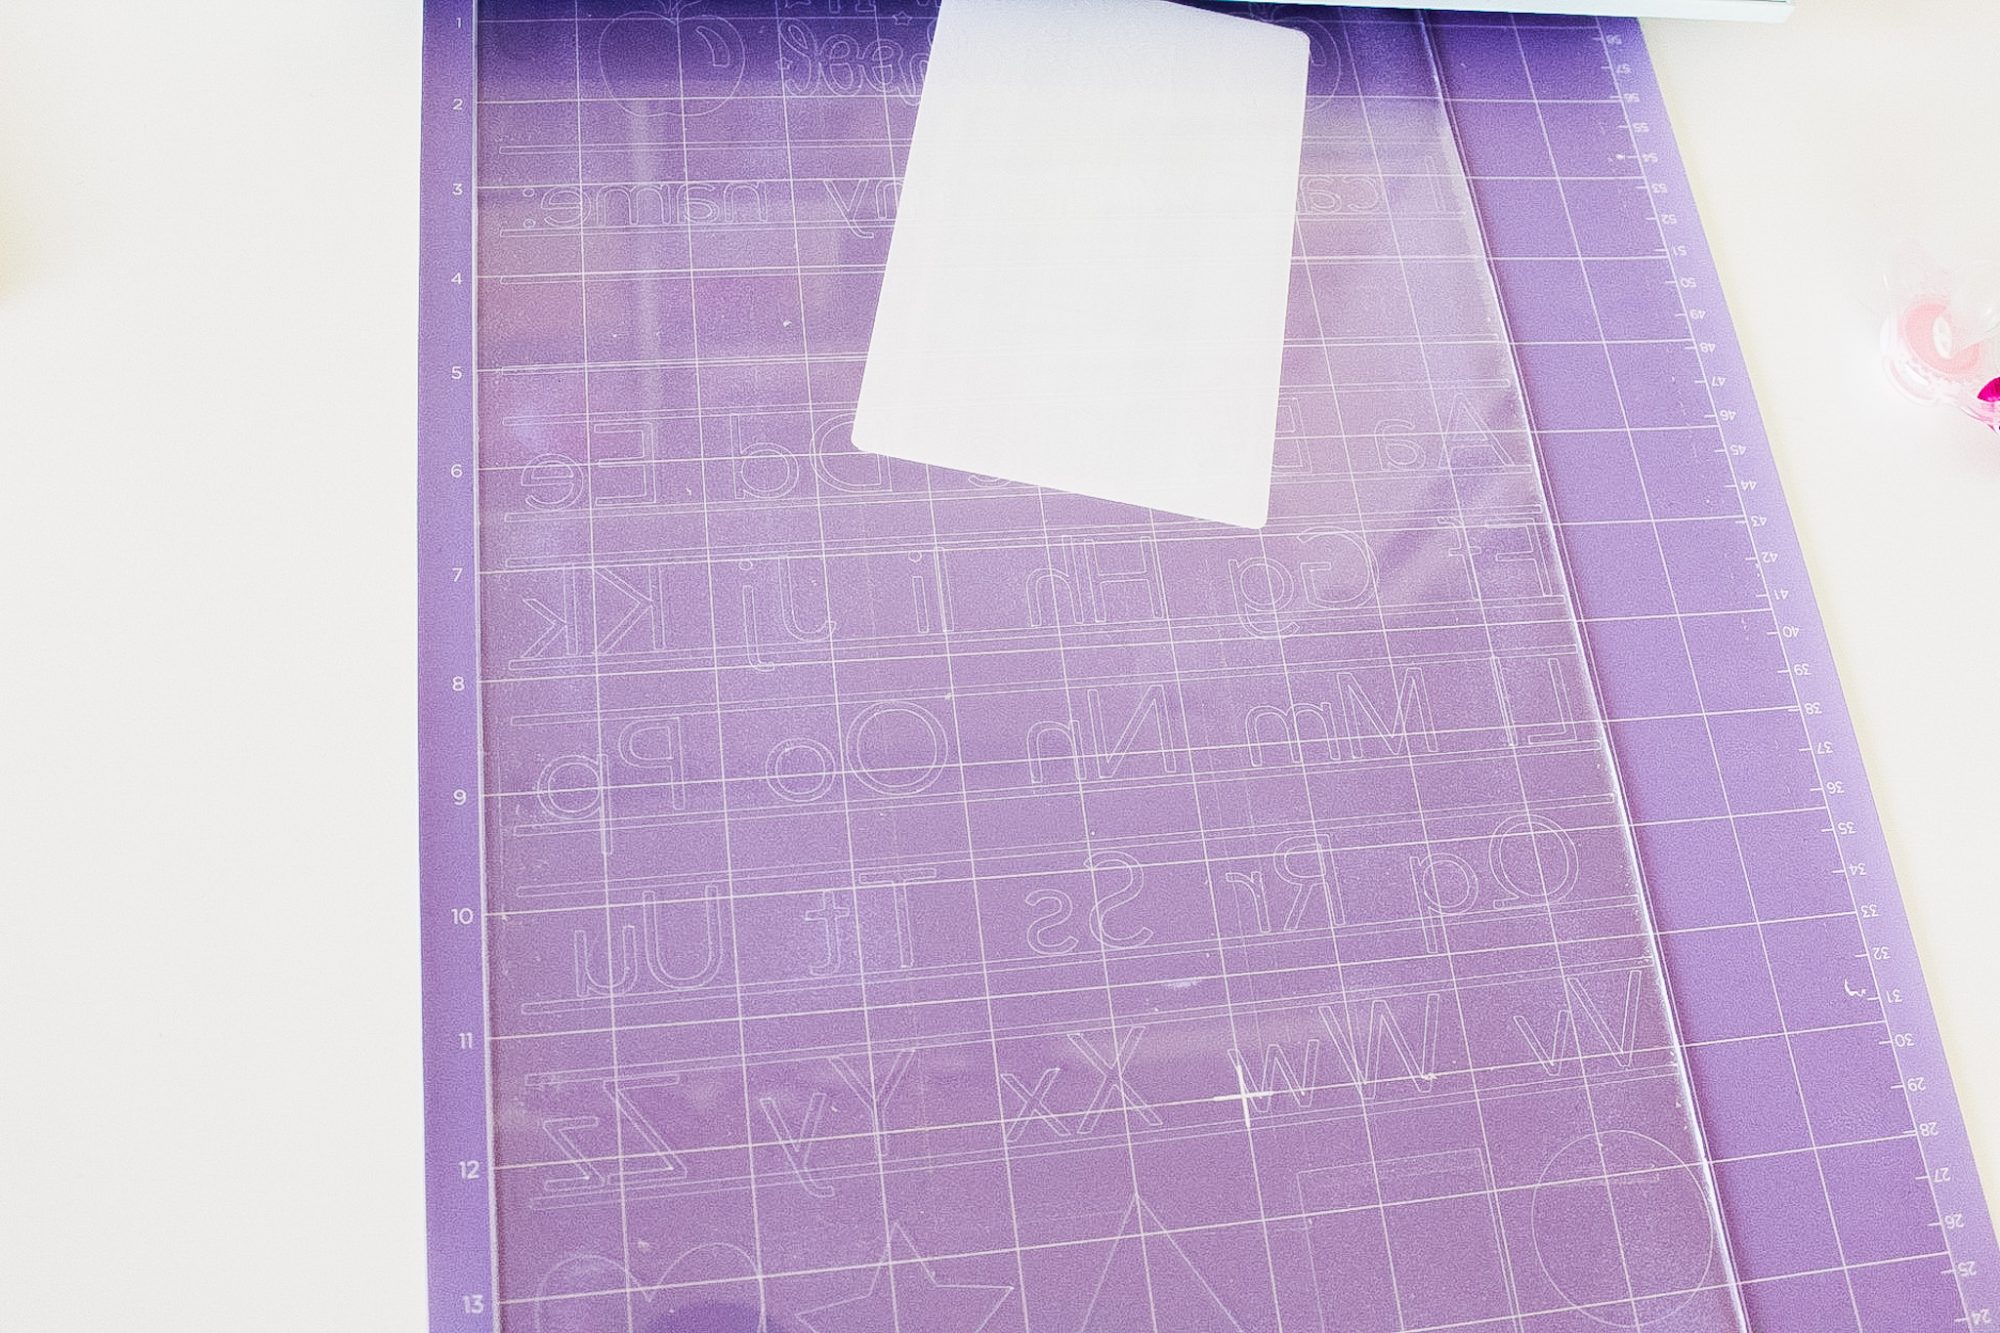
Finished Engraved Acrylic Sheet With Cricut Explore Air 2
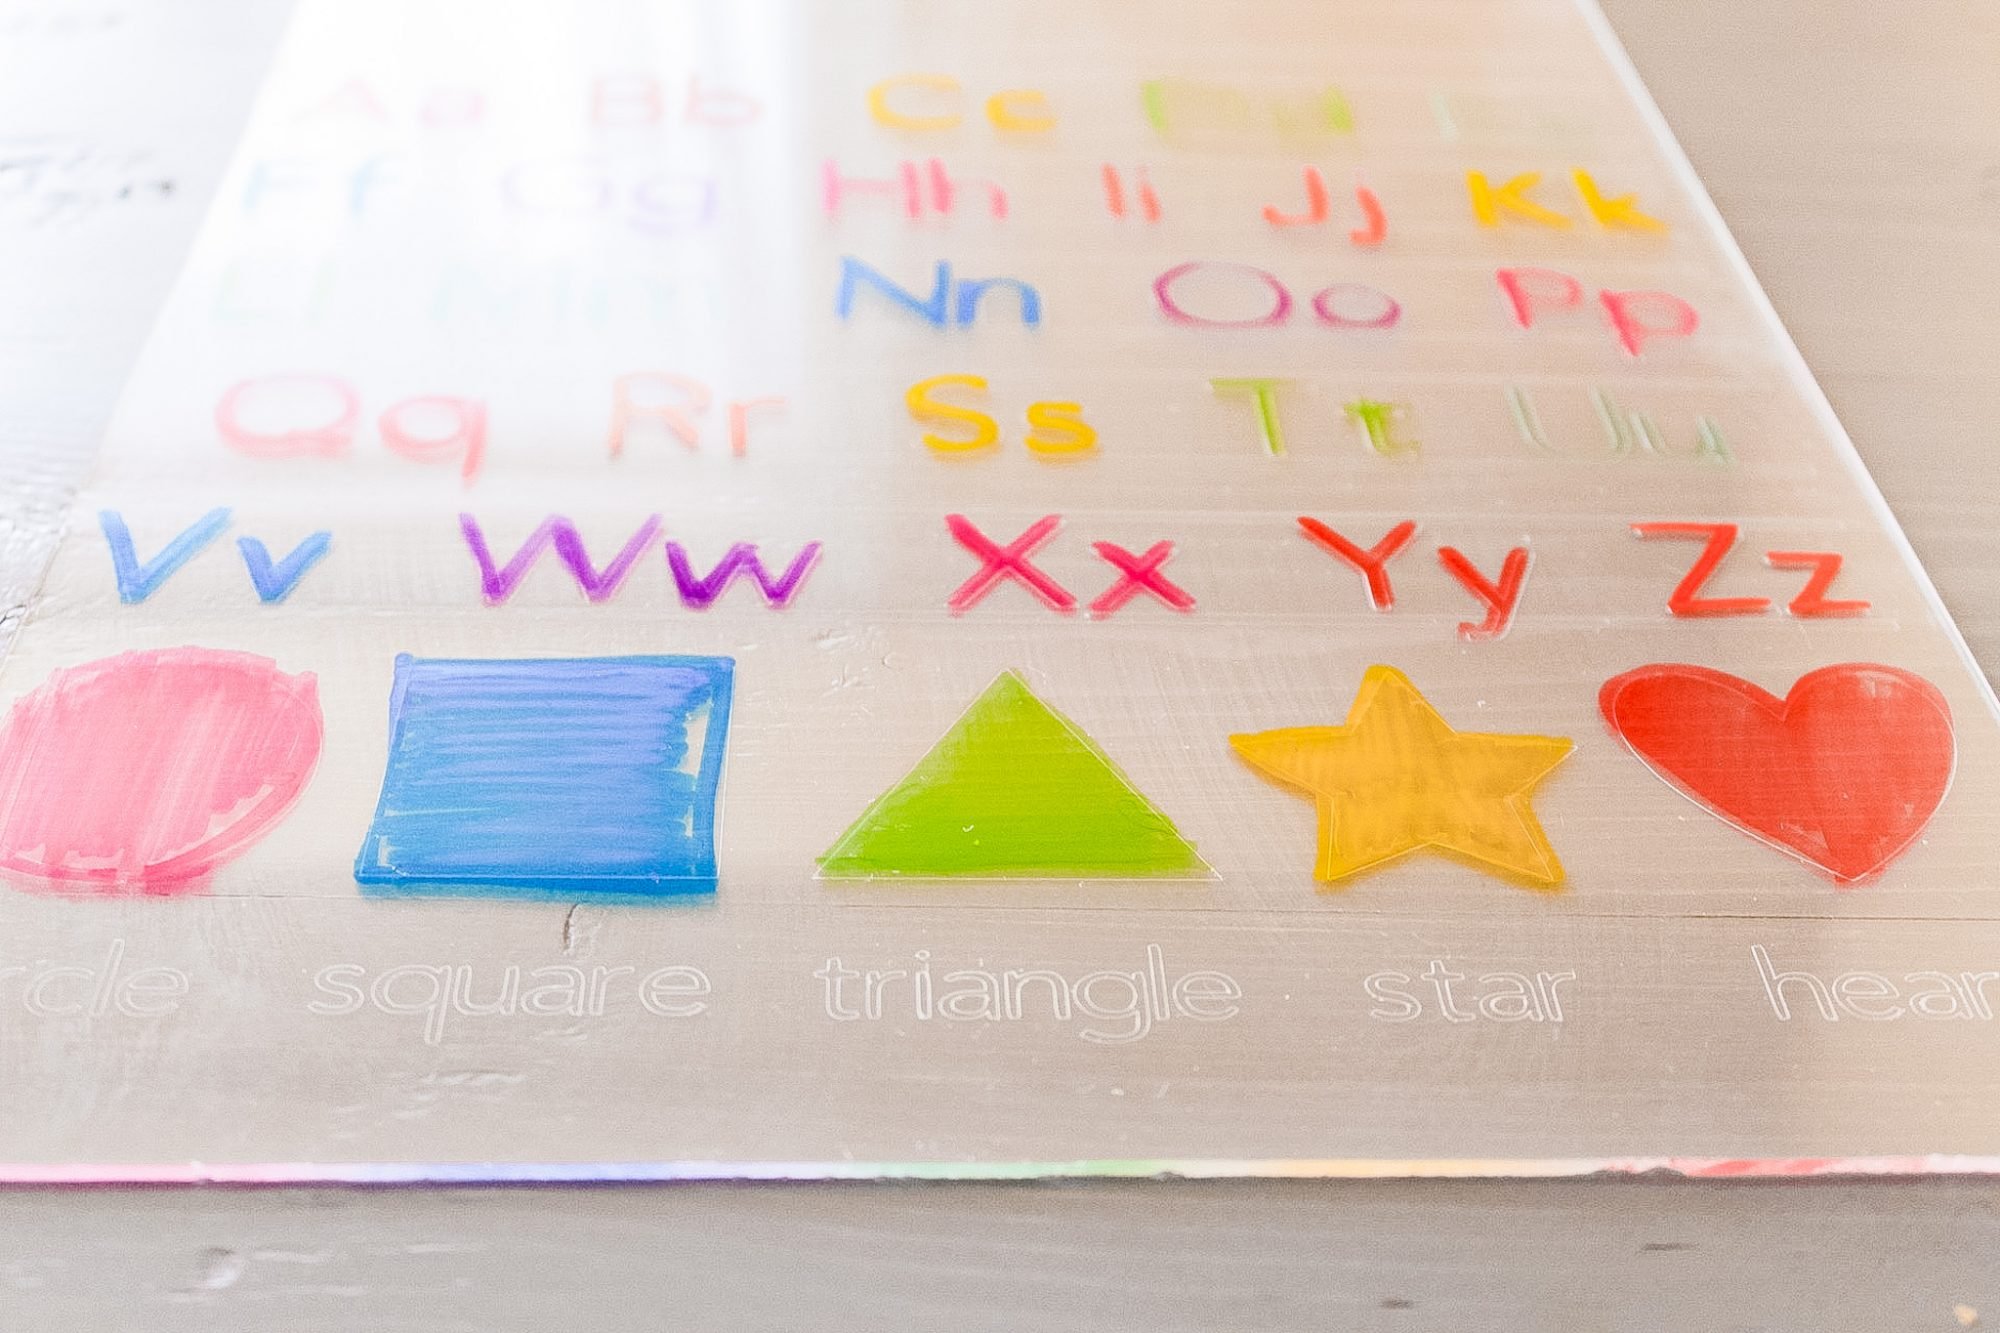
My pictures are a little darker in this post than usual, but that’s because I want you to see the cut design better.
Once your Cricut has engraved your acrylic sheet, feel free to cover the edges in washi tape, foam, or sand them down to eliminate any sharp or rough edges.
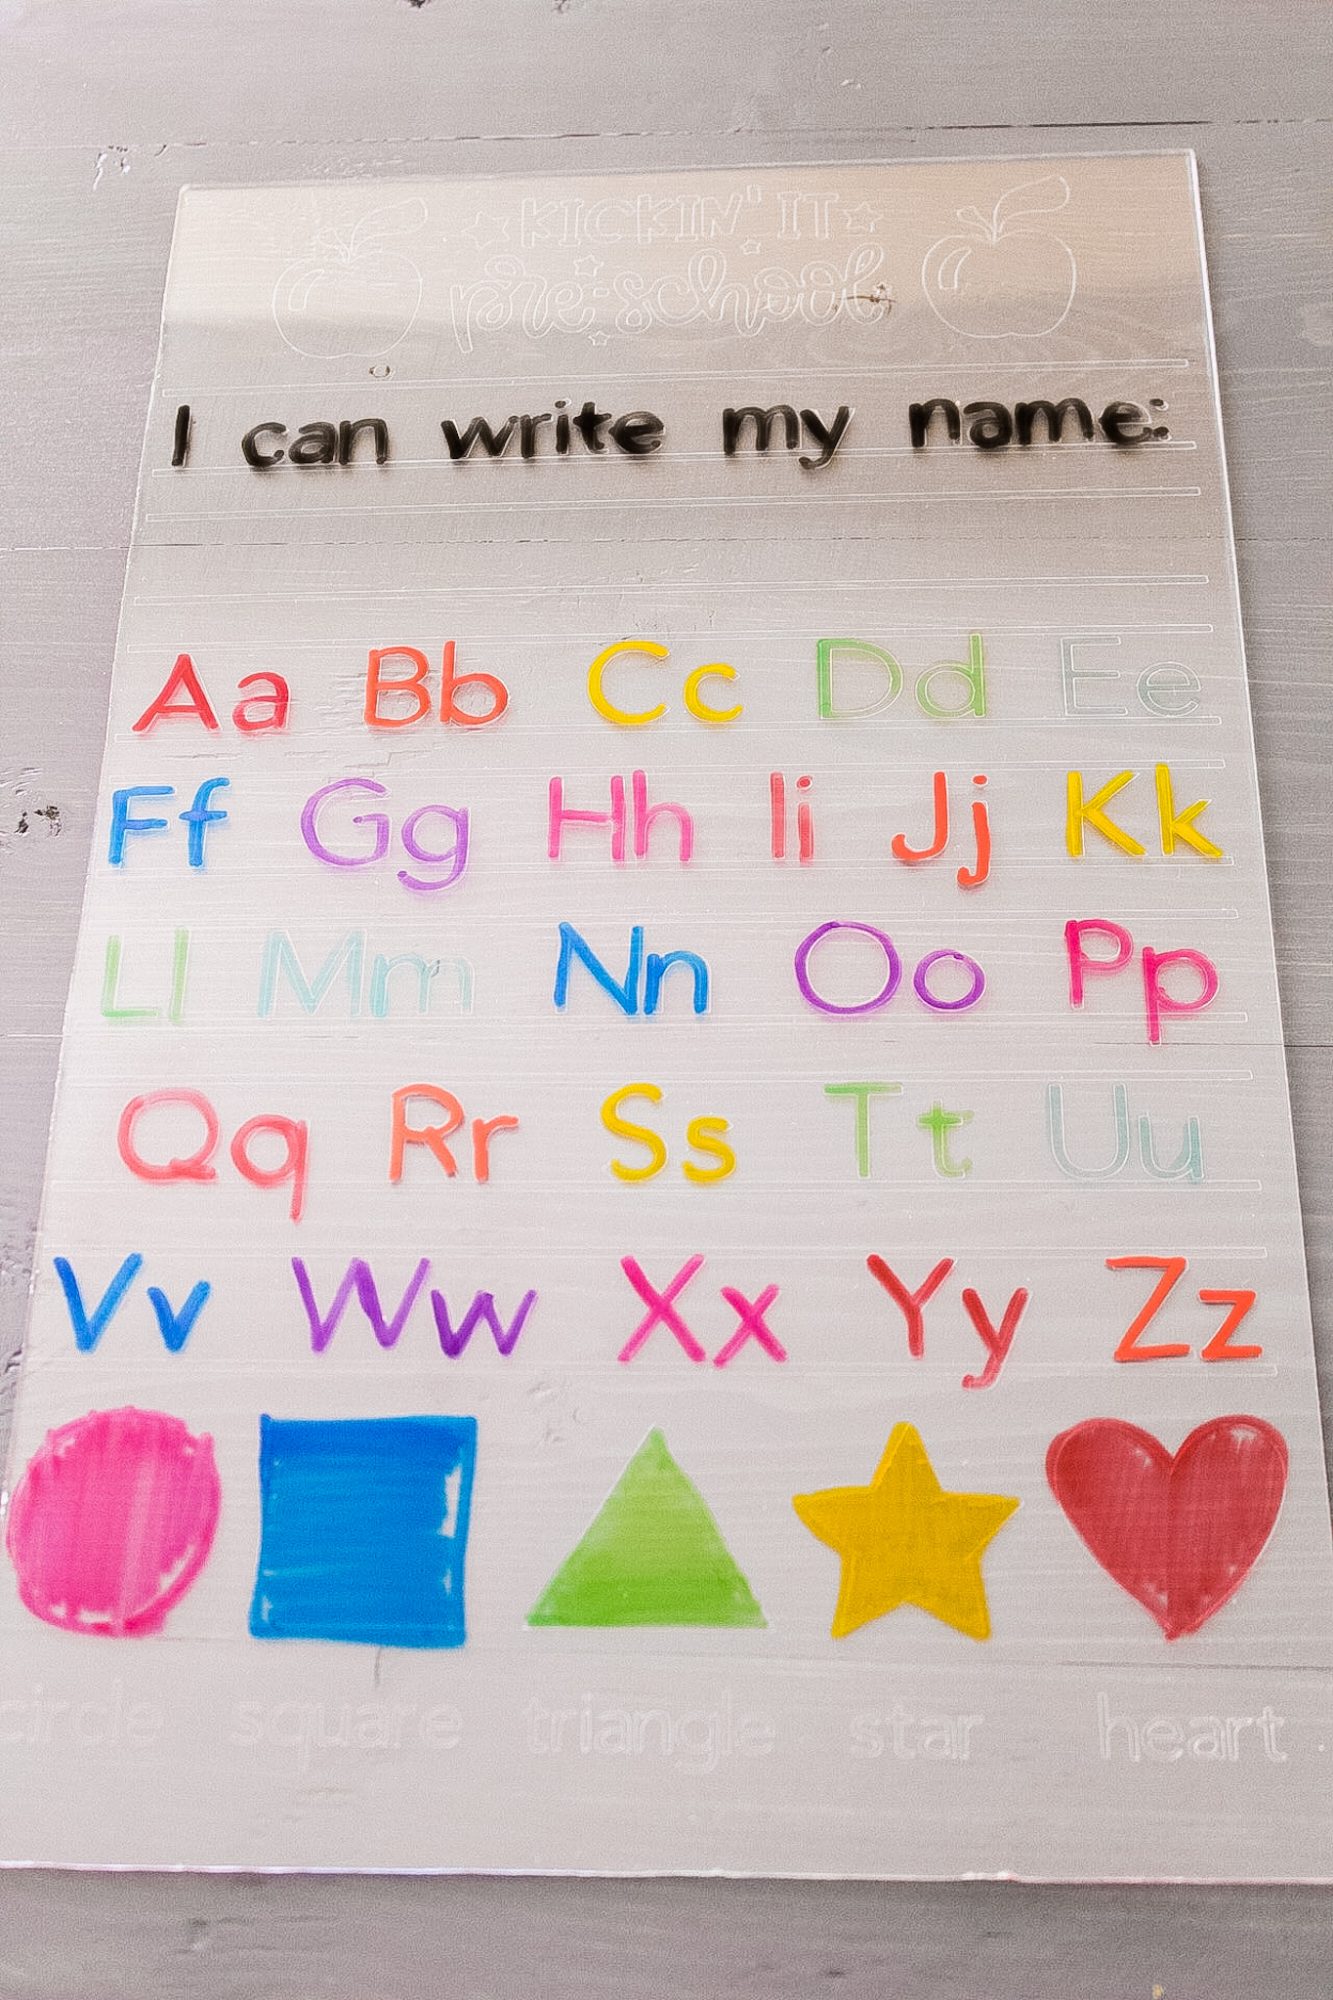
Help your child practice writing their name, the different letters of the alphabet, and basic shapes they’ll need to know for Kindergarten.
You May Also Like: Easy DIY $25 Acrylic Calendar
And here’s what it looks like with a colored piece of paper behind it so you can see the cut letters even better…
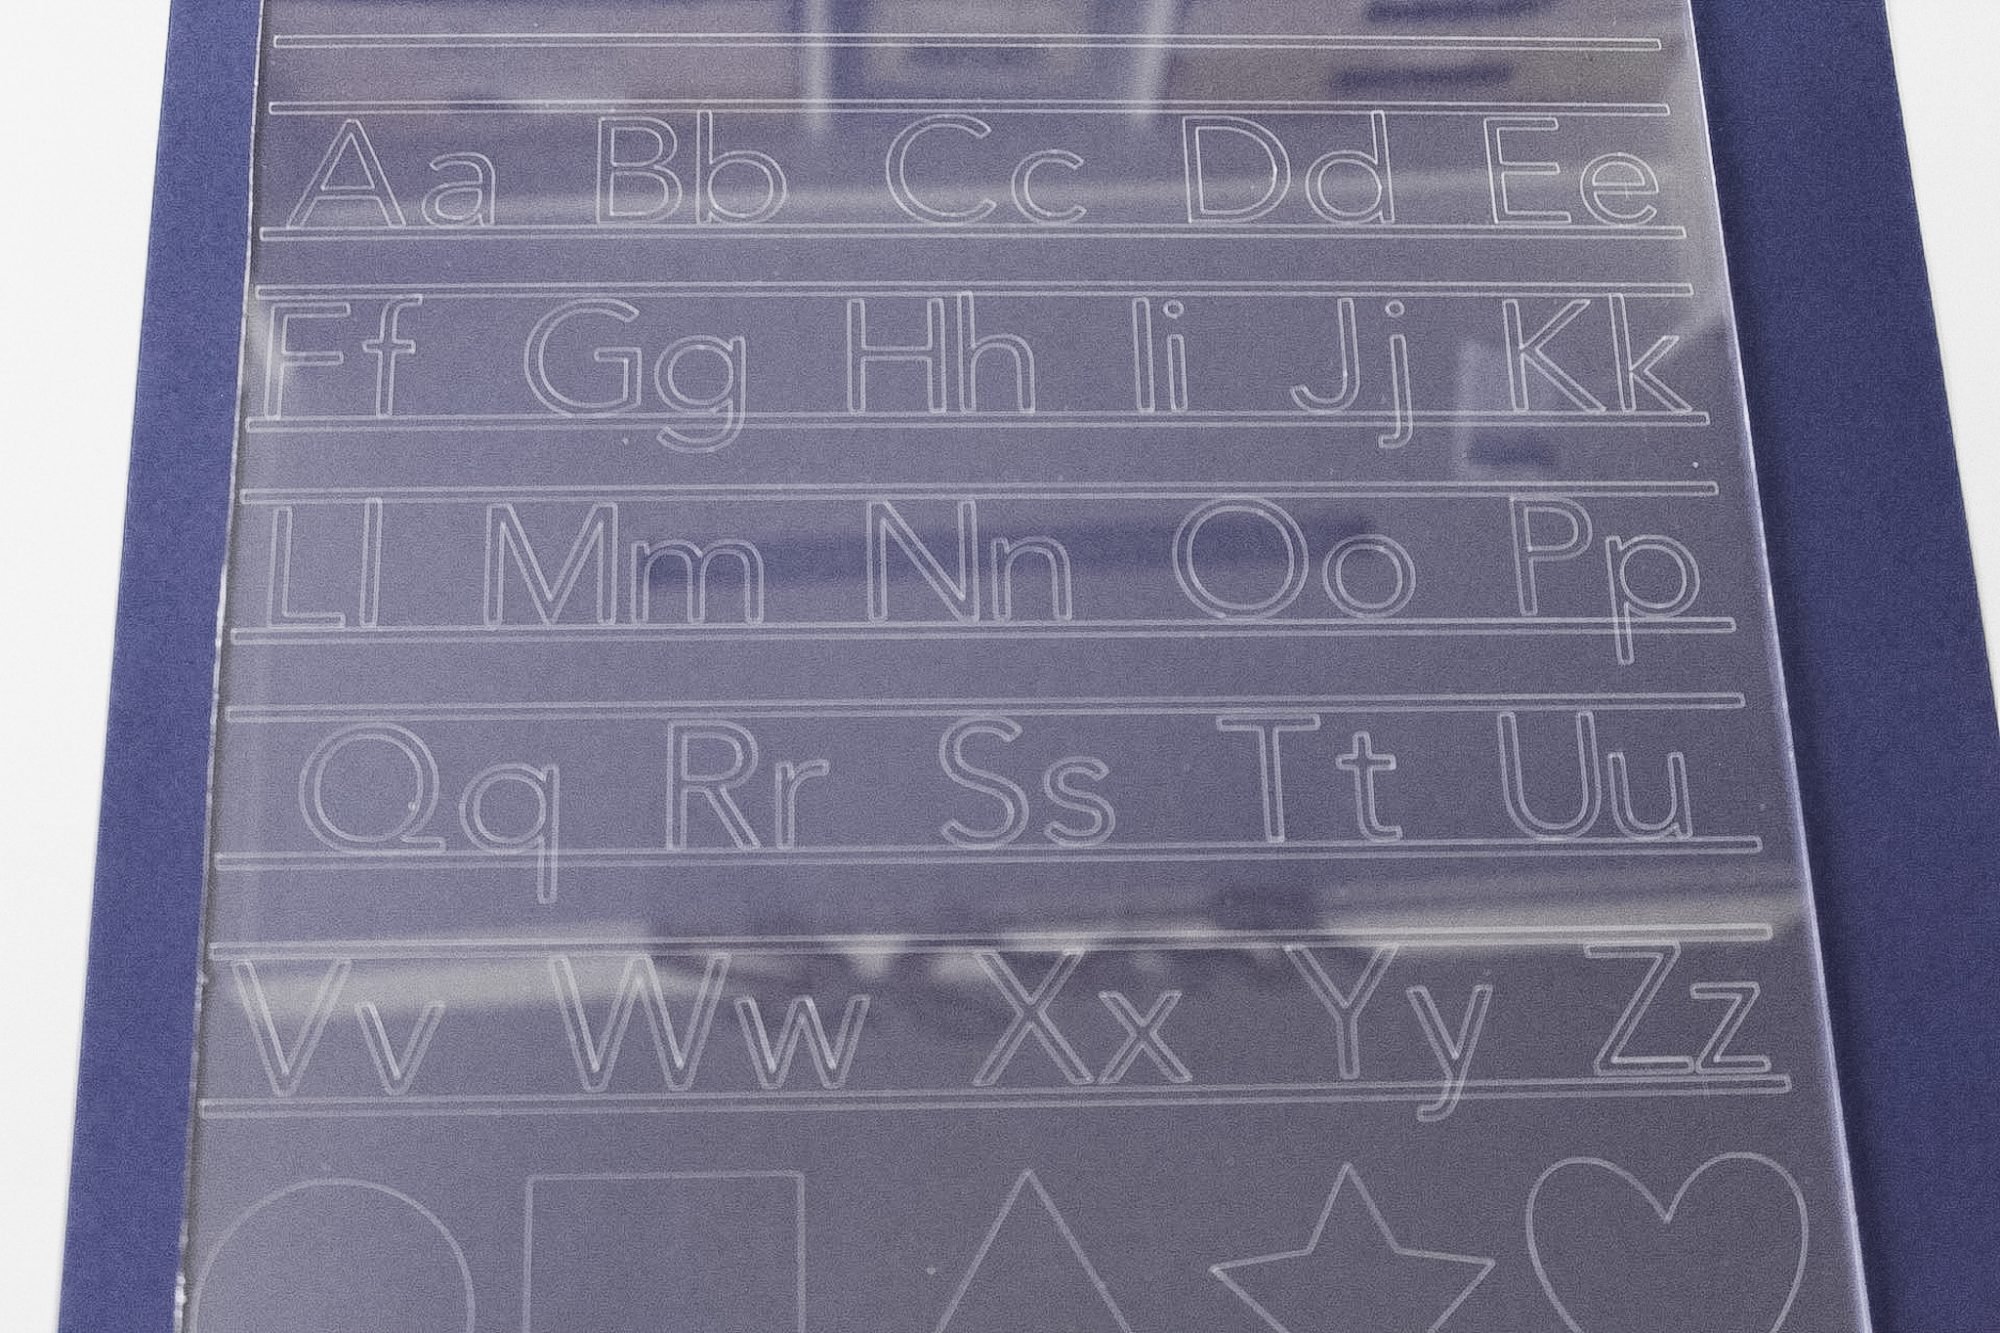
As I mentioned at the beginning of this post, you’ll now need to re-calibrate your machine – you can read more about that in this post.
Thanks so much for reading – what other Cricut Hack posts would you like to see? Let me know in the comments below!
Also, feel free to tag me on Instagram (@slayathomemother) so I can see your finished creation.
*Post originally published July 2020, updated January 2023.

Hey, I’m hoping to try this out within the next week, but my acrylic is 3mm thick, so I’m.not sure if it will work.
Also, did you just use the regular fine tip blade? Thanks!
Hi! My acrylic was only about 2mm thick, and yes I used the fine point blade for this project. 🙂
Hi Kylee, I want to try 3mm acrylic tomorrow and was wondering how it went with your project.
Thanks!!
Thank you for writing this! I have been trying to find a hack you and gave me hope! I bought the chomos blade and am now returning without even giving it a try. I attempted your hack and it worked on my acrylic rounds. I used the light chipboard setting and it worked just fine. Thanks again!
I’v e been searching for Acrylic blanks for a week now, never thinking to try Hone Depot! Thank you, one question though… if I wanted to use my Maker and cut my name into the acrylic, is that possible also? Kind of like name plates for weddings etc
Hi Amanda, no problem! This should also work on the Maker as well! 🙂