Another laser craft DIY loading…make this Valentine’s Day Tiered Tray Decor set, with my free SVG download for my email subscribers!
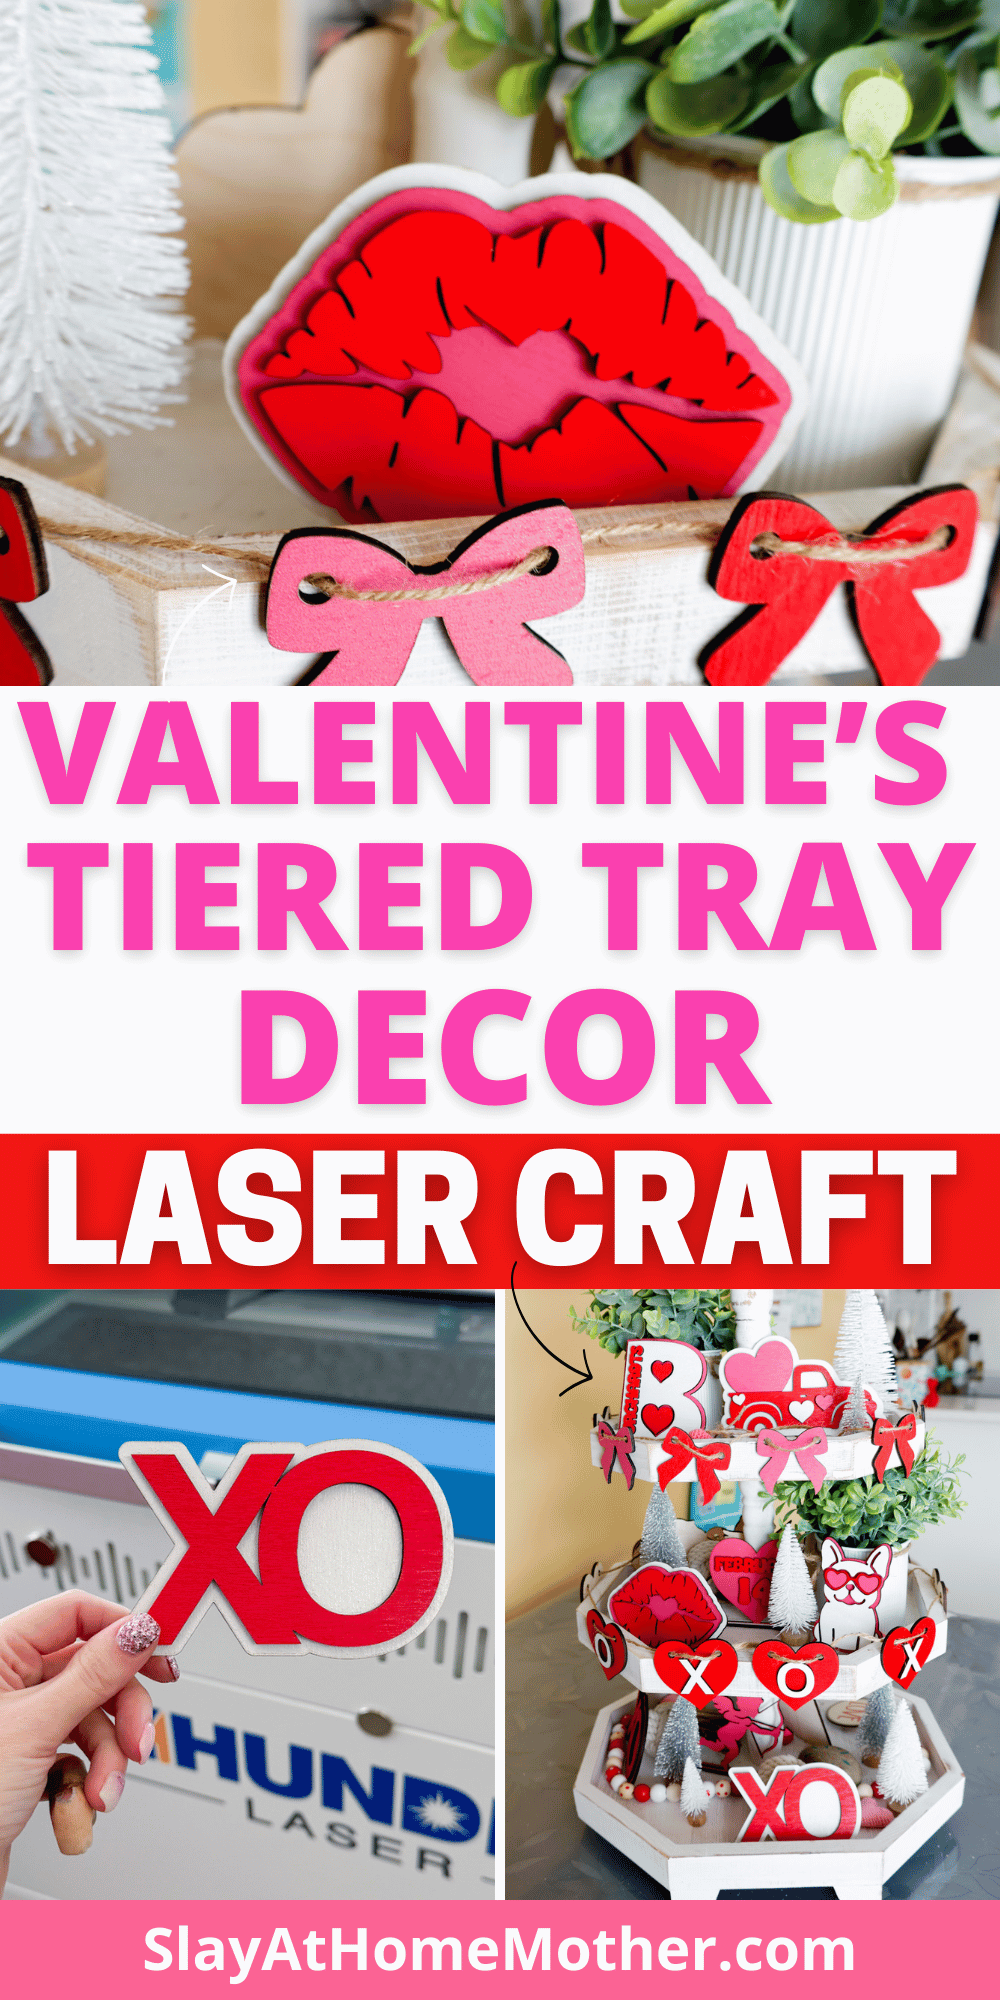
Let’s make this DIY laser cutting project for Valentine’s Day!
One of my favorite holidays is V-Day, partly because I’m married and we always have fun together with the whole family, and partly because my birthday is the day before.
That’s right – I get two days, back to back, of celebrating with my husband and kids.
Honestly, looking back on this project as I write it, I could have totally made myself a little design to add that pointed towards my birthday.
Missed opportunity, ha!
Anyways, I’m excited to share this big project with you (and a free SVG) to help you pump these designs out on your laser machine too.
Laser cutting and engraving has become a true love of mine, so I enjoy being able to share files and how-tos with you (and always have, even in my Cricut crafting days), to help you make the most of your machine and its capabilities.
Especially my laser newbies who don’t want or need to be spending hundreds of dollars on files just to try things out.
I hope you love and enjoy creating this project as much as I did. Be sure to download your file below, and share it with me when you make it (@slayathomemother)!
This post may contain affiliate links, however, all opinions are my own, as always.
What You’ll Need for this Valentine’s Day Tiered Tray Decor

Here is what I used to create this decor set:
- 3 pieces of 3mm Baltic Birch wood (I pre-painted my wood, but you can always paint afterwards) – one piece for each color, leftover from this other Valentine’s Day laser craft
- laser machine
- SVG file (grab my free SVG download at the bottom of this post!)
- Starbond glue – this one is my favorite for gluing wood to wood or acrylic to wood
- spray or acrylic paint in Red, Pink, and White (here are the exact colors I used for this project)
- twine or ribbon
- clamps or magnets to help secure wood to each other
- tiered tray (if you don’t already have one)
- double sided sticky dots
A lot of these designs feature two layers of 1/8″ wood glued together, some feature elements added in a third layer.
My Laser Machine
In this project, I’m utilizing the Nova Plus 35 60W, which is a workhorse laser machine.
I graduated from the Thunder Bolt, which was an incredible starter desktop laser, to this one so I could expand my crafting library for you (and me!).
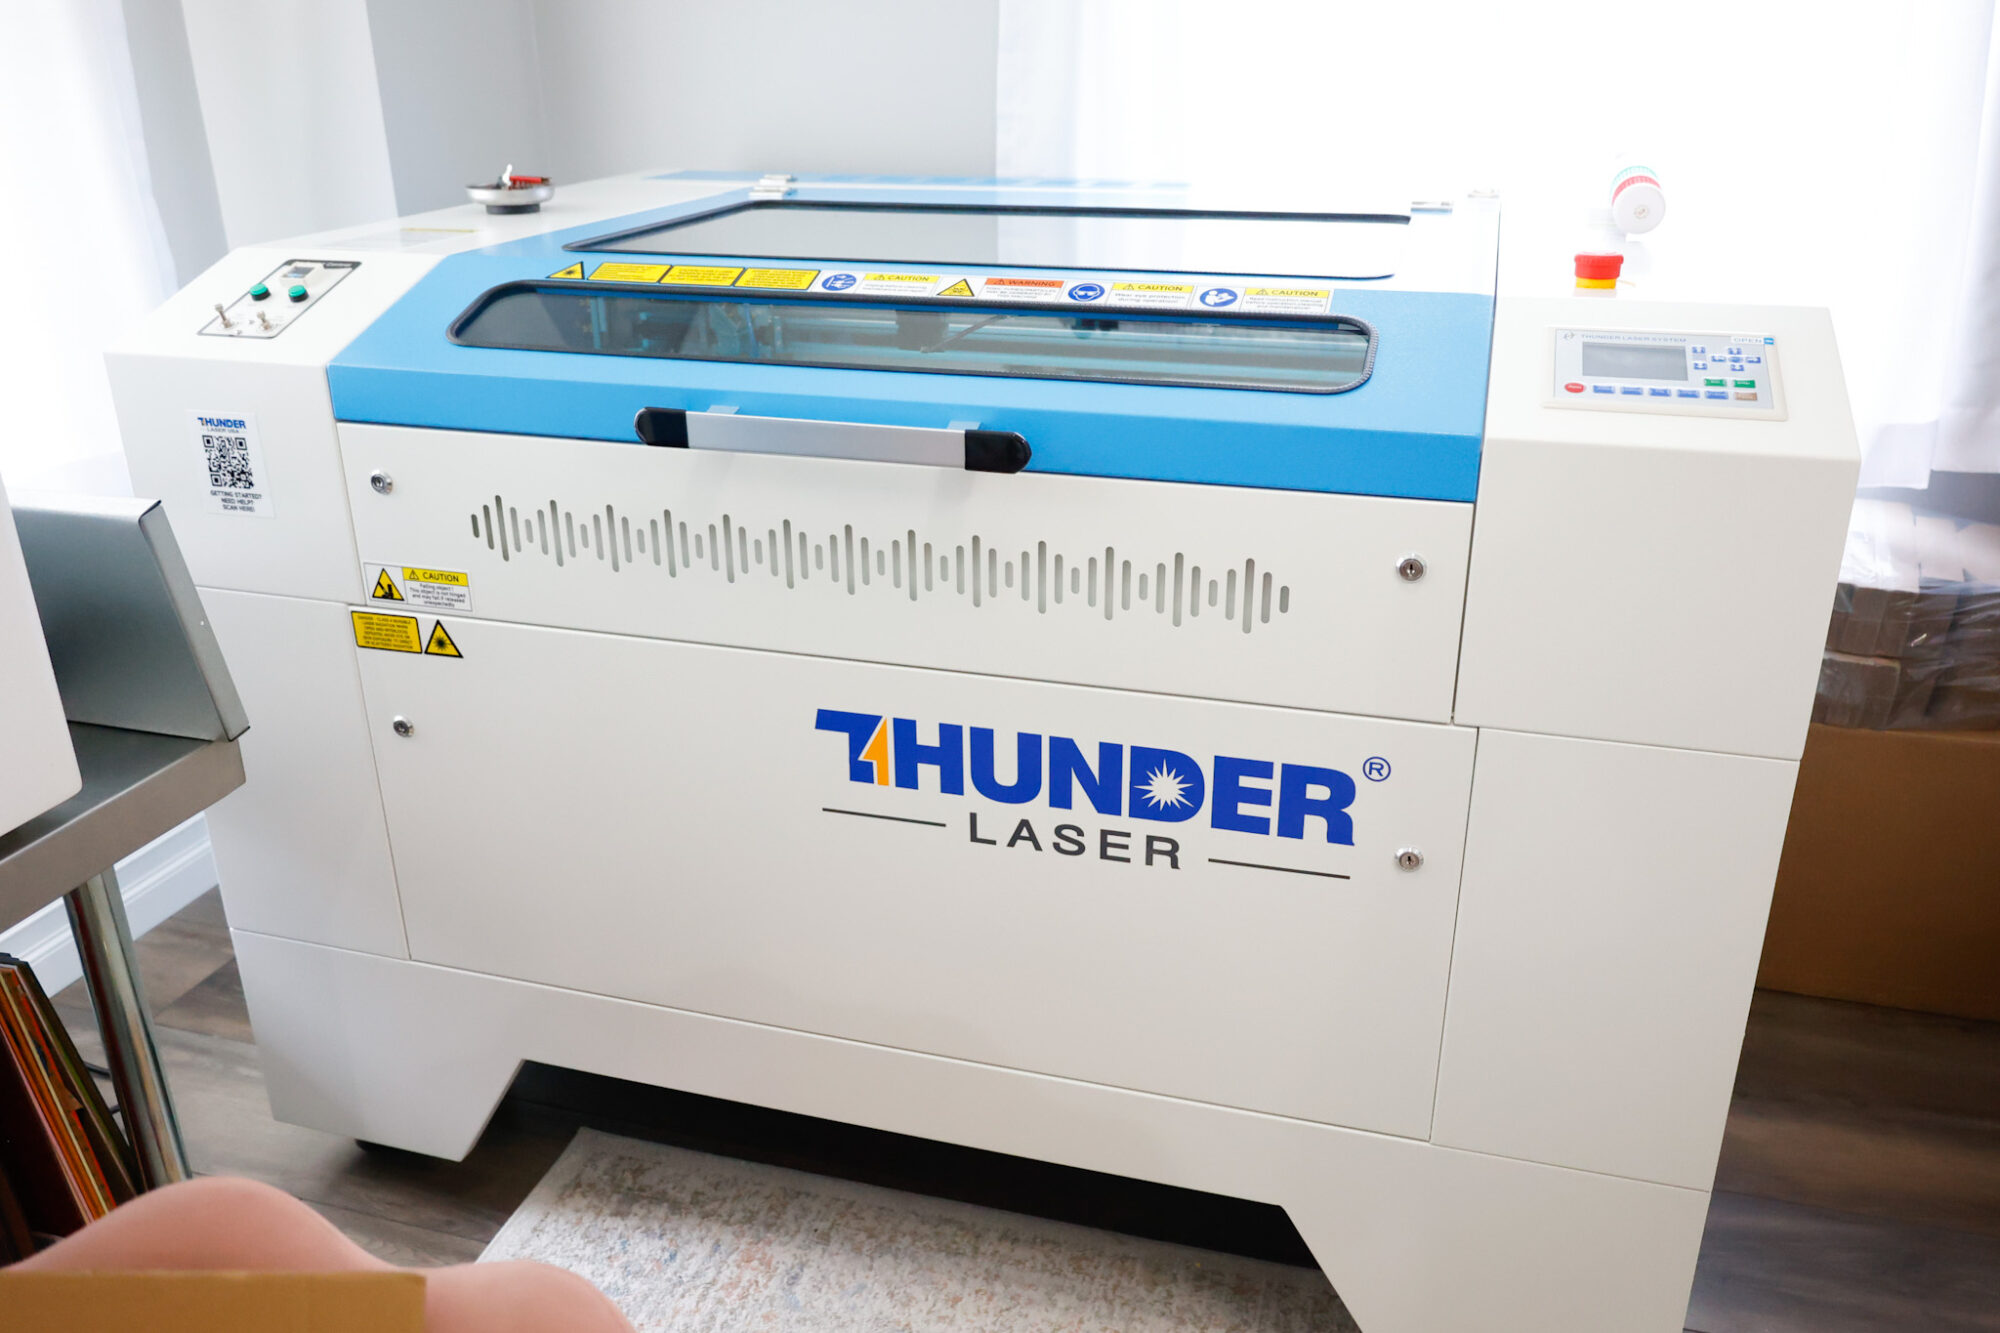
This machine has been incredible for crafting nursery signs, ornaments, door signs, tiered tray decor, and so much more!
The honeycomb on this laser bed is perfect for making larger items like nursery signs, door signs, etc.
The laser bed measures approximately 24″ x 36″, which is a generous work space for cutting multiple shapes/designs out of each piece of wood.
You May Also Like: Christmas Tiered Tray Decor + Free SVG
Laser Cut Settings for Baltic Birch Wood
My laser machine from Thunder is great at cutting through 1/8″ and 1/4″ wood. Here it is cutting through 1/8″ wood…

I like to pre-paint my wood before cutting as I have tried painting afterwards and found that the paint runs down the edges of my cuts and doesn’t look very clean or professional.
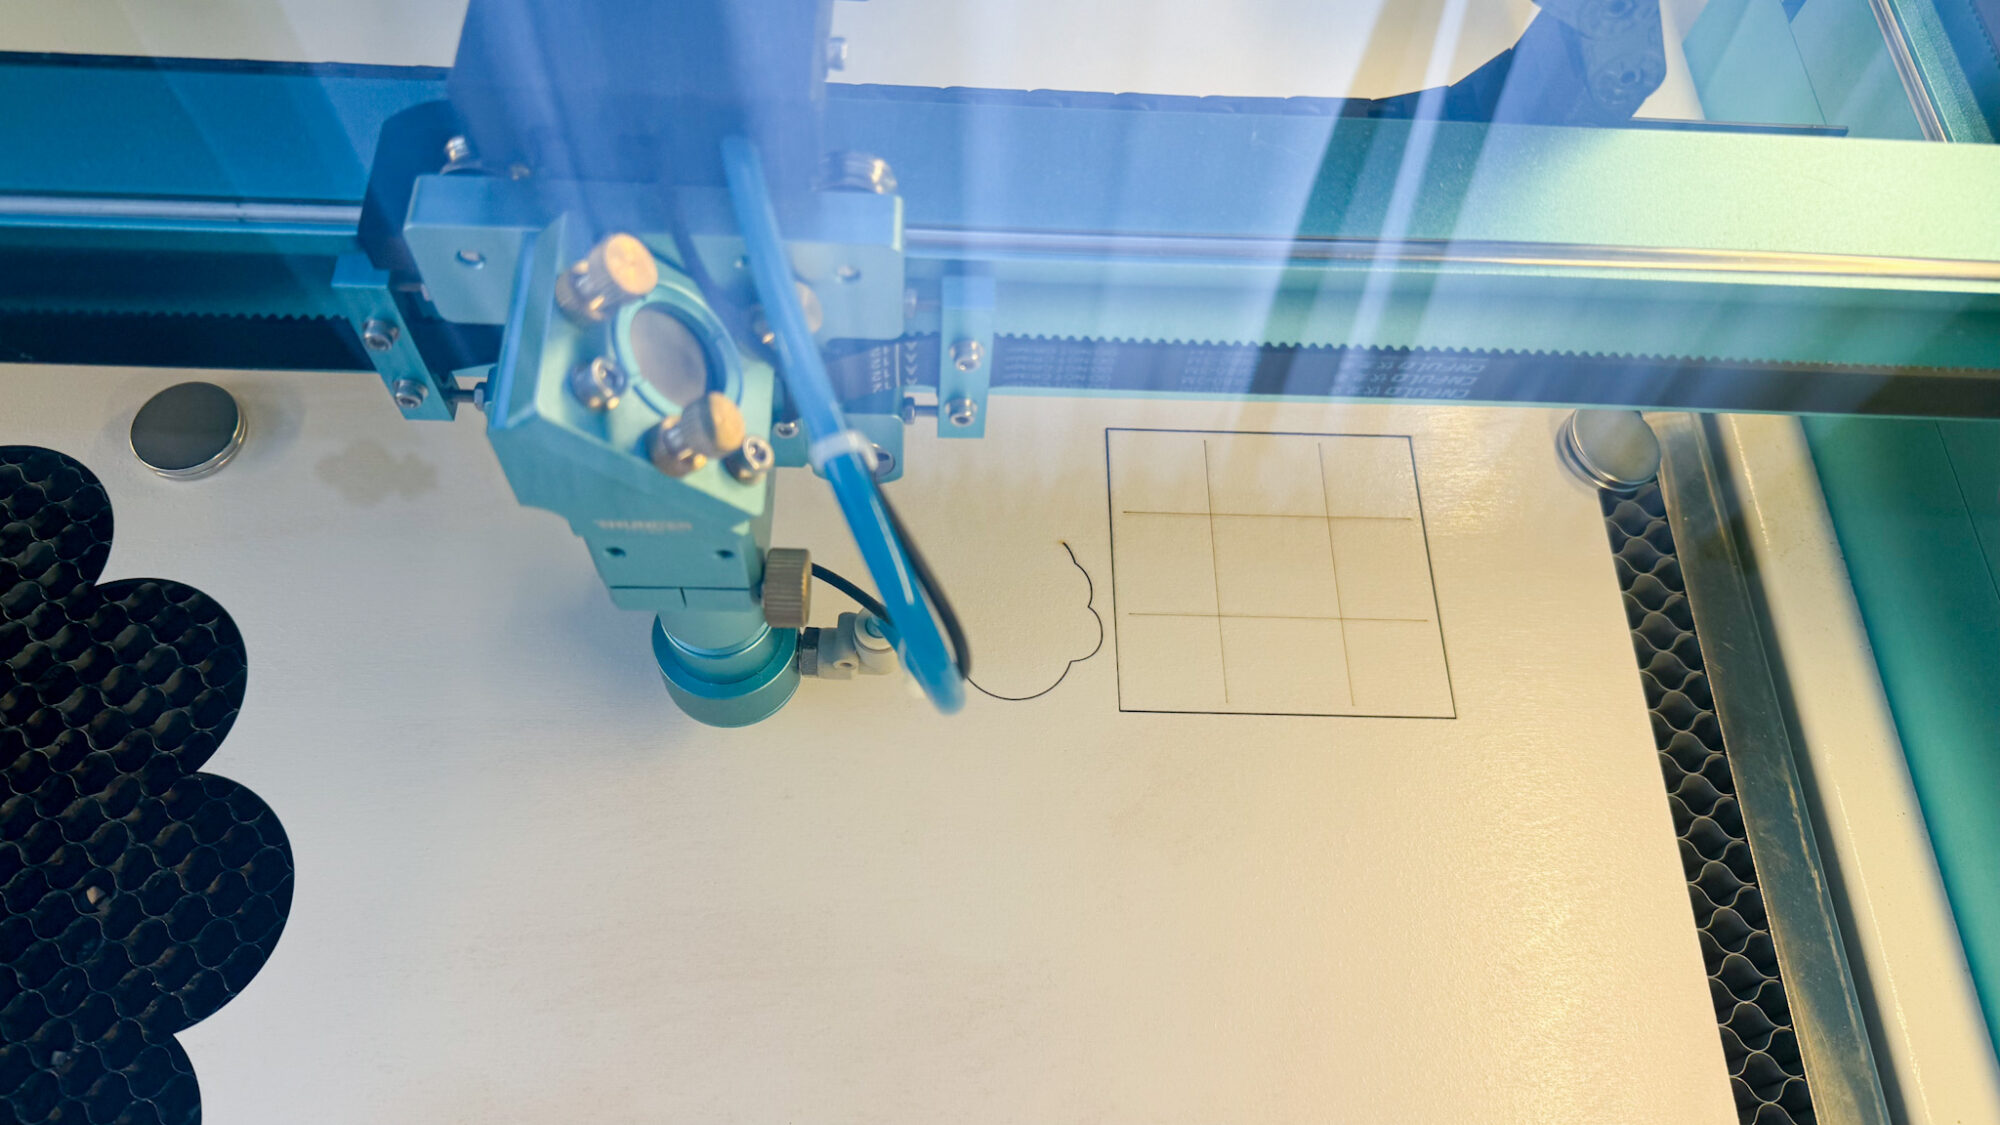
To cut these shapes out cleanly, I used these settings with my laser machine:
Cut wood: 8 mm/s at 50% Max power, 25% min power
Score wood: 200 mms/ at 15% Max power, 5% min power
Scoring in Lightburn is a LINE setting, not a FILL setting (engraving). I use this option to lightly trace an inward offset to mark where the letters go so I’m not eyeballing everything.
For the tic-tac-toe lines and faux shiplap, I used my score settings. For the rest of the design cuts, I used my cut settings.
FYI: If you have a CO2 laser, the settings will differ for you as well as my settings shown in this post are for my RF laser. It’s recommended that you run a test sheet for scoring/engraving/cutting for your laser so you have some go-to settings for the different materials.
Adhering the Layers of the Cut Outs
I have one glue that I use and love for gluing wood projects (or gluing acrylic to wood projects). It’s never failed me and works great.
It does take a bit to set so be sure to plan for drying time.
I try to let it sit for several hours or overnight, especially if I’m gifting to a friend.
If it fails on me because I was impatient and didn’t let it set for long enough, I could always re-glue it. But if giving to a friend, I want to avoid that and just be patient ;).
Once glued, I use two different methods to glue the wood together and ensure the wood pieces are touching each other fully for secure adhesion:
They both serve a purpose and help a project like this with a large area to adhere, to actually be successful. There are times I use one or the other.
For this project, all I needed were my trusty clamps.
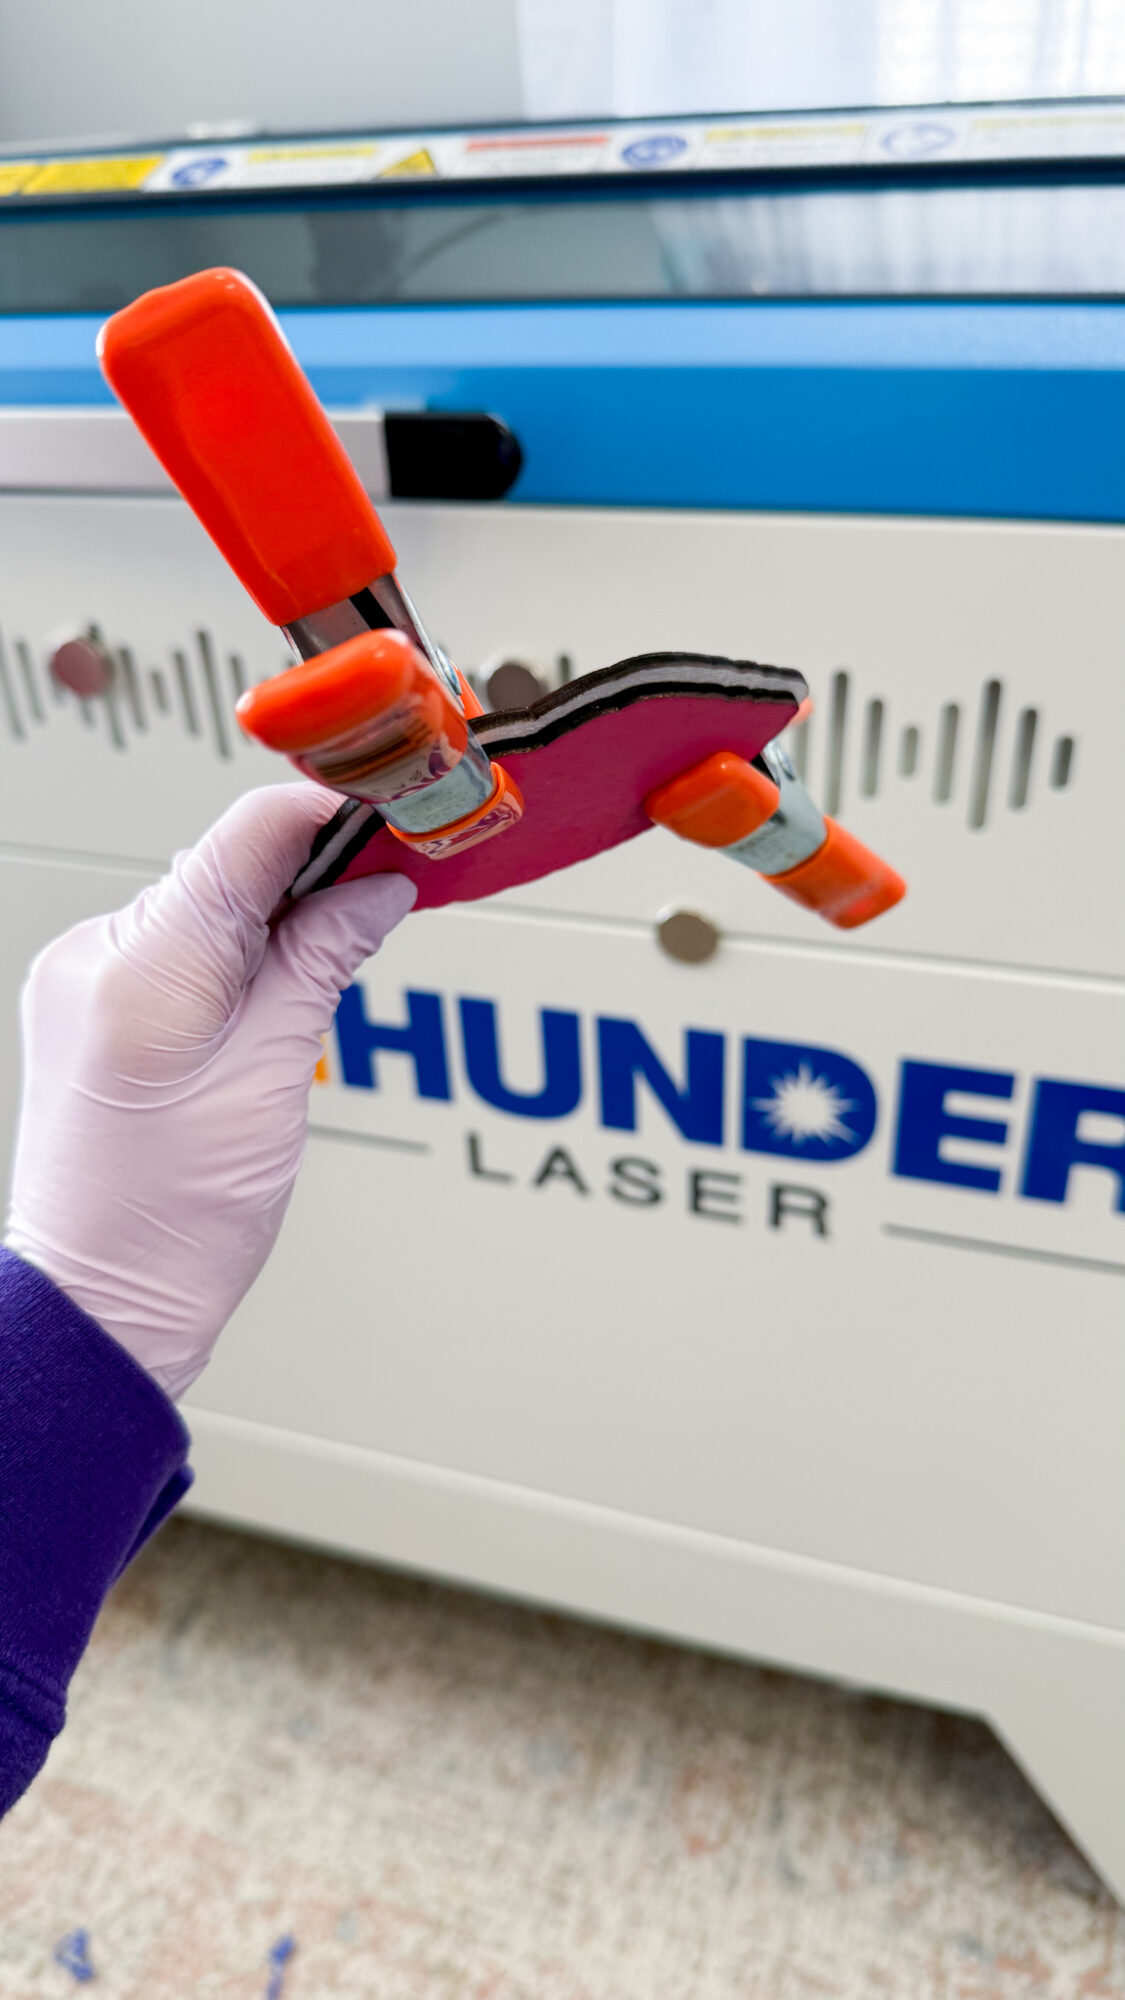
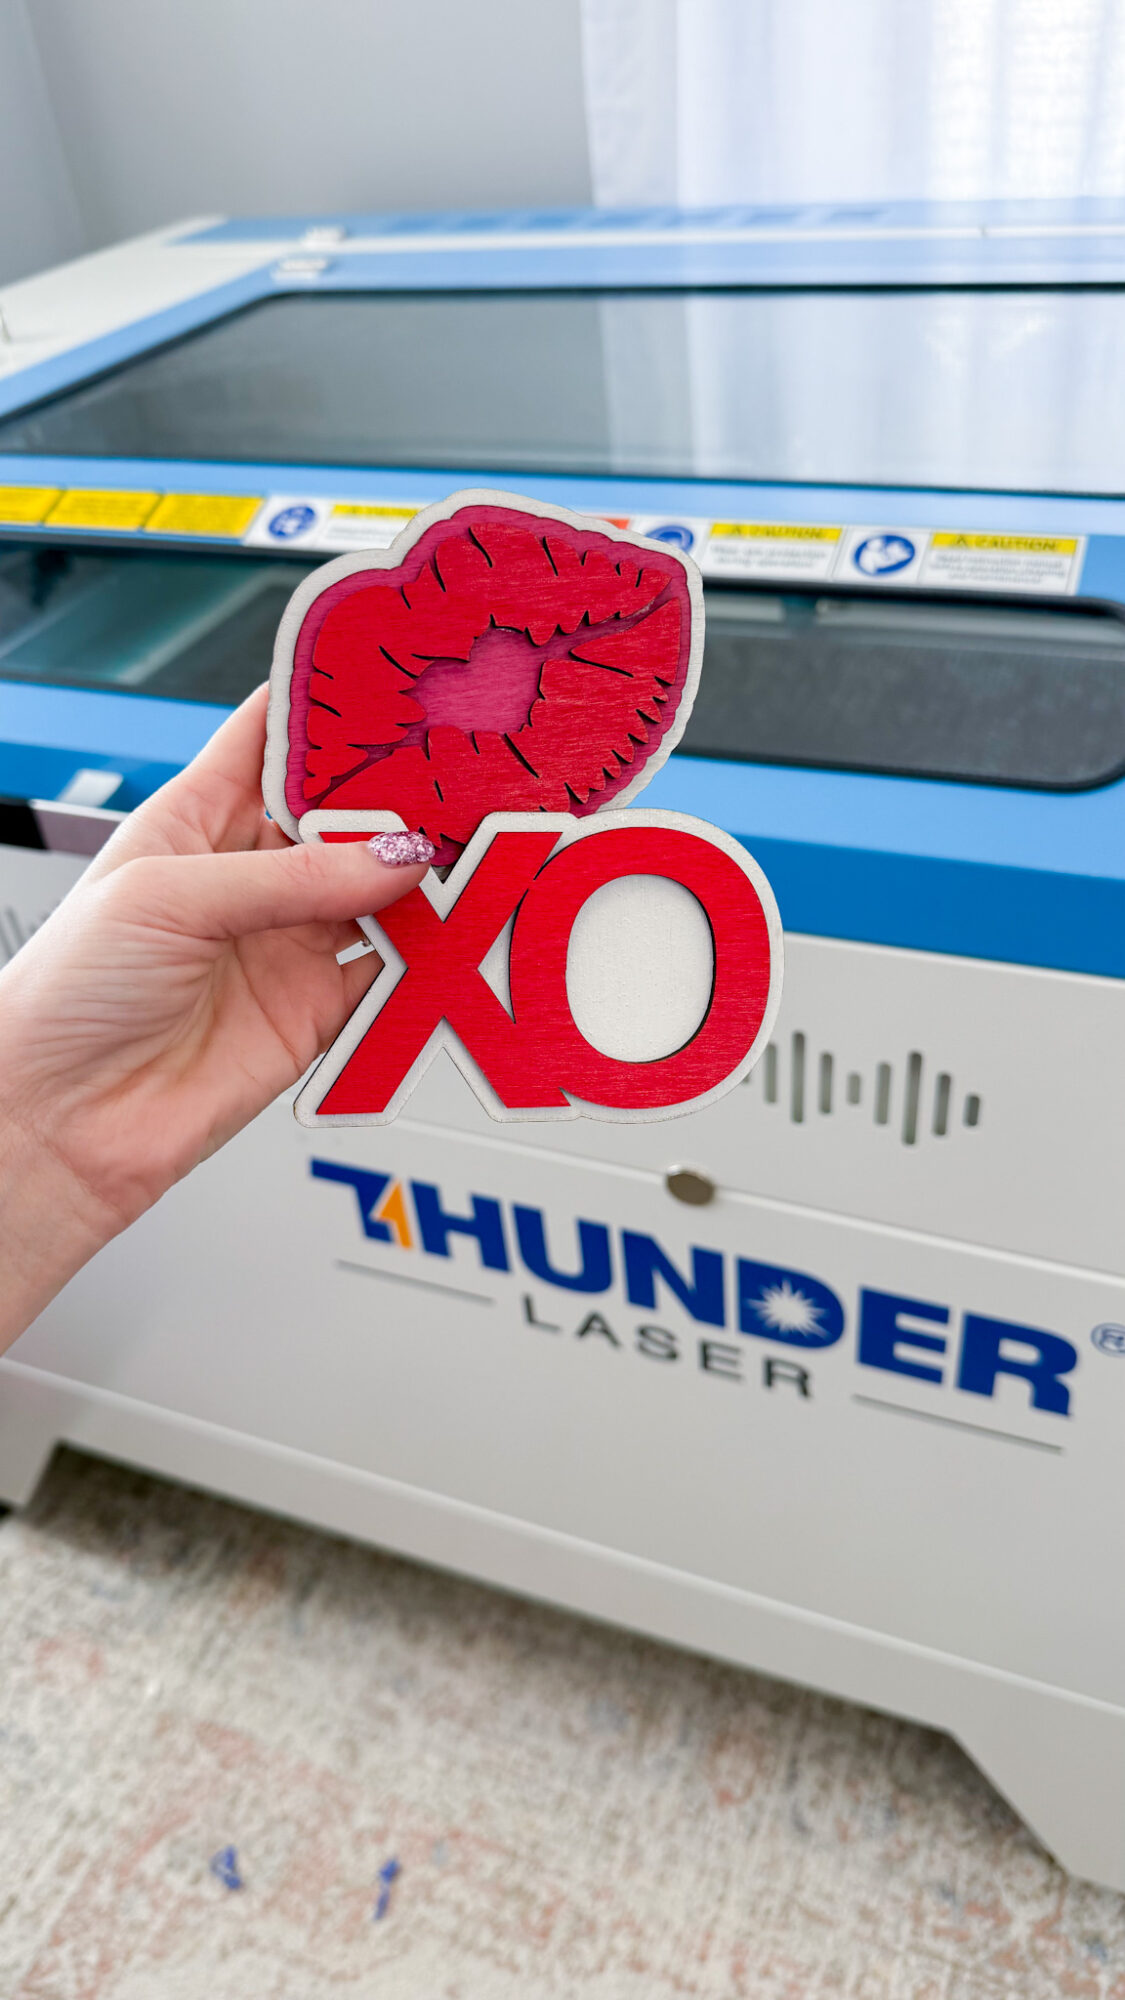
Here’s a finished design I snapped a quick picture of before moving on to gluing more layers…
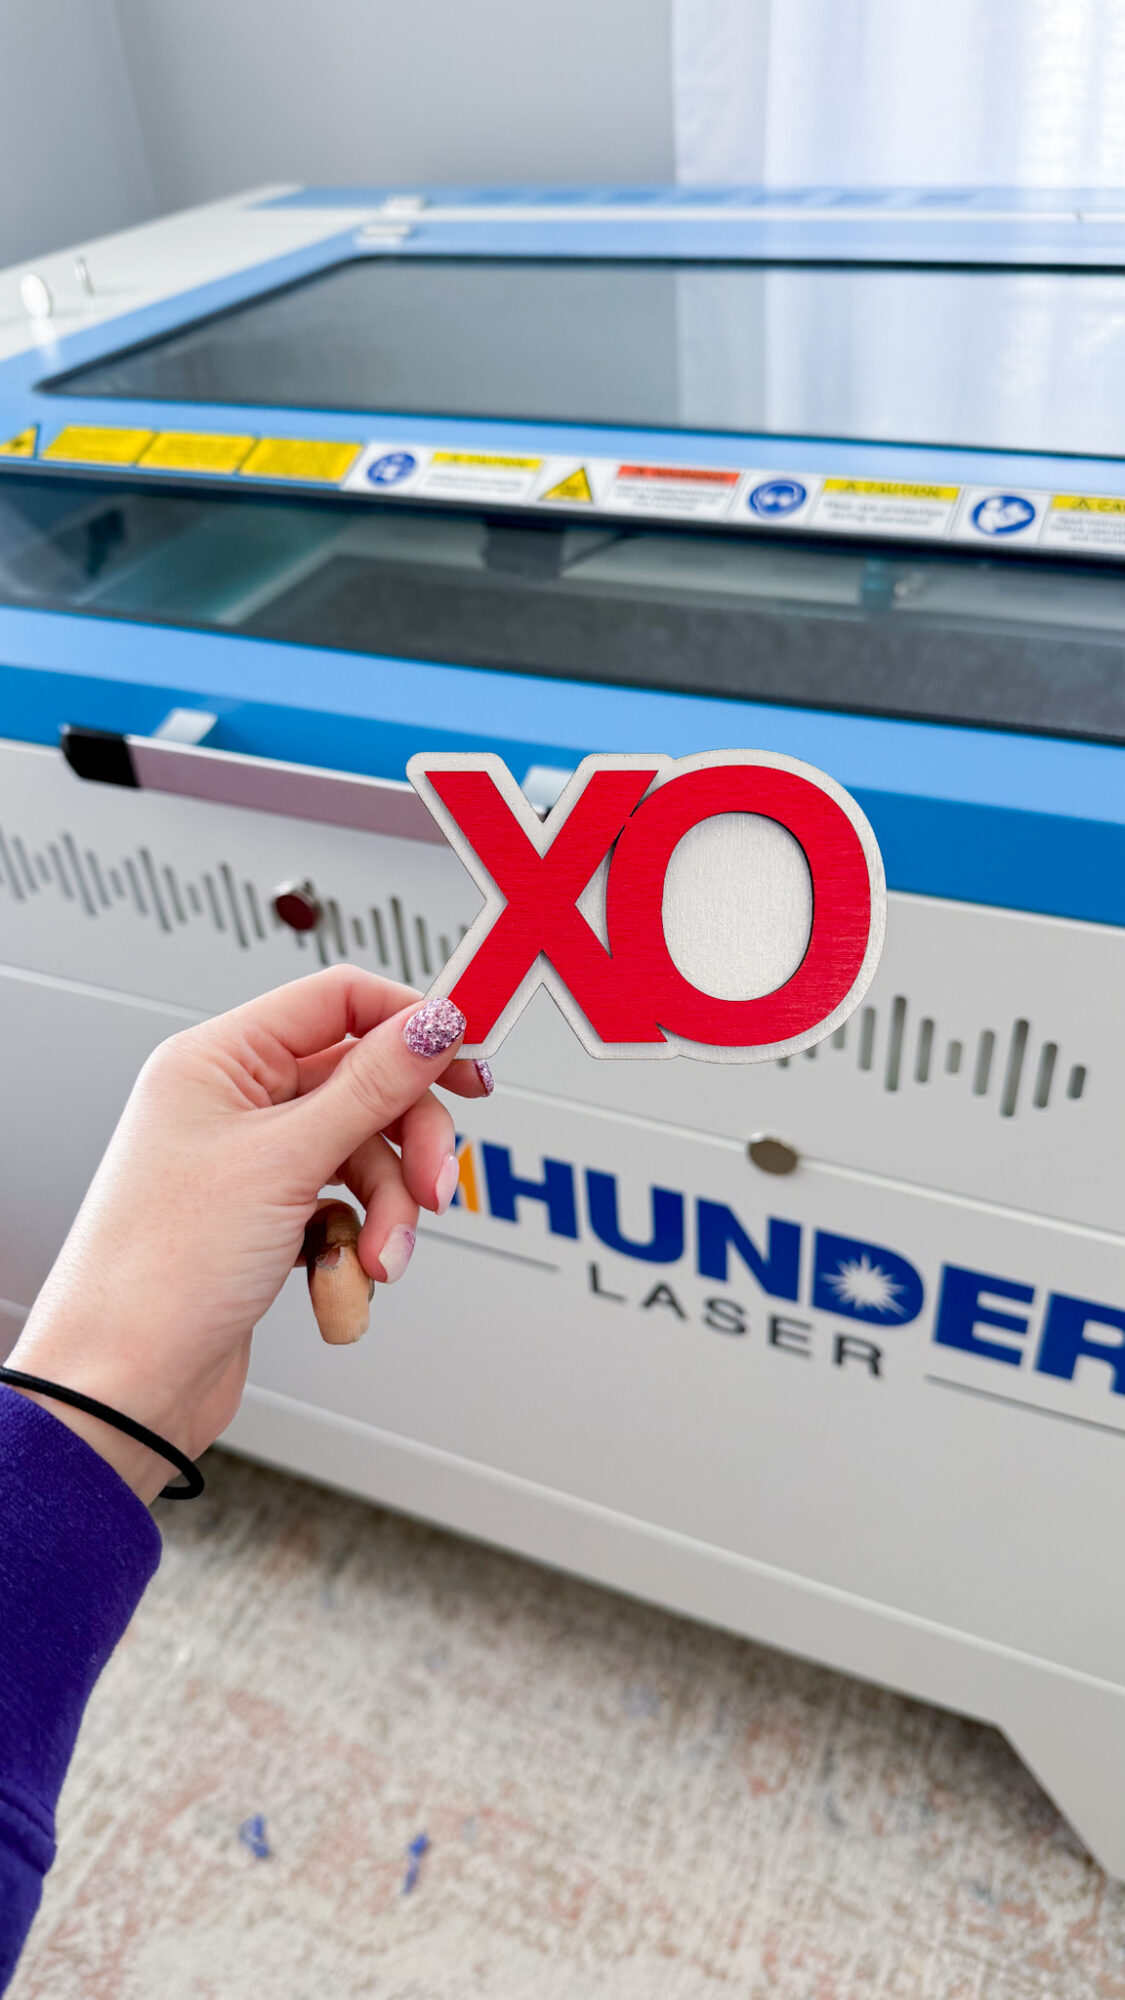
For my kiss marks, I used three layers (white, pink, red), and for my XO design, I used two layers (shown in white and red here):
Once everything was glued and dried, I was ready to assemble the designs onto our tiered tray.
P.S. Make more designs than you think you’ll need!
I learned this with my Christmas tiered tray designs.
Of course, this is unless you already have a ton of decor or fillers.
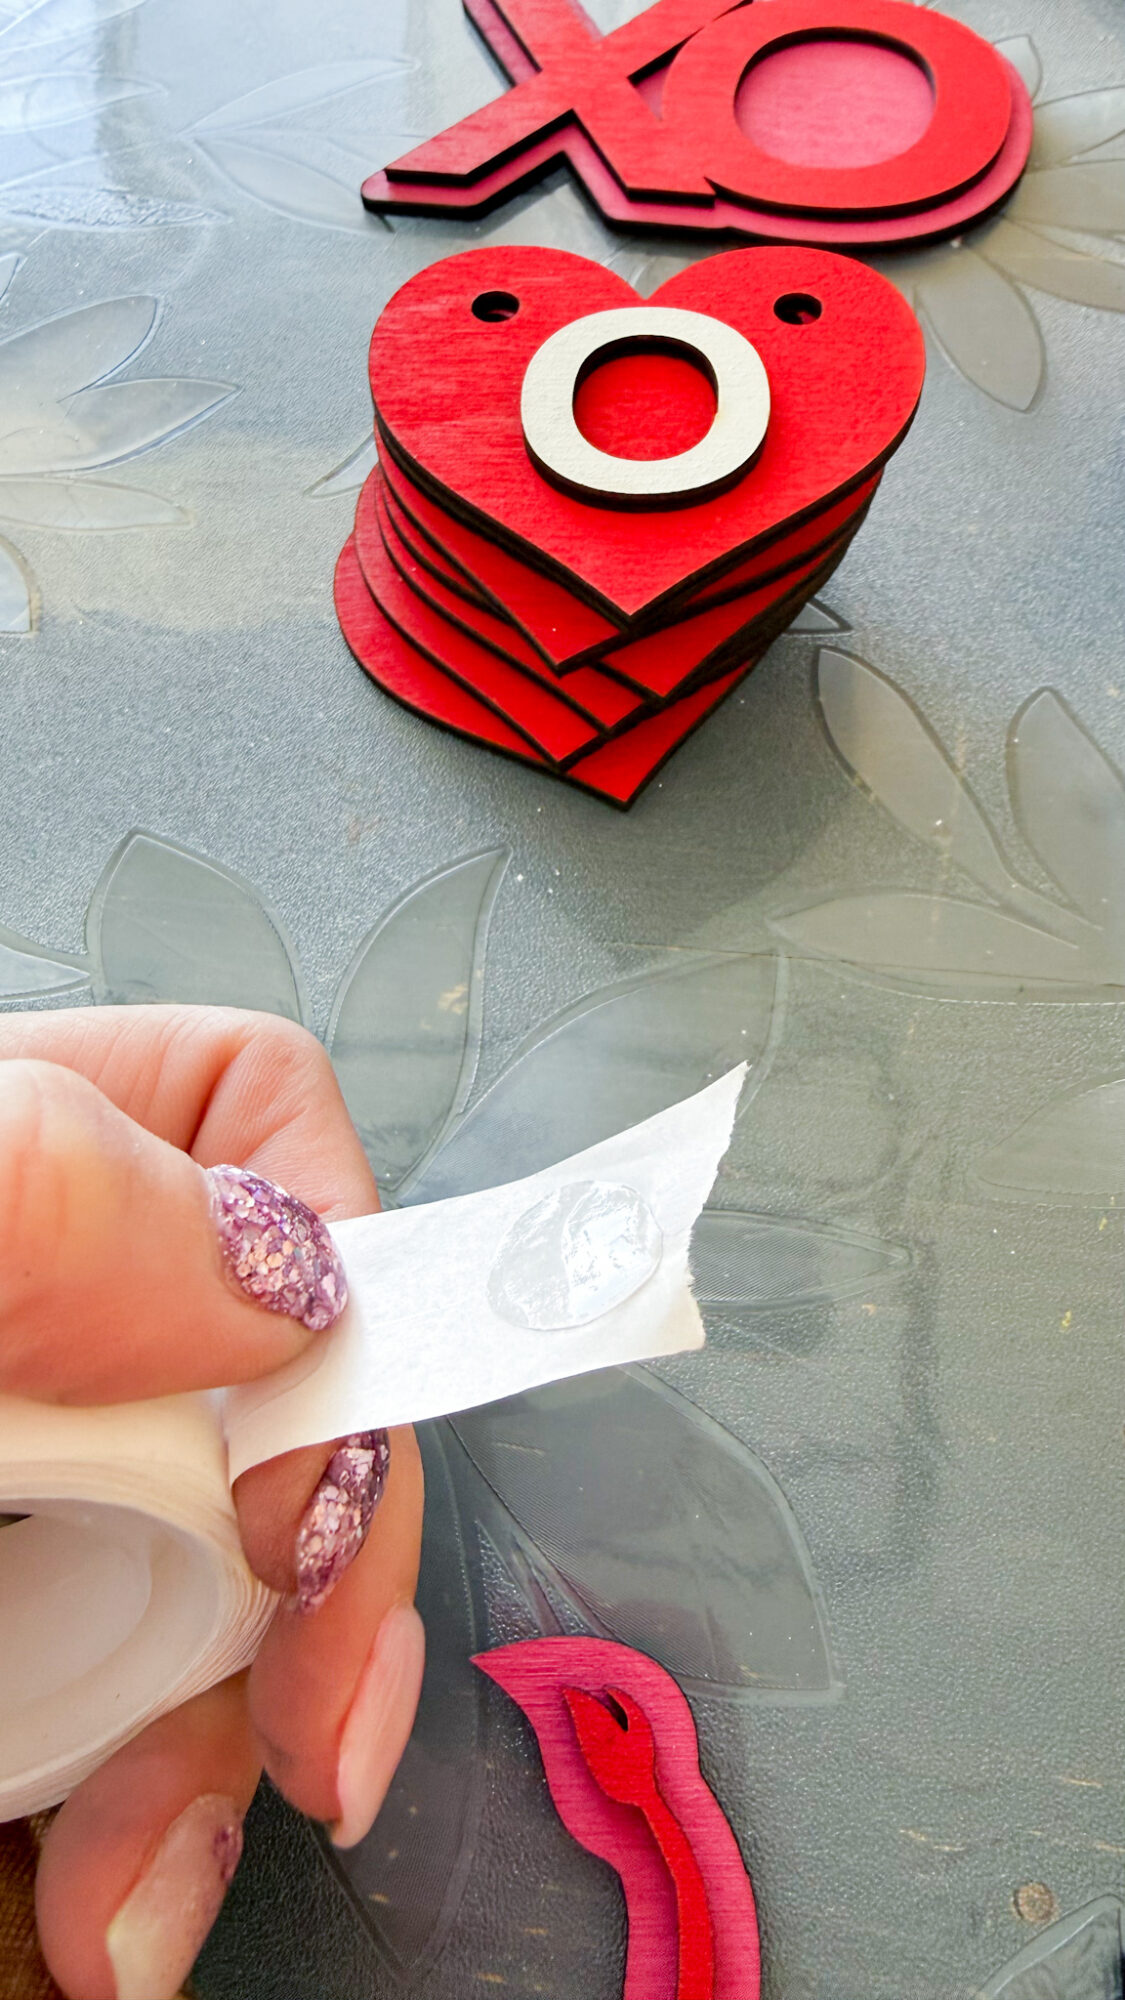
For the faux garlands, I like to use double-sided sticky dots like they use in balloon arches to stick the balloons together.
You May Also Like: Valentine’s Day Door Sign + Free SVG
They’re really handy, and I seem to have endless rolls of them on hand ;).
They can be tricky with some pieces of wood to adhere them to the back, but it works great to stick the shapes to the side of the tiered tray.
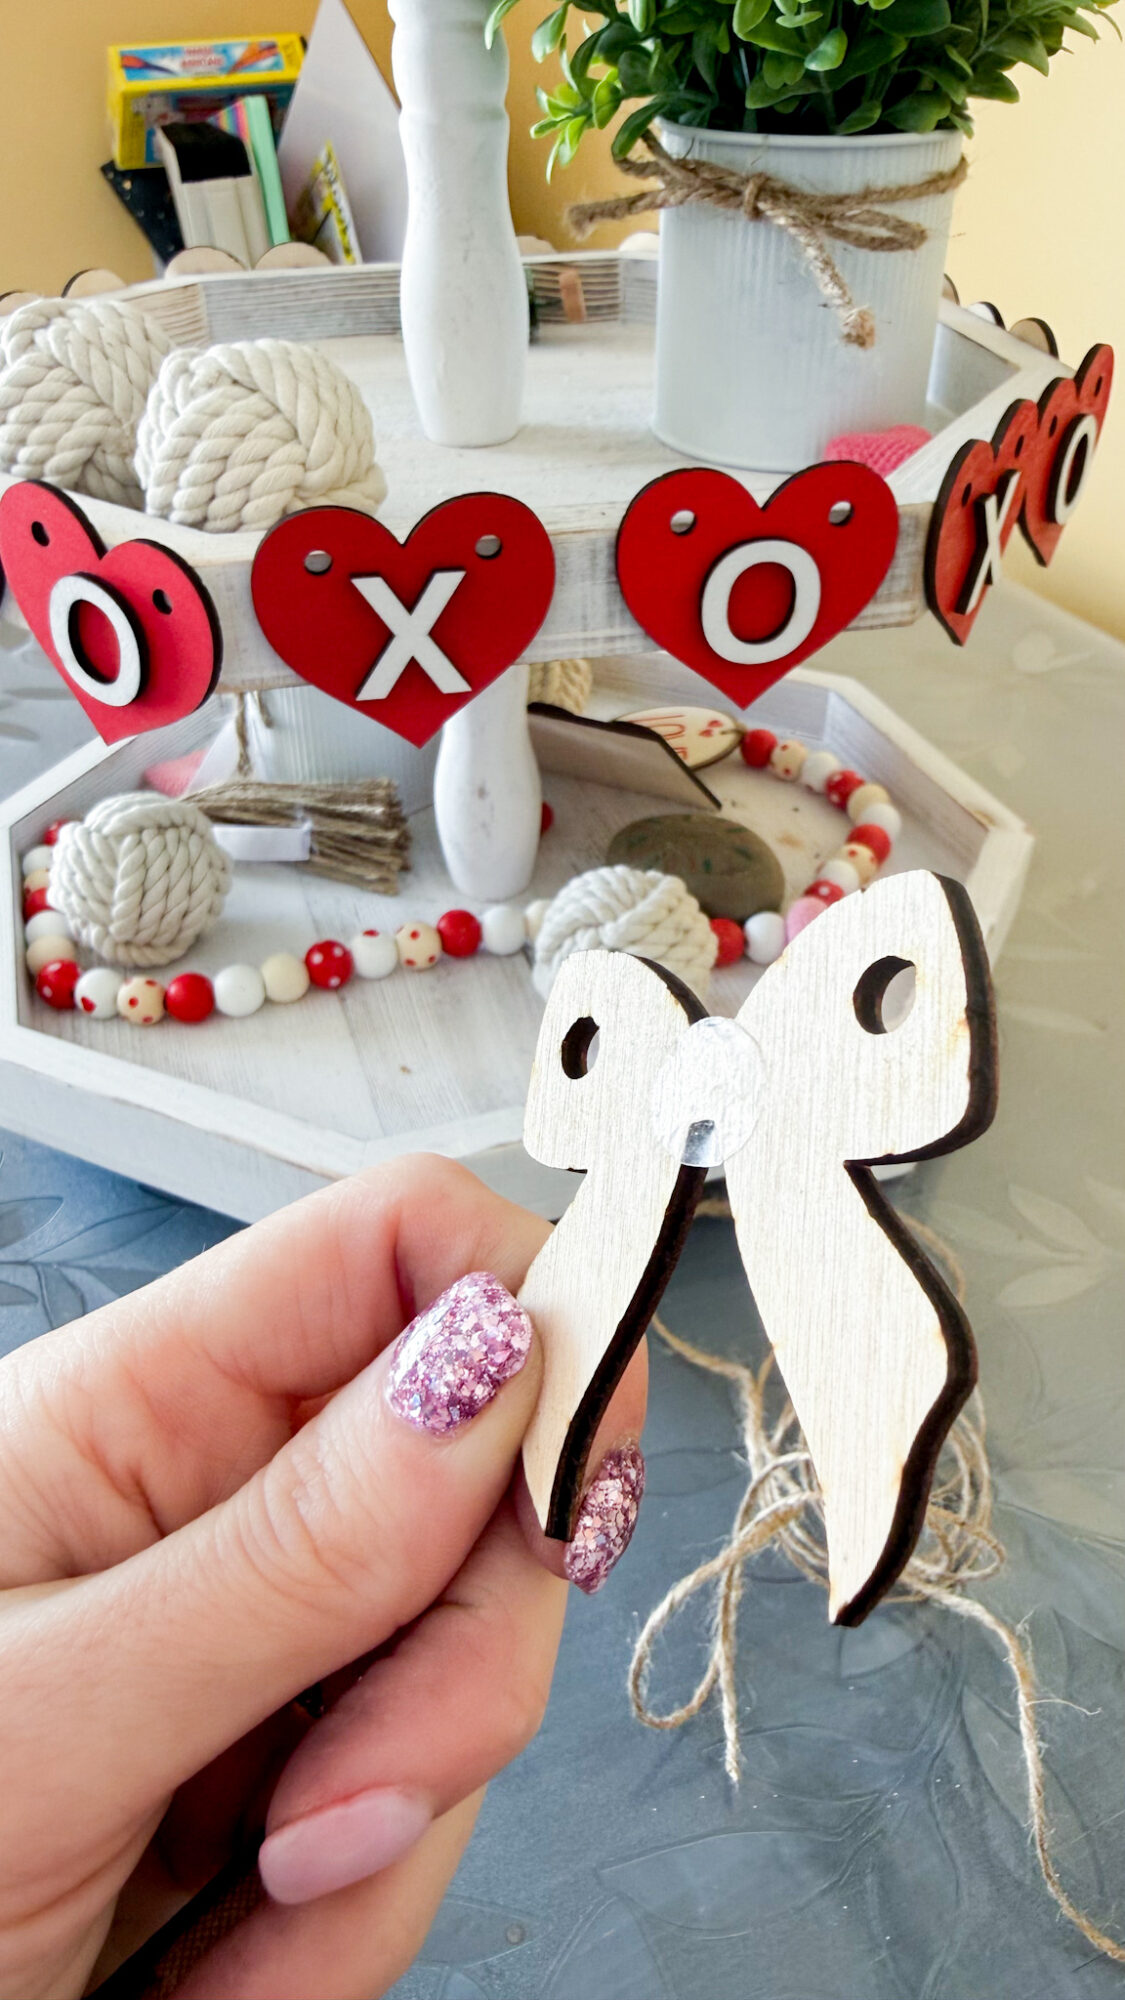
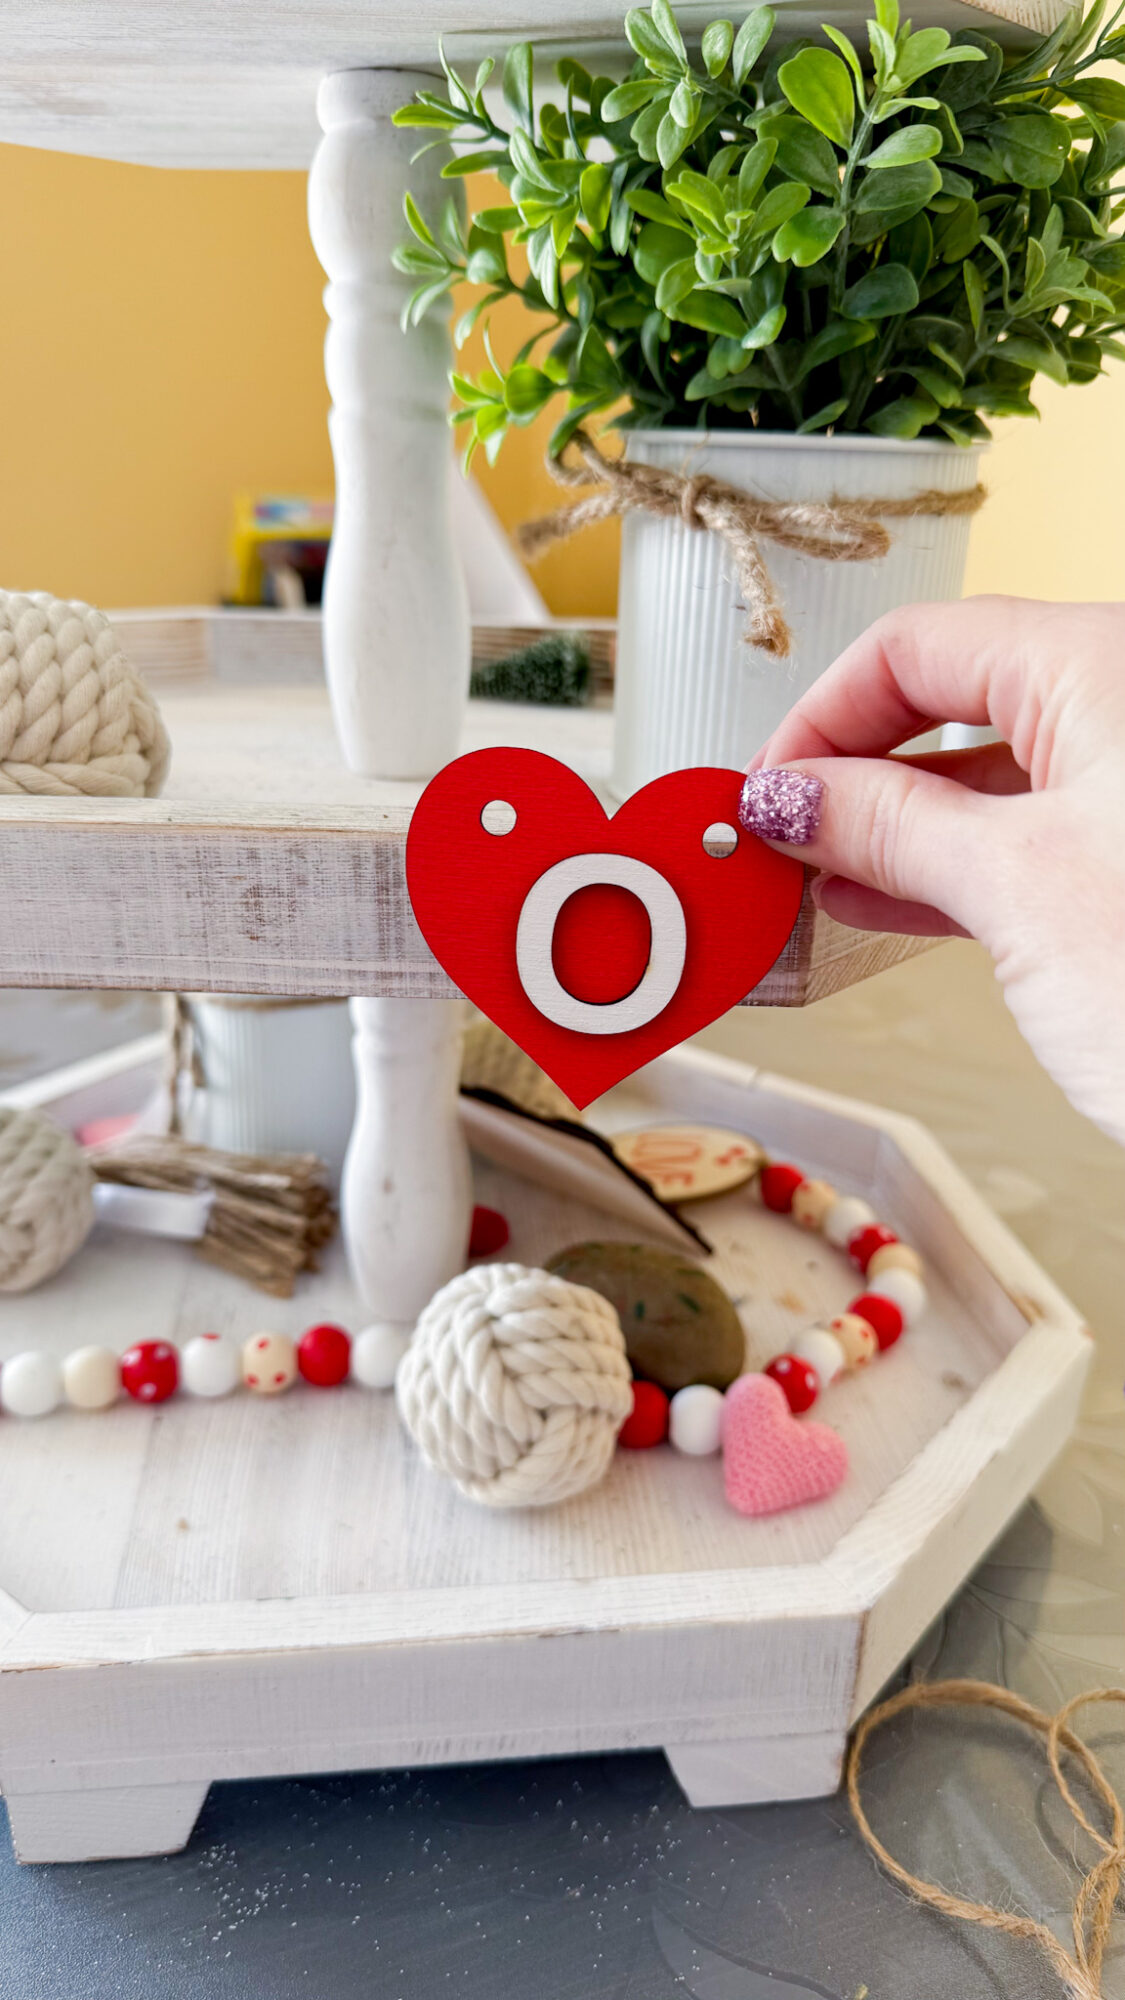
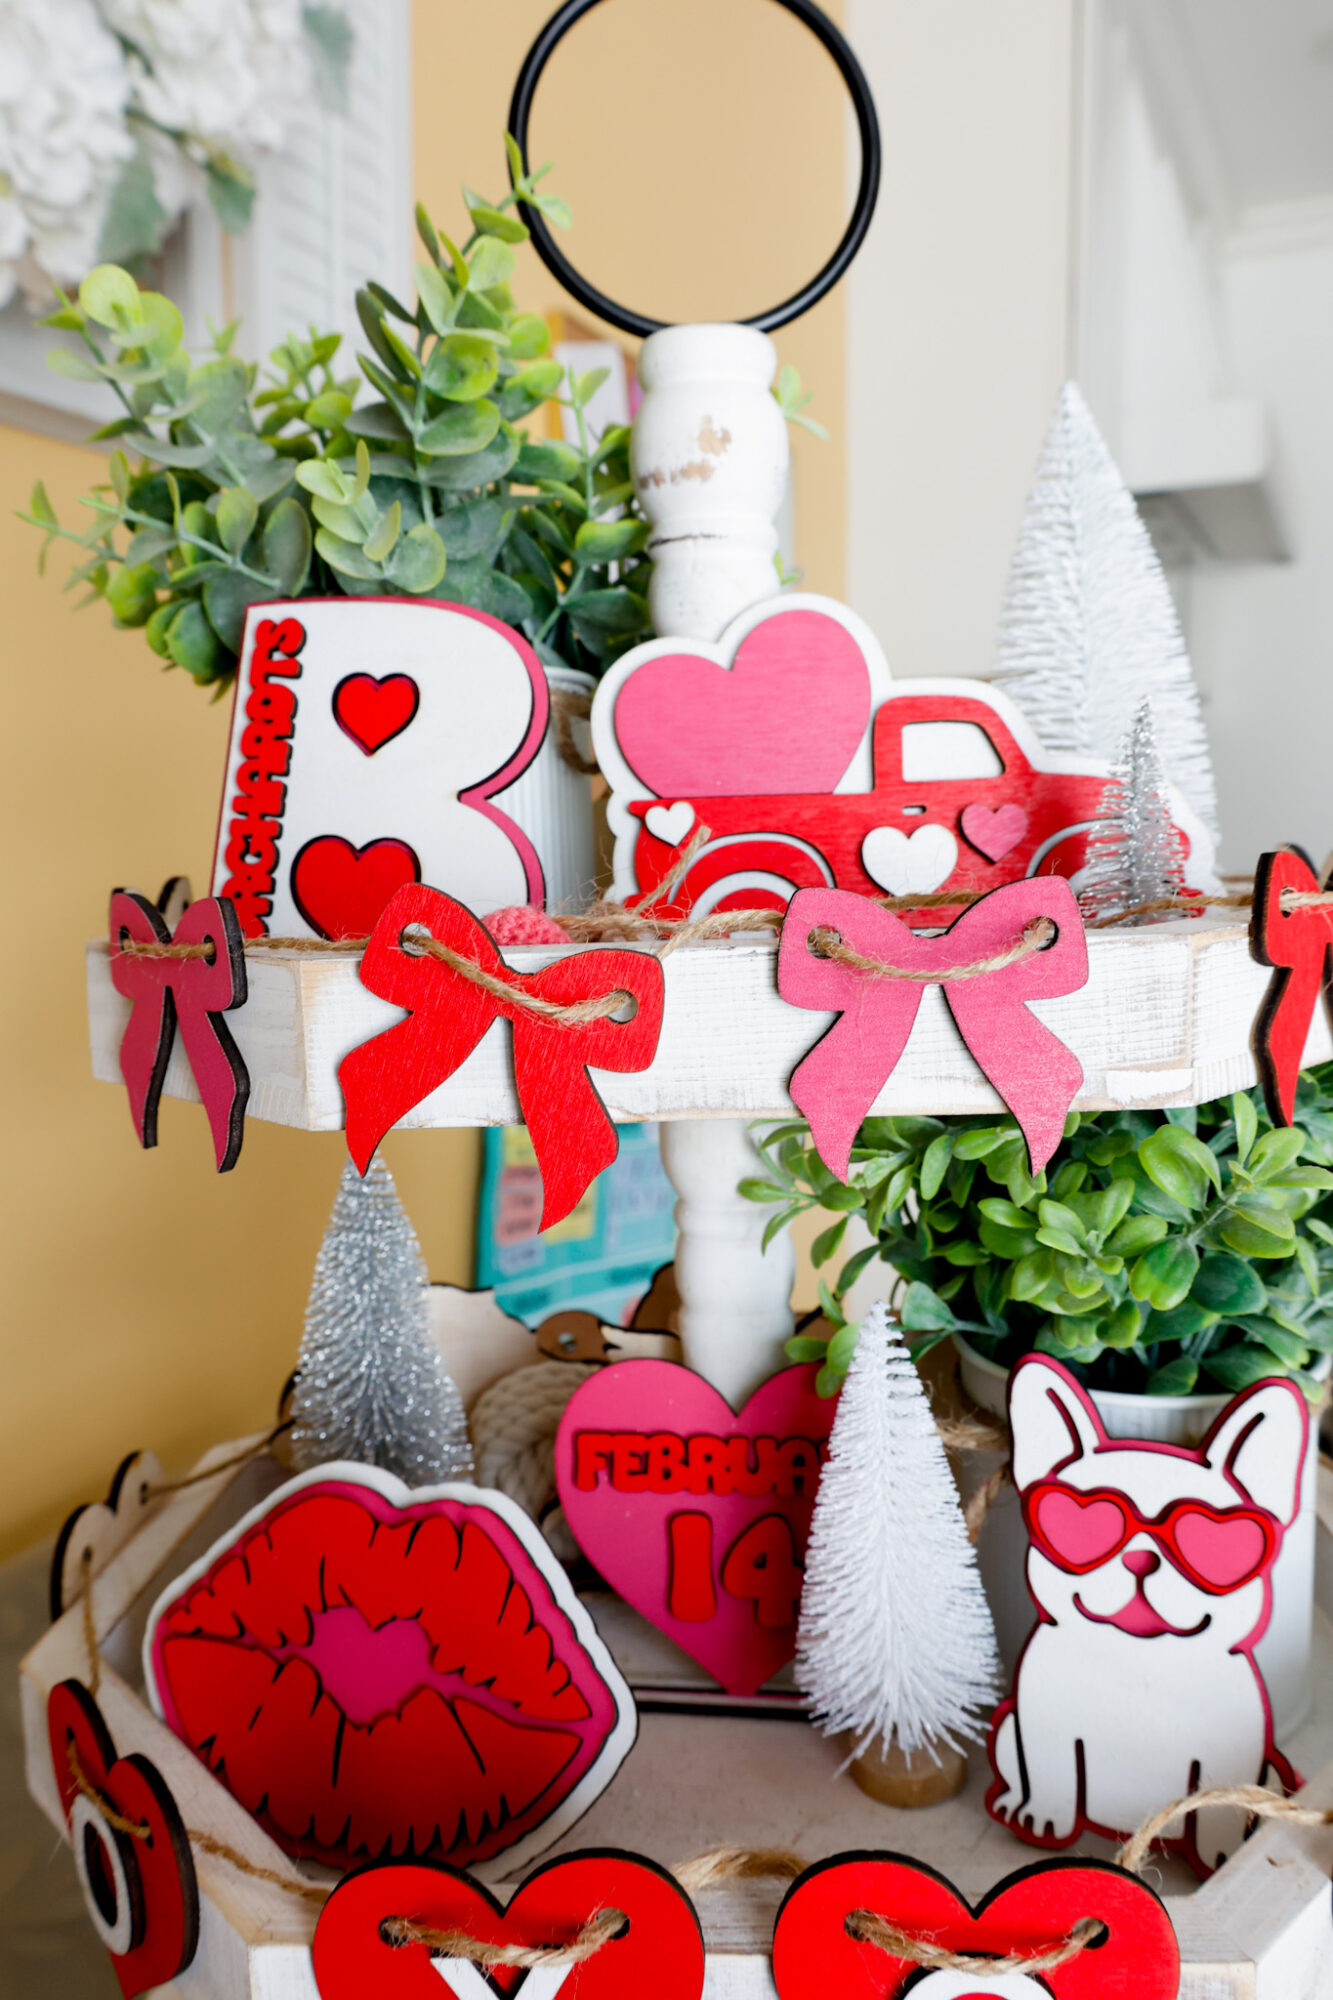
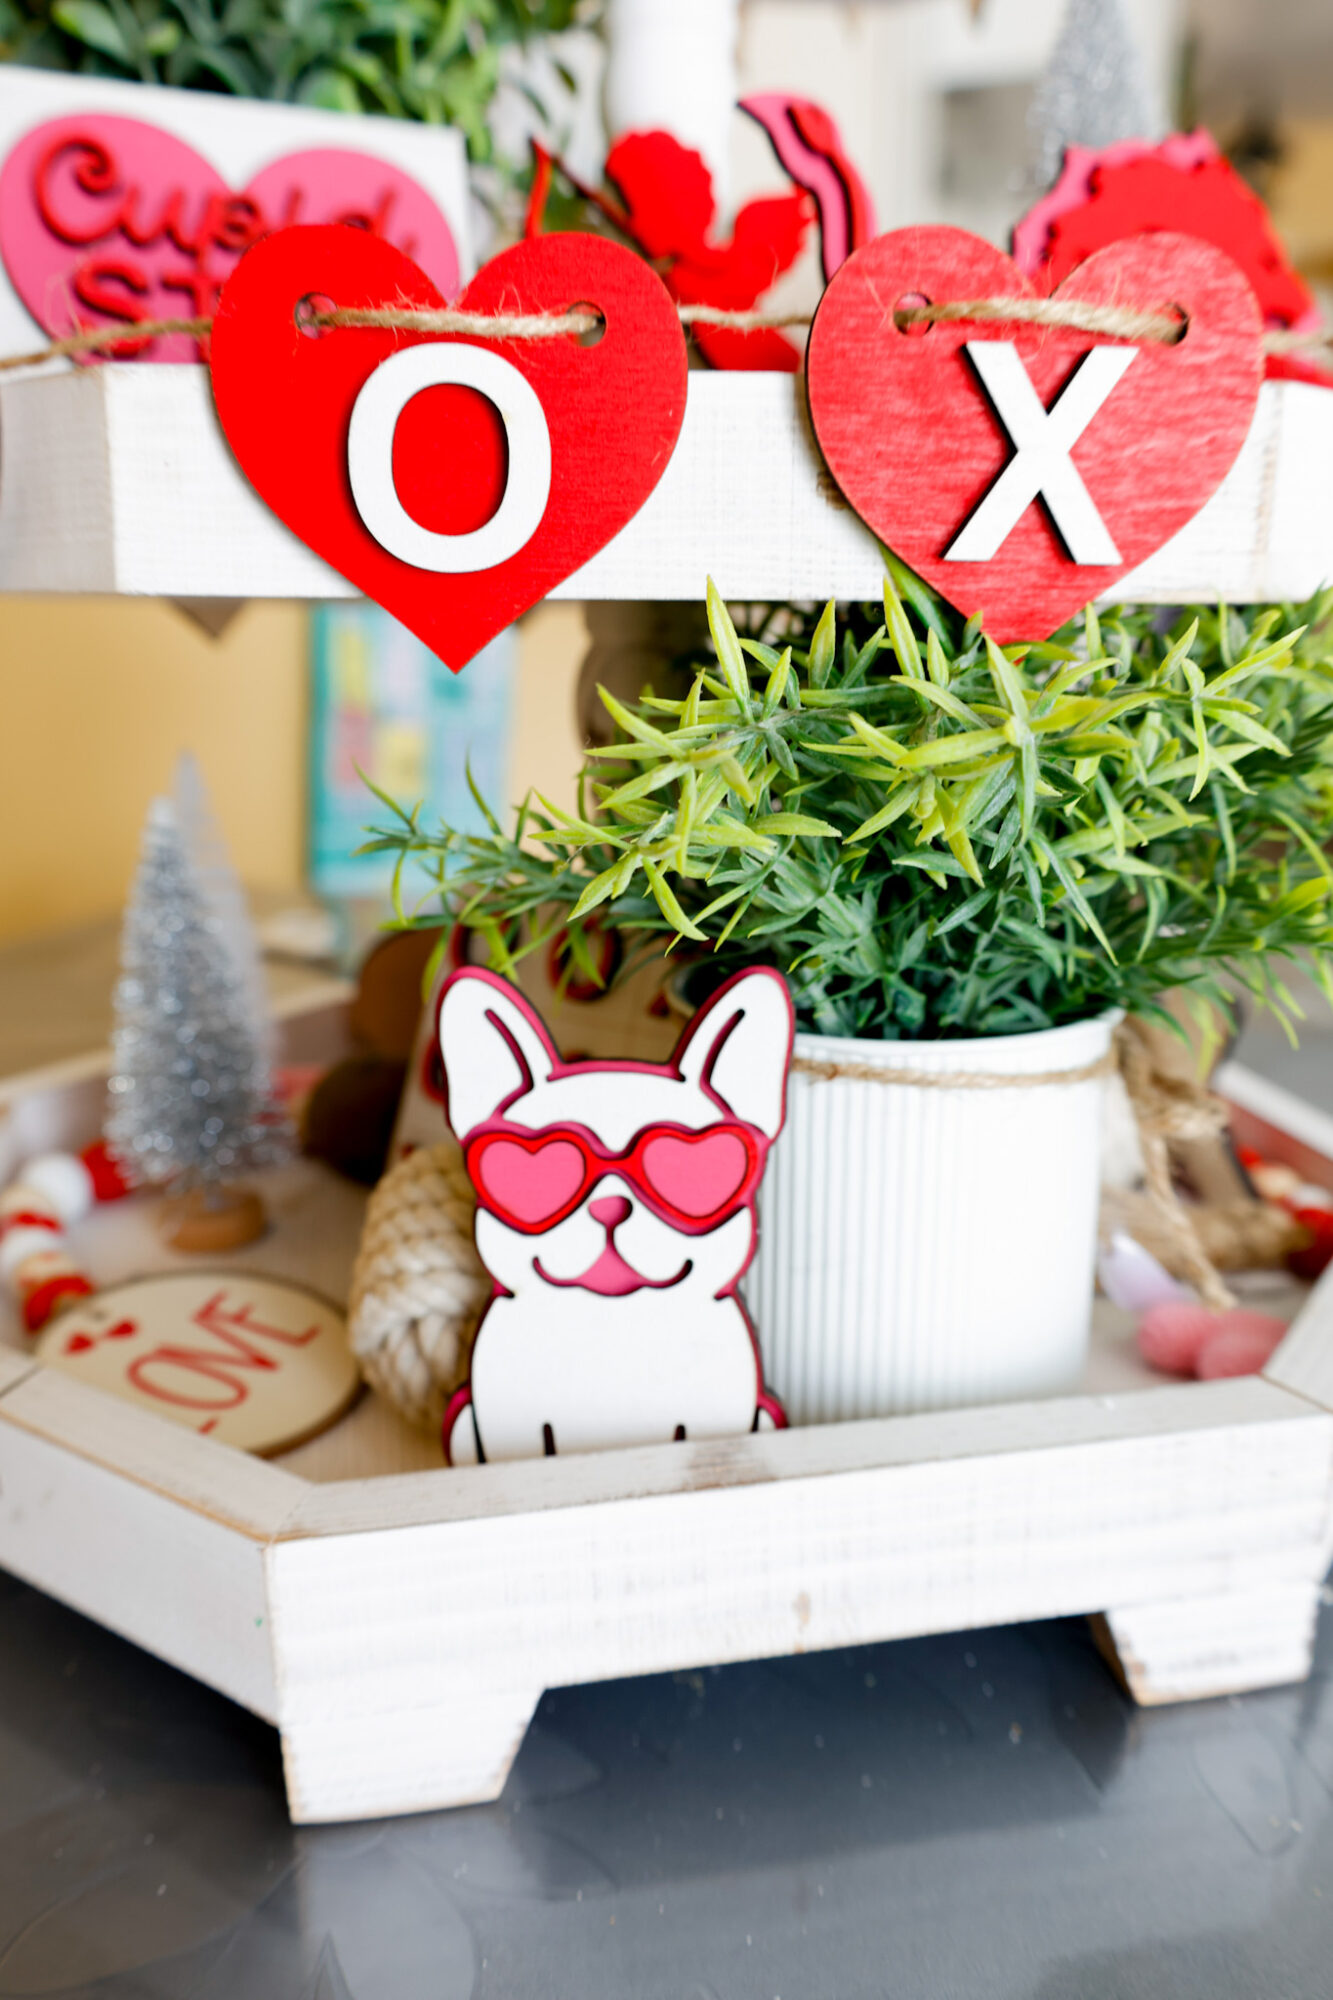
After sticking the shapes on with my double-sided sticky dots, I weave some twine through the holes I cut out on the laser…
I always do this after sticking the shapes on the sides of my tiered tray, and be mindful to place the holes above the level where the side starts. This helps make the holes free and available for when I weave the twine through.
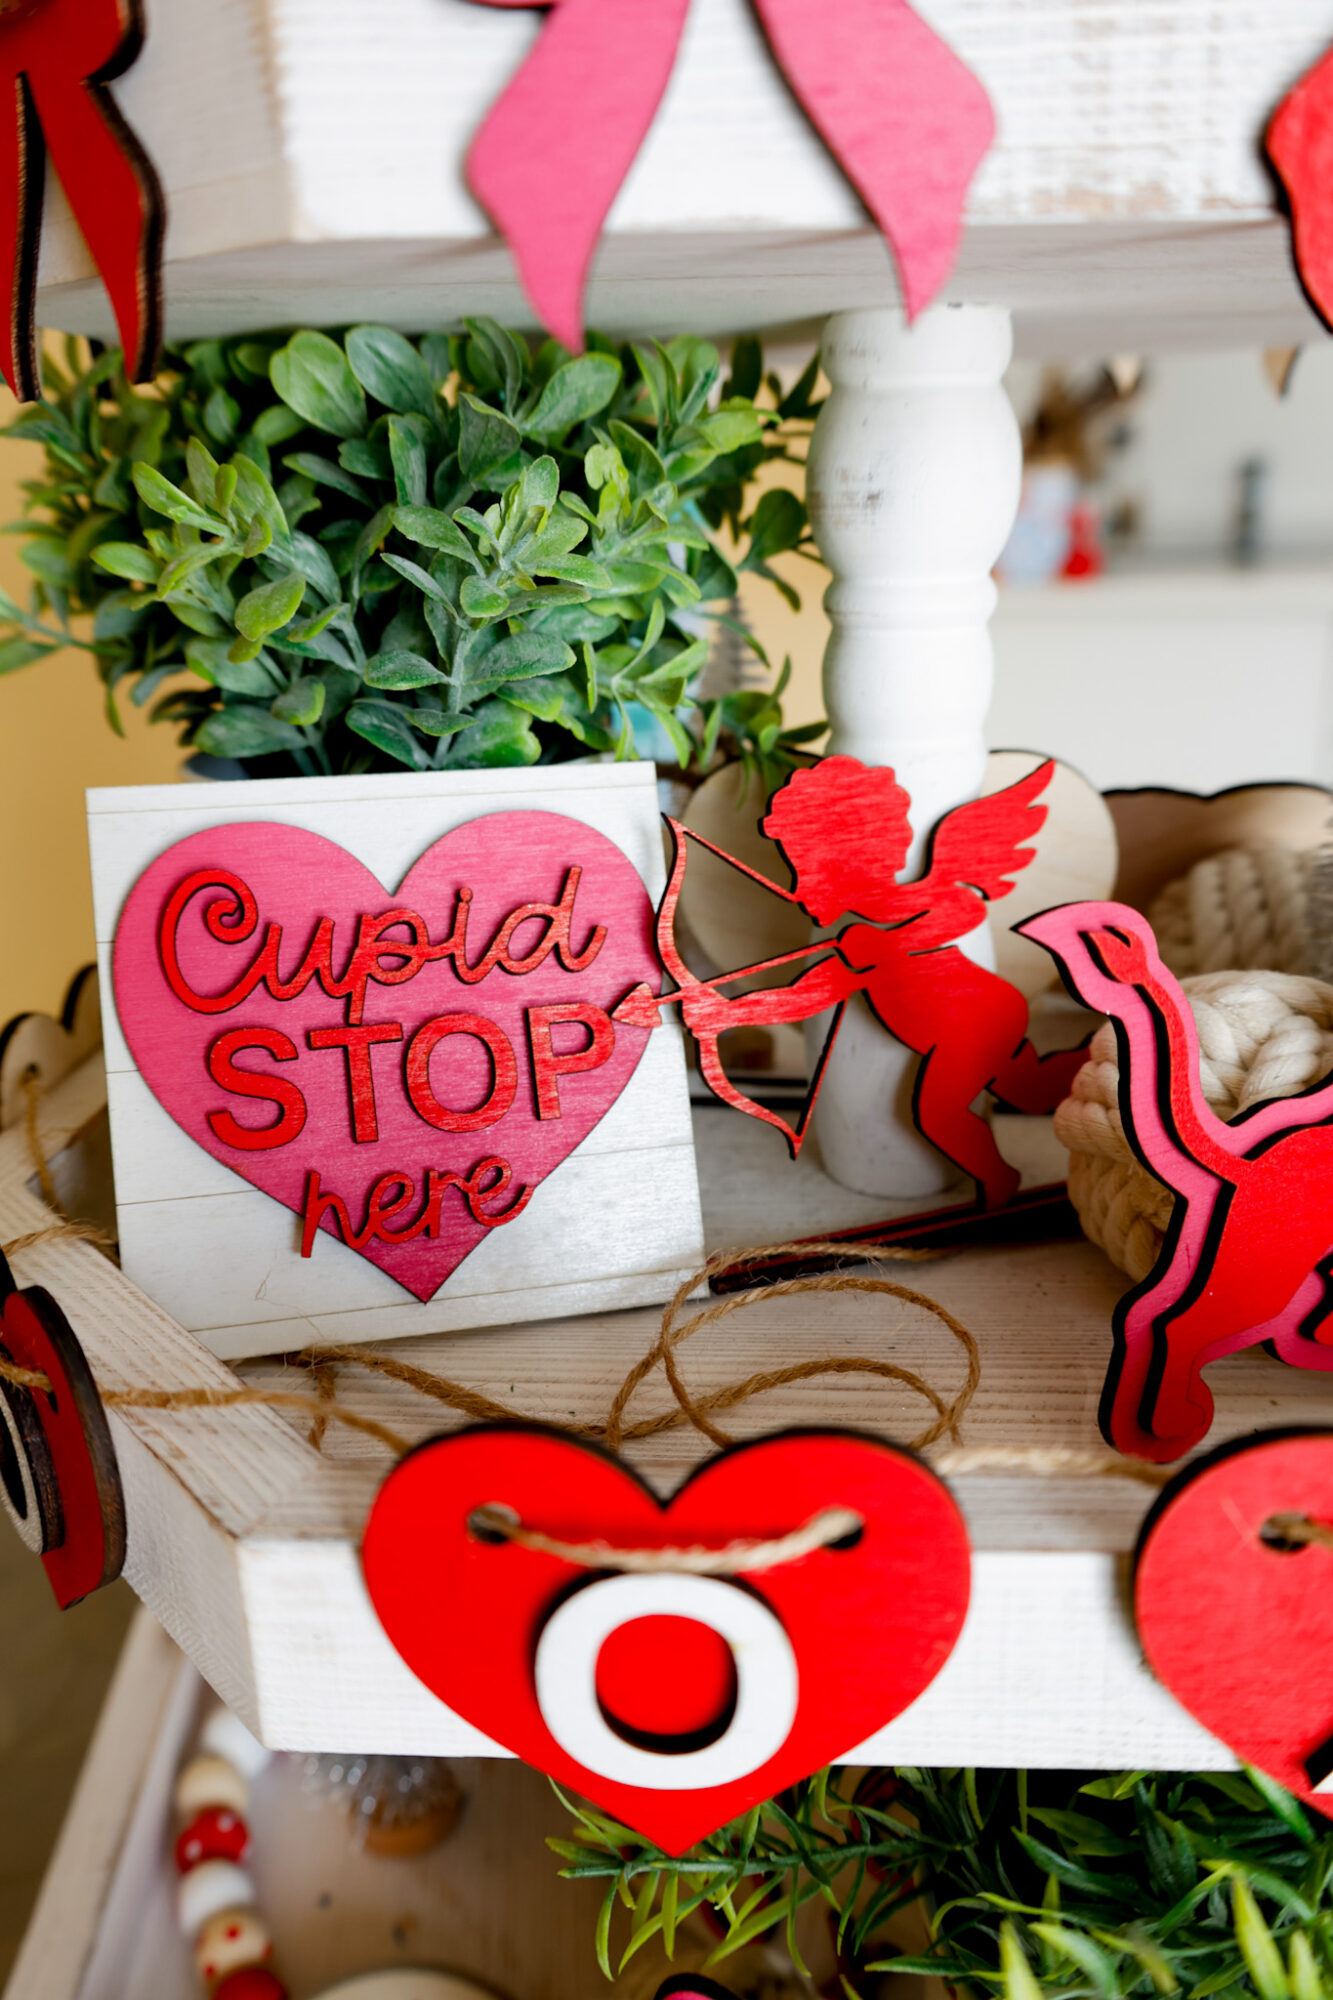
I fixed the red heart ‘X’ and ‘O’ garland shapes after weaving the twine through the bow shapes, as I didn’t care for the spacing. You’ll notice this in the finished section below…
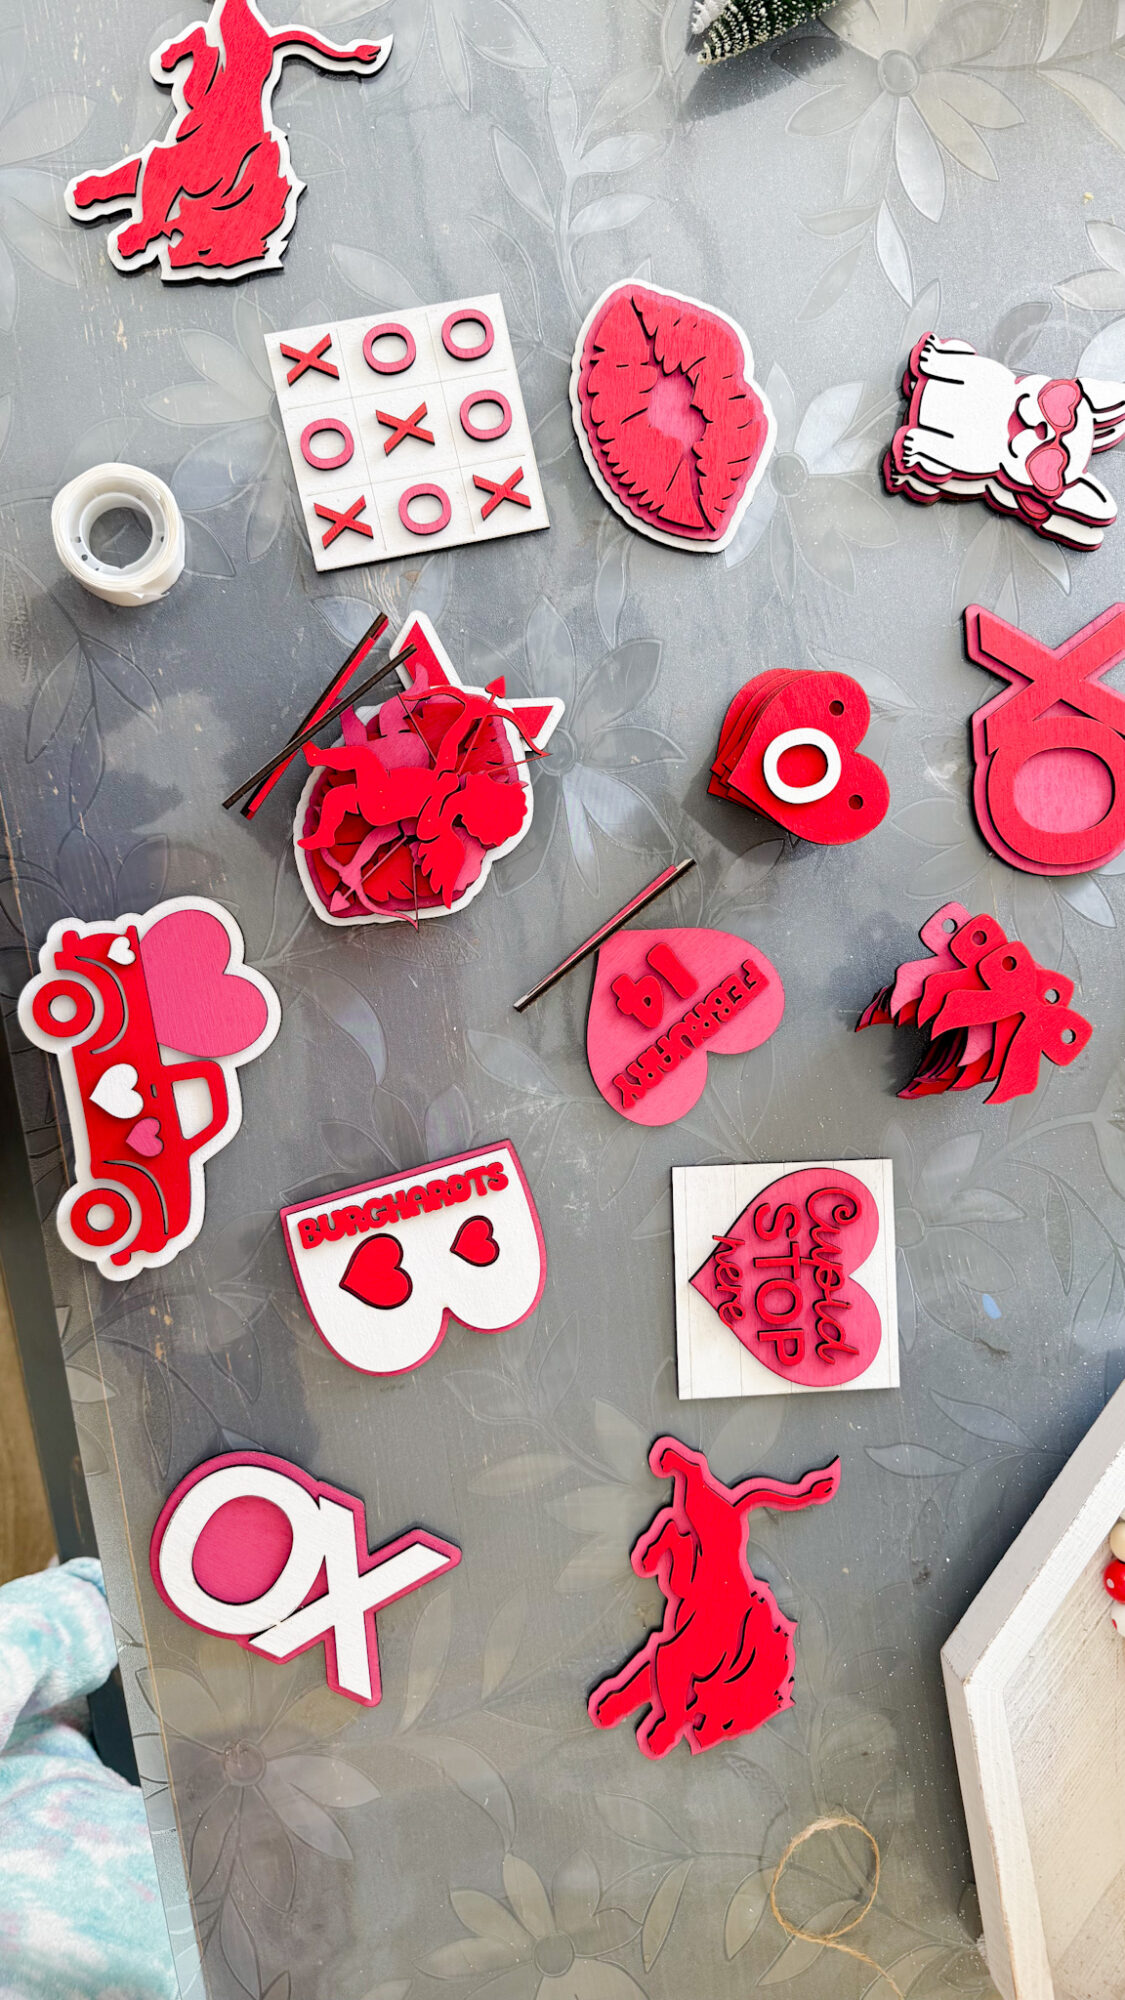
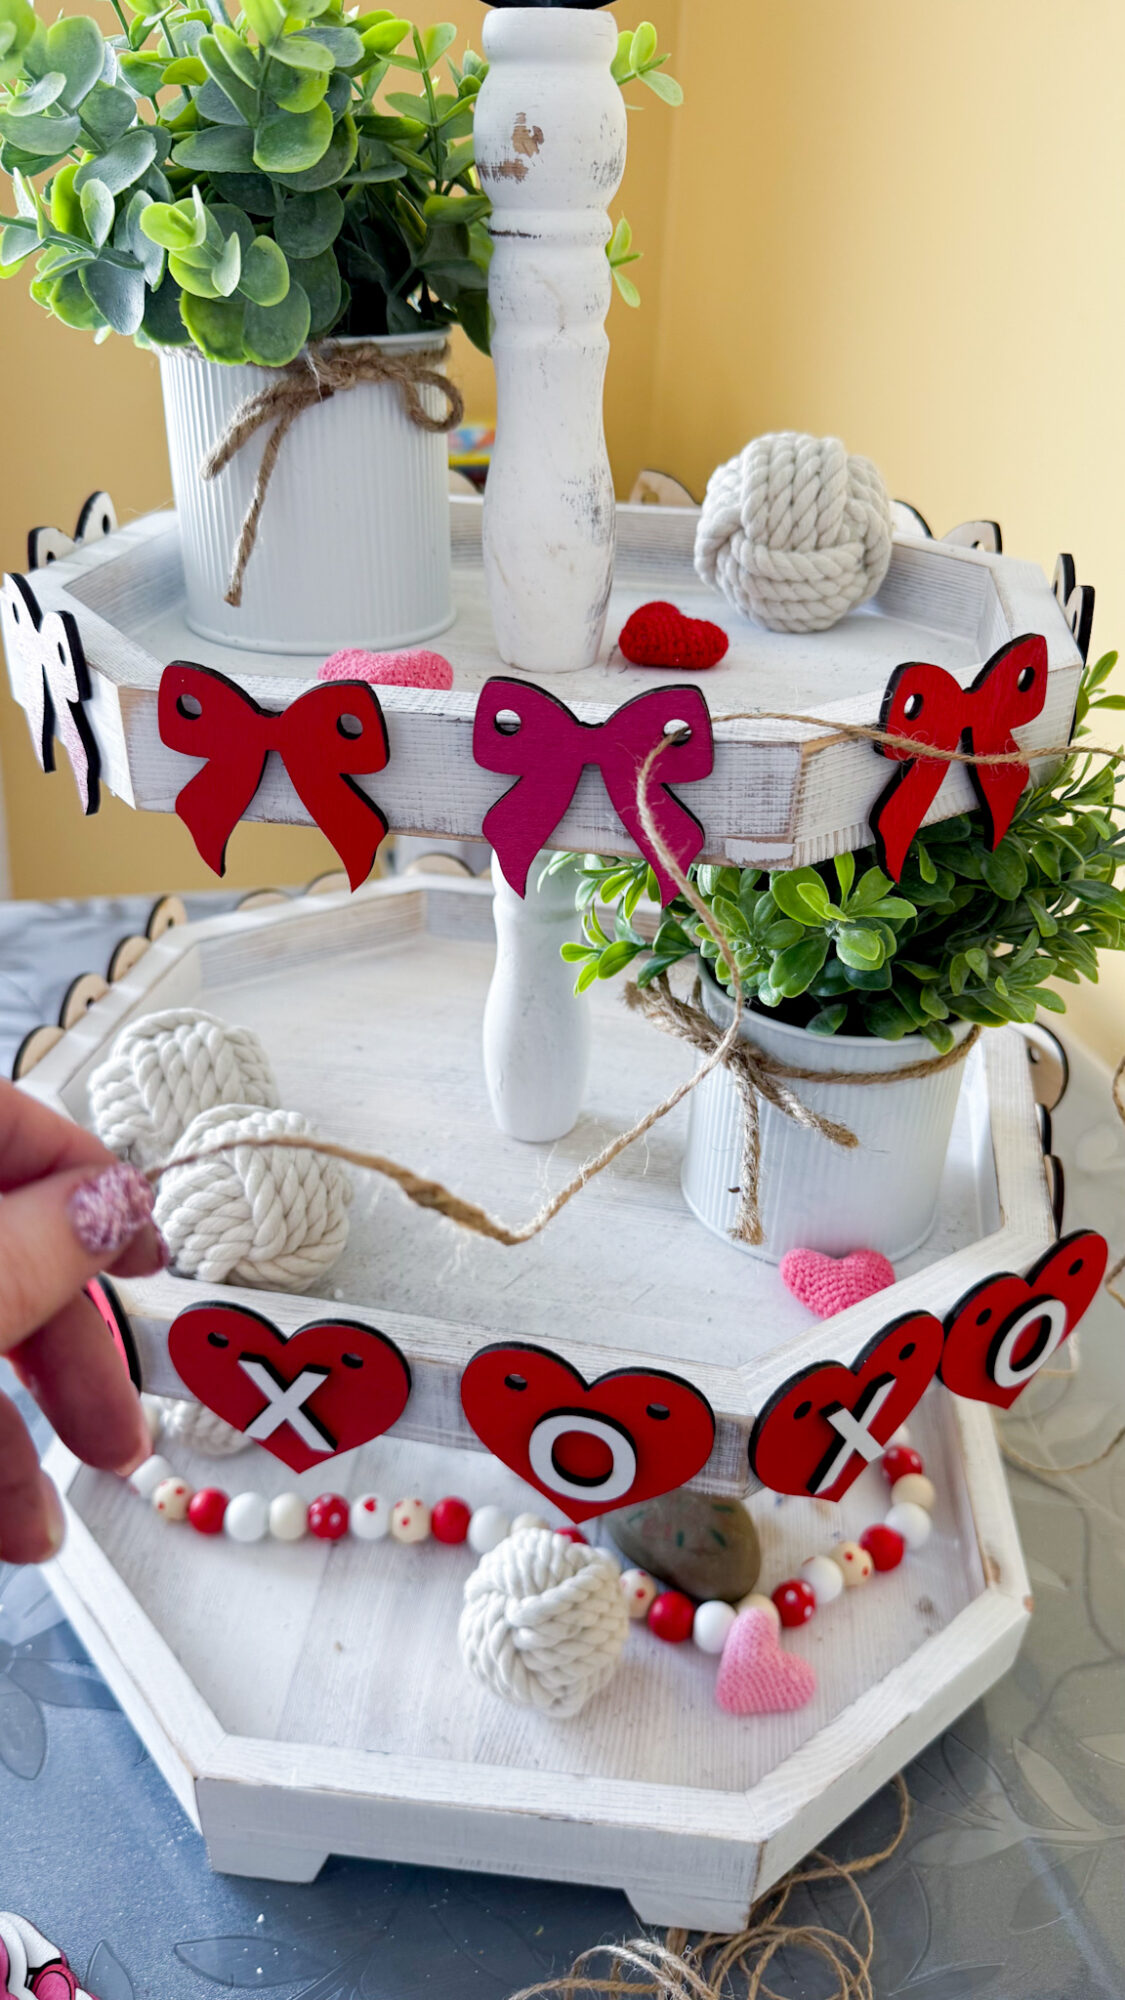
Finished DIY Valentine’s Day Tiered Tray Decor
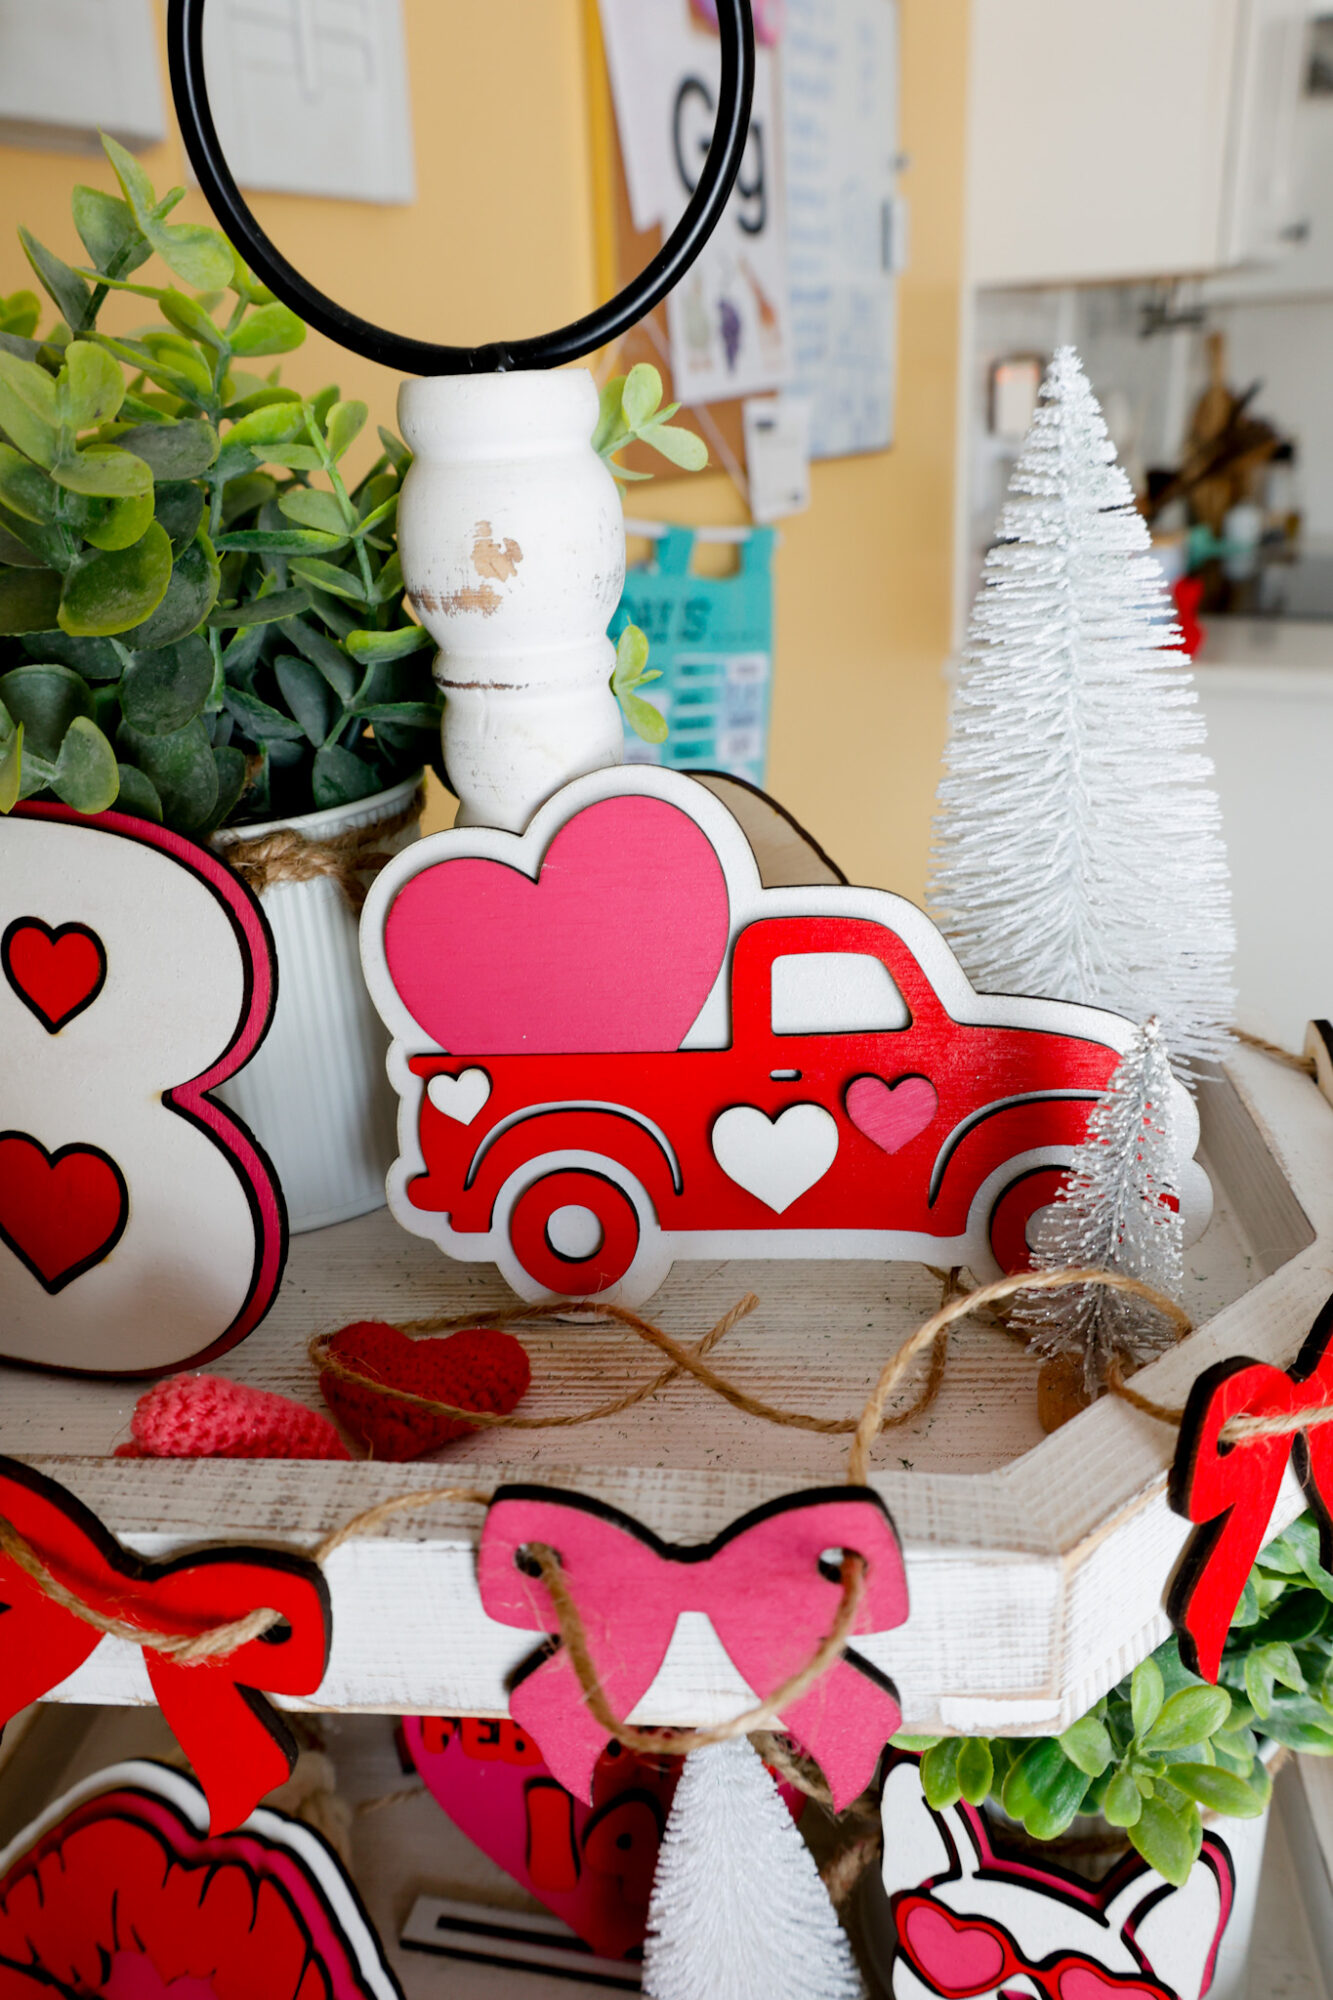
Here’s what my finished tiered tray decor looks like…
I was thrilled with how everything turned out. Pre-painting the pieces beforehand truly is the key to a project like this, and simplifies the assembly process.
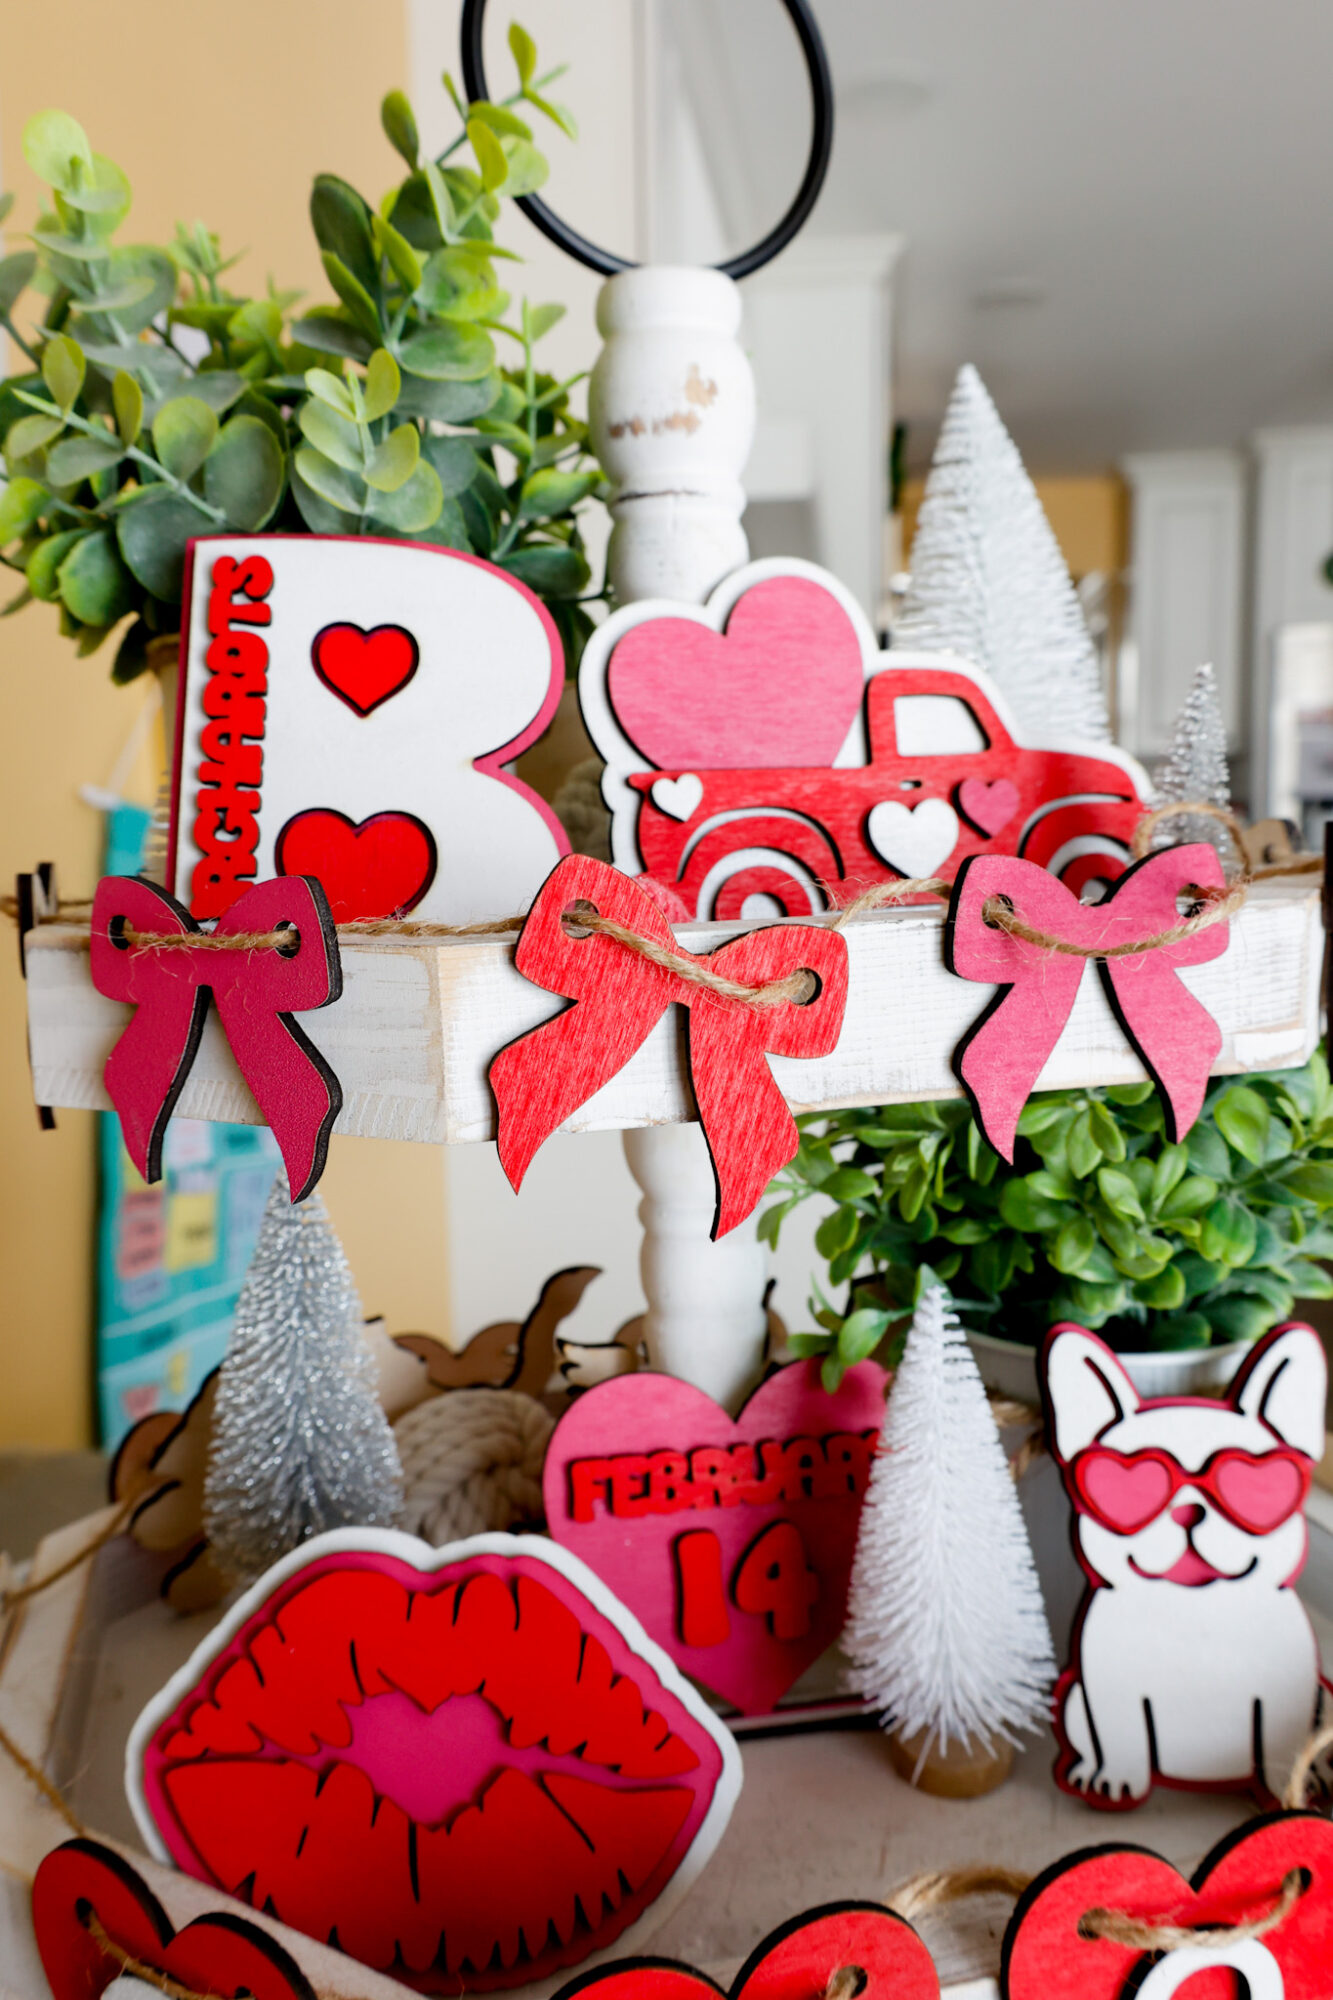
I also made a personalized letter ‘B’ for our last name…
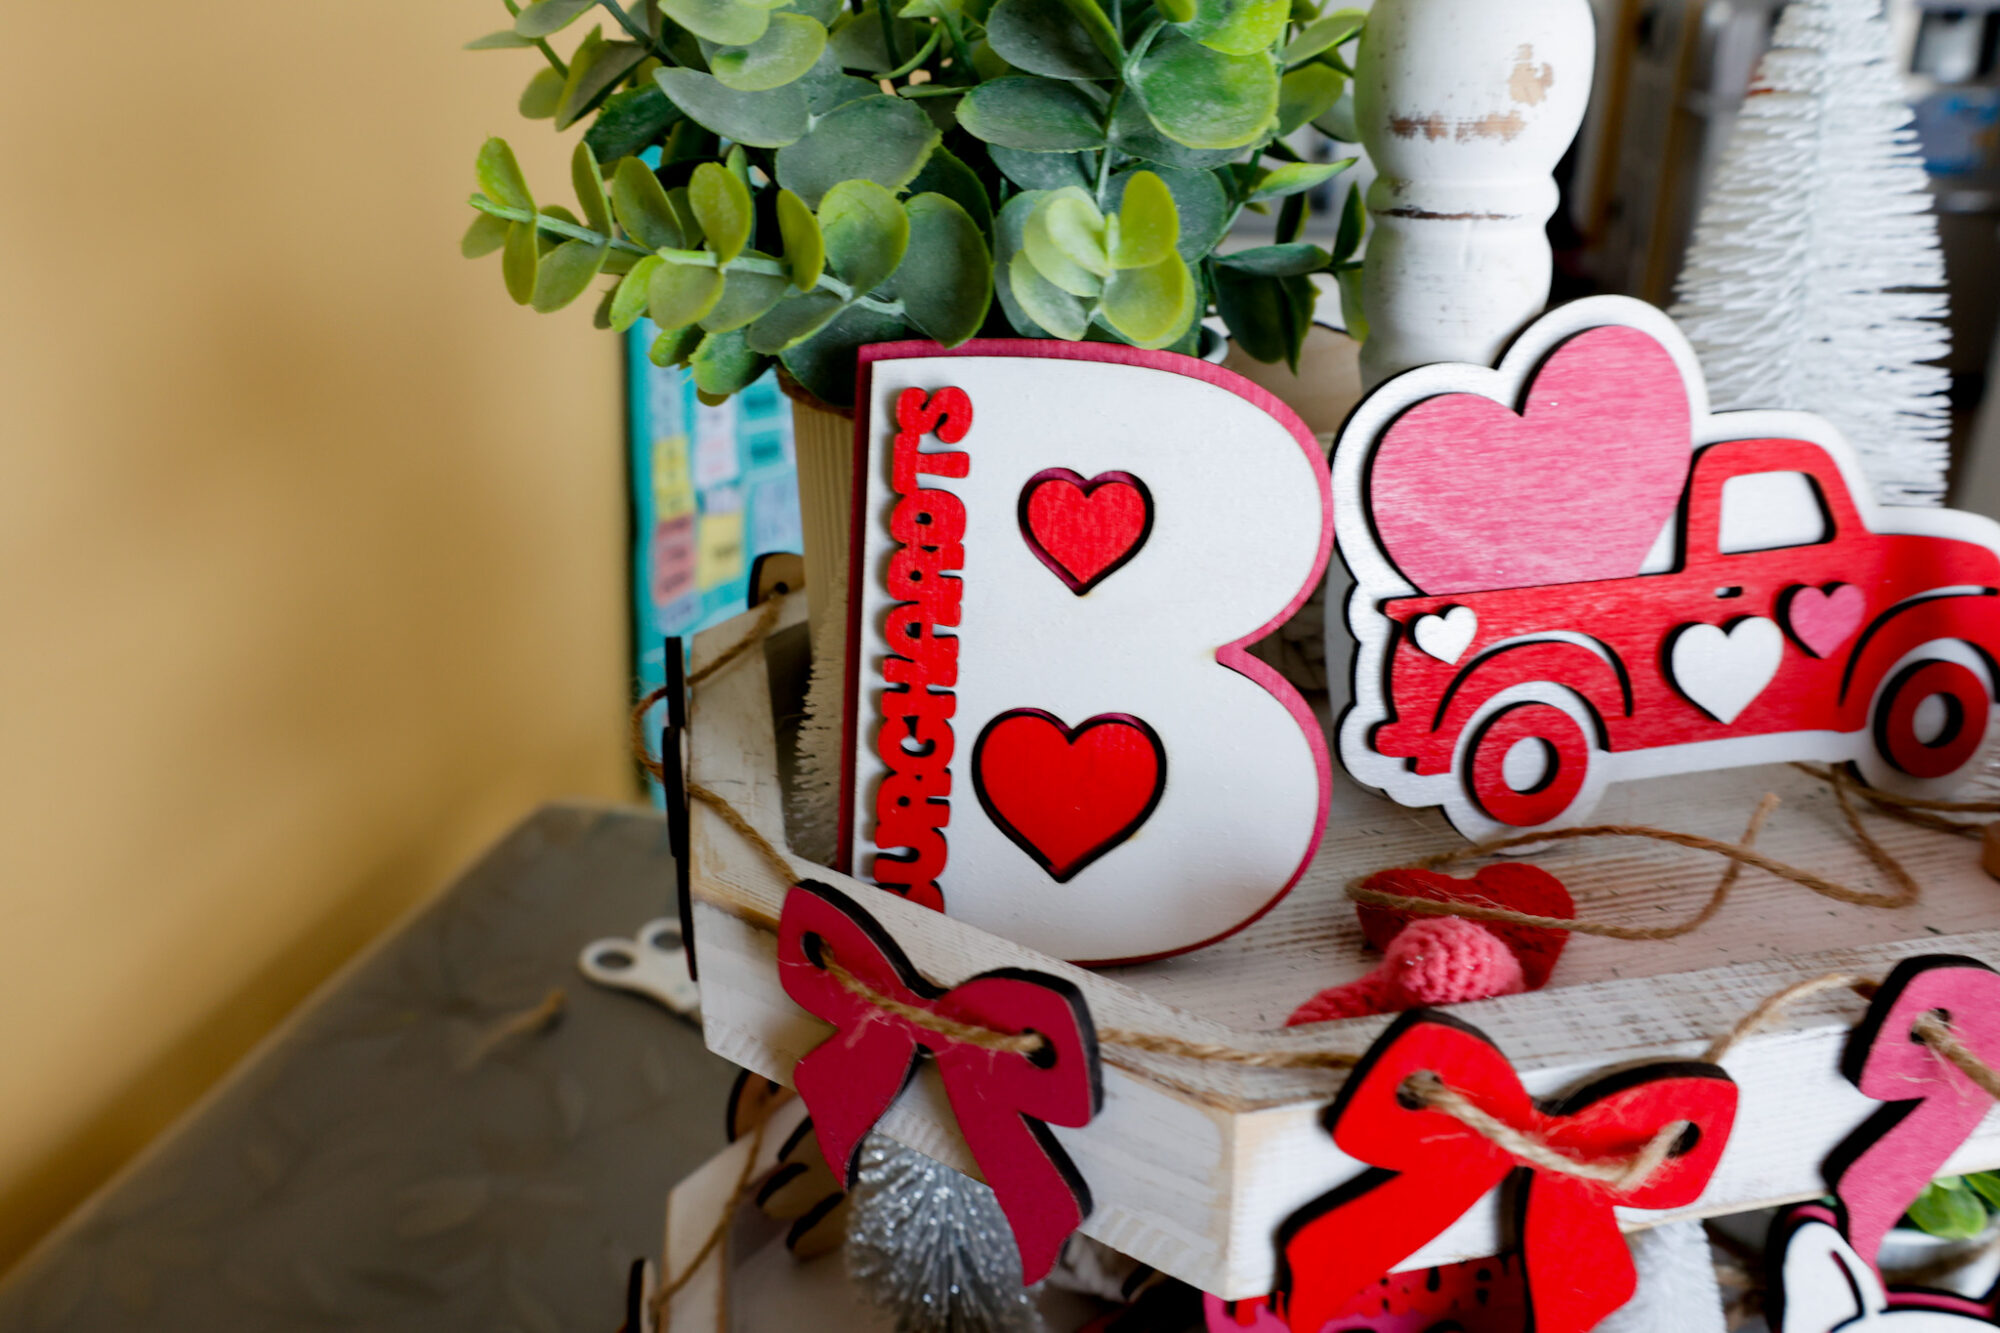
This truck towing a giant heart is probably one of my favorite designs I made today! I still feel I should have made the tires black, but it works!
I was glad to have made two layers of faux garland decor to go around the top two shelves of our tiered tray. This helps give it extra PIZZAZZ from across the room.
I love the color palette I chose for this project, although I will say having my leftover wood pieces from my door sign project was super helpful.
Red, white, and pink are traditional Valentine’s Day colors.
The items I did not make on this tiered tray are the knot balls, faux plants, wood bead string (for lack of a better term), and bottle brush trees.
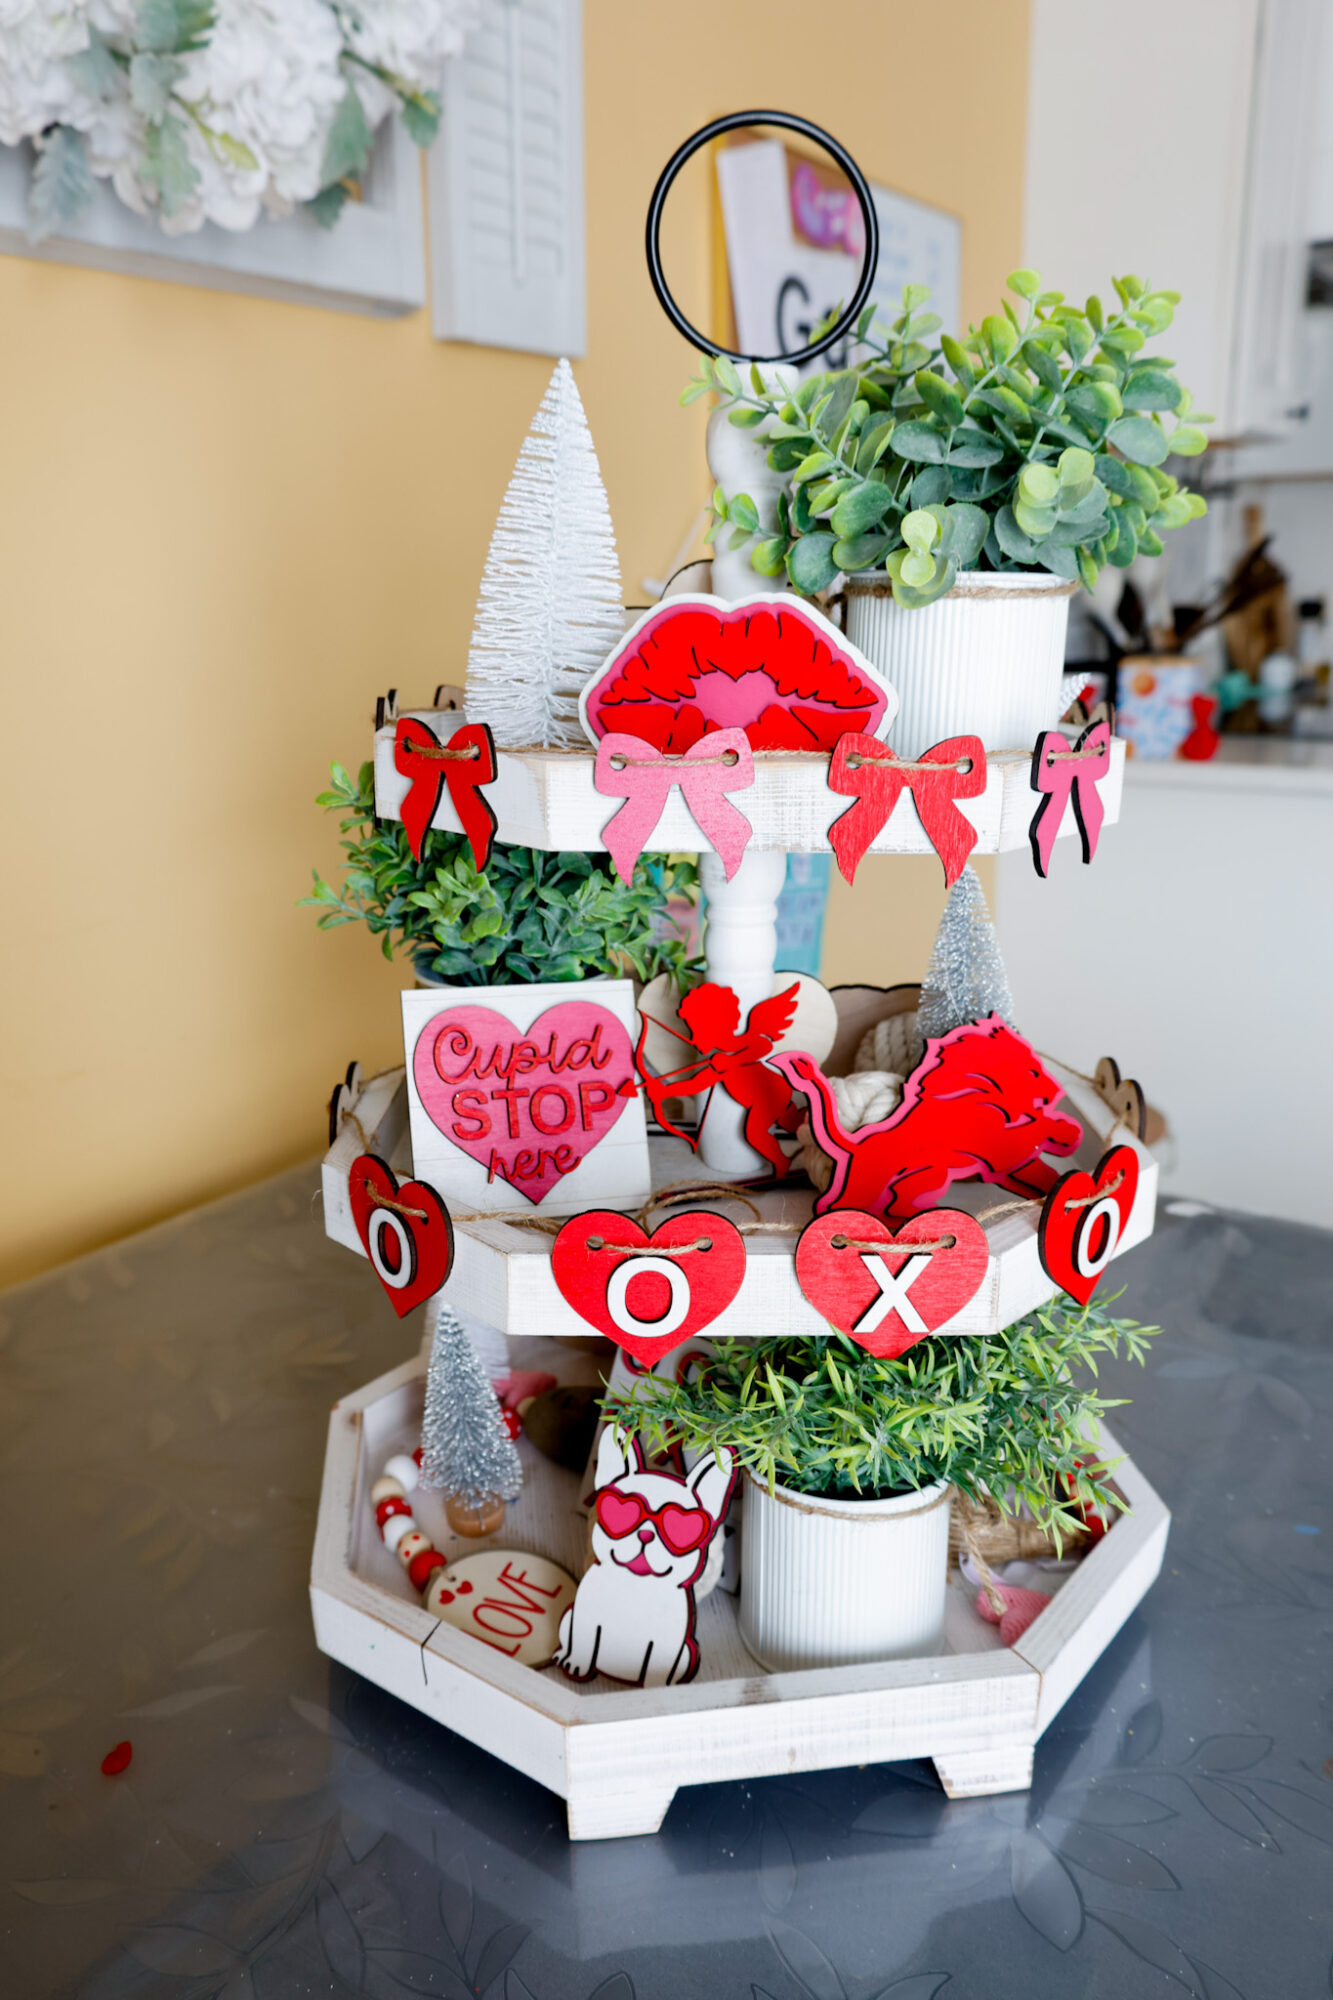
We have frenchie mix dogs, so I had to add in these cute designs as well.
Free SVG Download: Valentine’s Day Tiered Tray Decor
Sign up below to gain instant access to my free SVG file for this project:
Please remember that all free files are for personal use only, and cannot be sold, copied, or distributed.
Thank you!

Leave a Reply